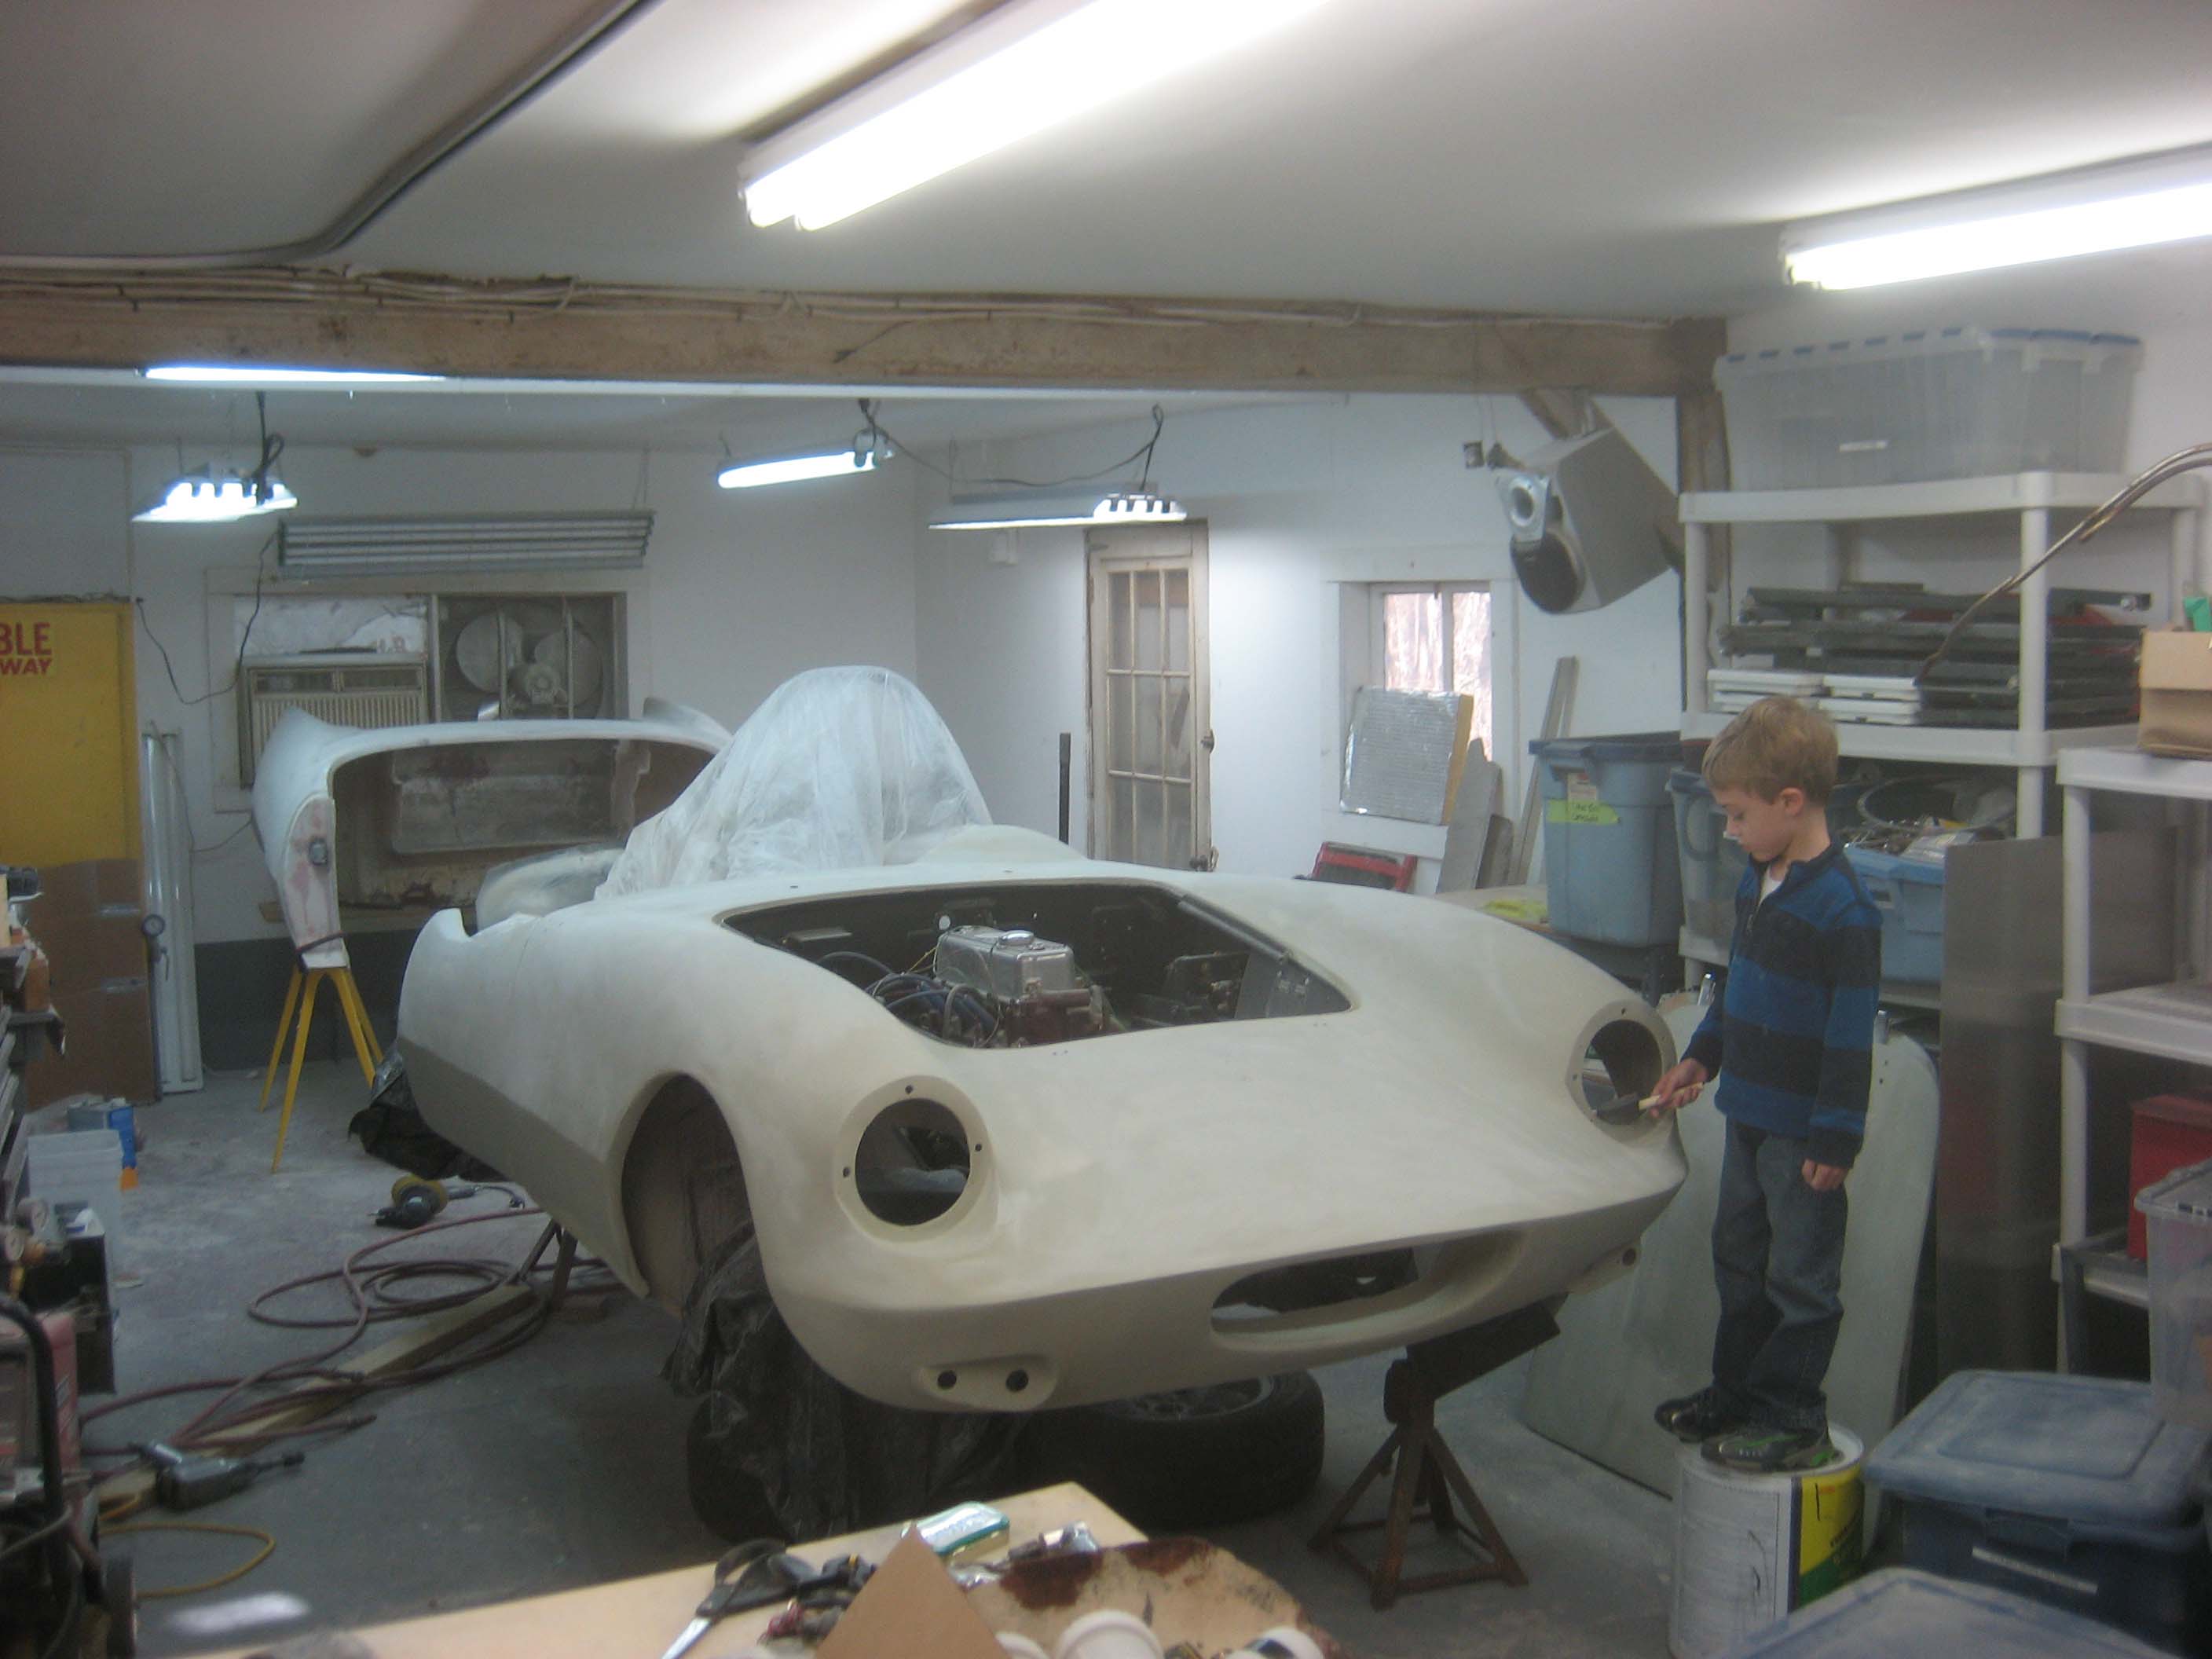
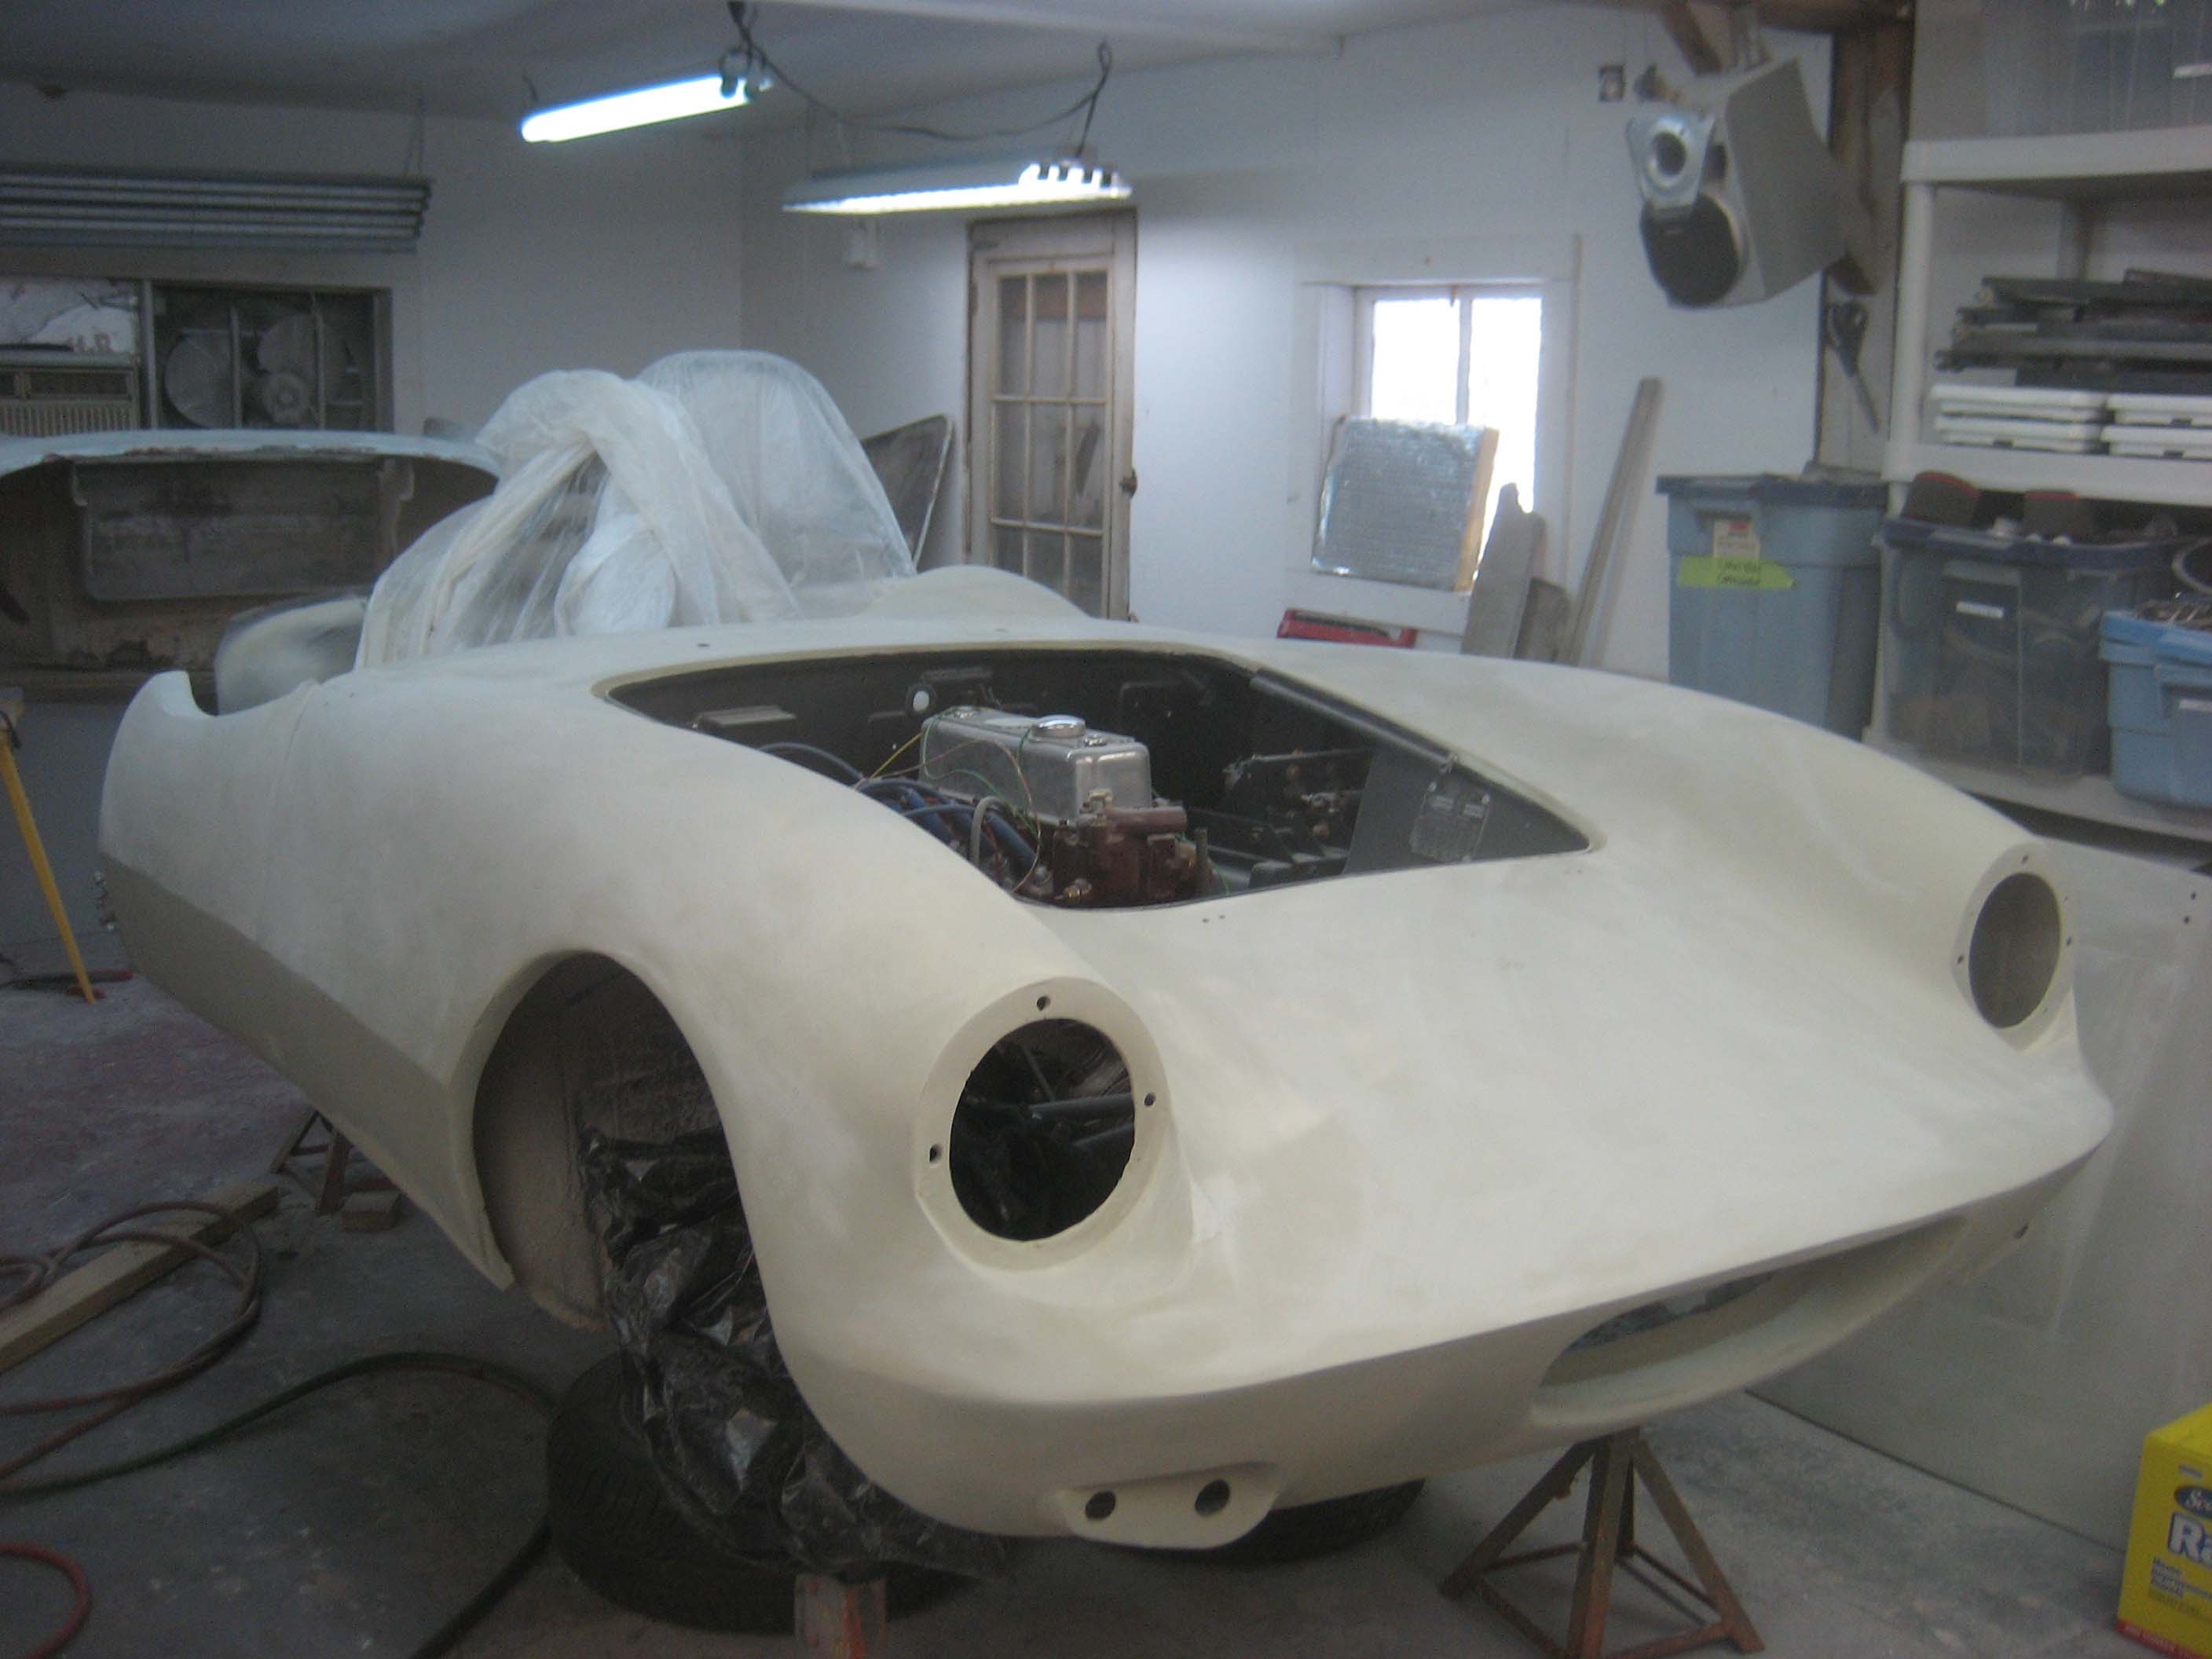
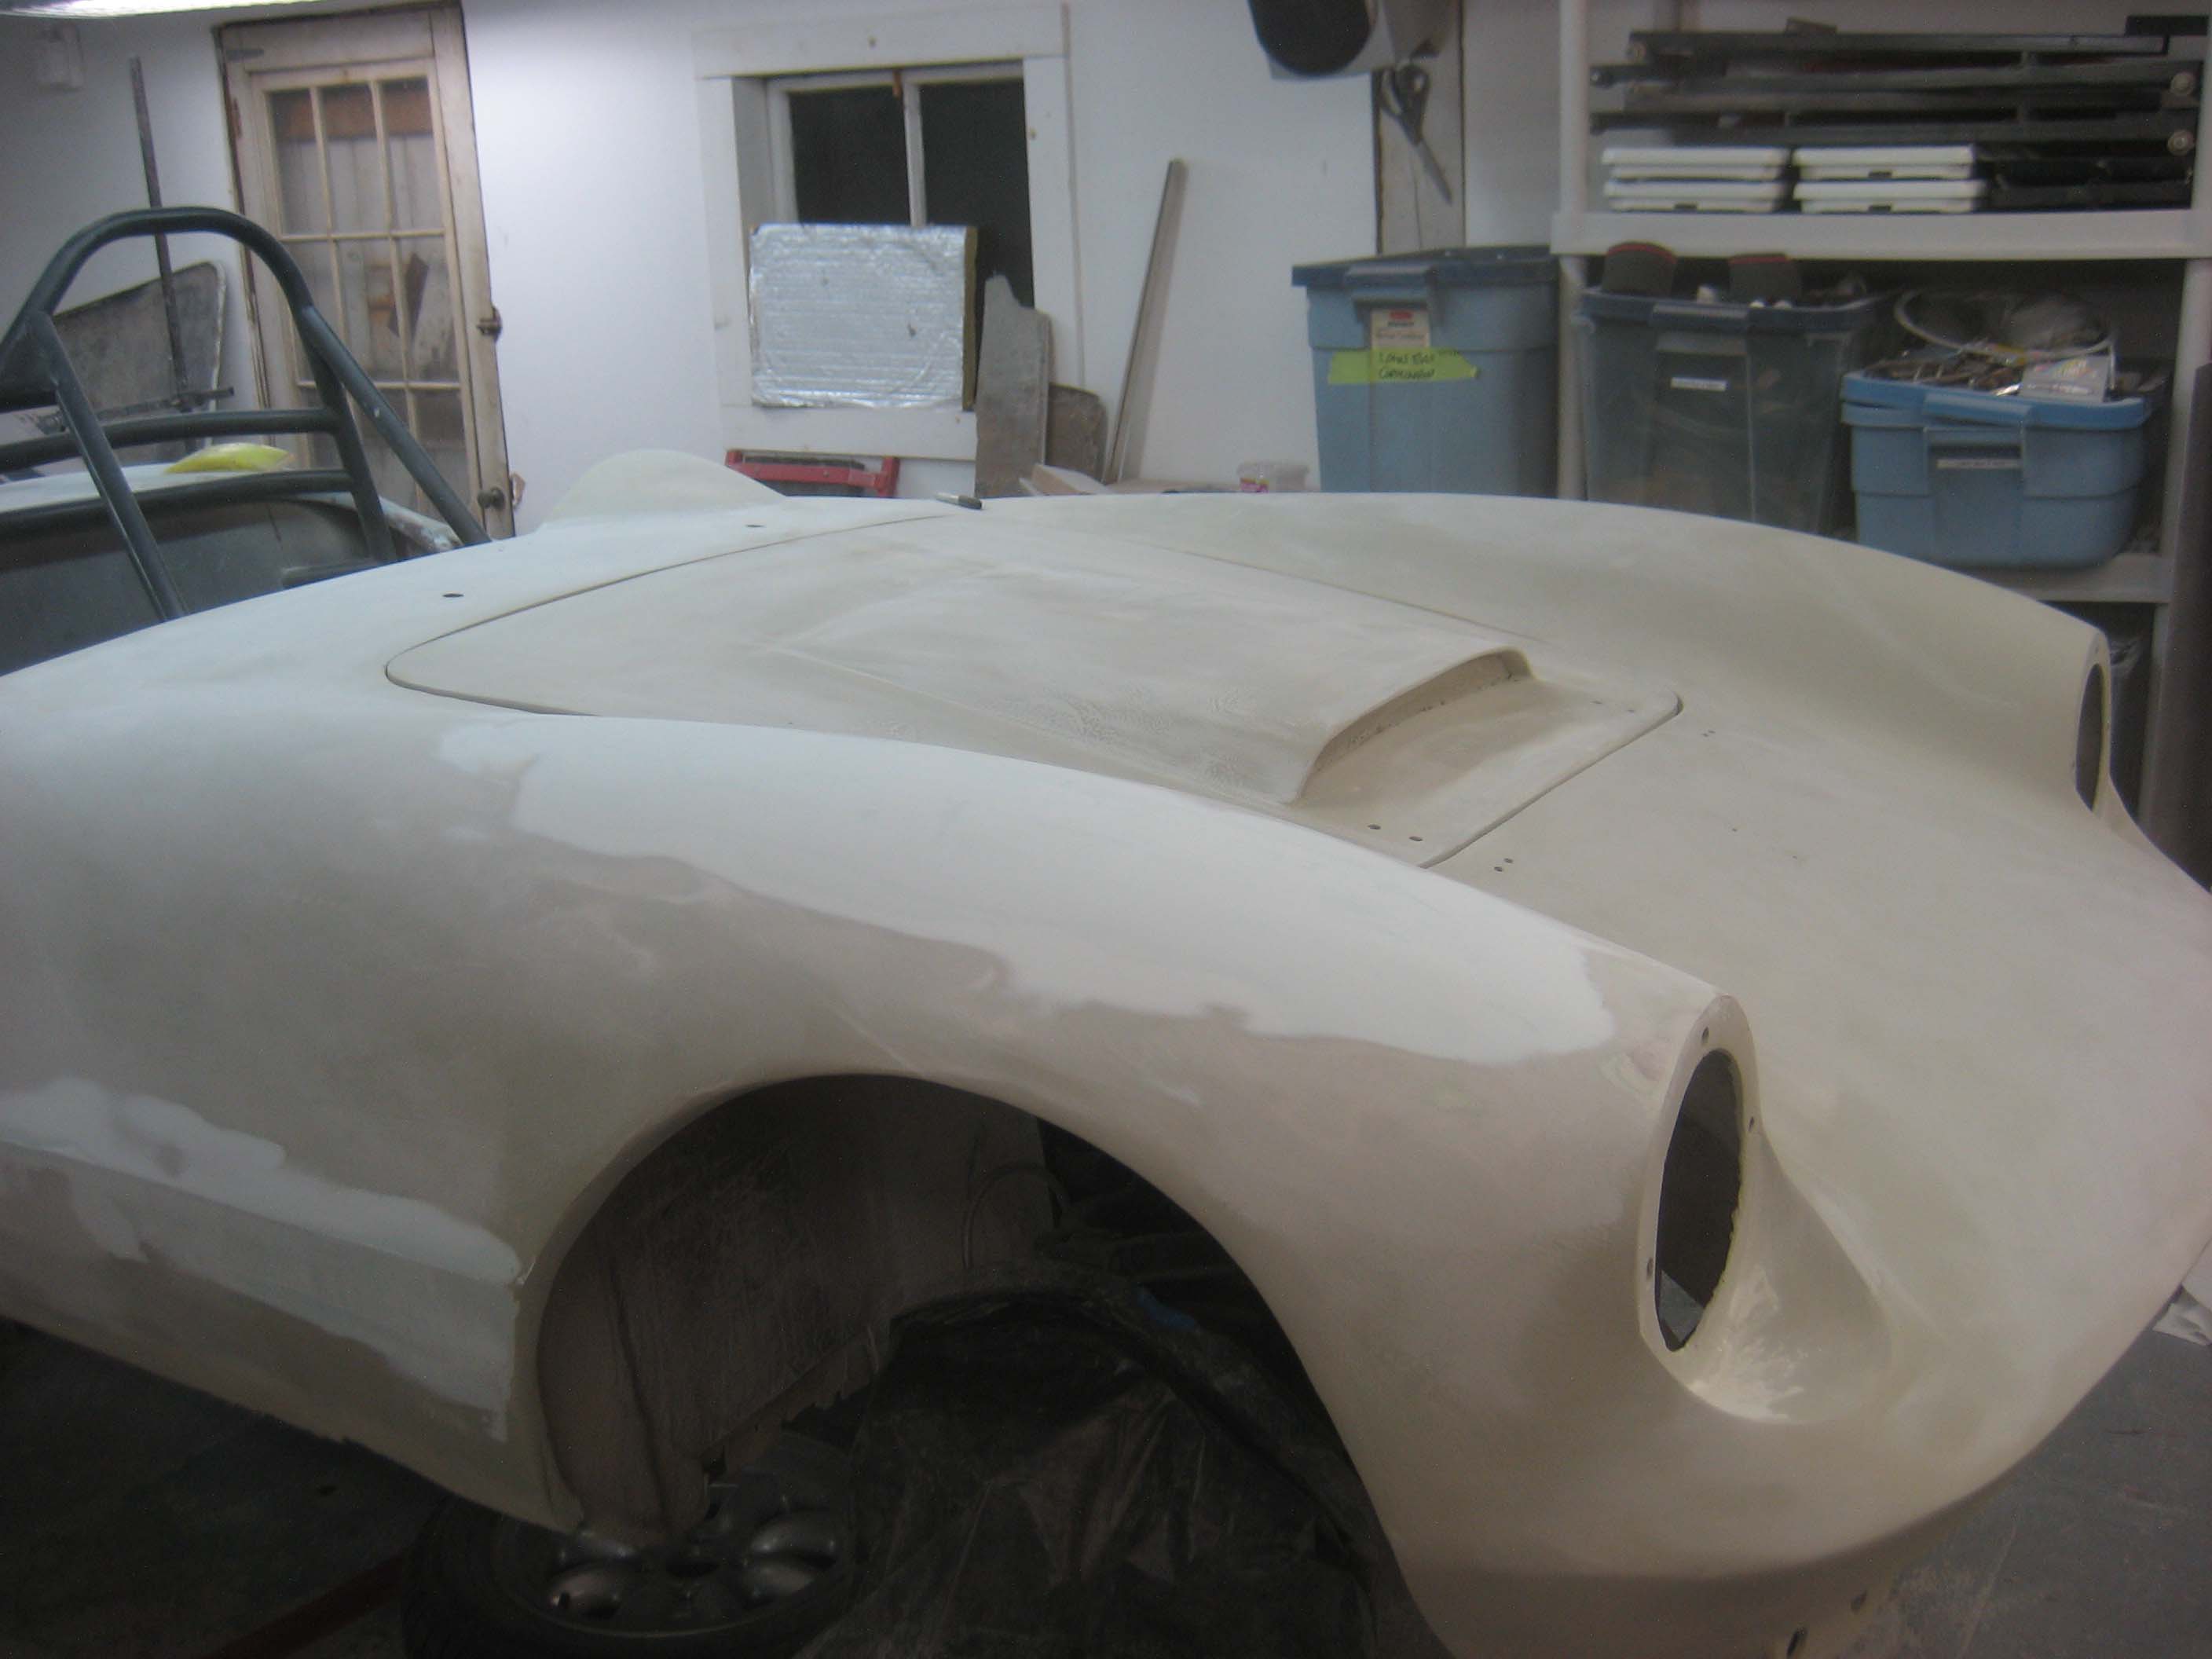
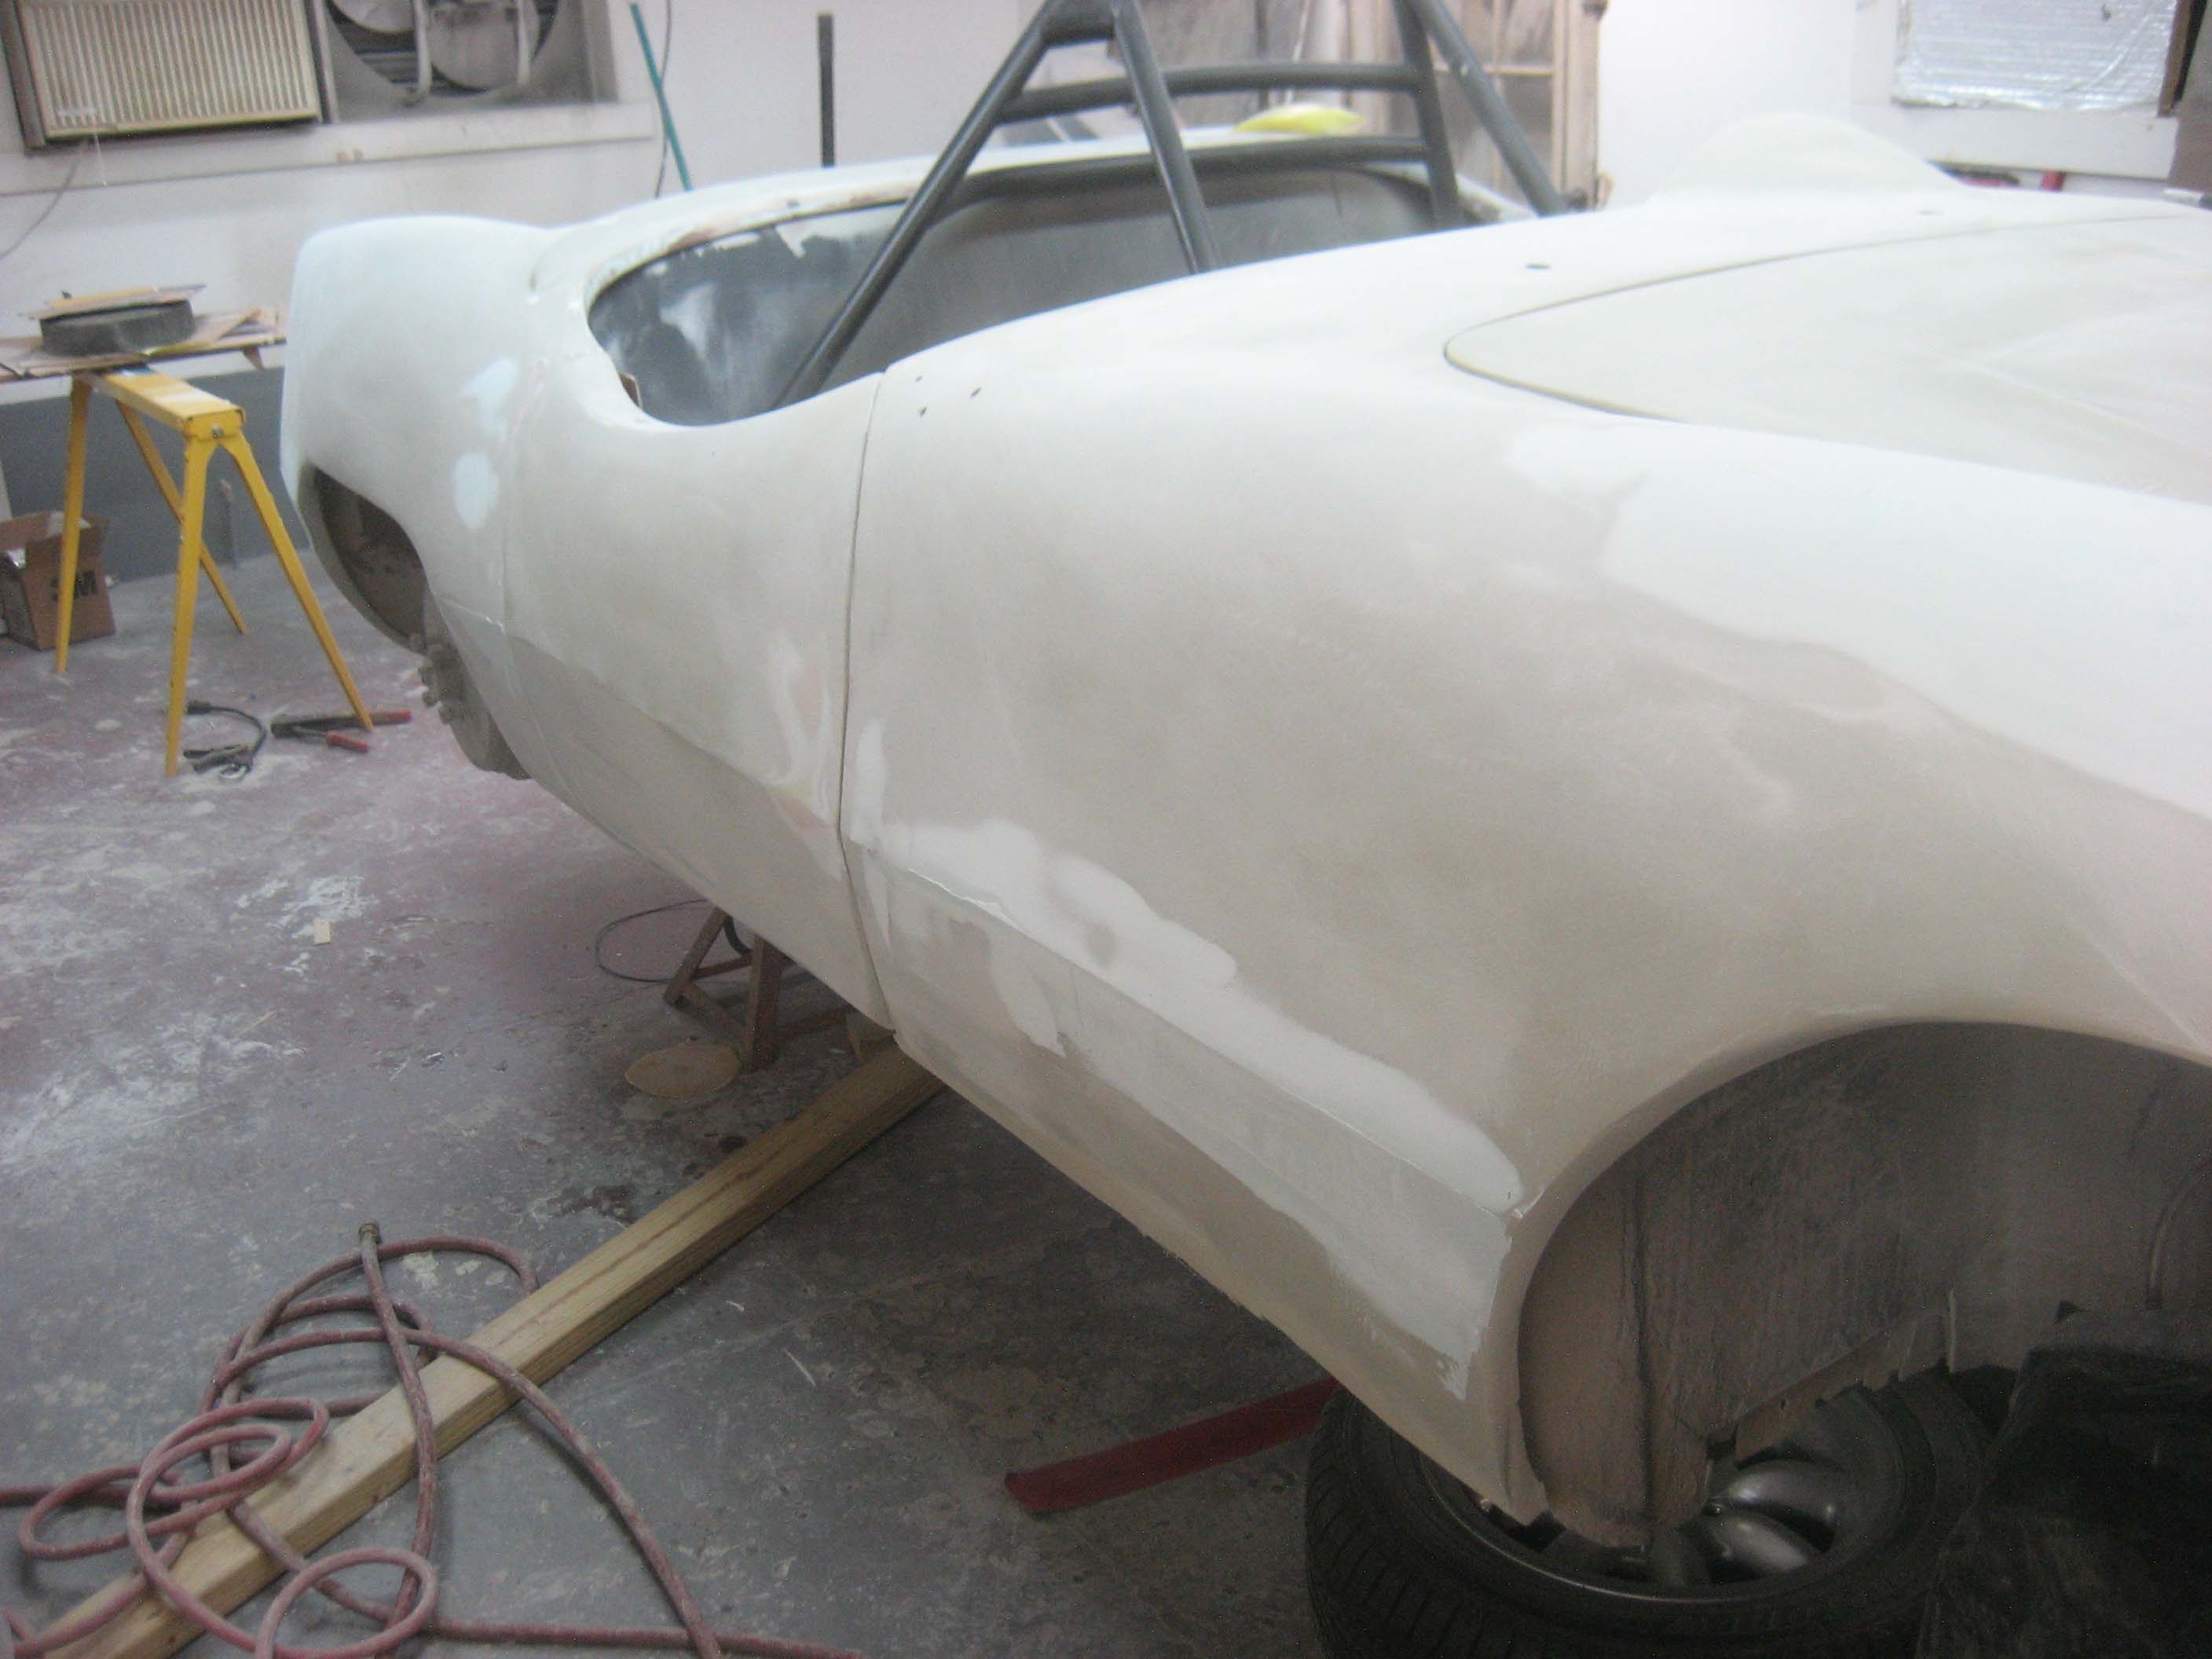
 This is sort of a boring part of the job, lots and lots of sanding, blocking, filling, blocking, sanding. etc.
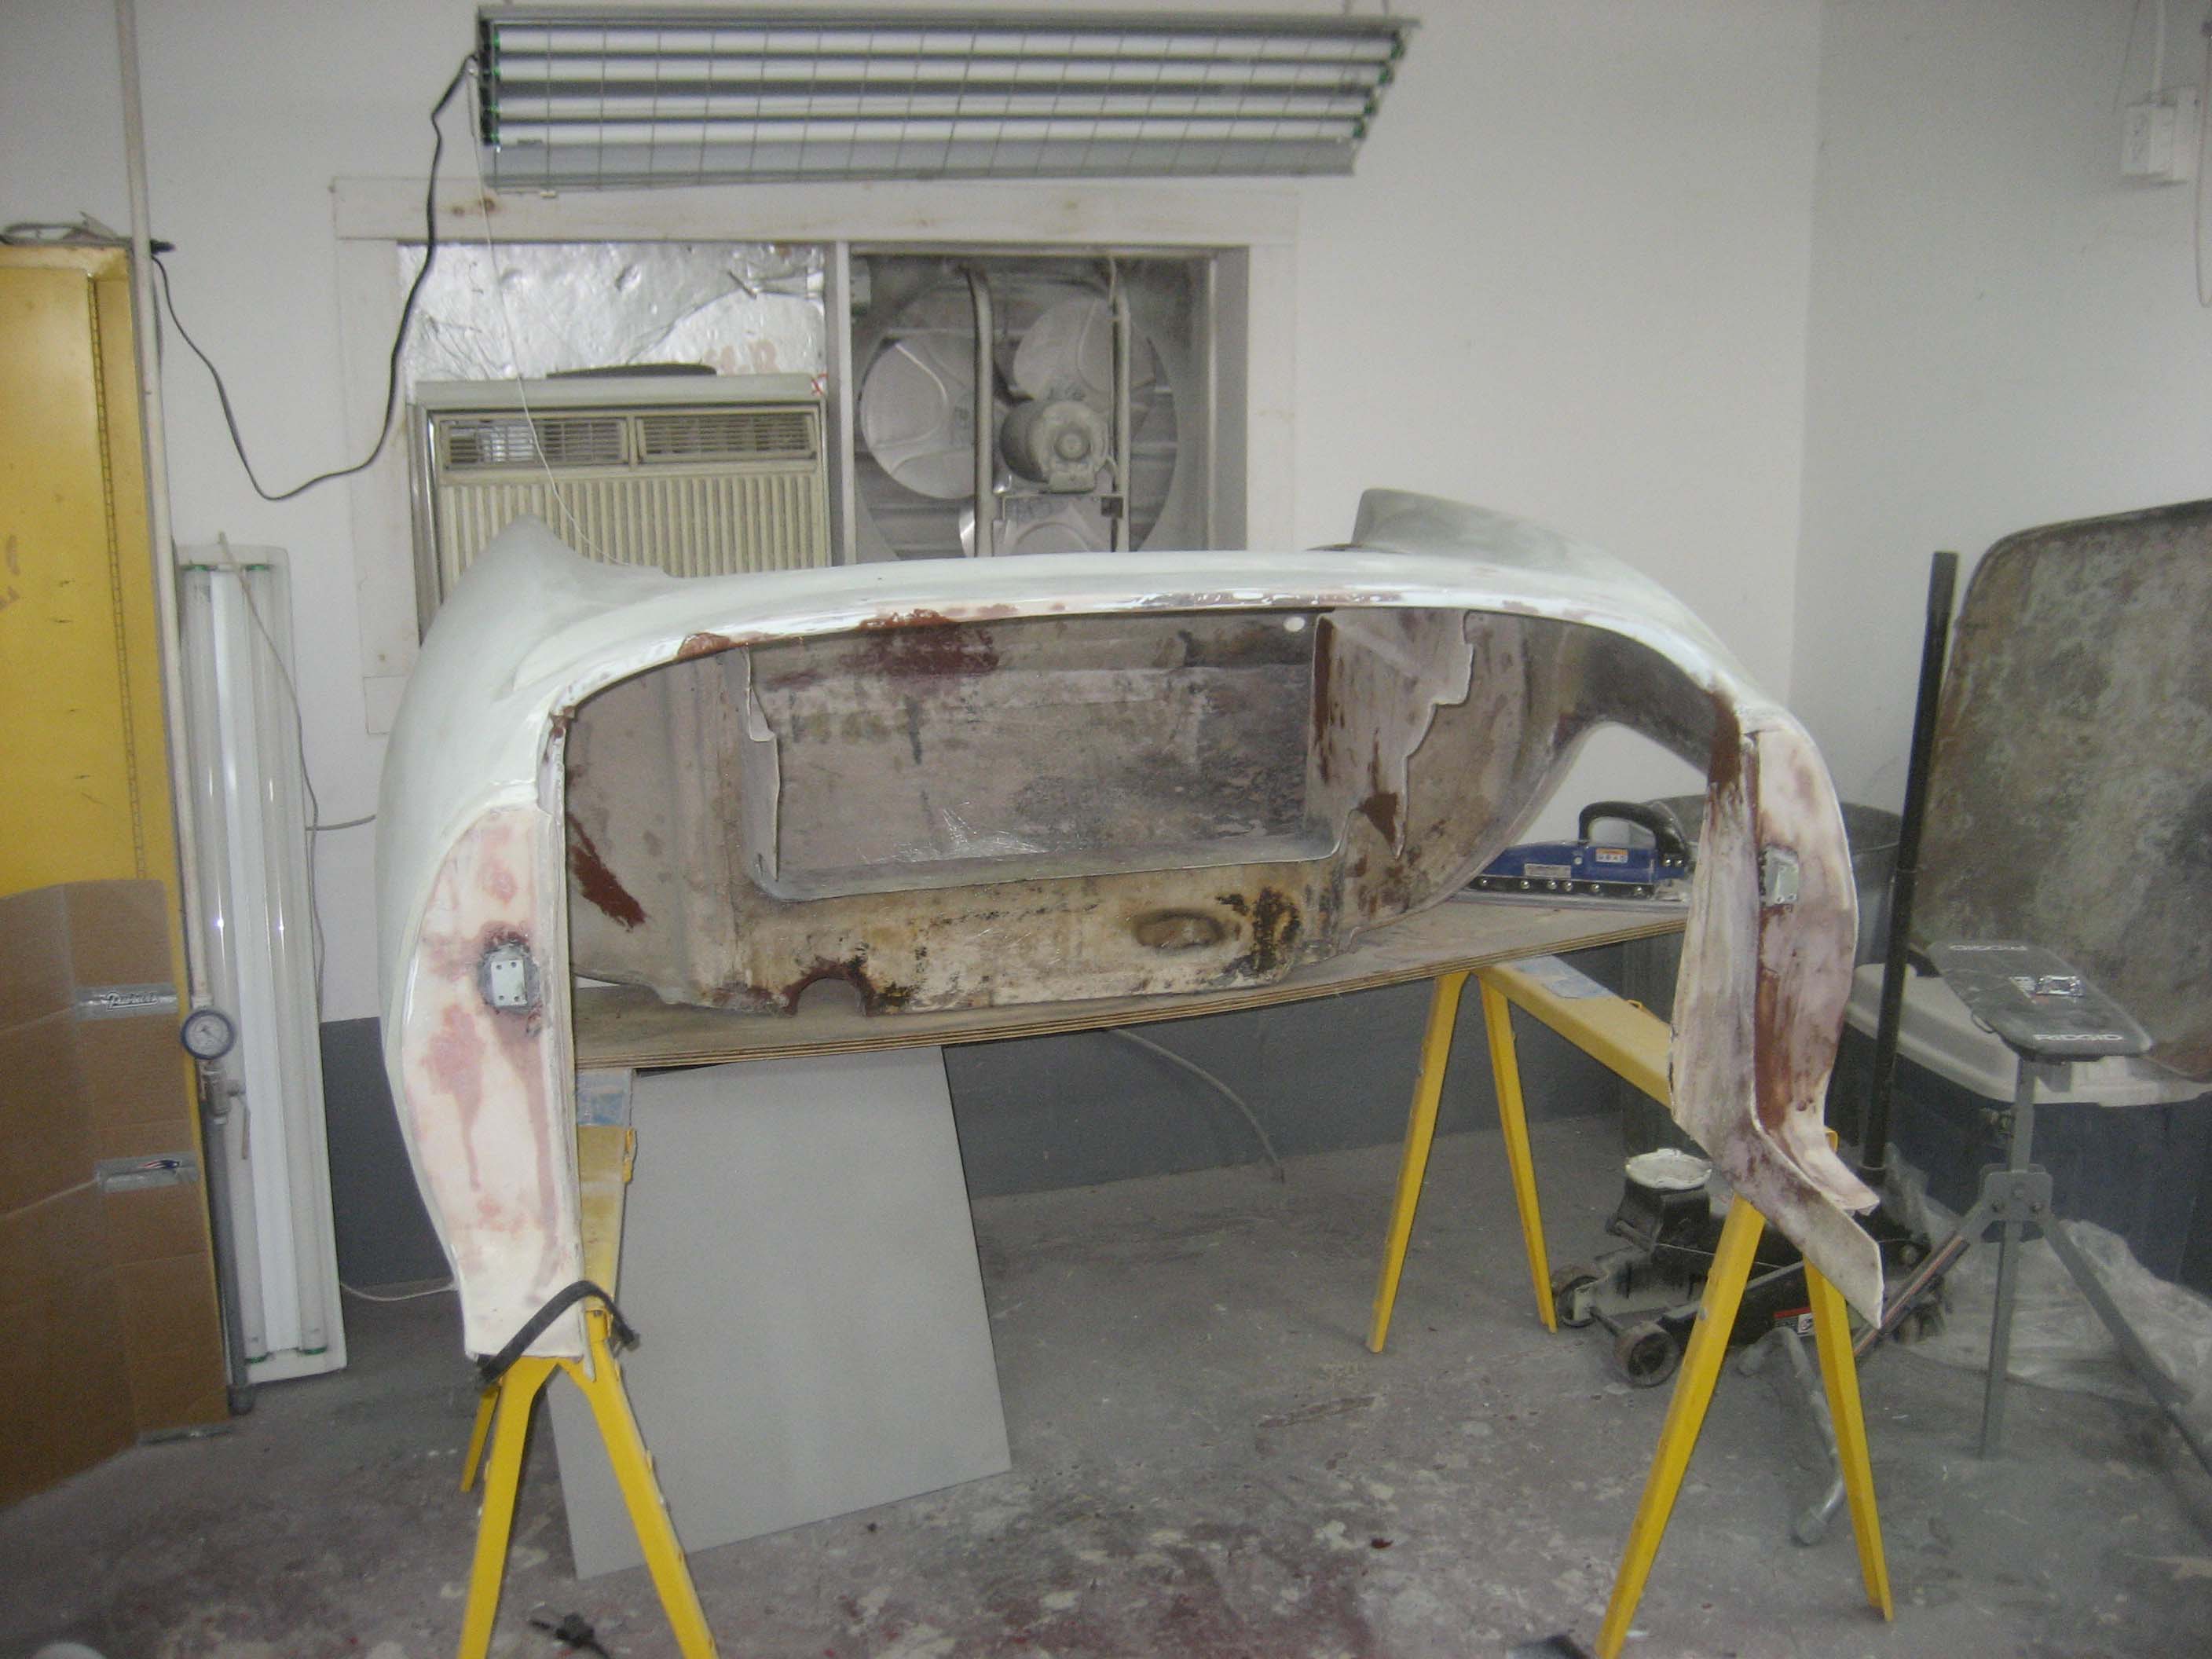
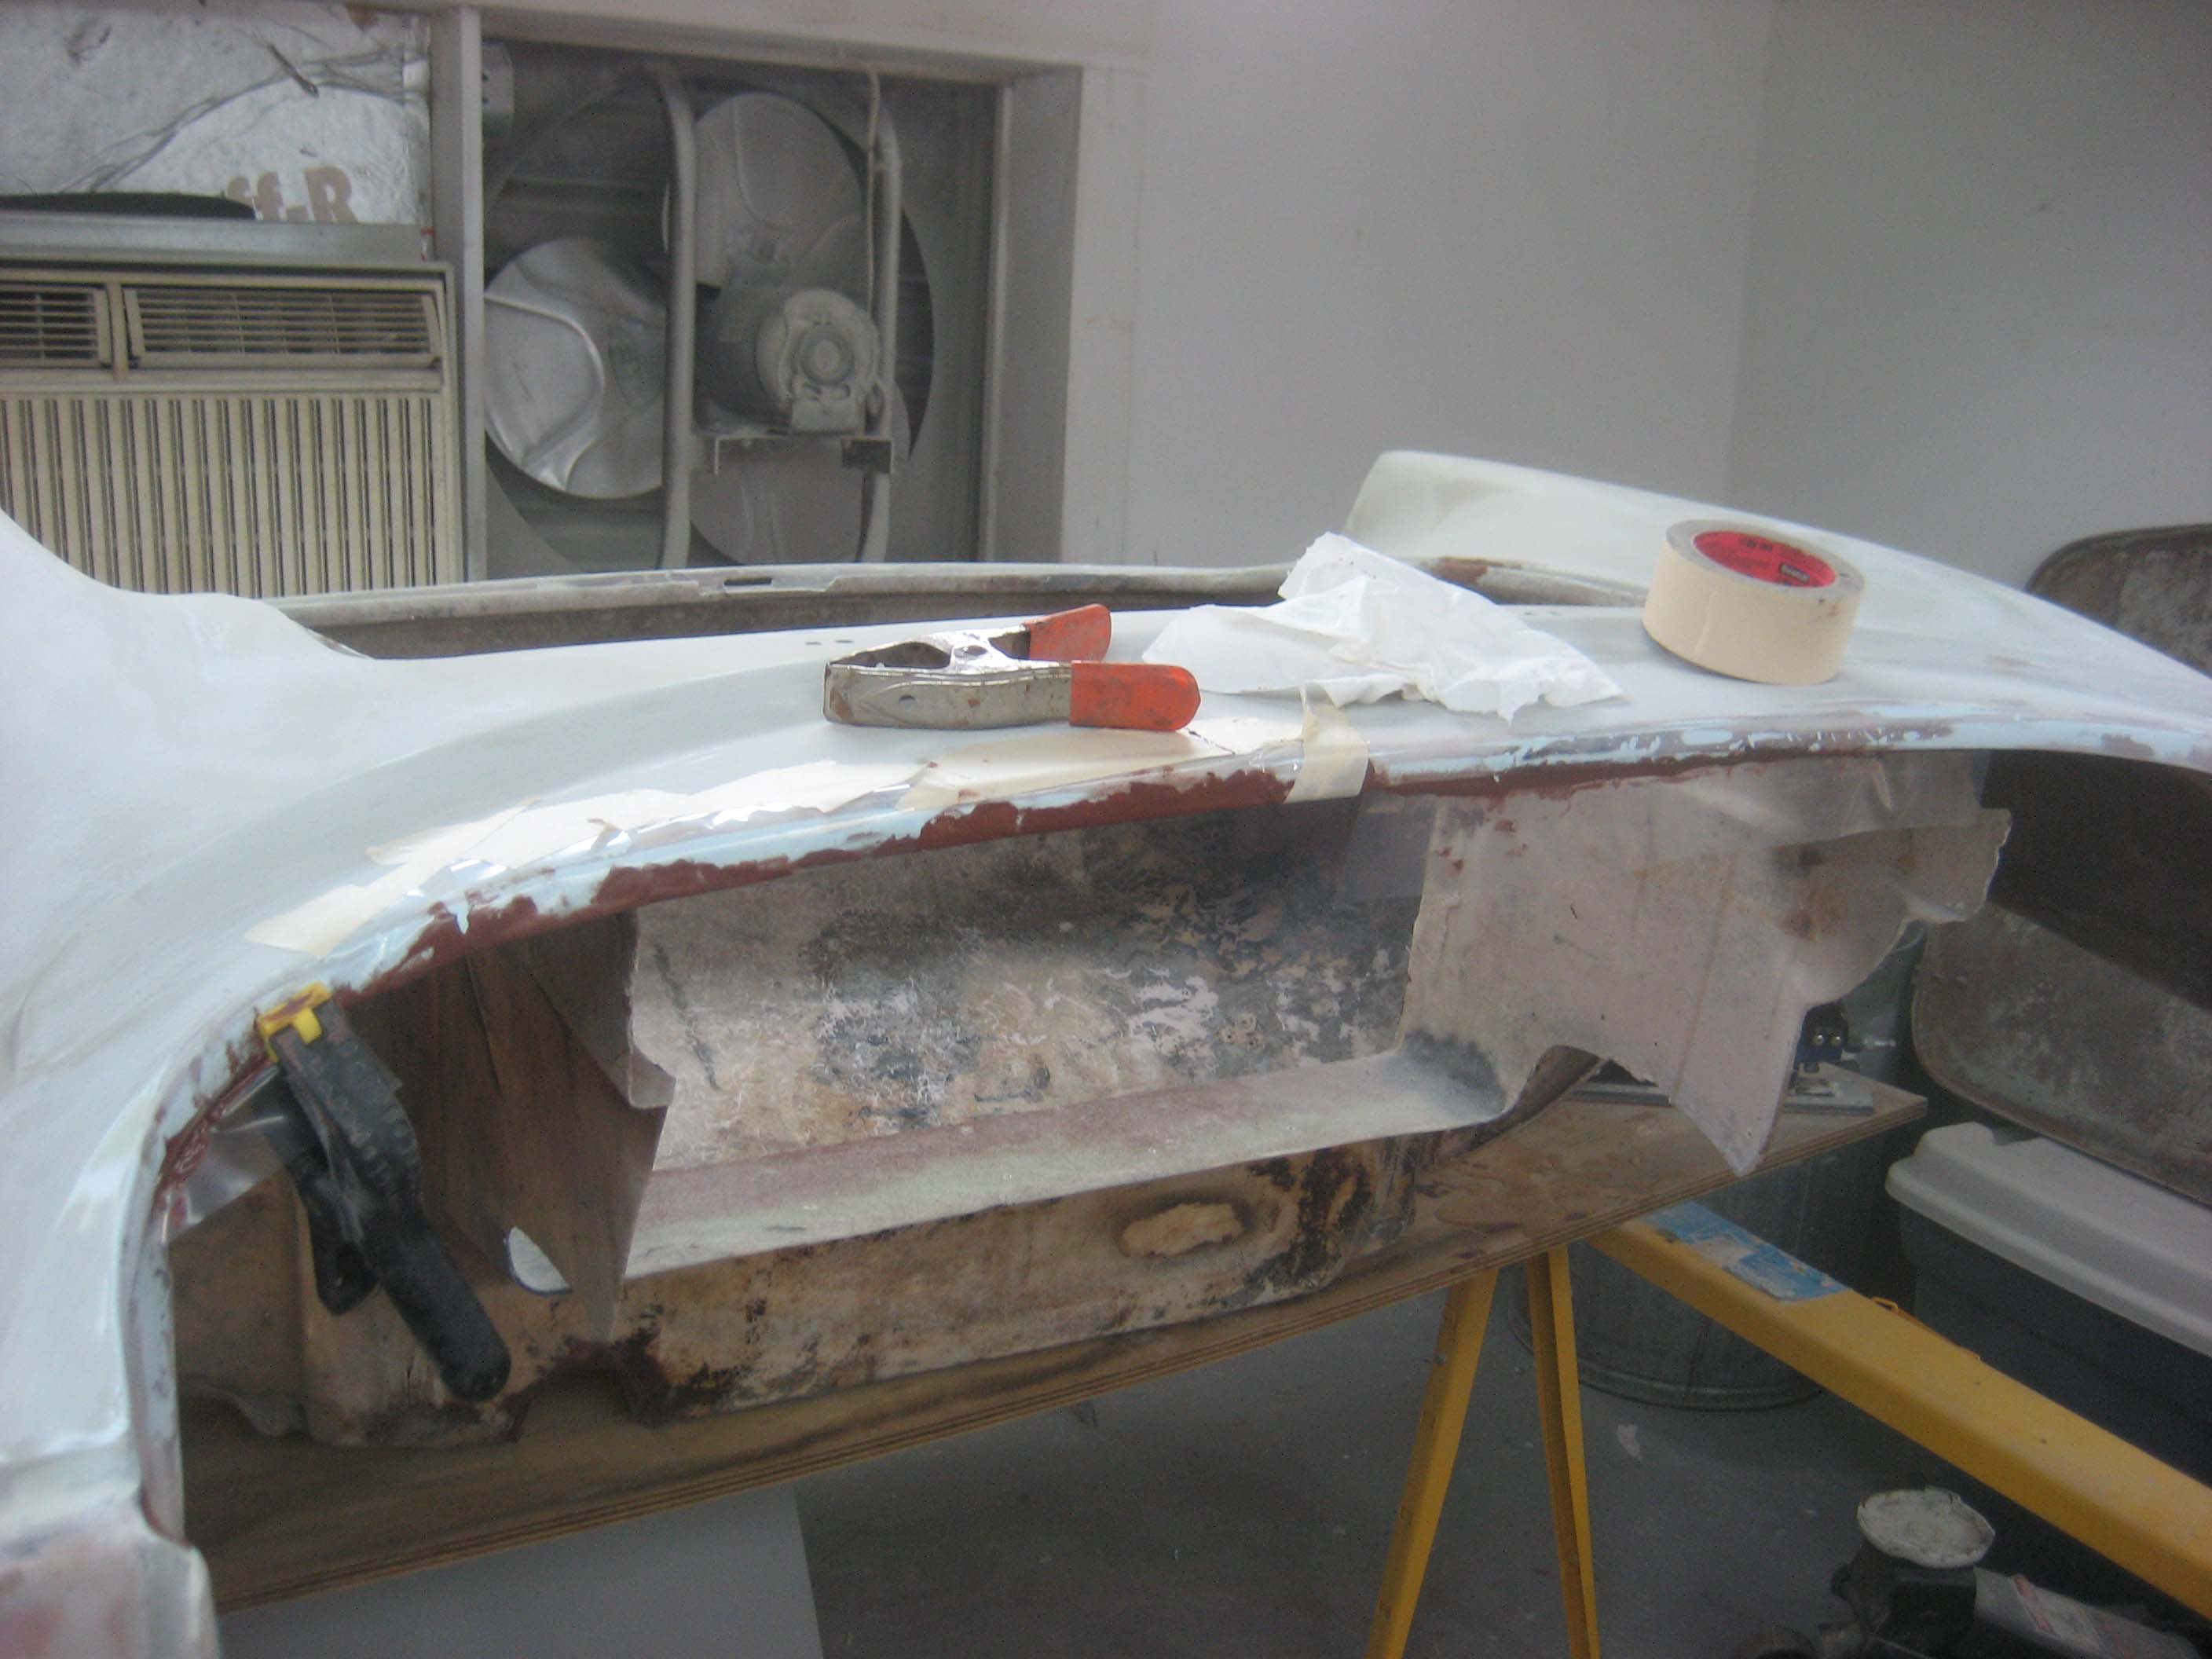
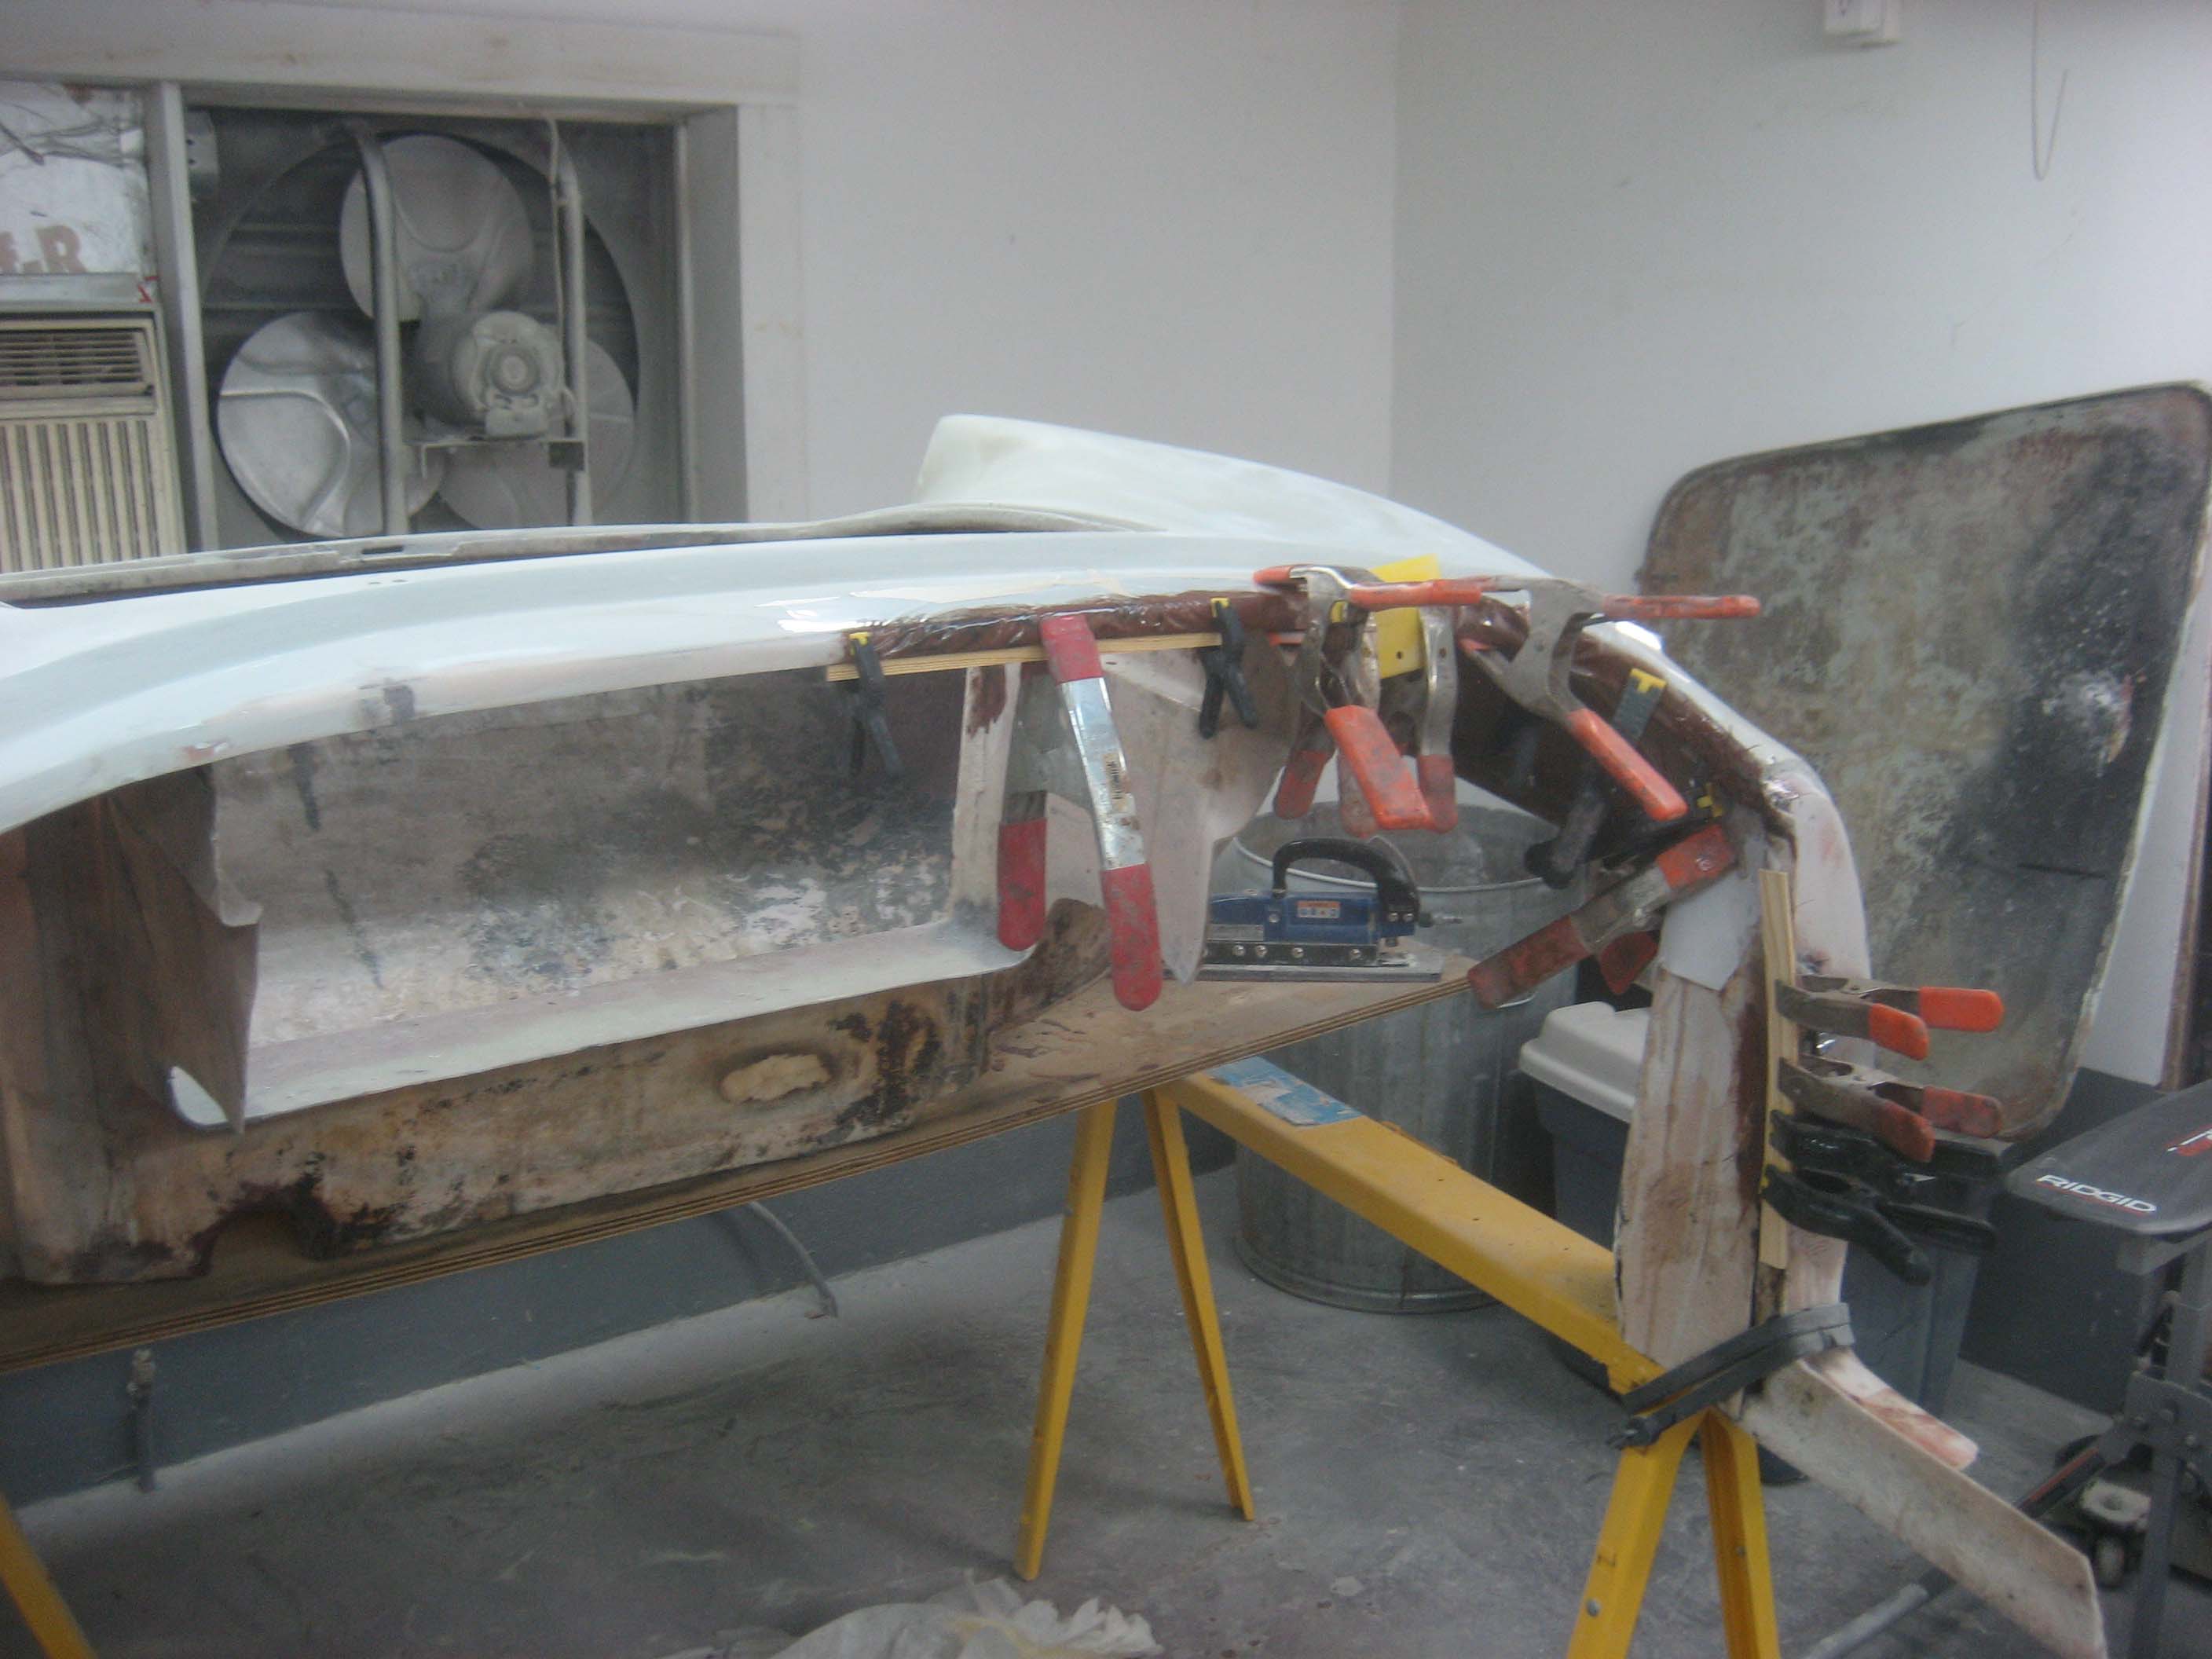
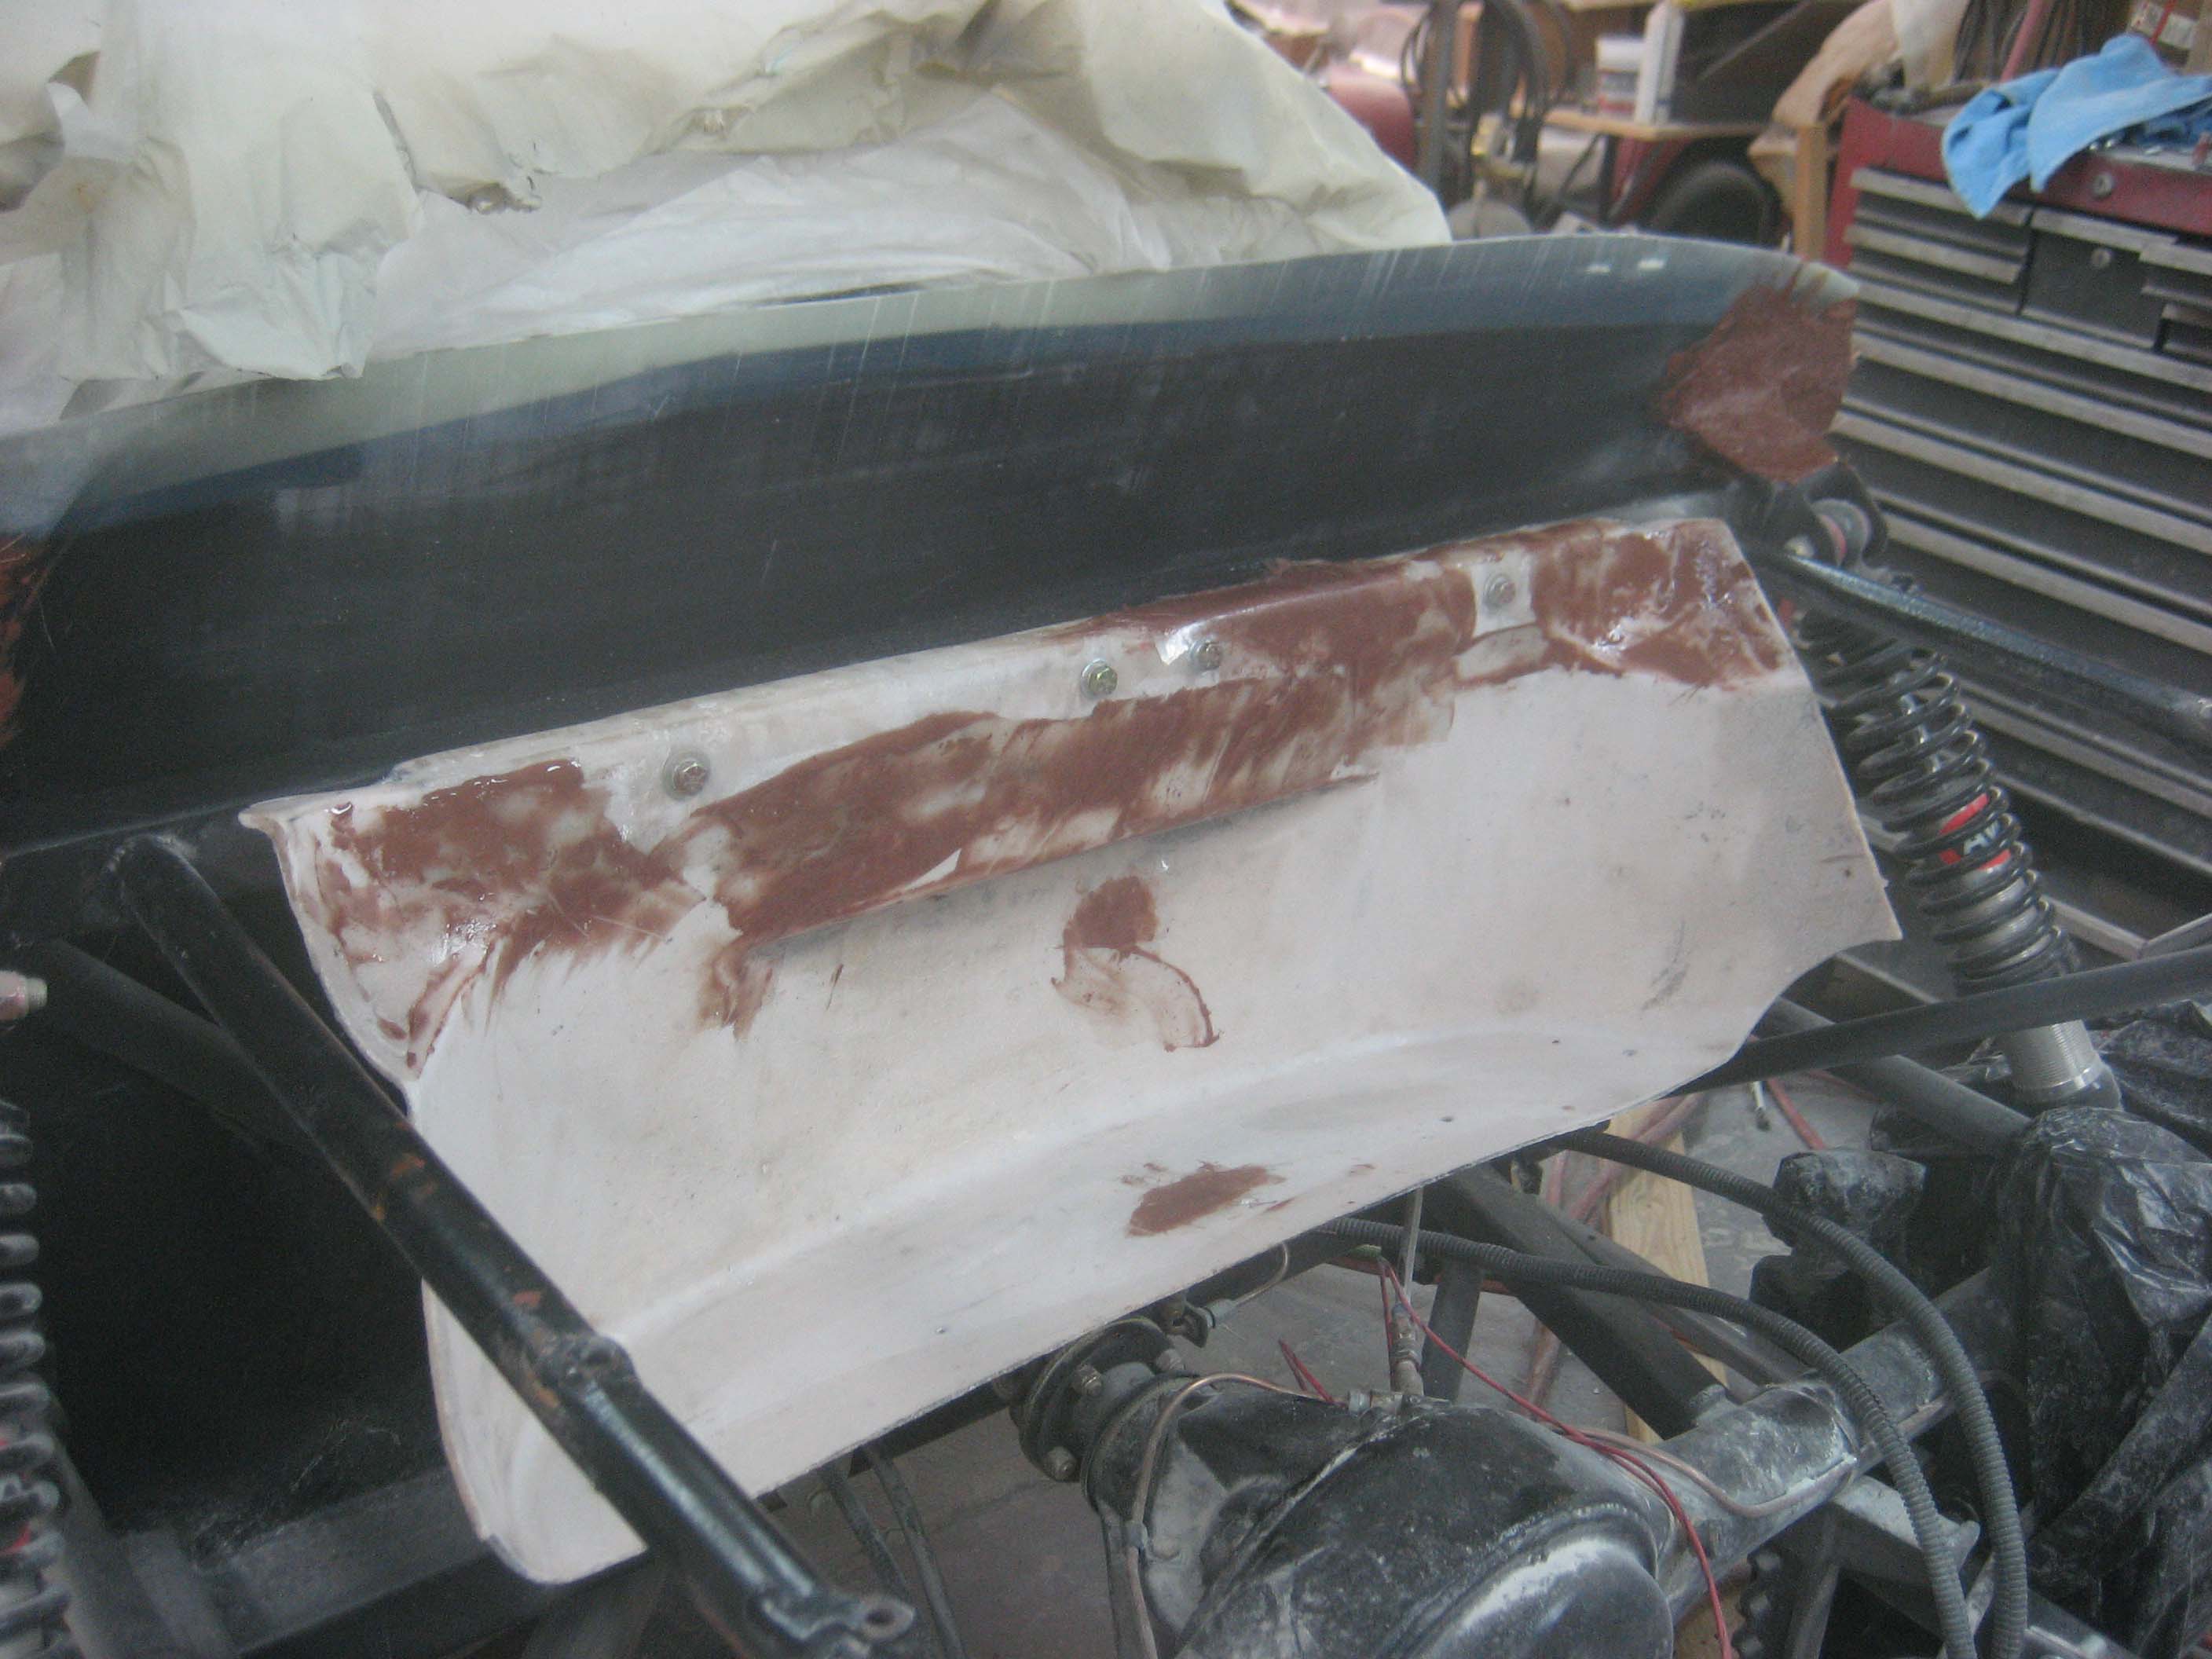
The rear section had to come back off to fix up the ridge across the top of the bulkhead, because that can’t be reached once it is bonded on. The roll cage gets in the way of priming and painting it back there. I had to fix several cracks along that edge with epoxy and microballoon. If I tried to use ordinary bondo it would just crack and fall off.
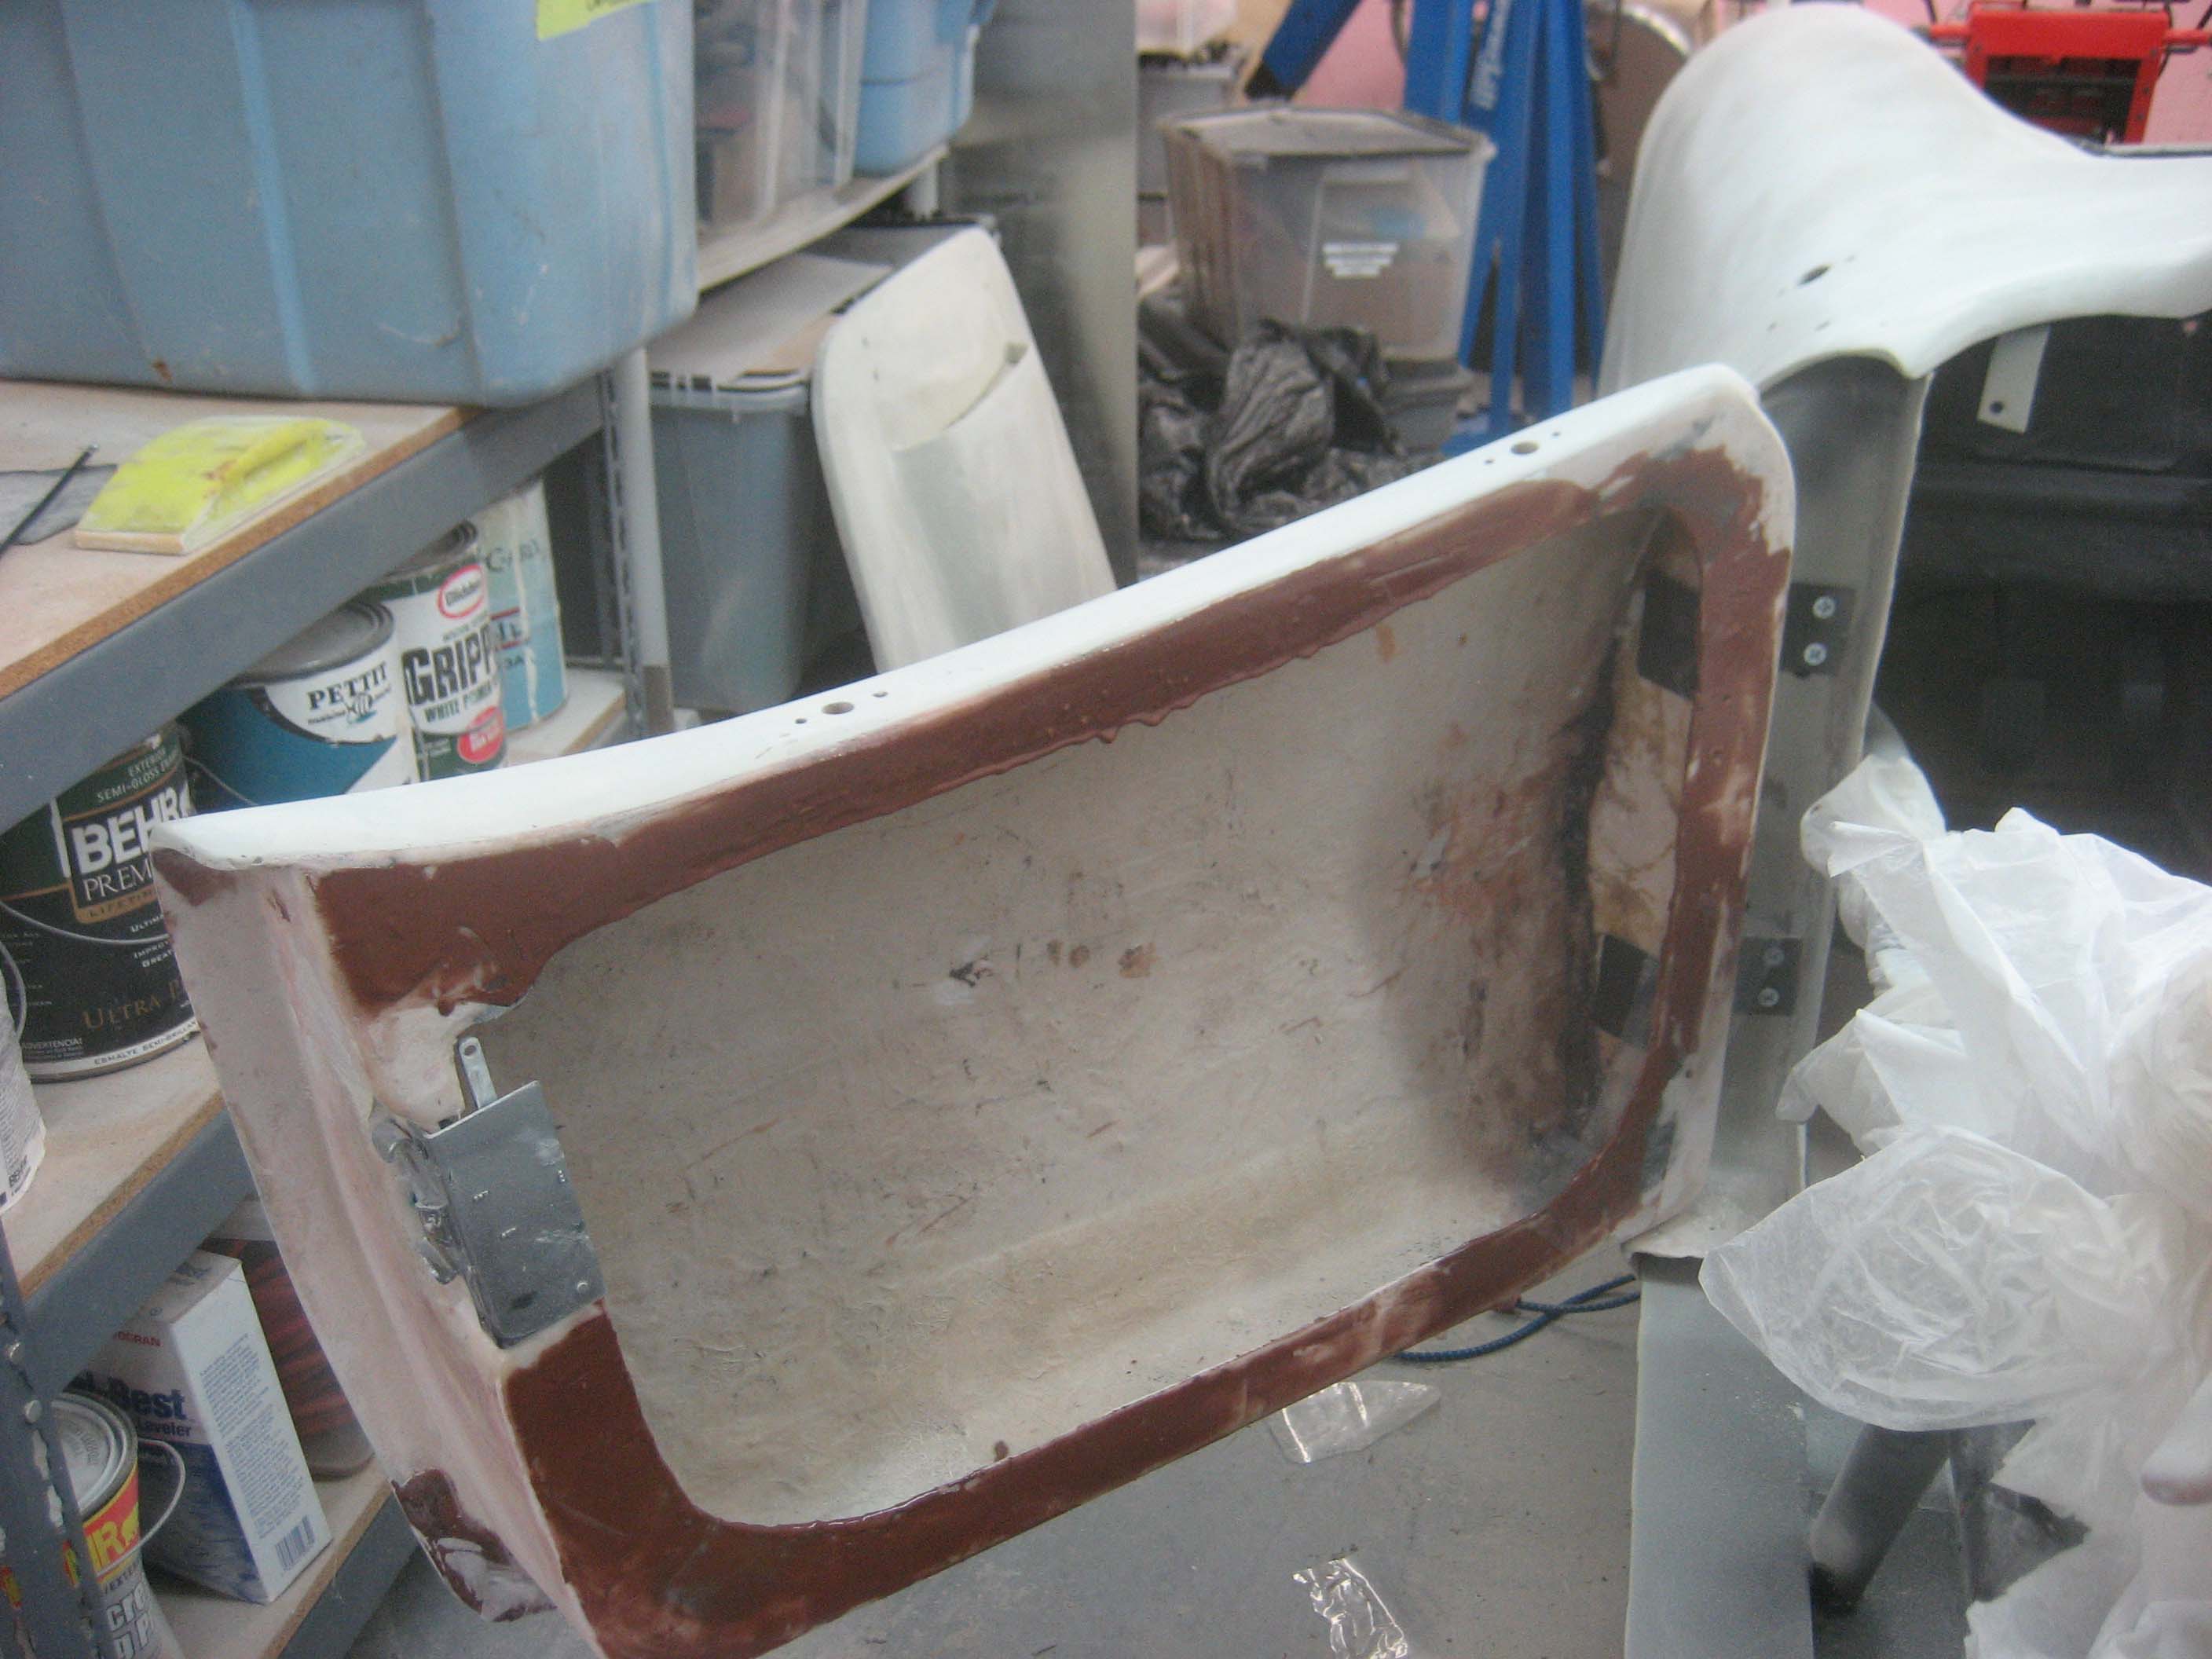
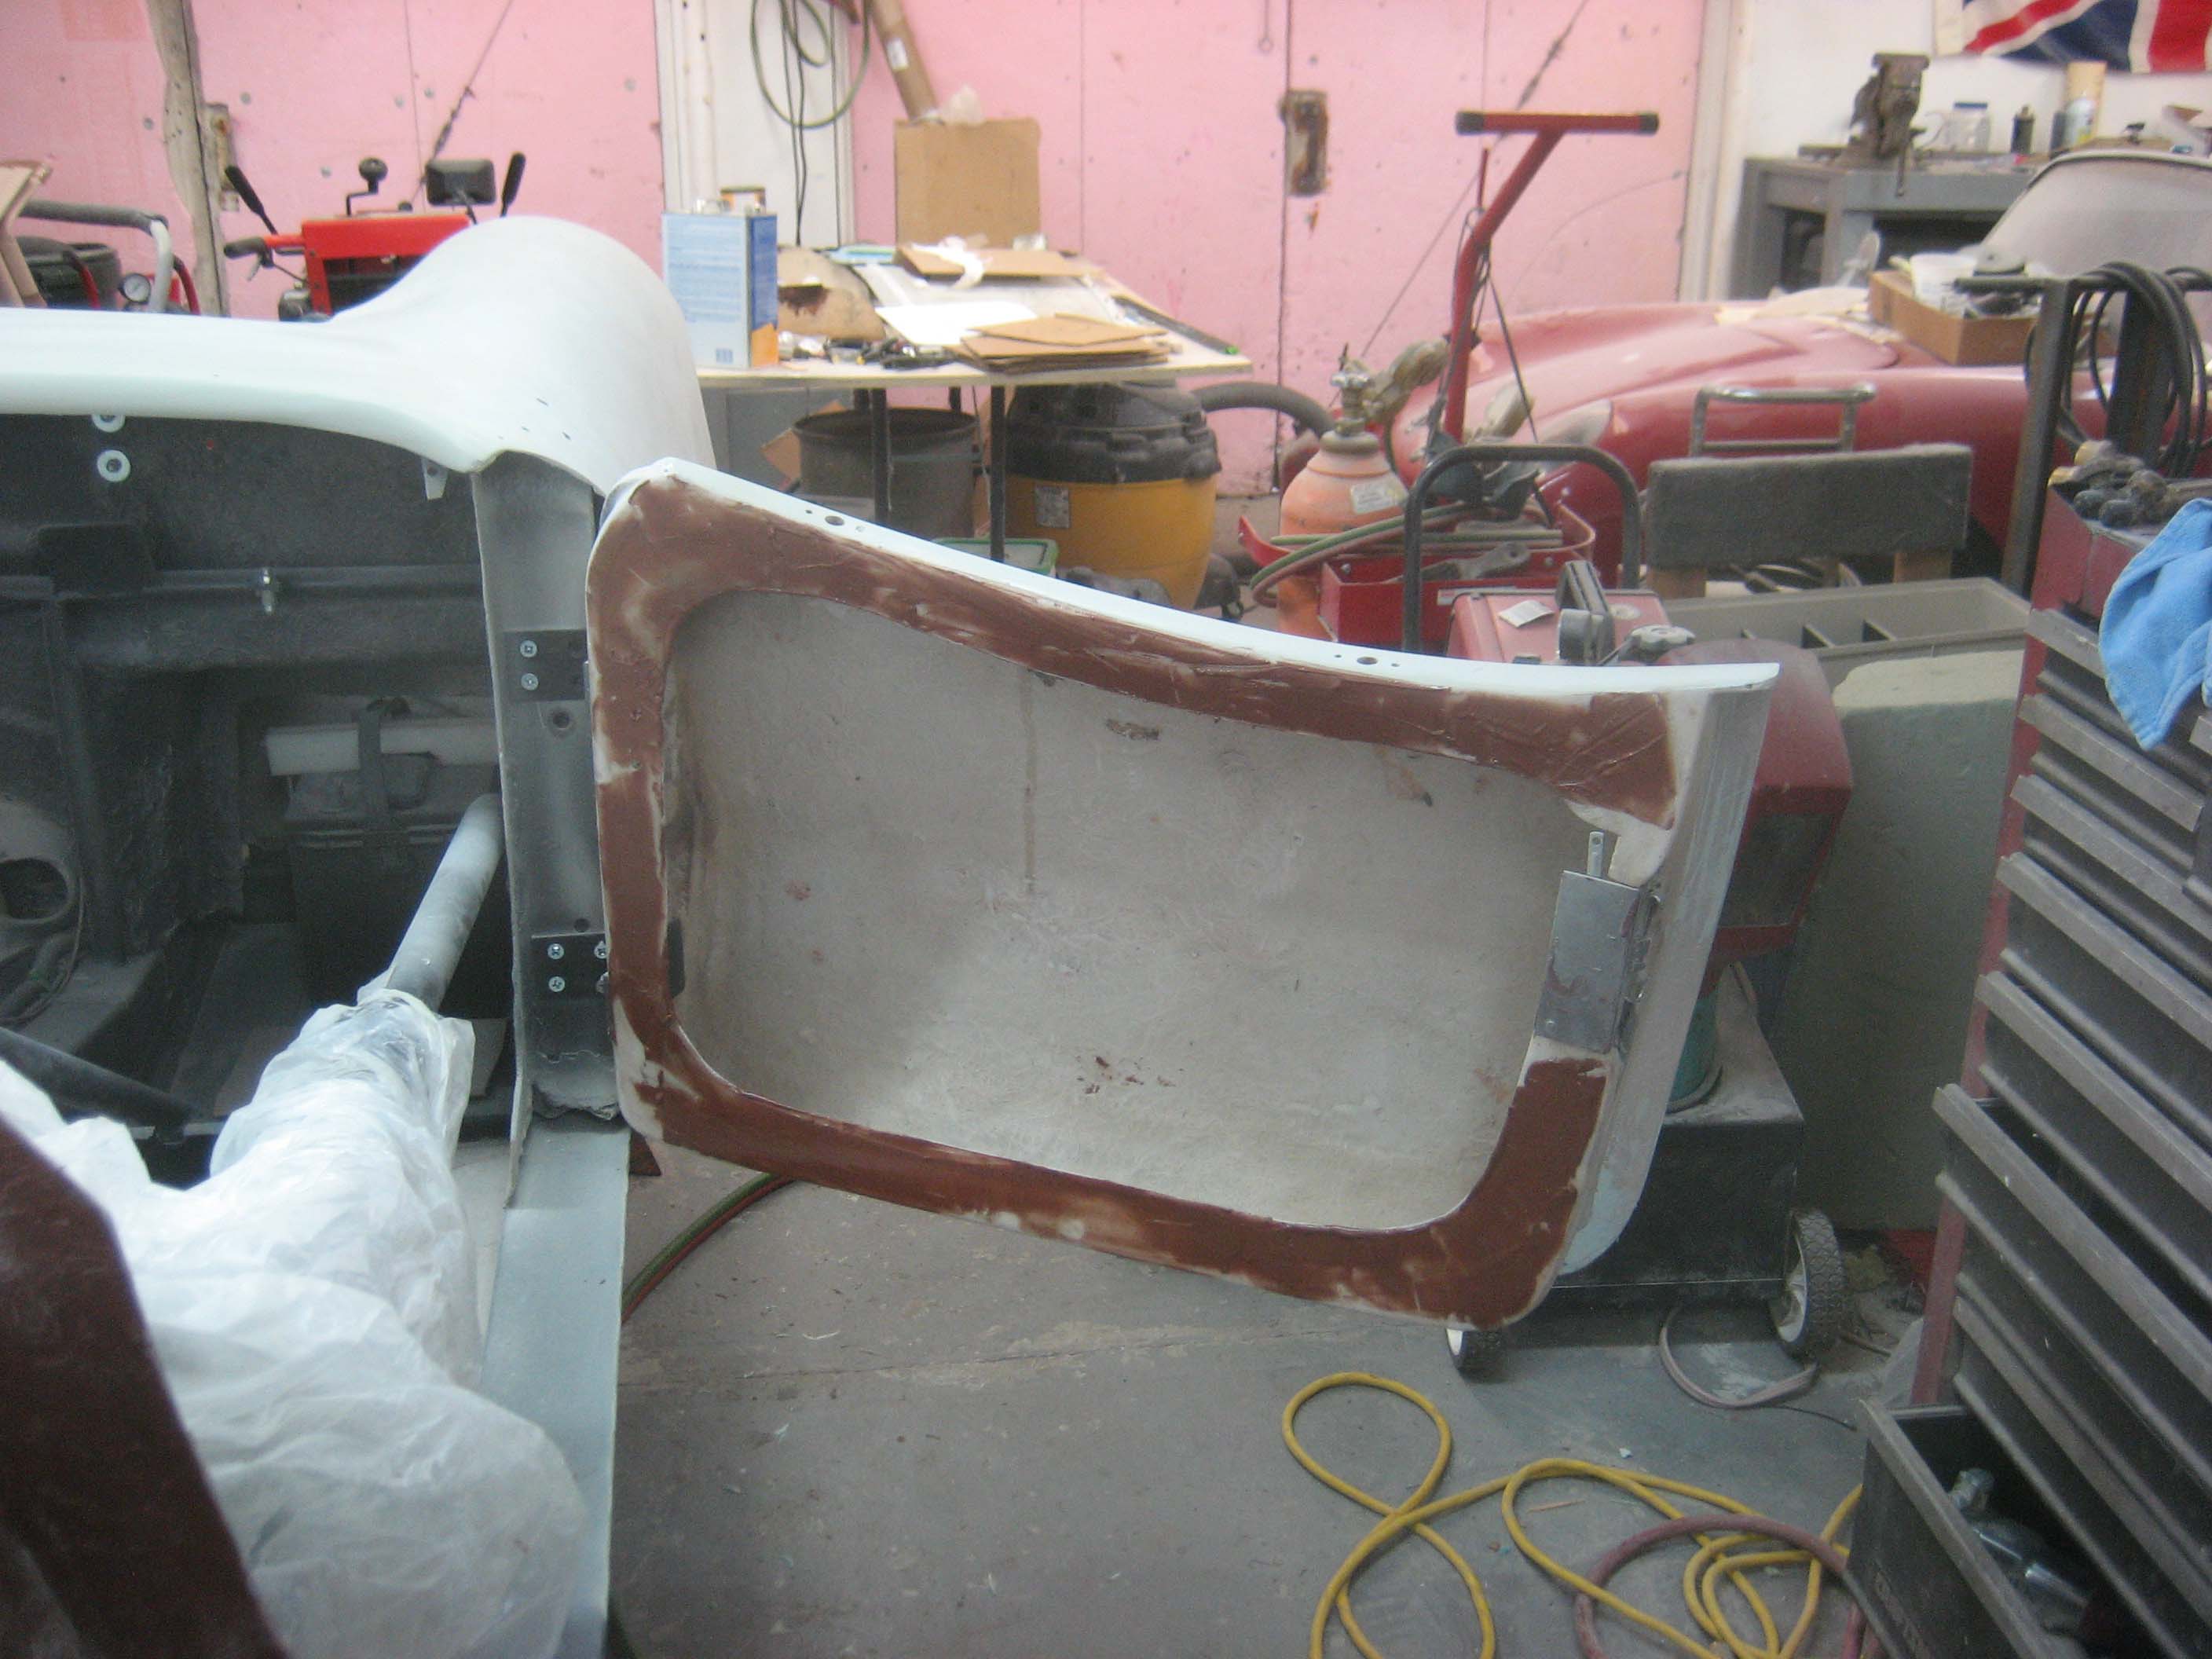
The doors are being painted body color inside as well, and this also required the epoxy and microballoon treatment.
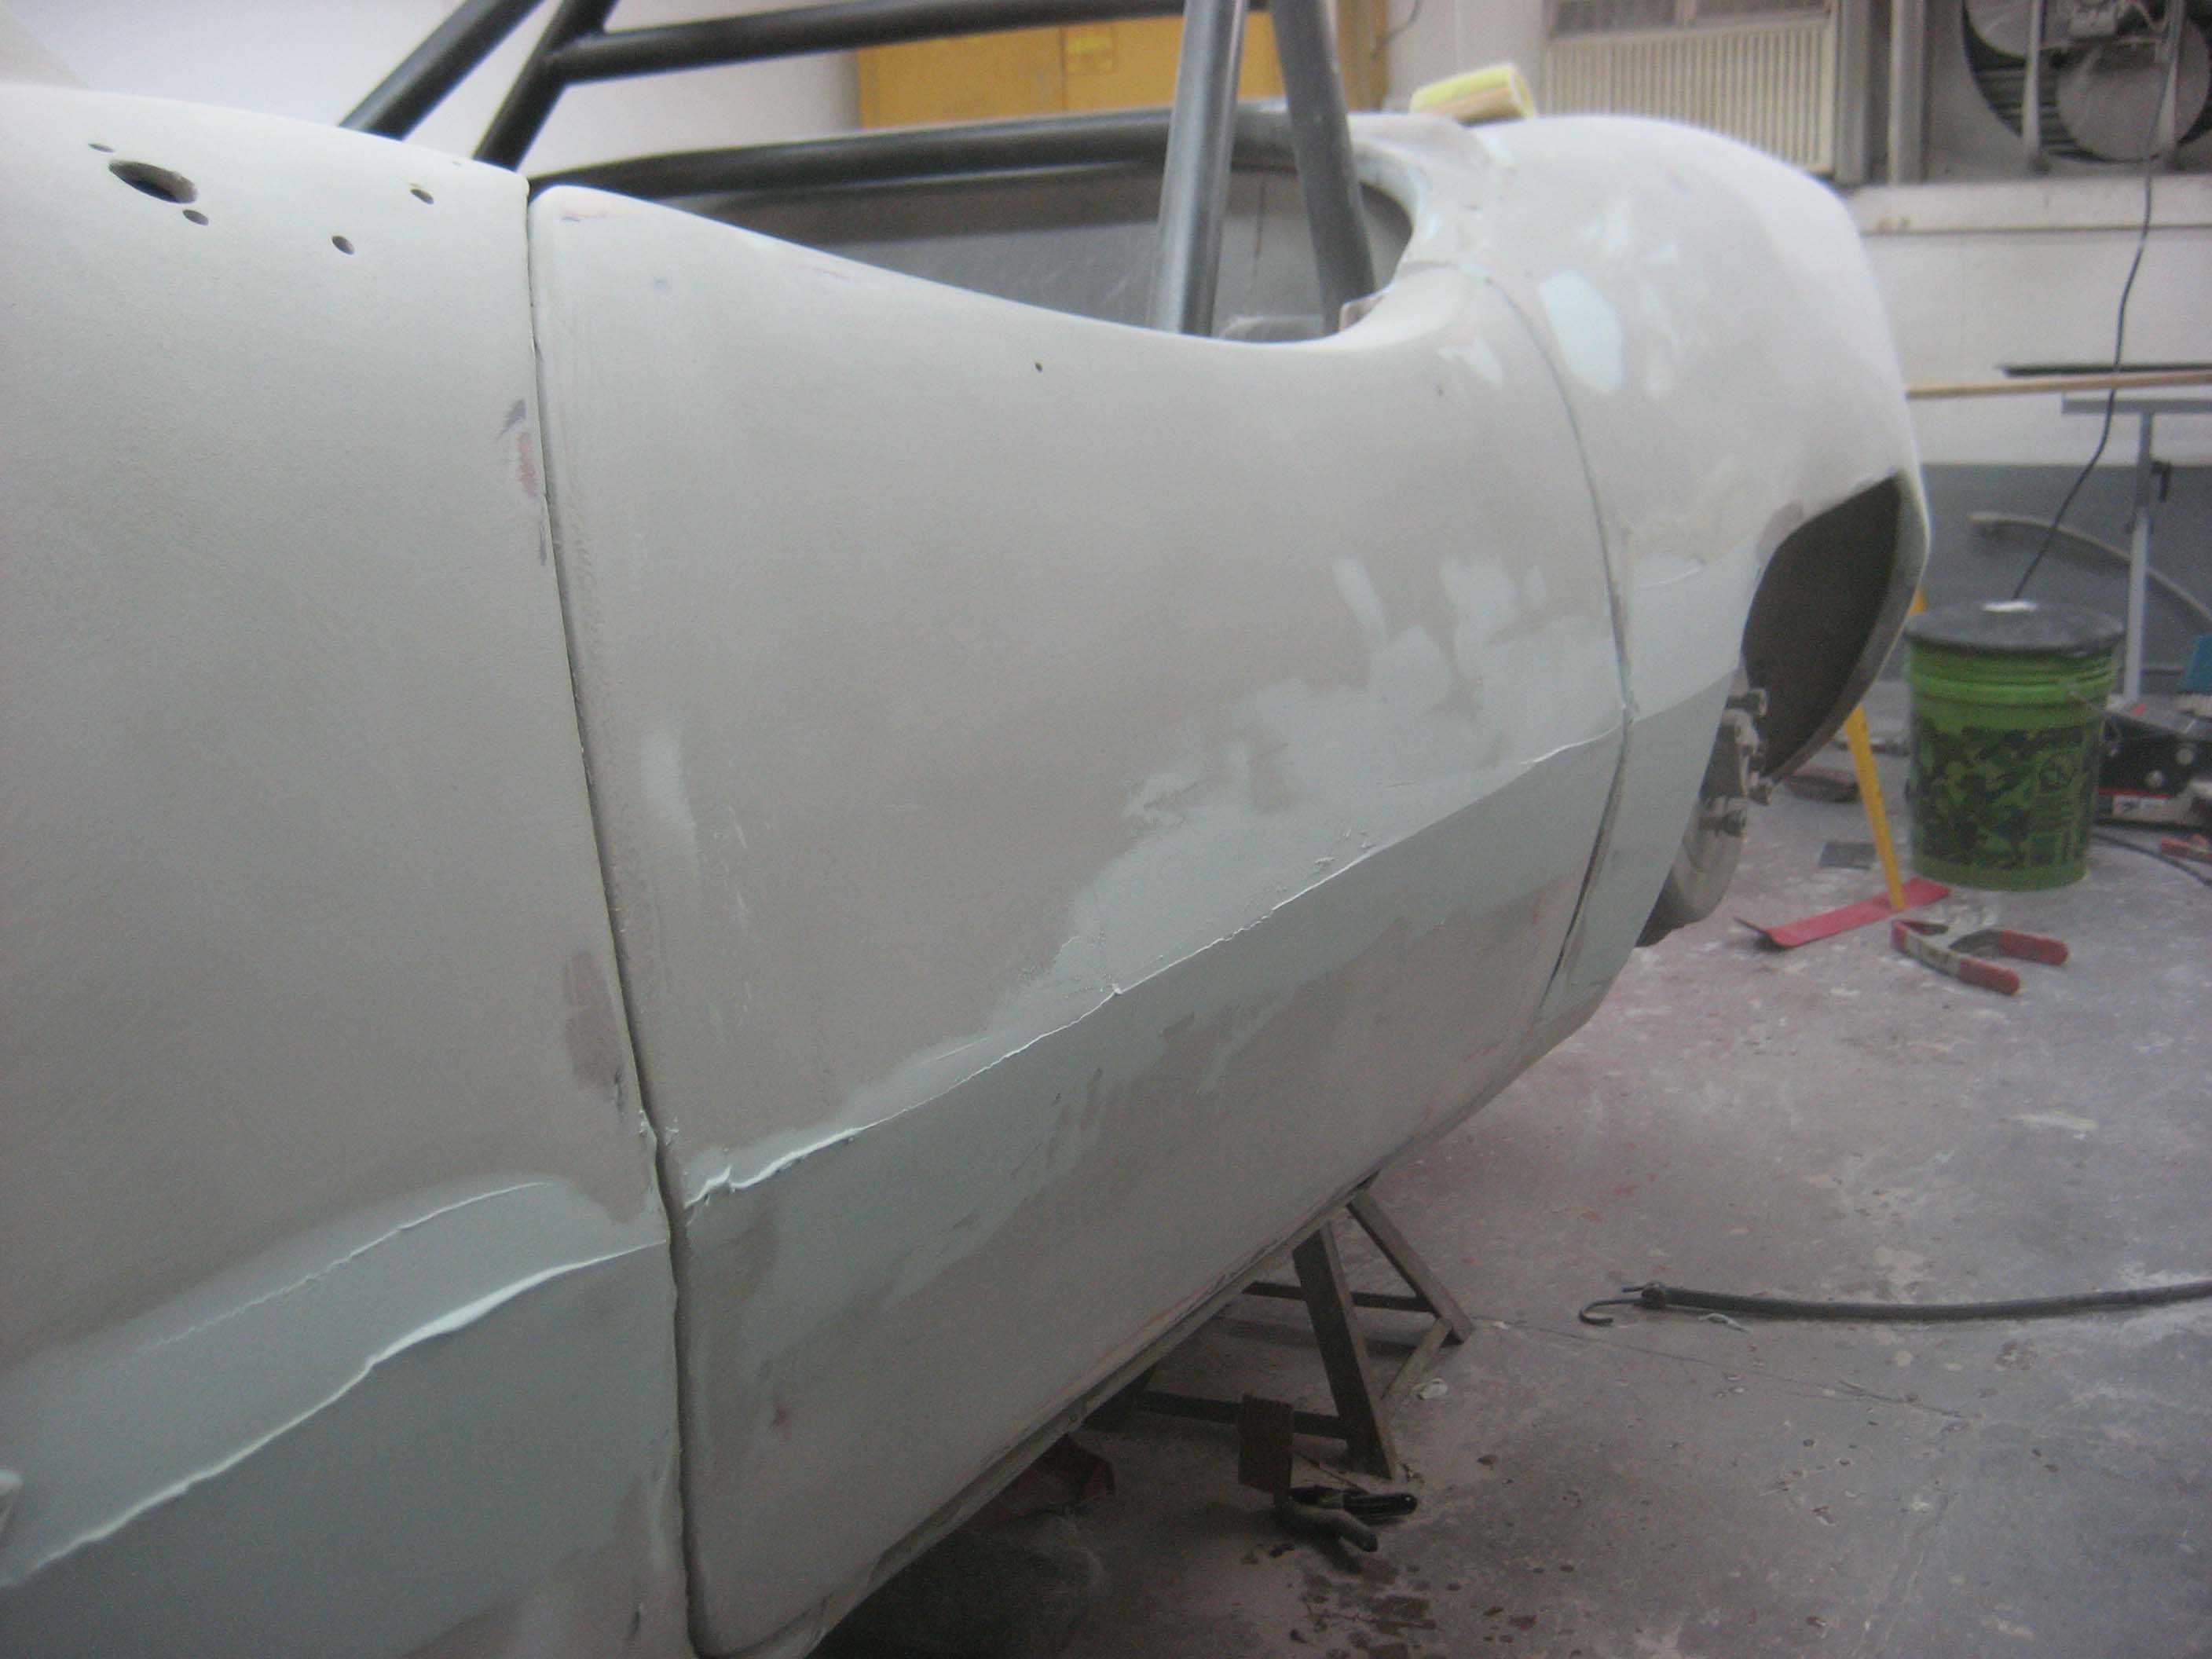
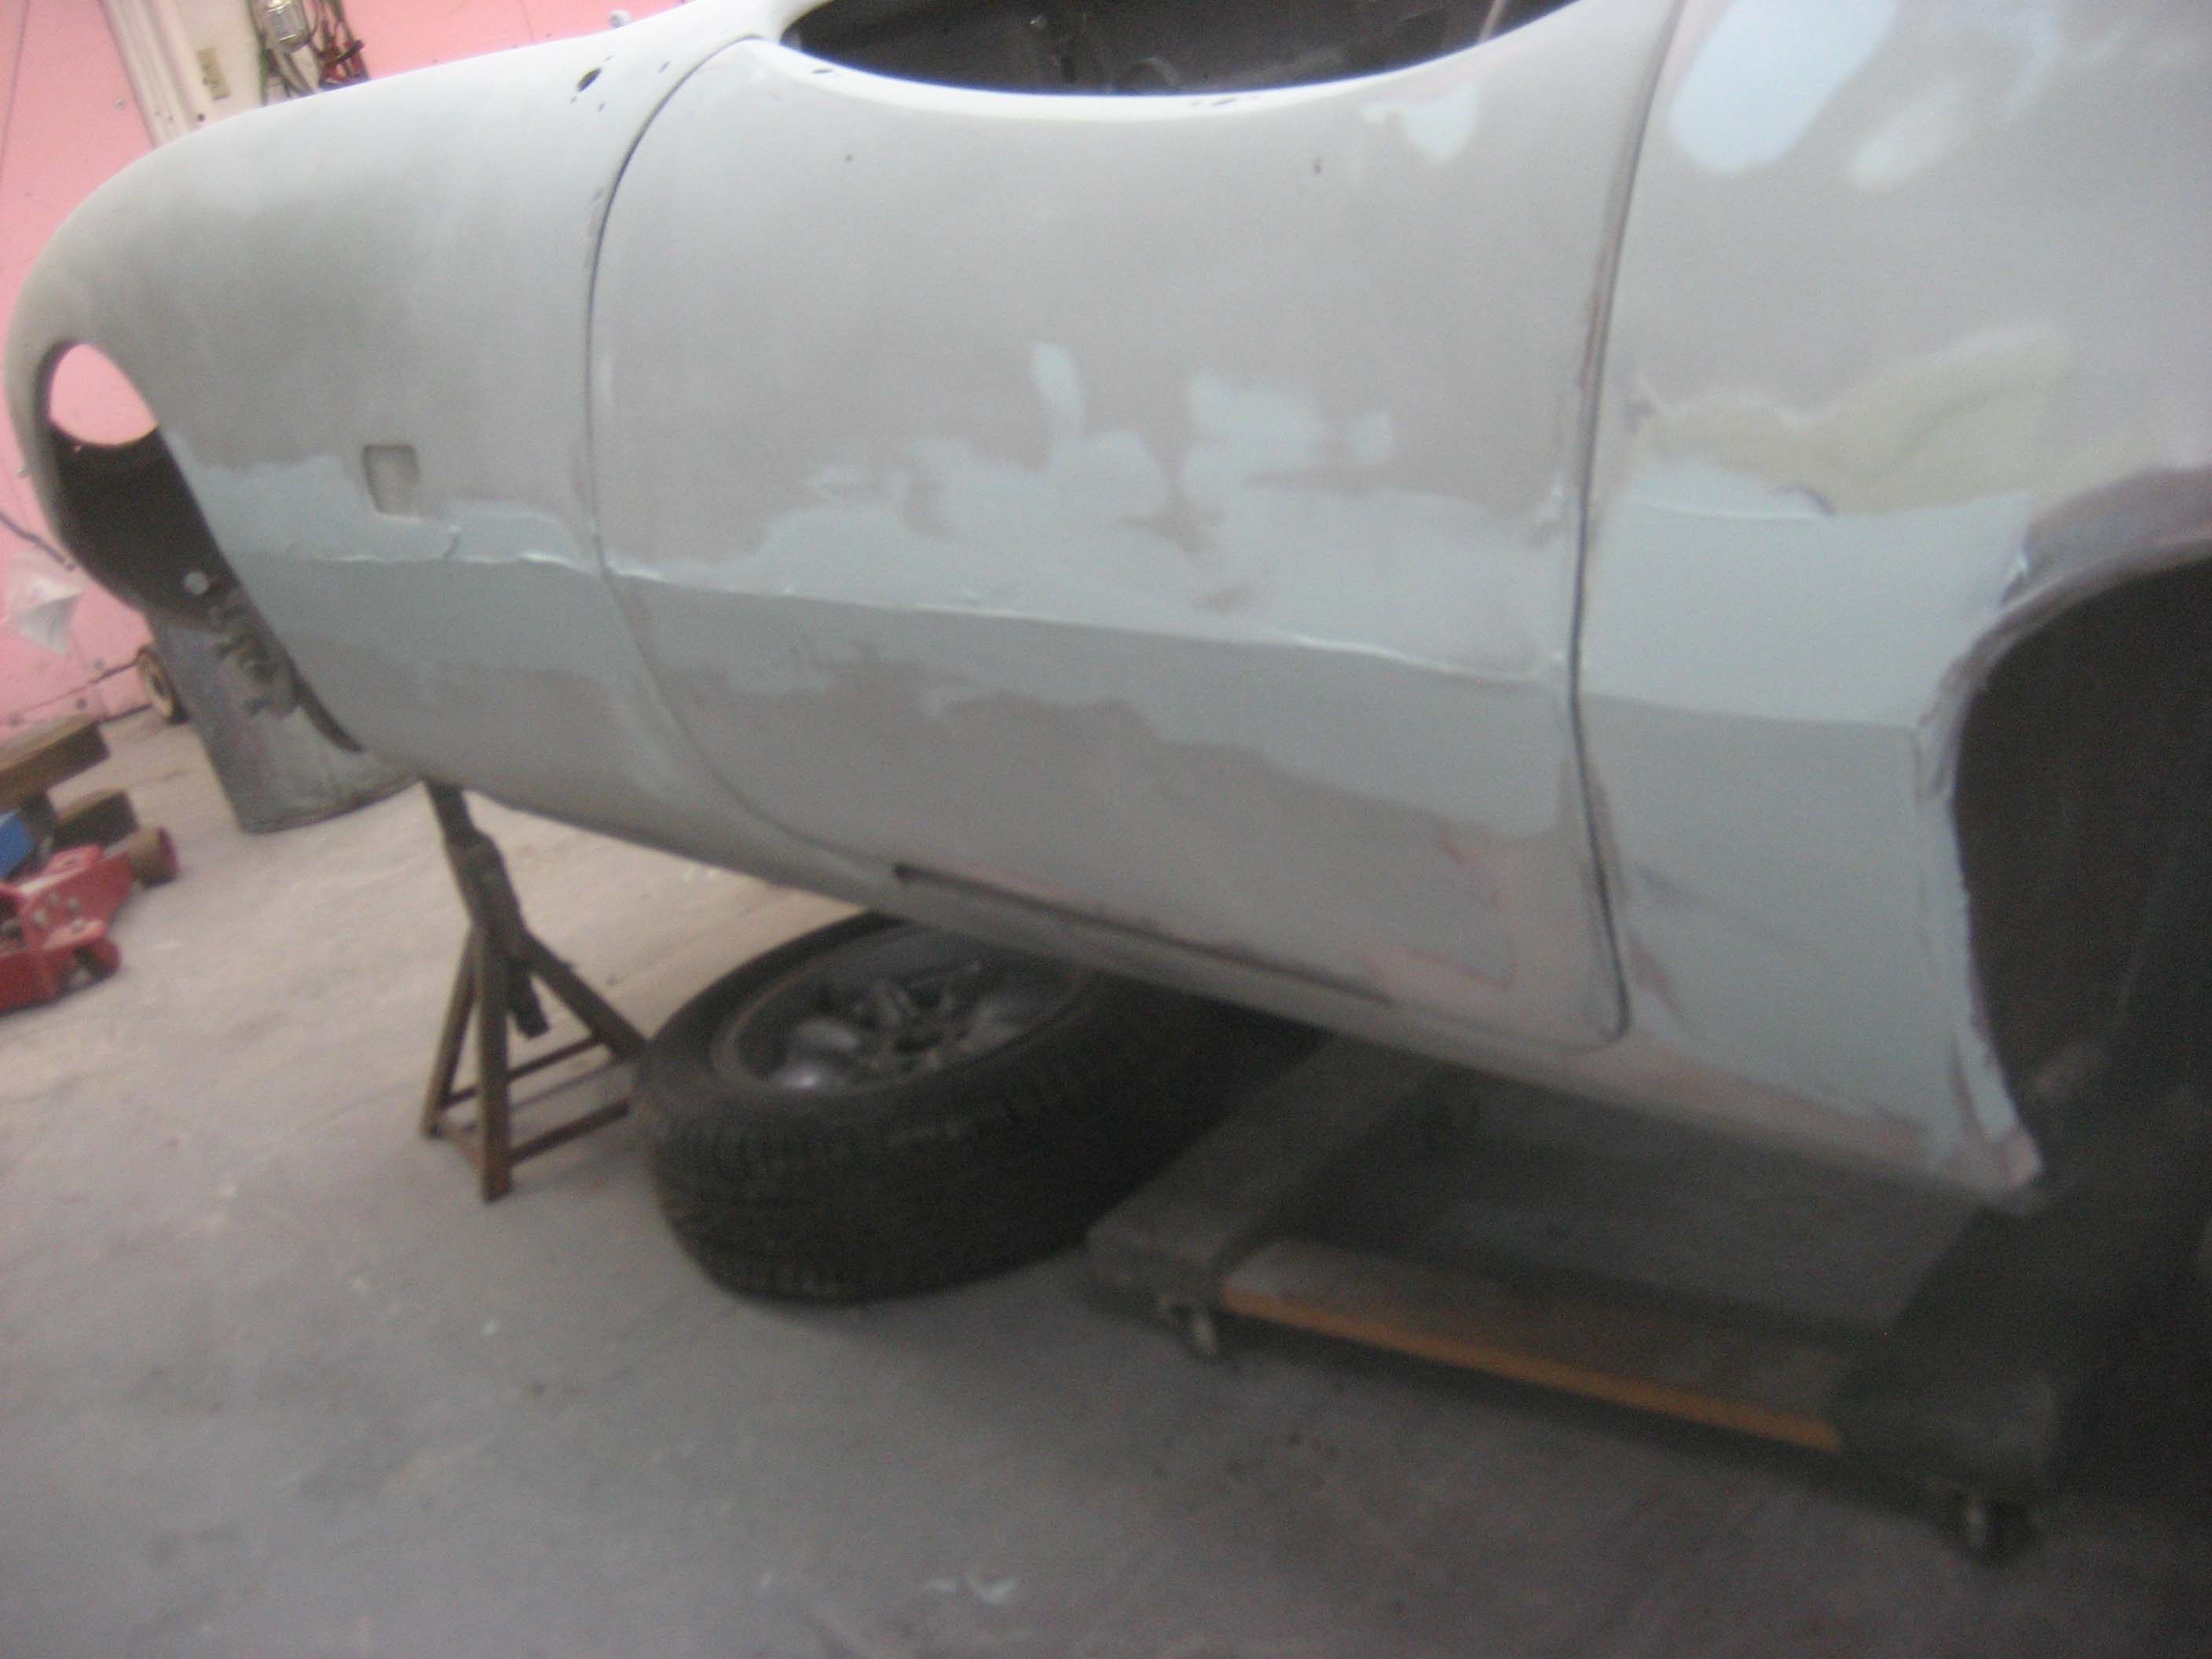
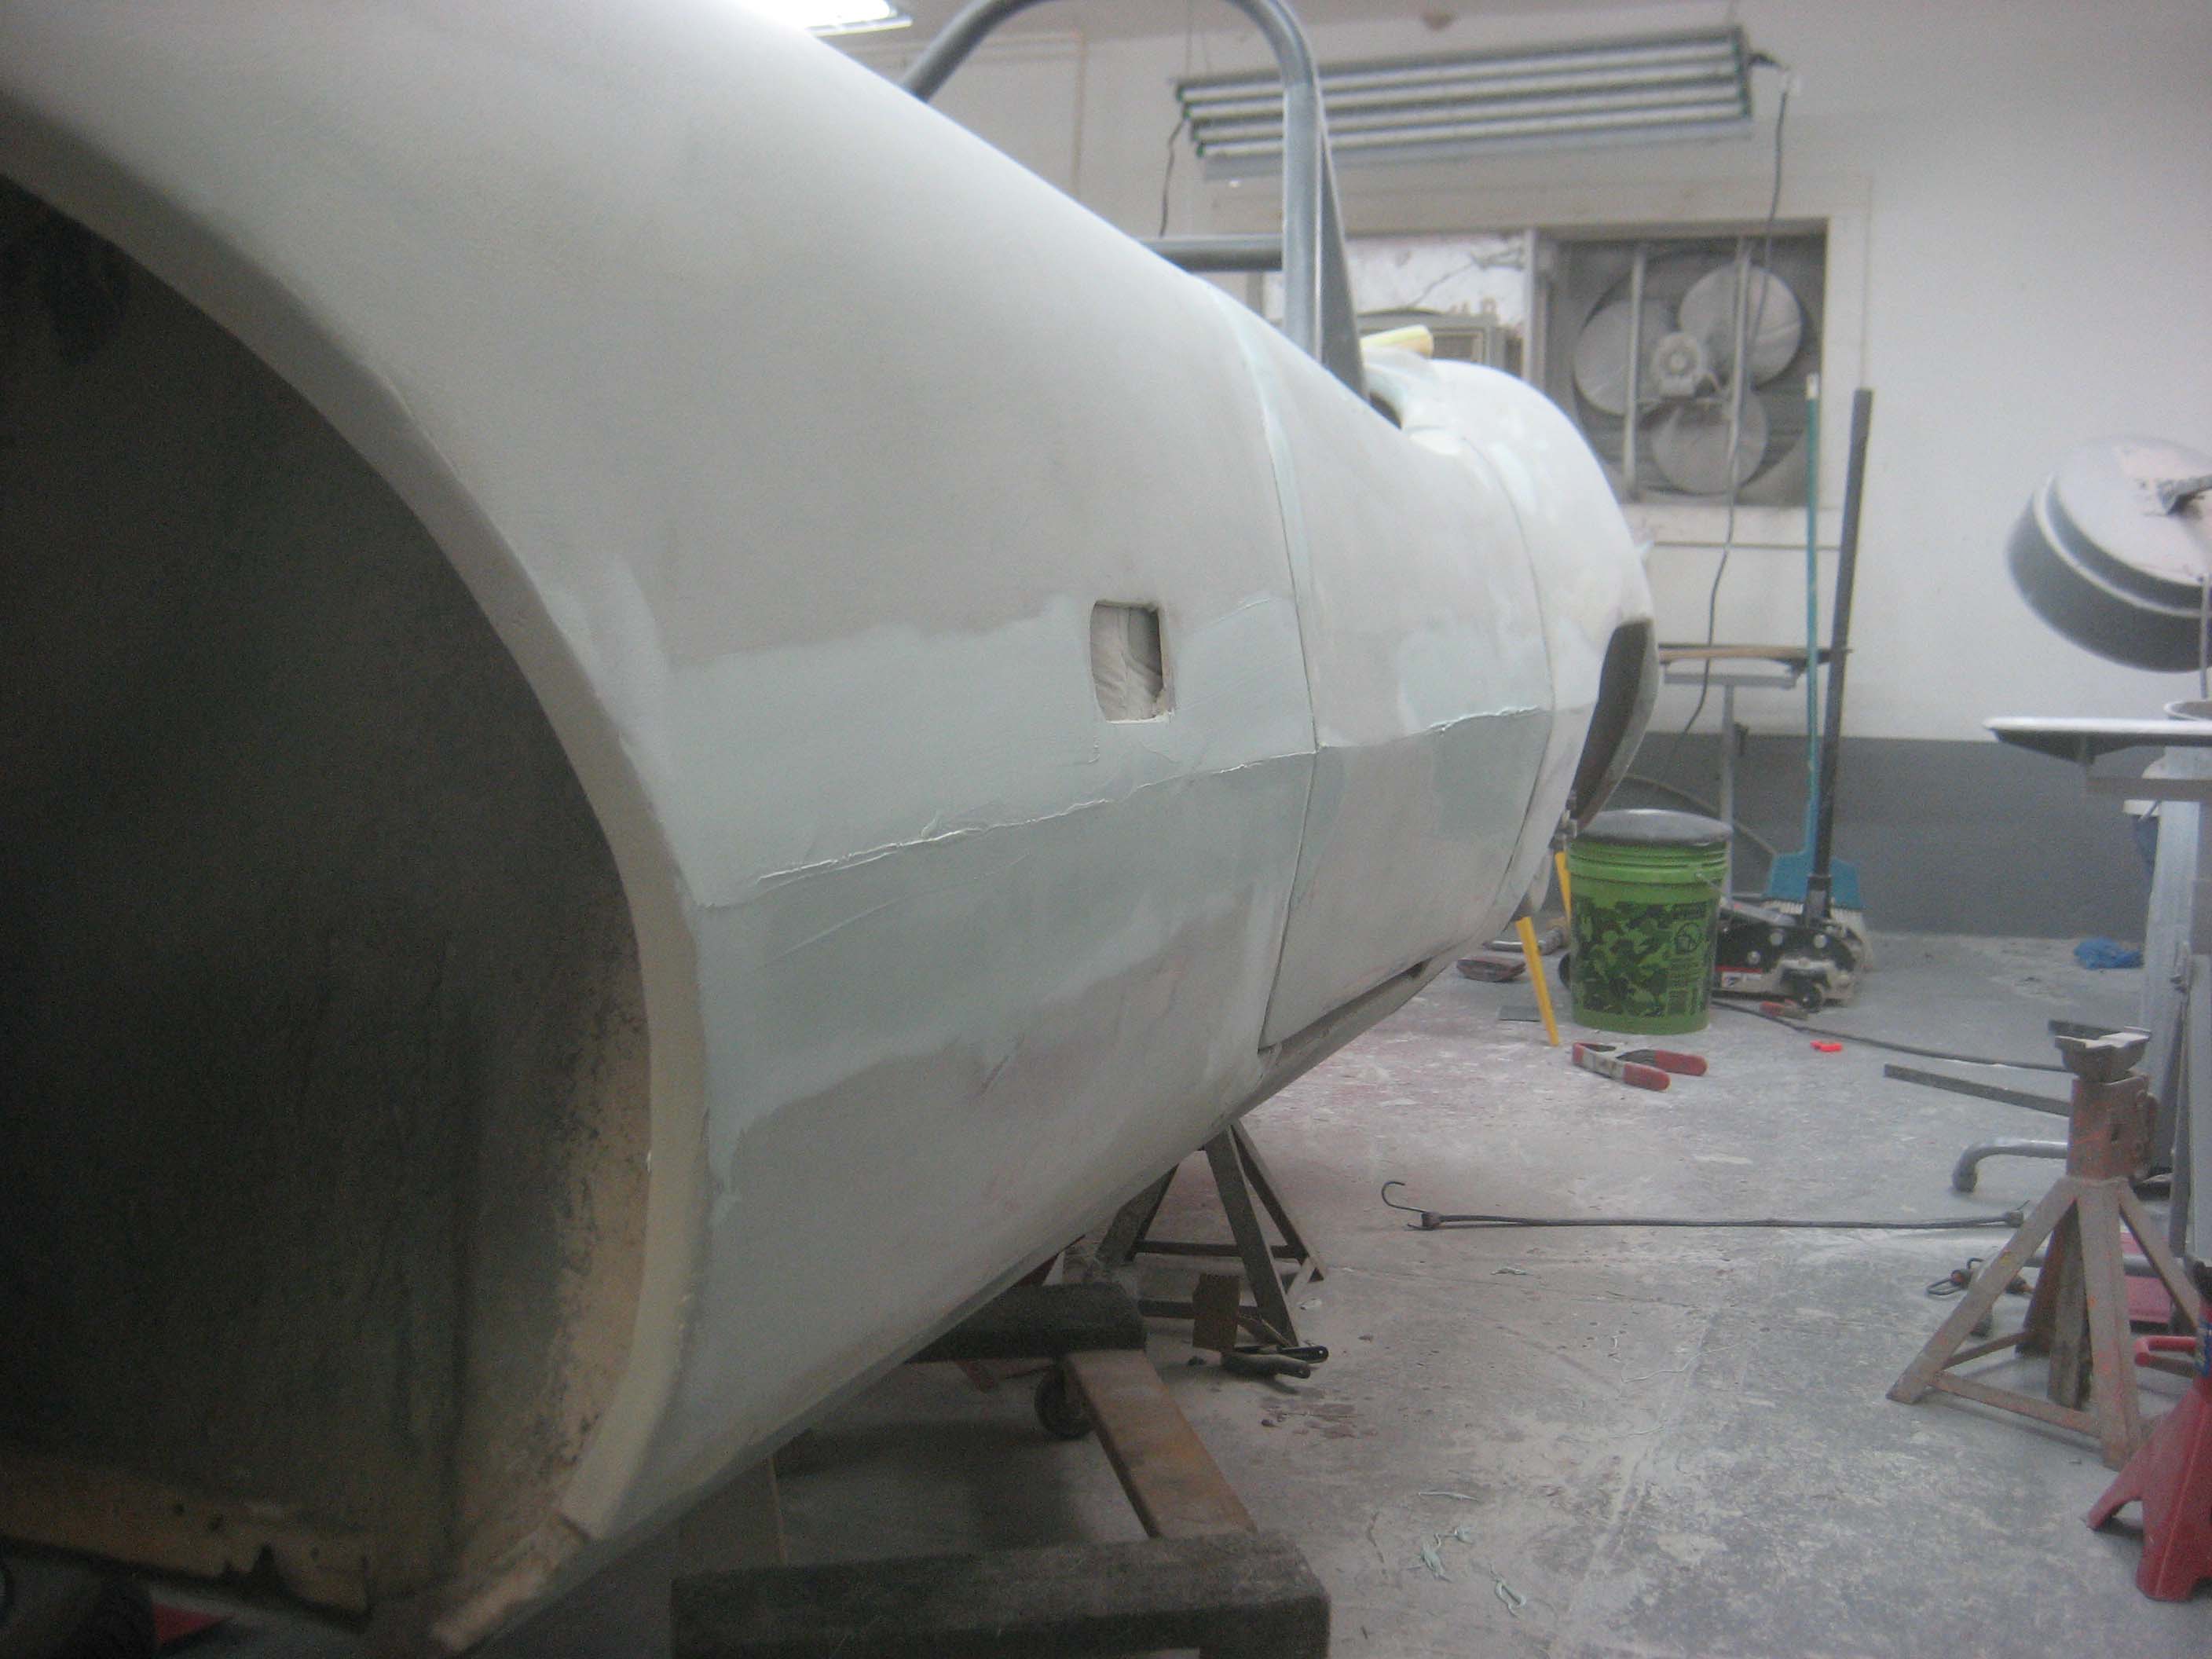
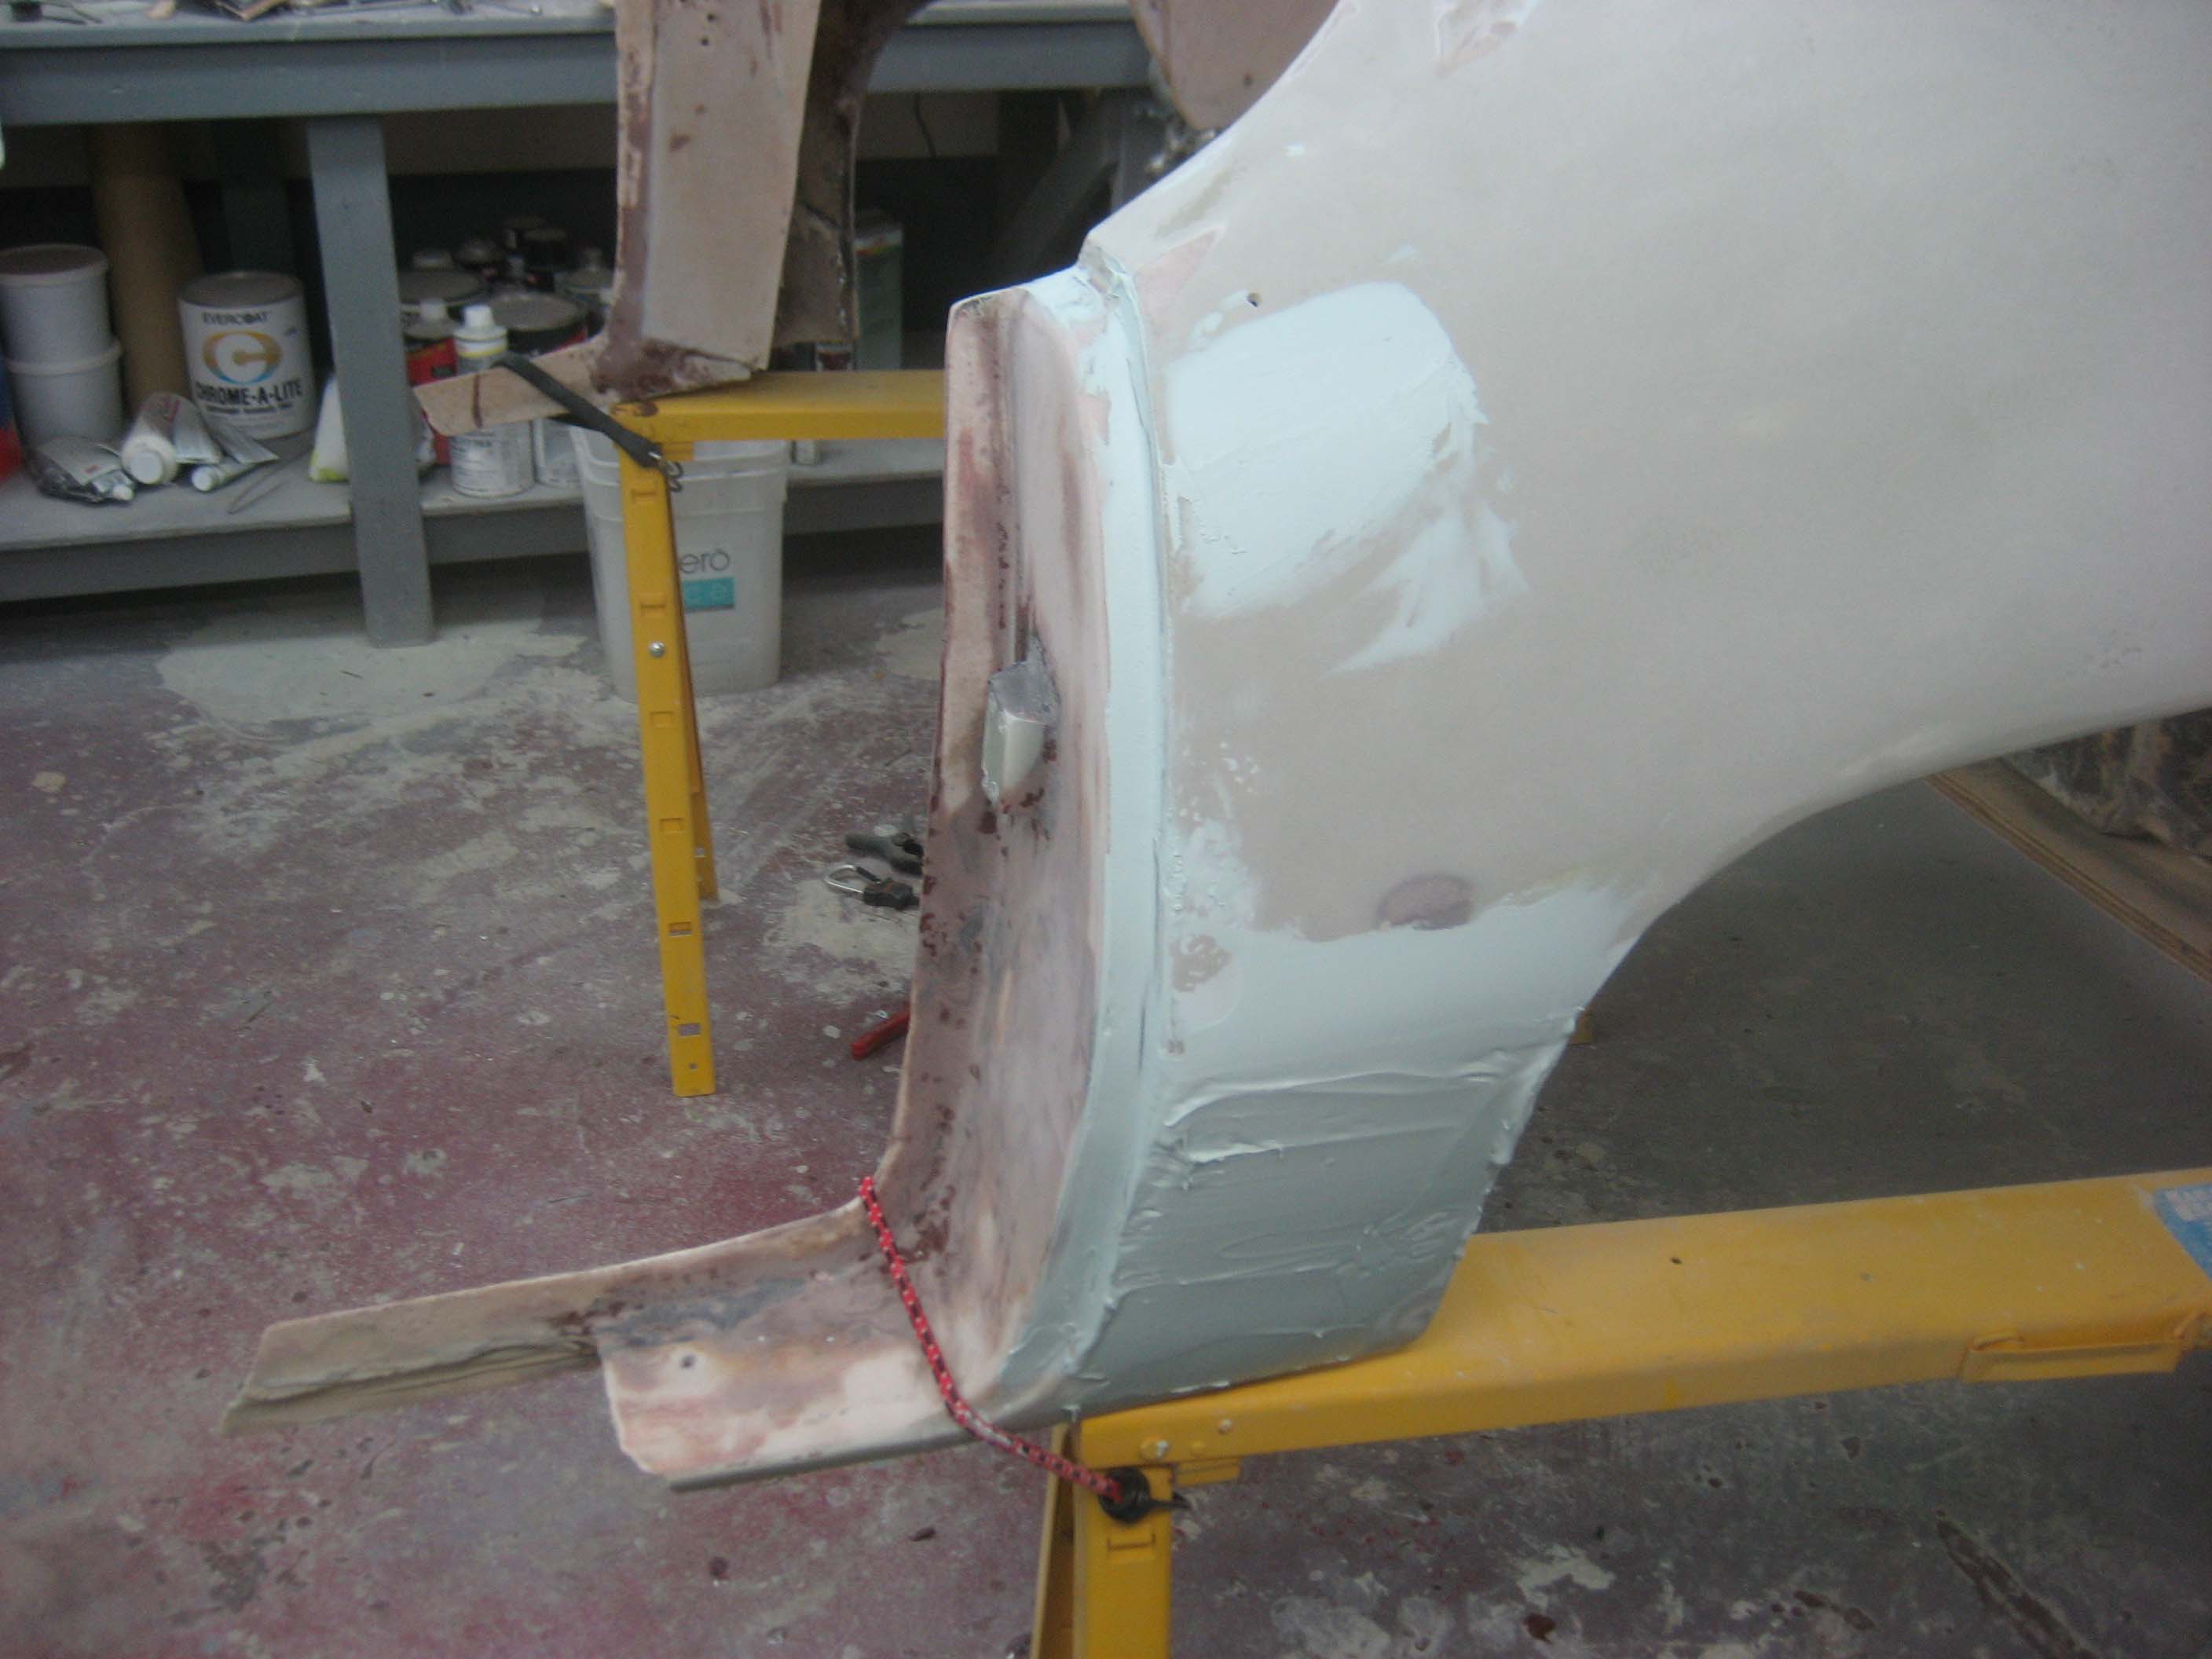
The biggest use of regular bondo on this car has been the body lines which are at about knee height that go from the front of the car to the back along the front fenders, doors, and rear fenders. What a mess that was; I have really tried to bring that line out, to look fresh and straight. Most of these cars lose the crispness of that line and I don’t know how straight they ever were when knew, but I just want it to look good. It’s one of the things that will make the car stand out.


 Posted by elvamk5