Catching up Part 2

April 9, 2015

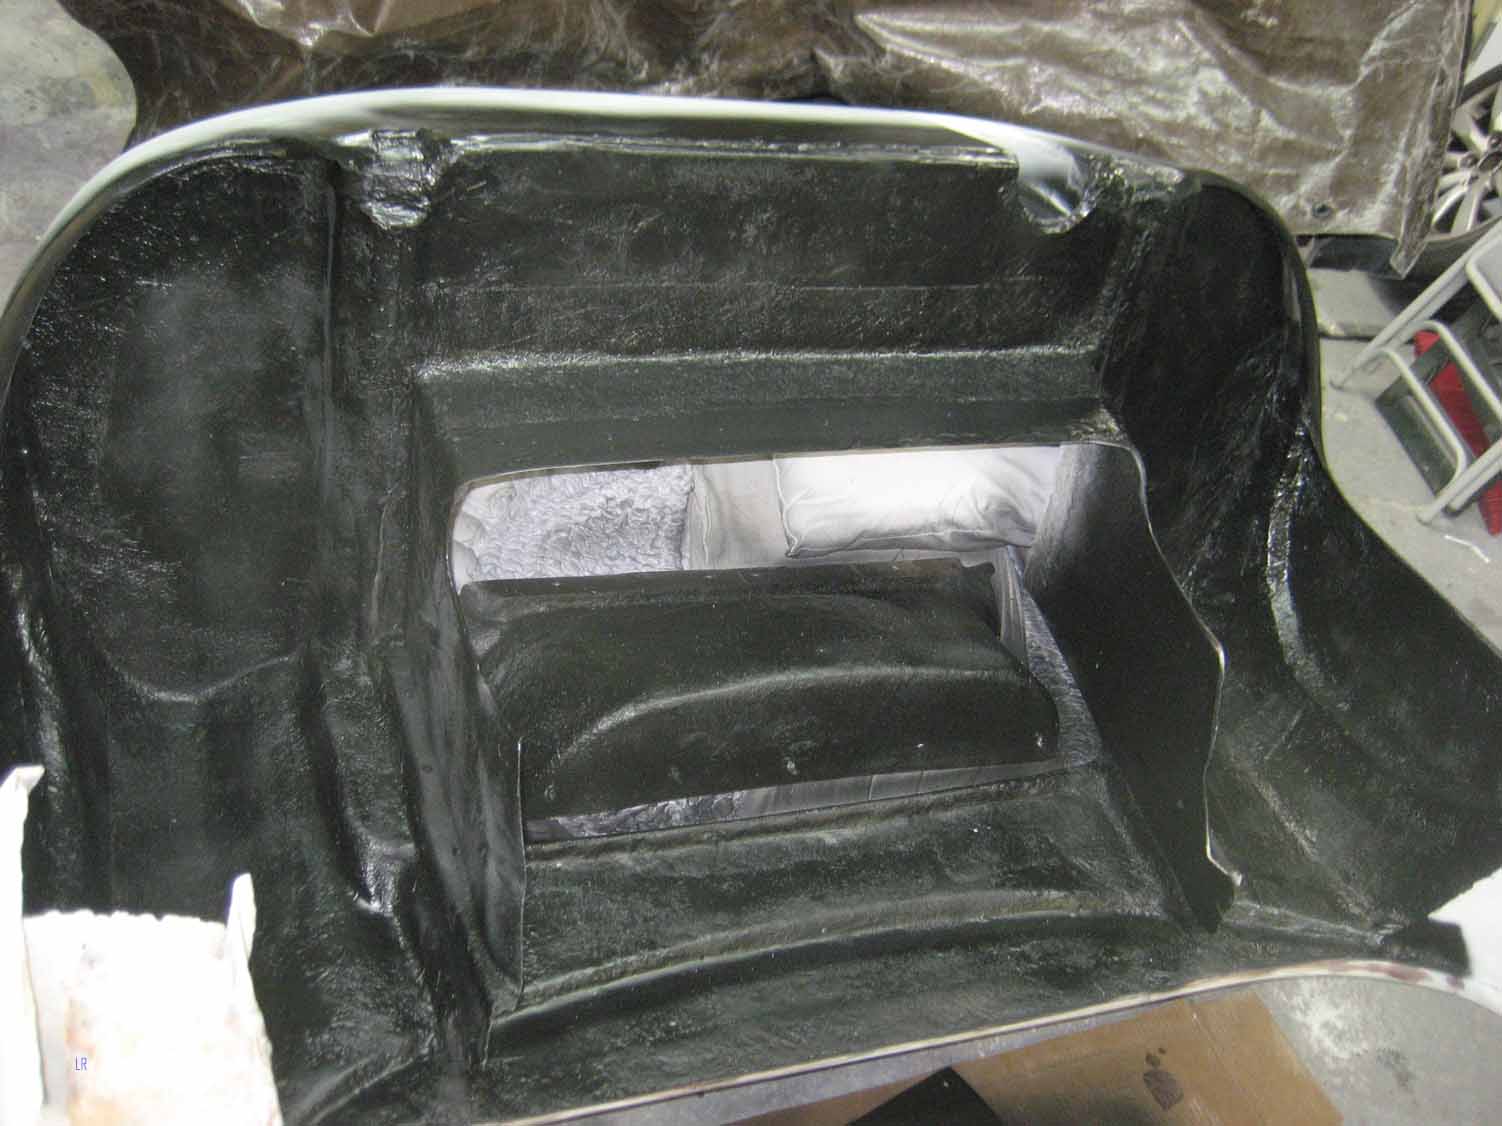
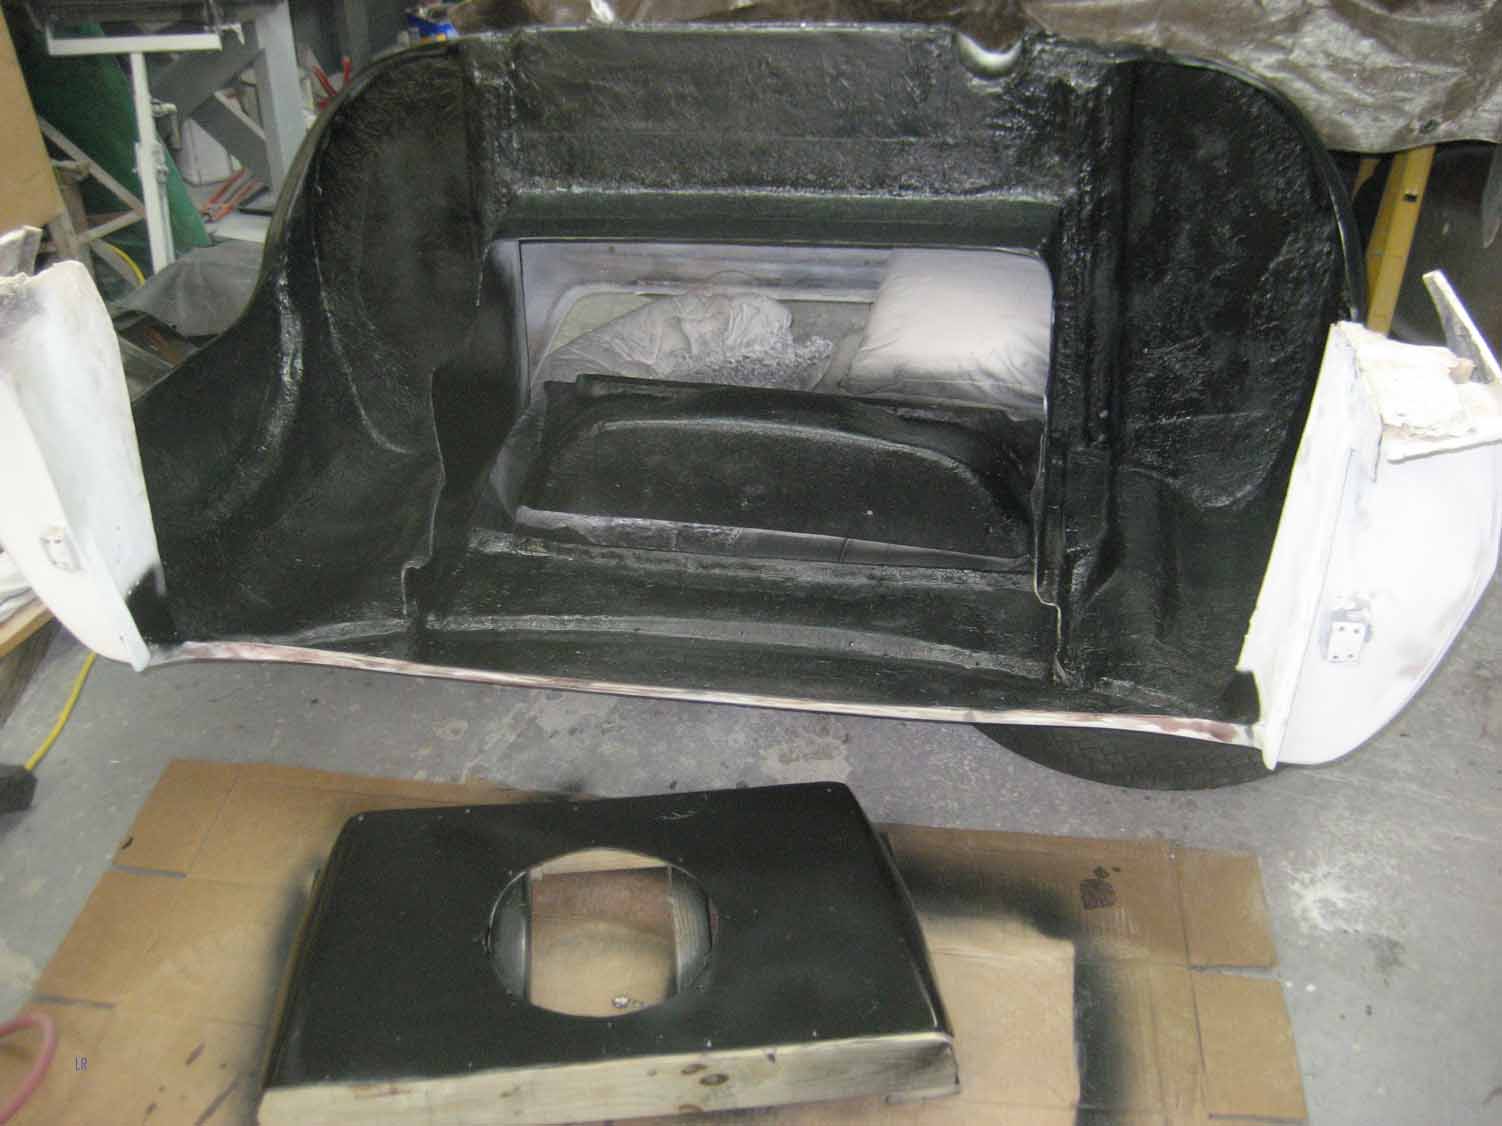
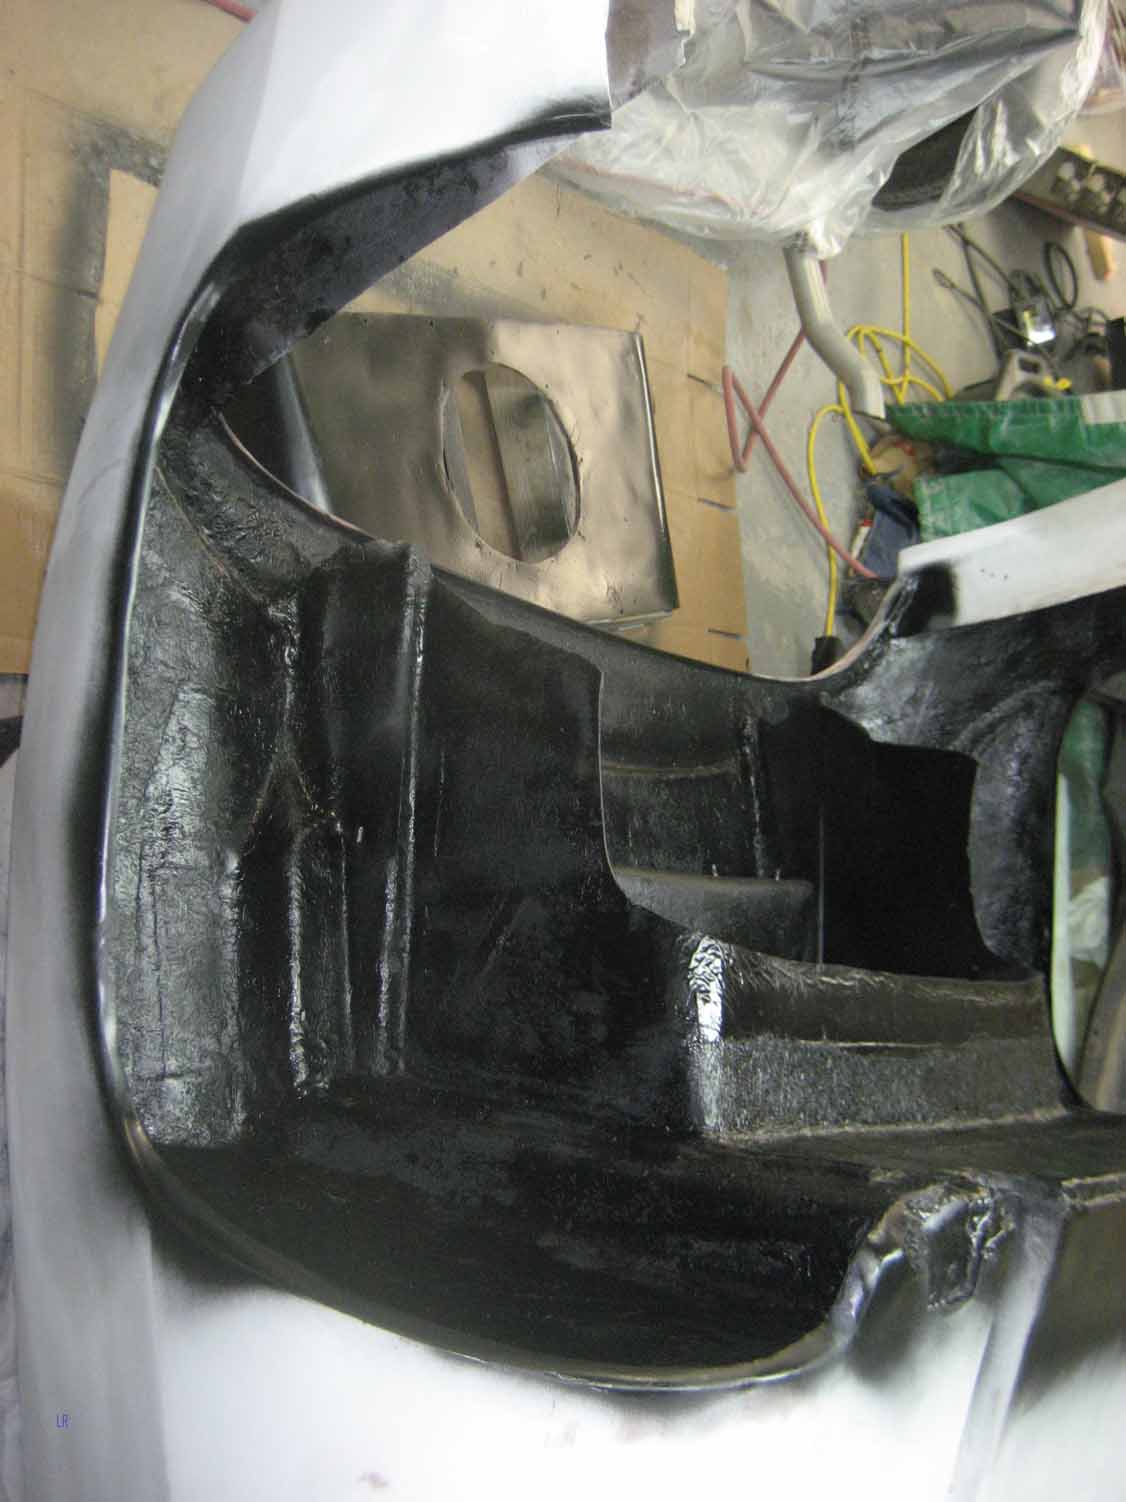
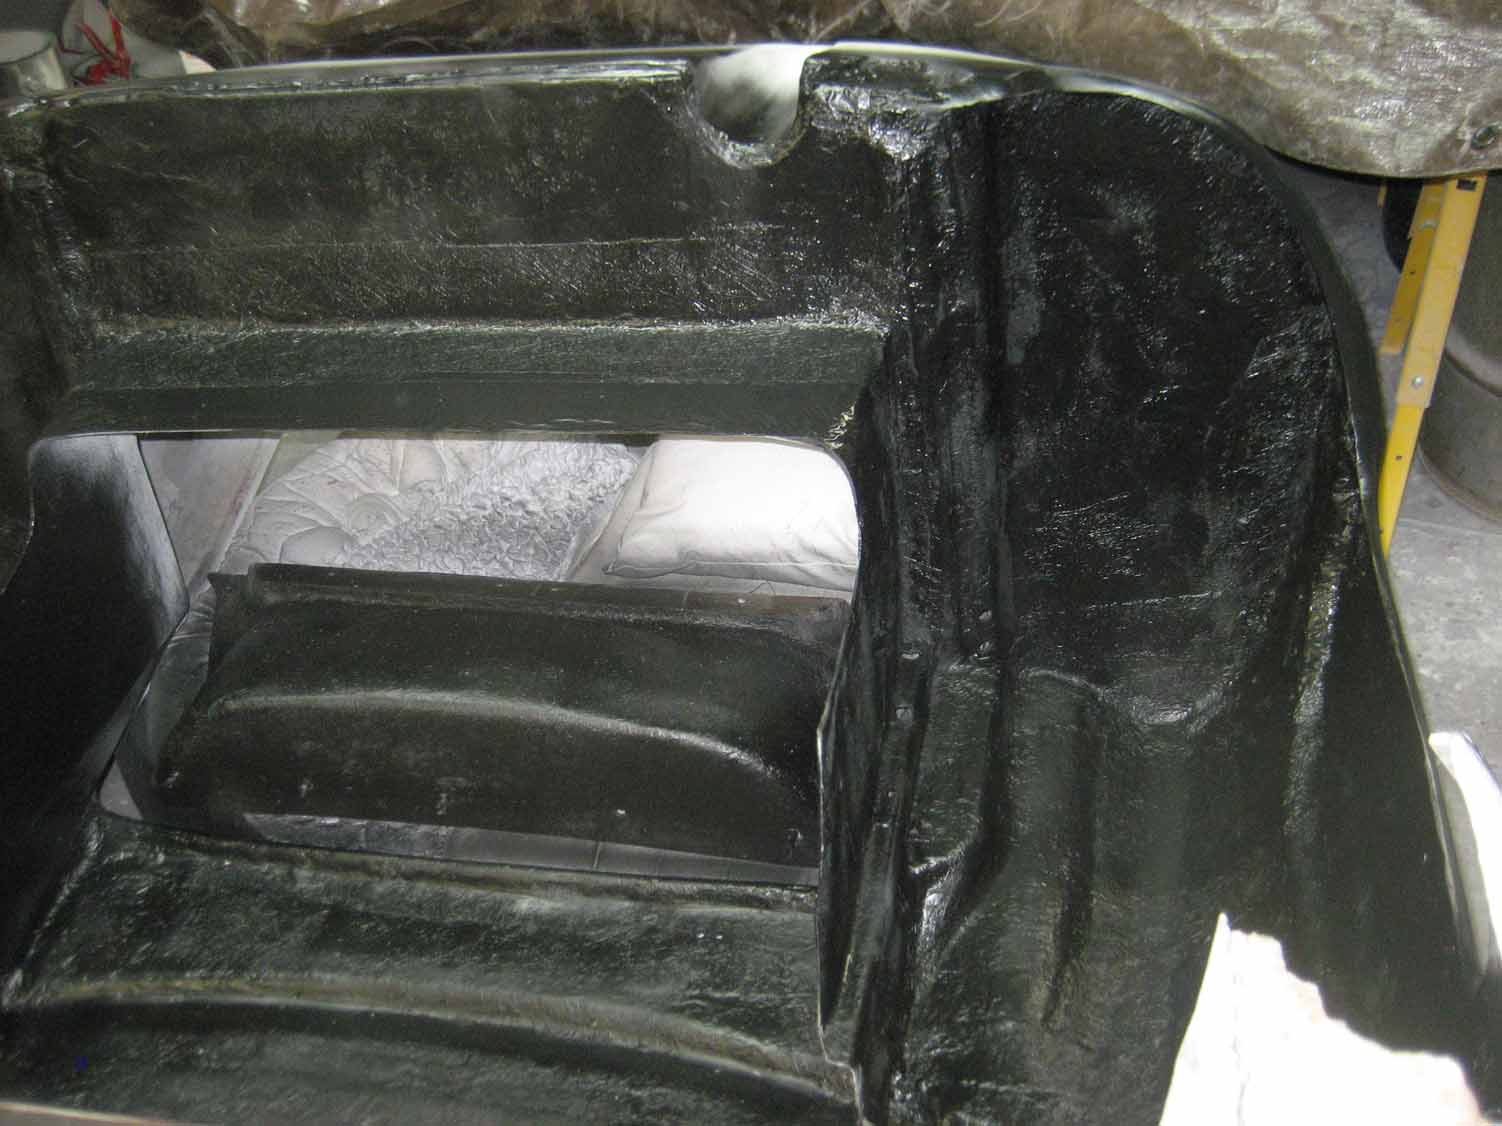
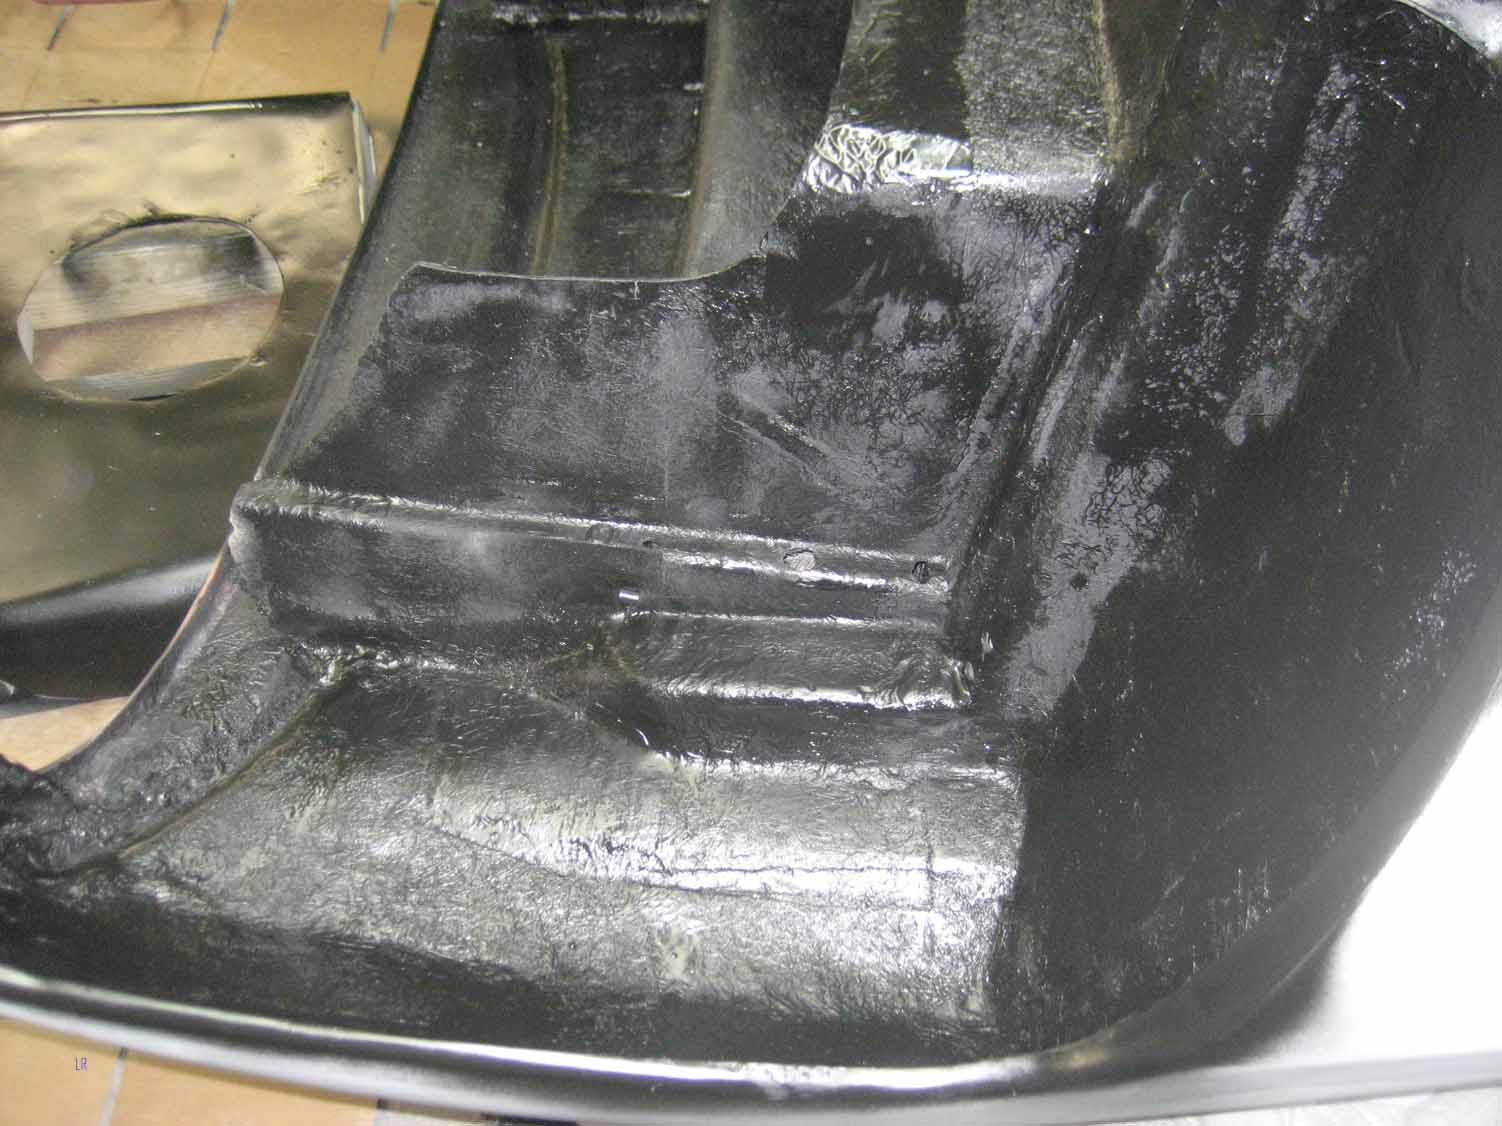
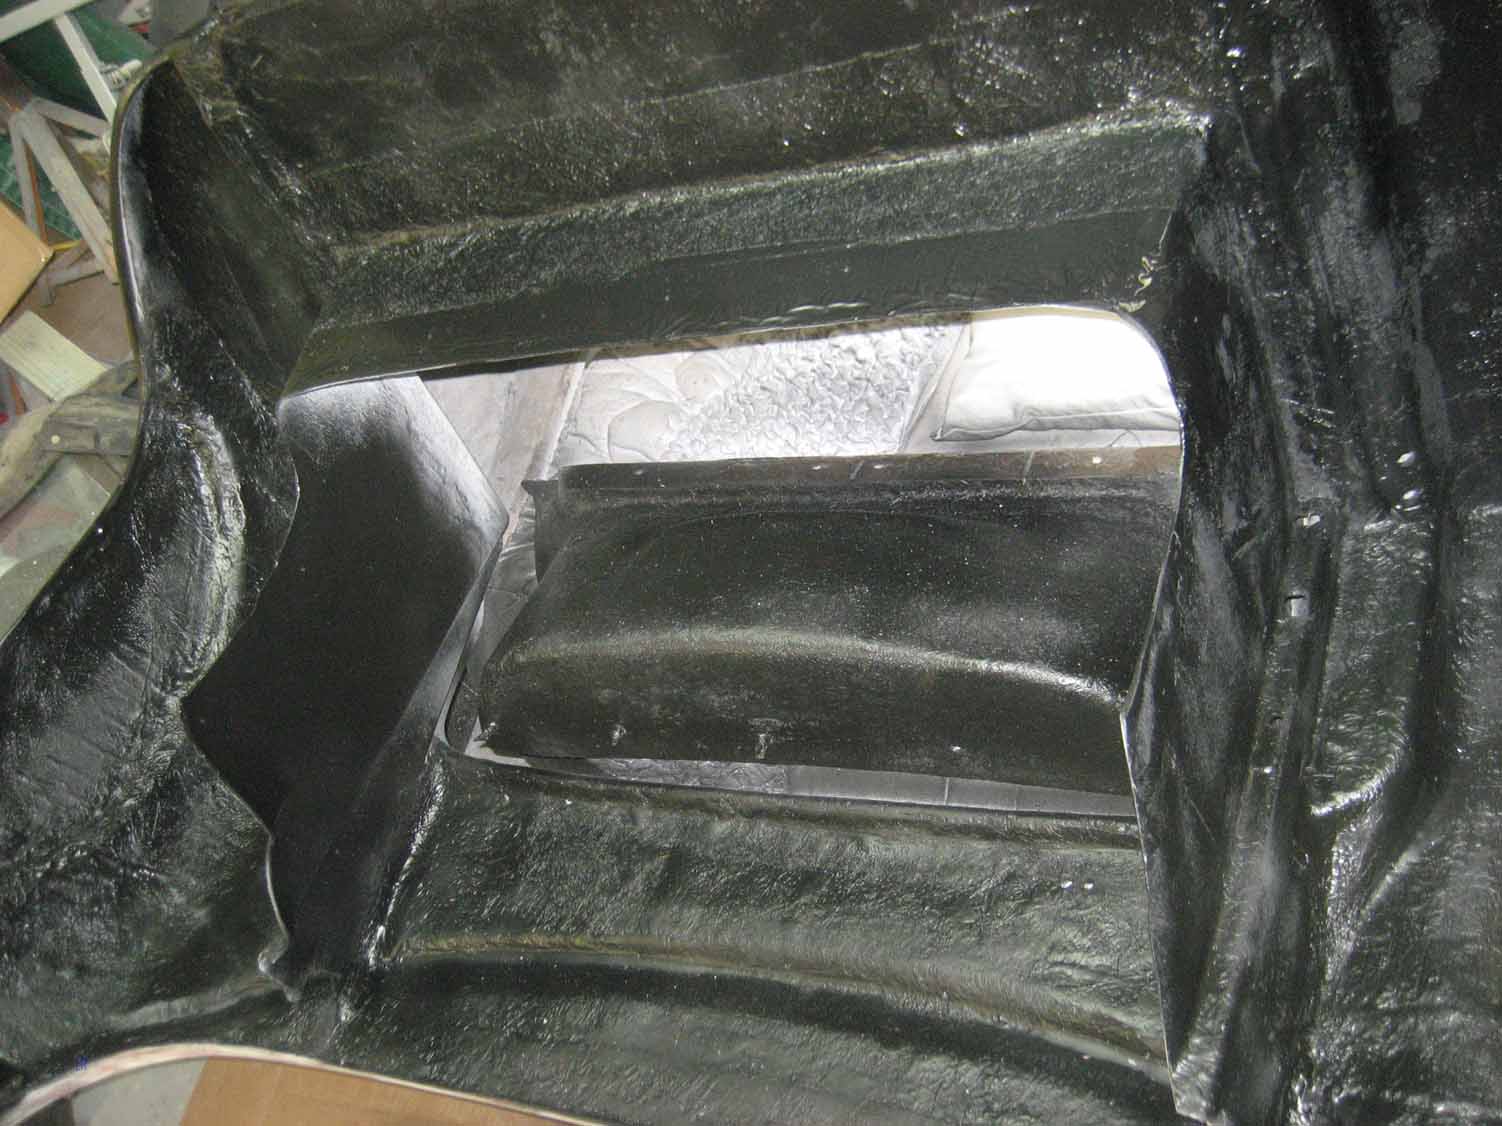
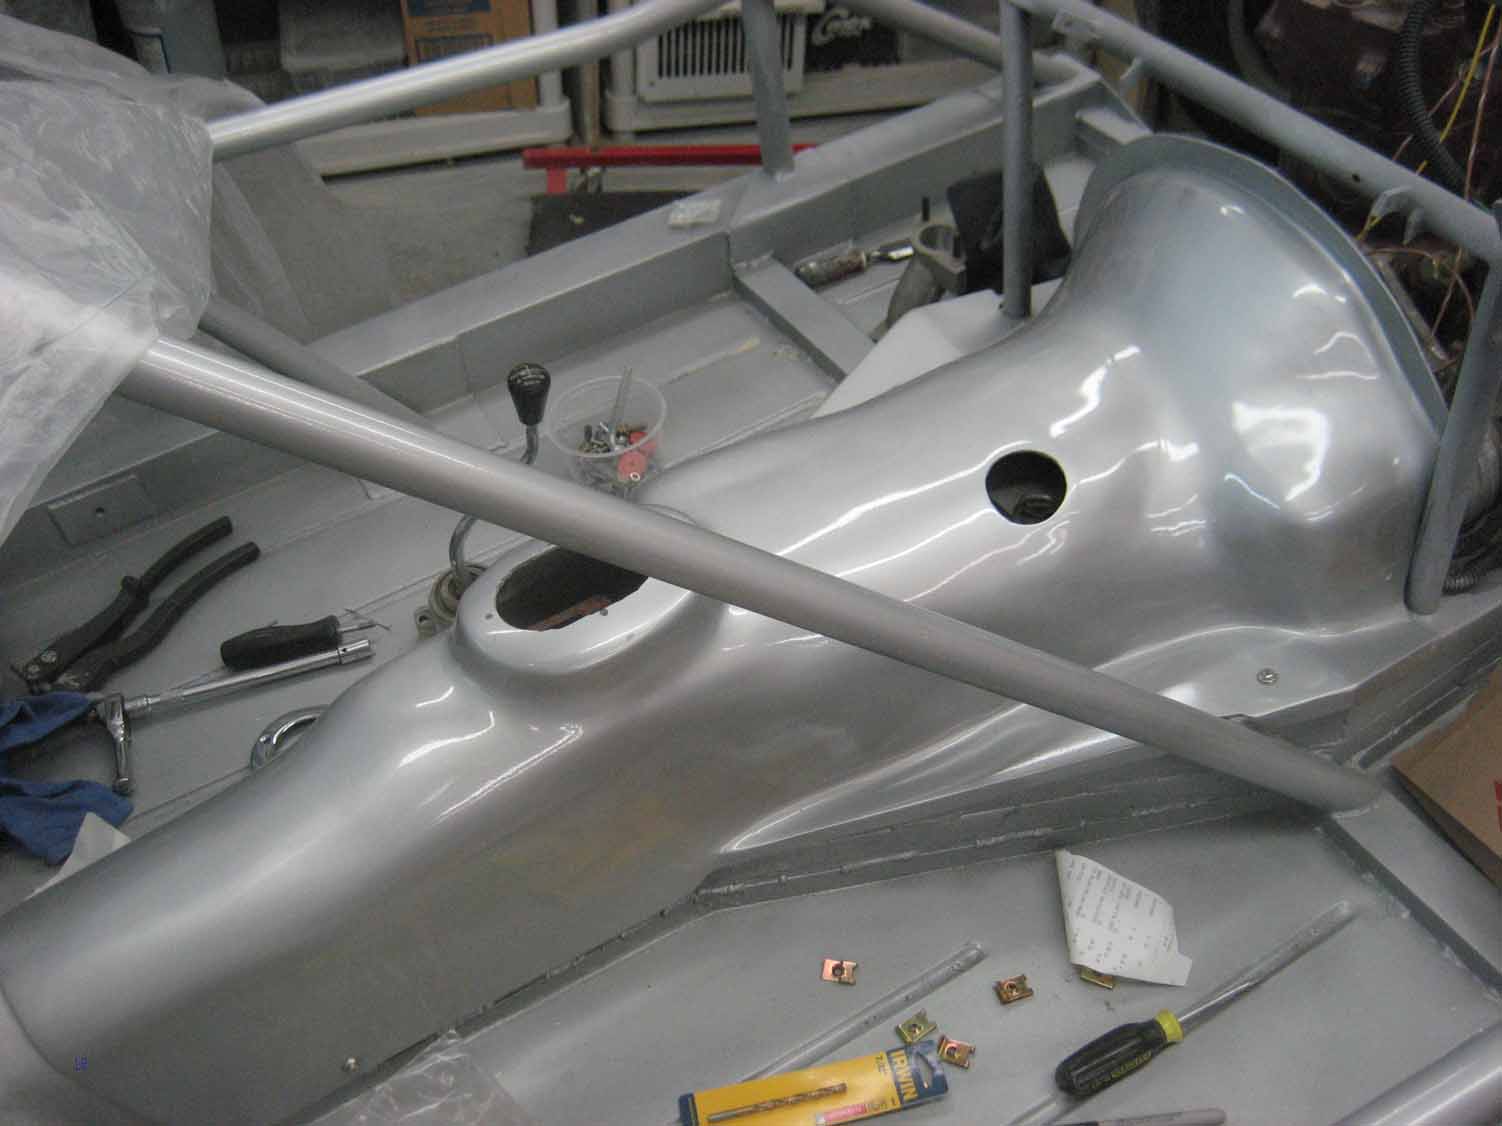
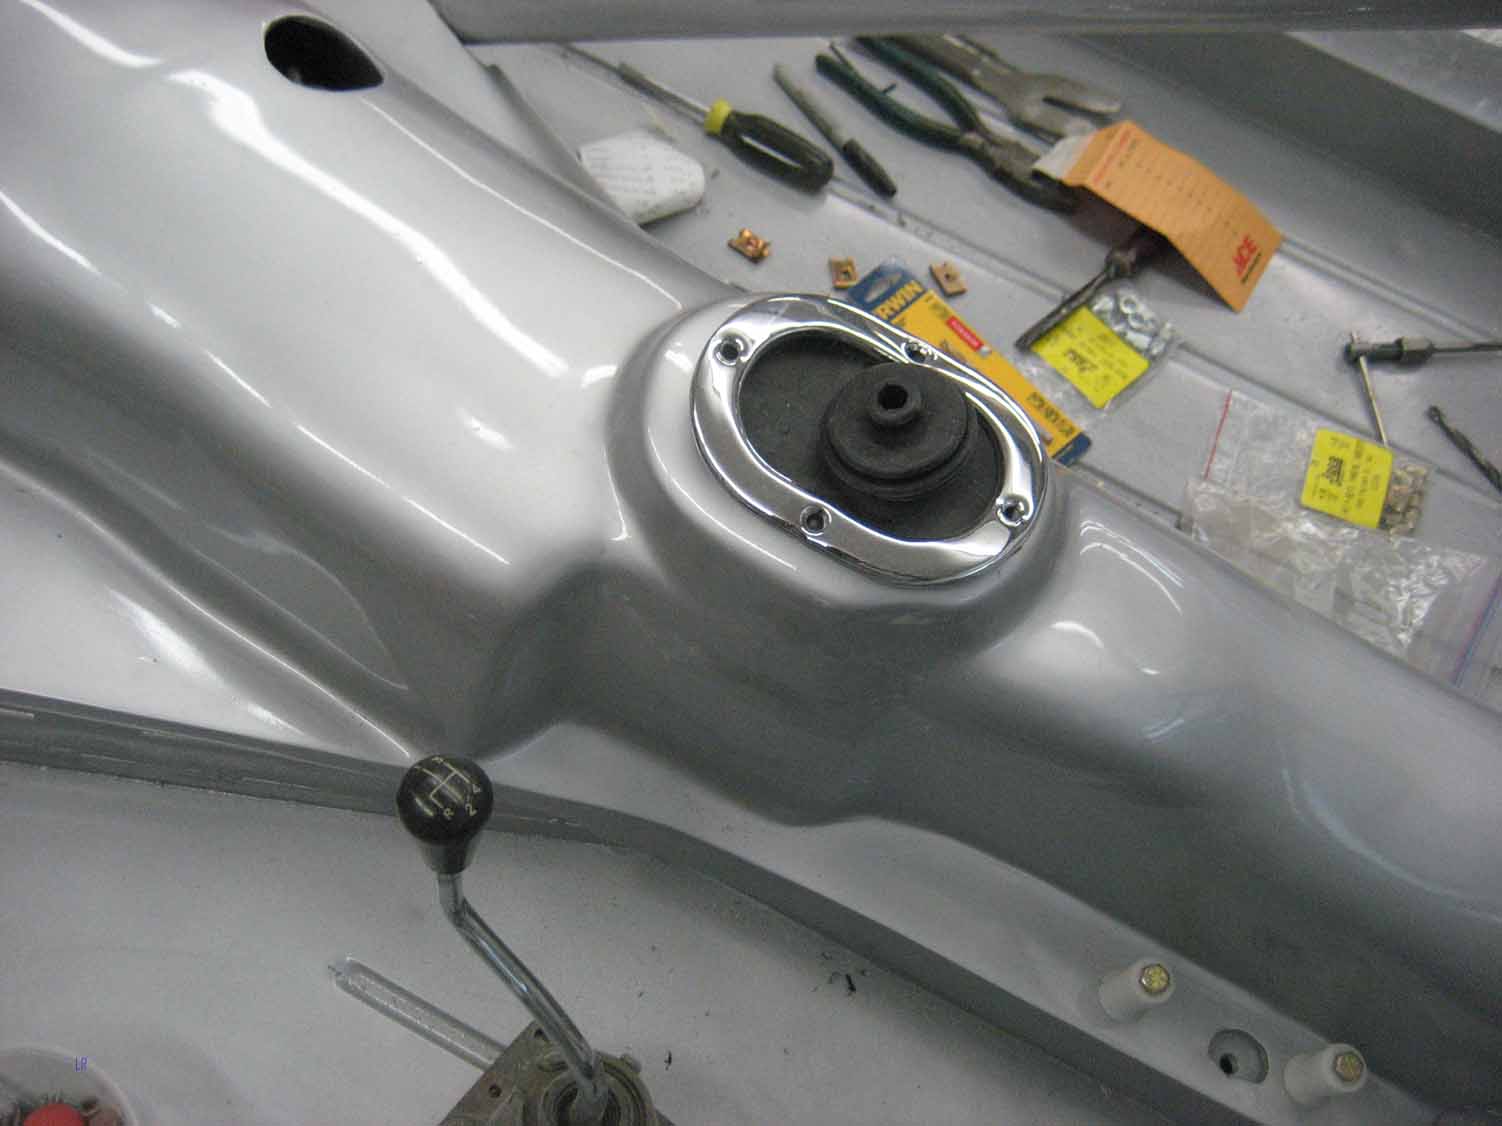
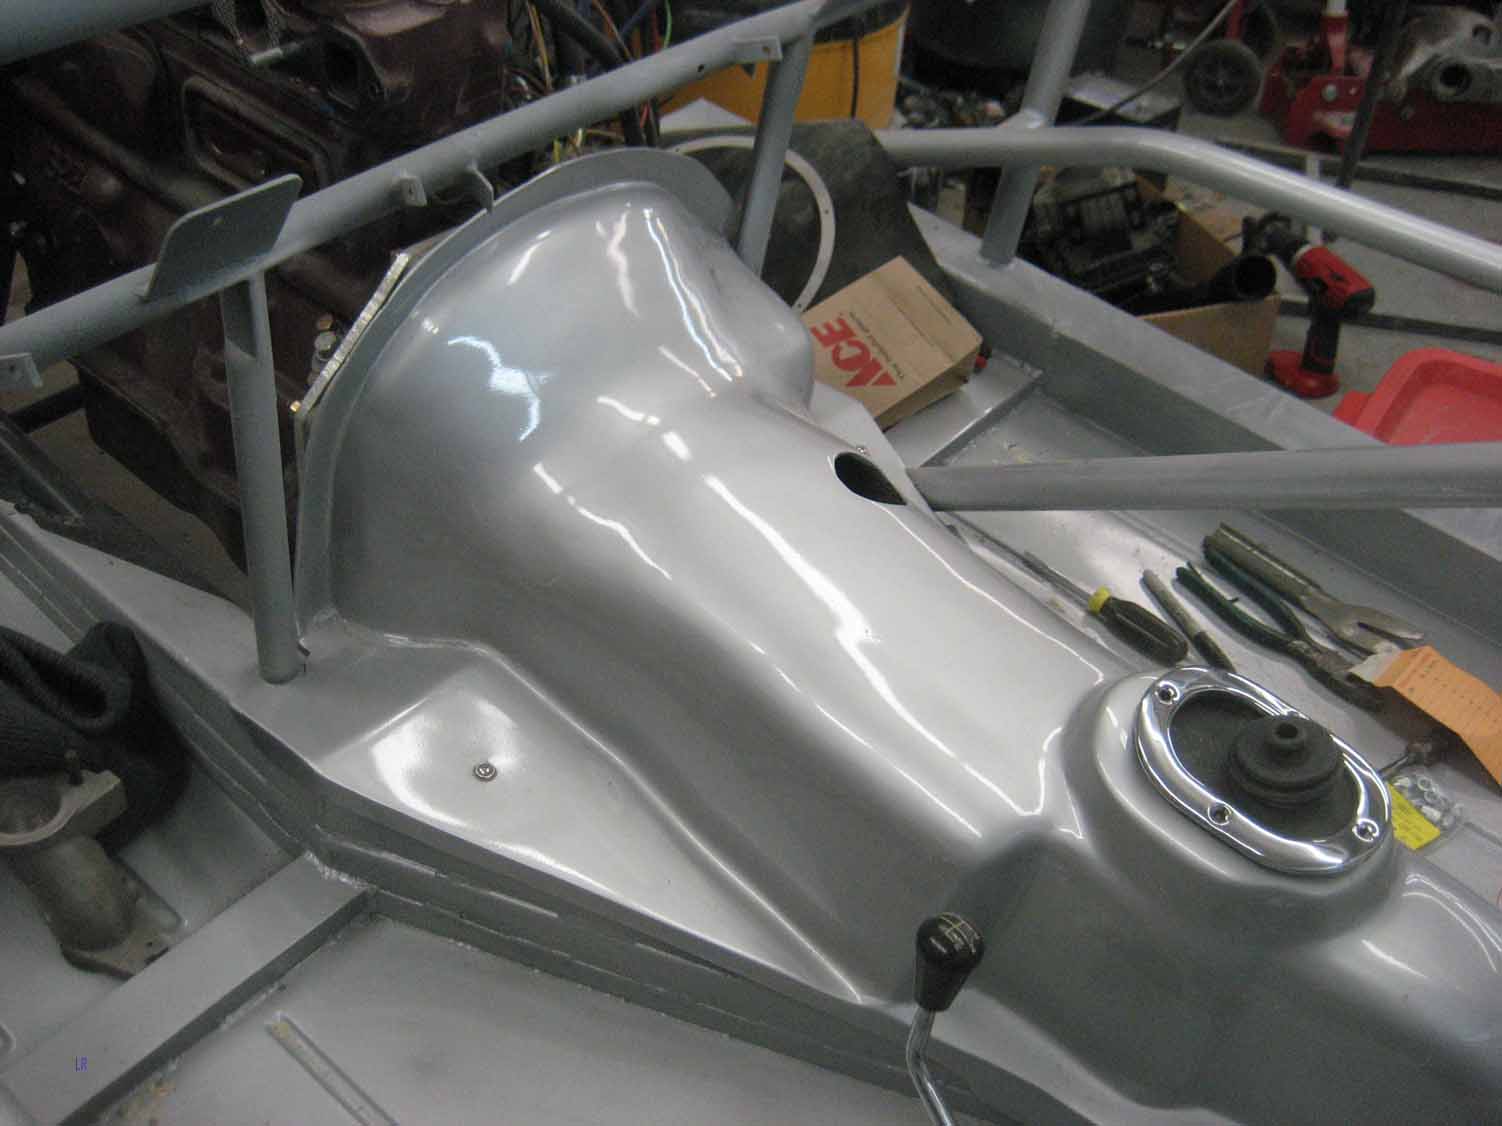
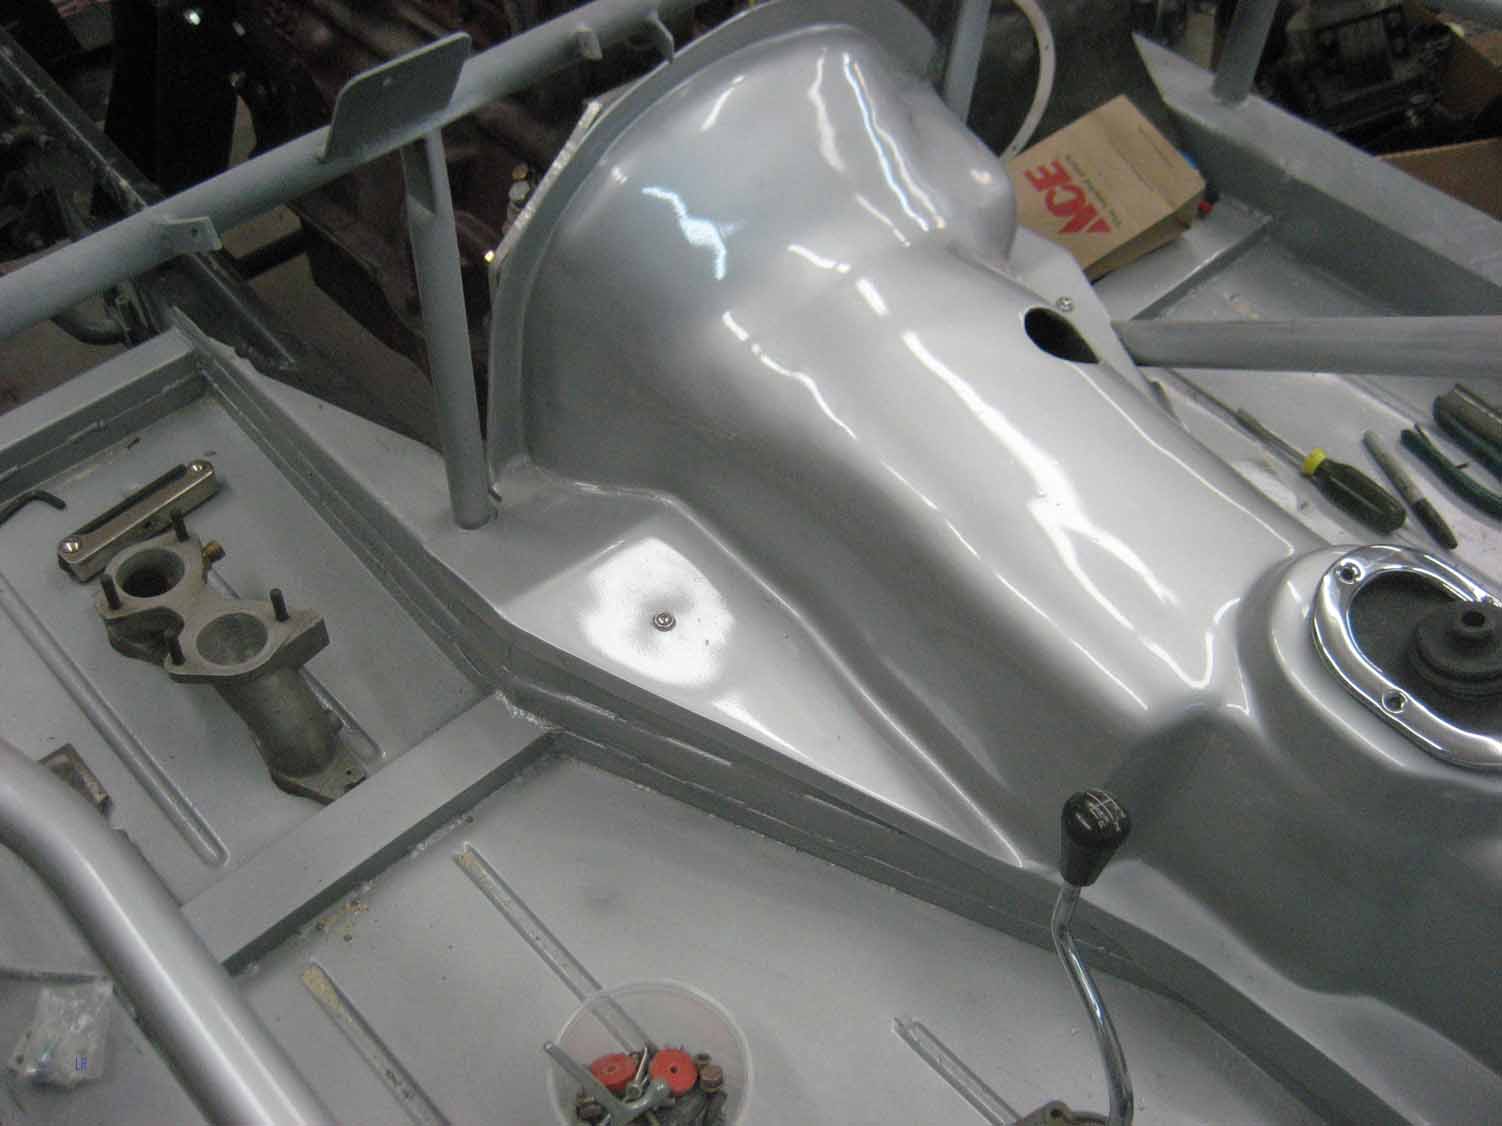
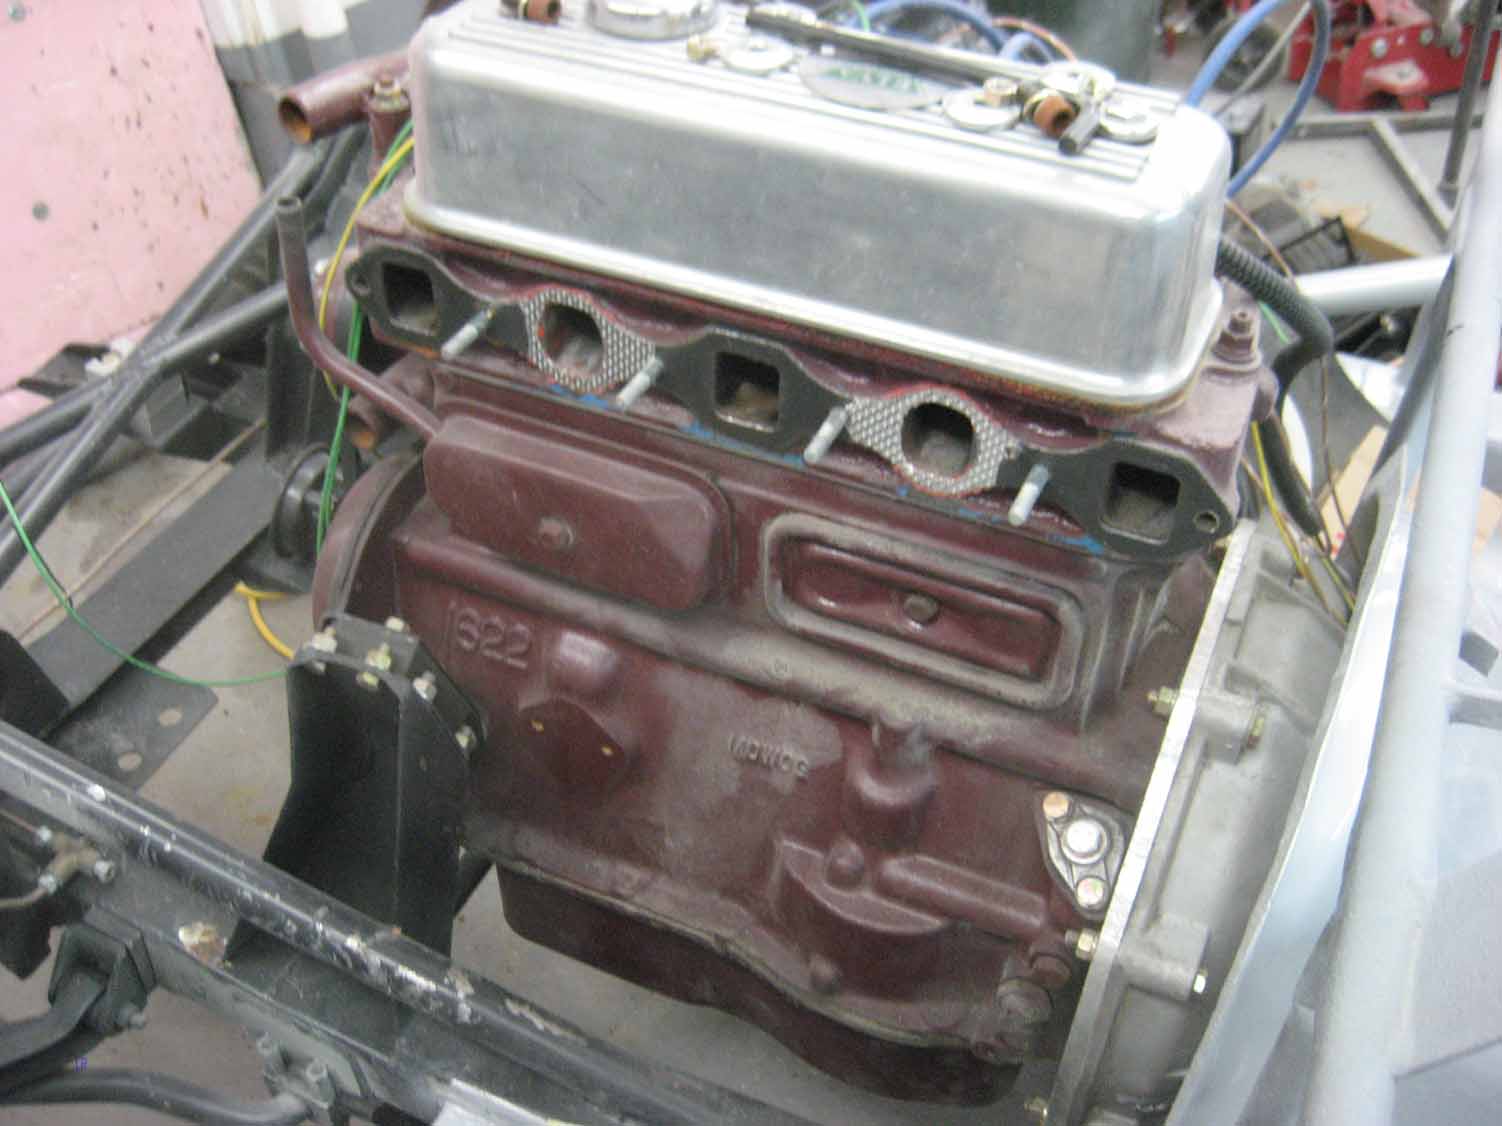
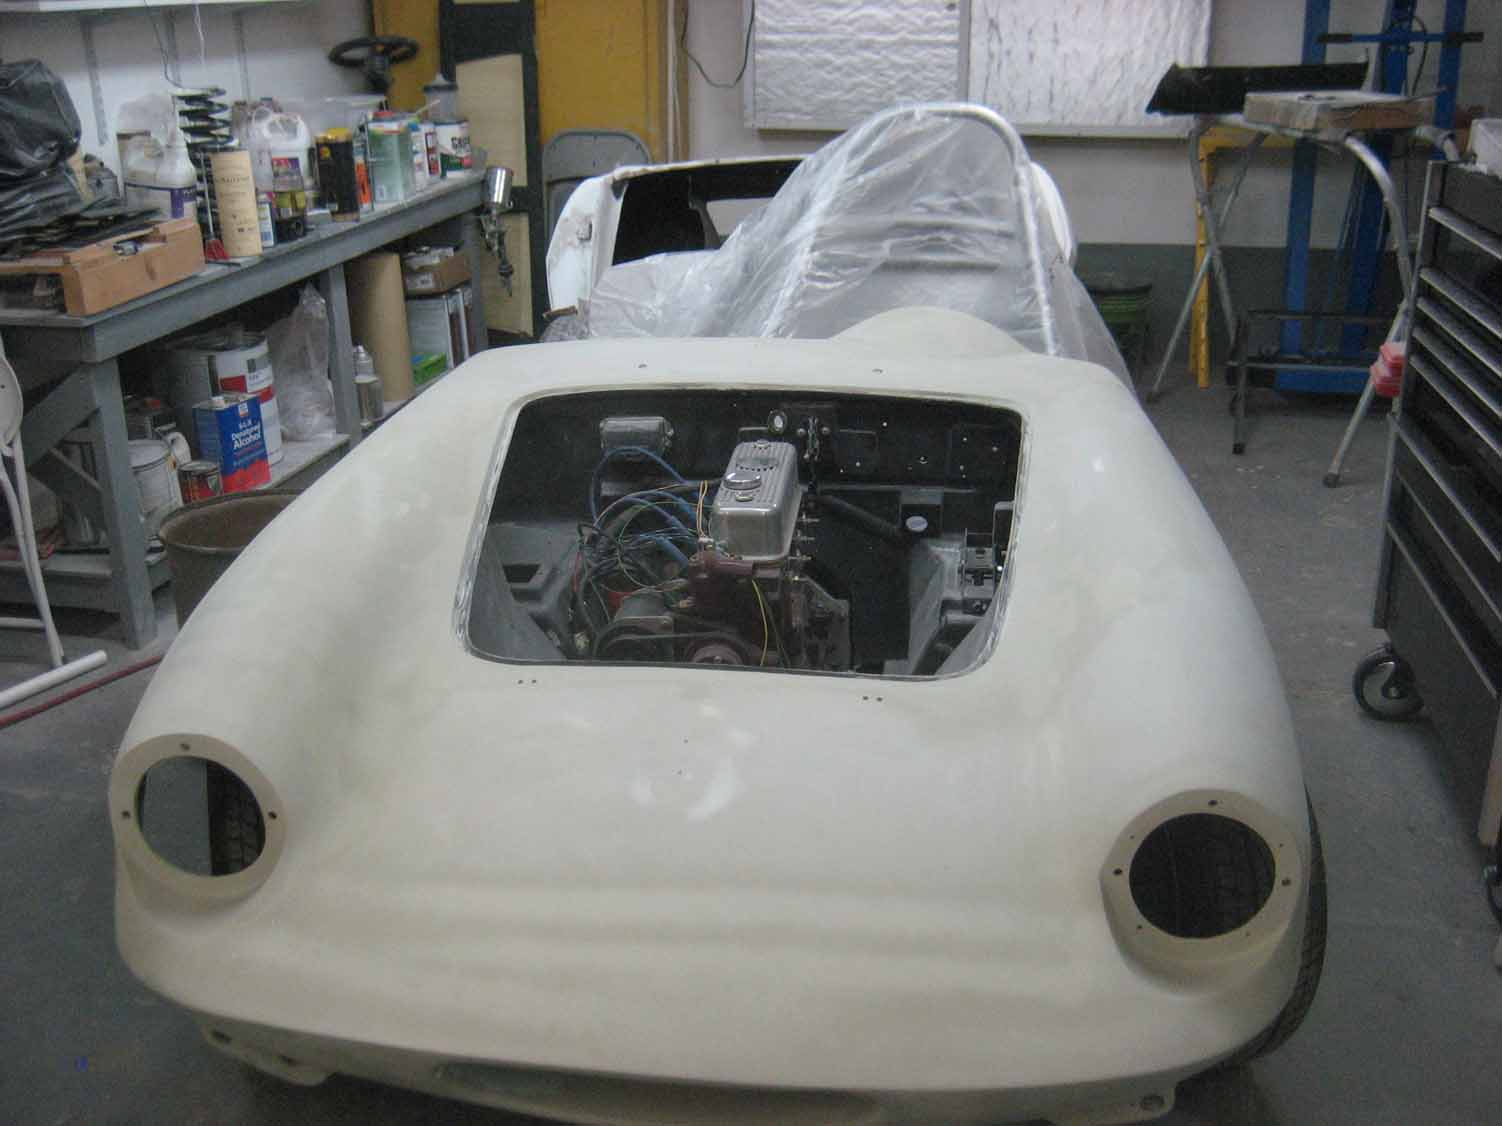
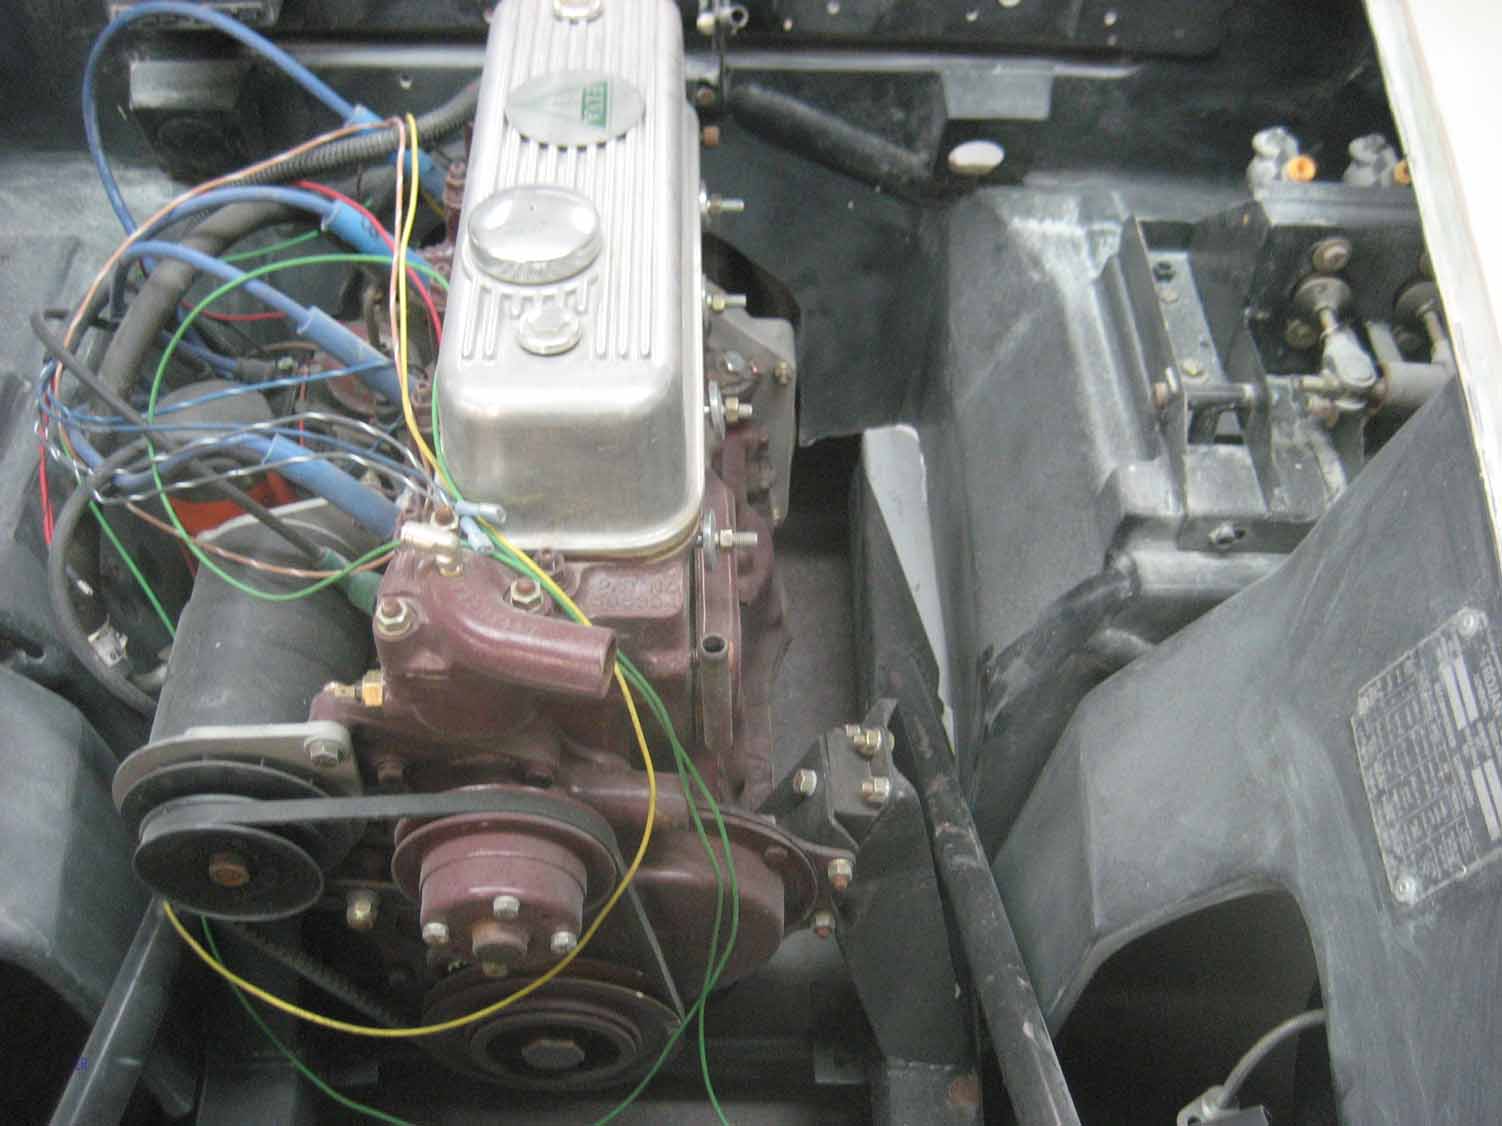
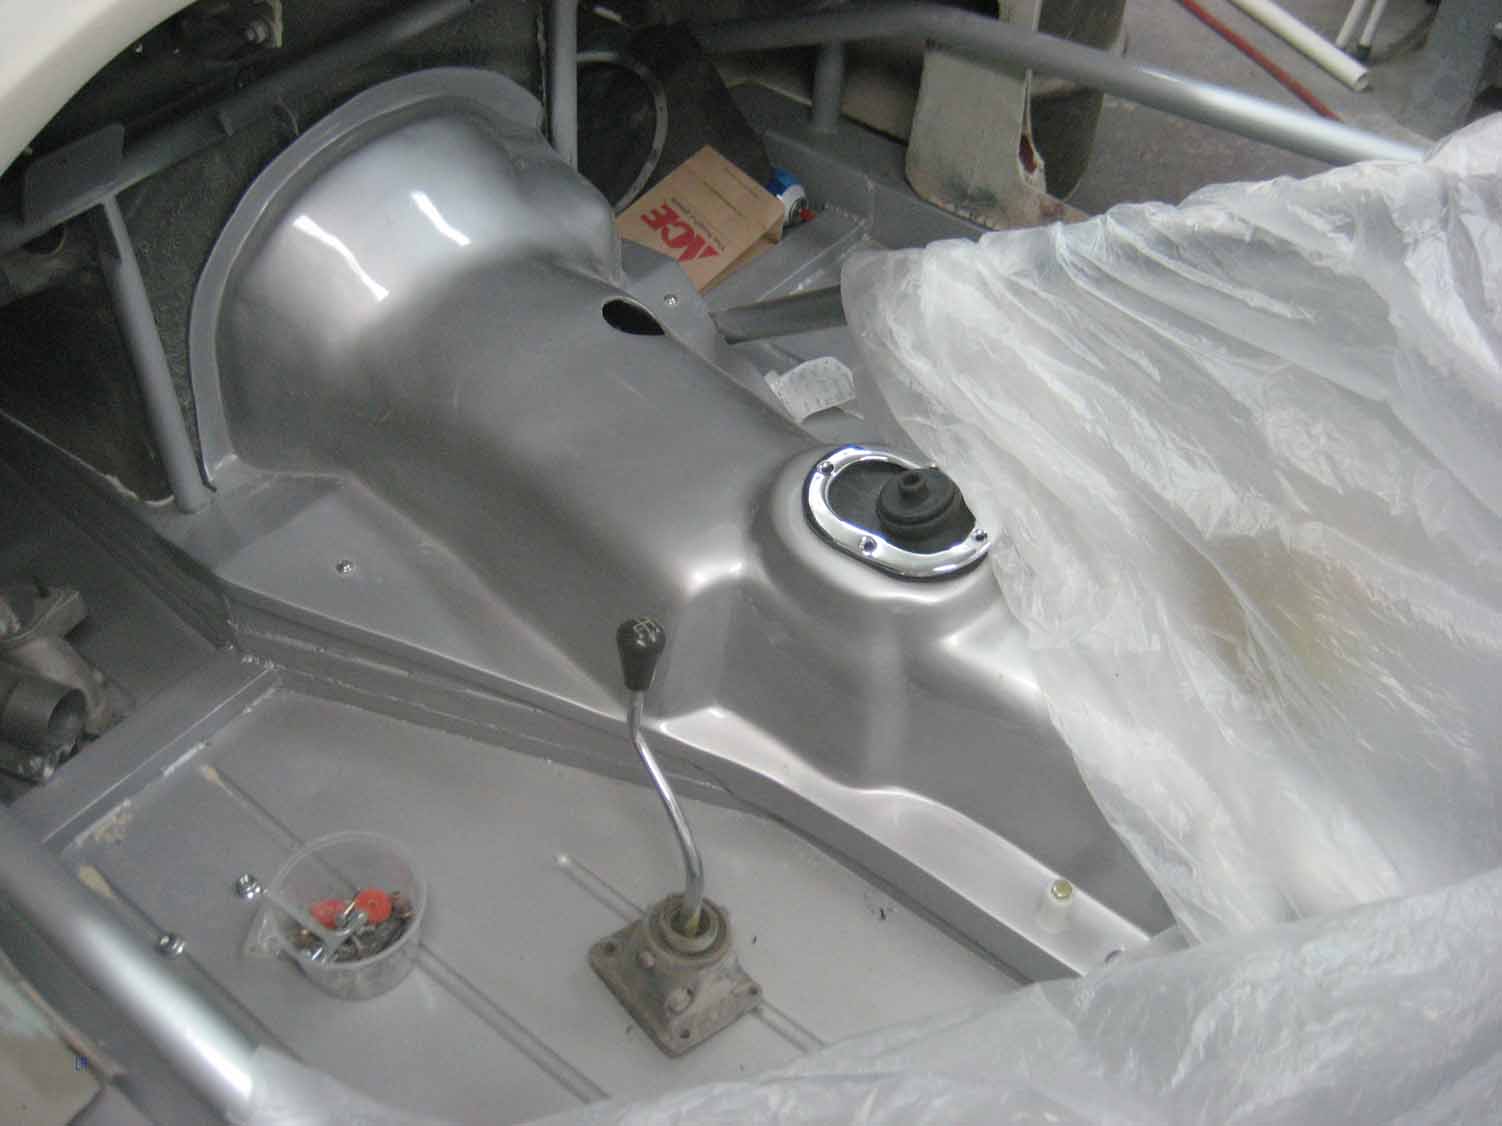
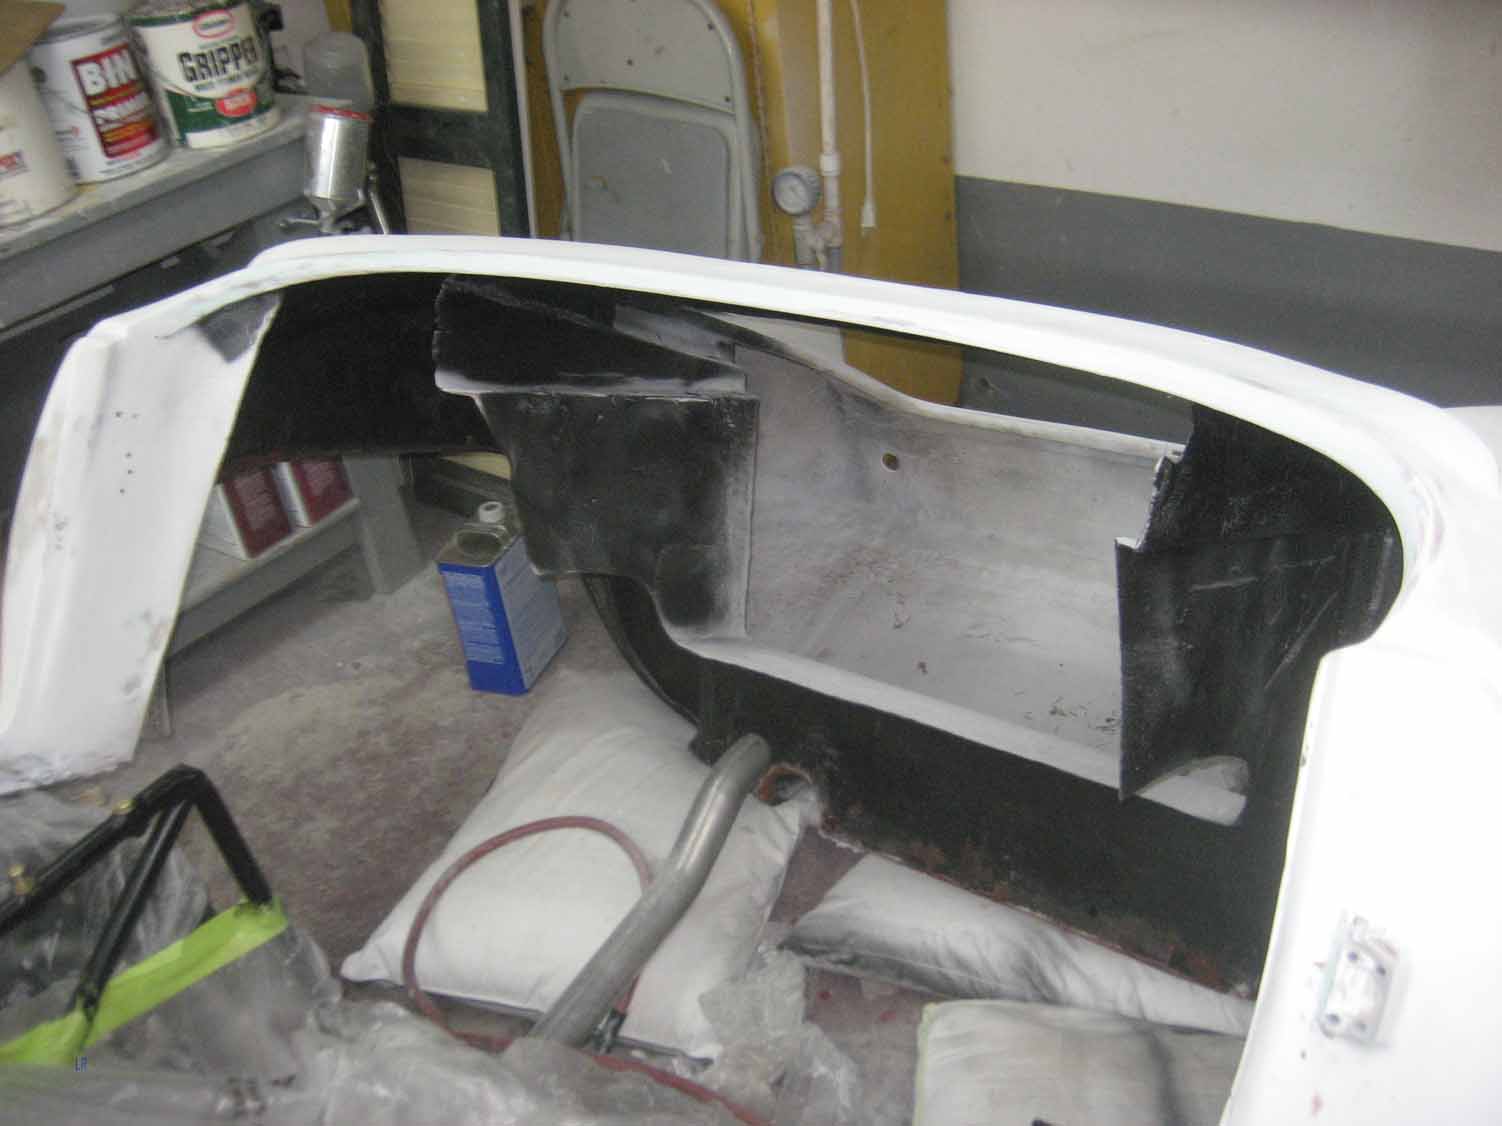
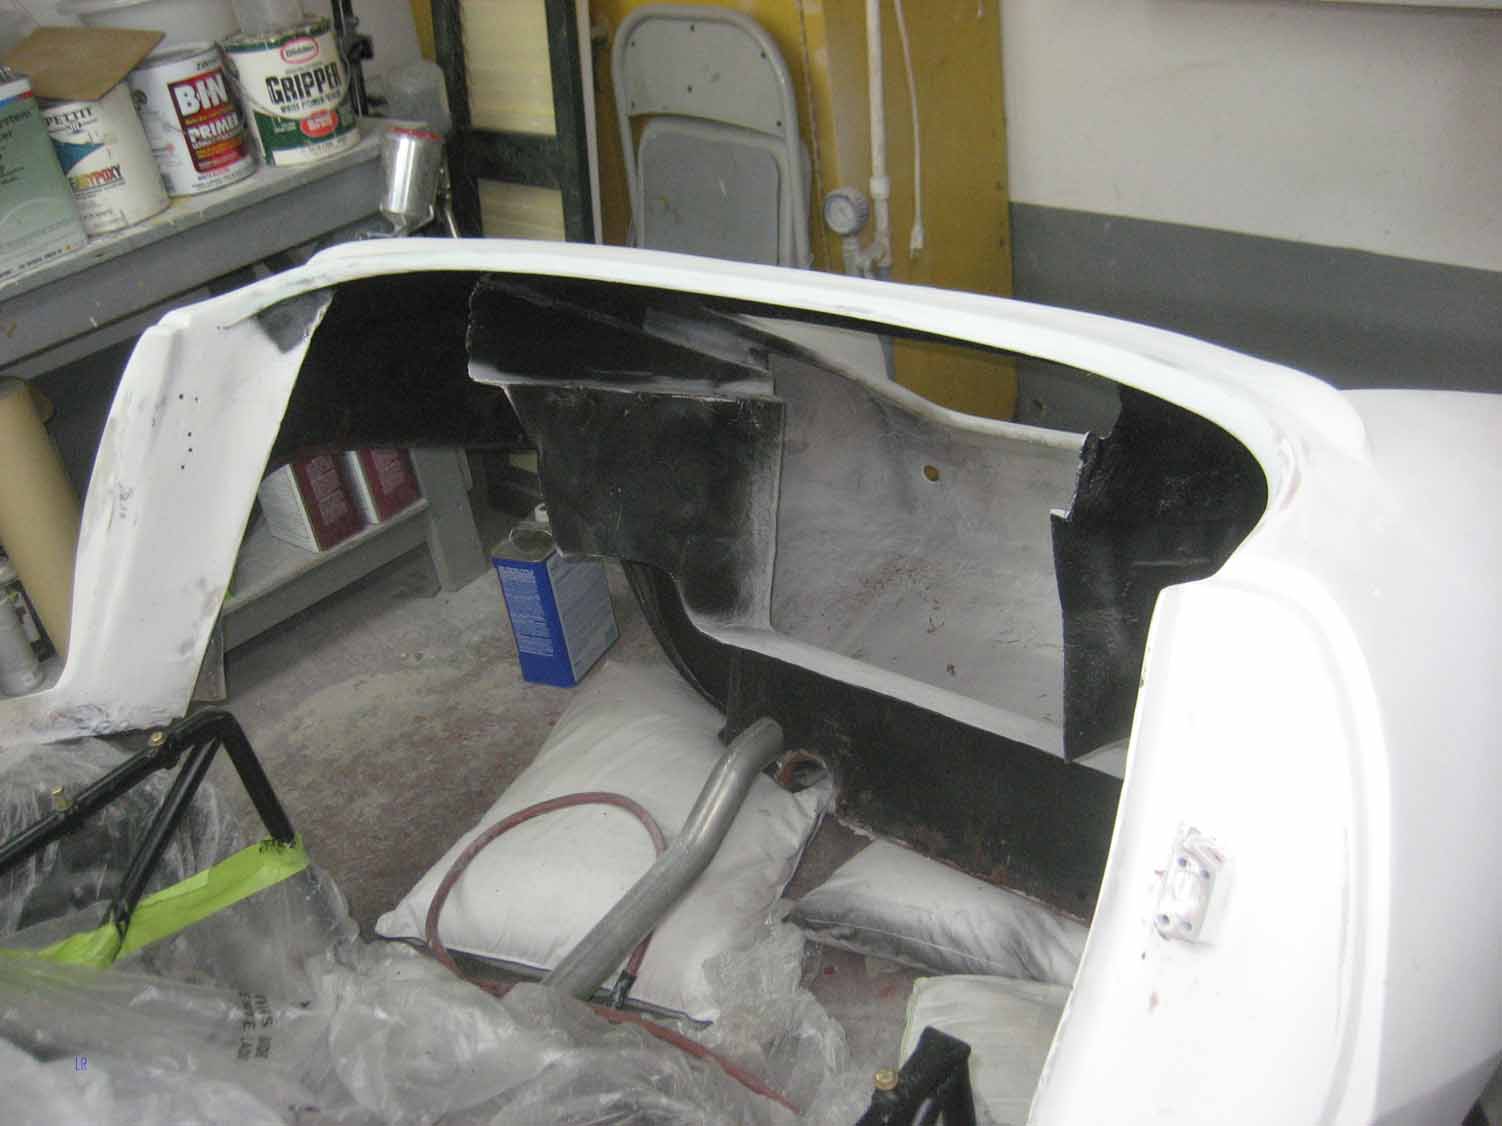
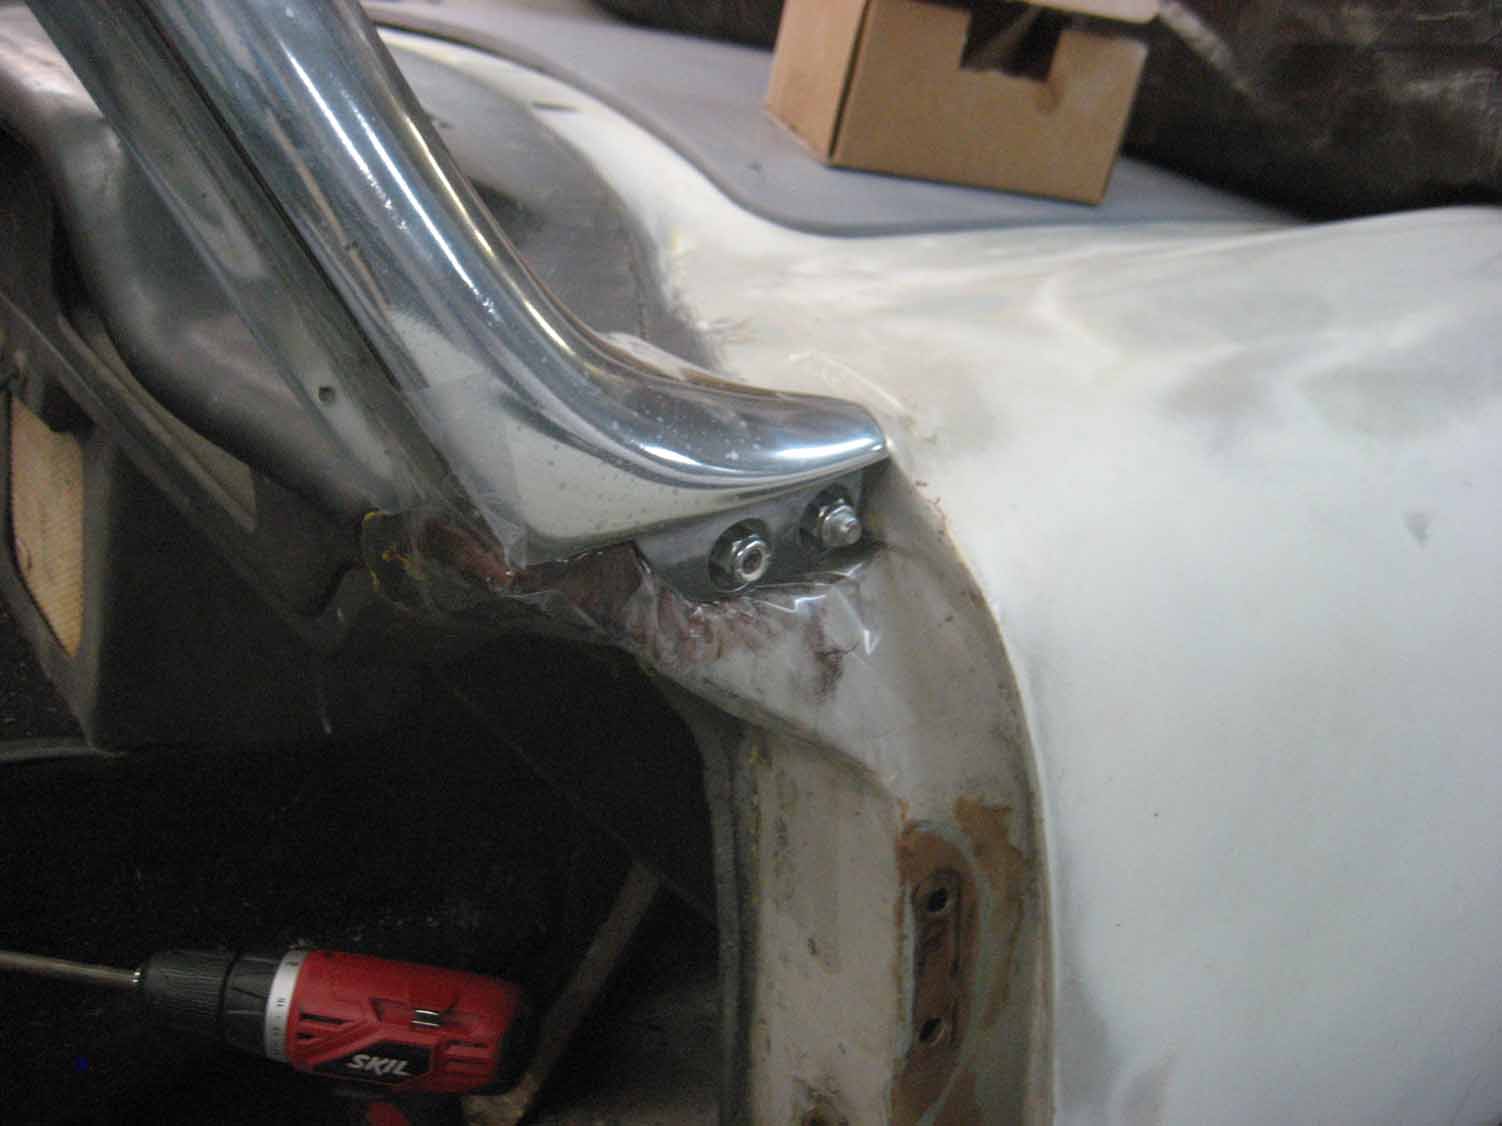
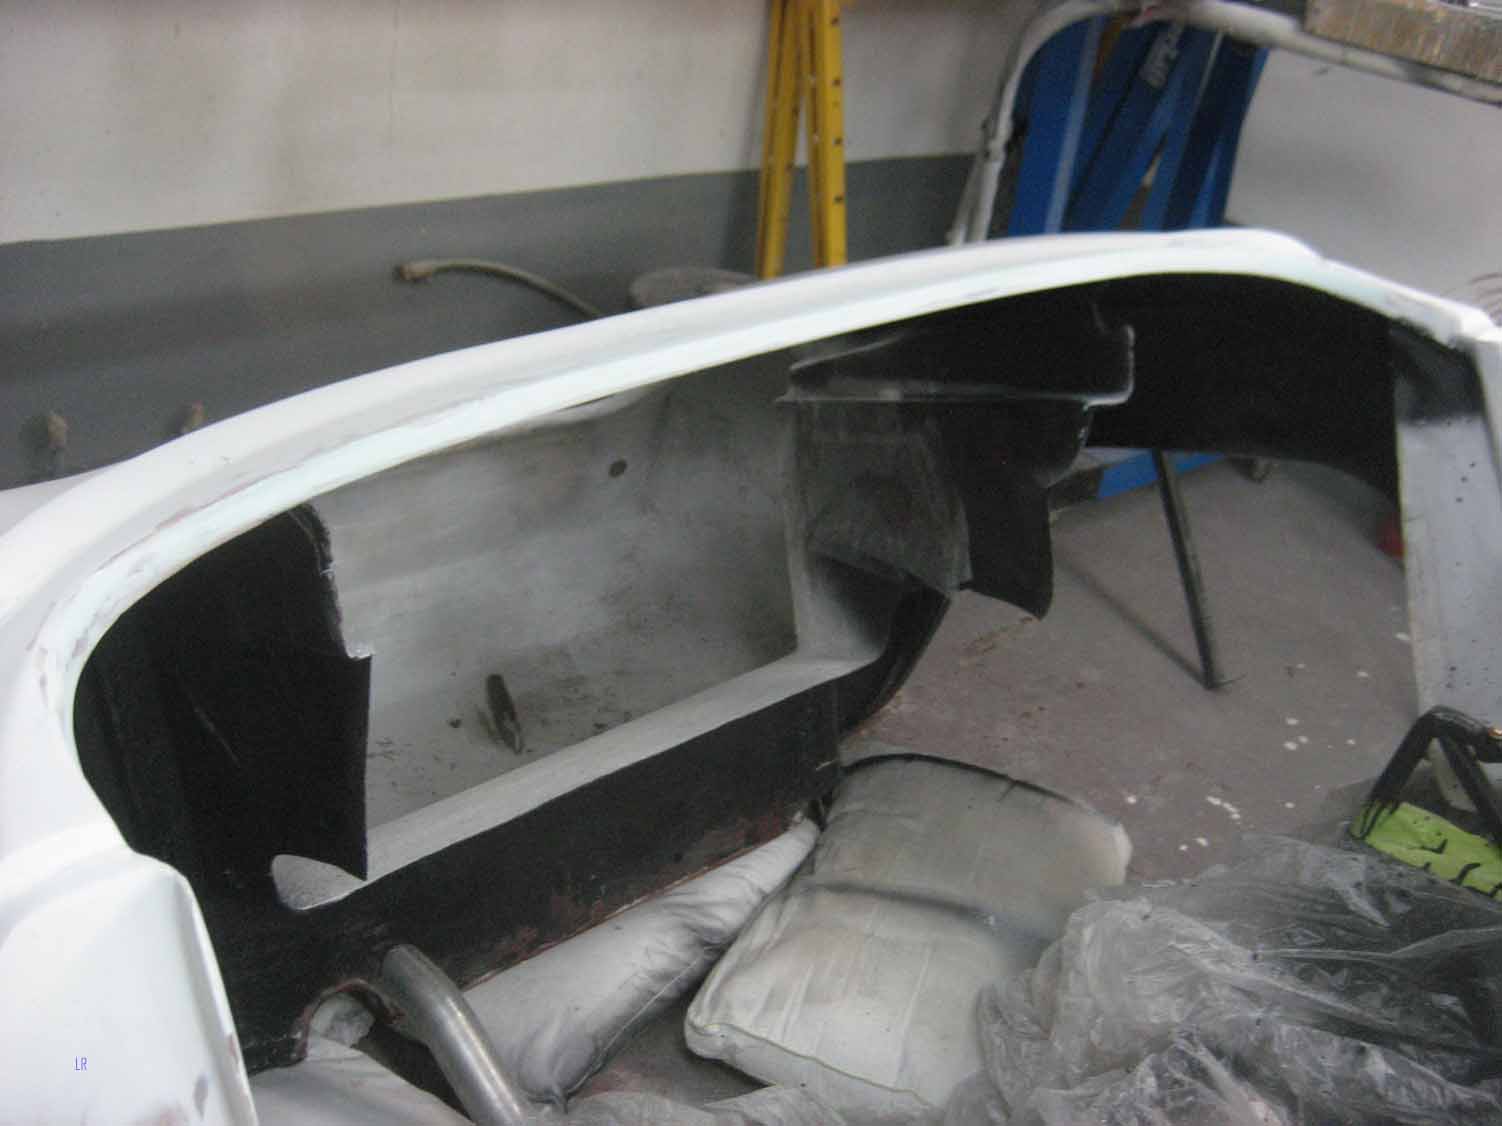
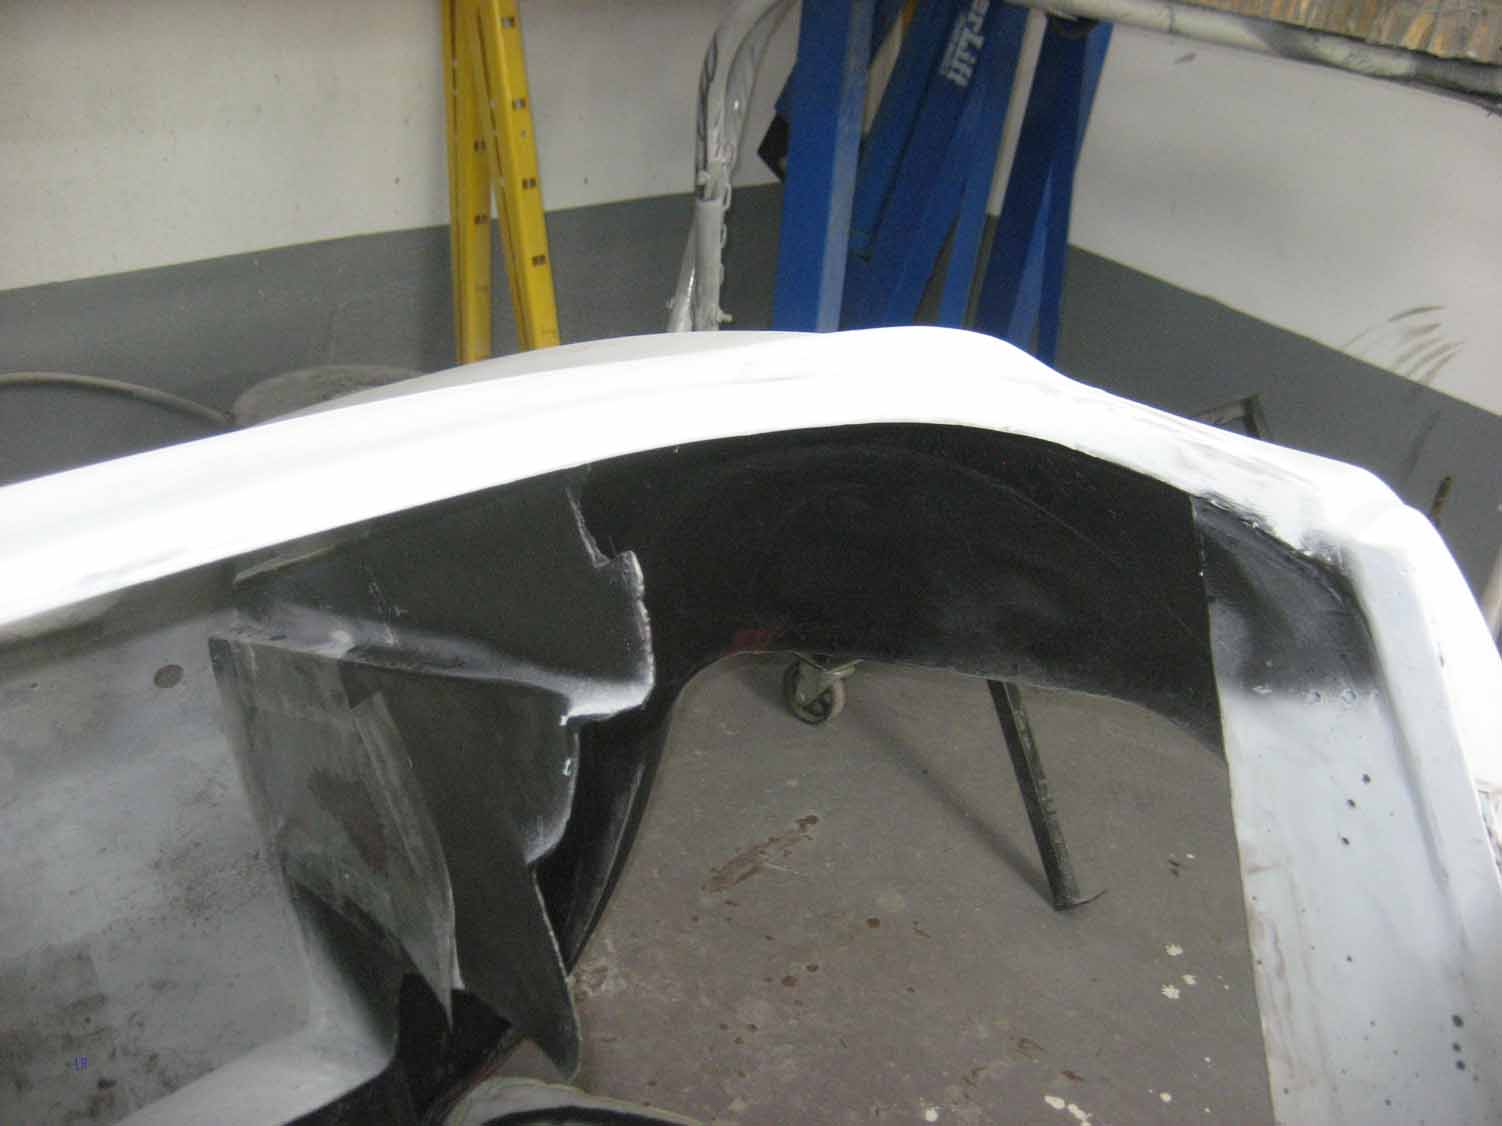
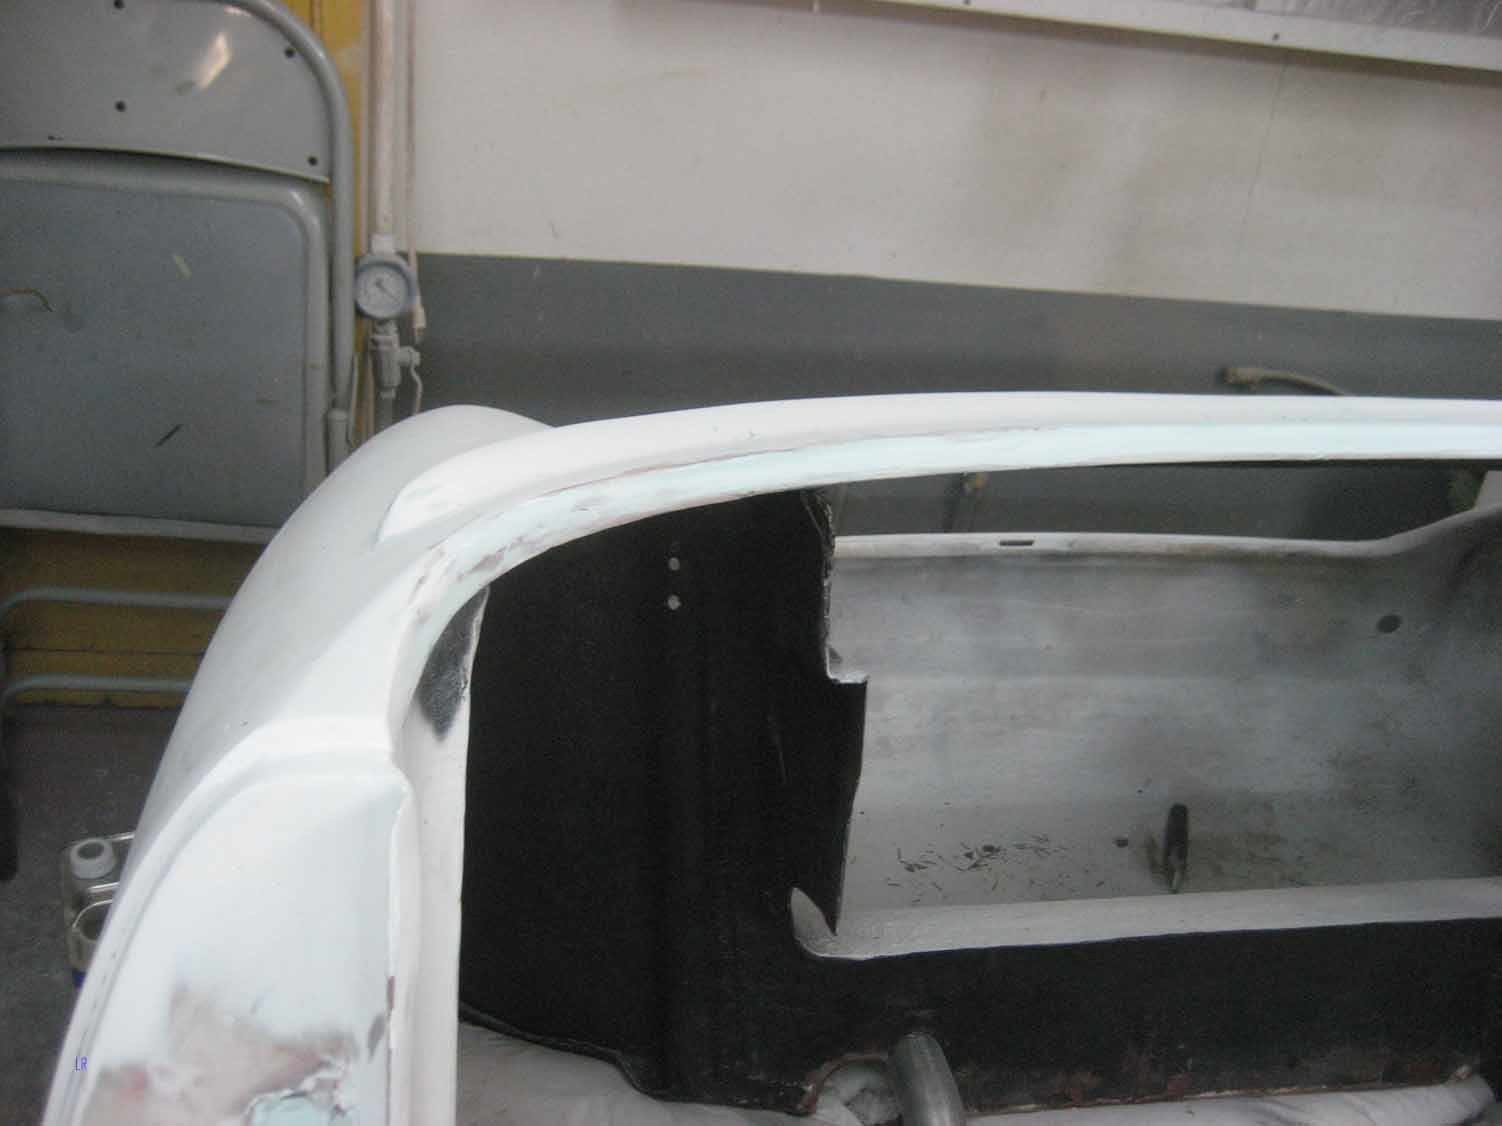
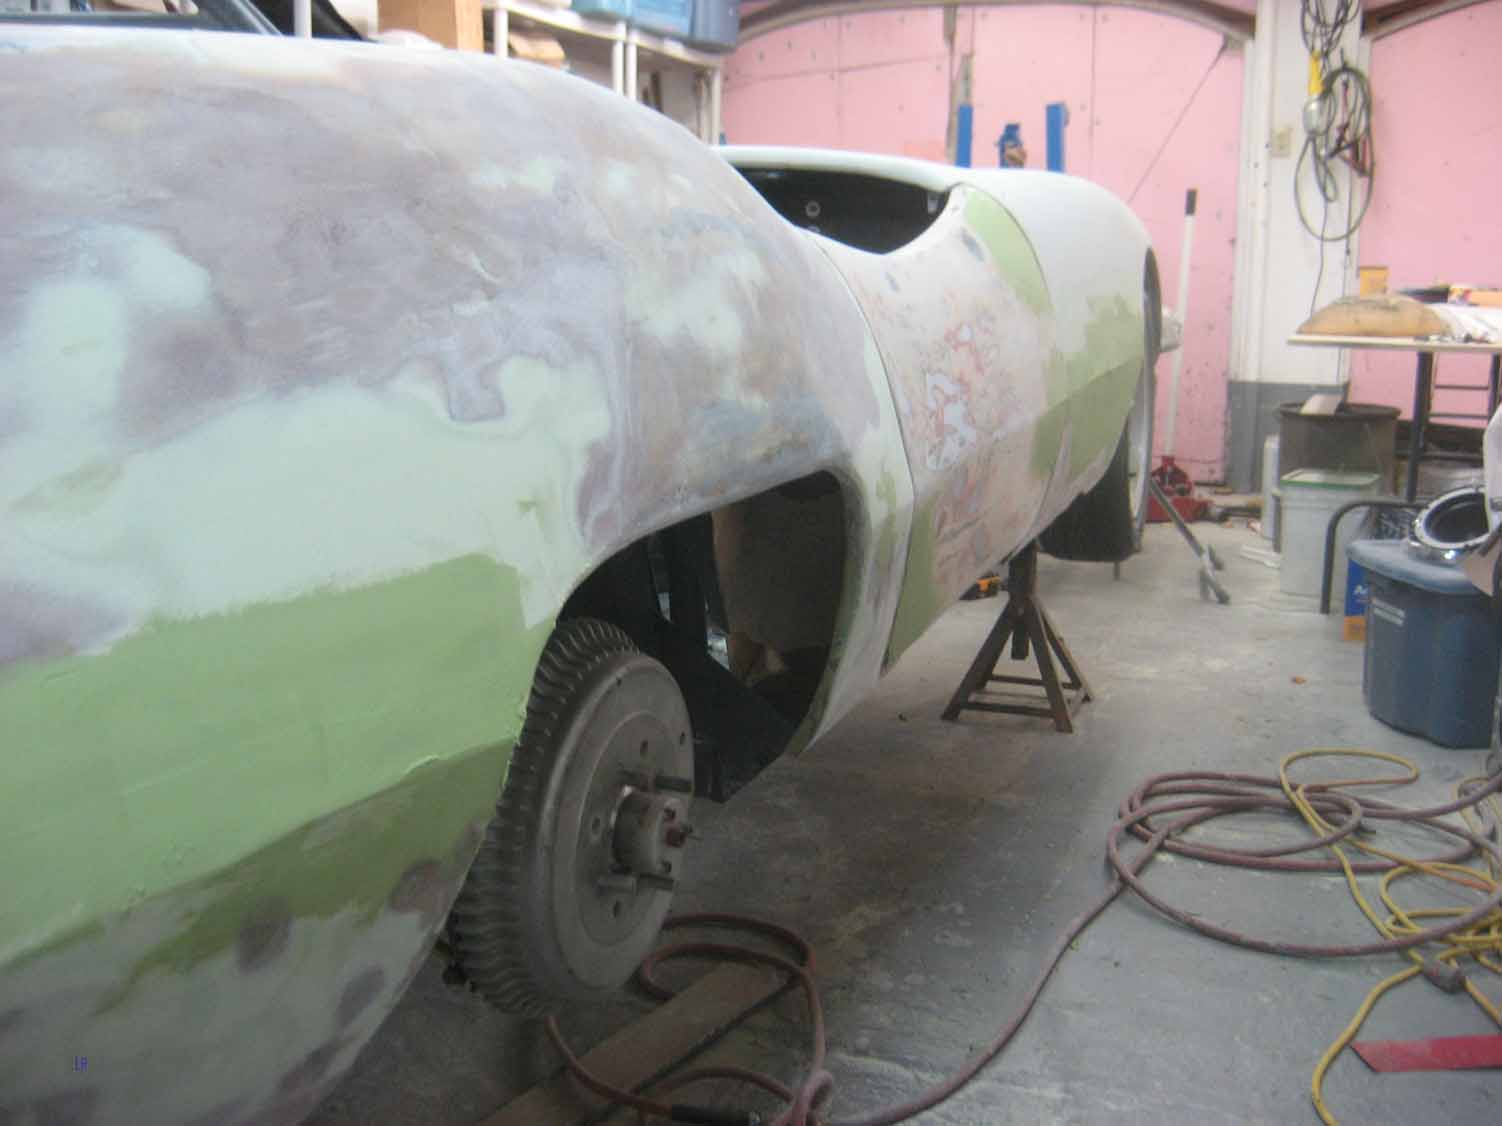
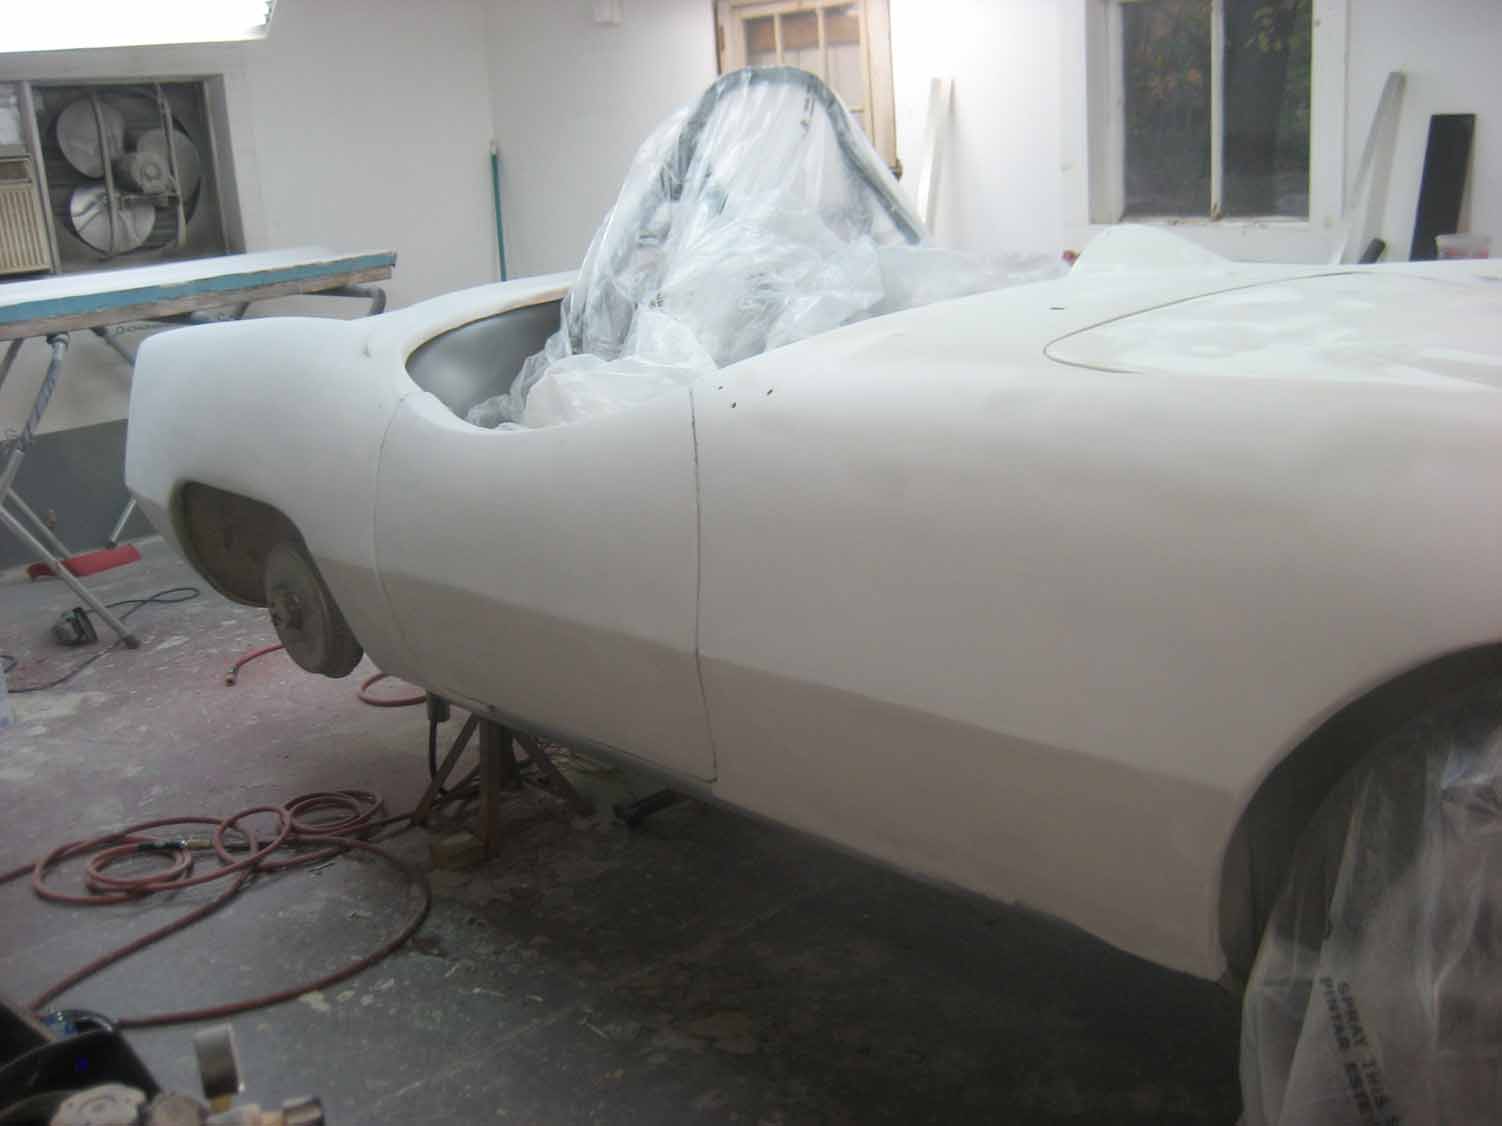
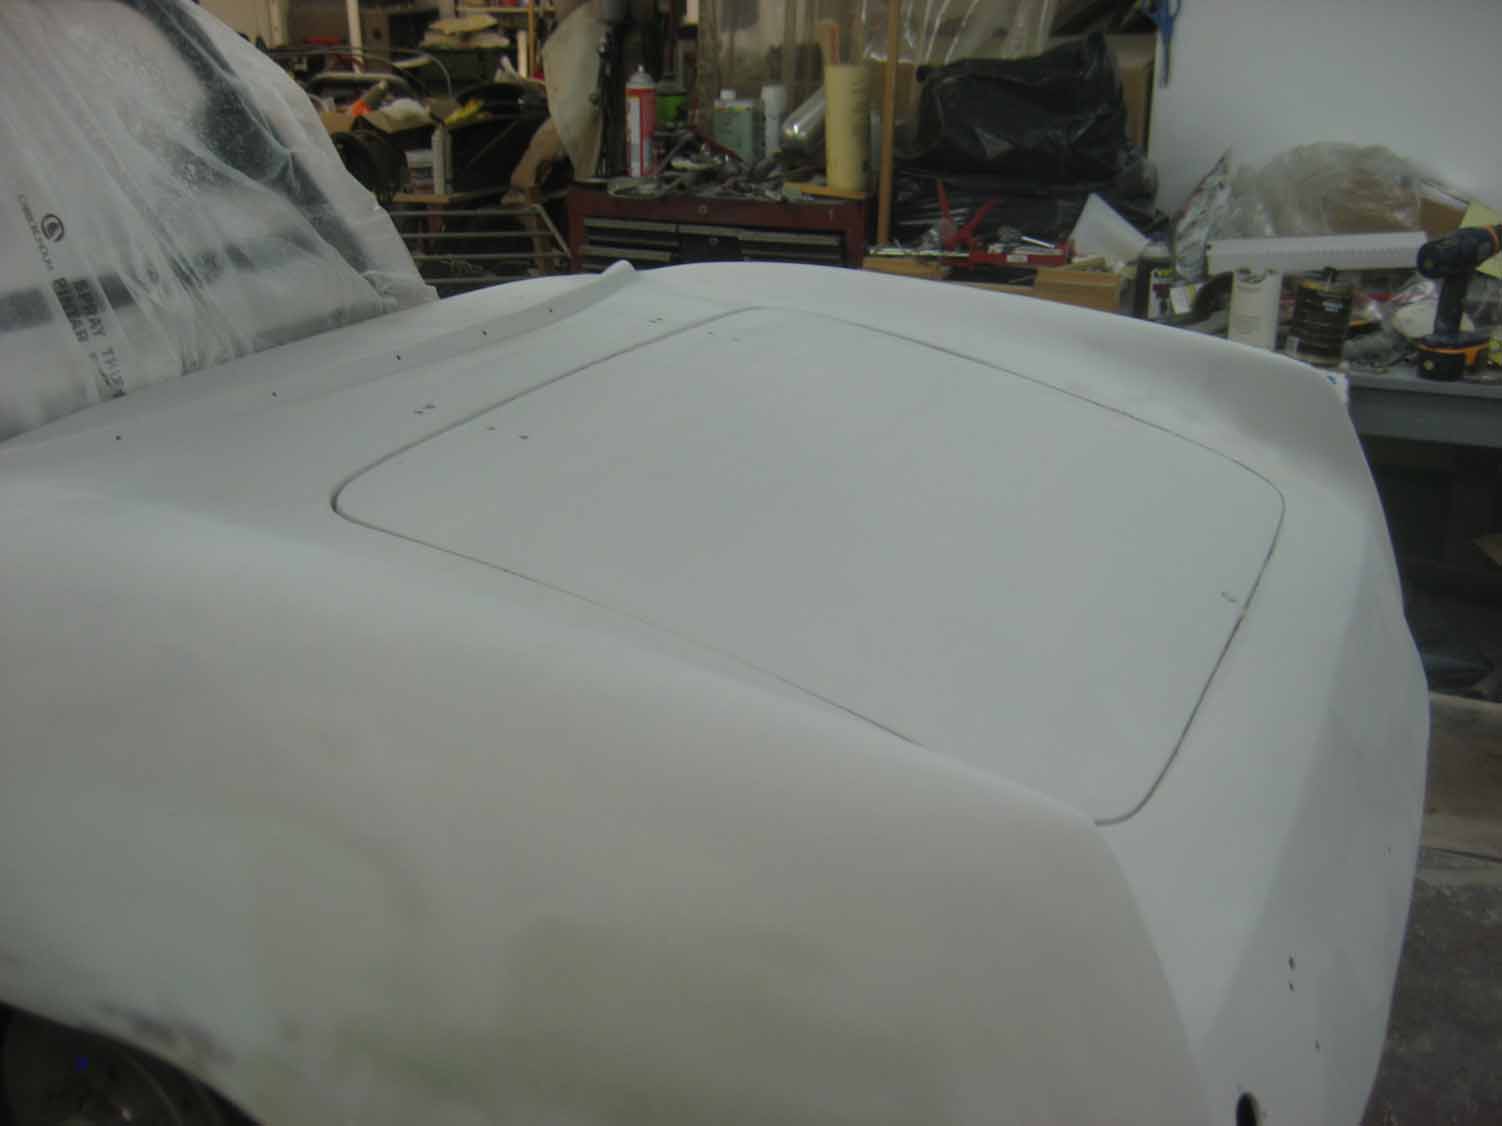
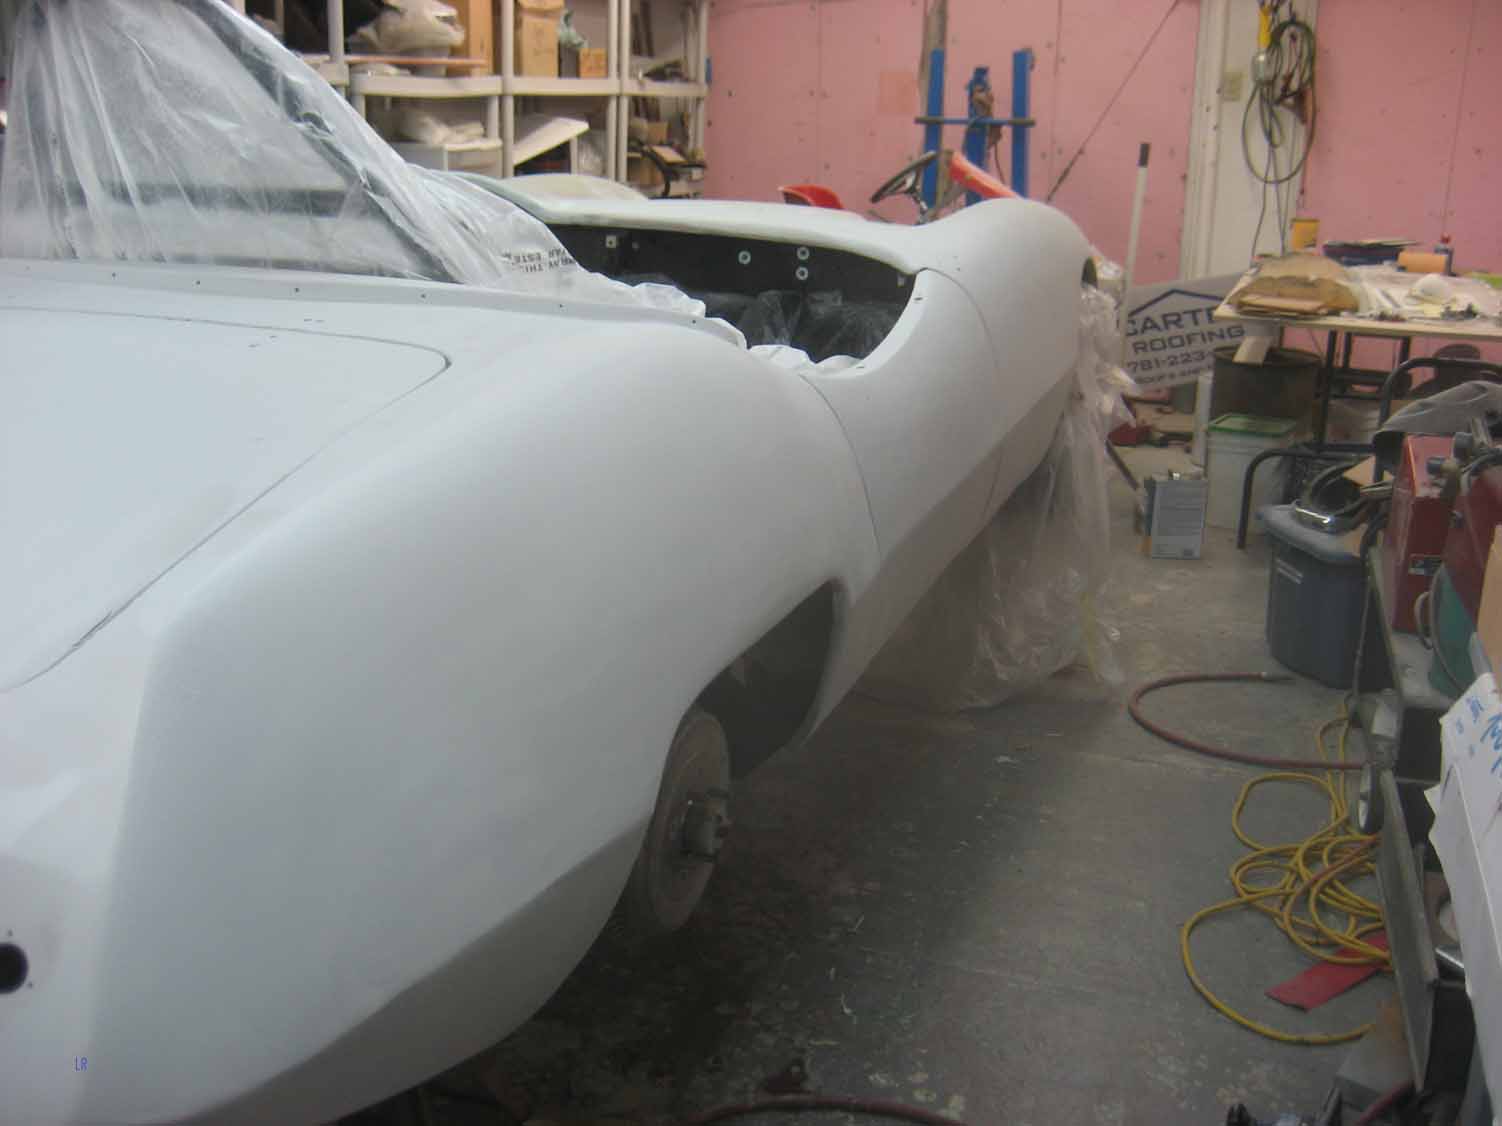
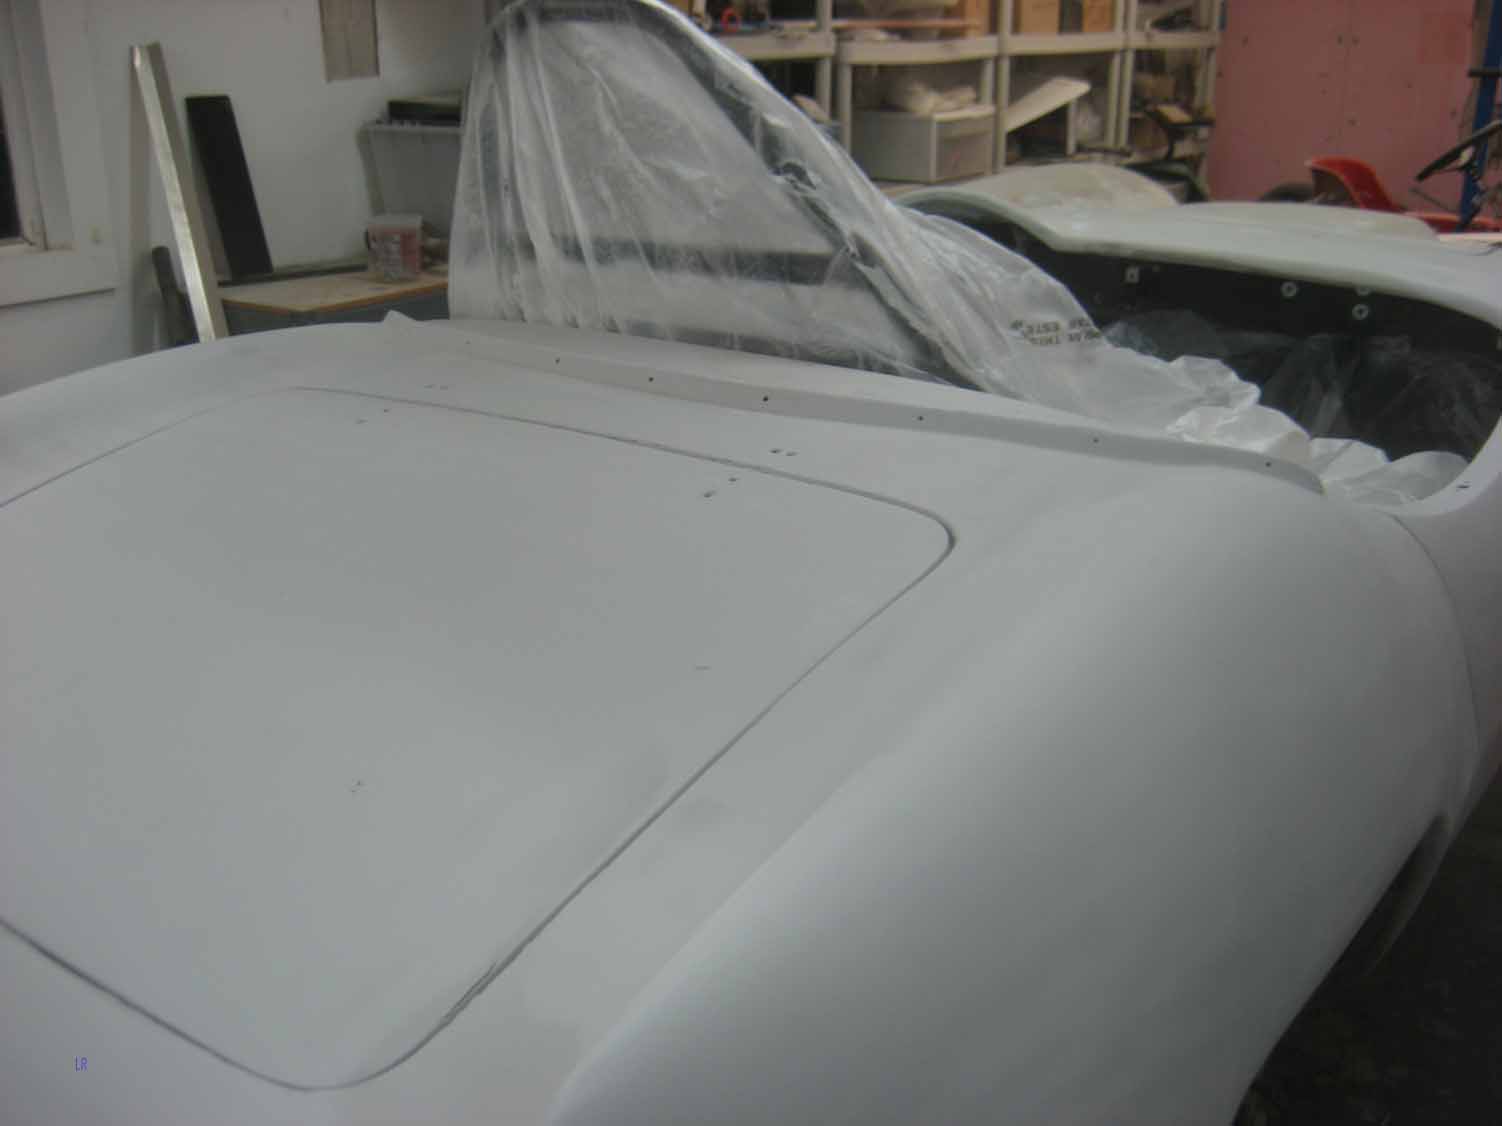
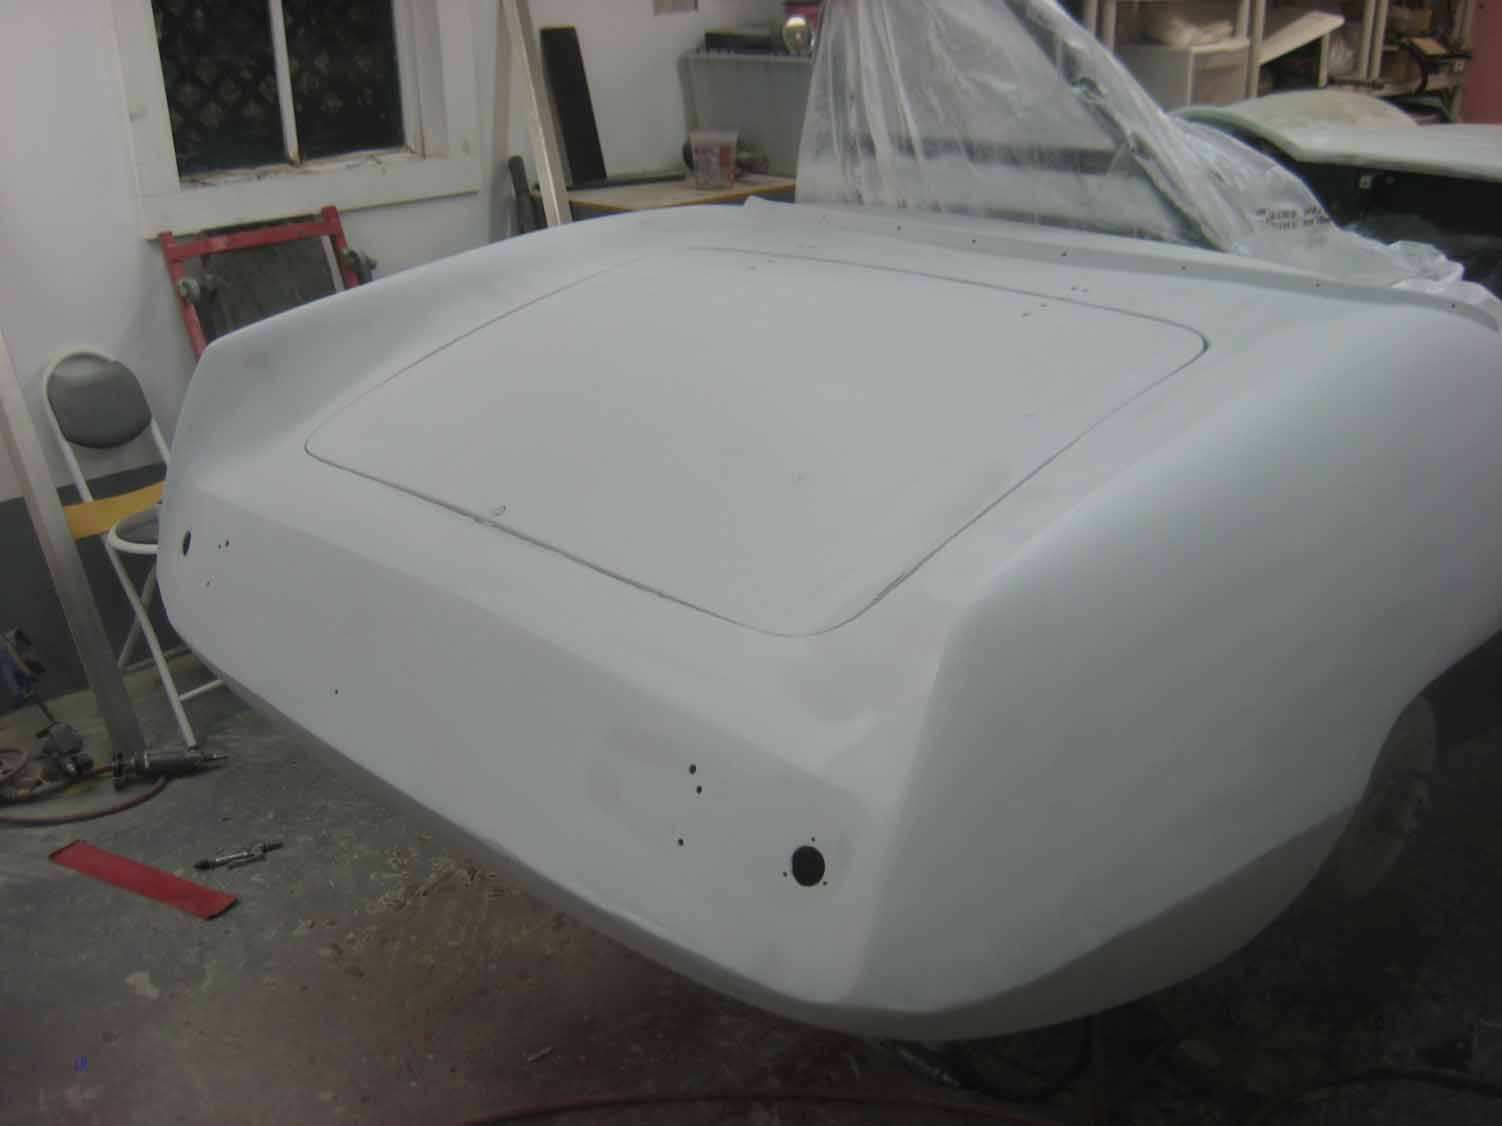
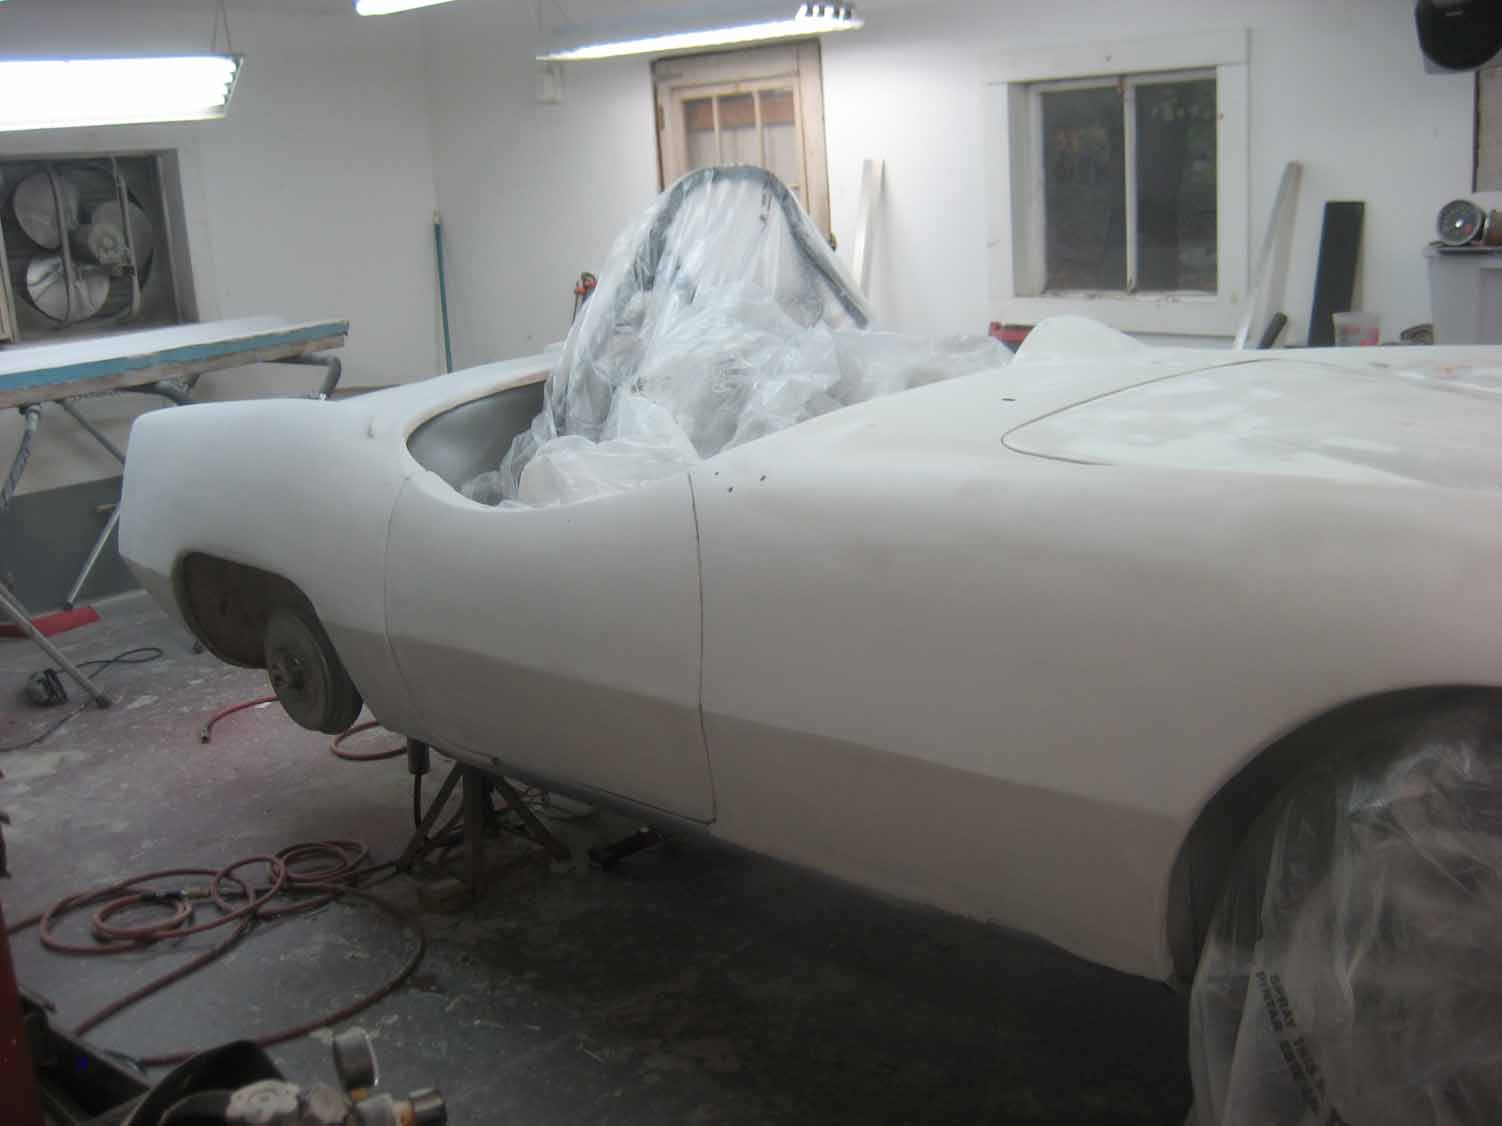
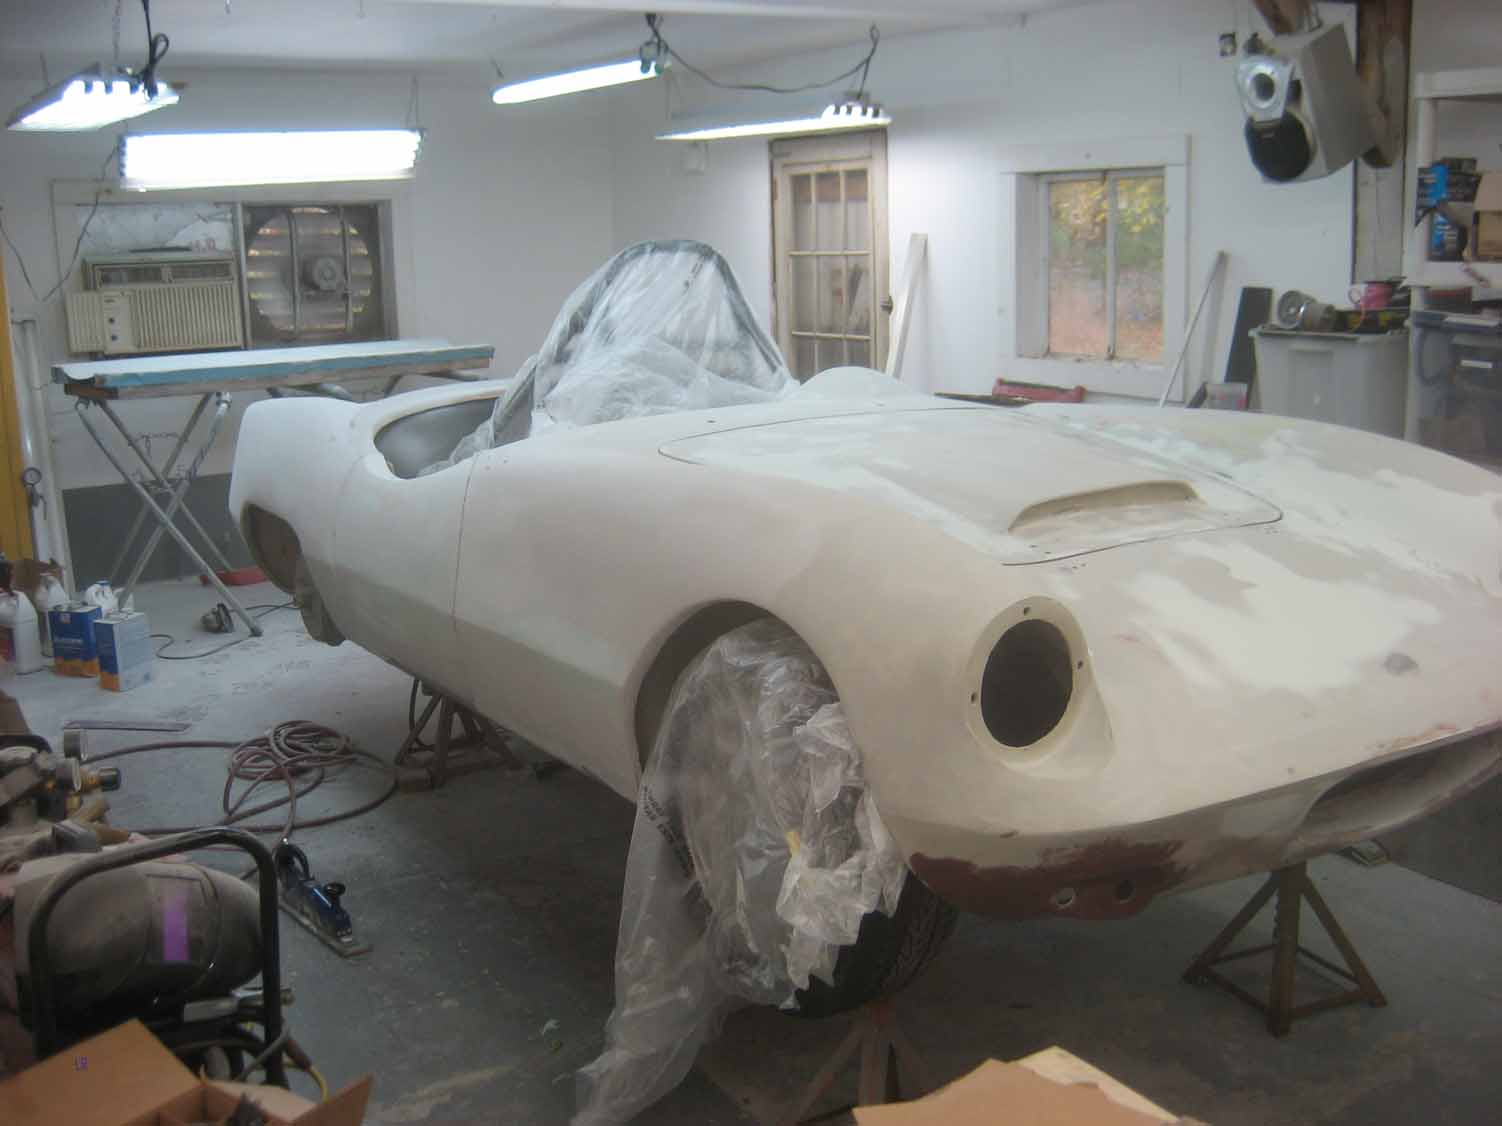
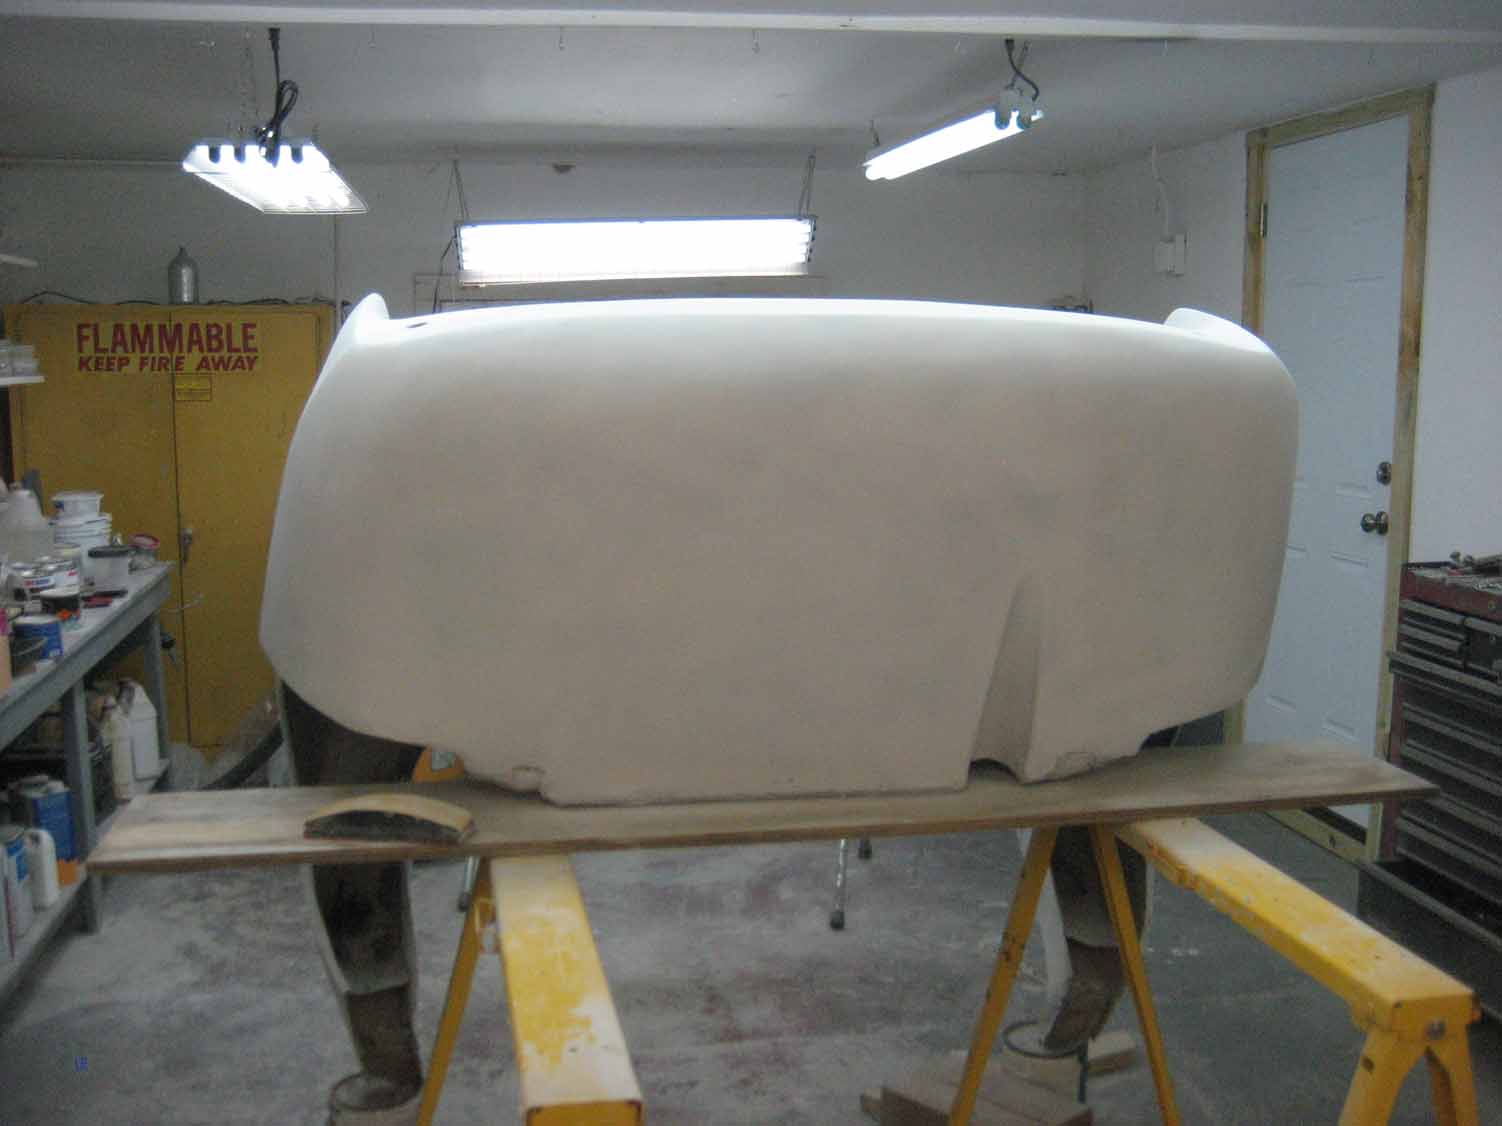
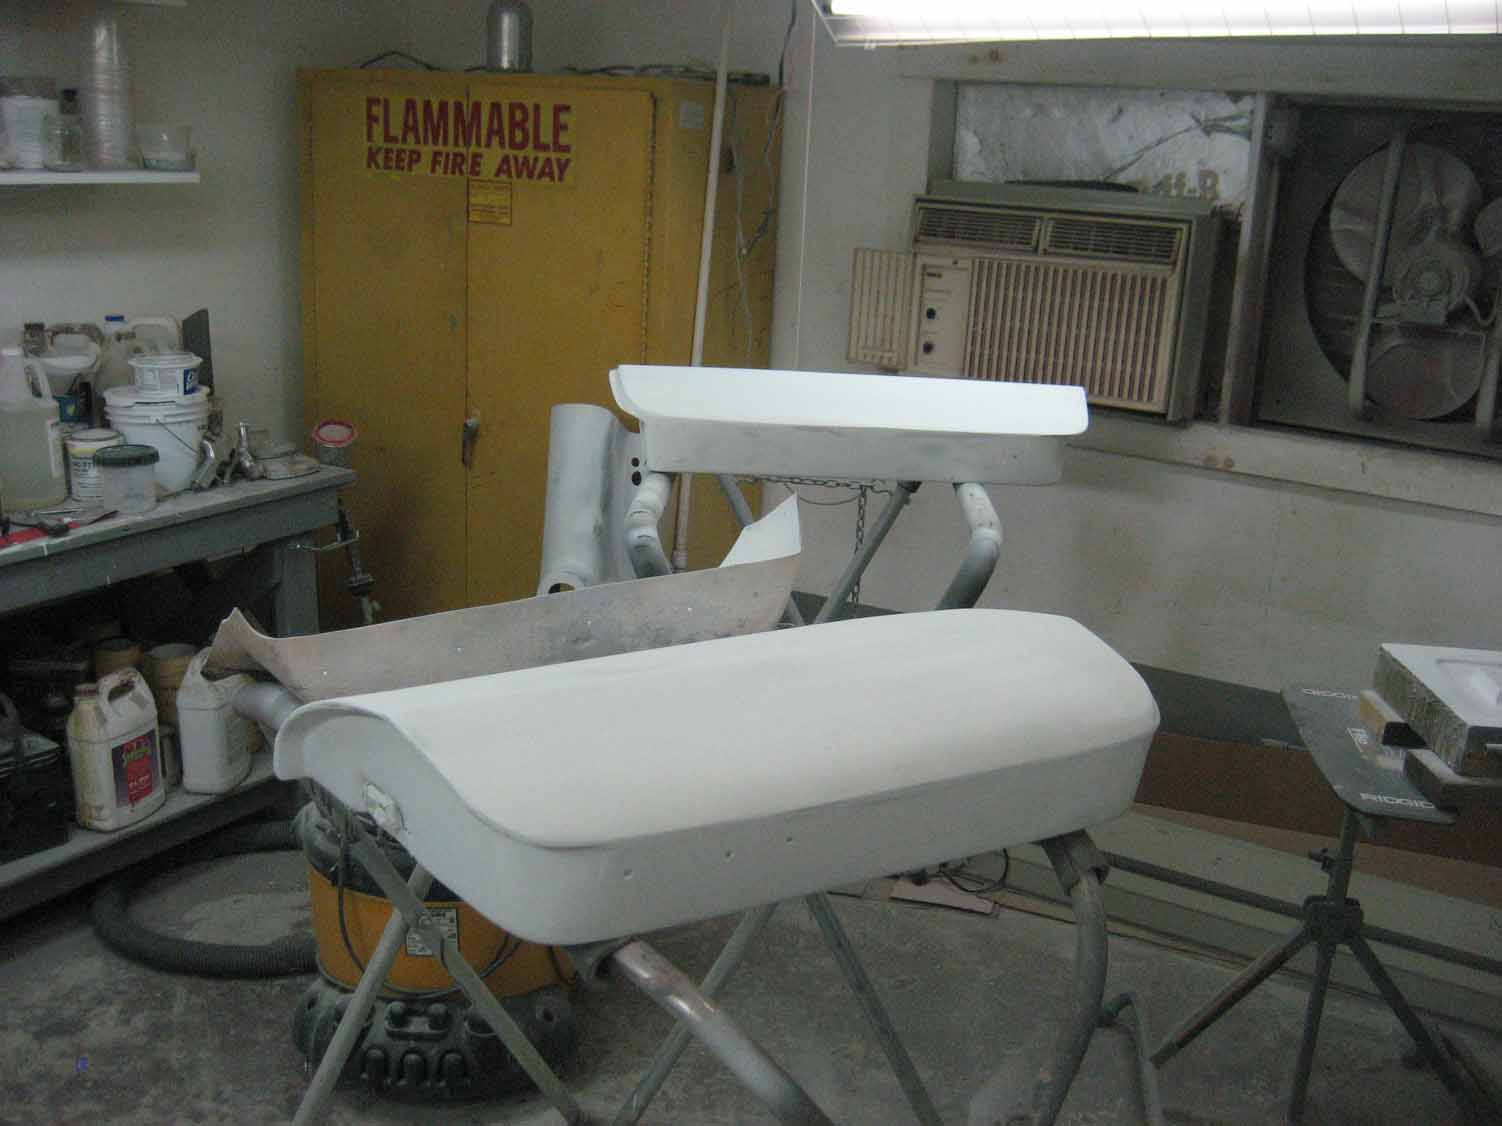
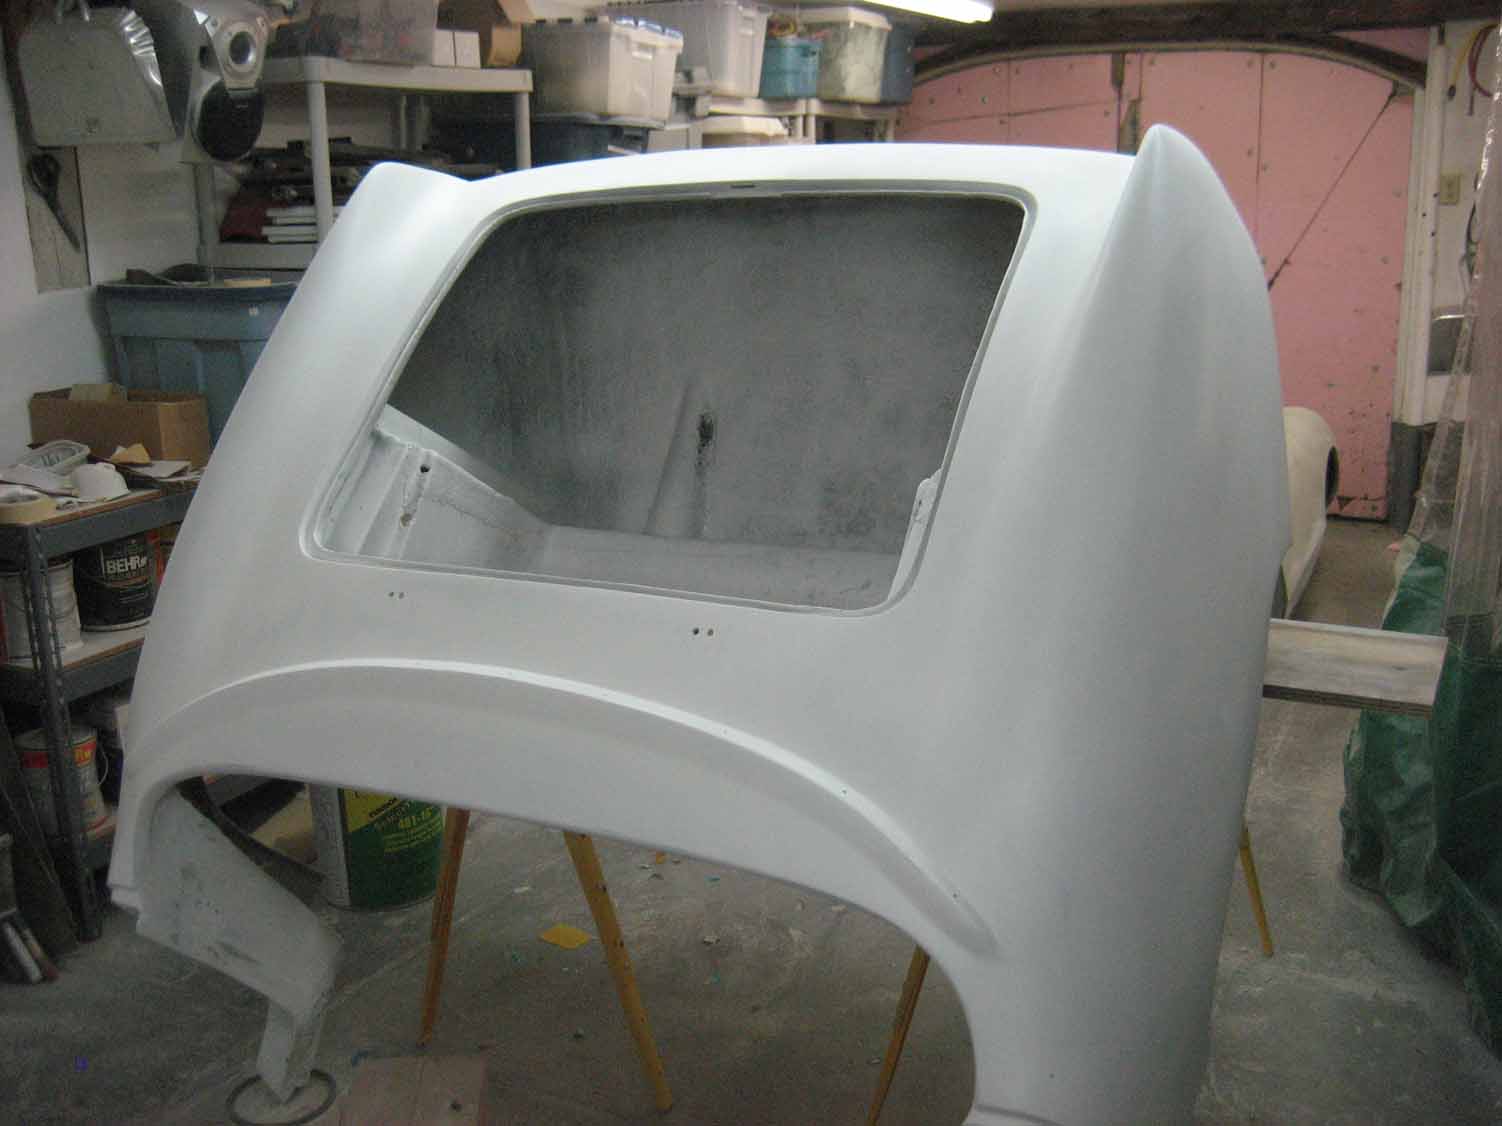
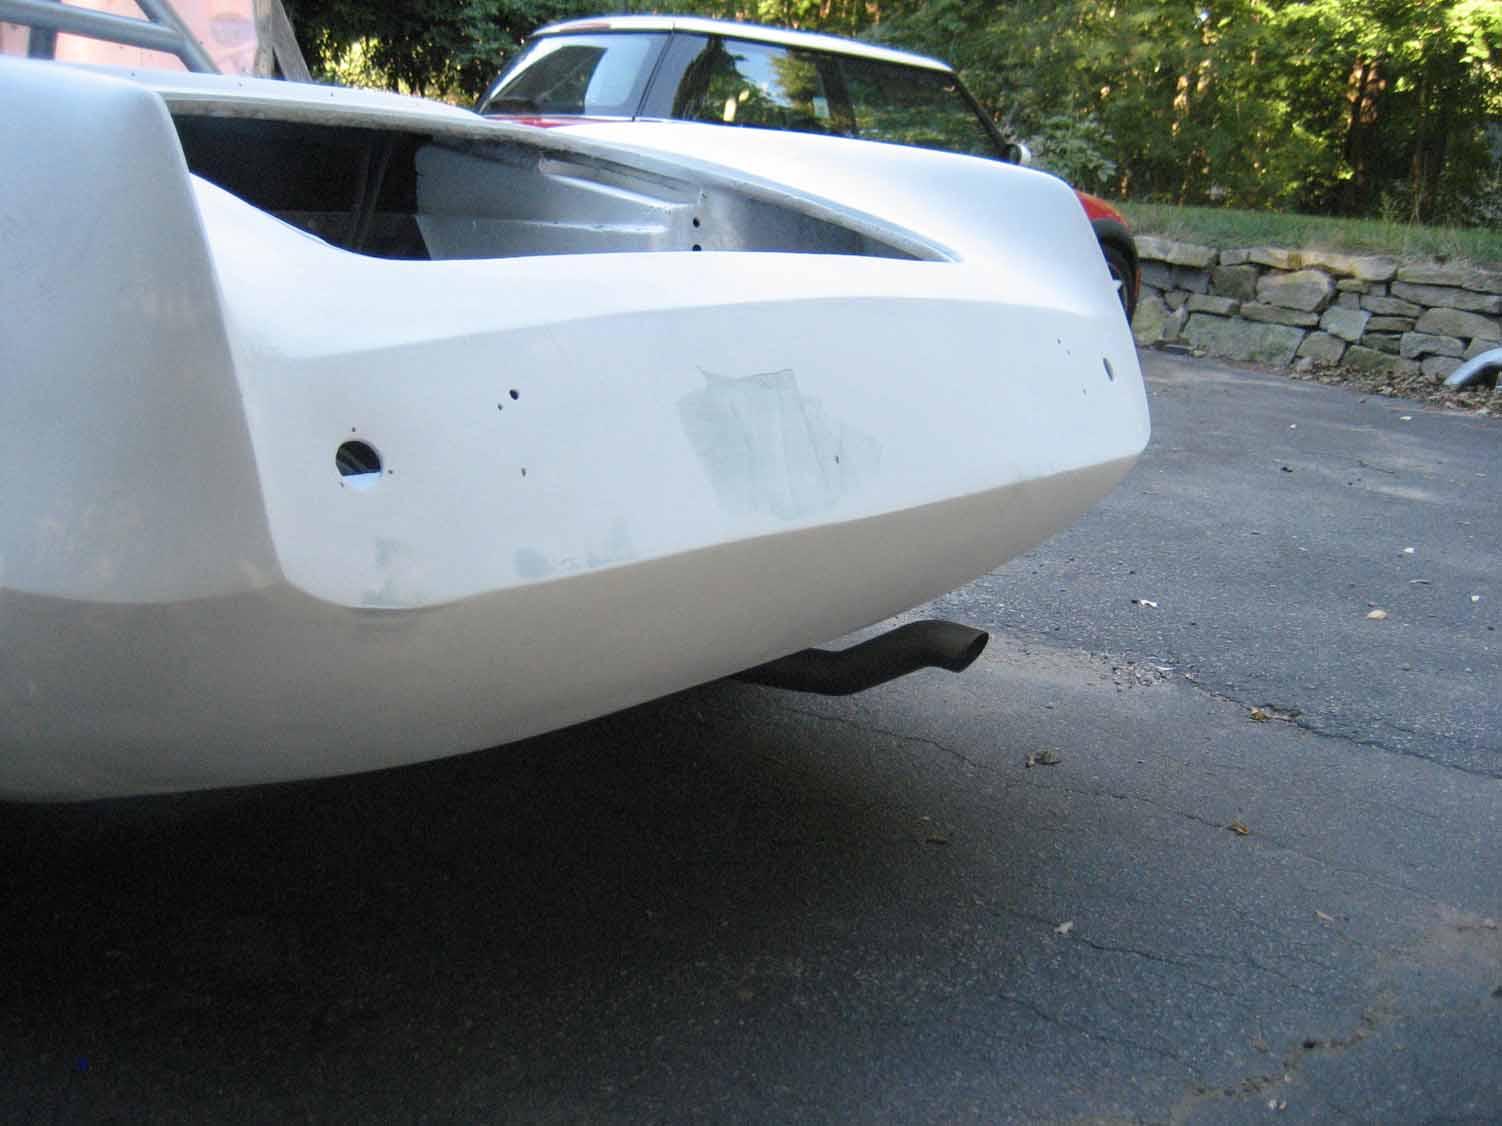
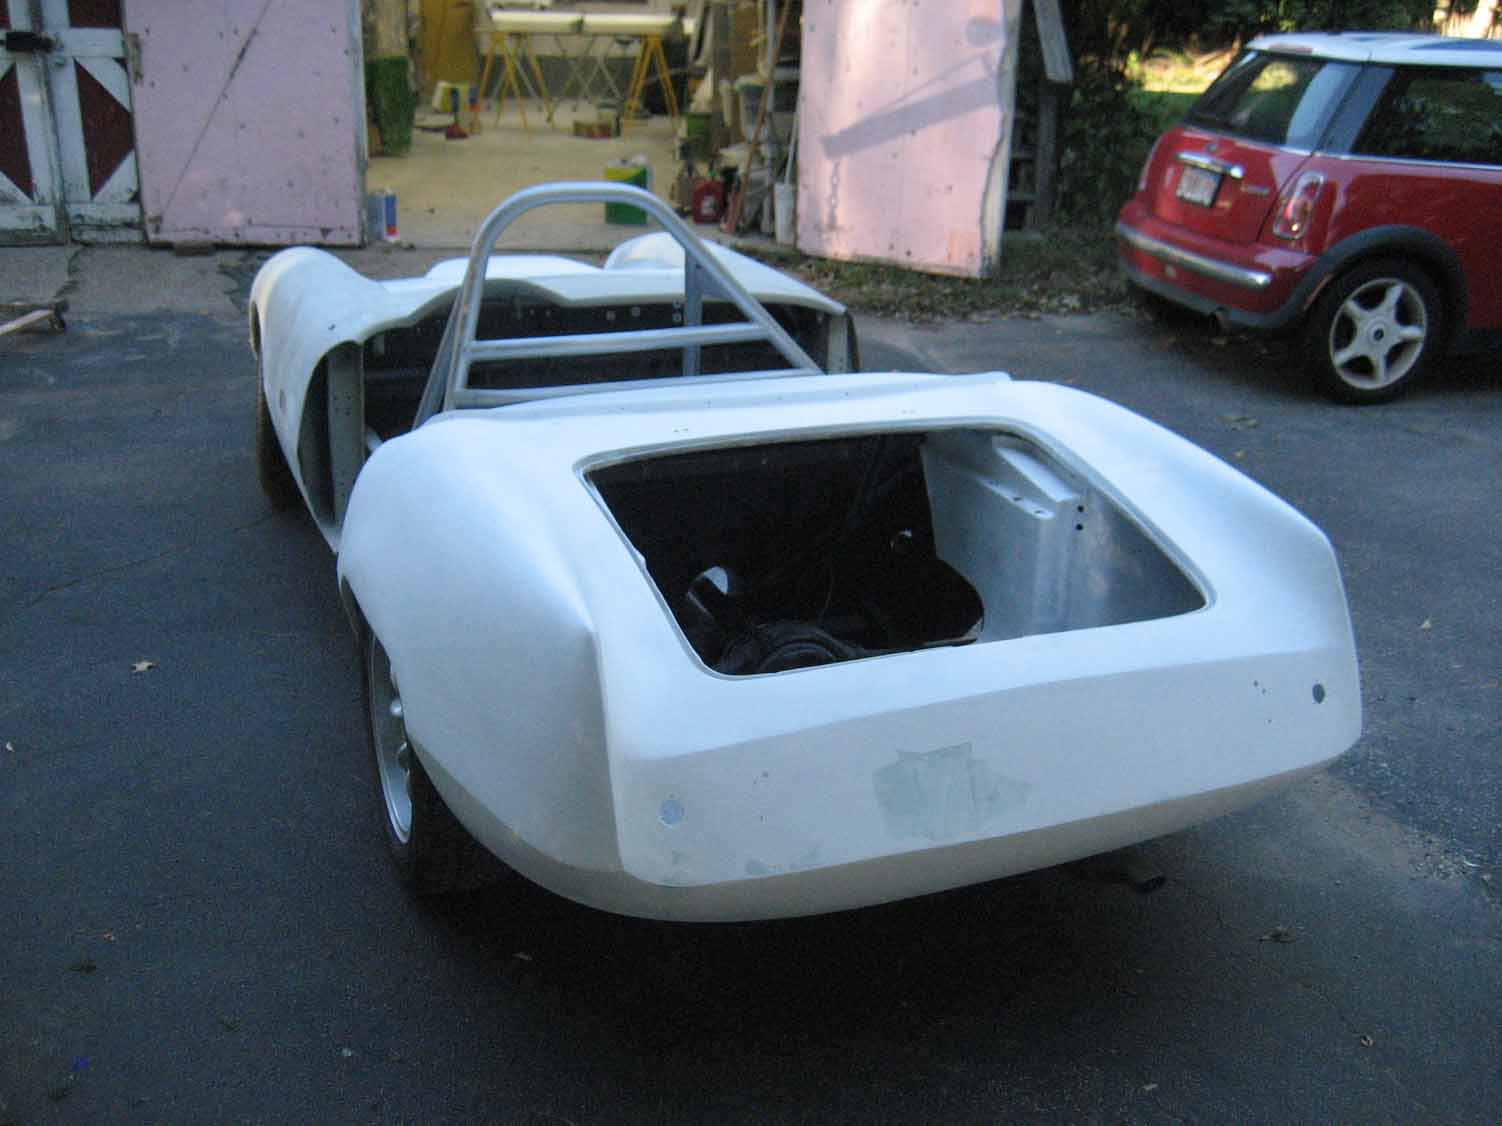
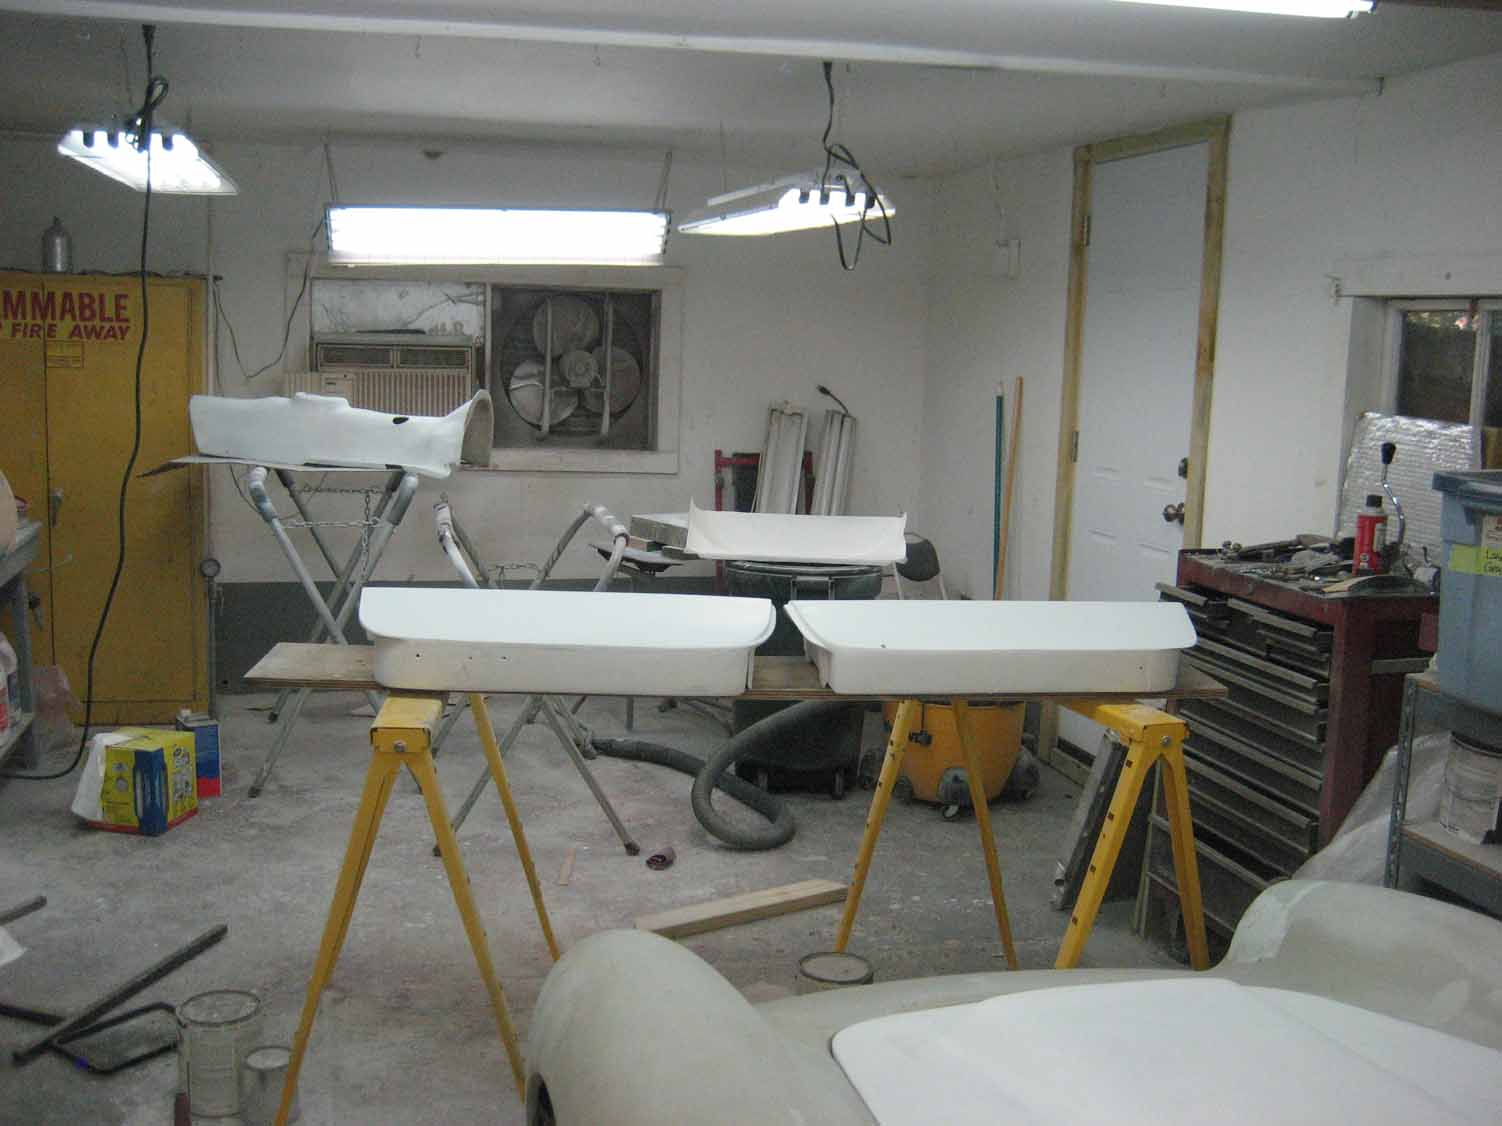
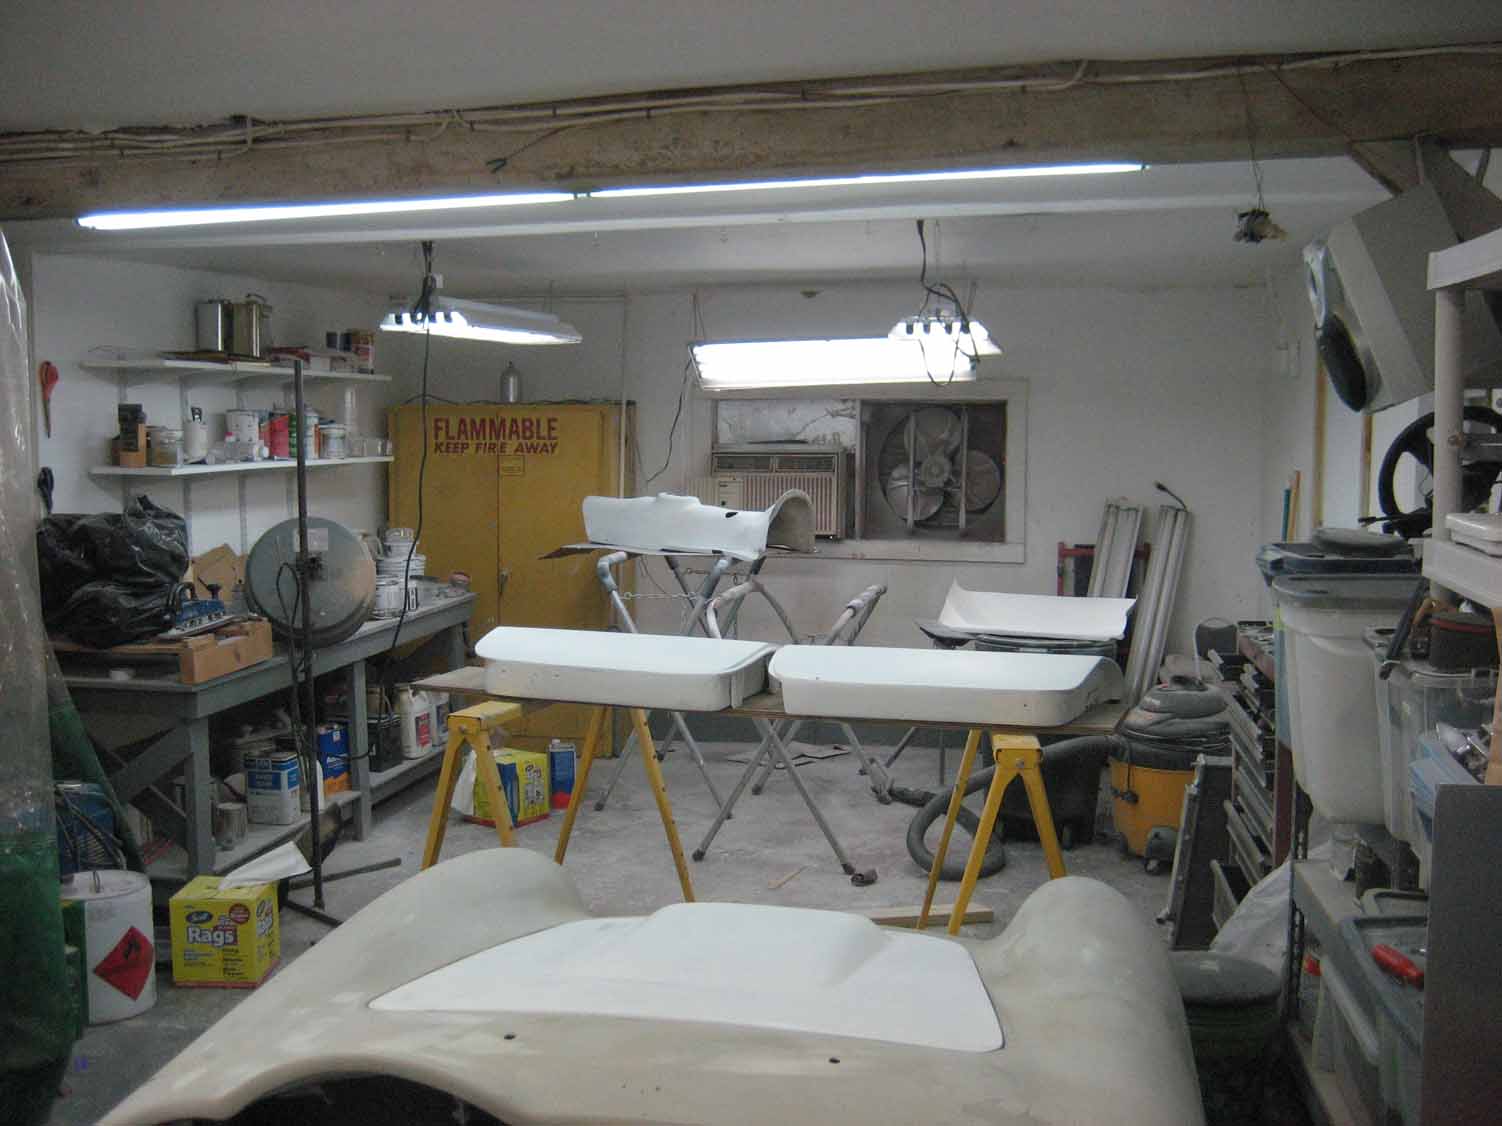
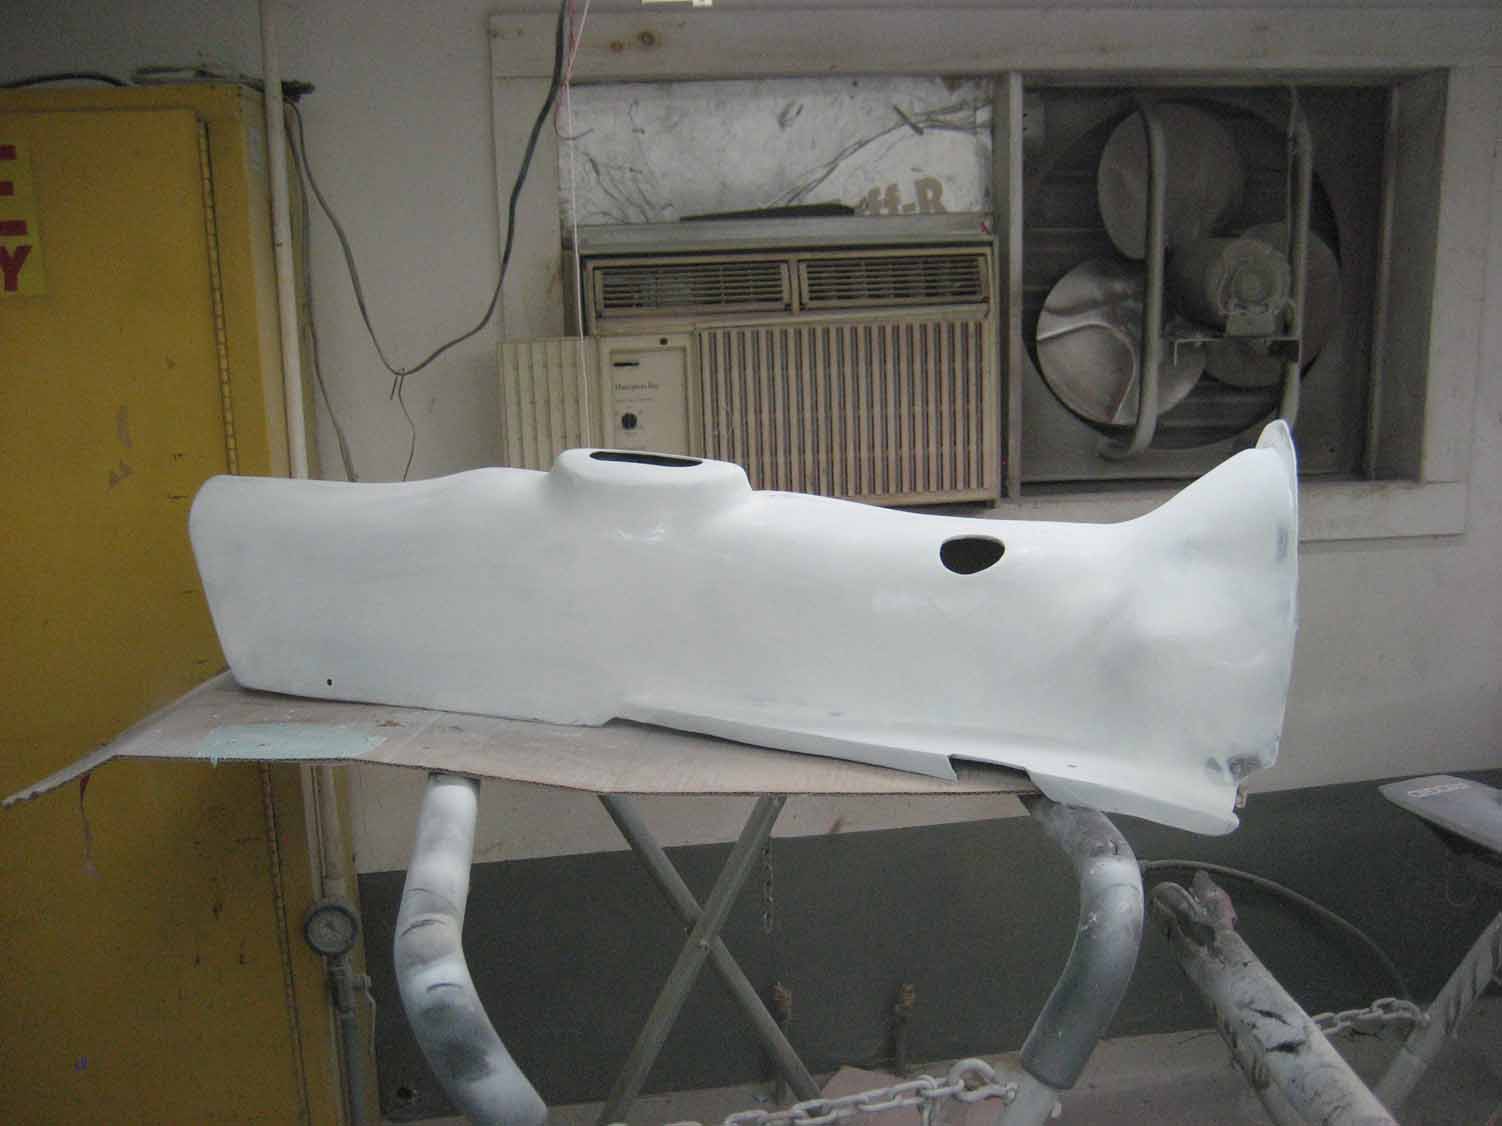
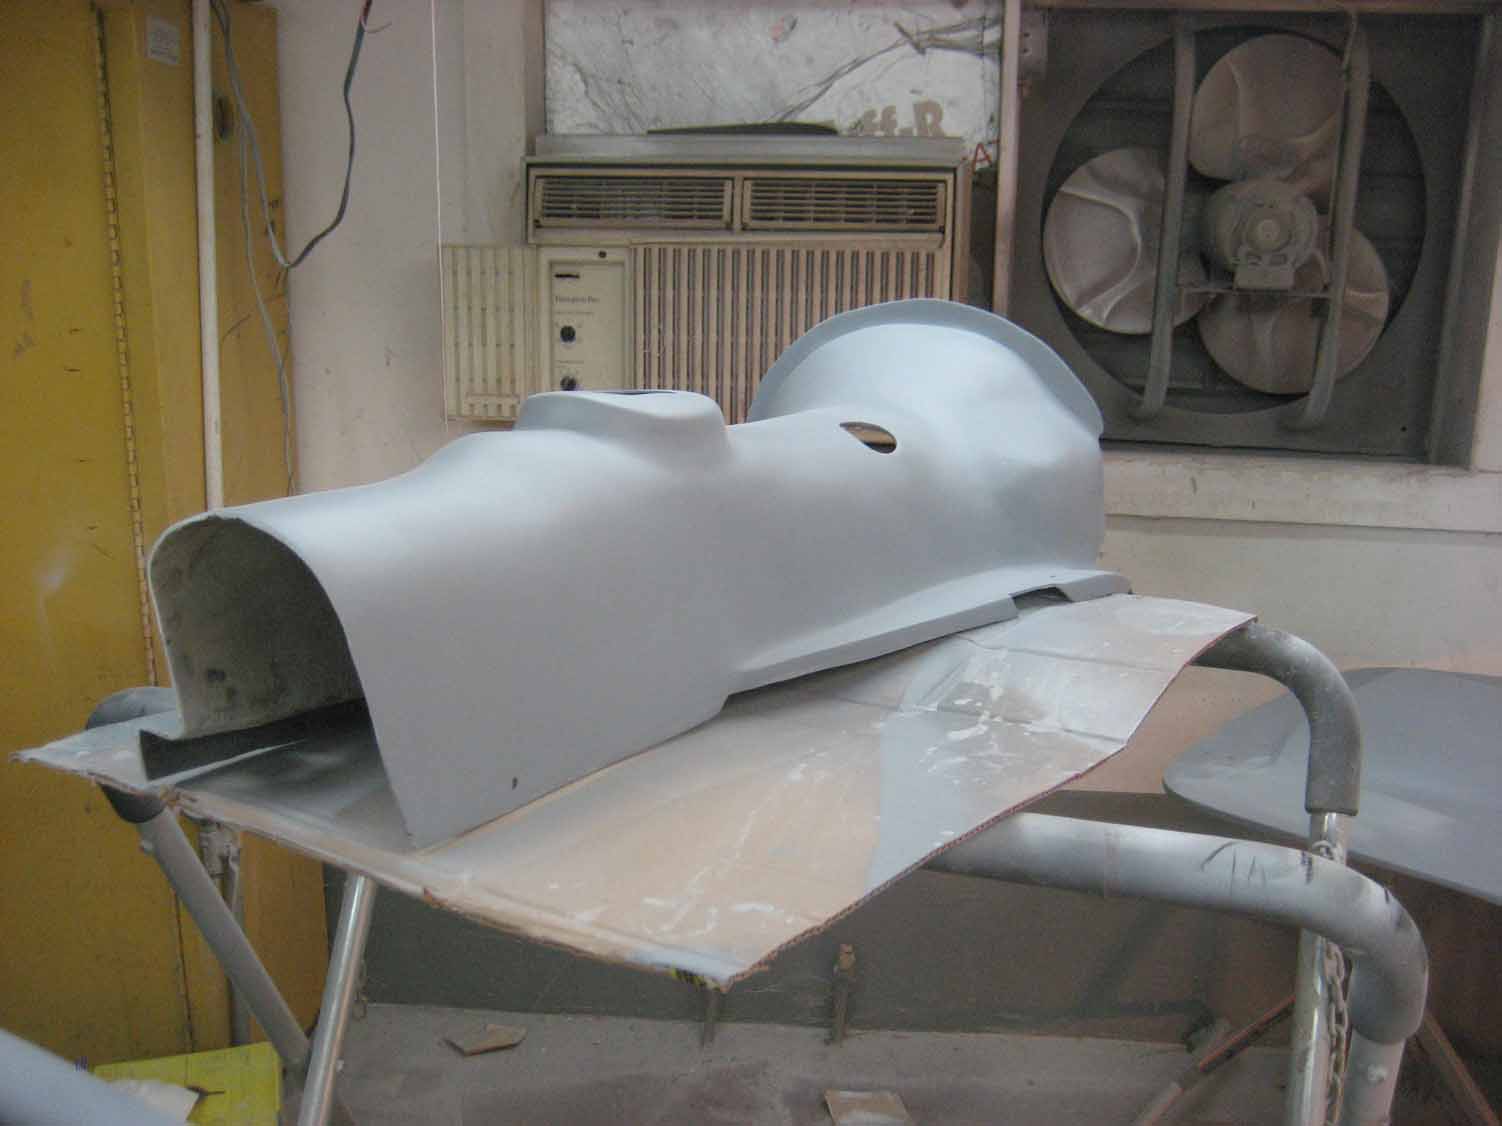
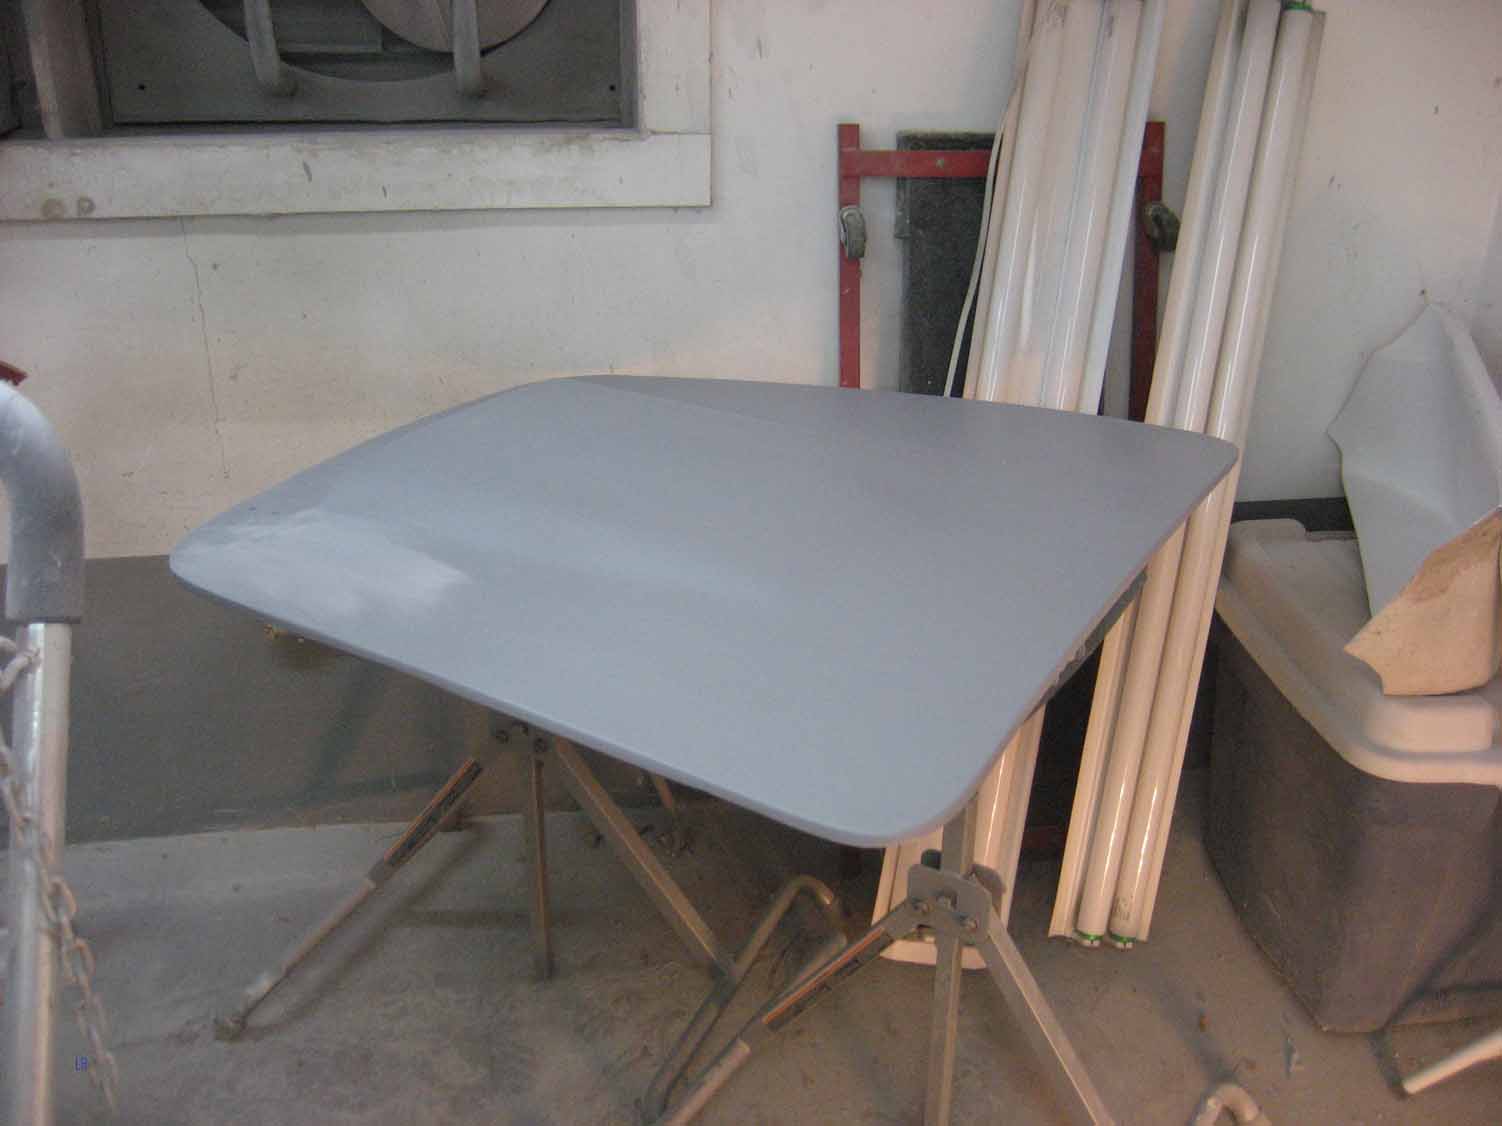
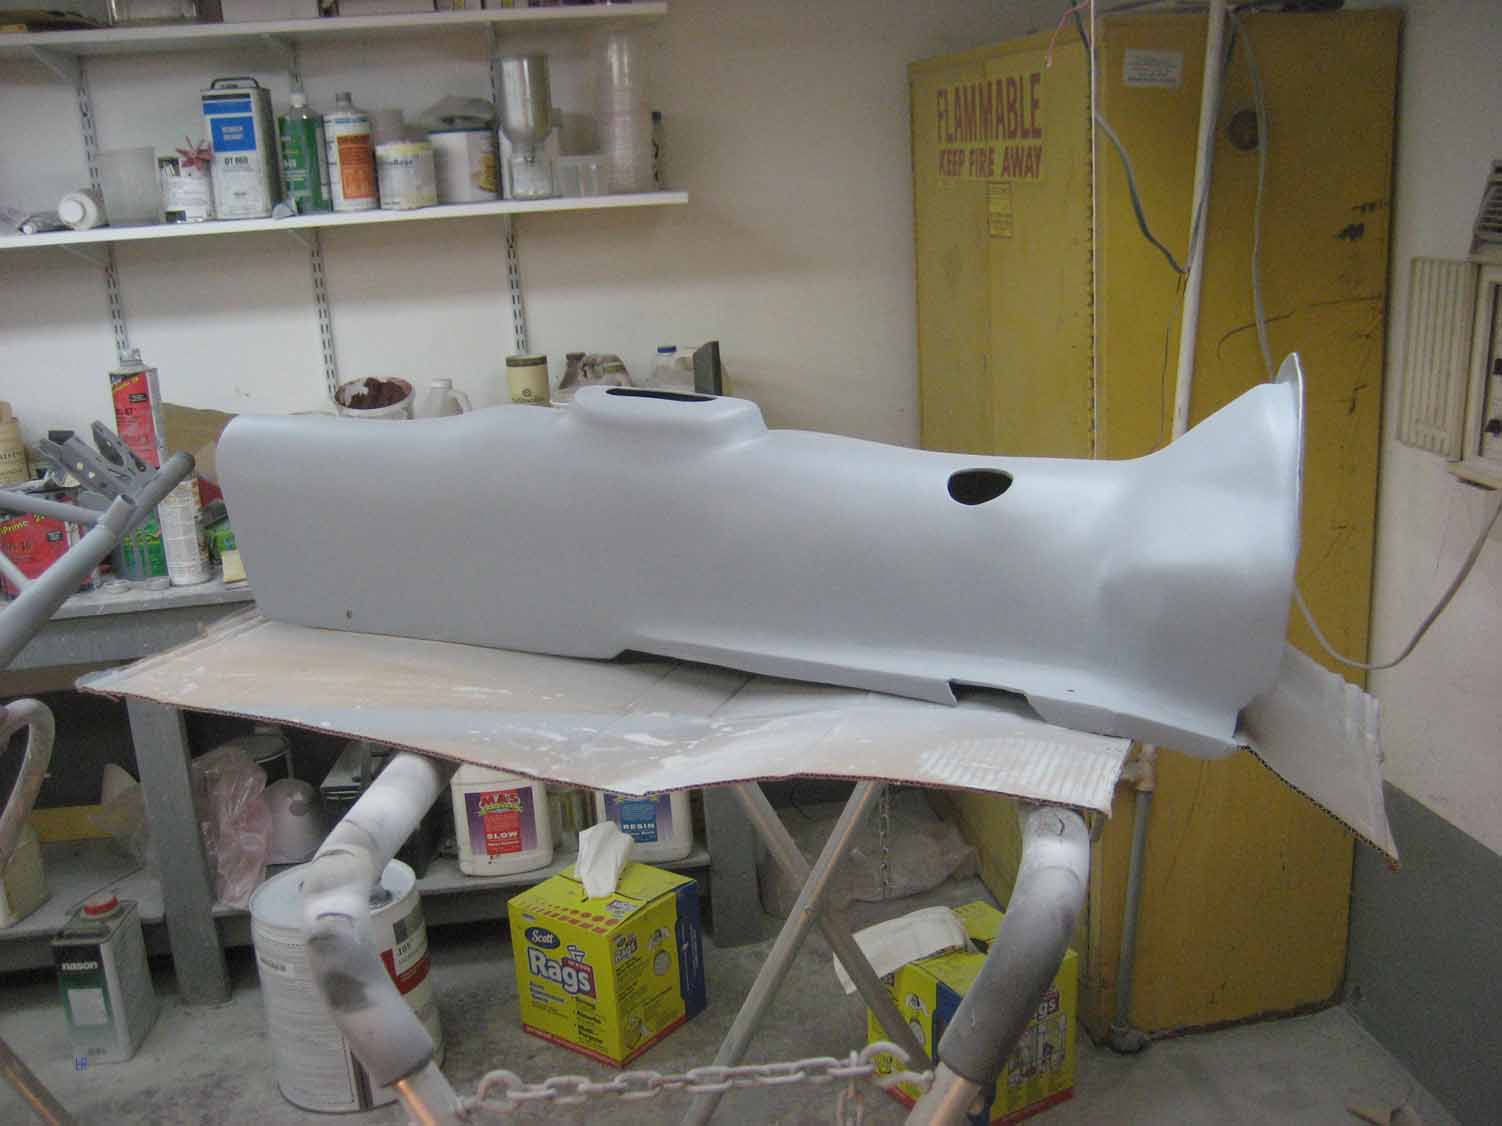
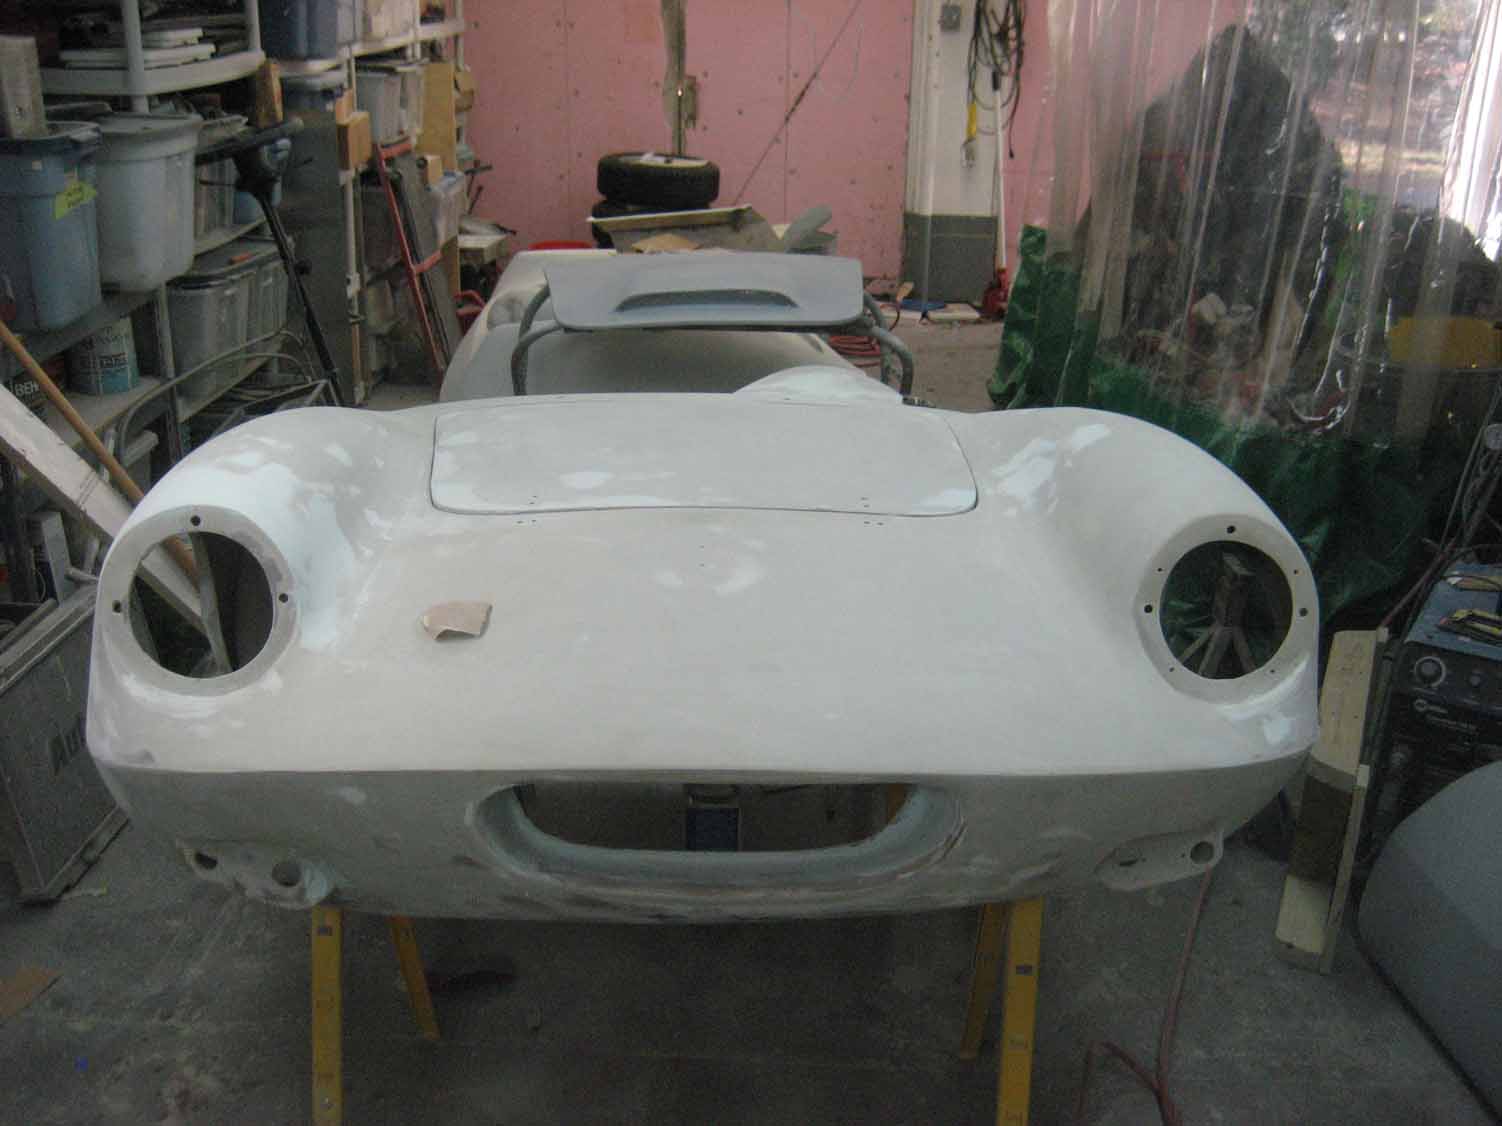
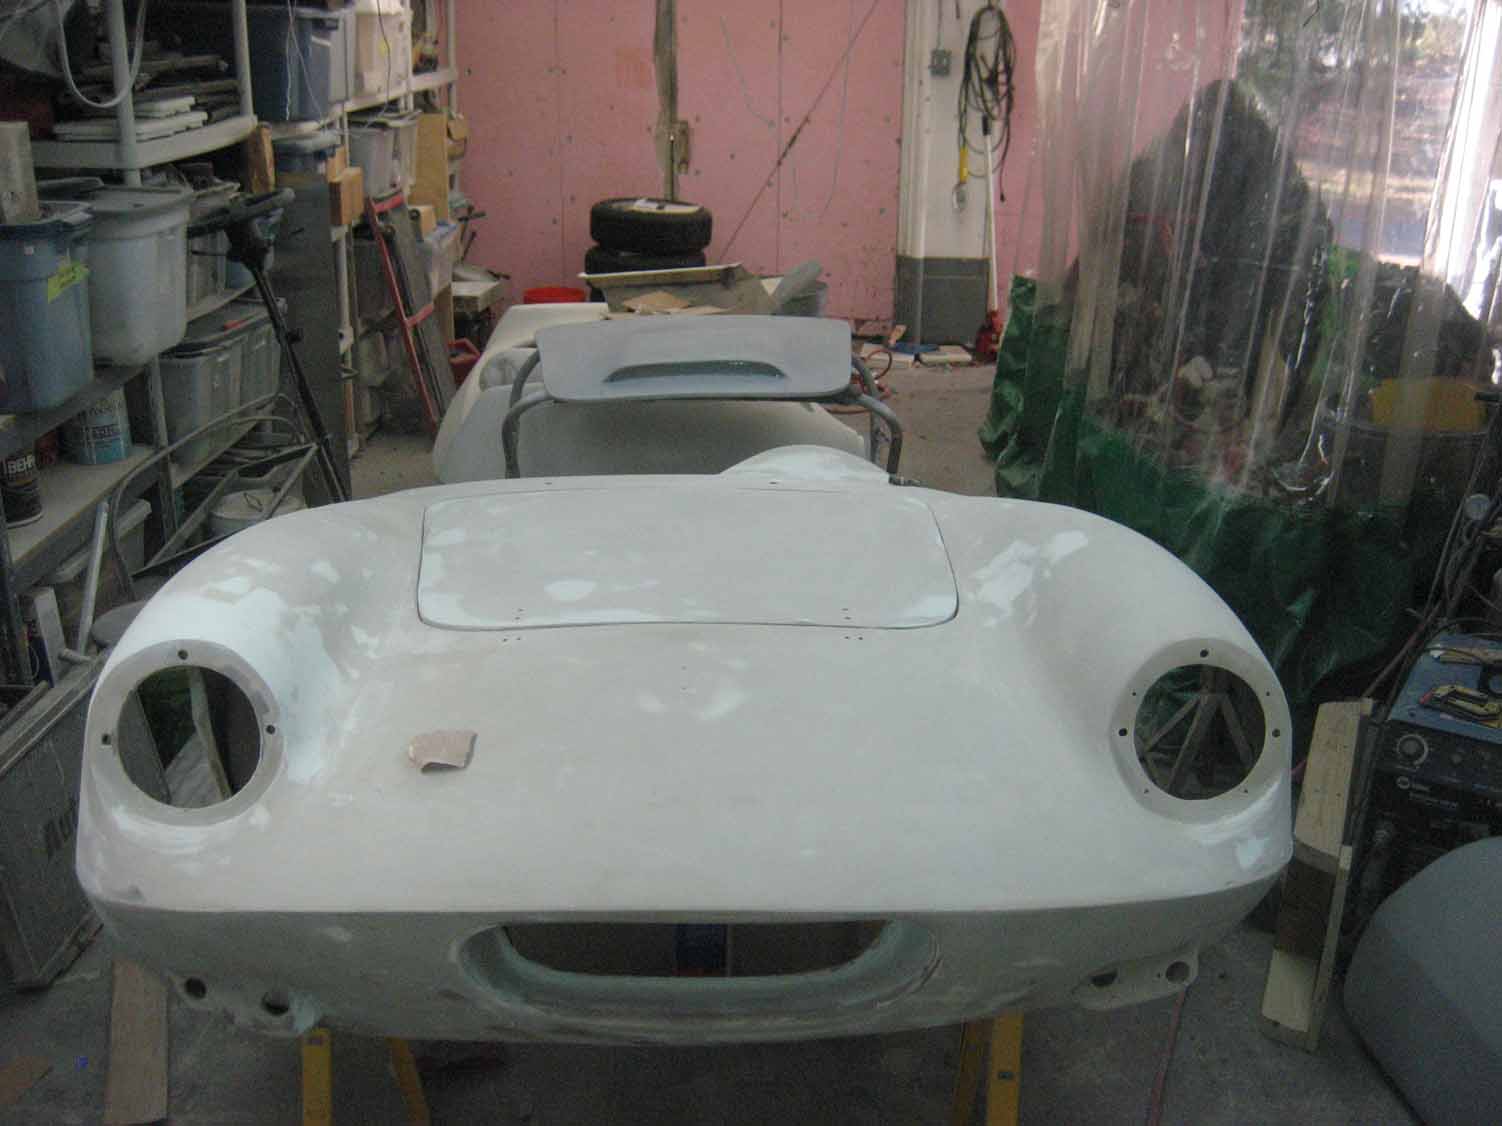
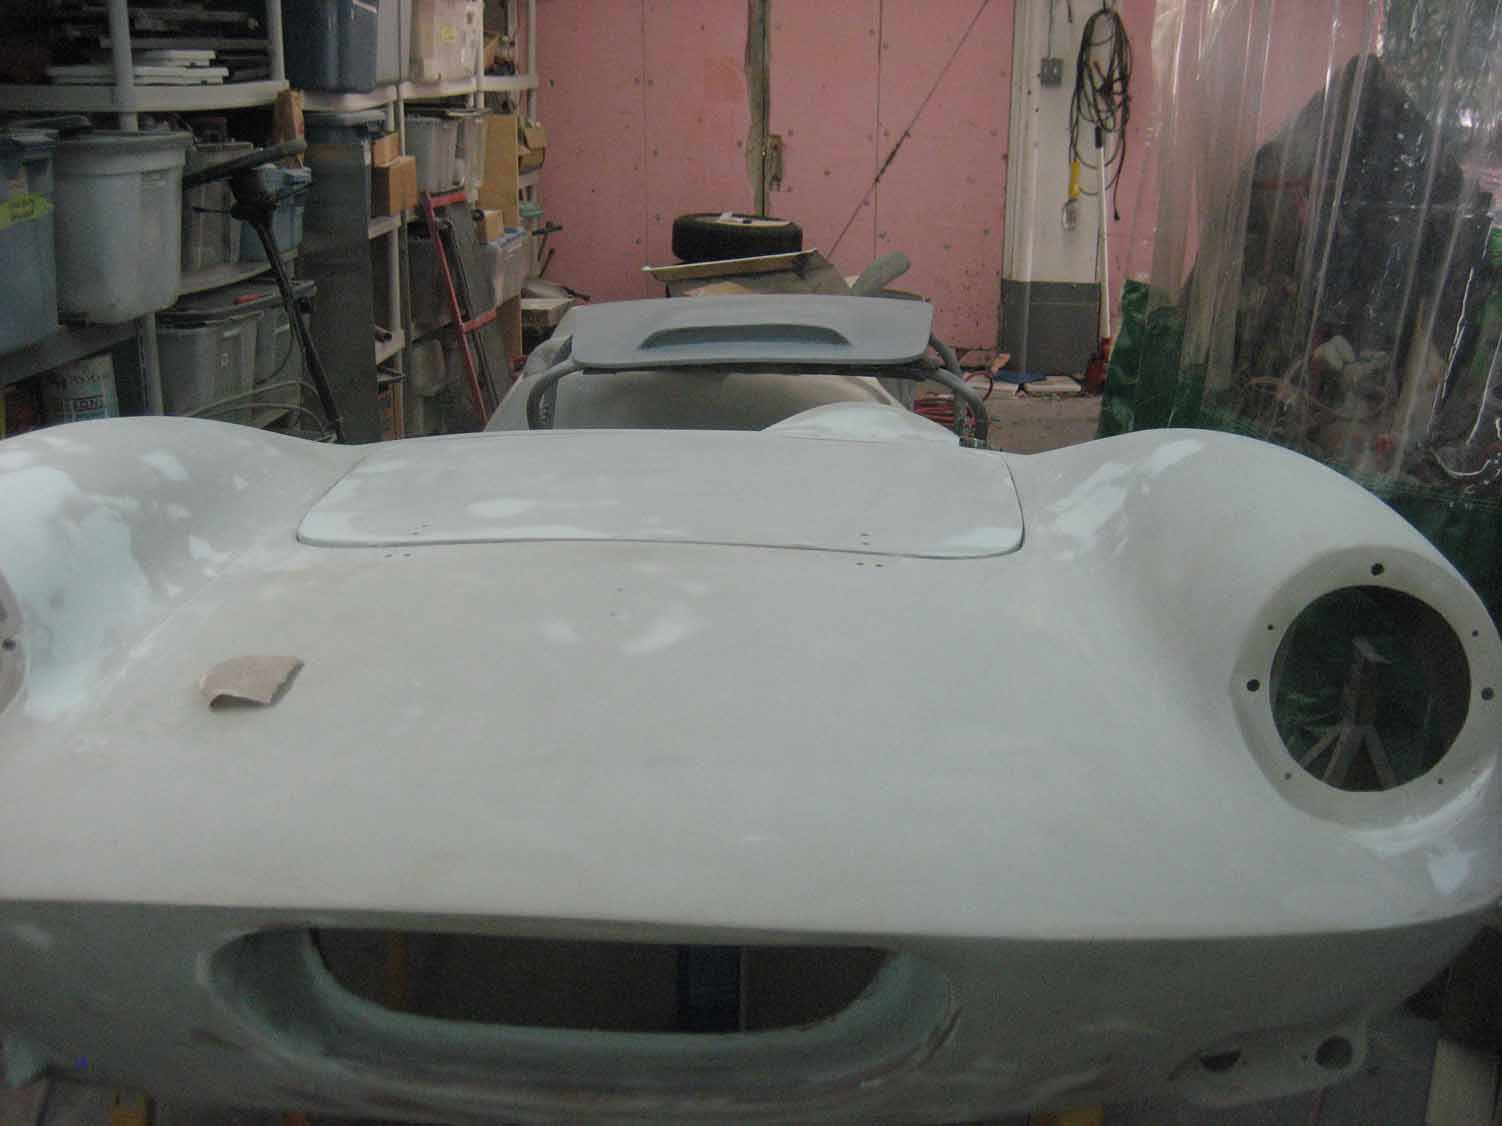
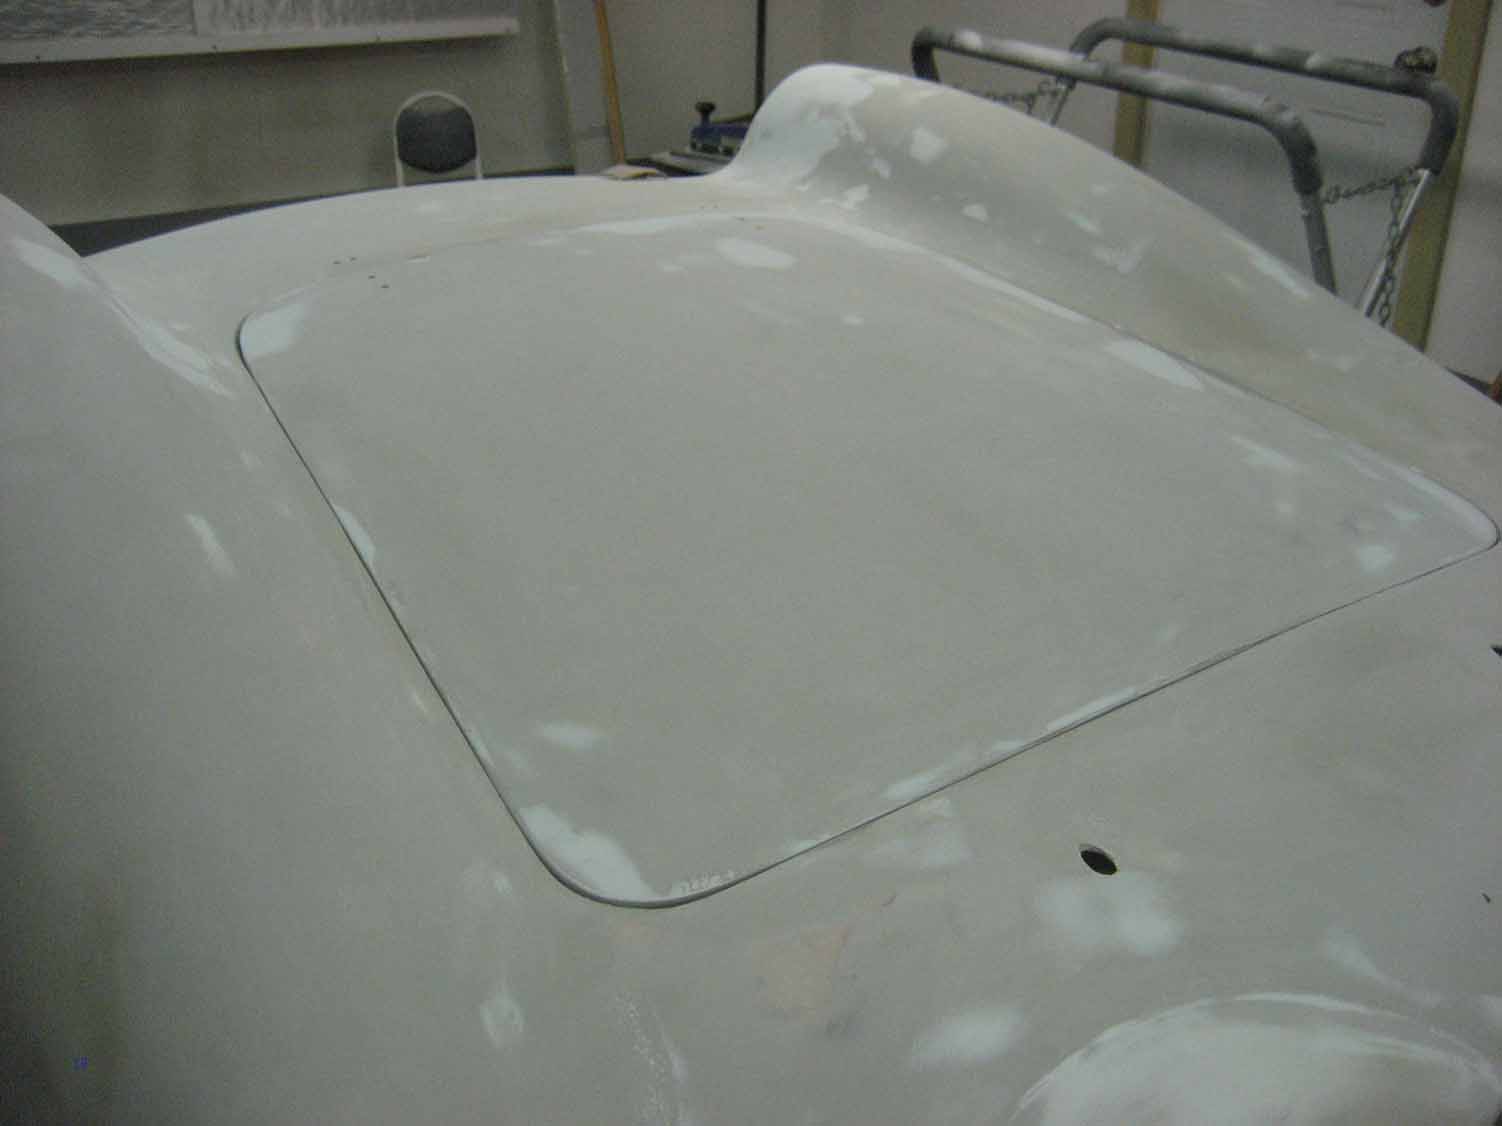
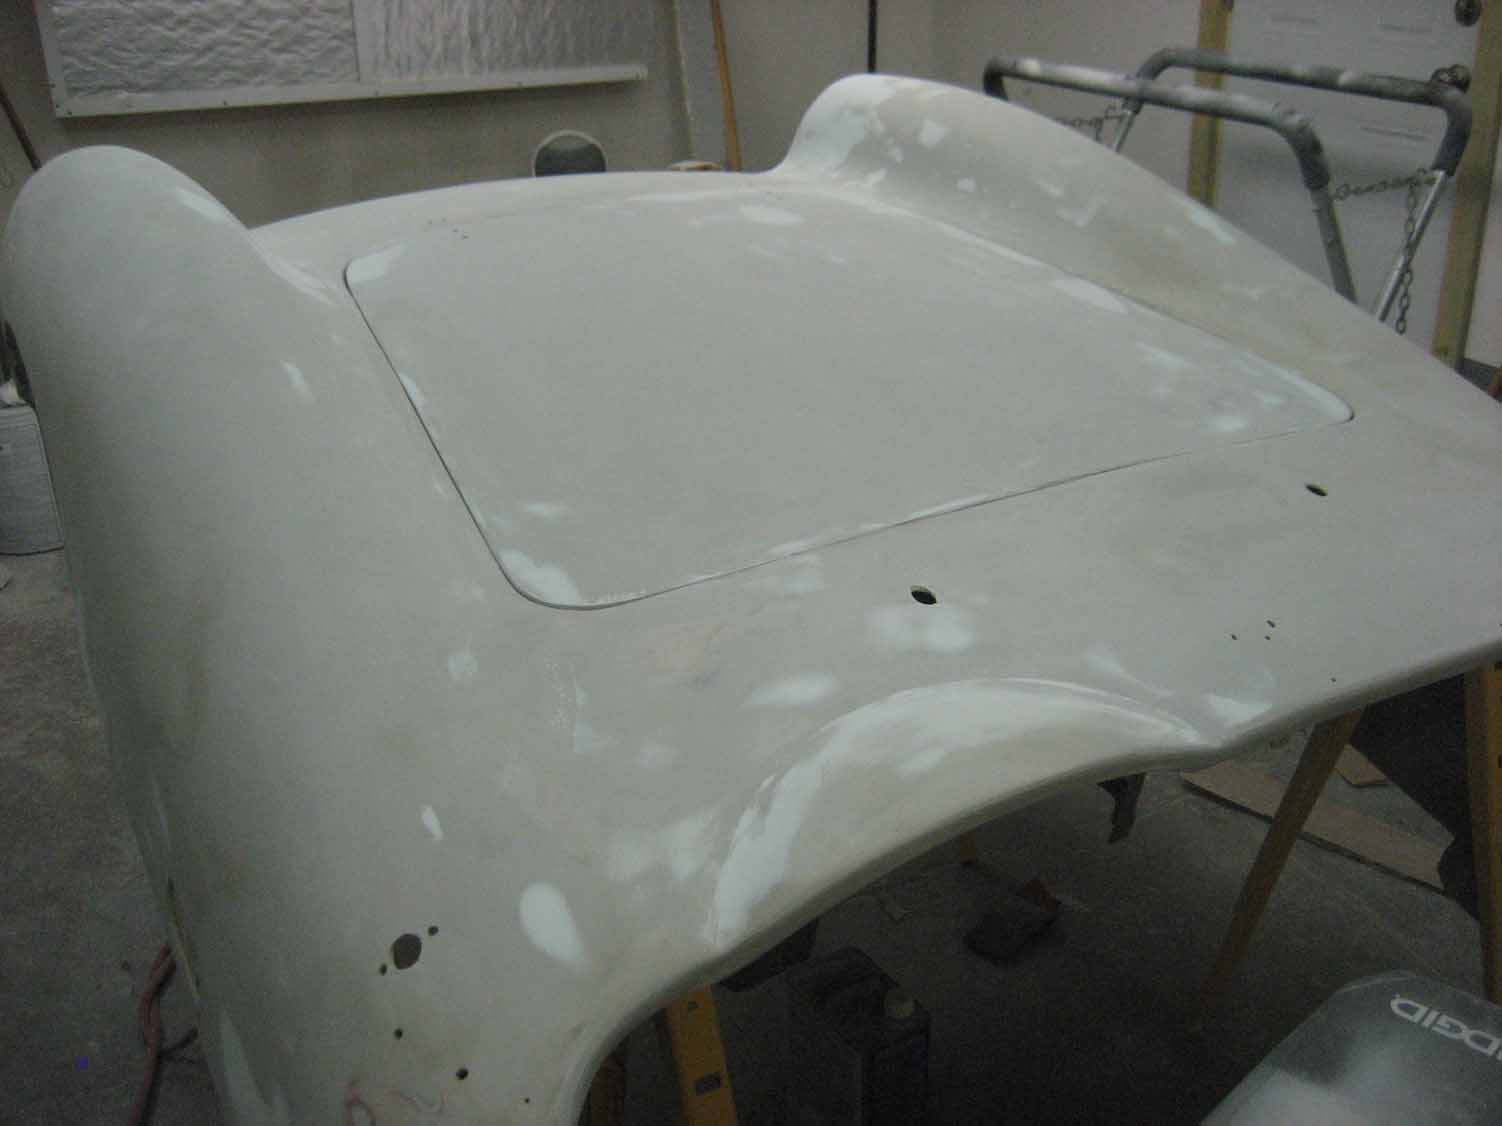
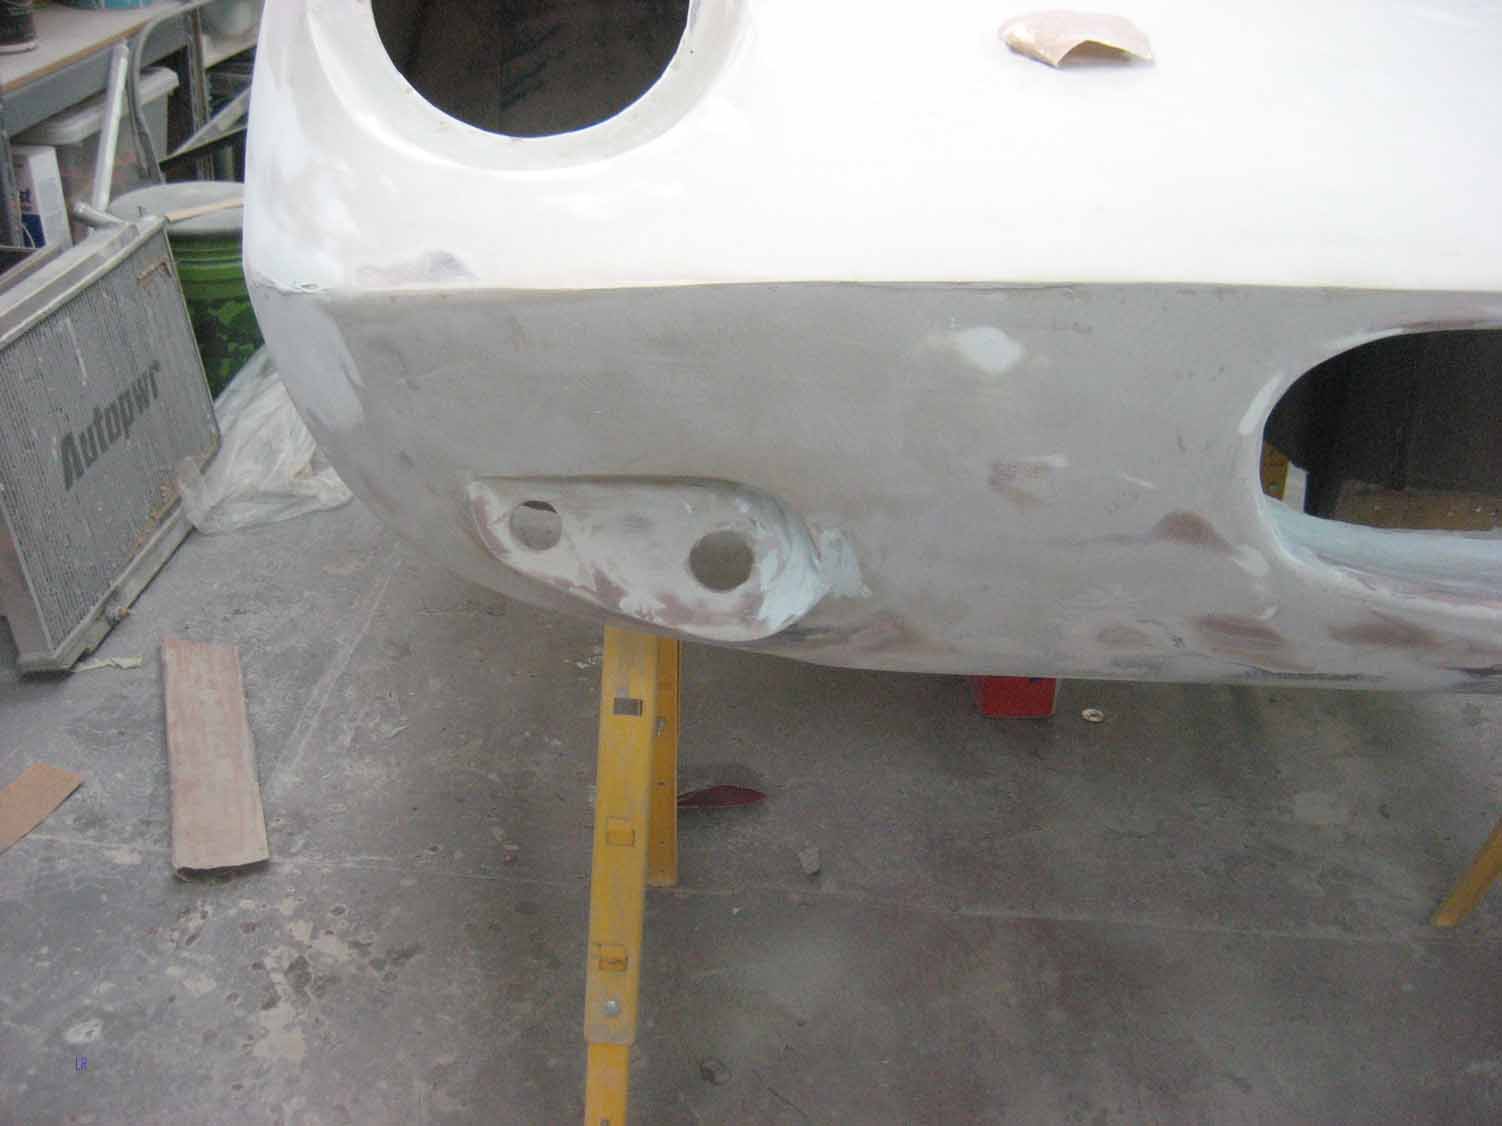
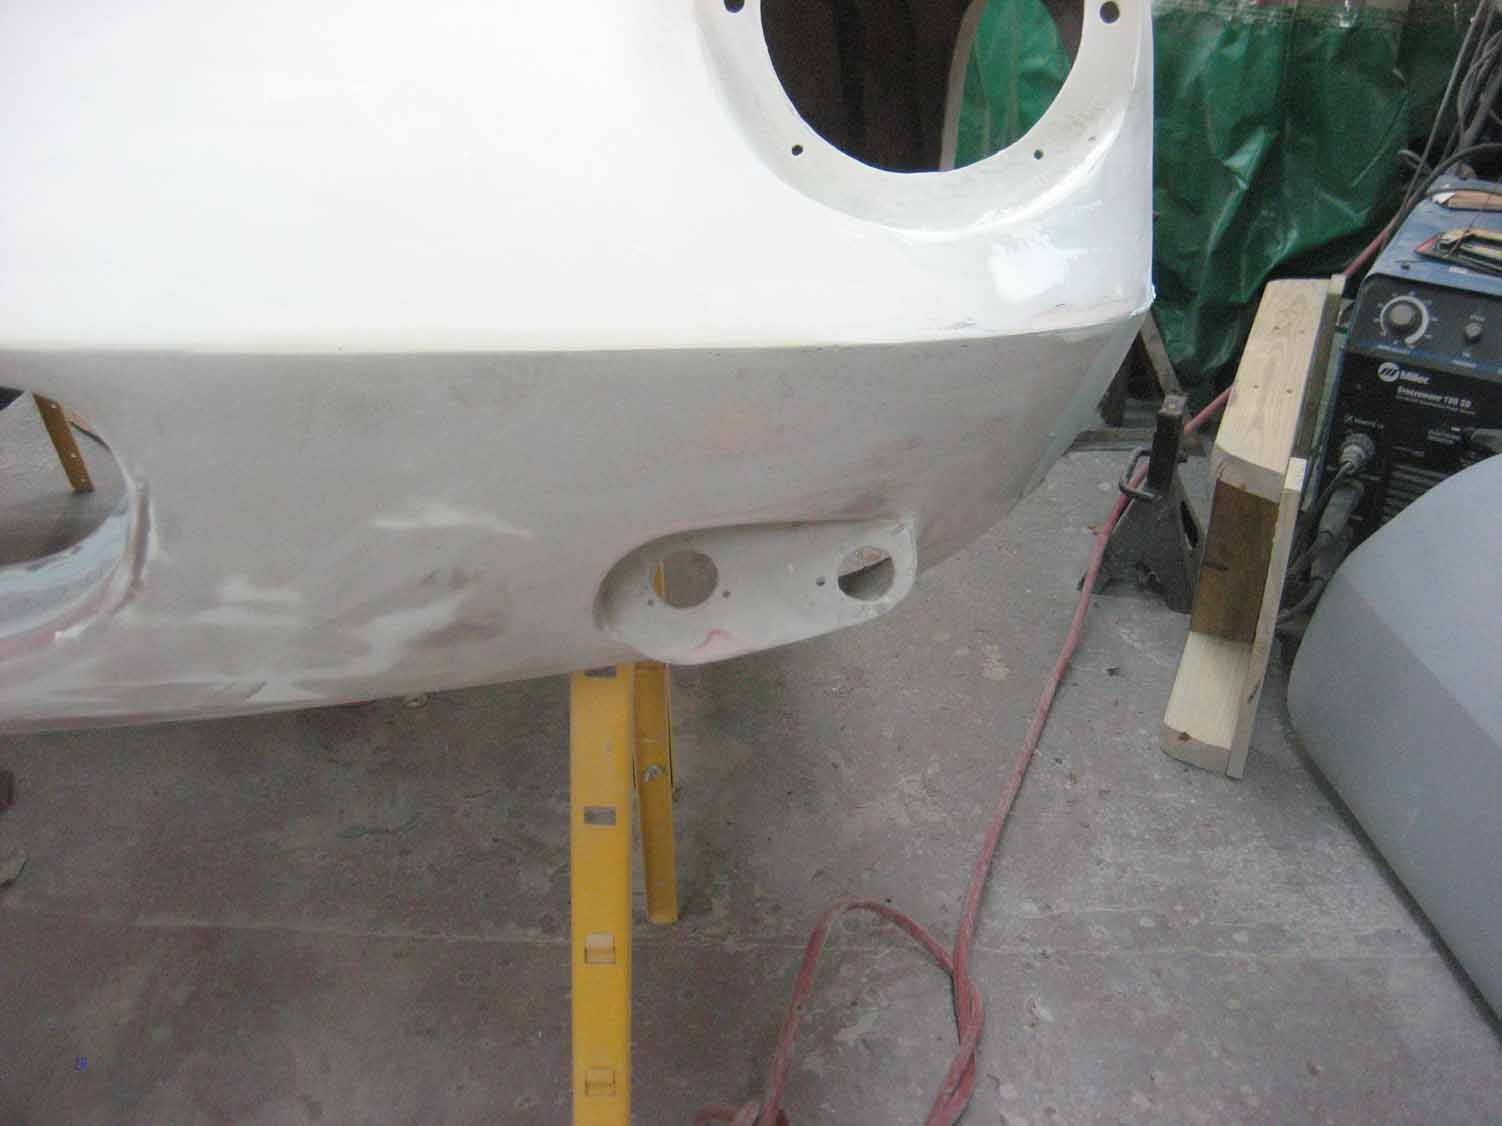
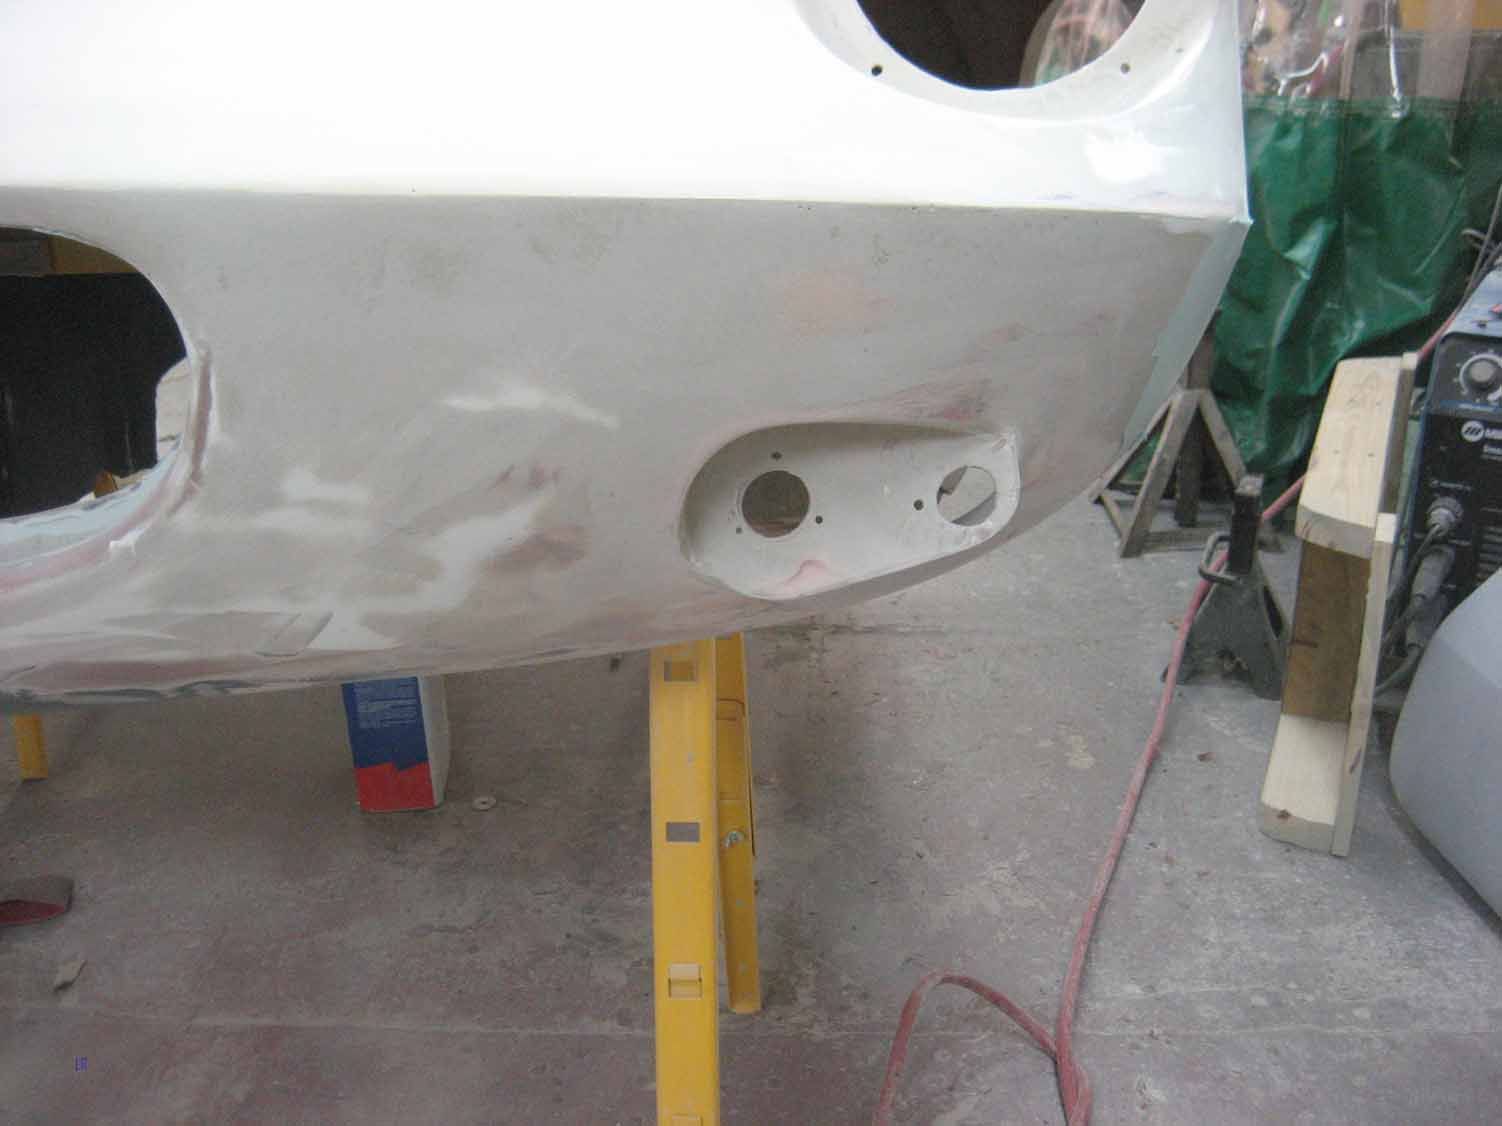
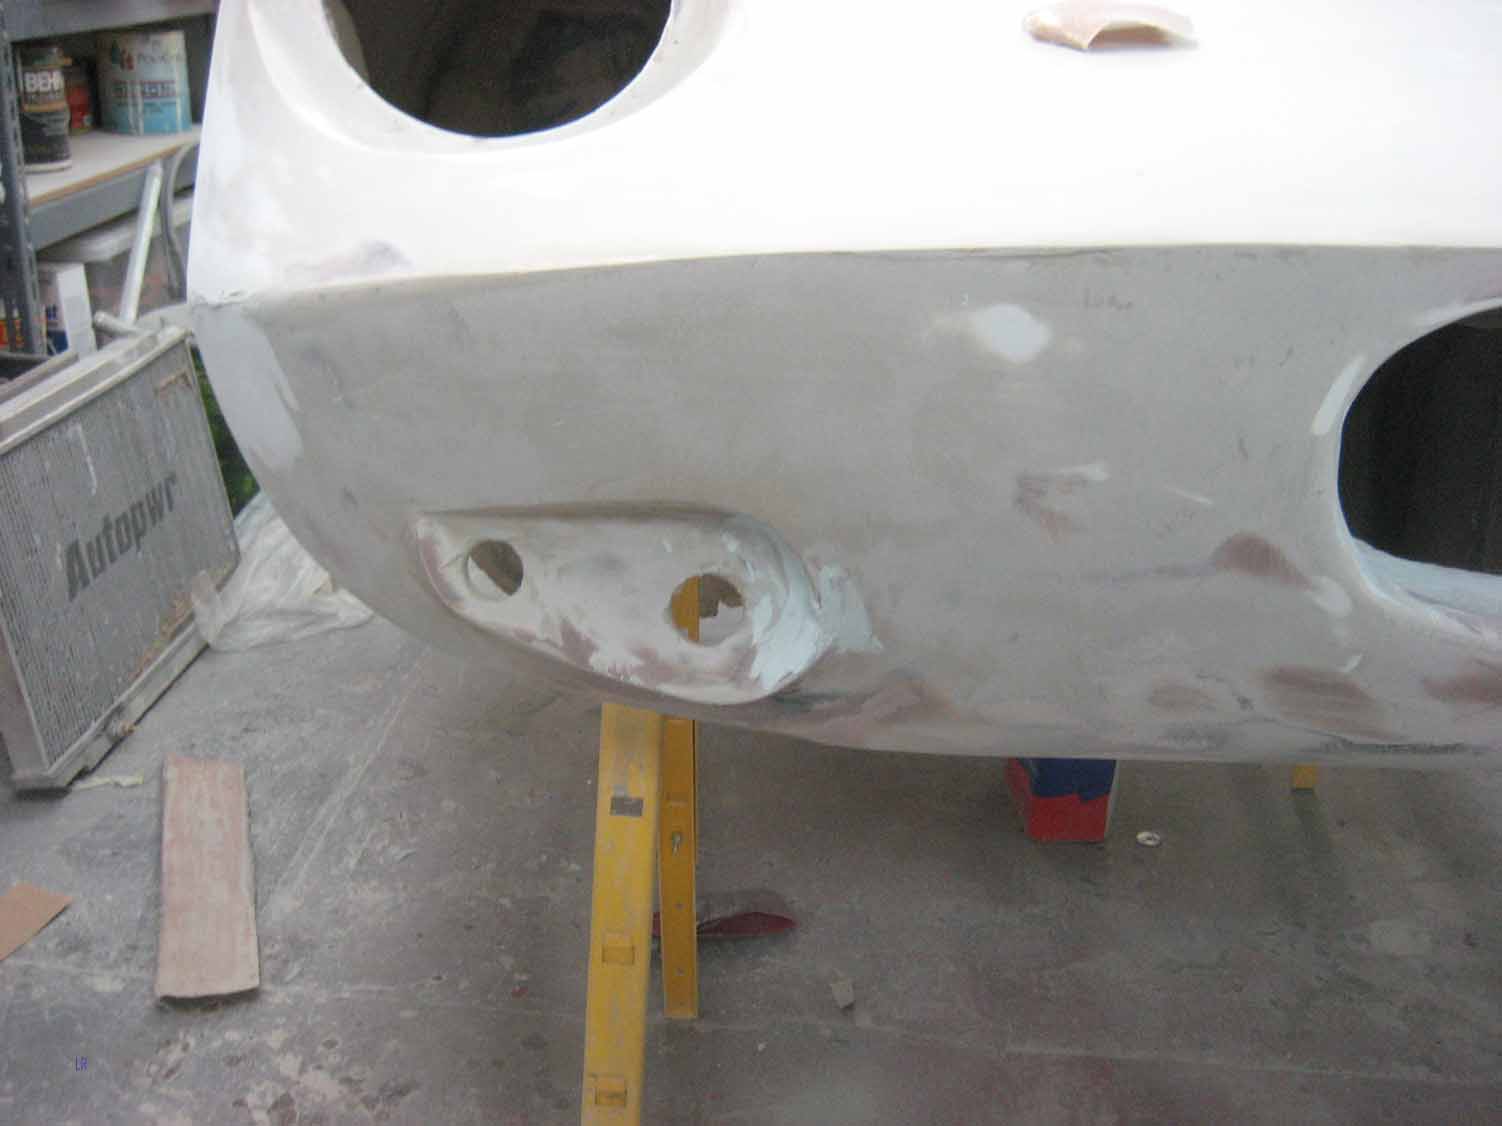
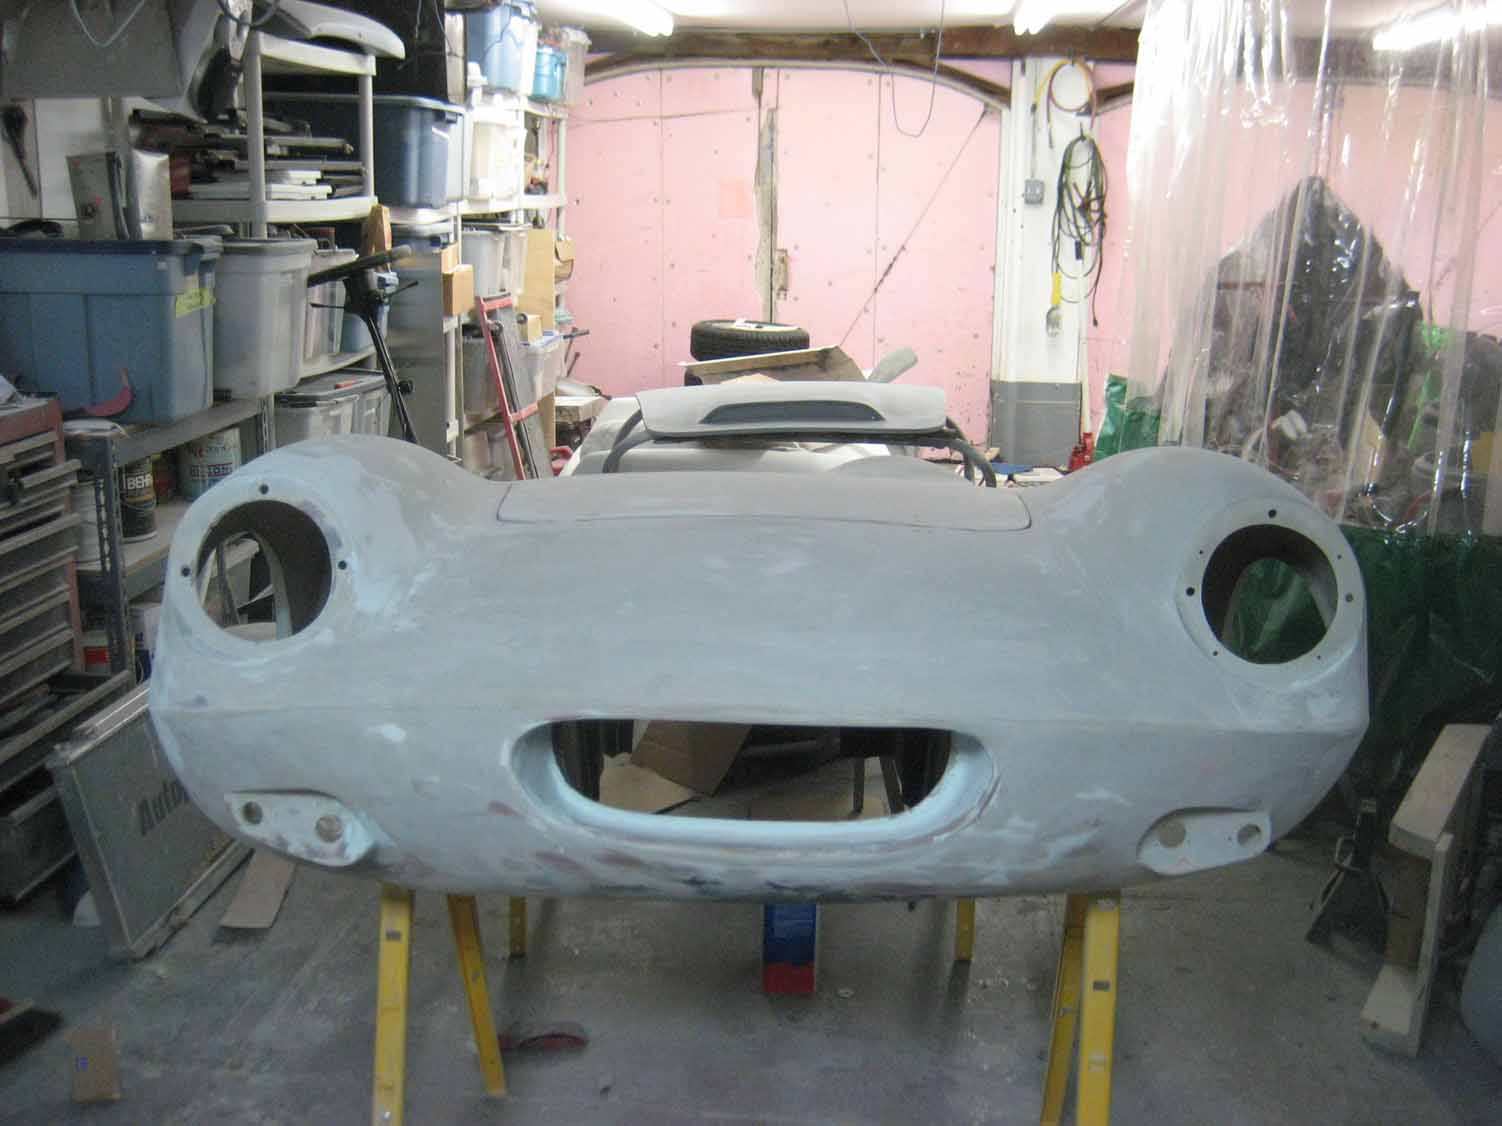
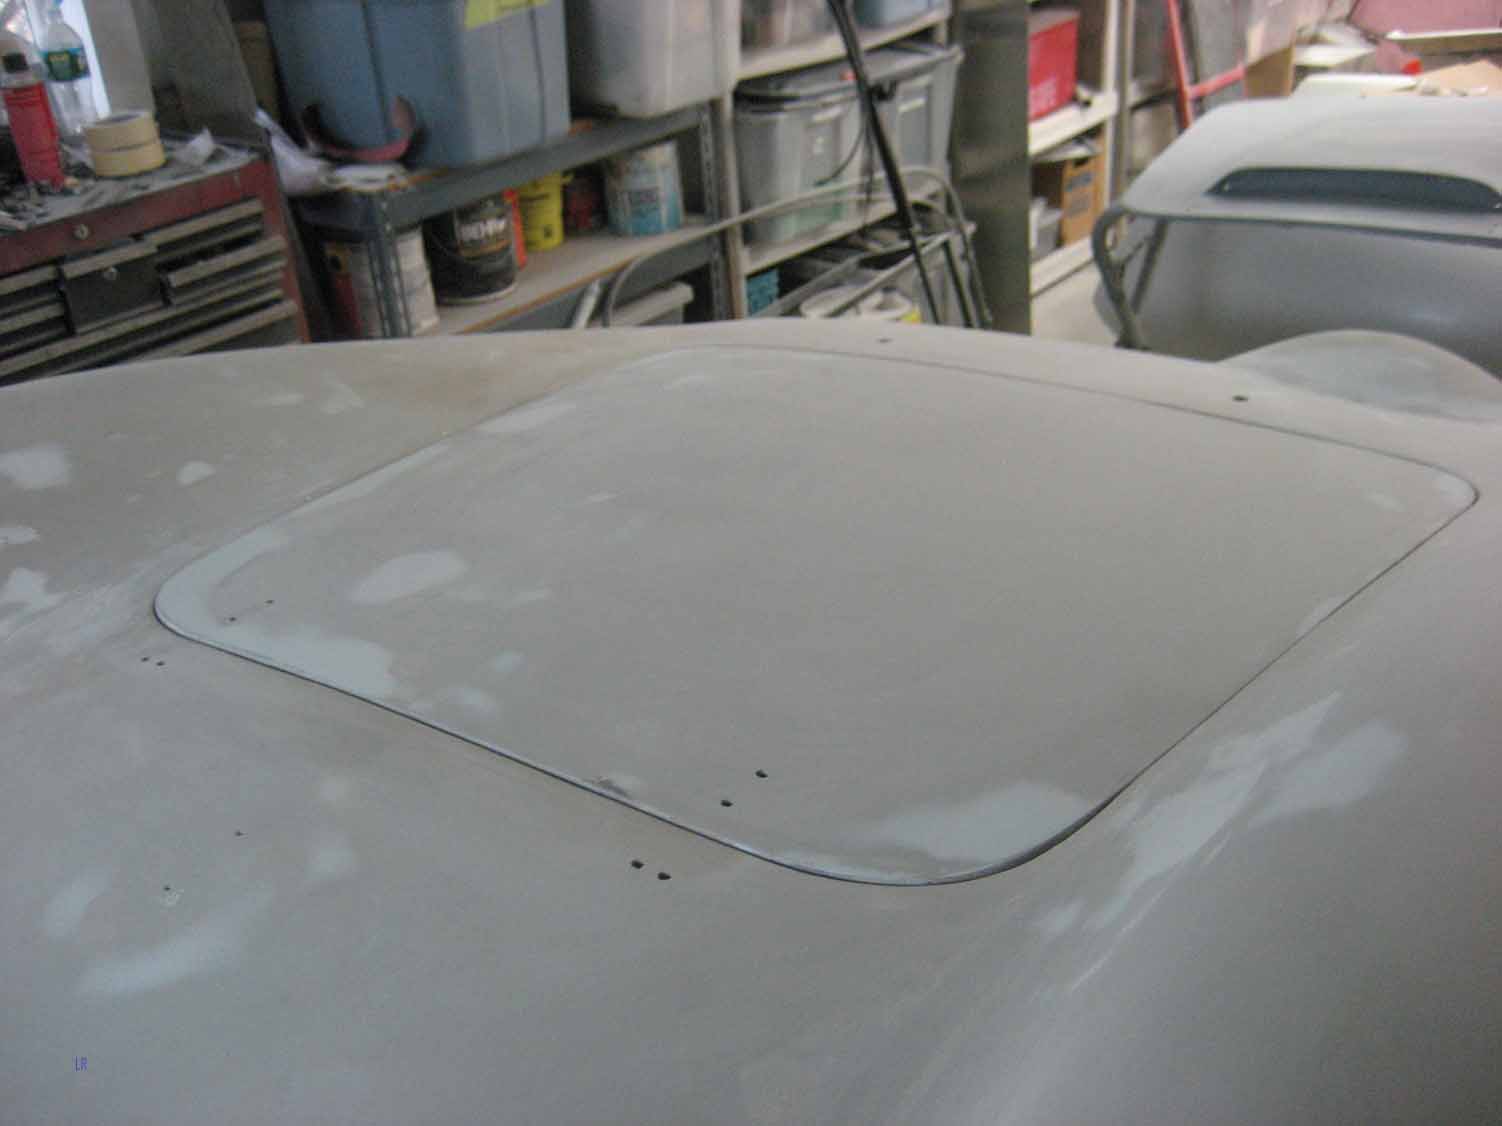
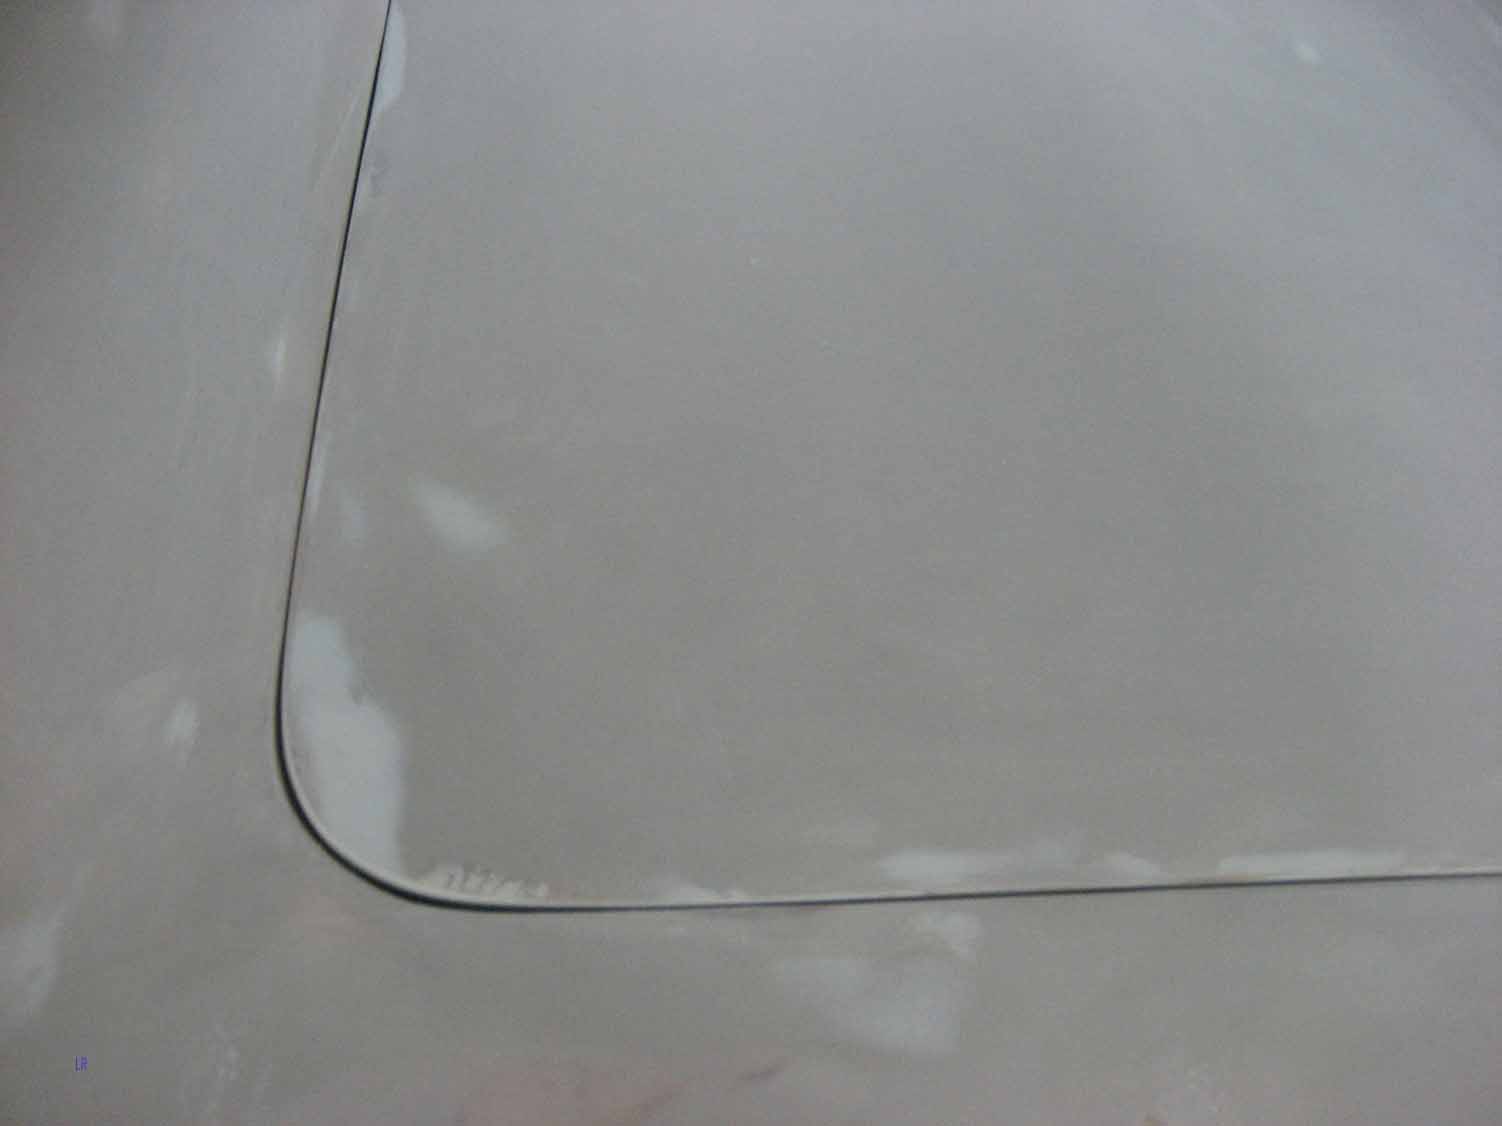
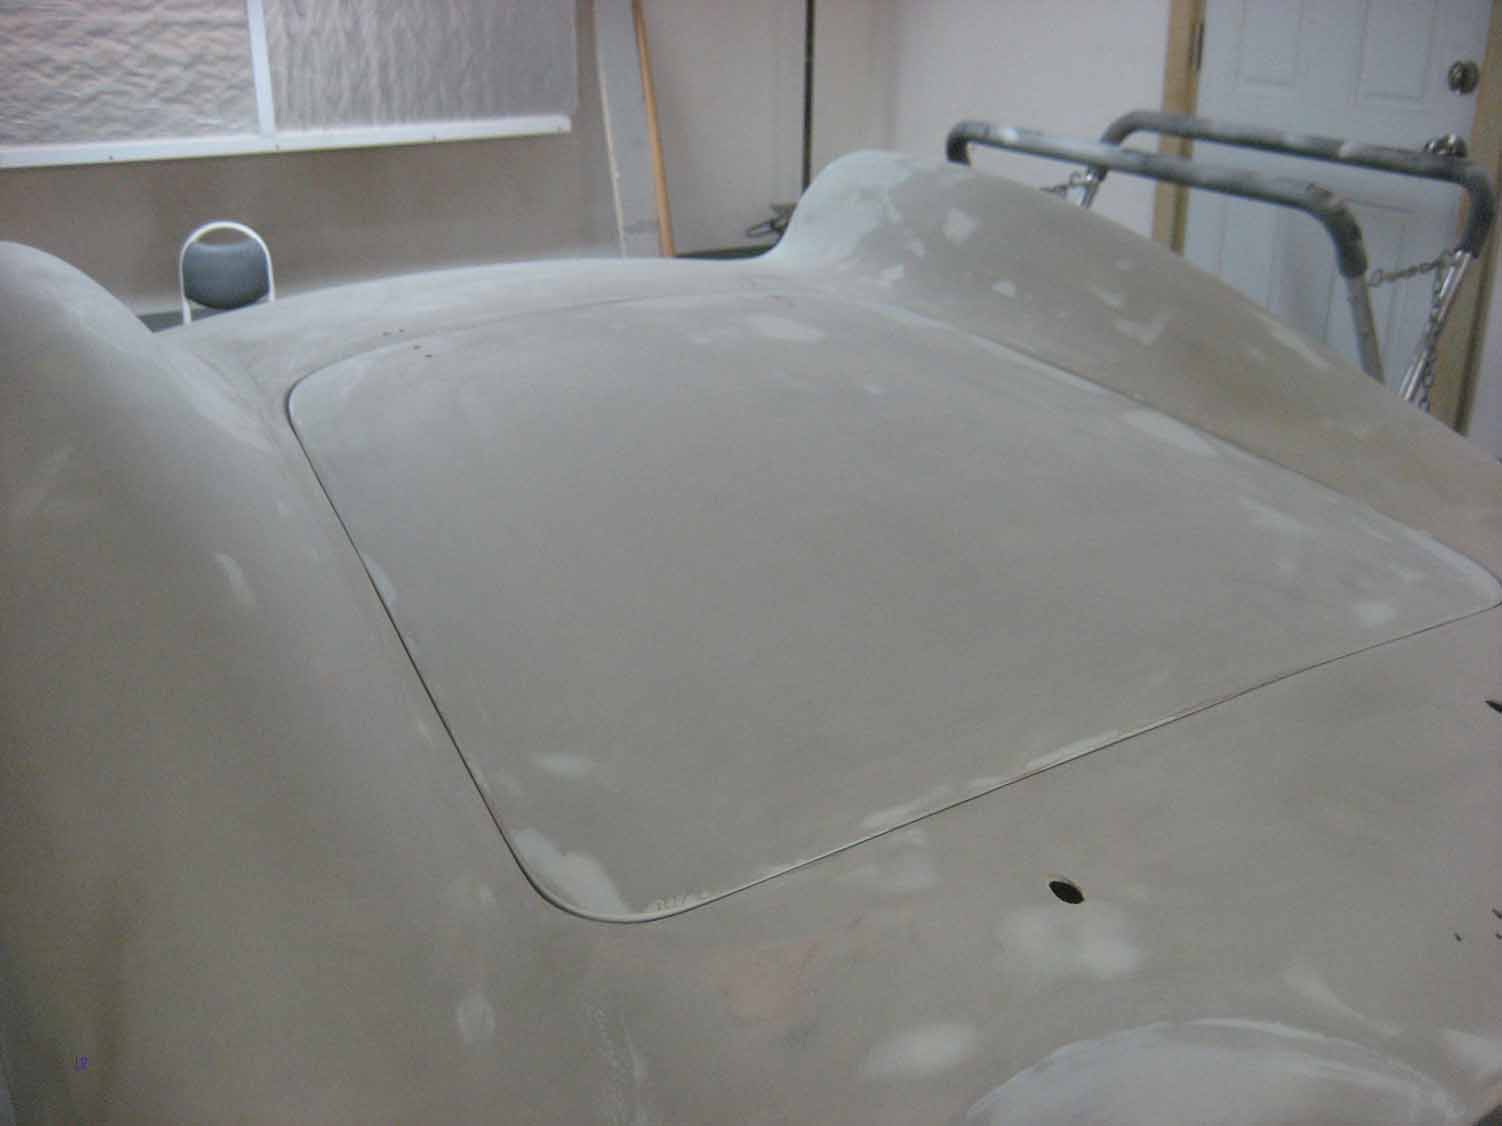
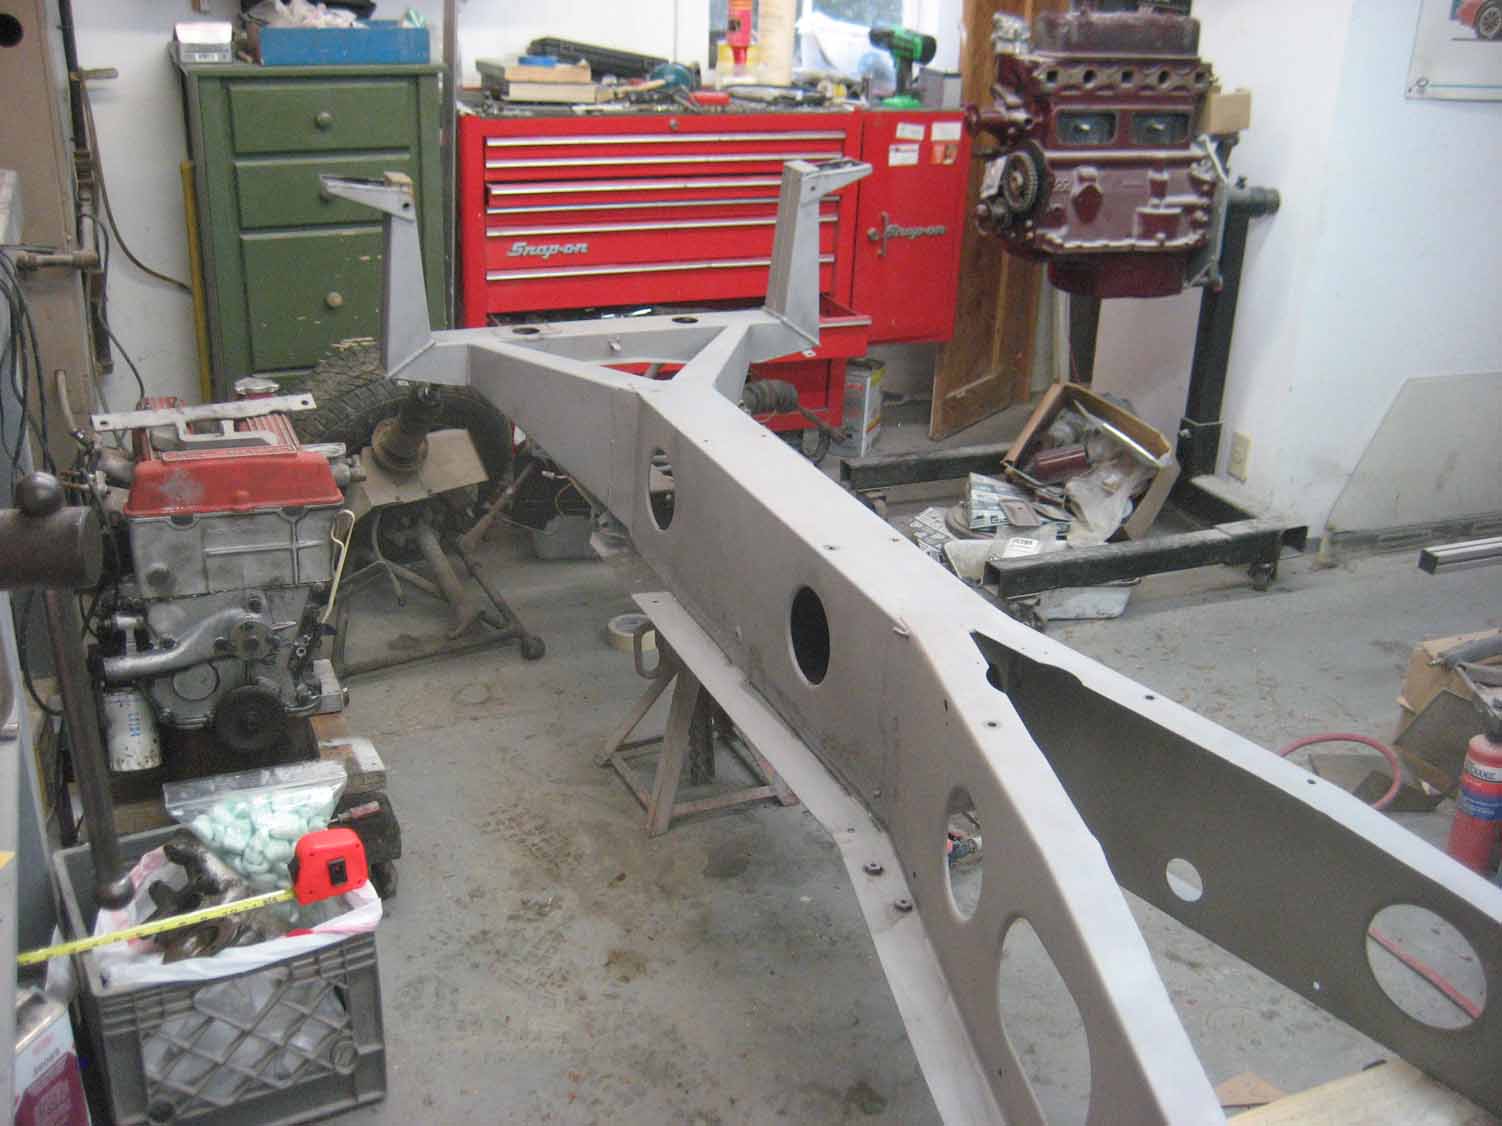
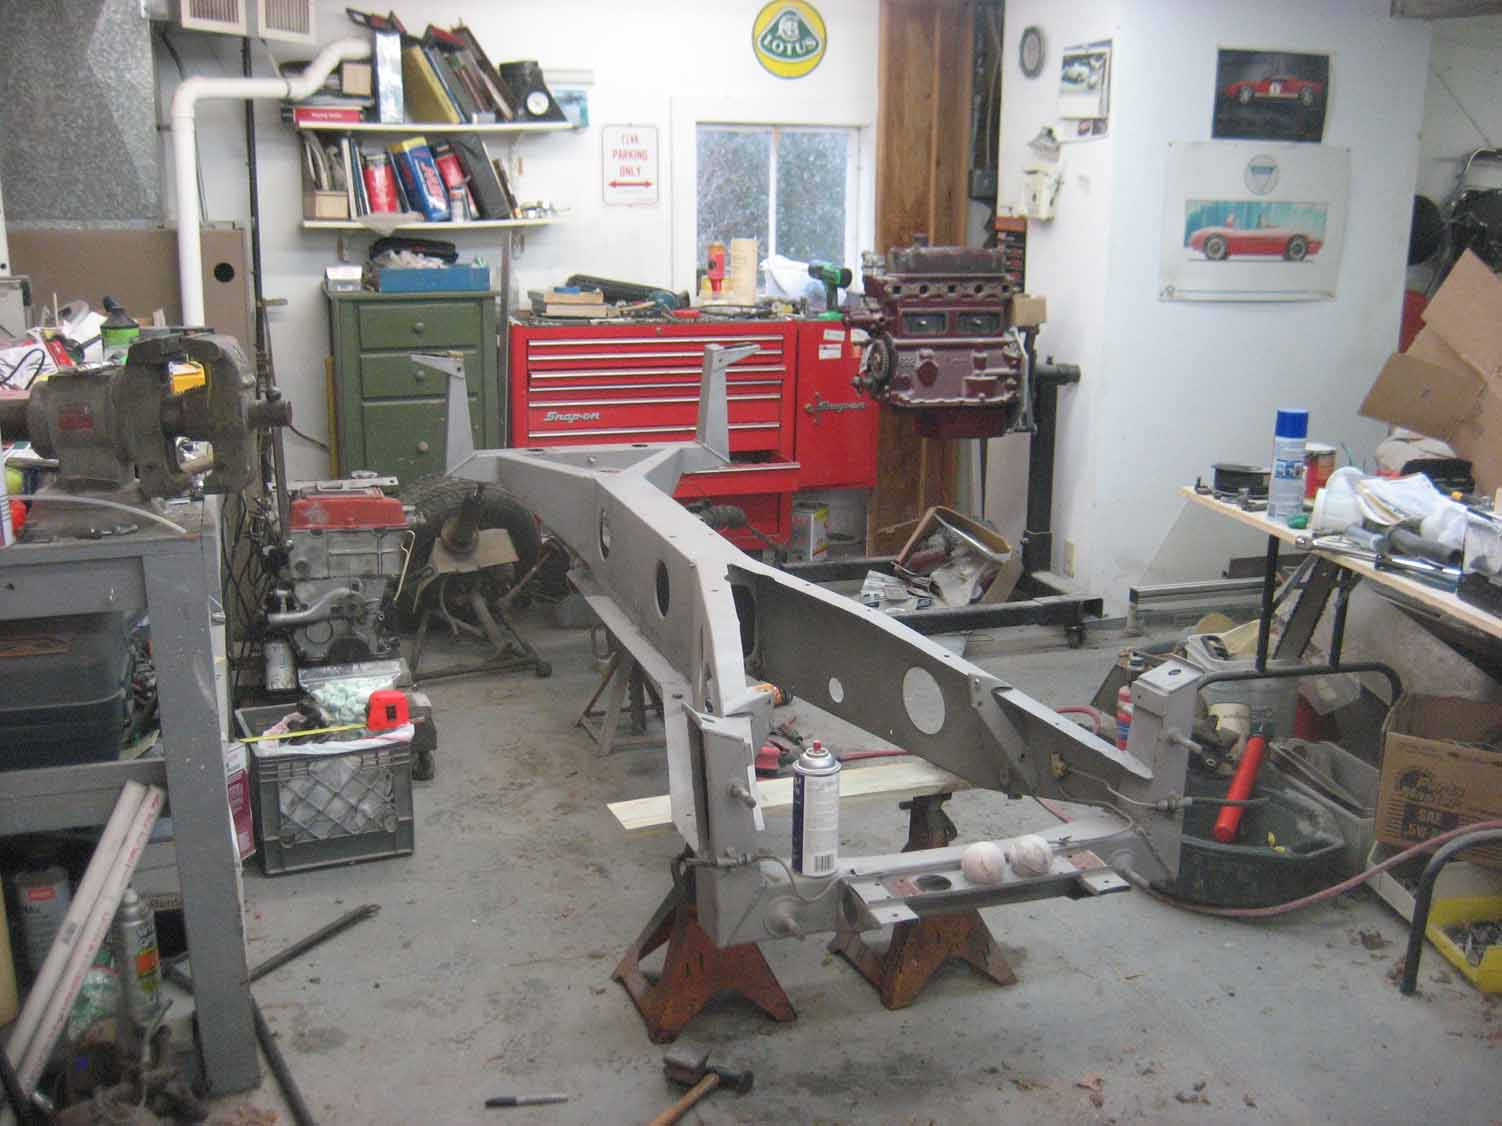
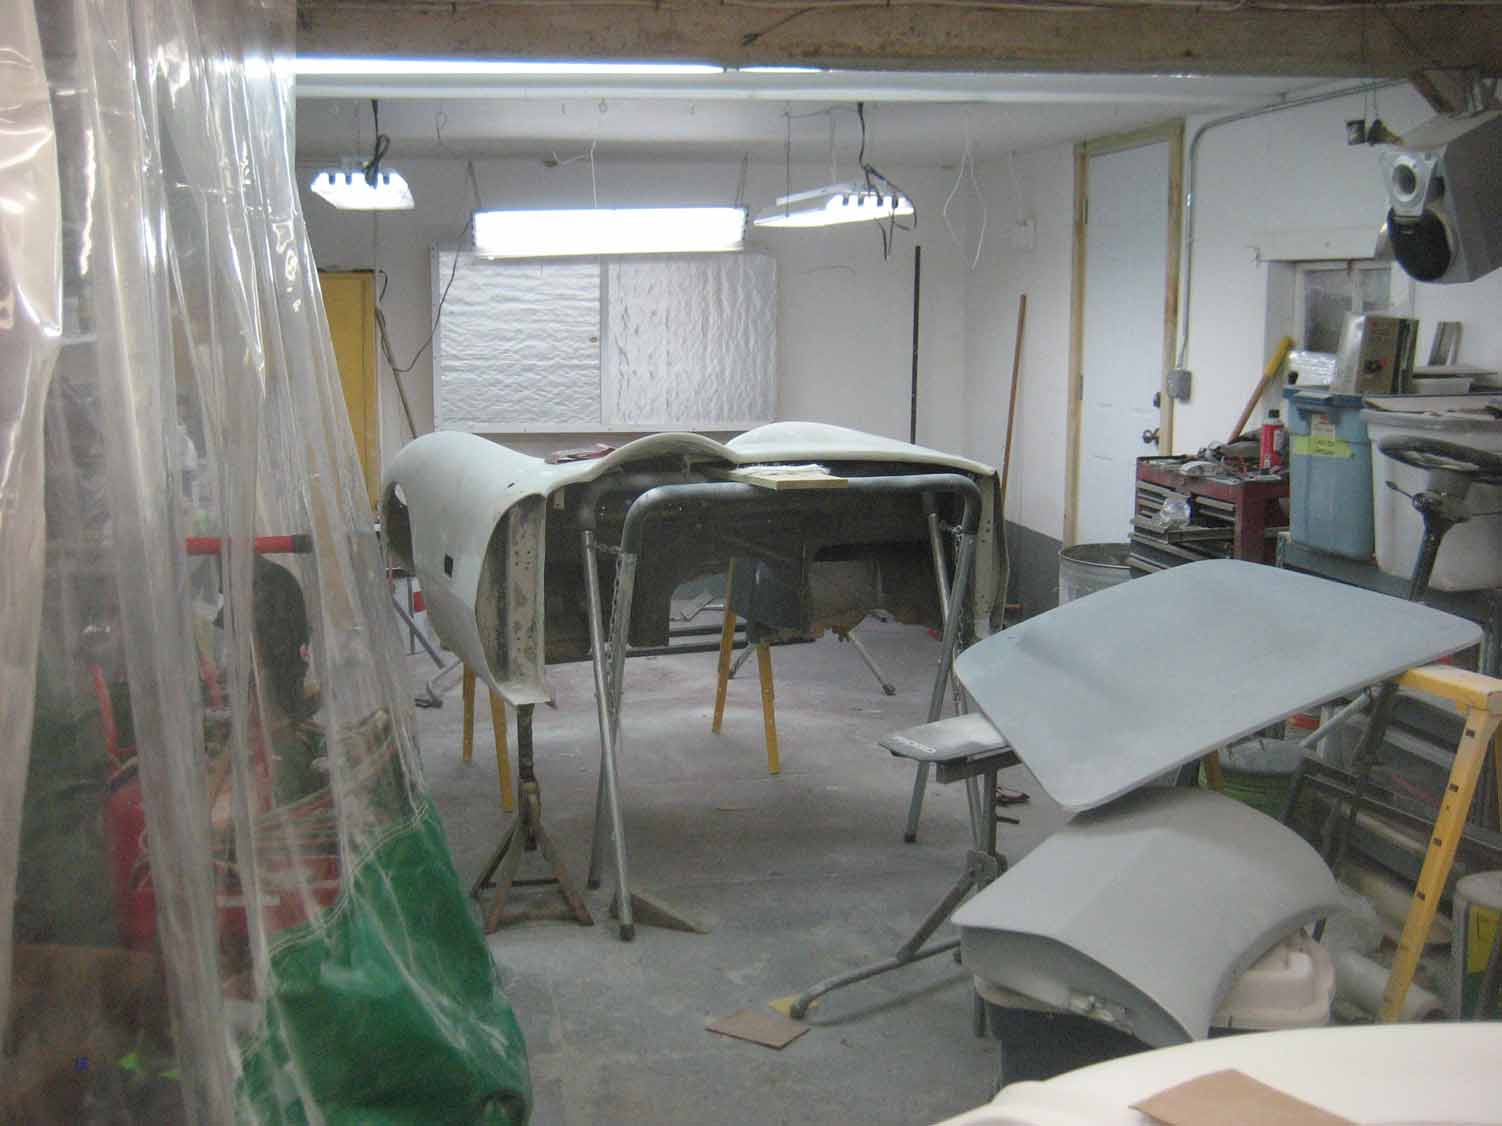
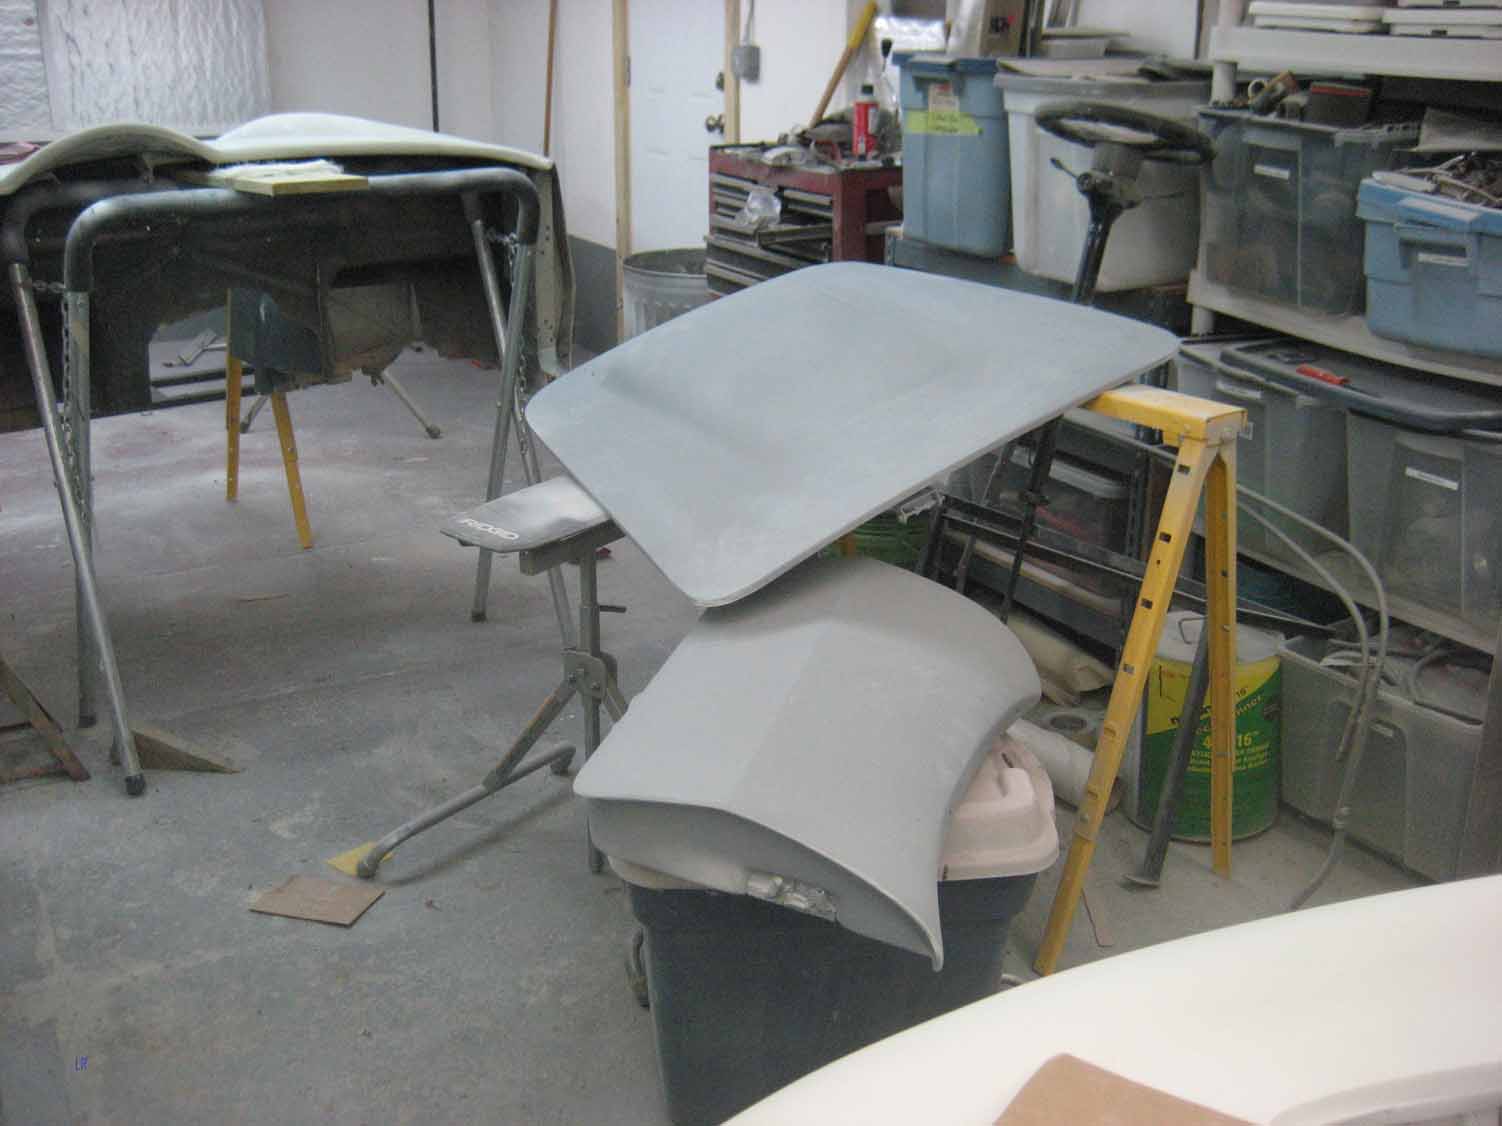
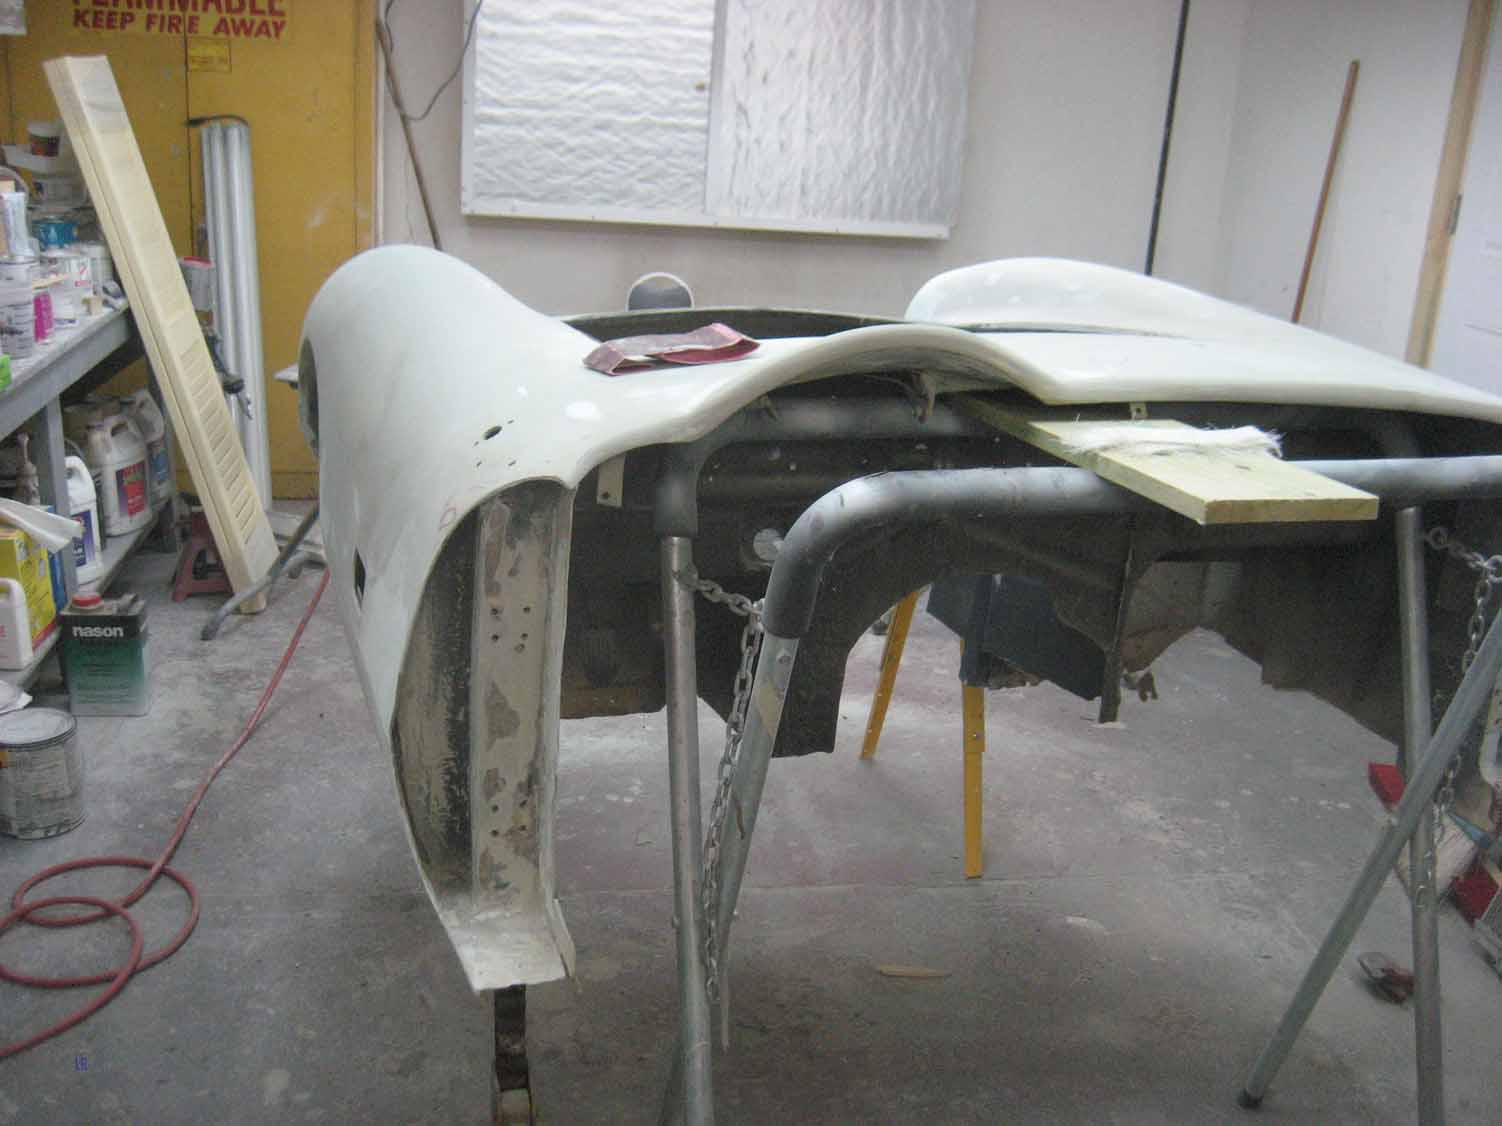
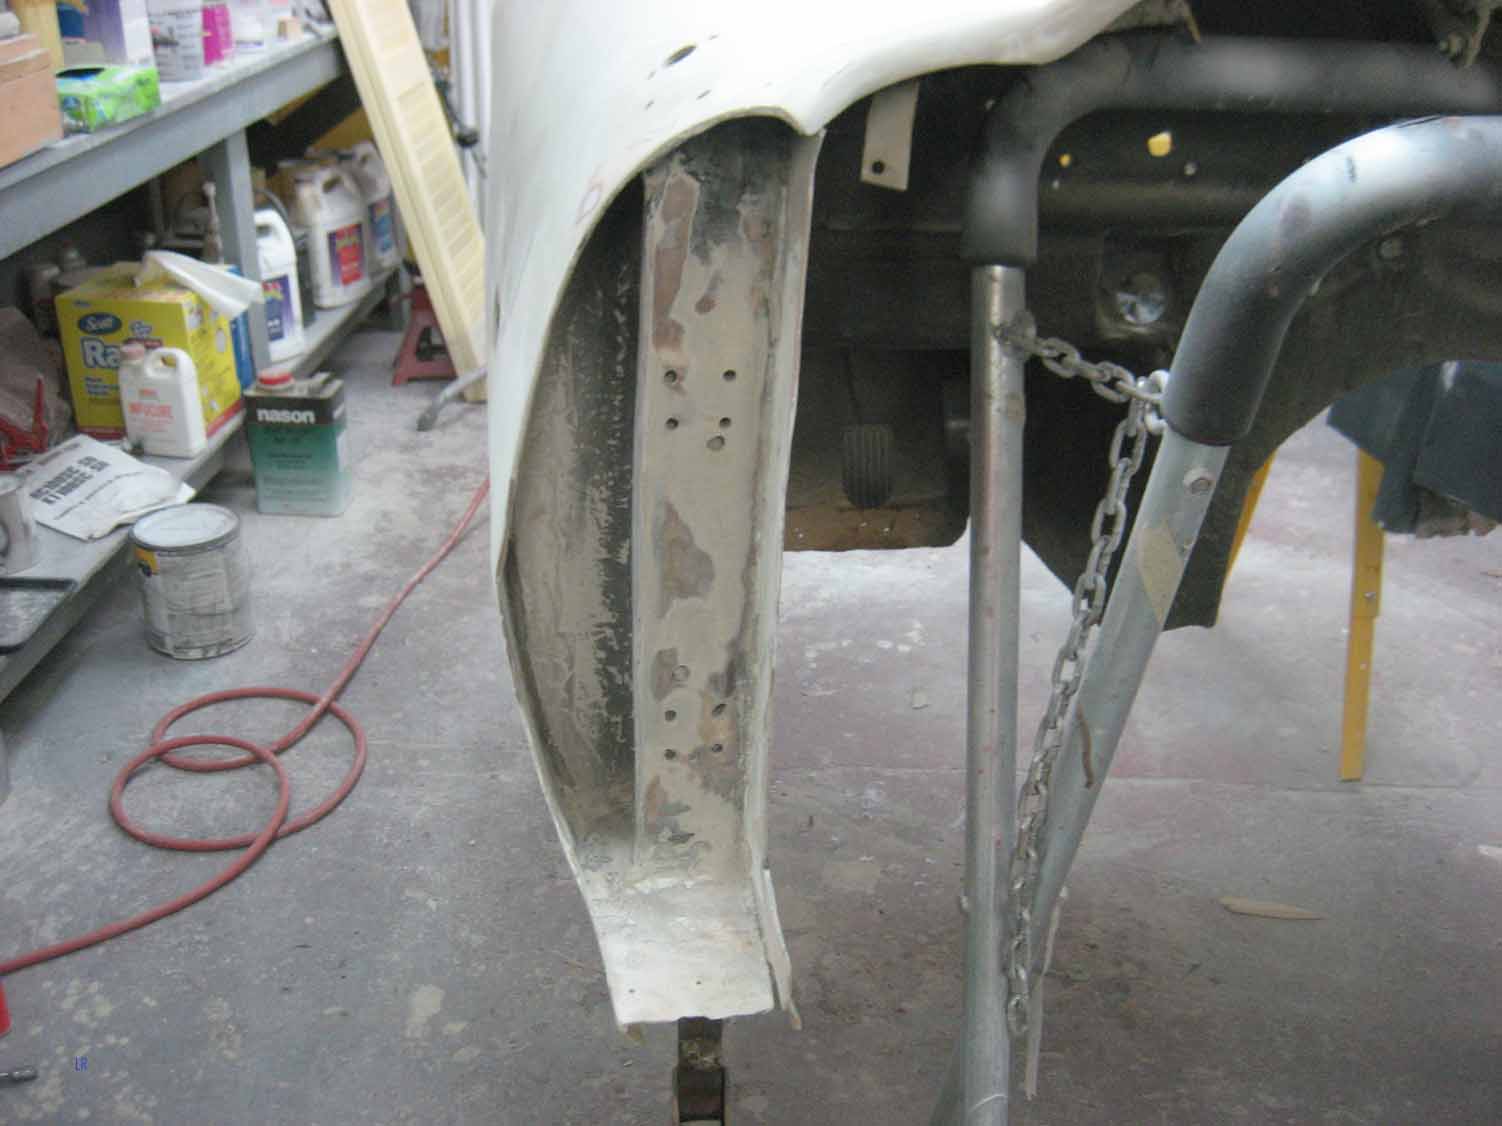
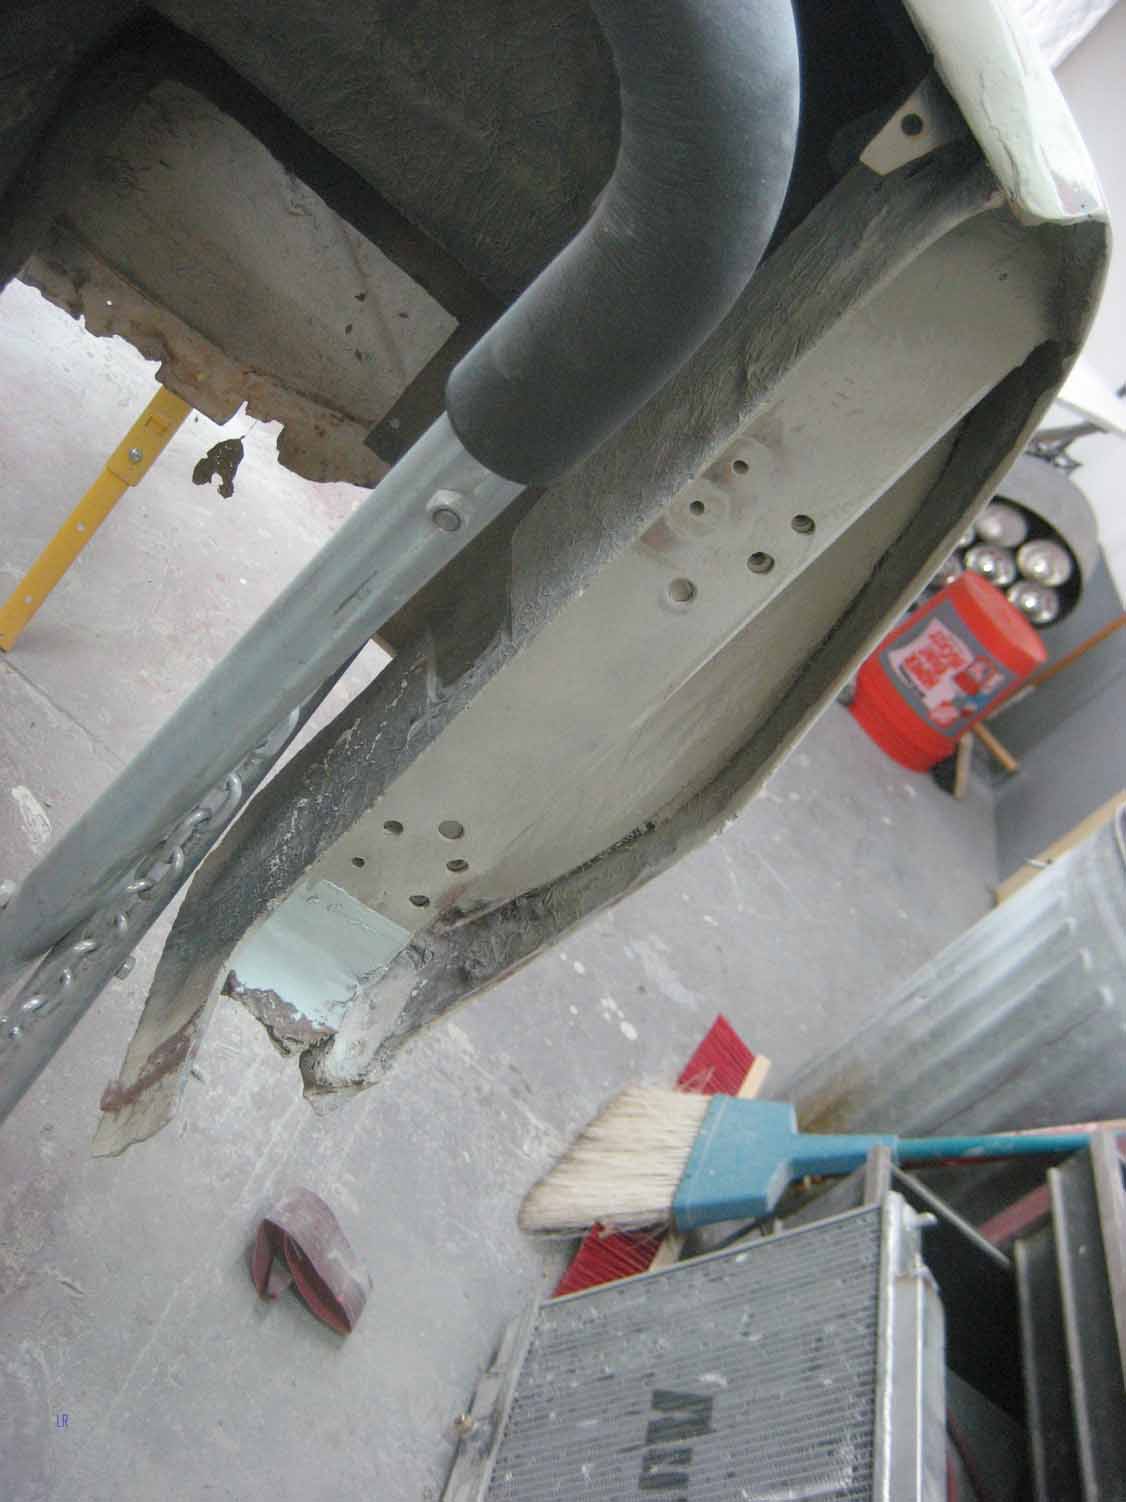
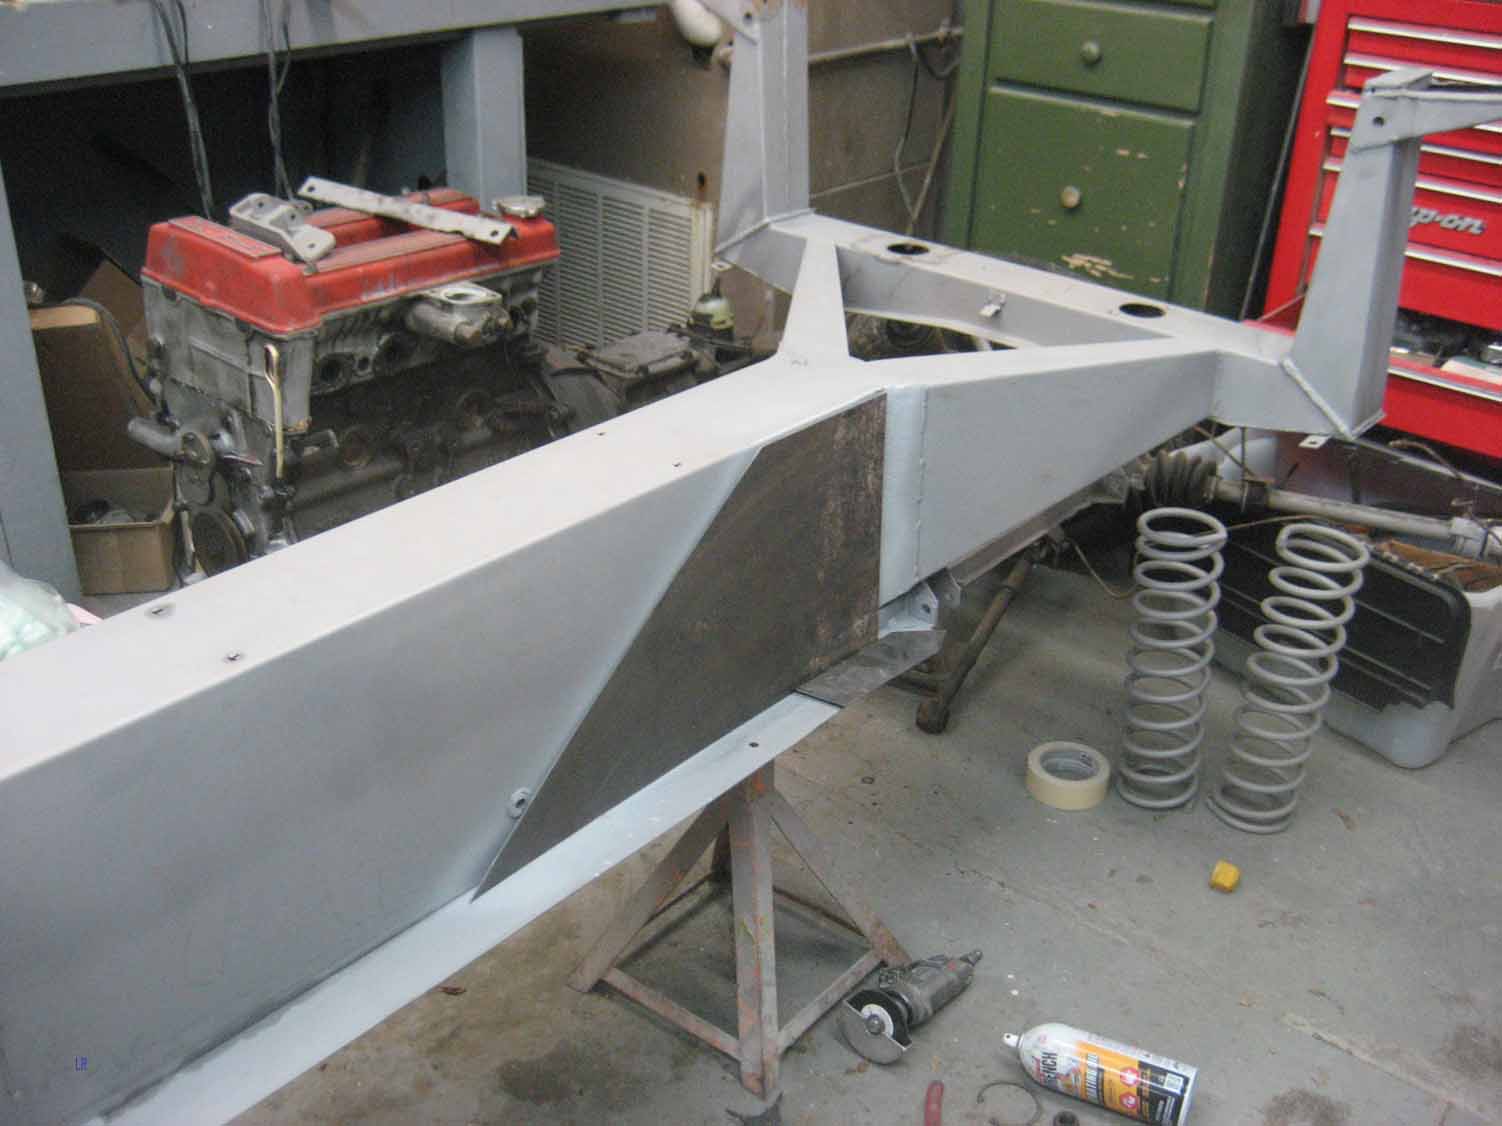
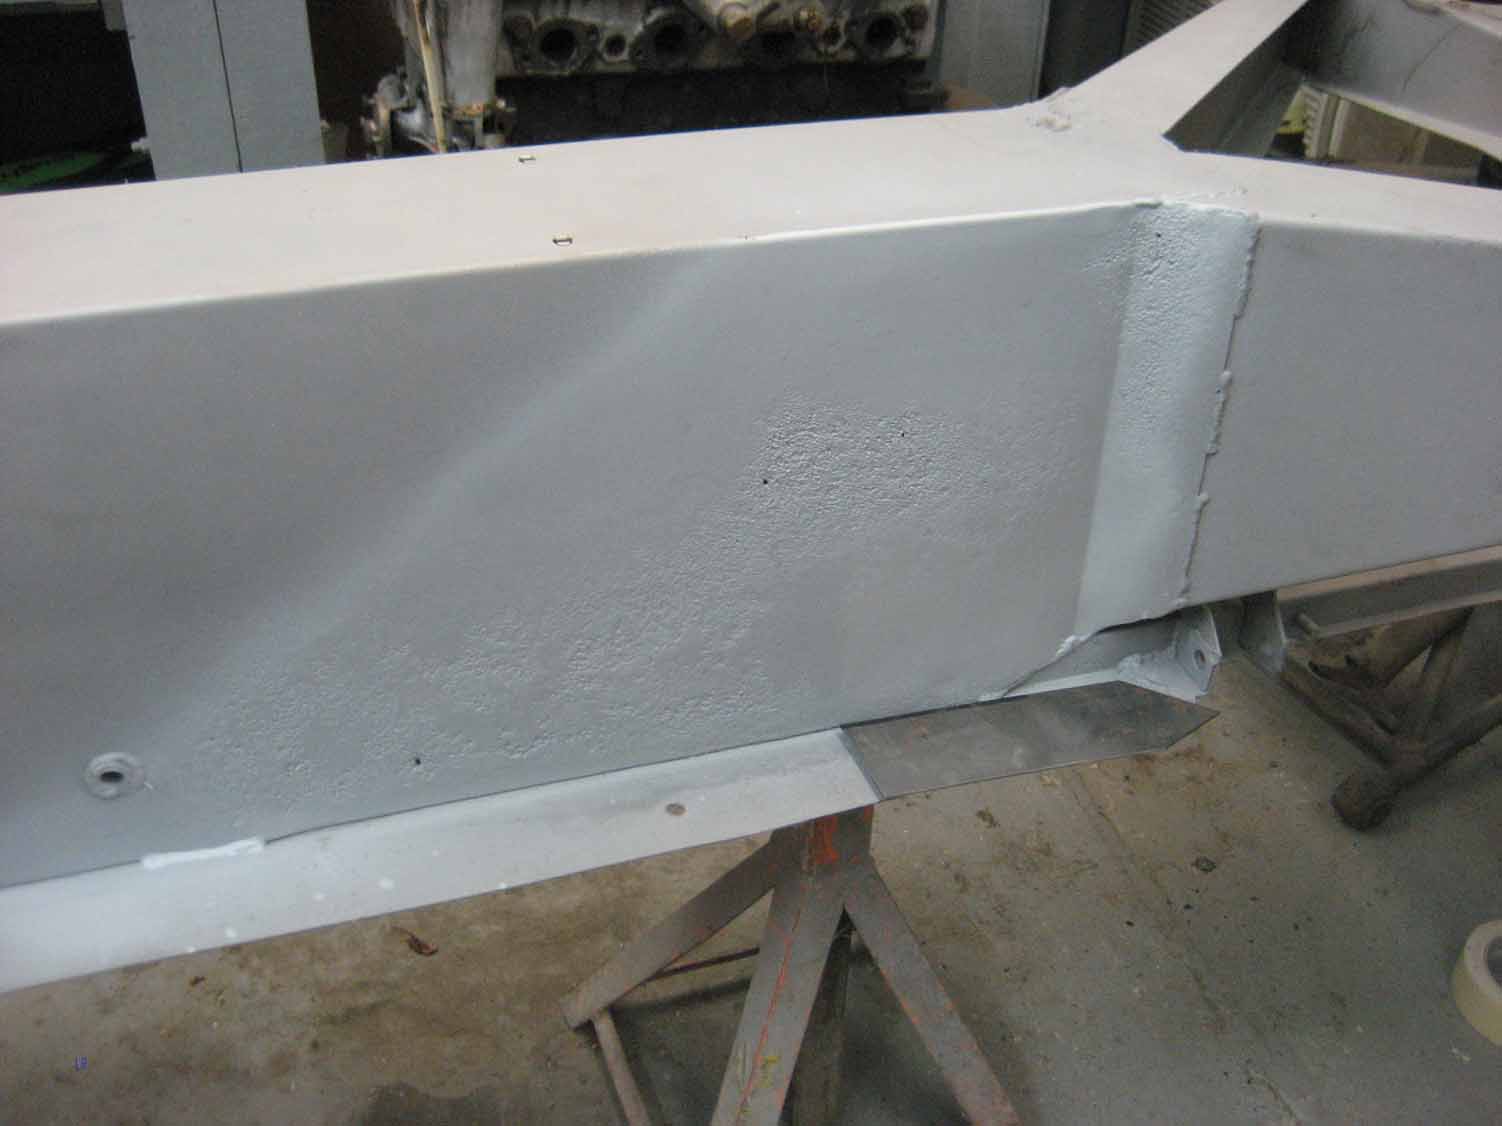
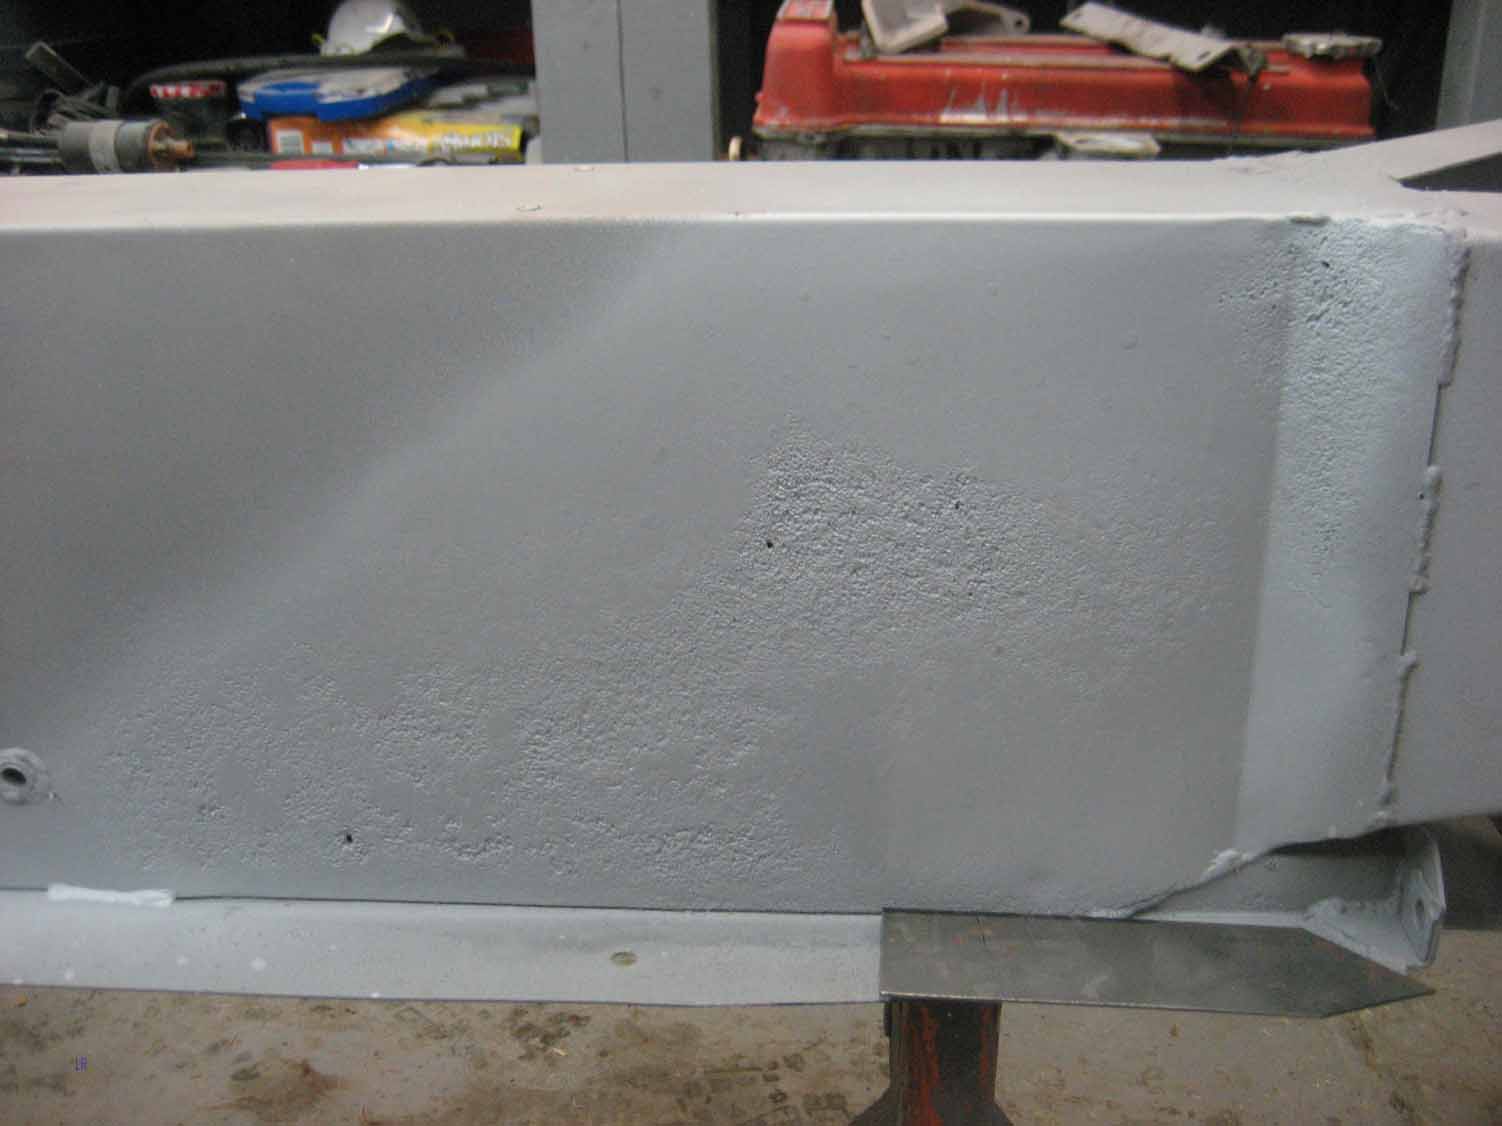
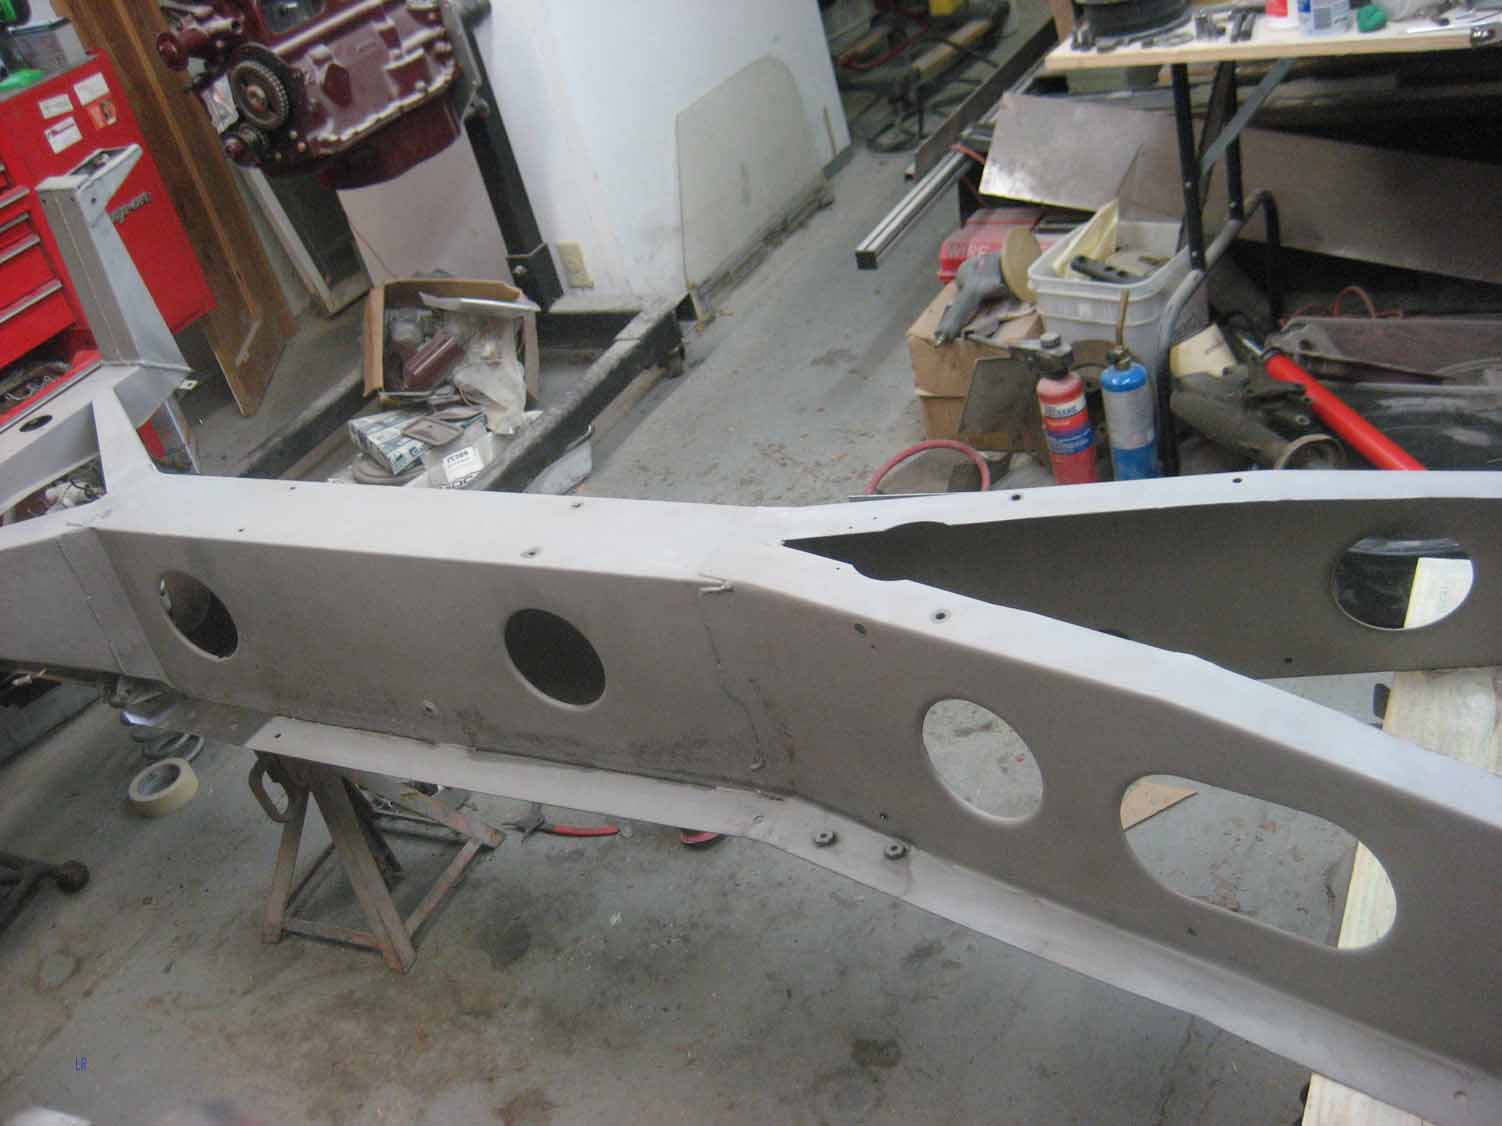
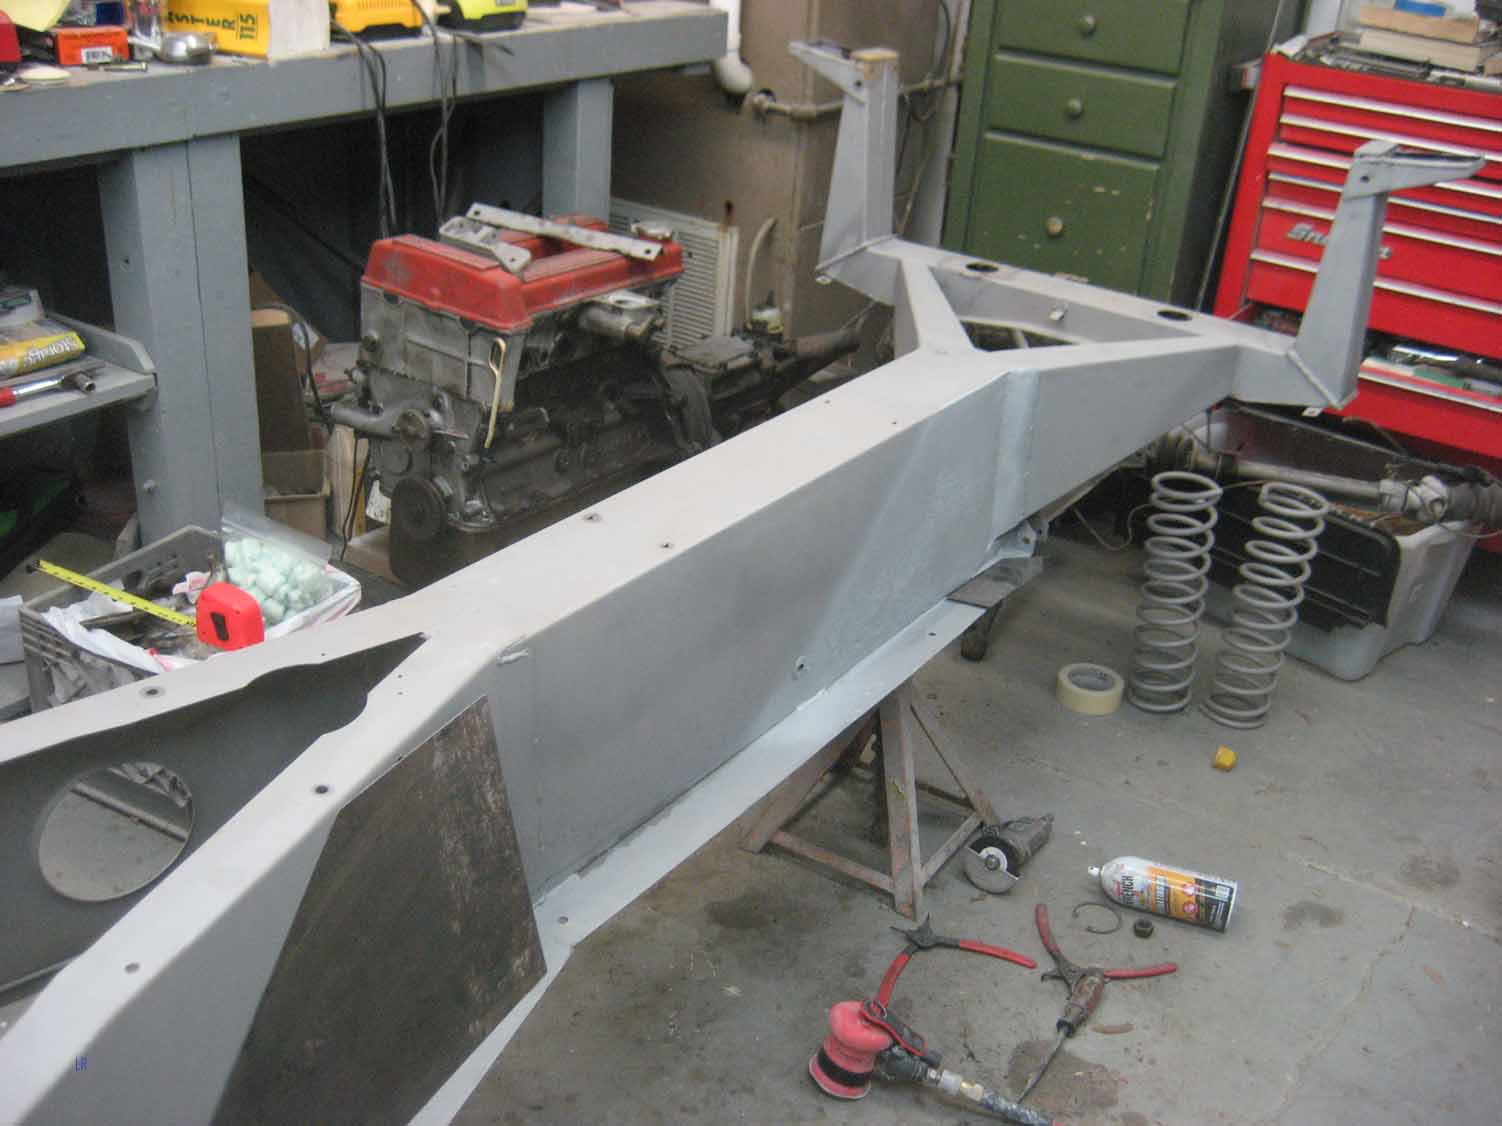
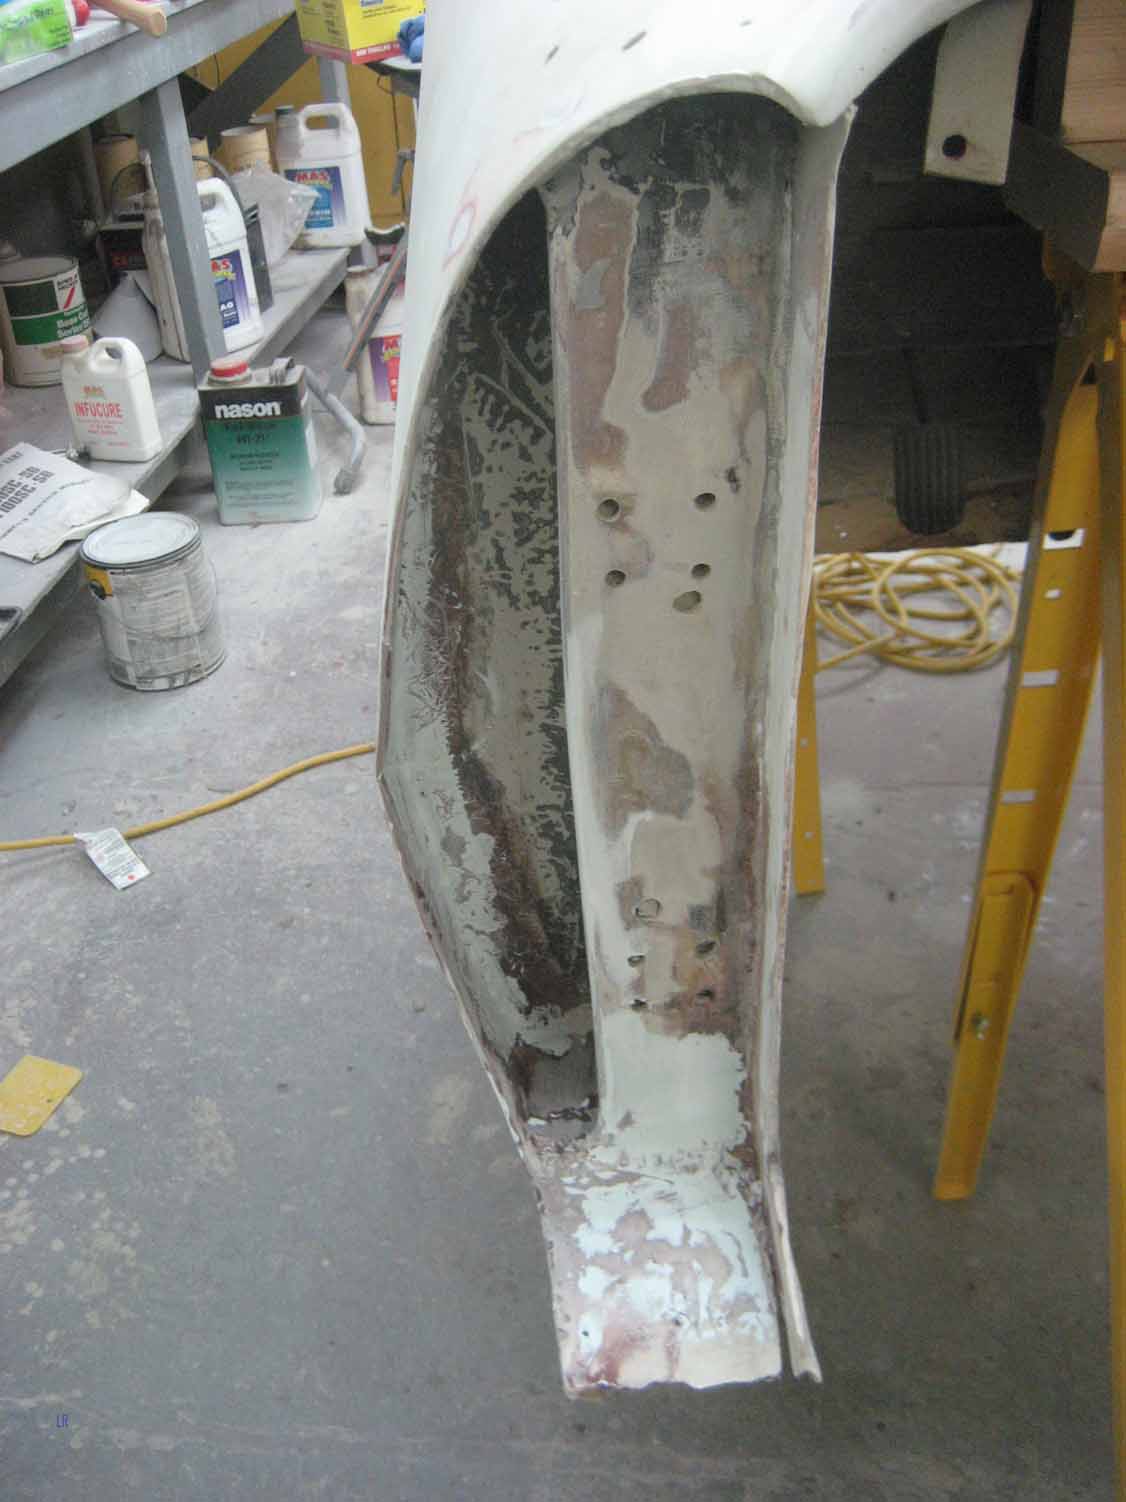
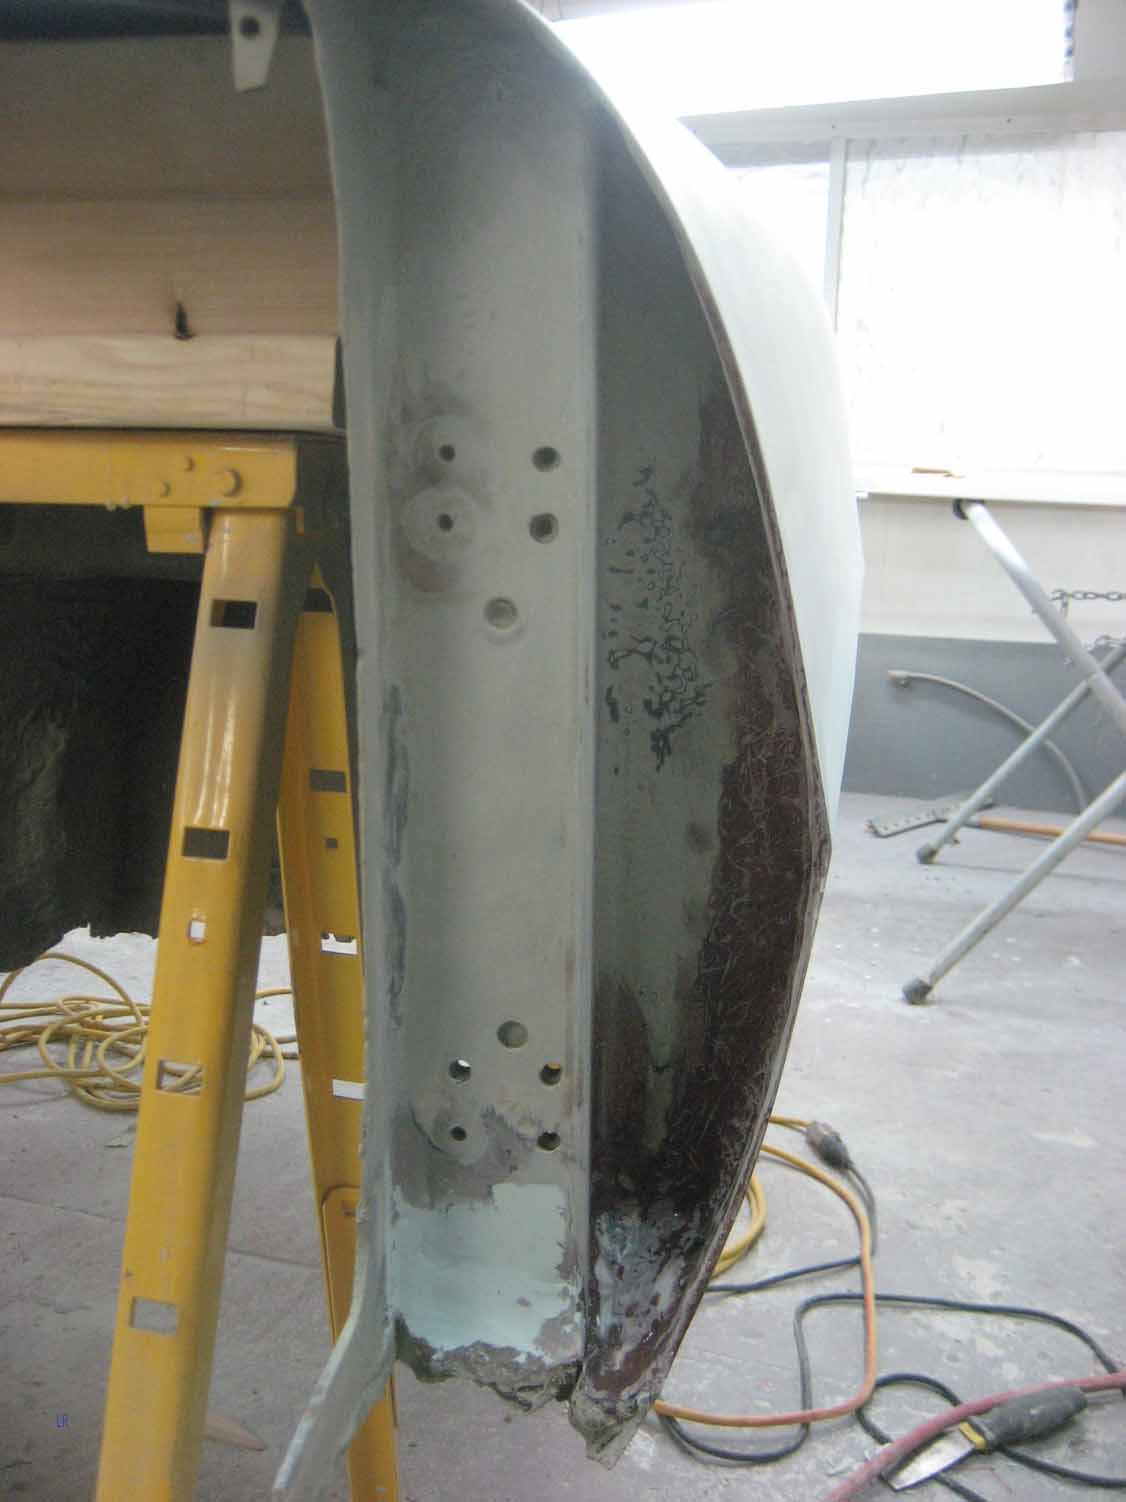
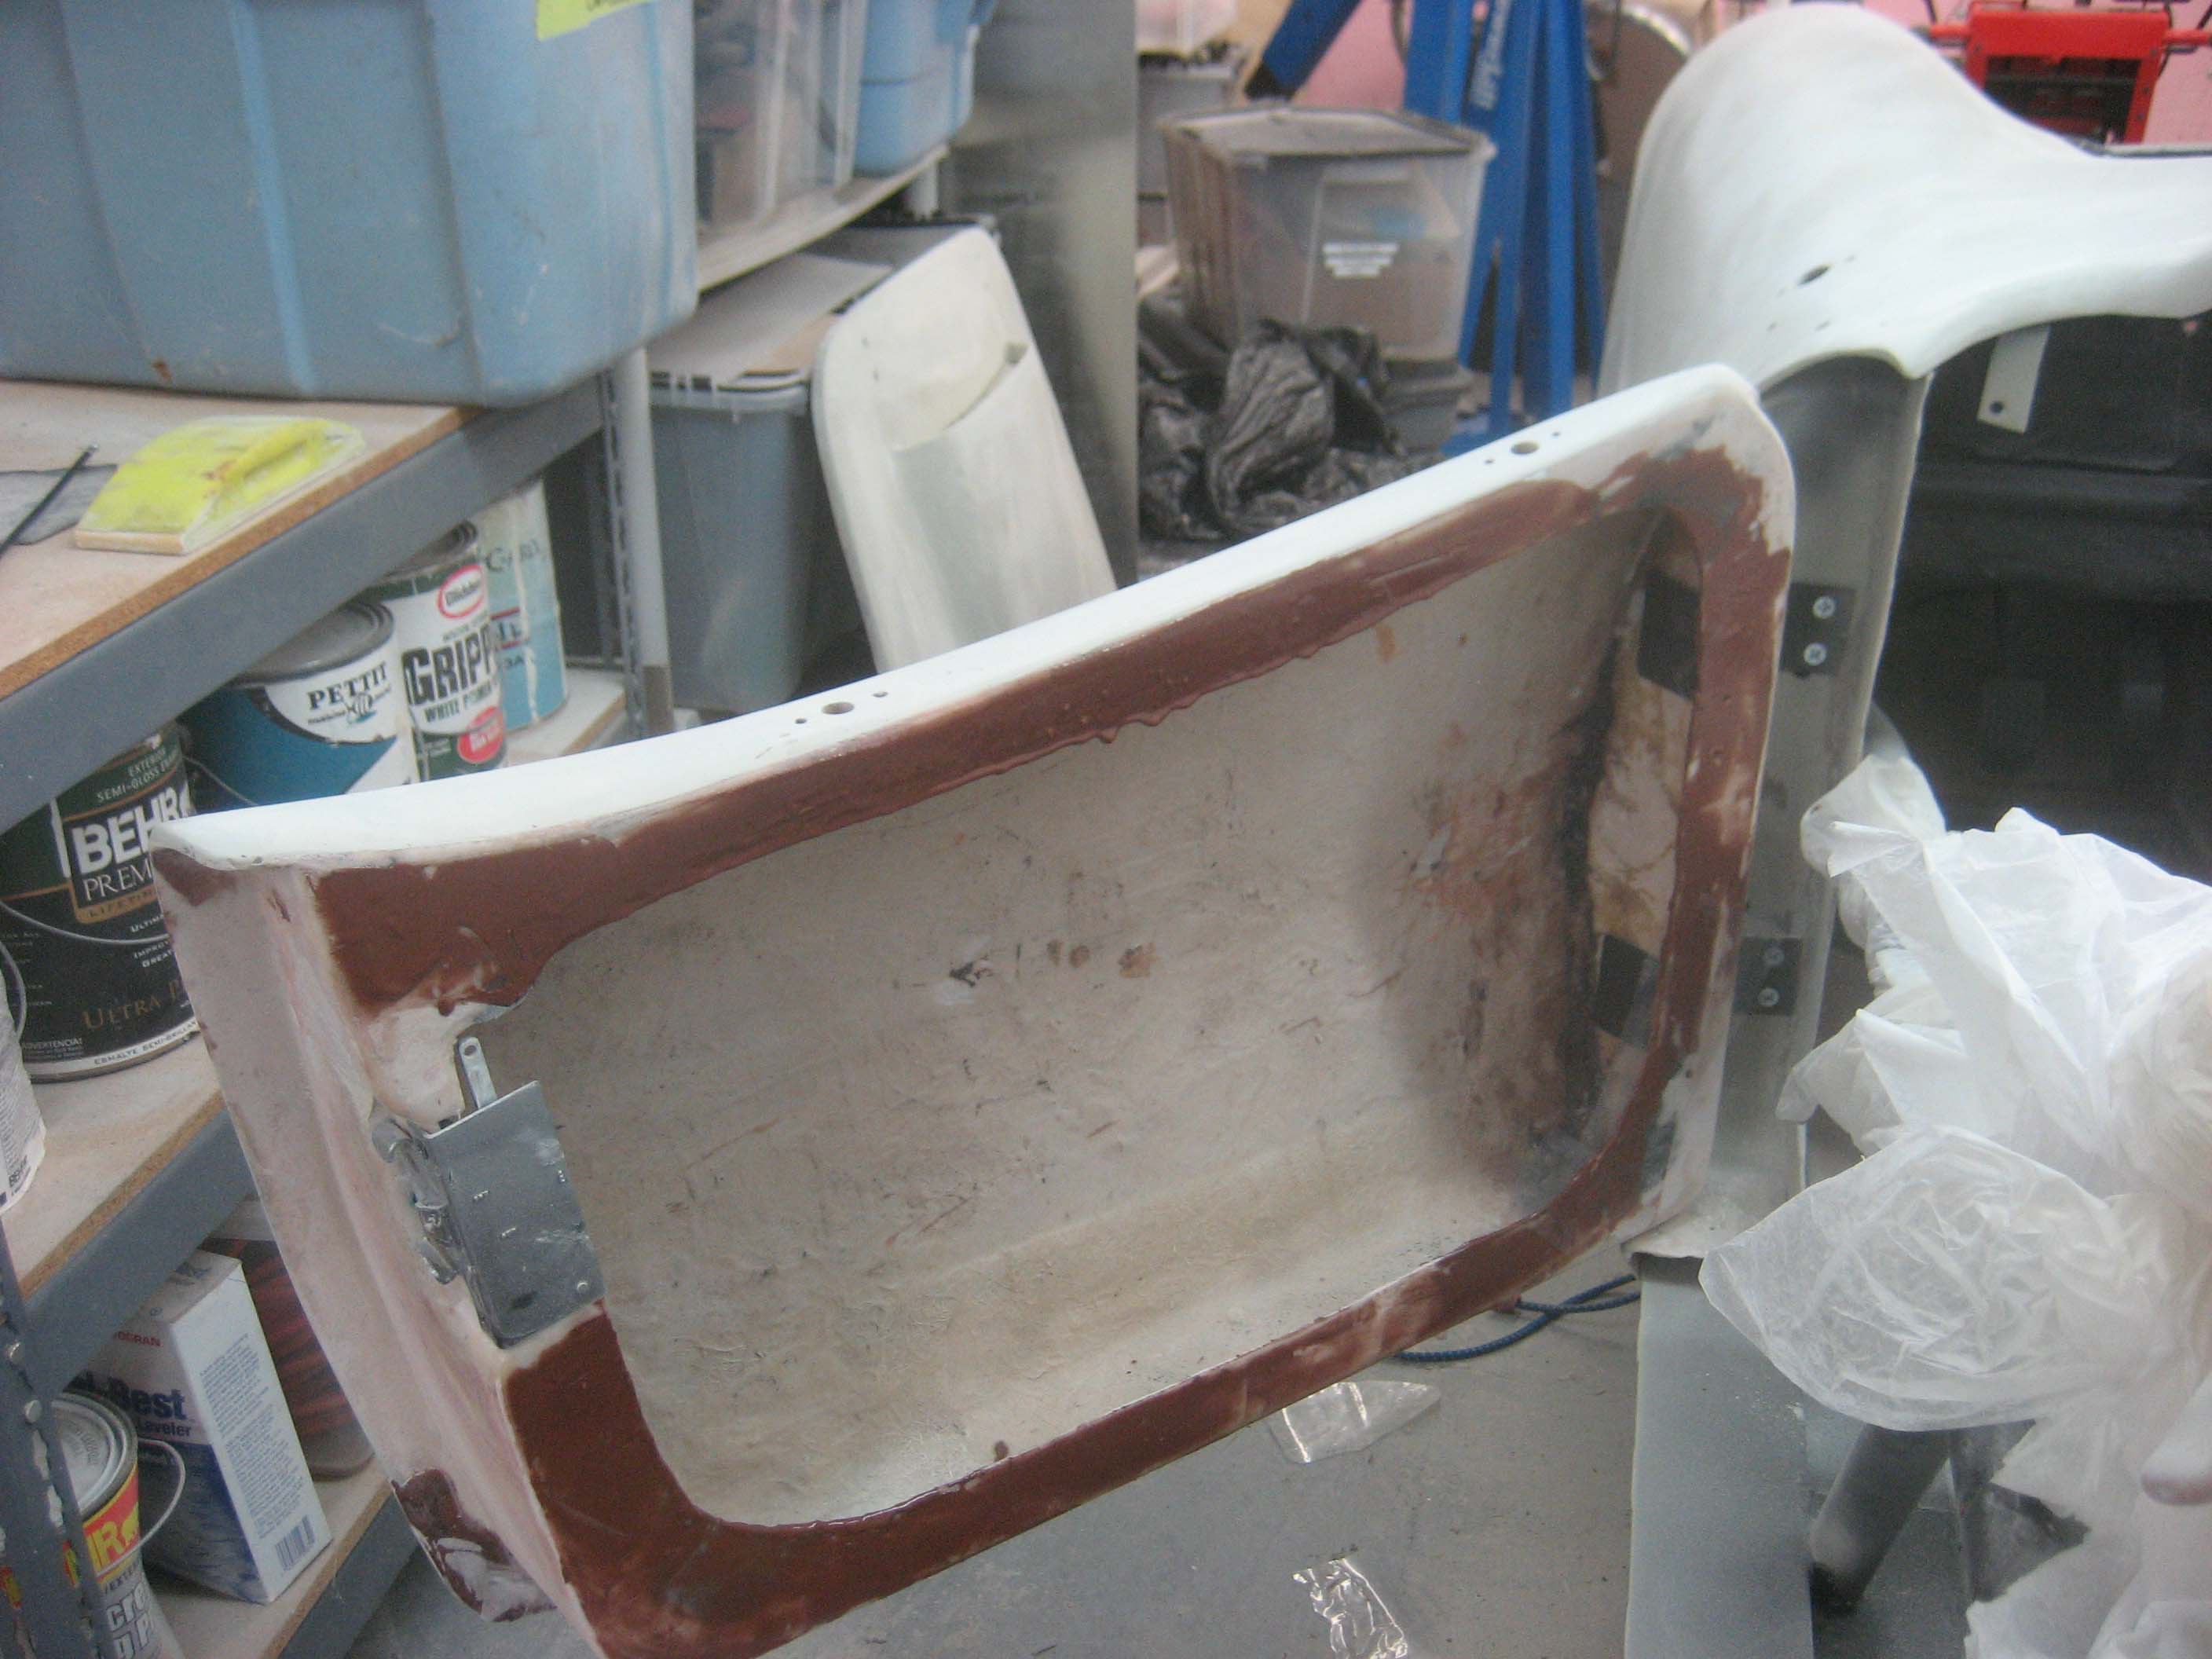
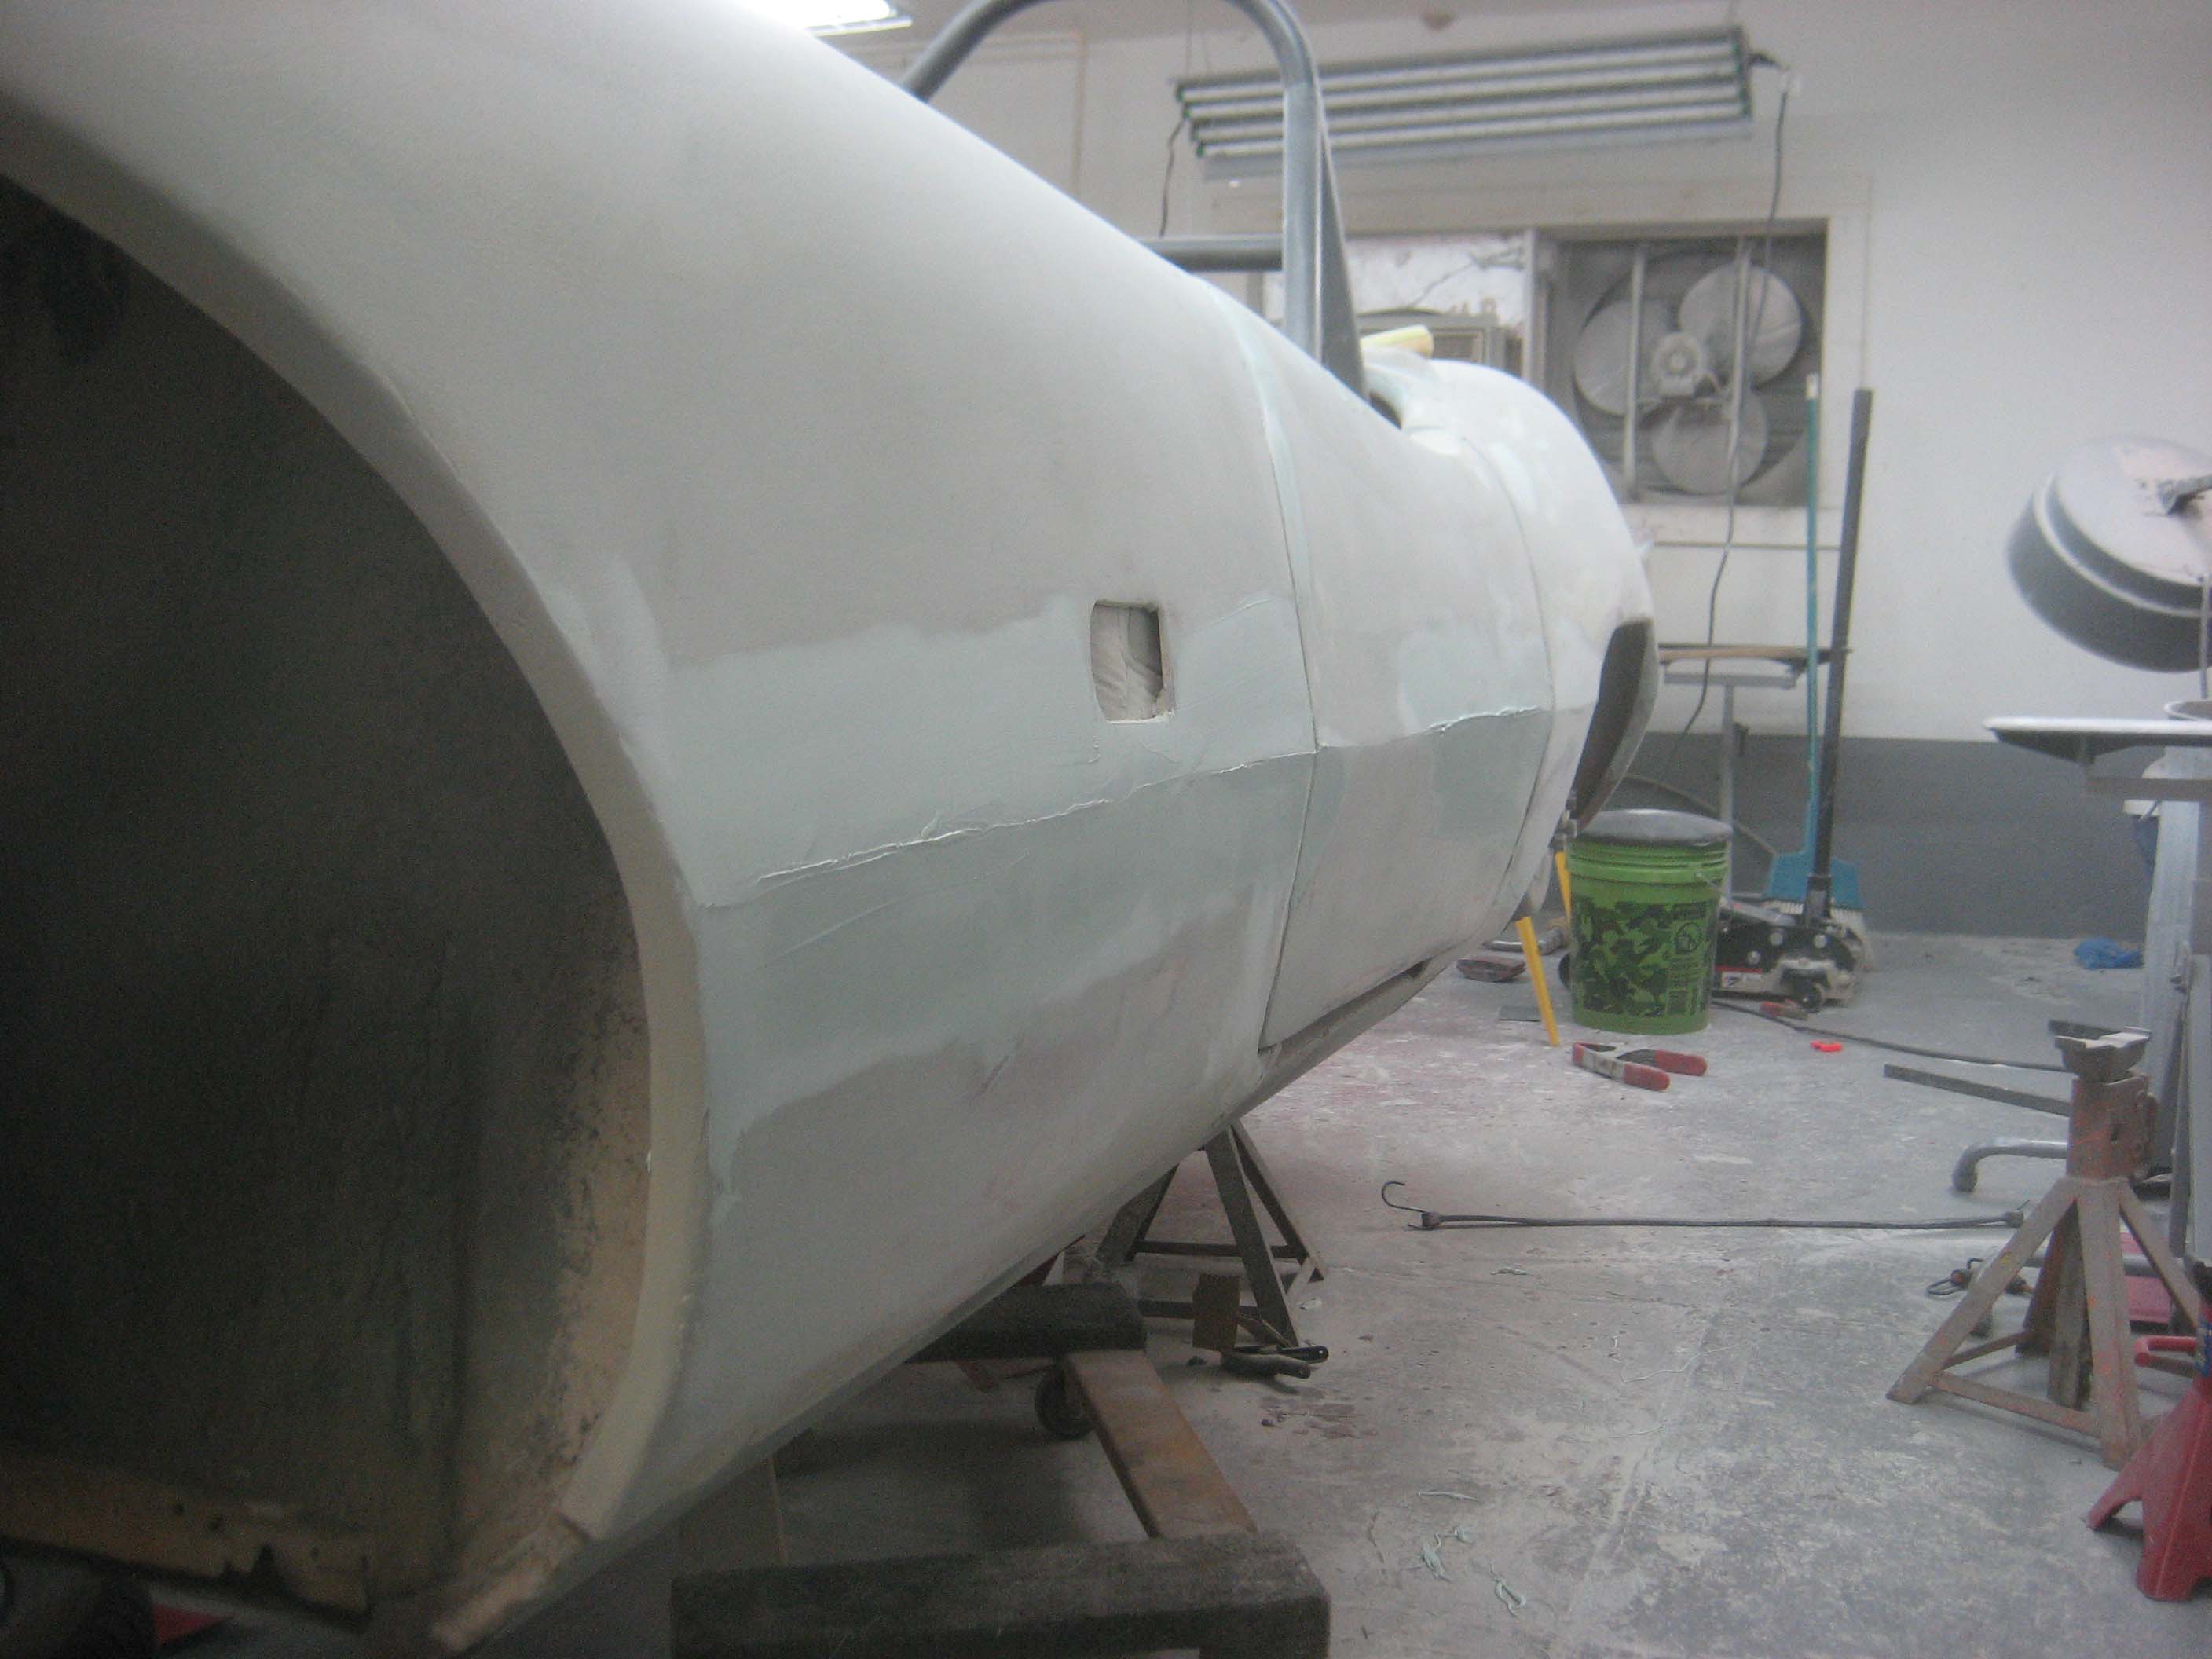
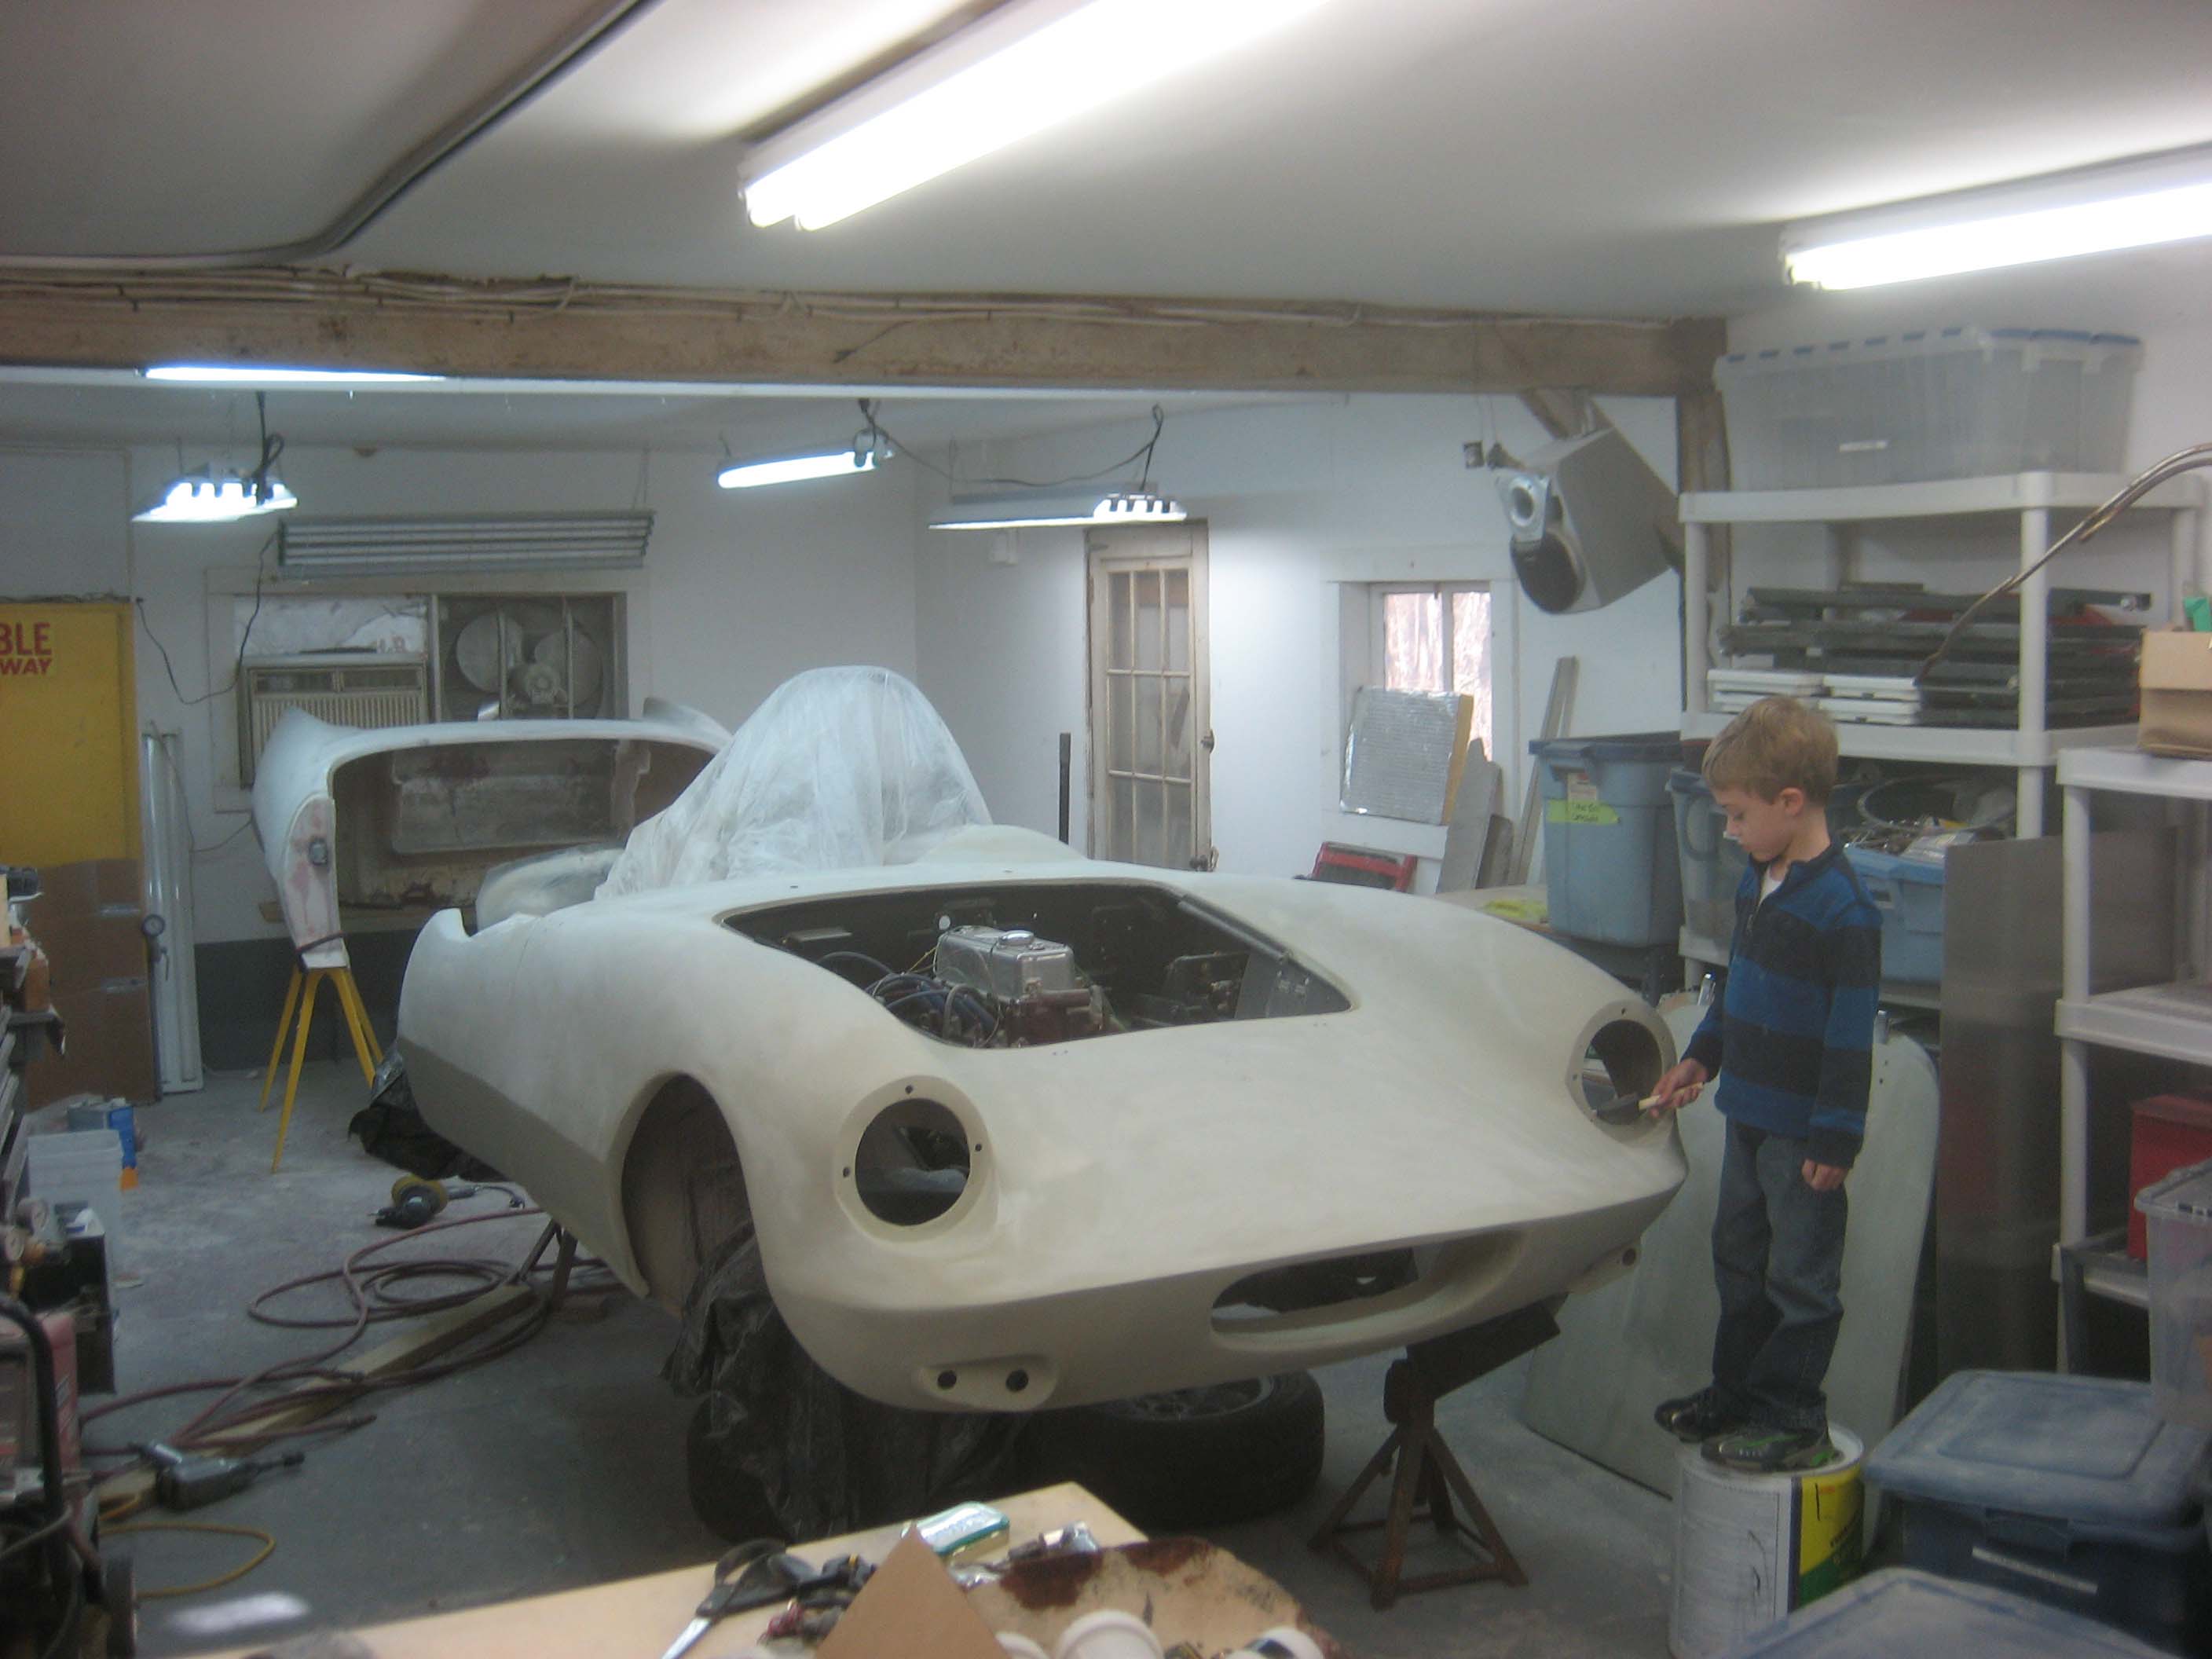
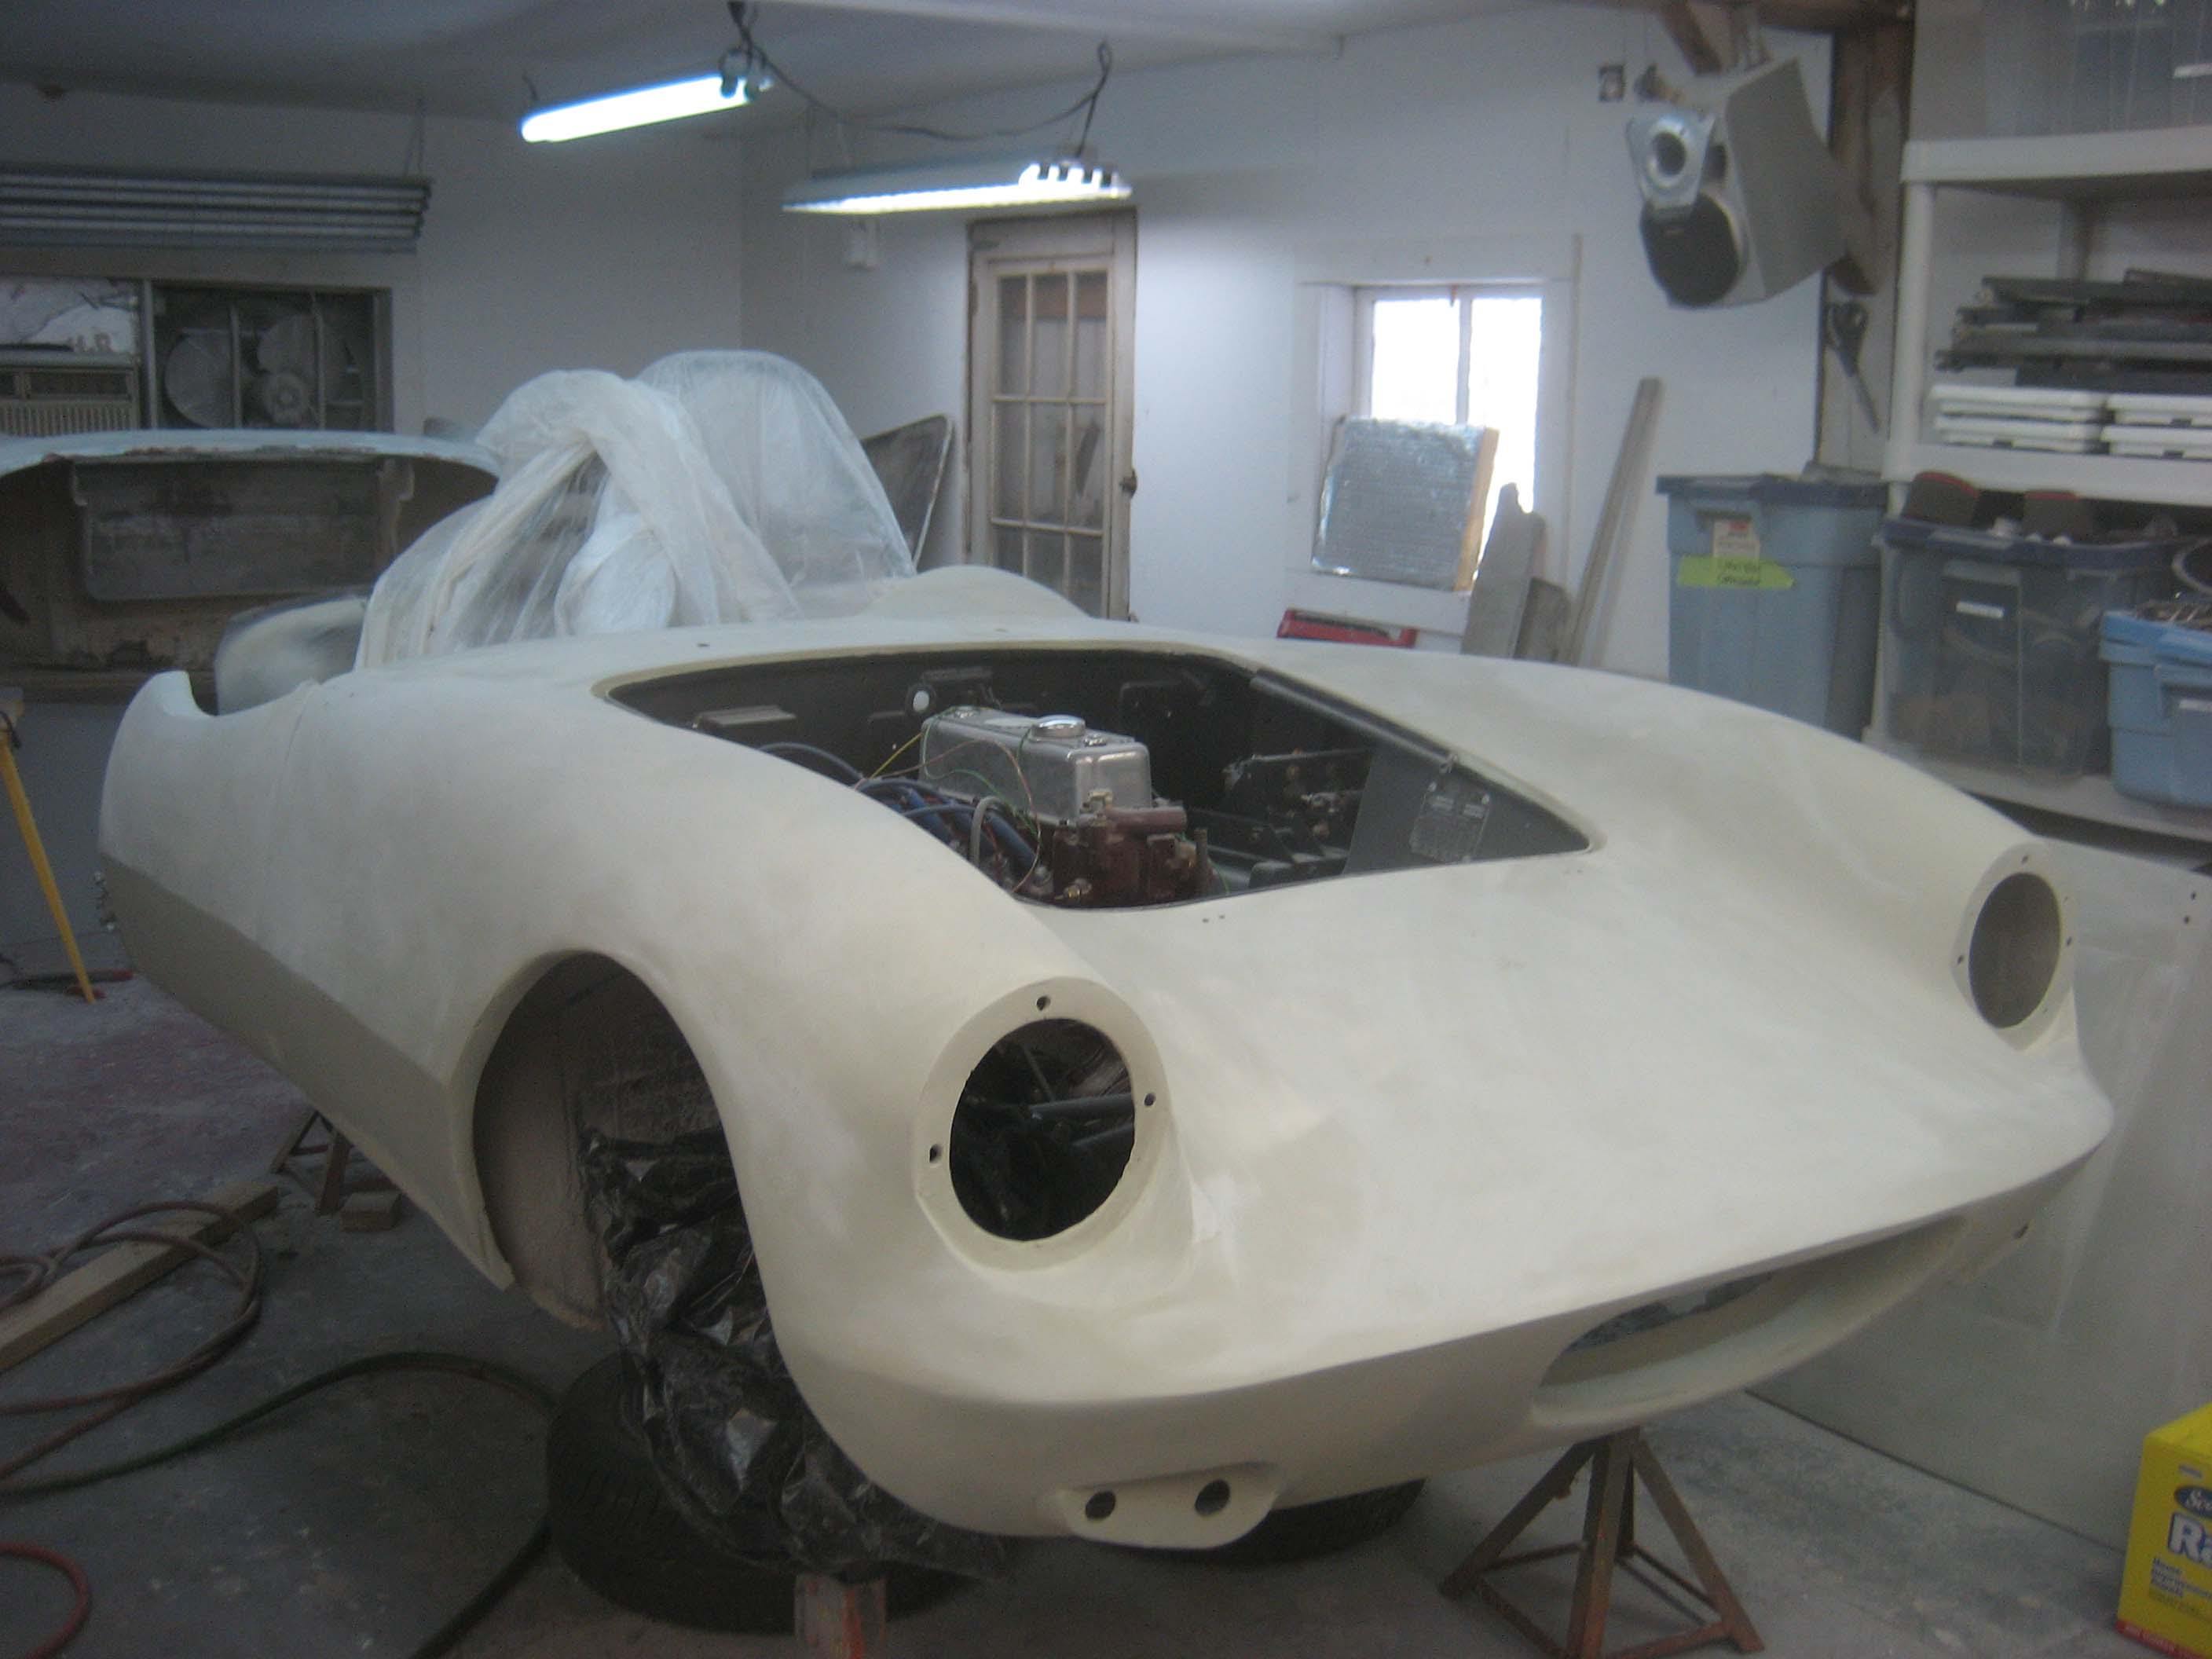
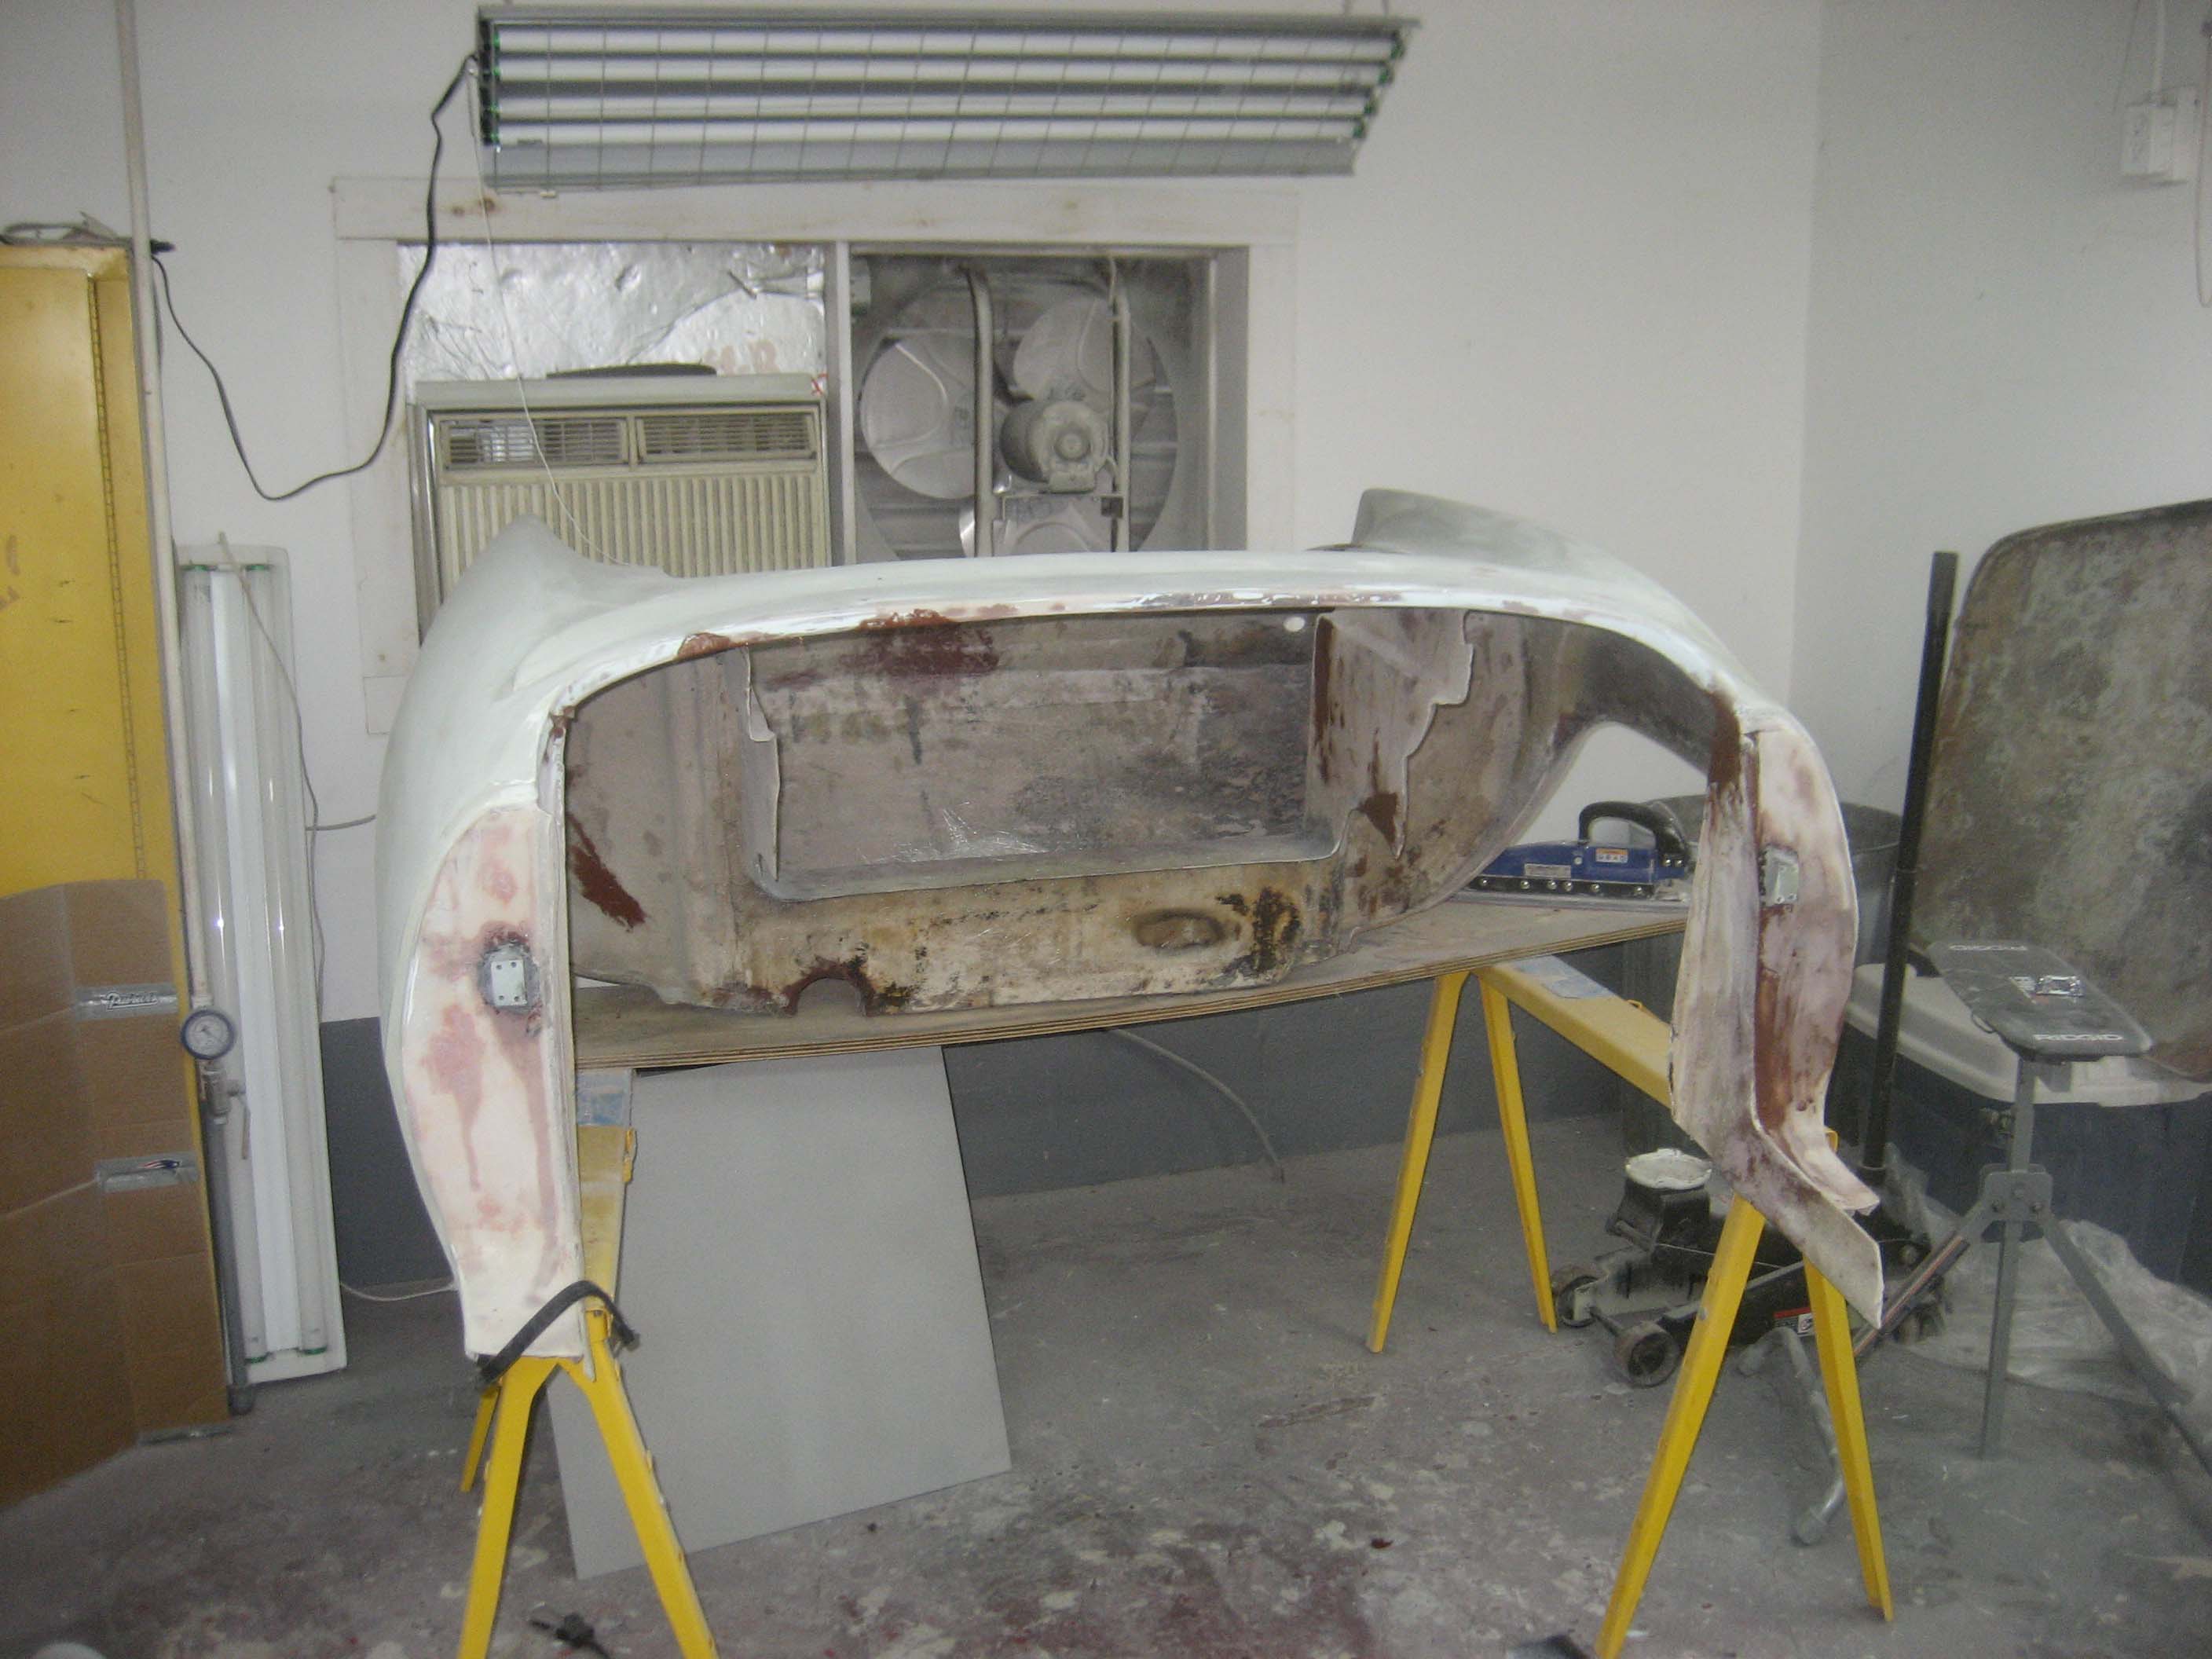
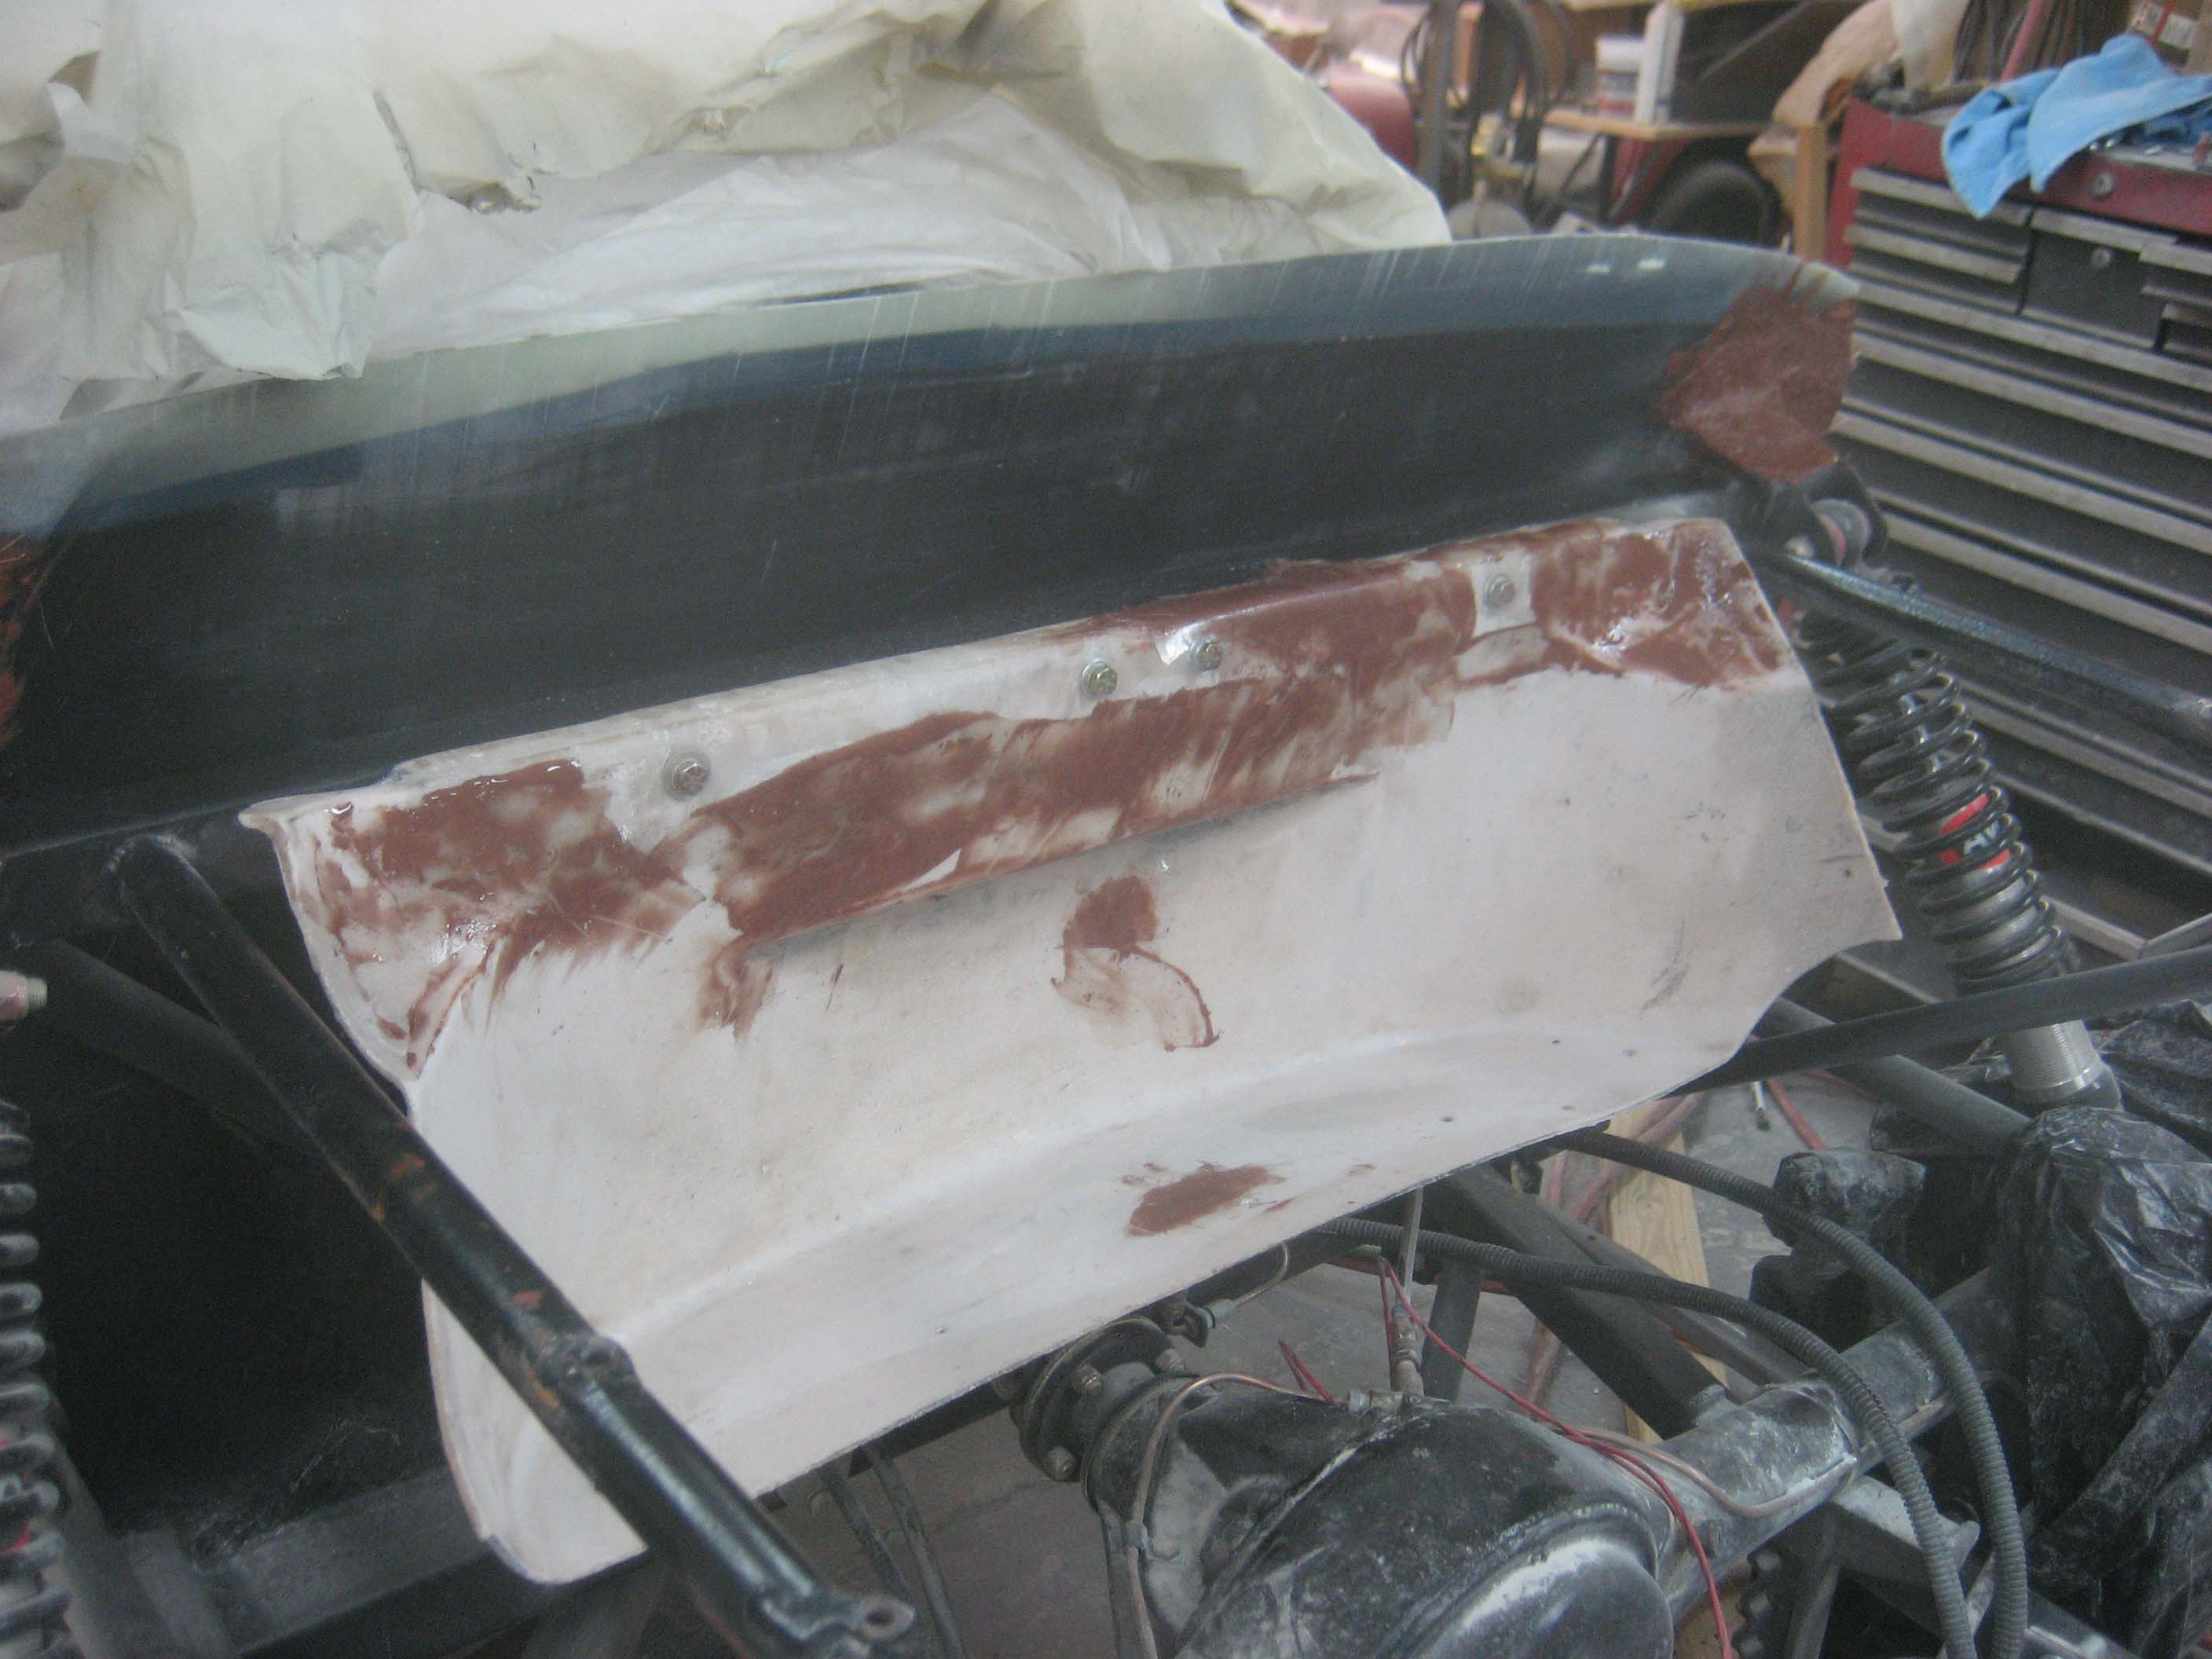
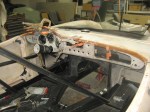
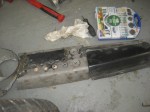
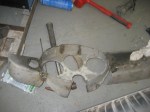
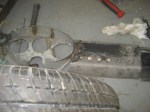
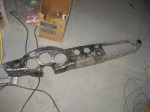
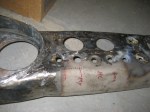
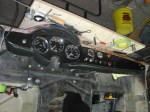
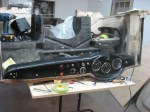
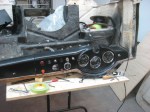
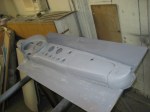
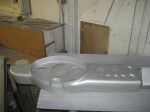
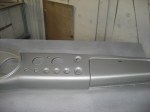
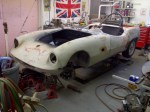
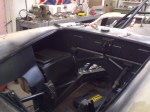
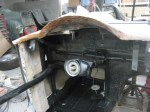
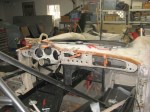
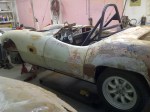
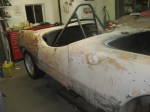
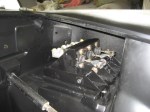
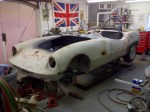
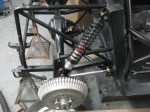
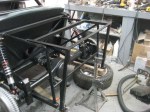
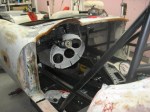
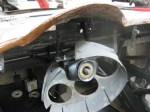
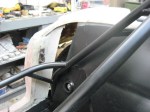
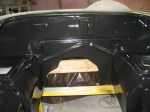
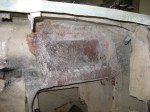
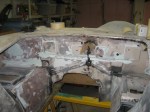
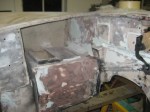
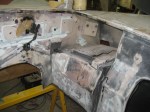
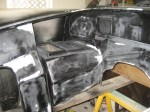
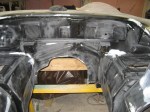
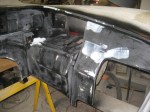
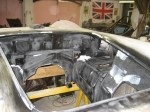
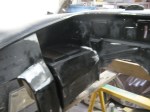
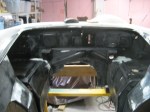
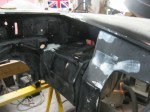
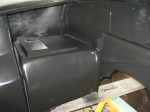
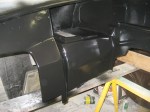
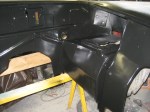
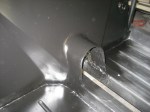
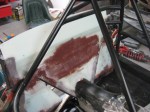
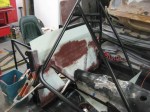
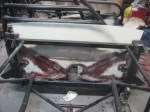
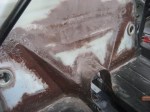
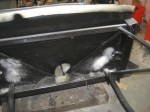
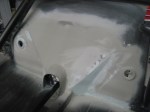
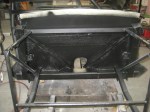
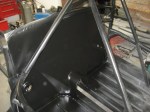
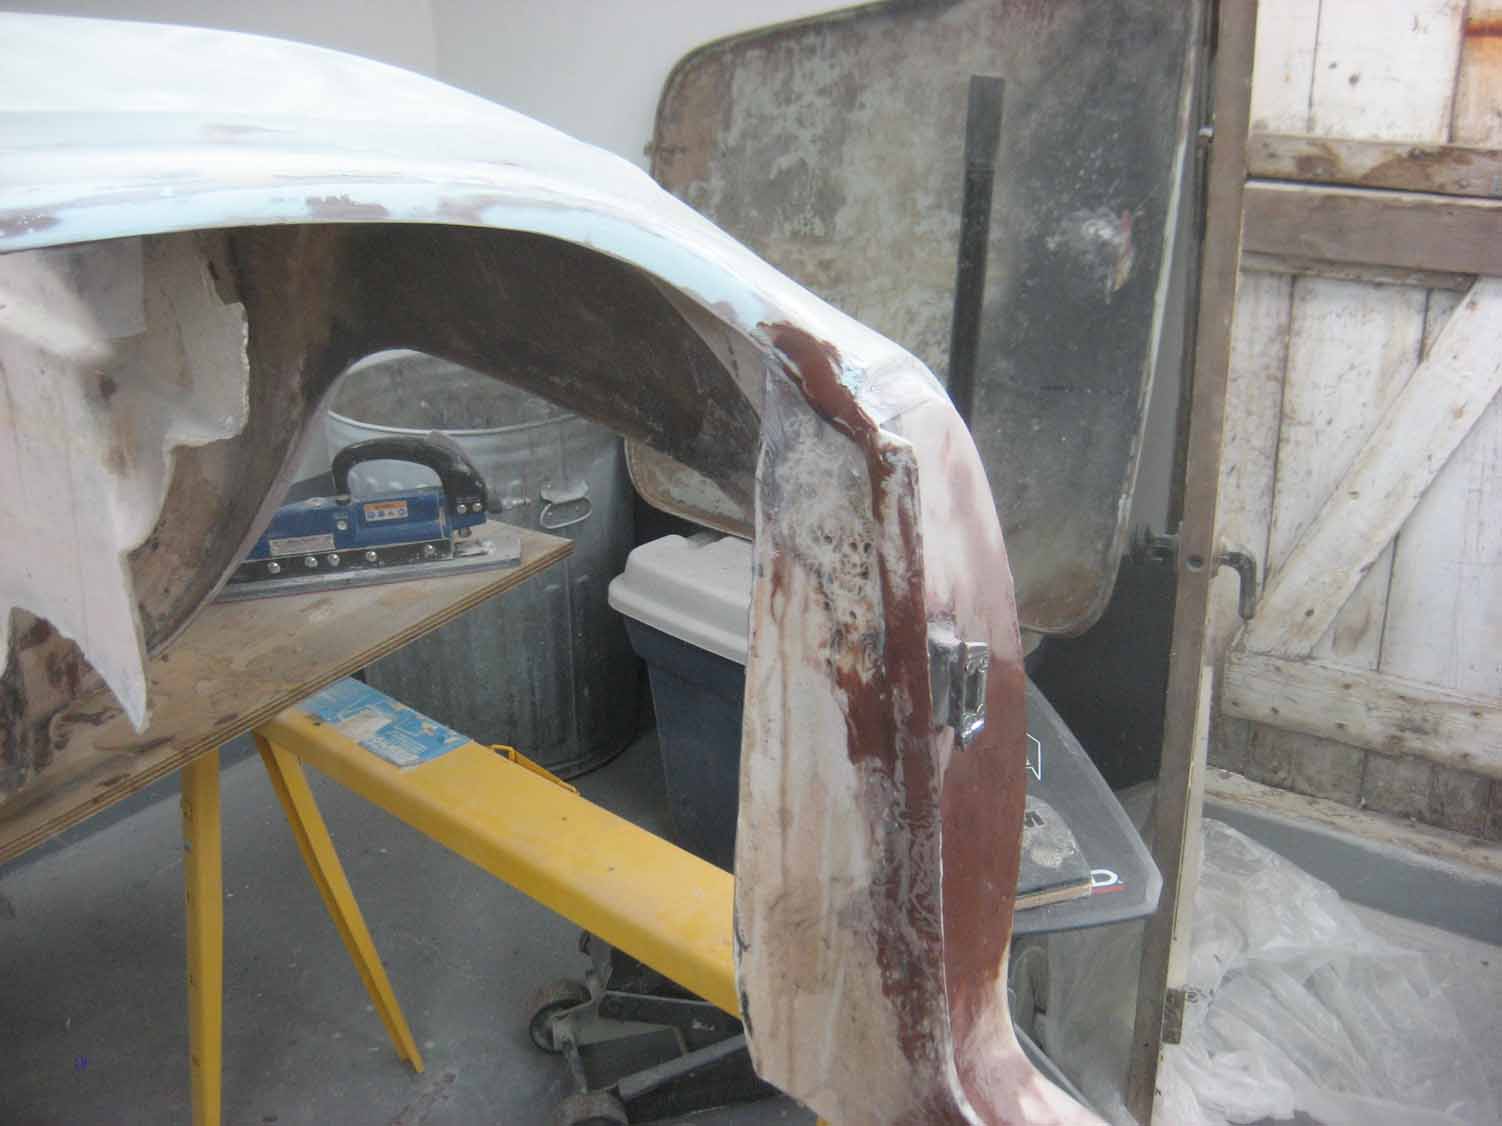
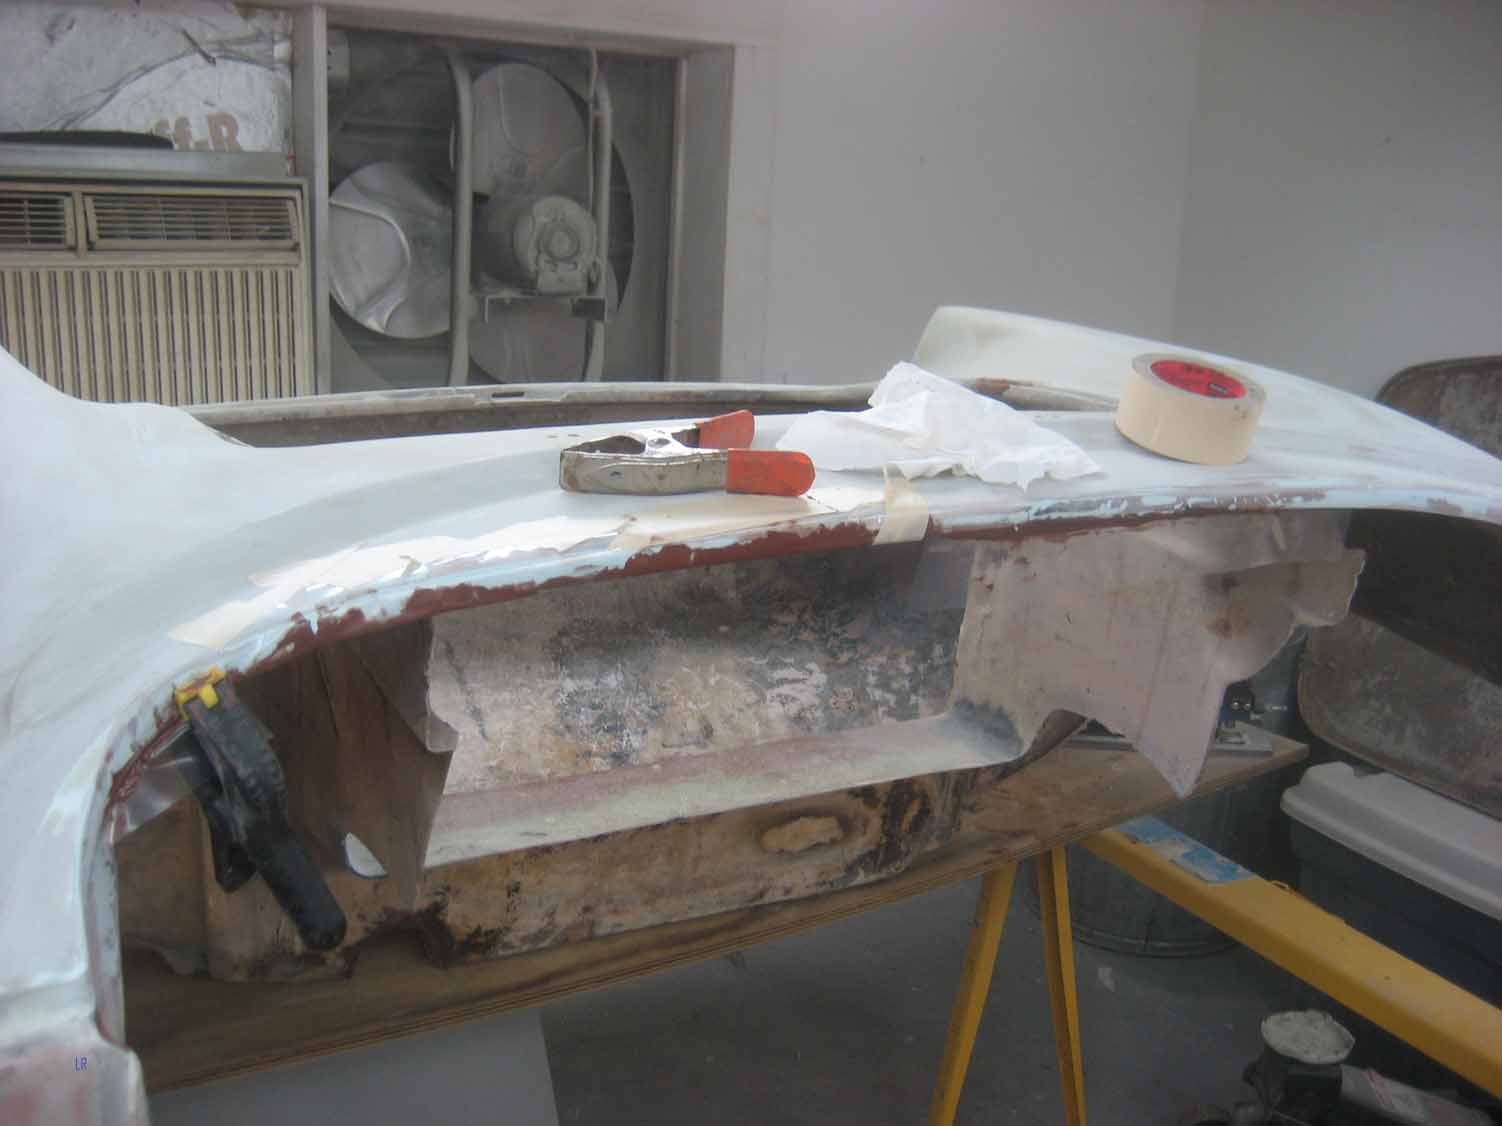
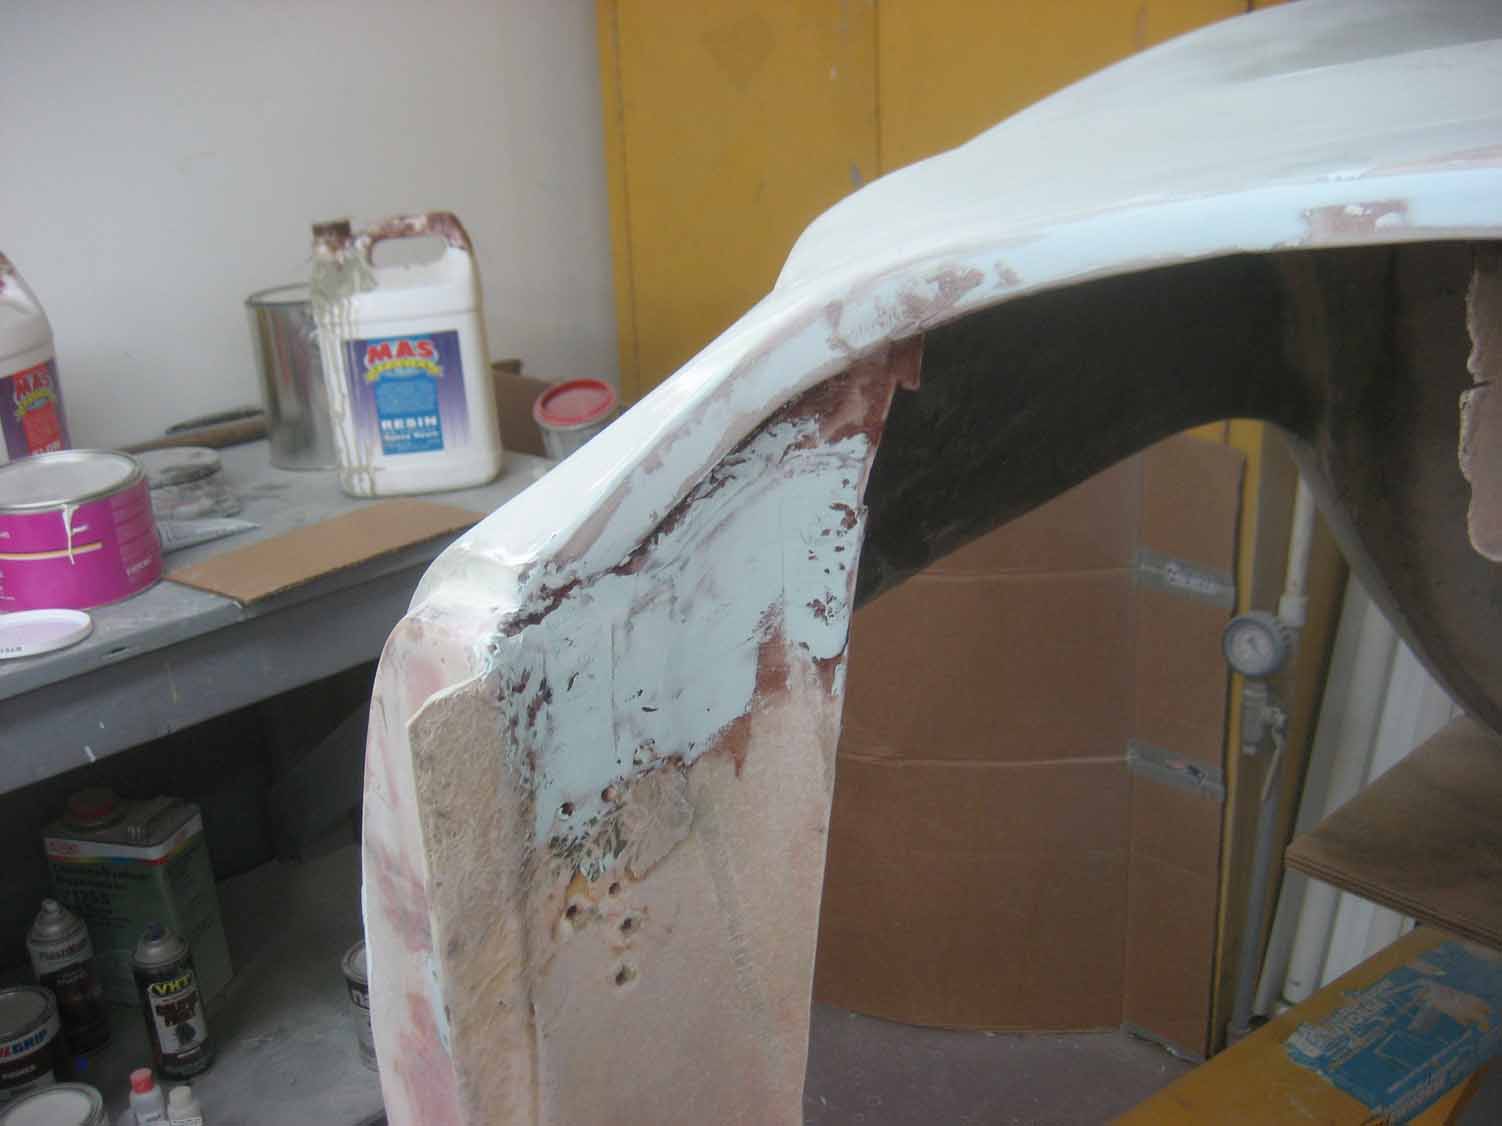
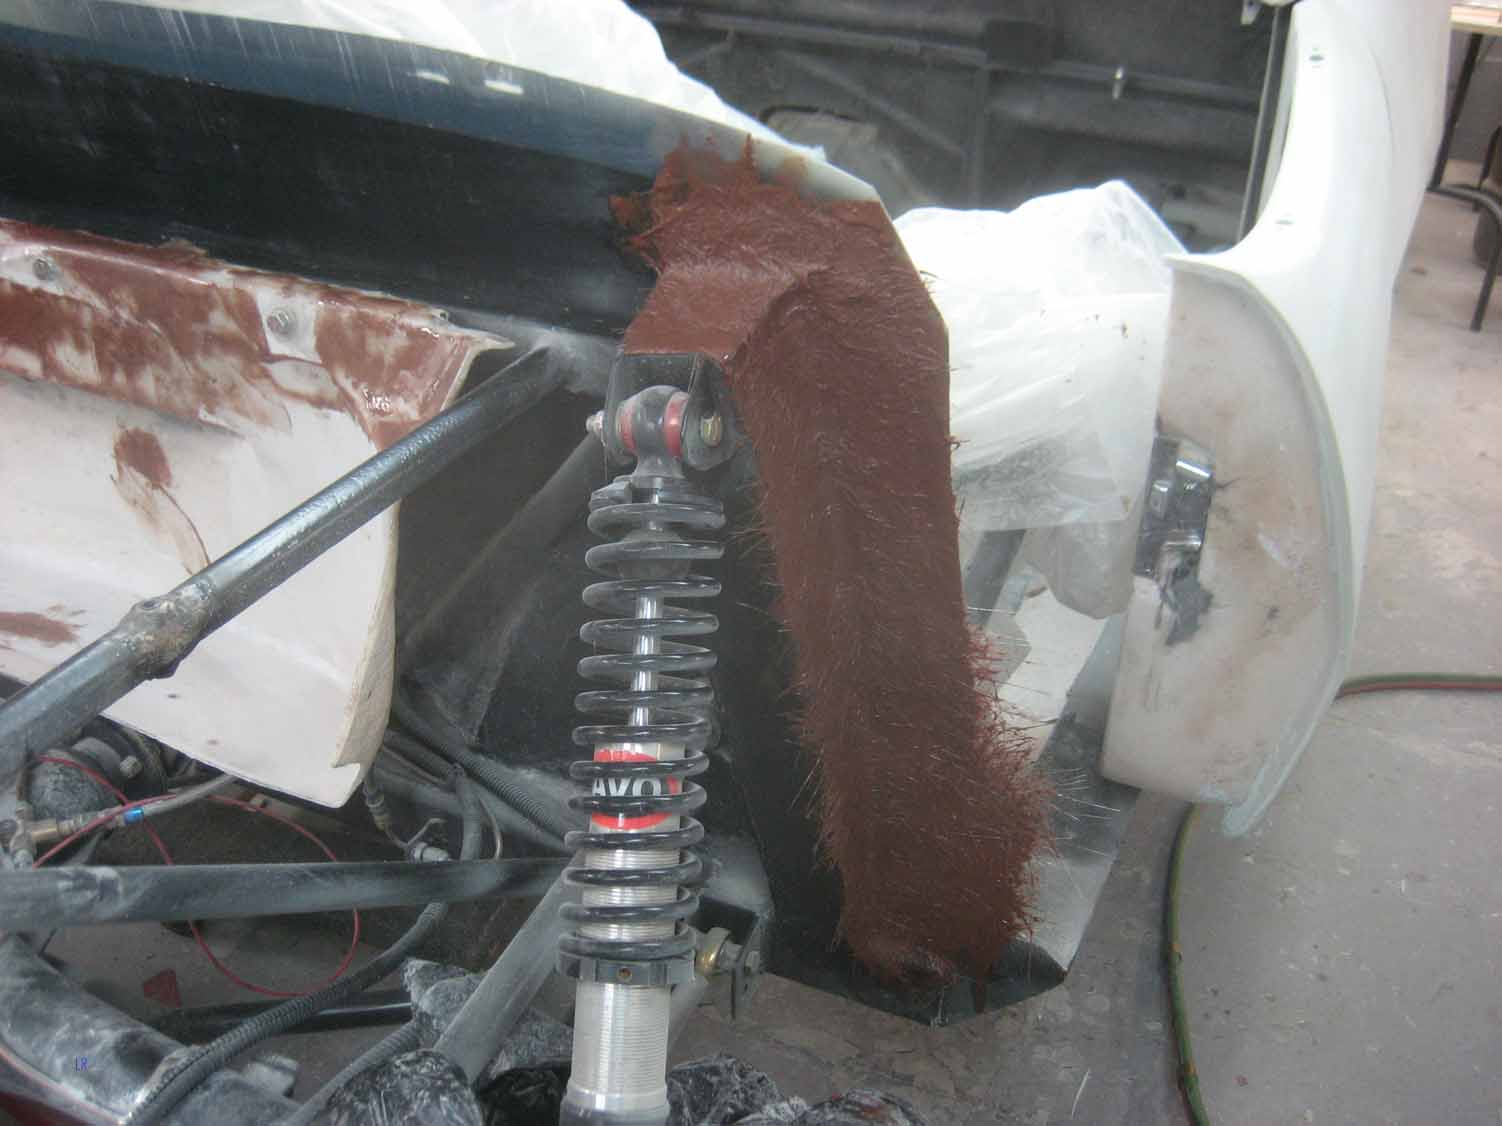
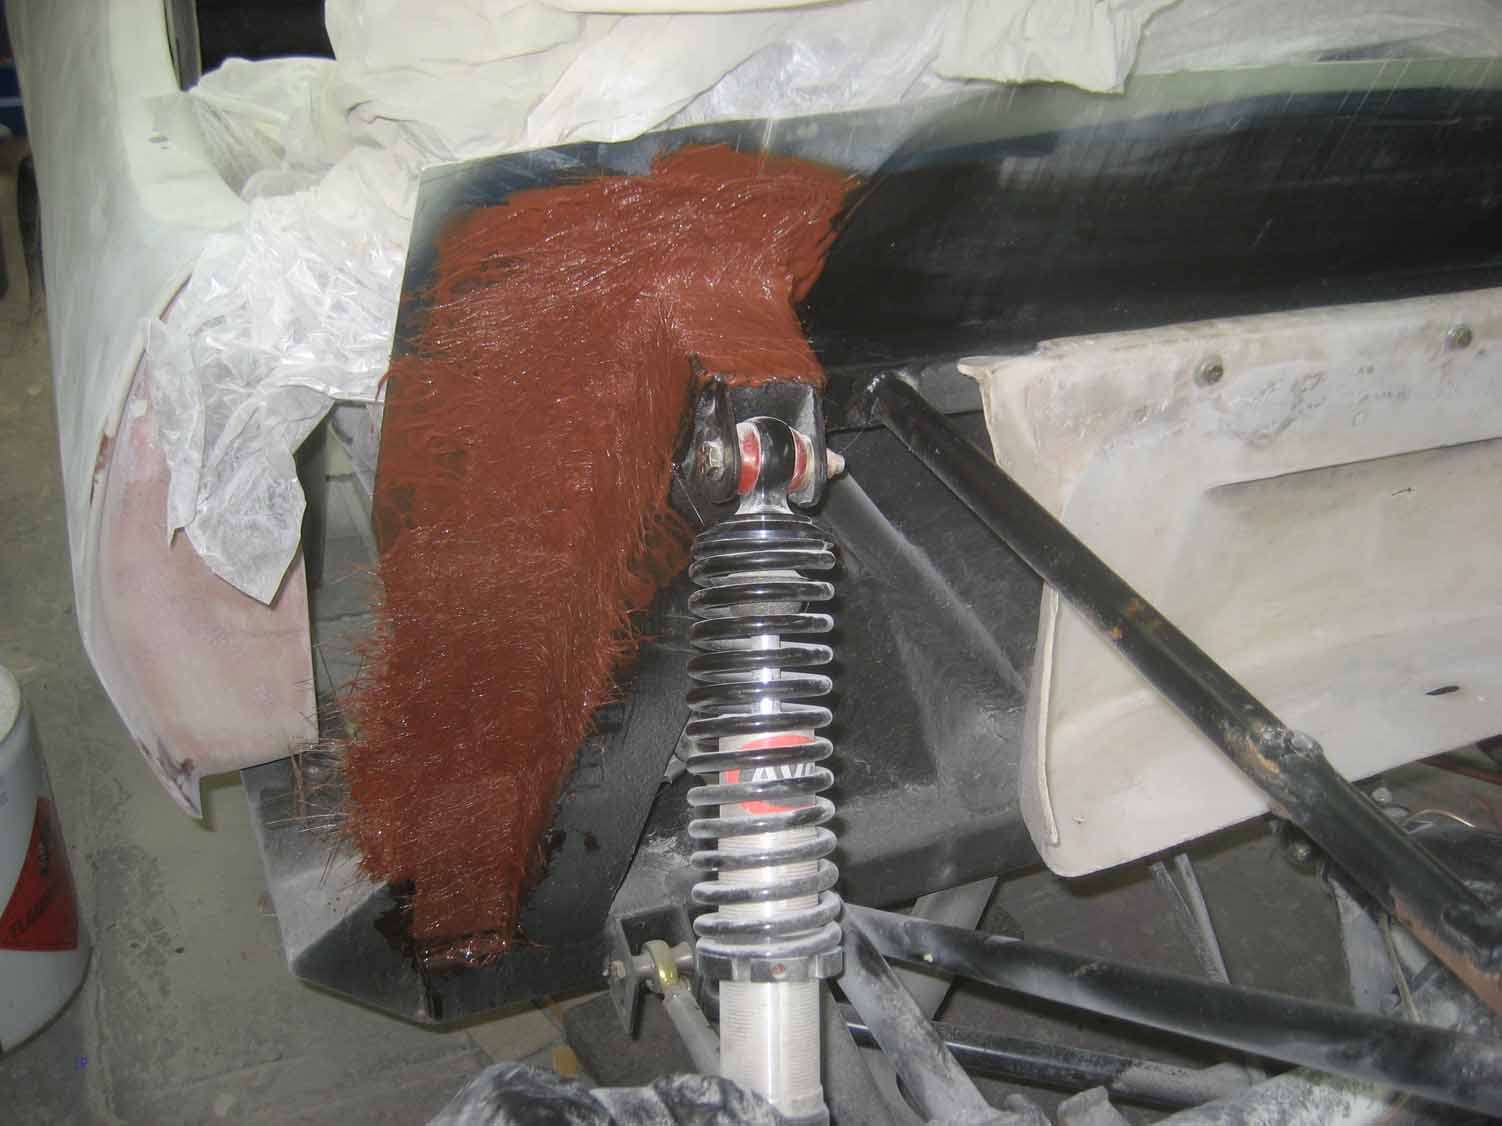
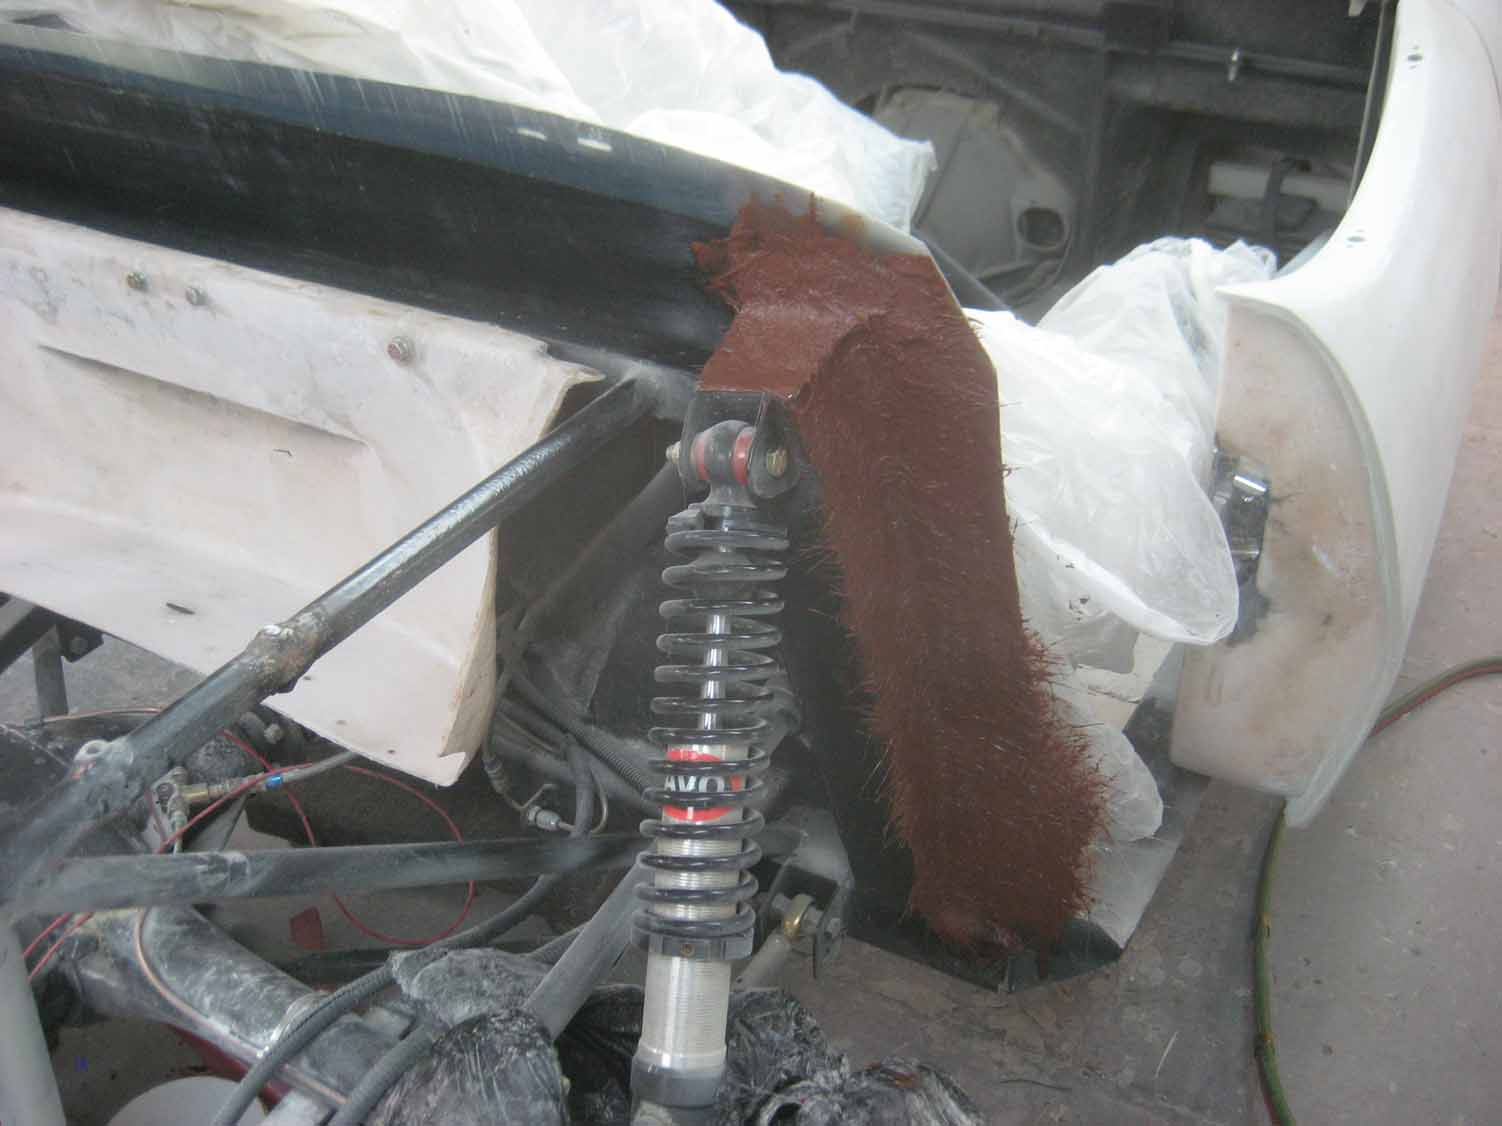
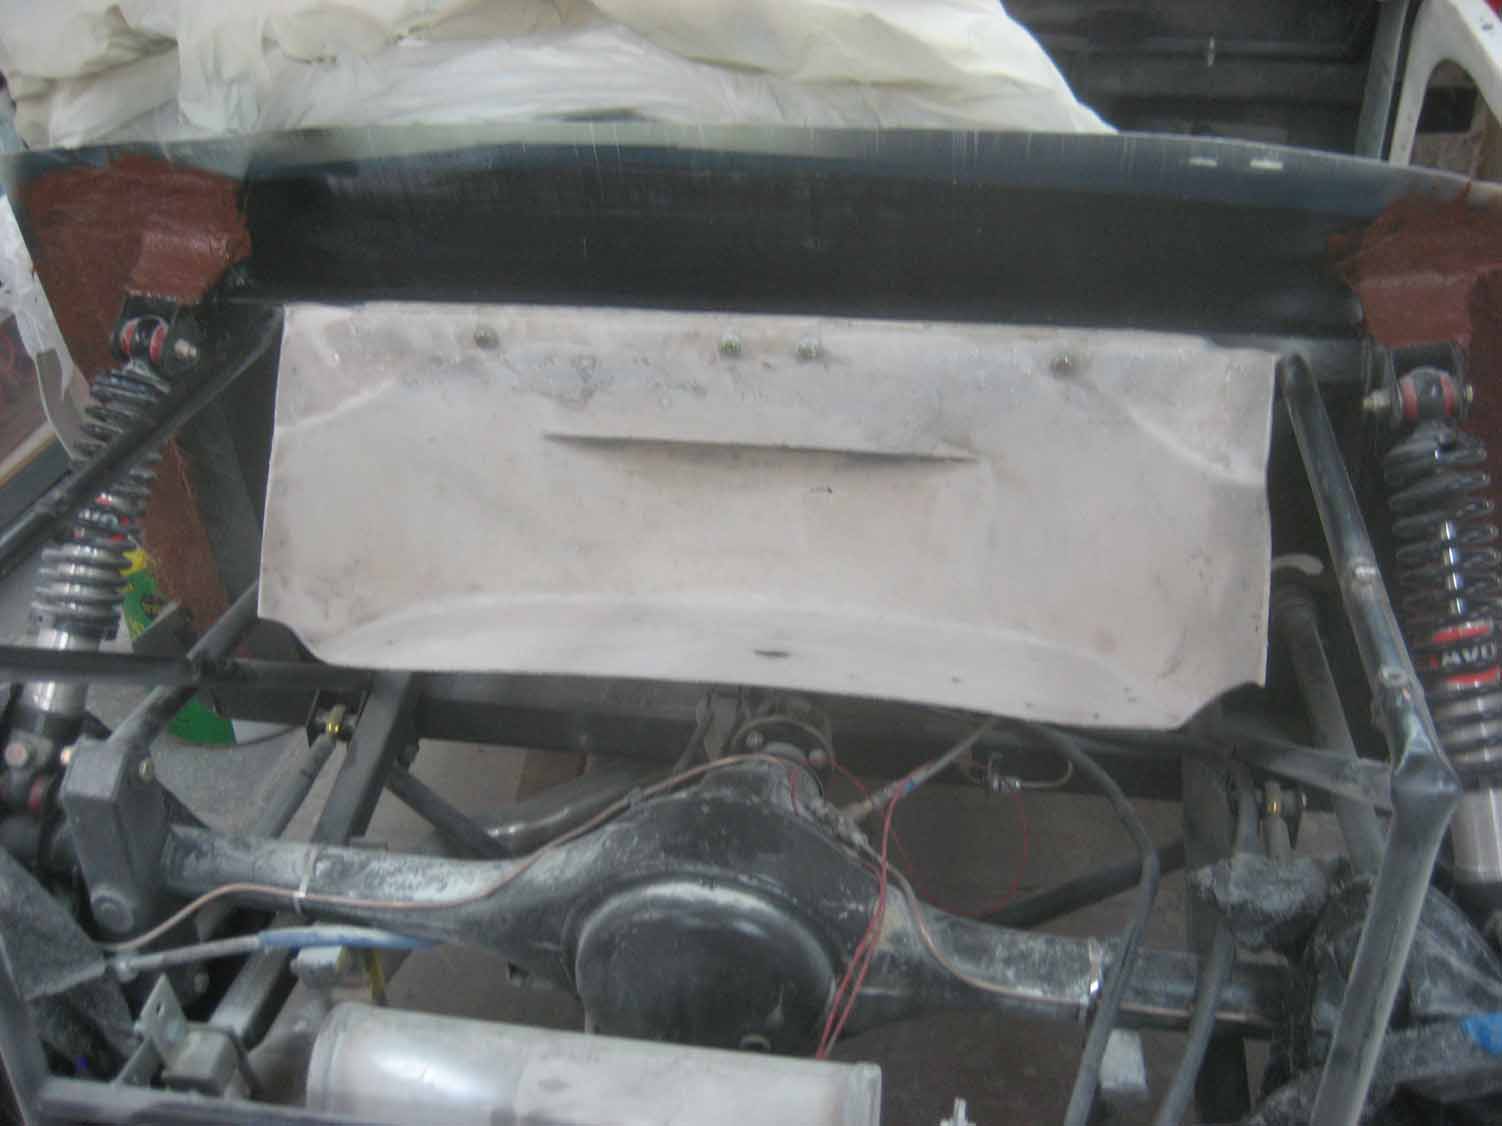
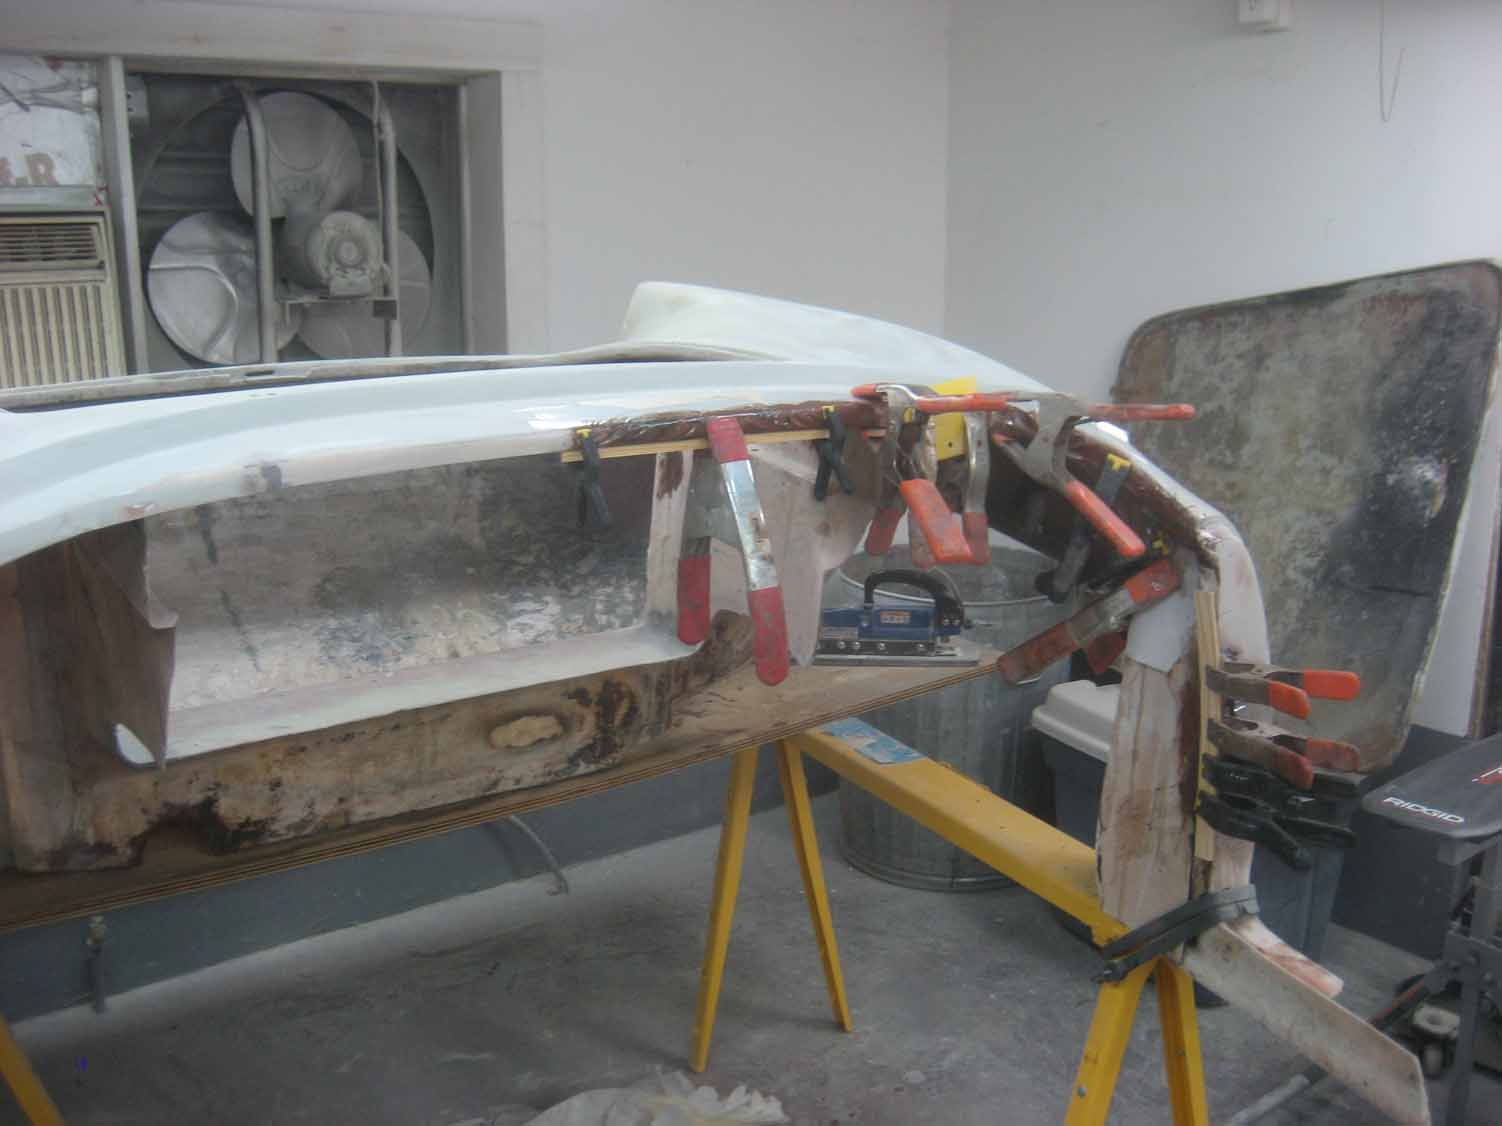
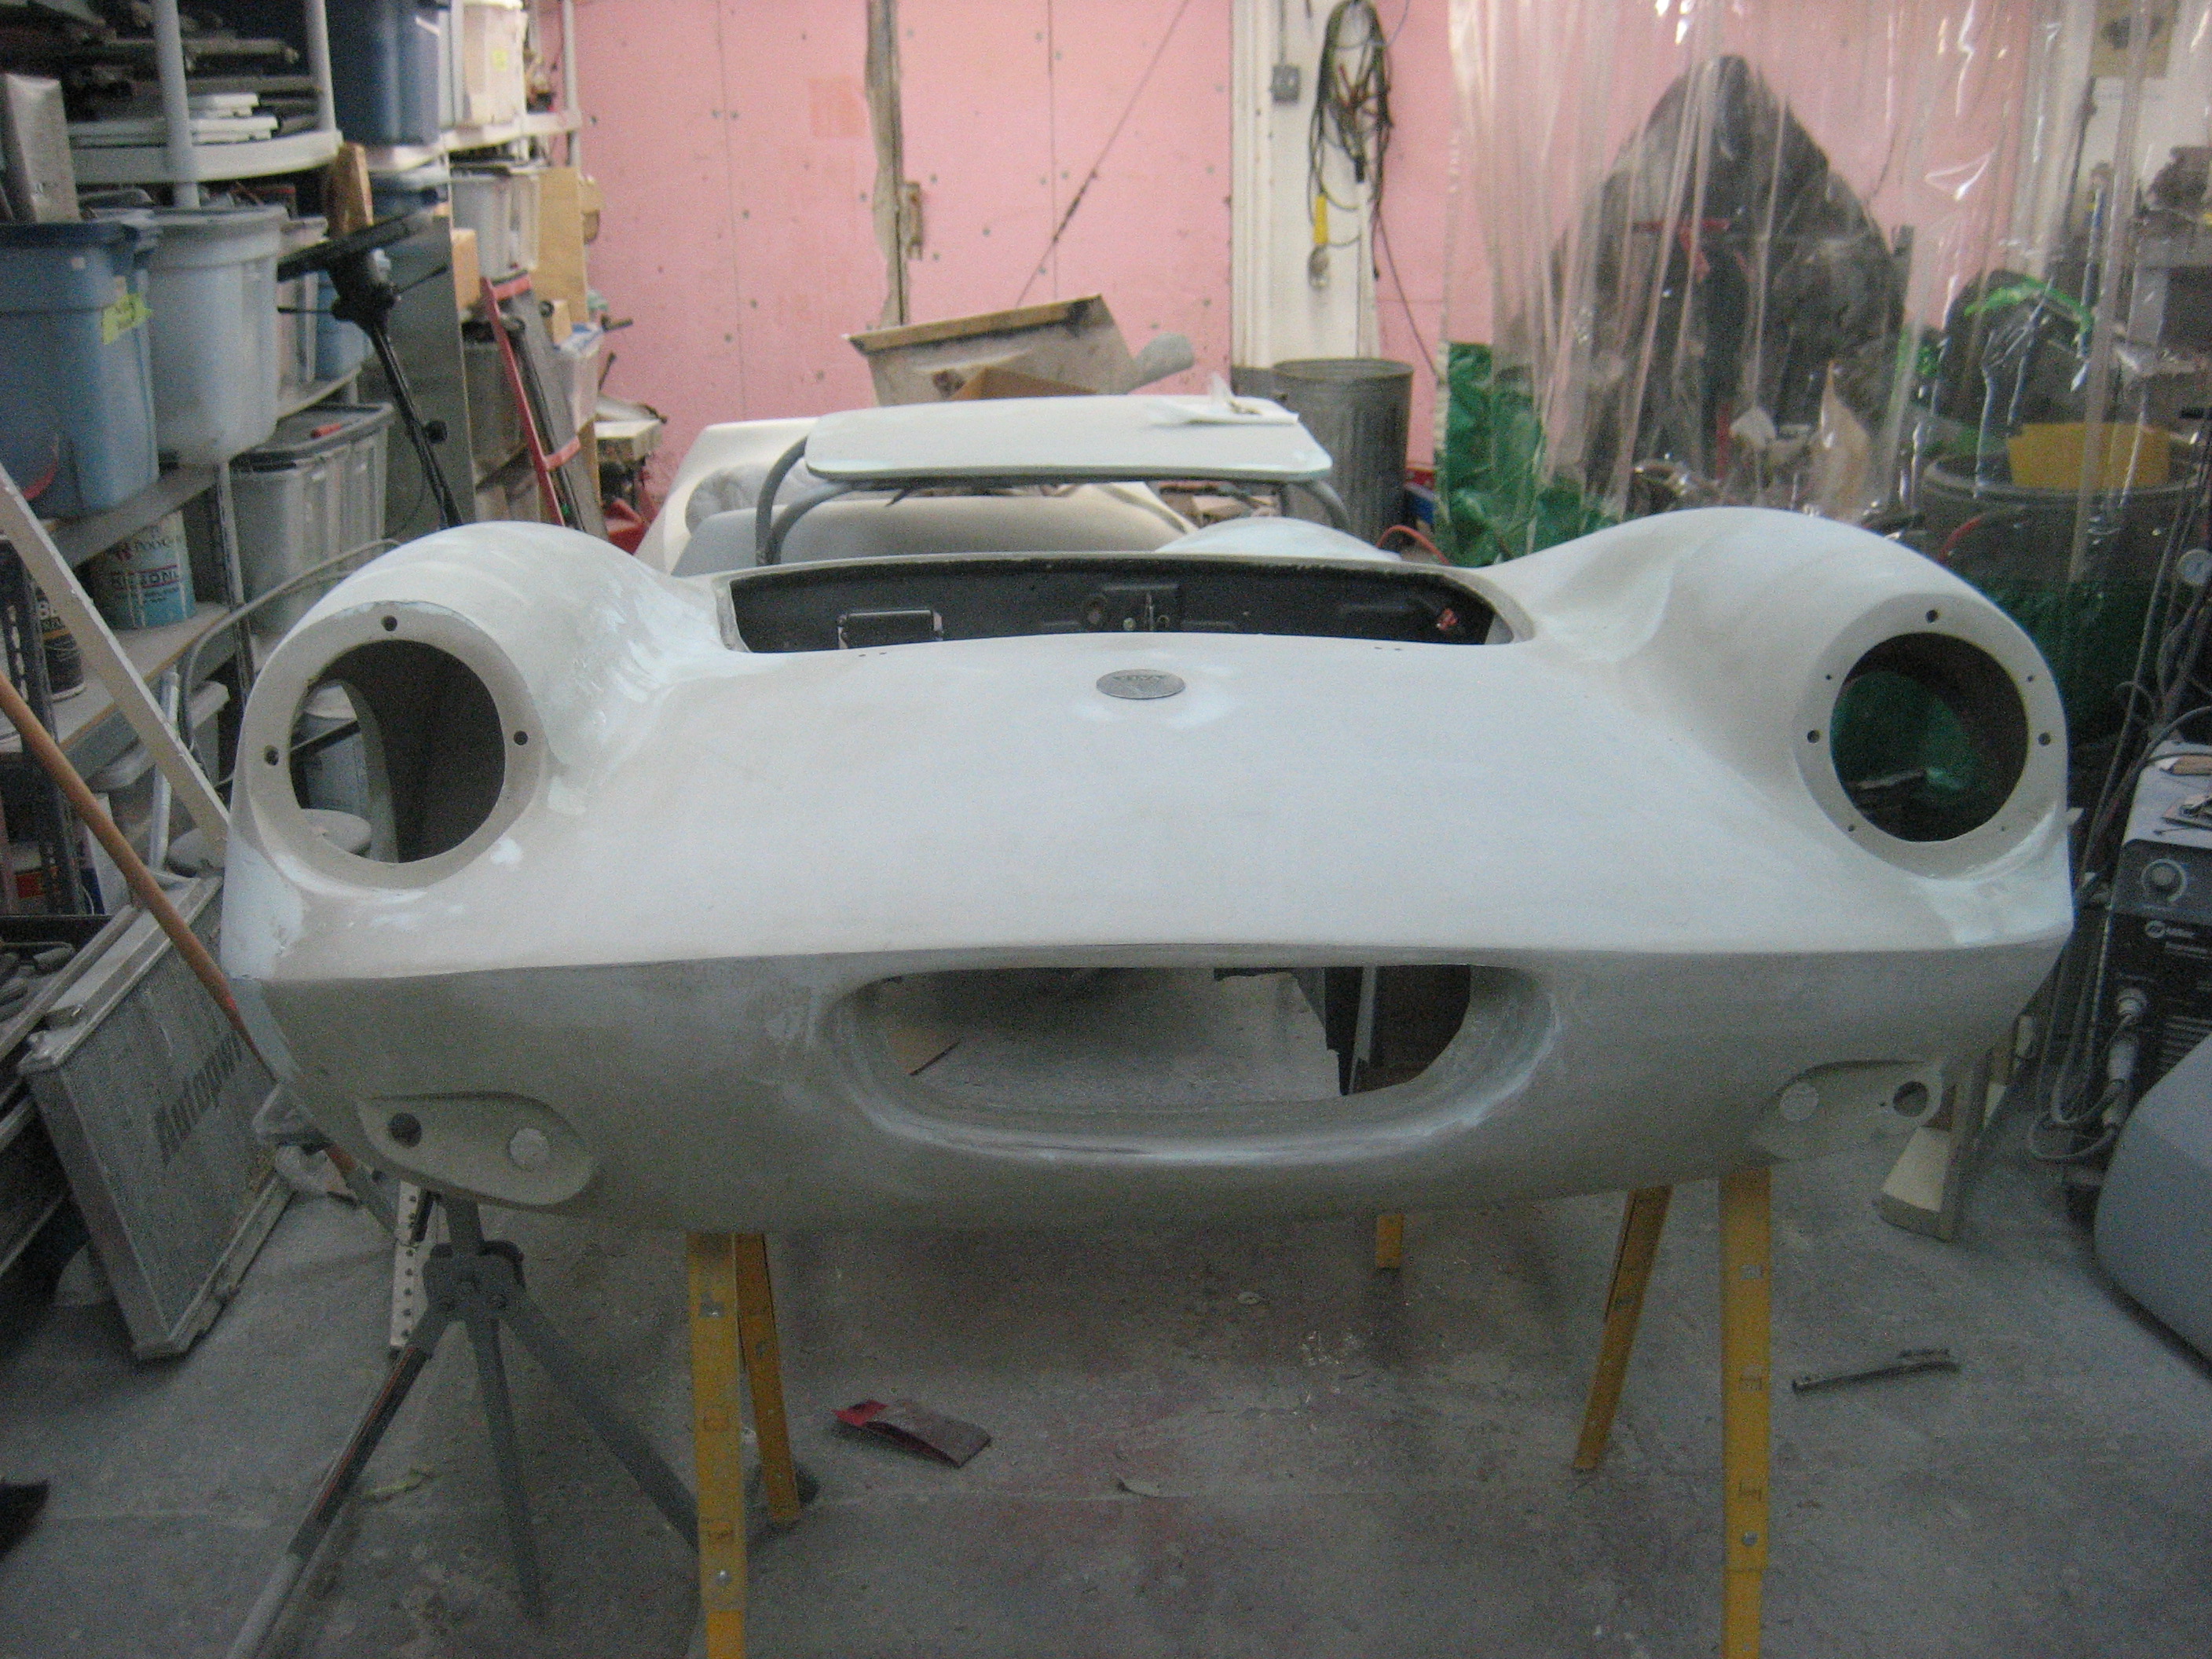
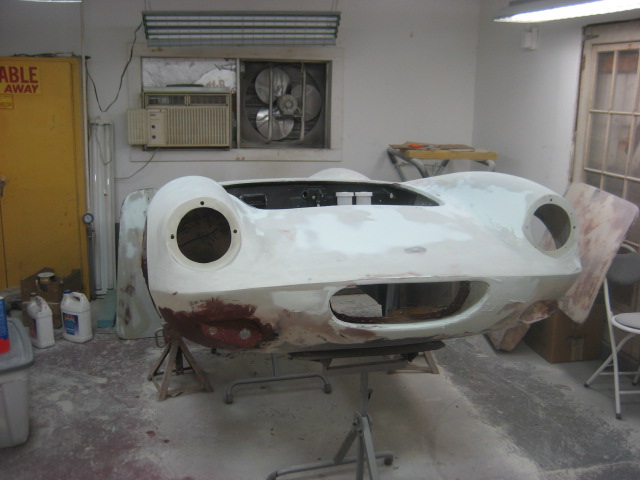
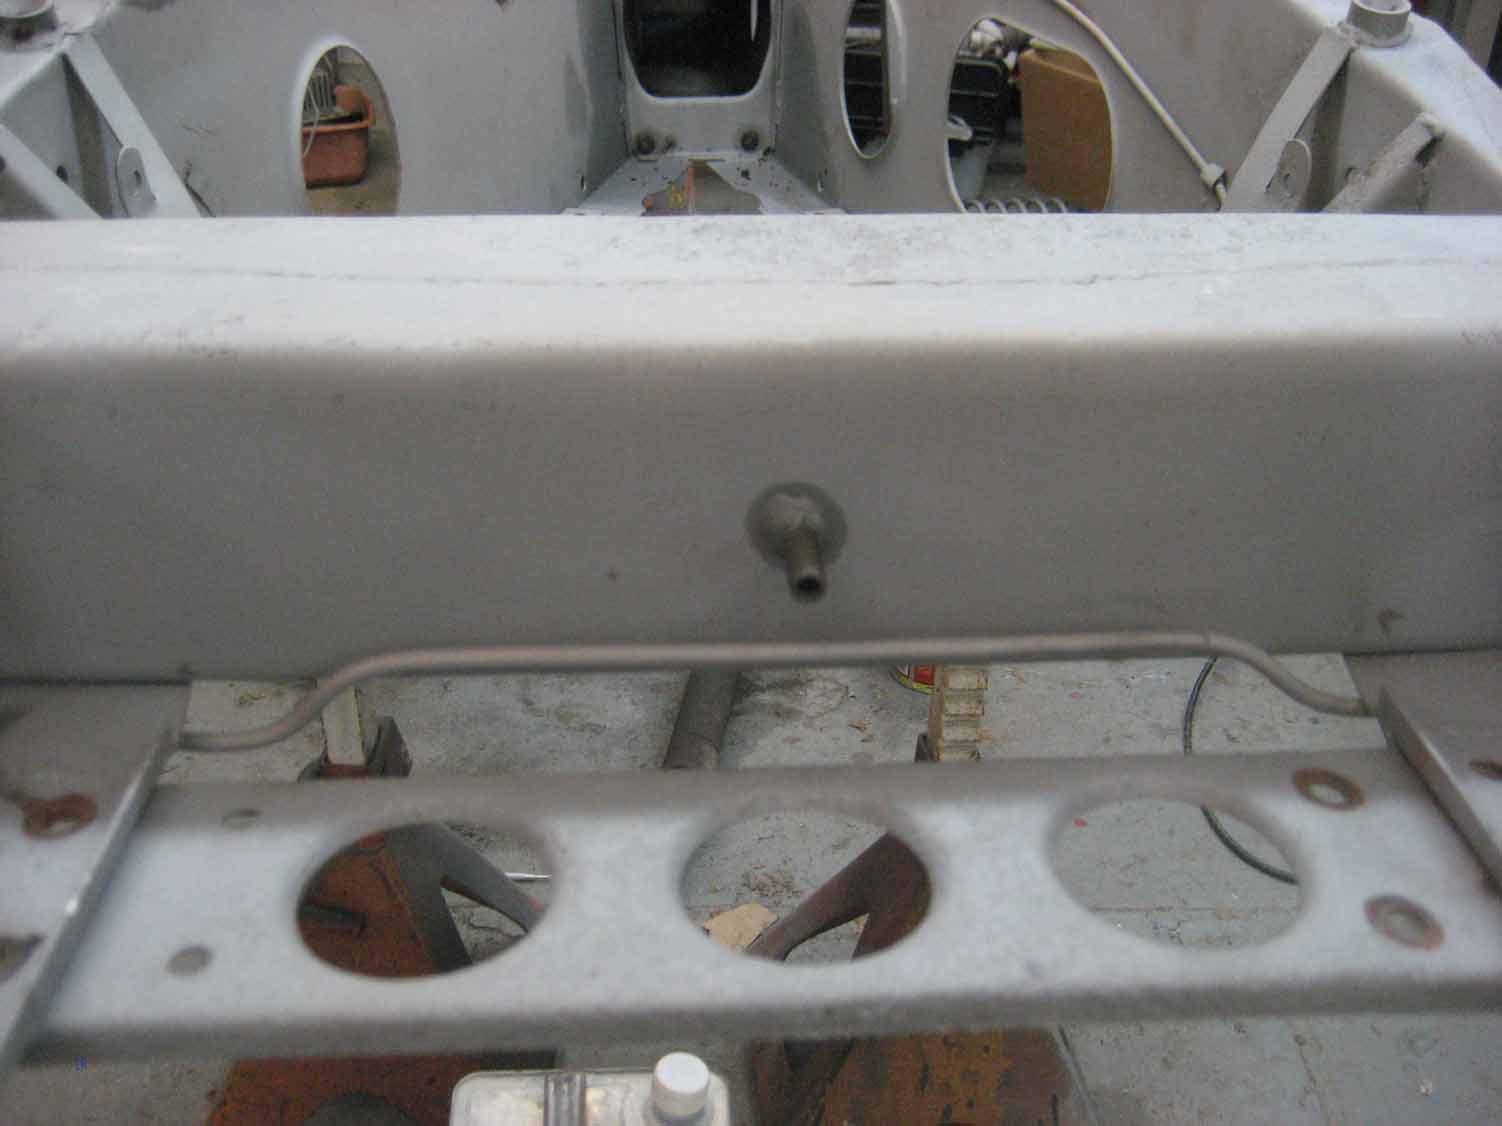
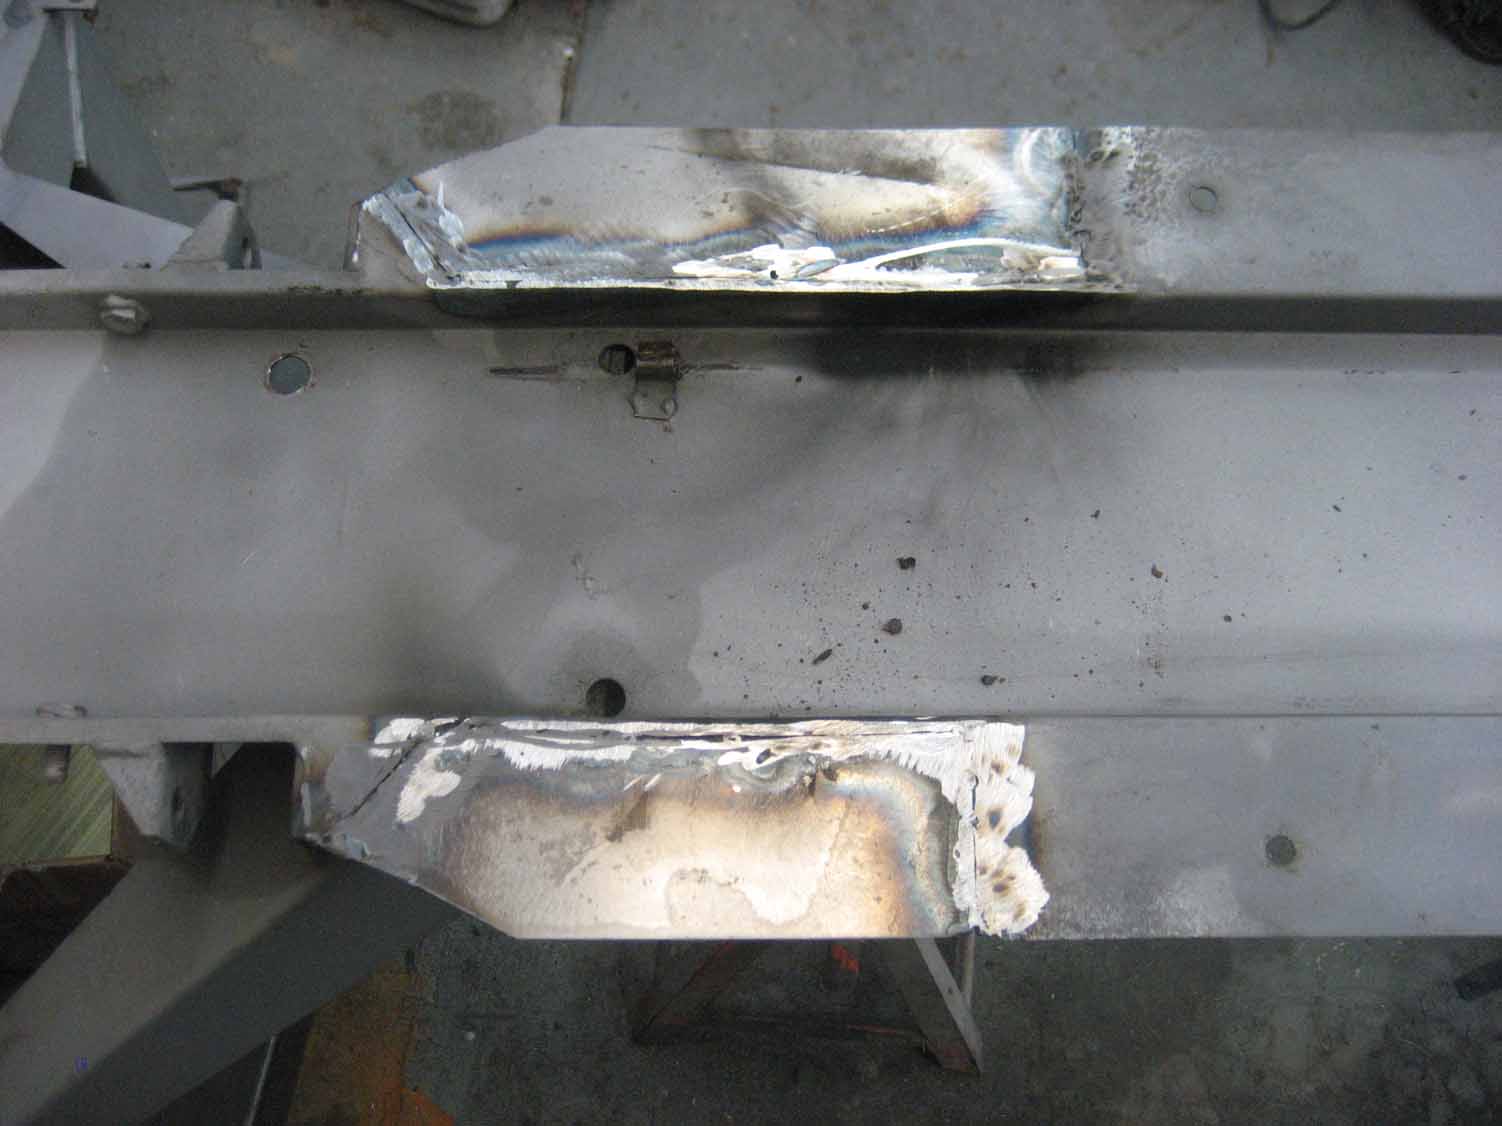
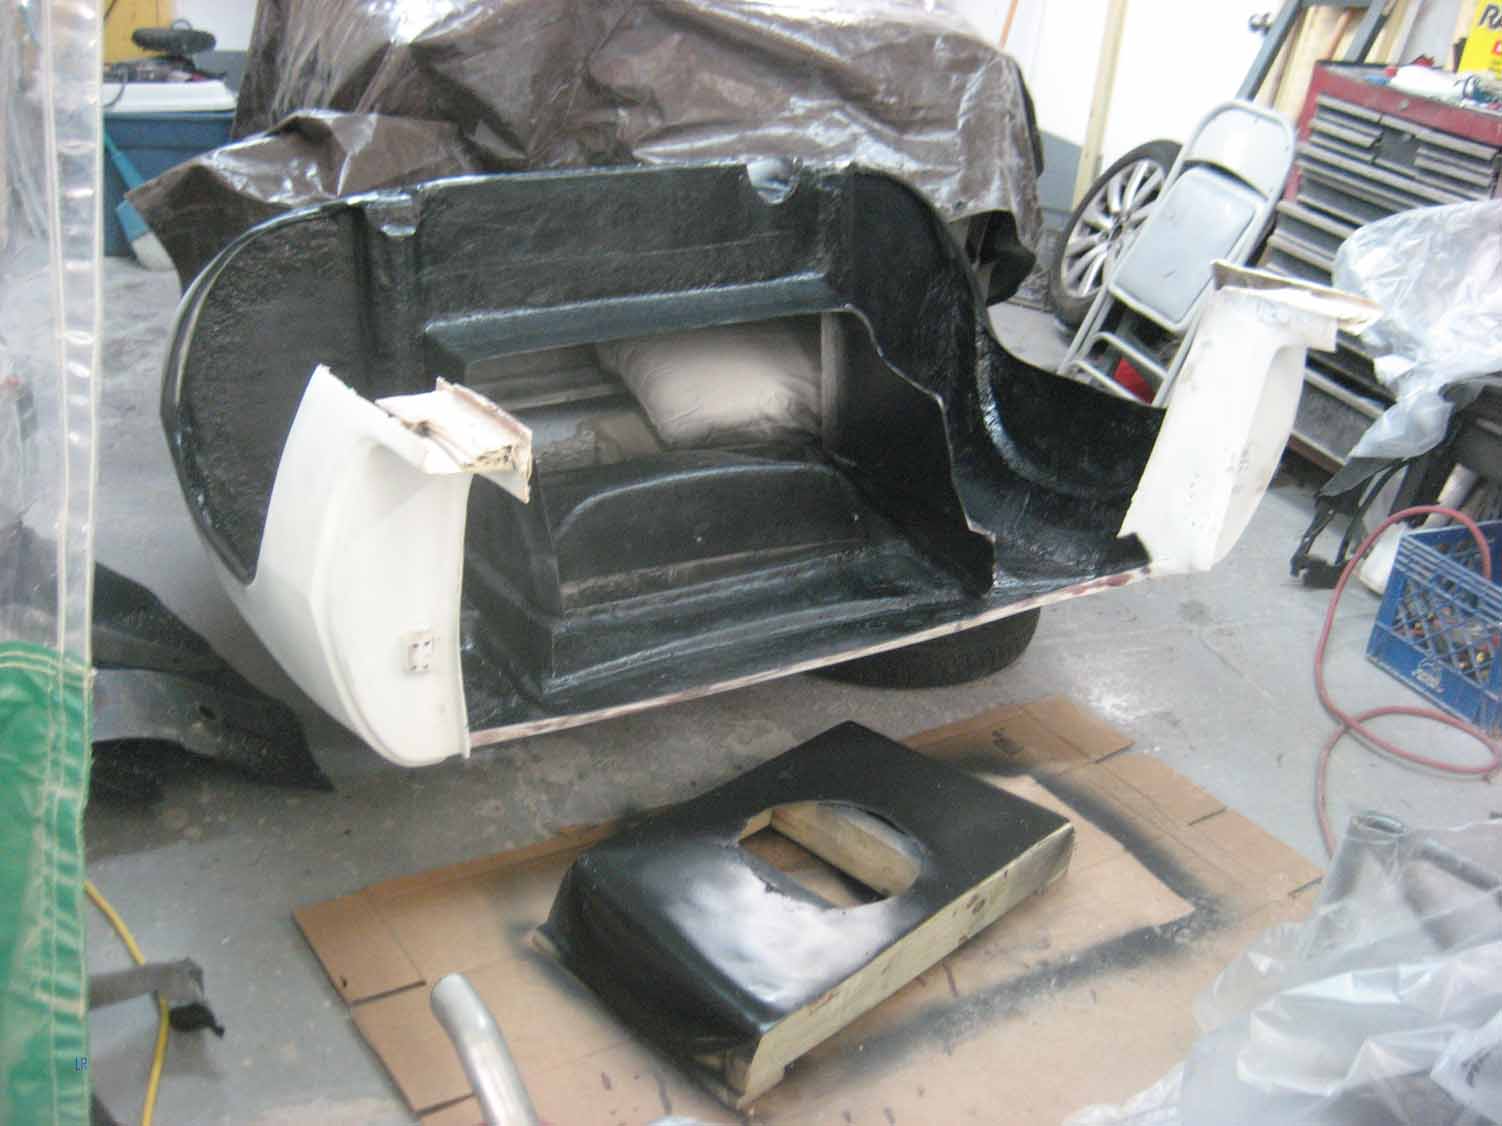
 OK, these are some of the newest photos of the back end of the car, along with some older ones of the Lotus Frame,  I seem to be losing control over this blog little by little.  I wish I could caption each photo, but my ability to do that that seems to have been lost.   In these photos, you can see the back part of the fiberglass being painted from the underside first.  You can also see the transmission tunnel coming together and being painted.  

 The Mk IV windshield frame was also featured here, in the later pictures.

IMG_6058 IMG_6059 IMG_6061 IMG_6062 IMG_6063 IMG_6064 IMG_6065 IMG_6066 IMG_6067 IMG_6068 IMG_6069 IMG_6070 IMG_6071 IMG_6072 IMG_6073 IMG_6074 IMG_6075 IMG_6076 IMG_6077 IMG_6078 IMG_6079 IMG_6080 IMG_6081I have even more good photos to catch up on.


Catching Up- Part 1

March 30, 2015

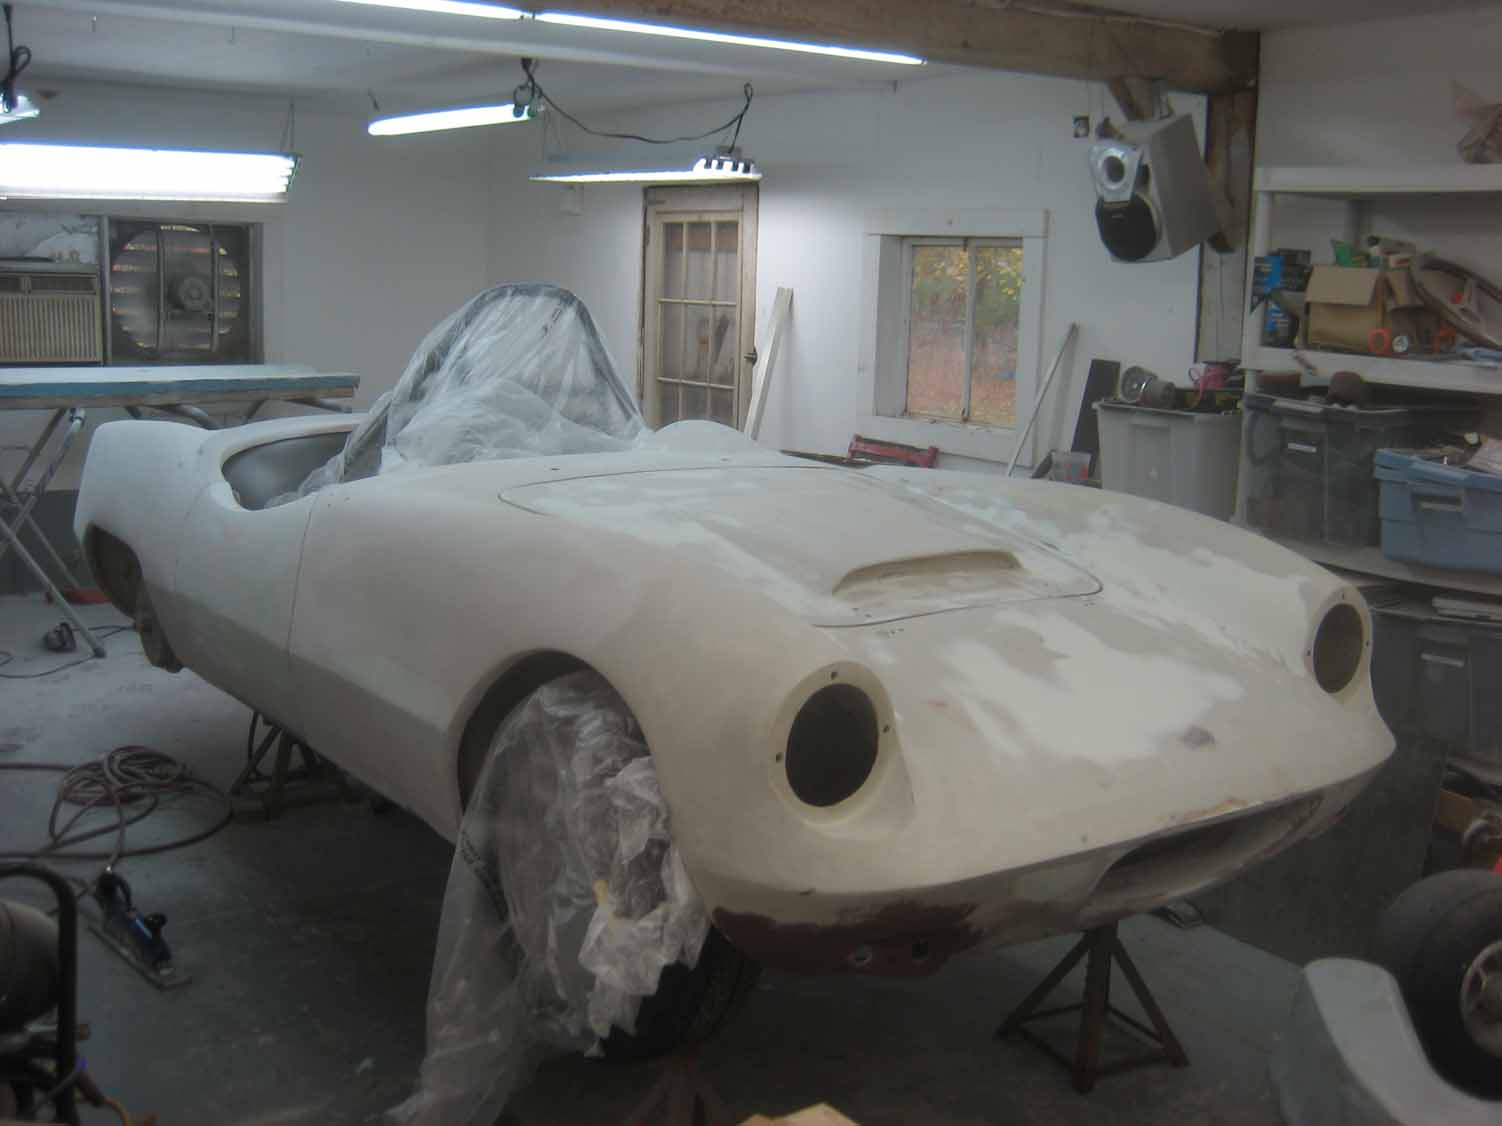
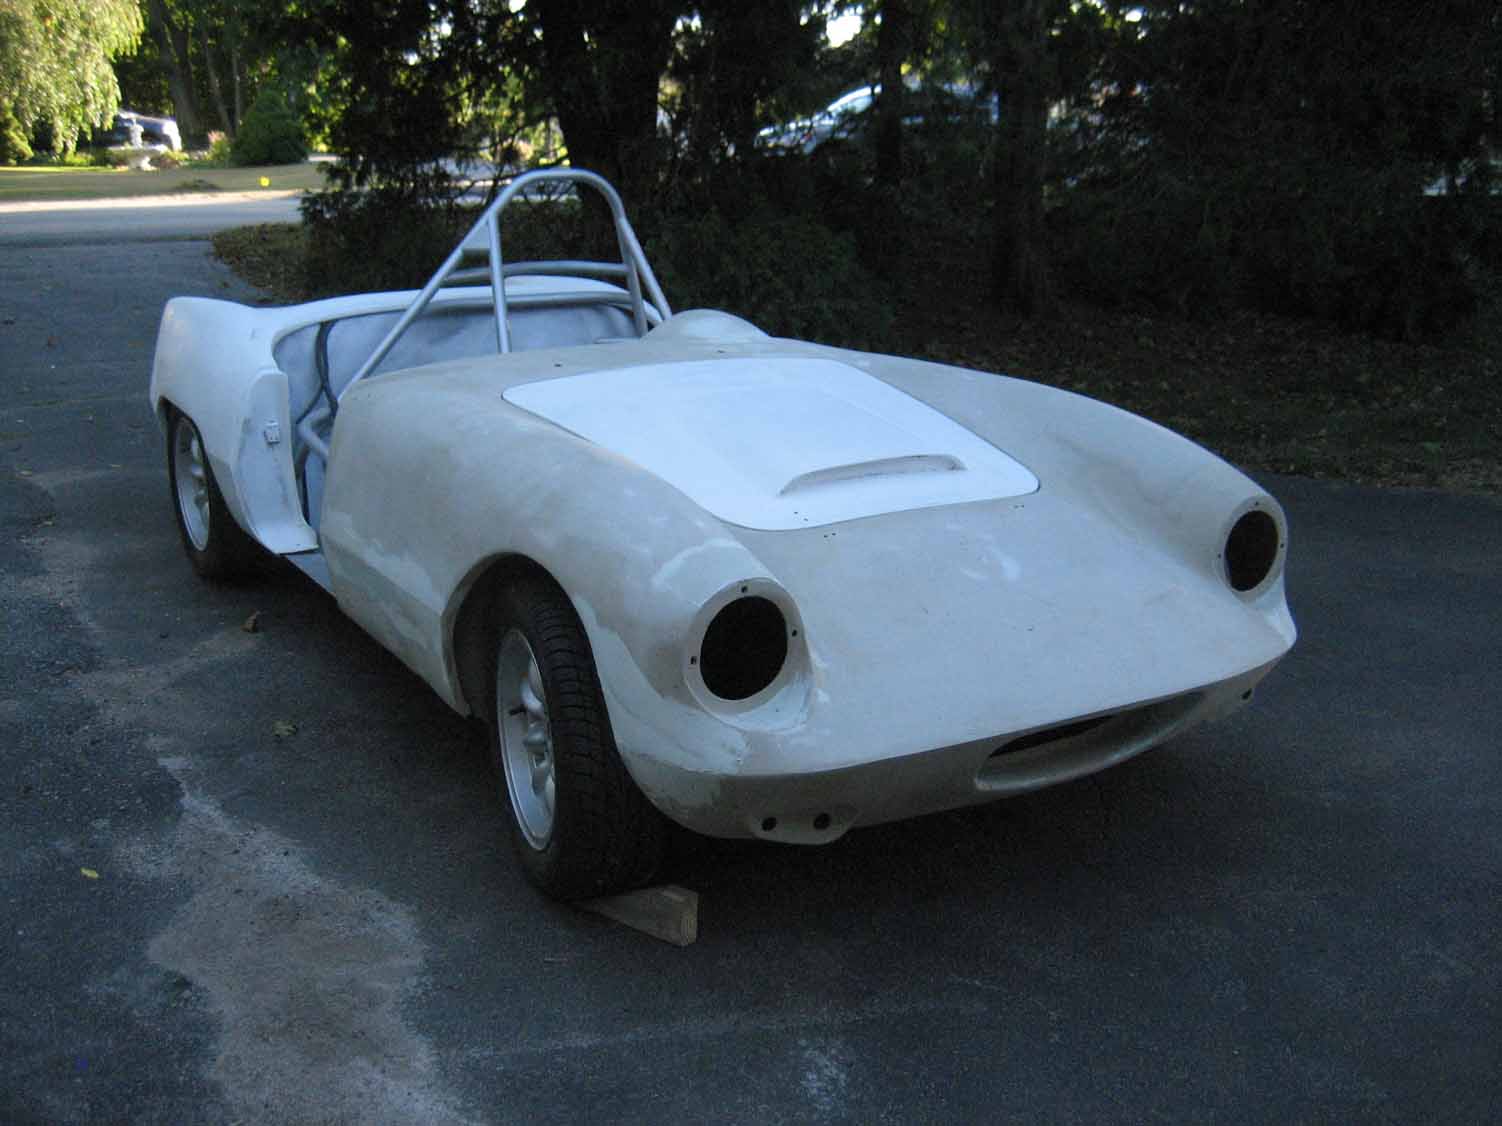
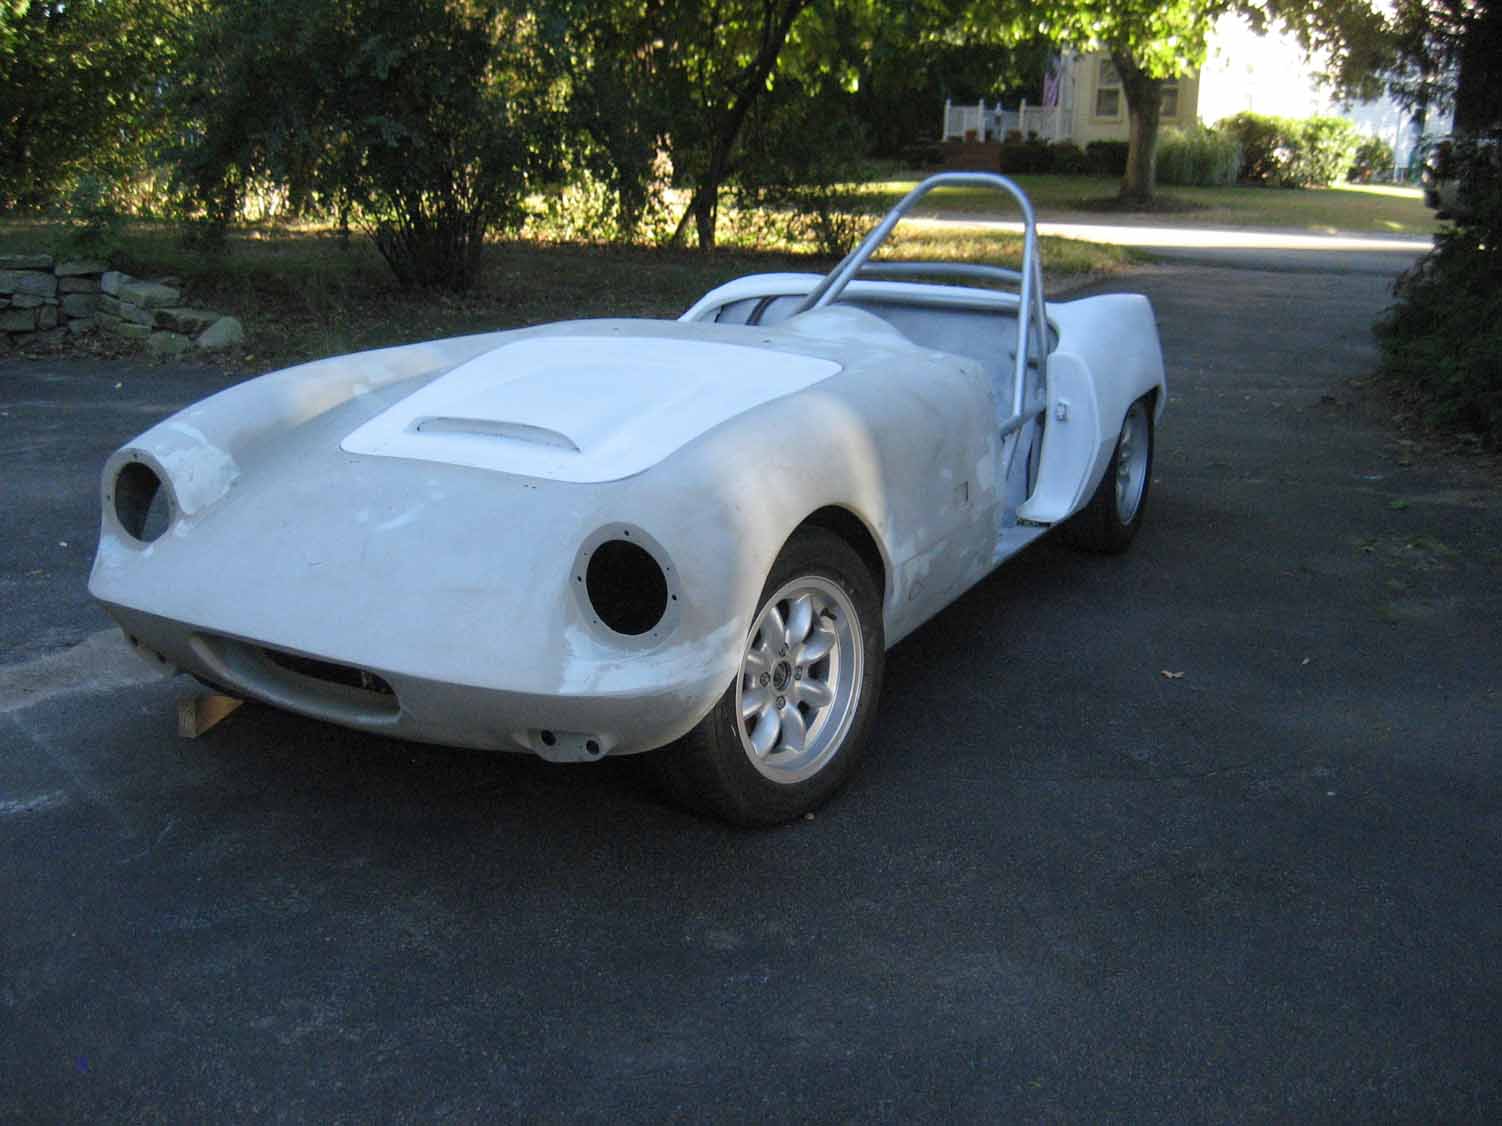
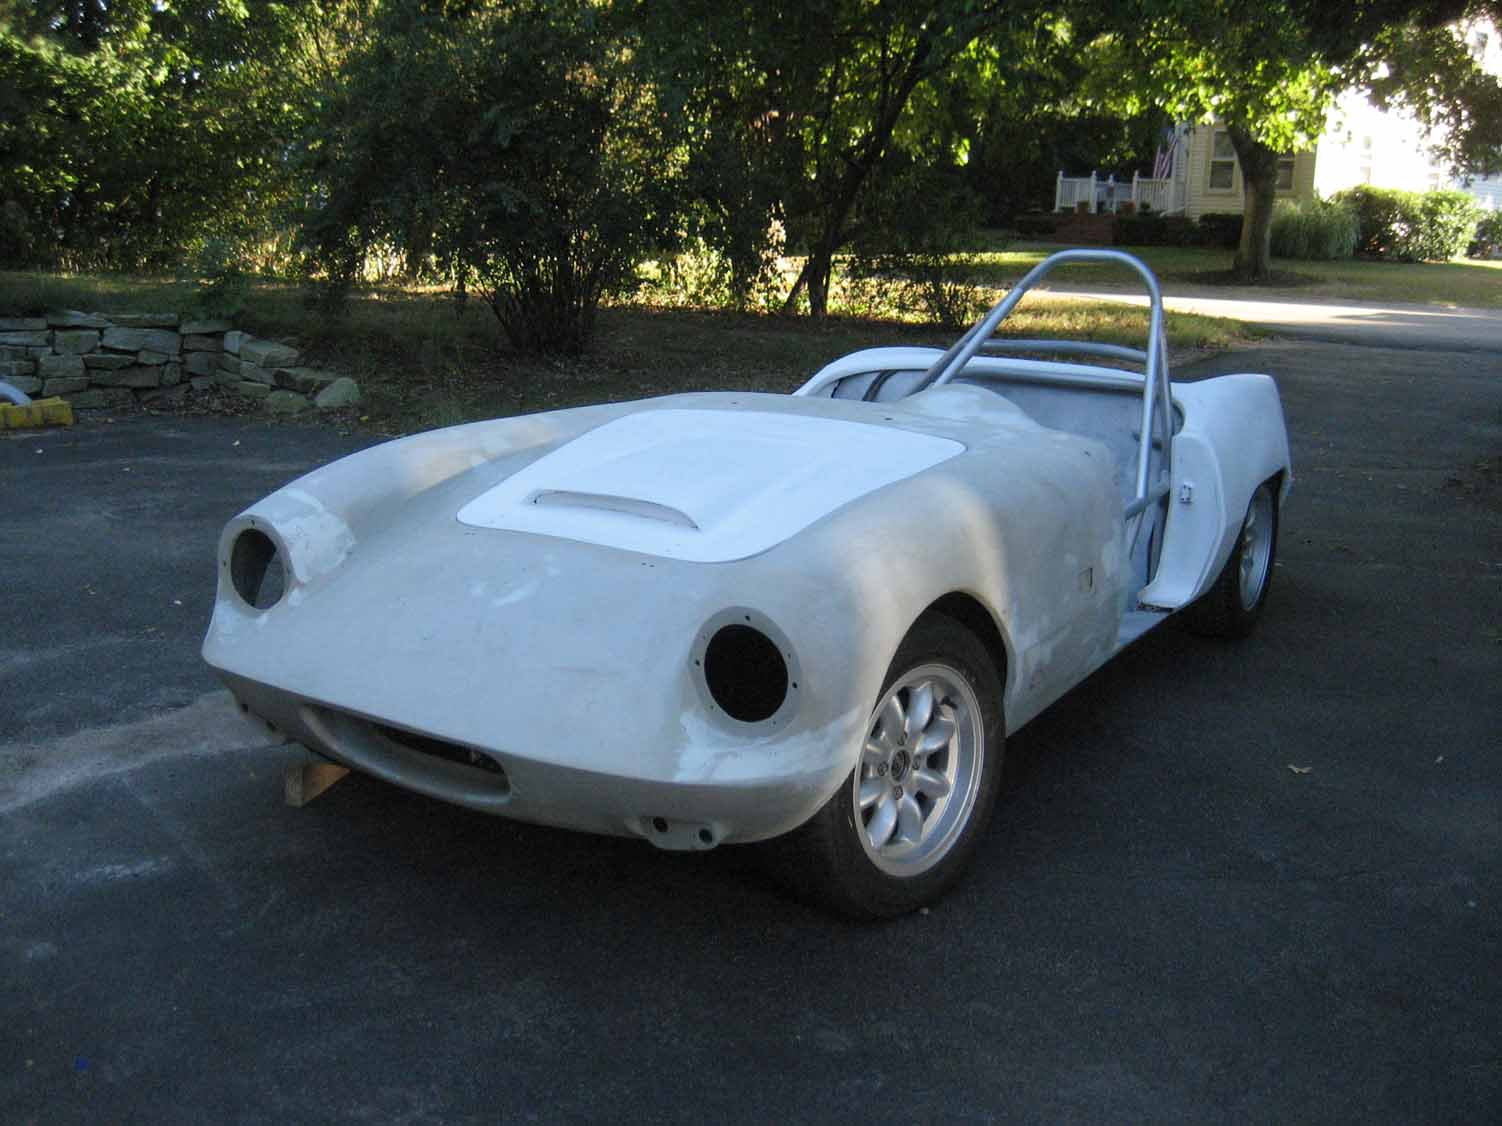
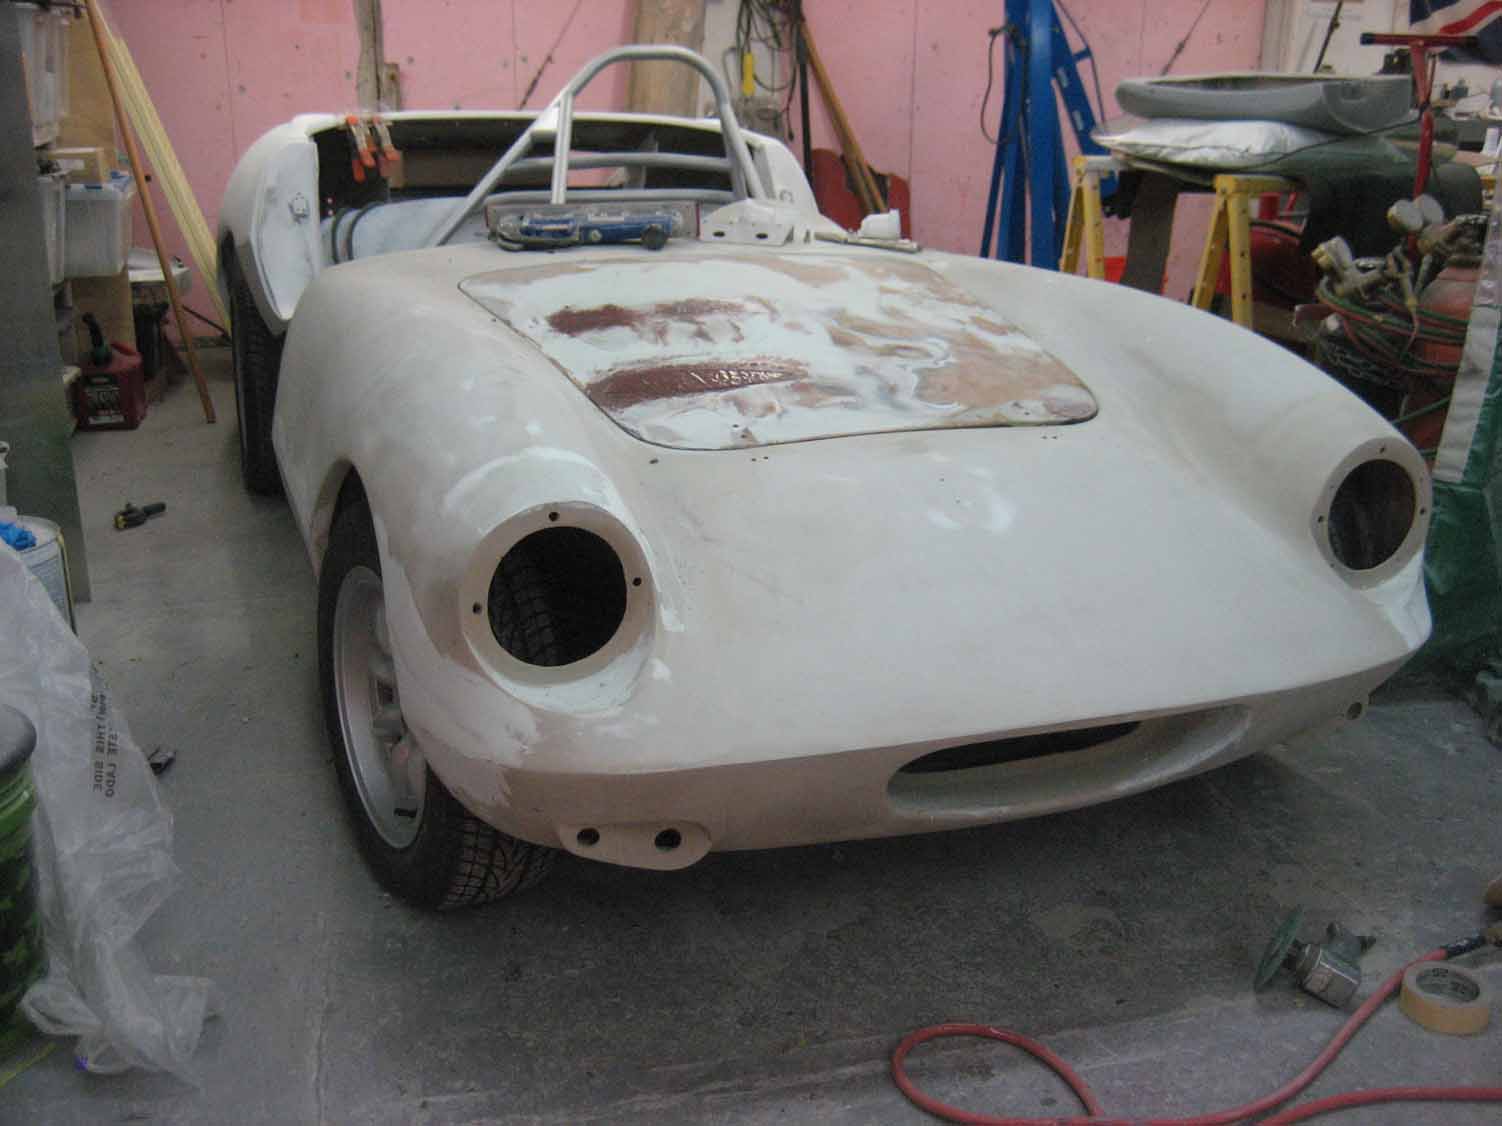
It’s not as if I have been doing nothing on the Elva for the past year, it’s just been so slow that I really hadn’t thought of it as being much change.  Now that I look at it, though, it is a lot of small jobs that have added up to a lot of progress.

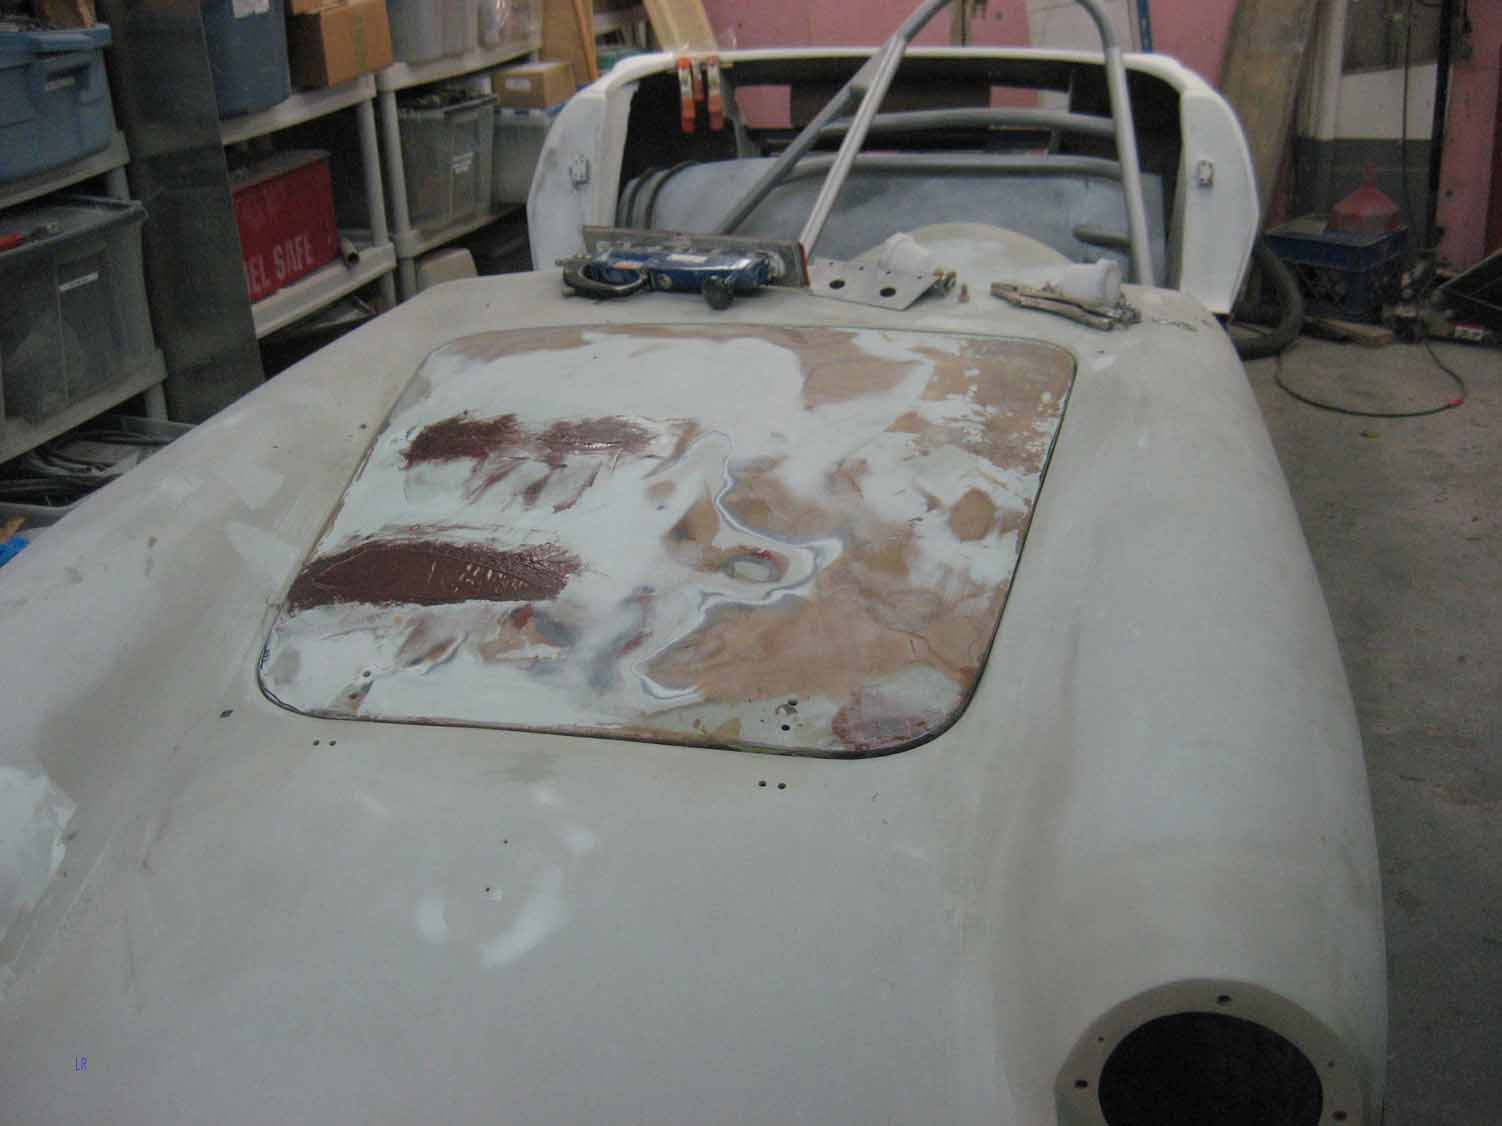
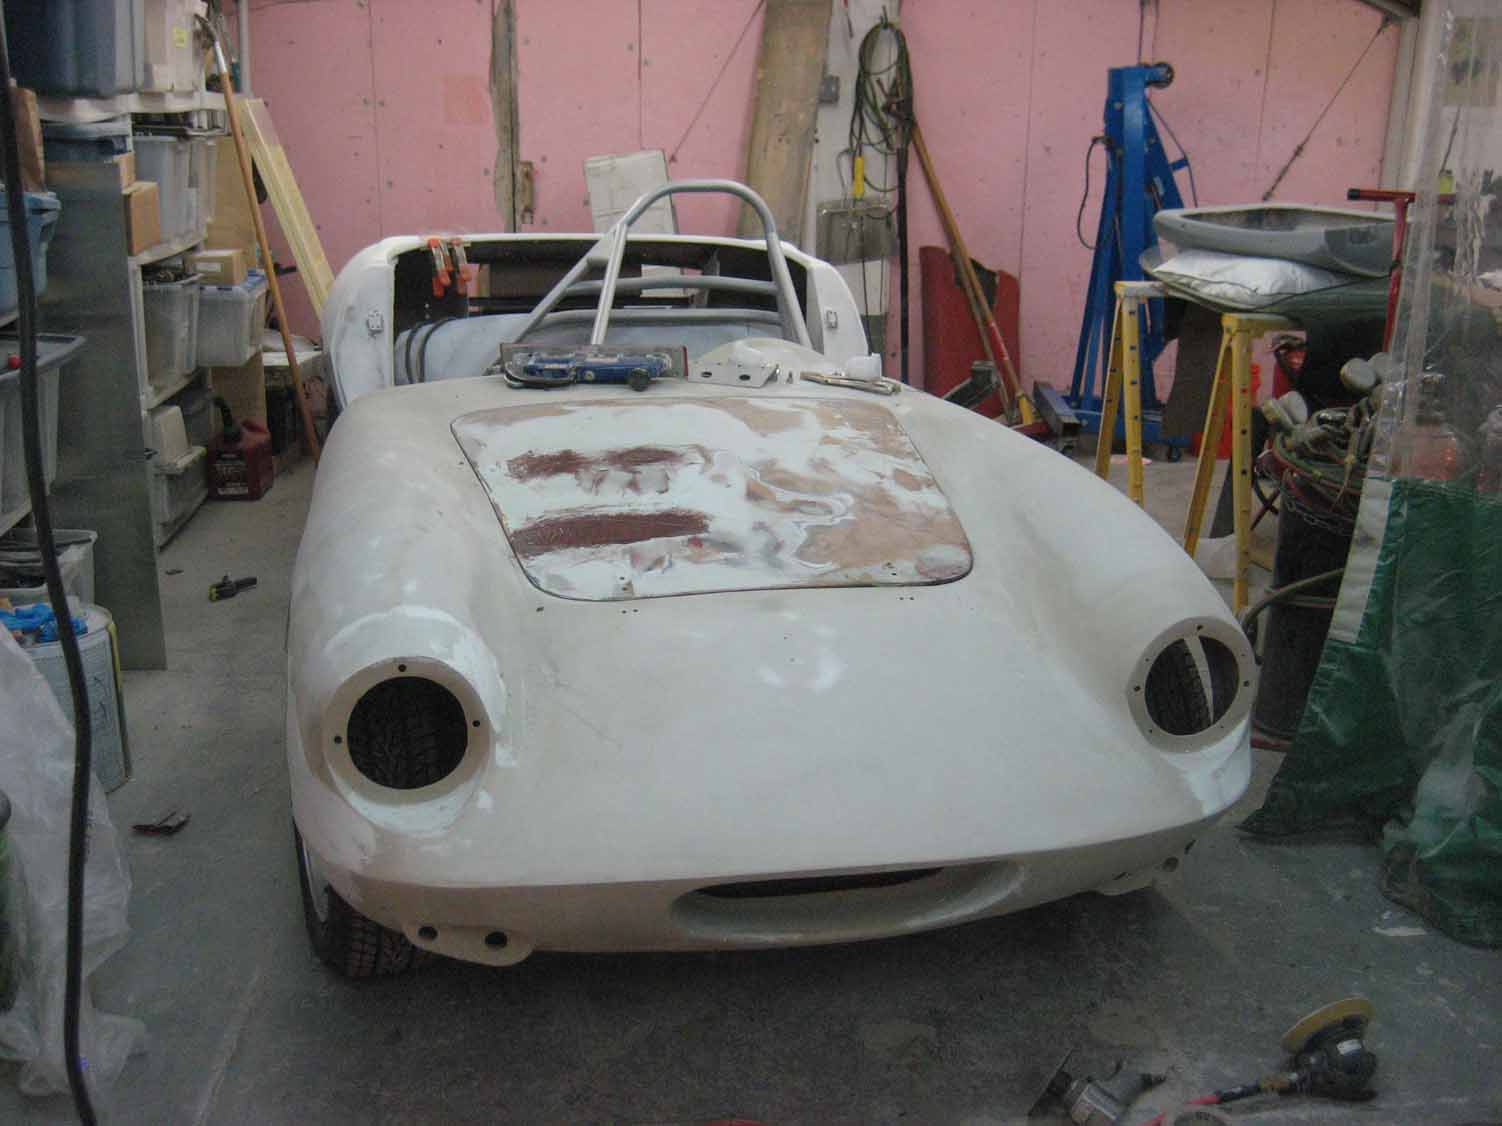
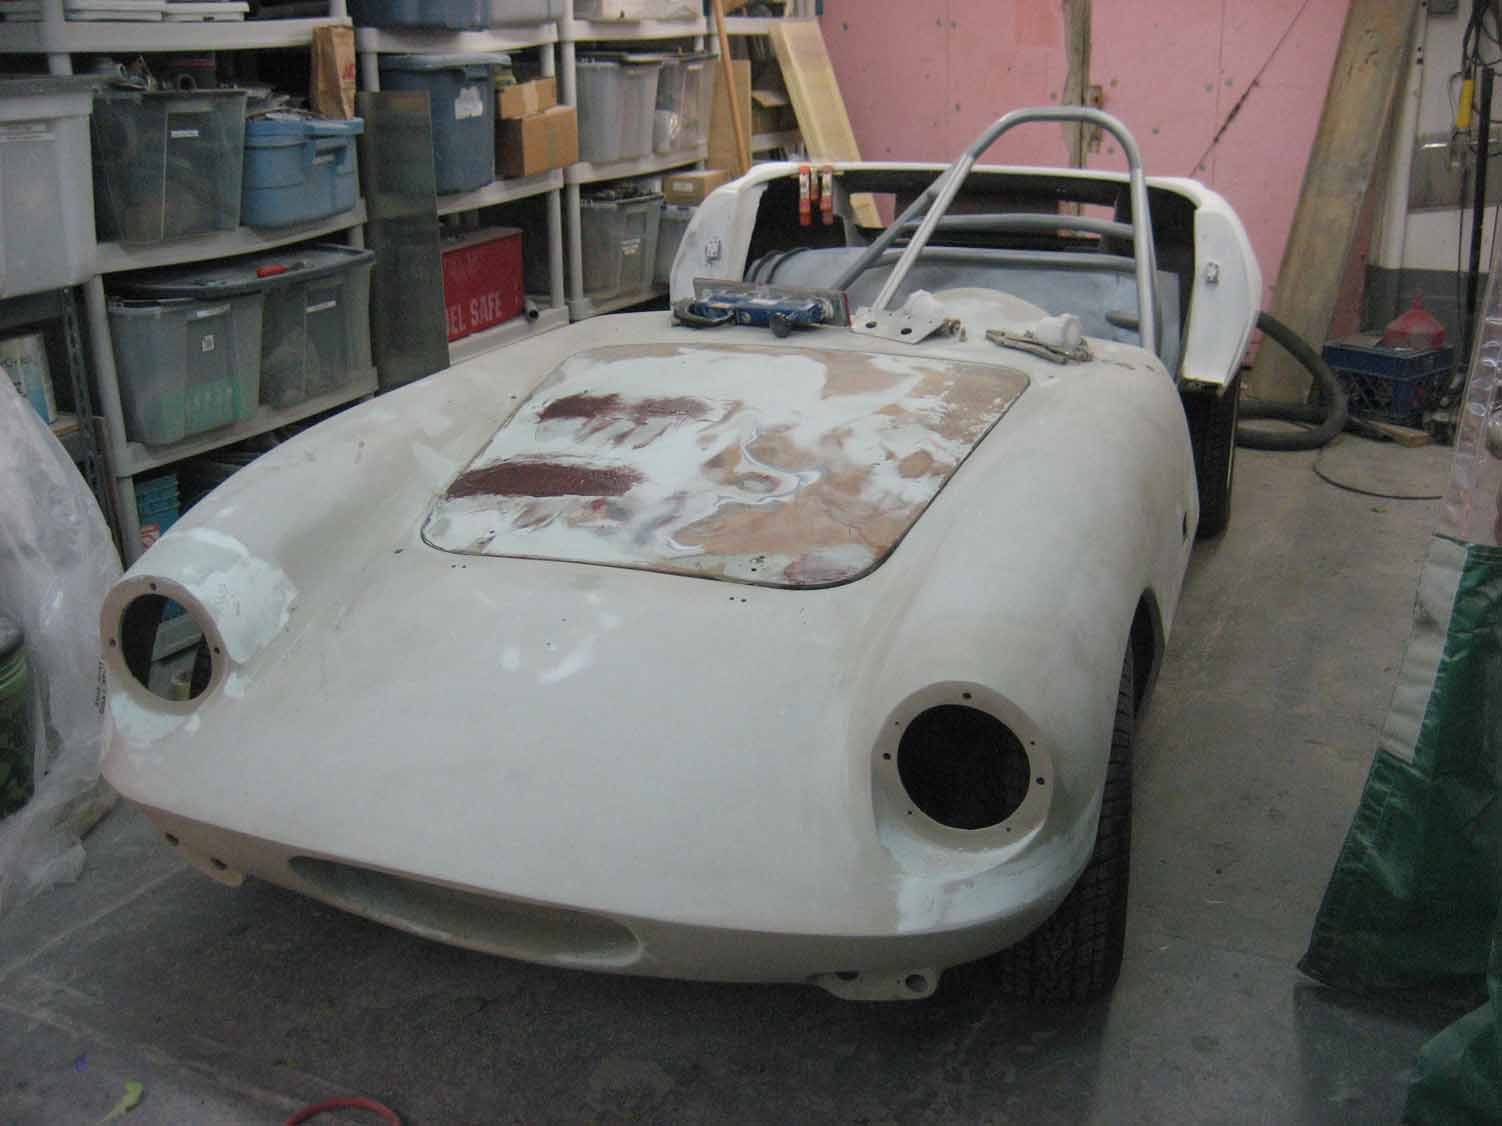
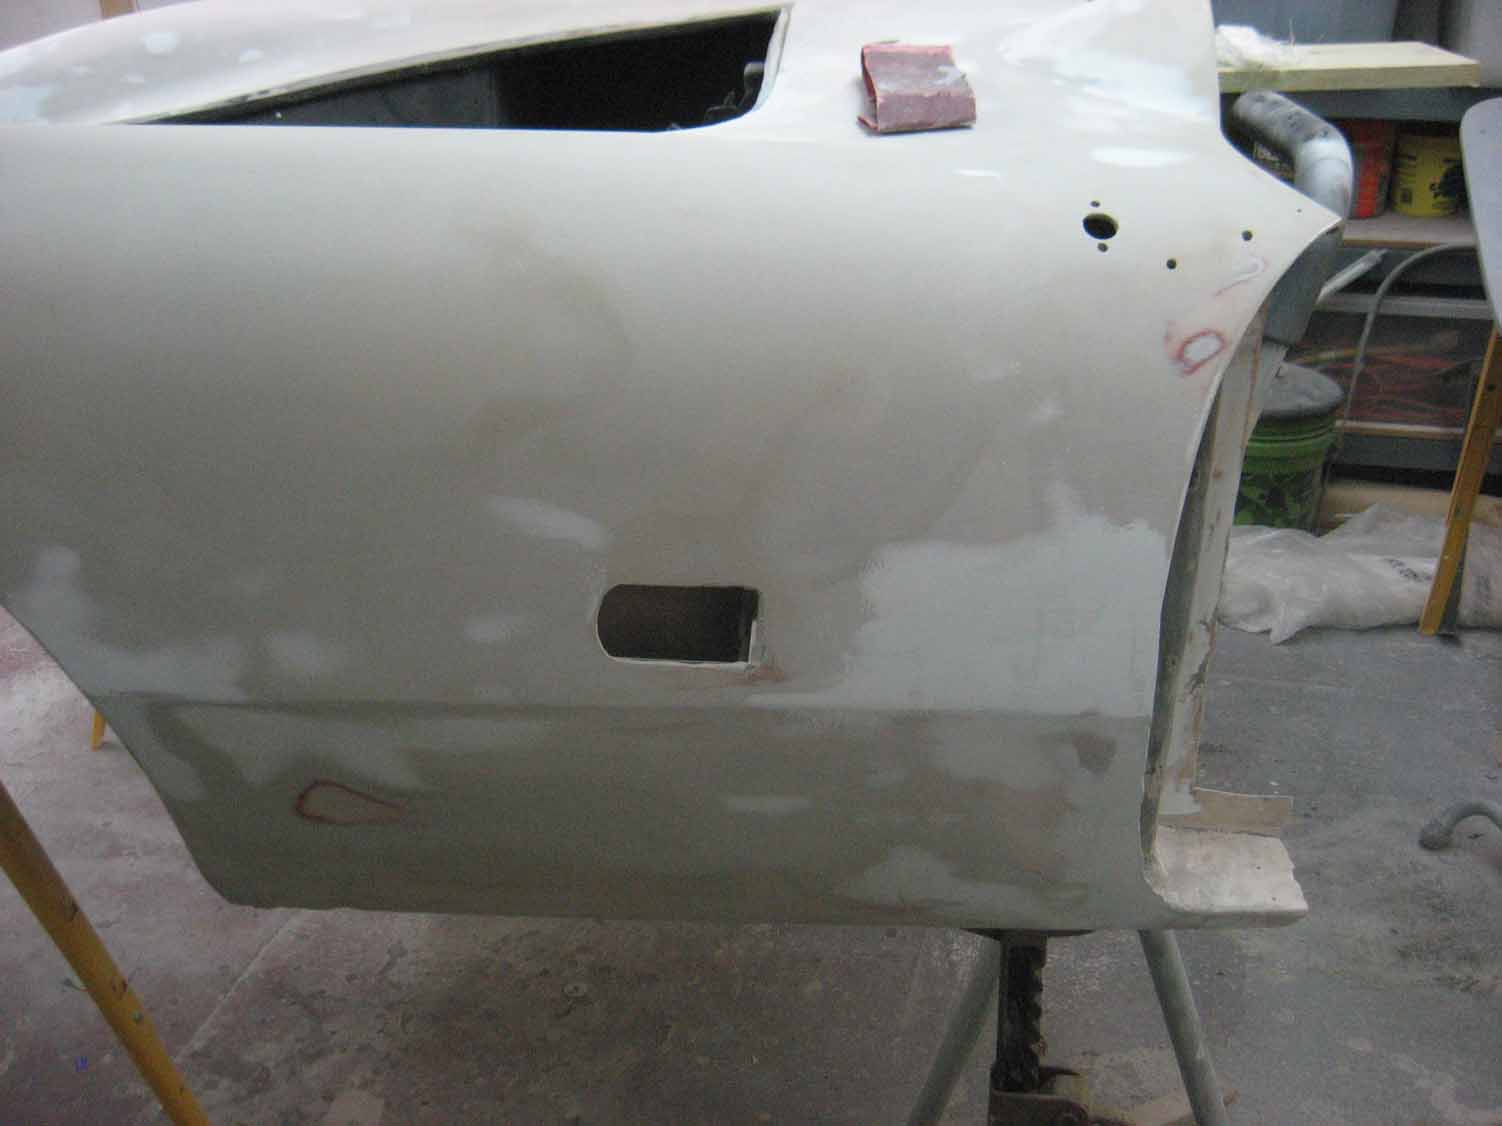
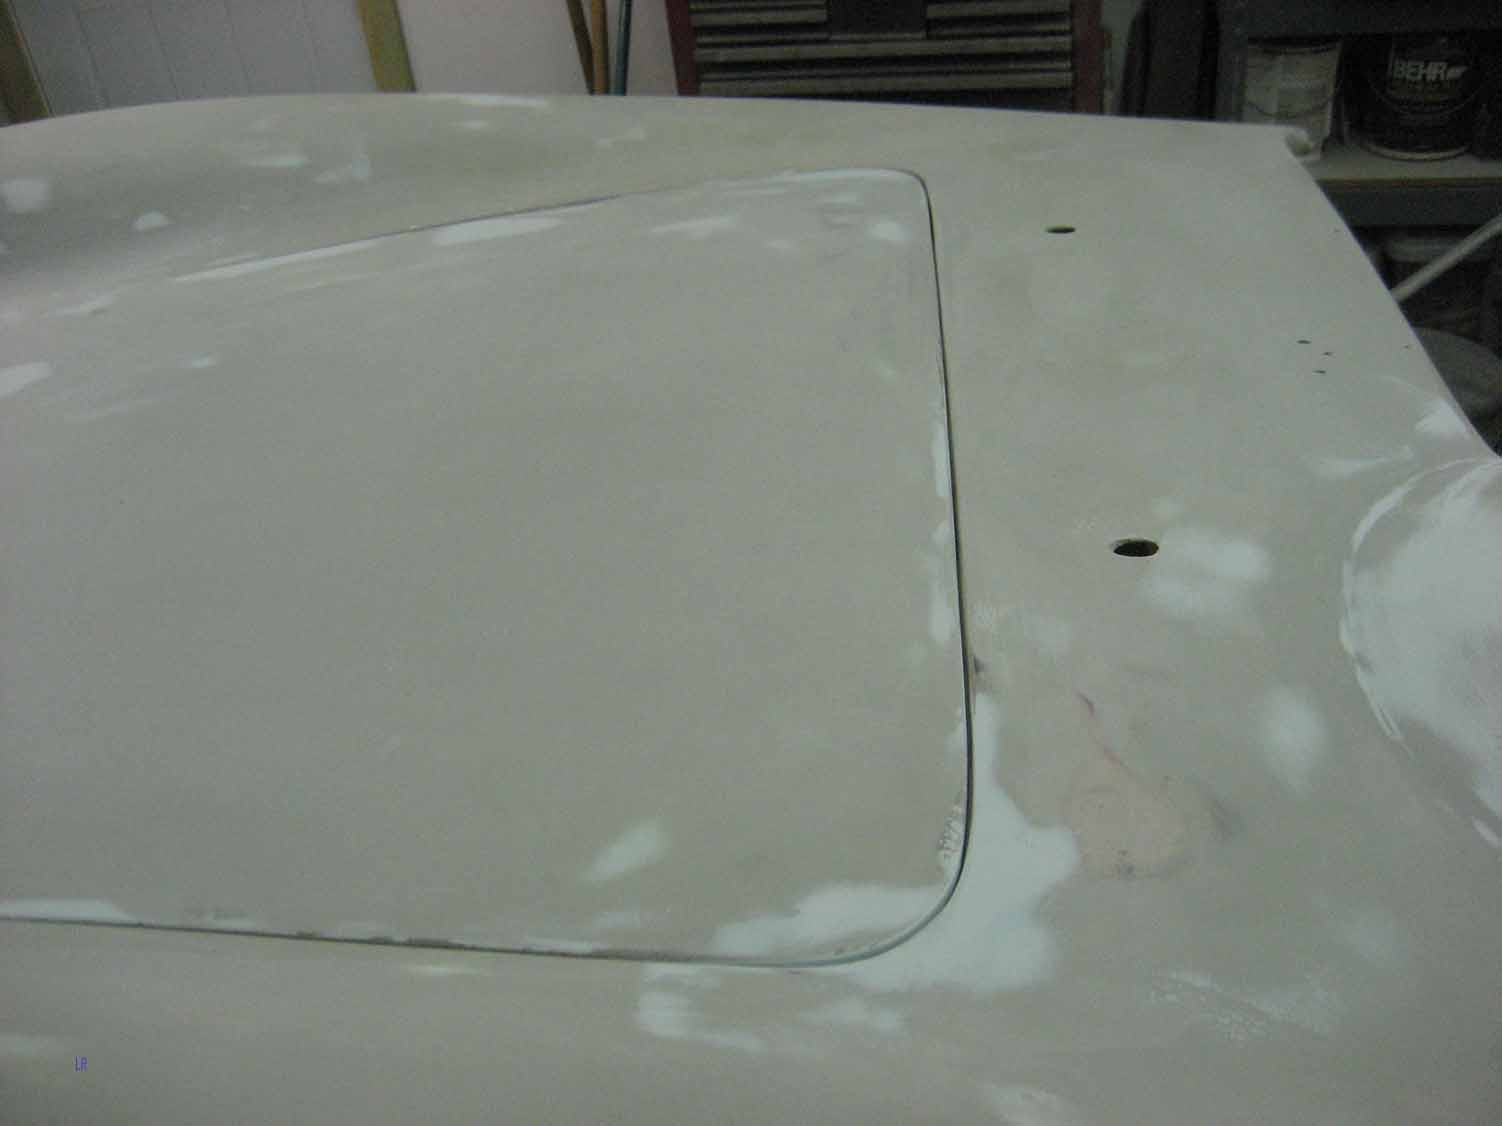
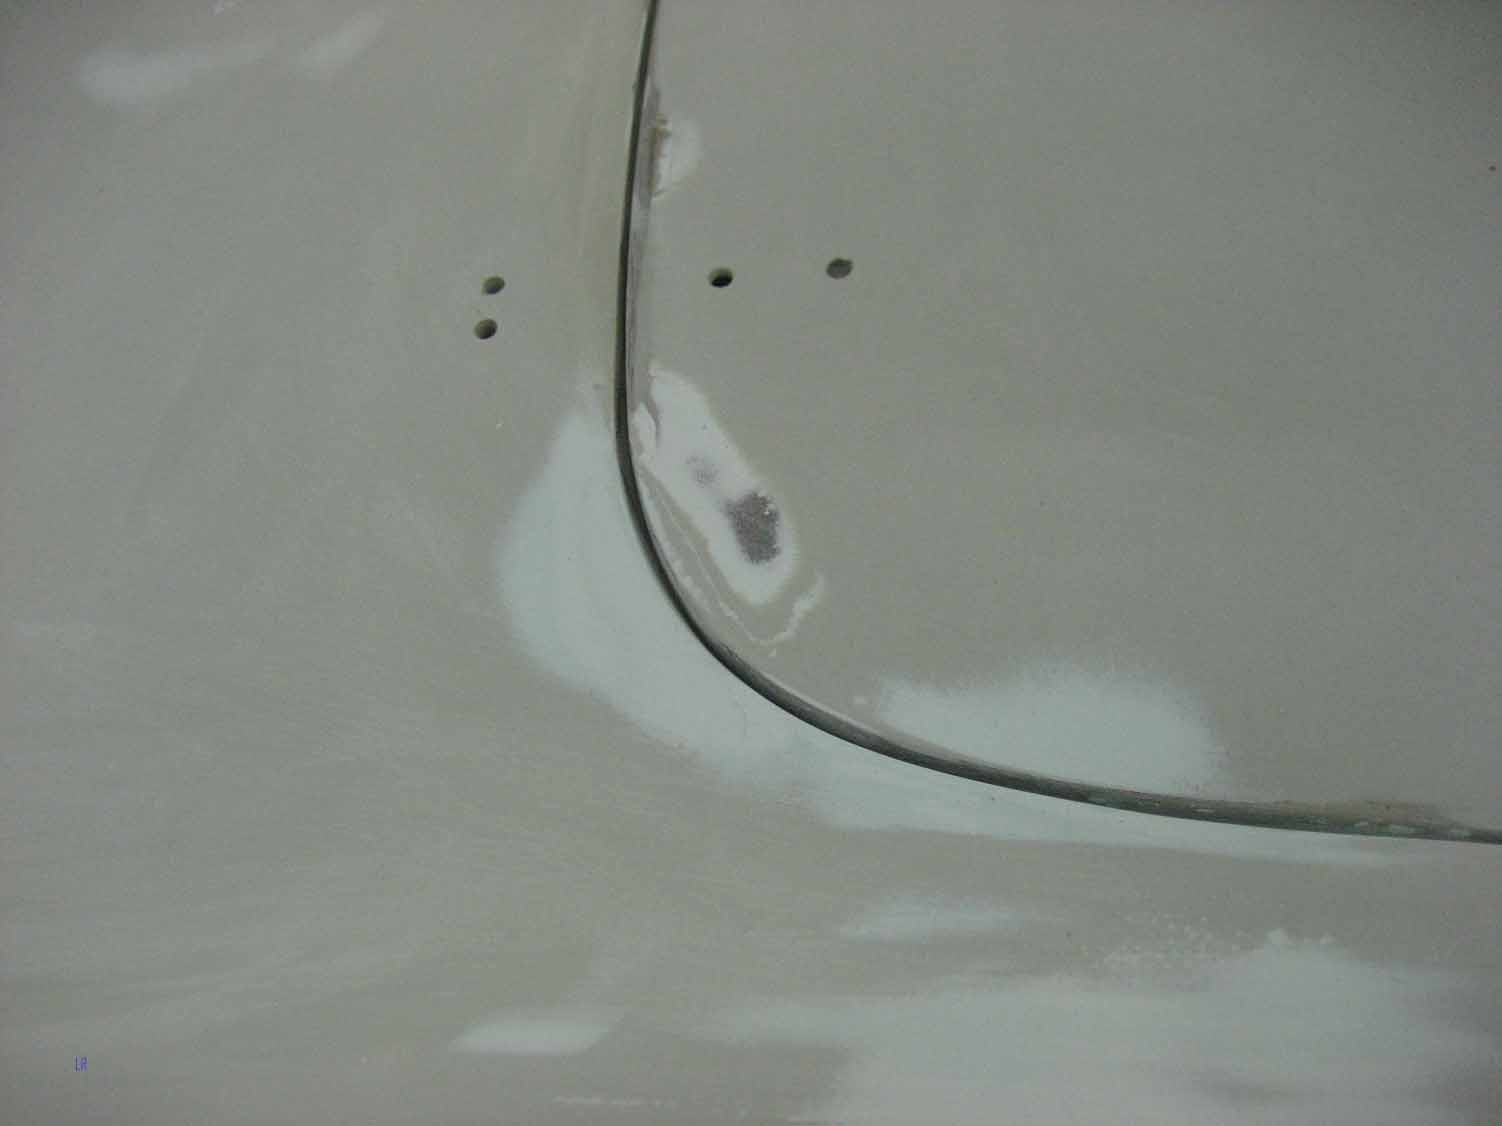
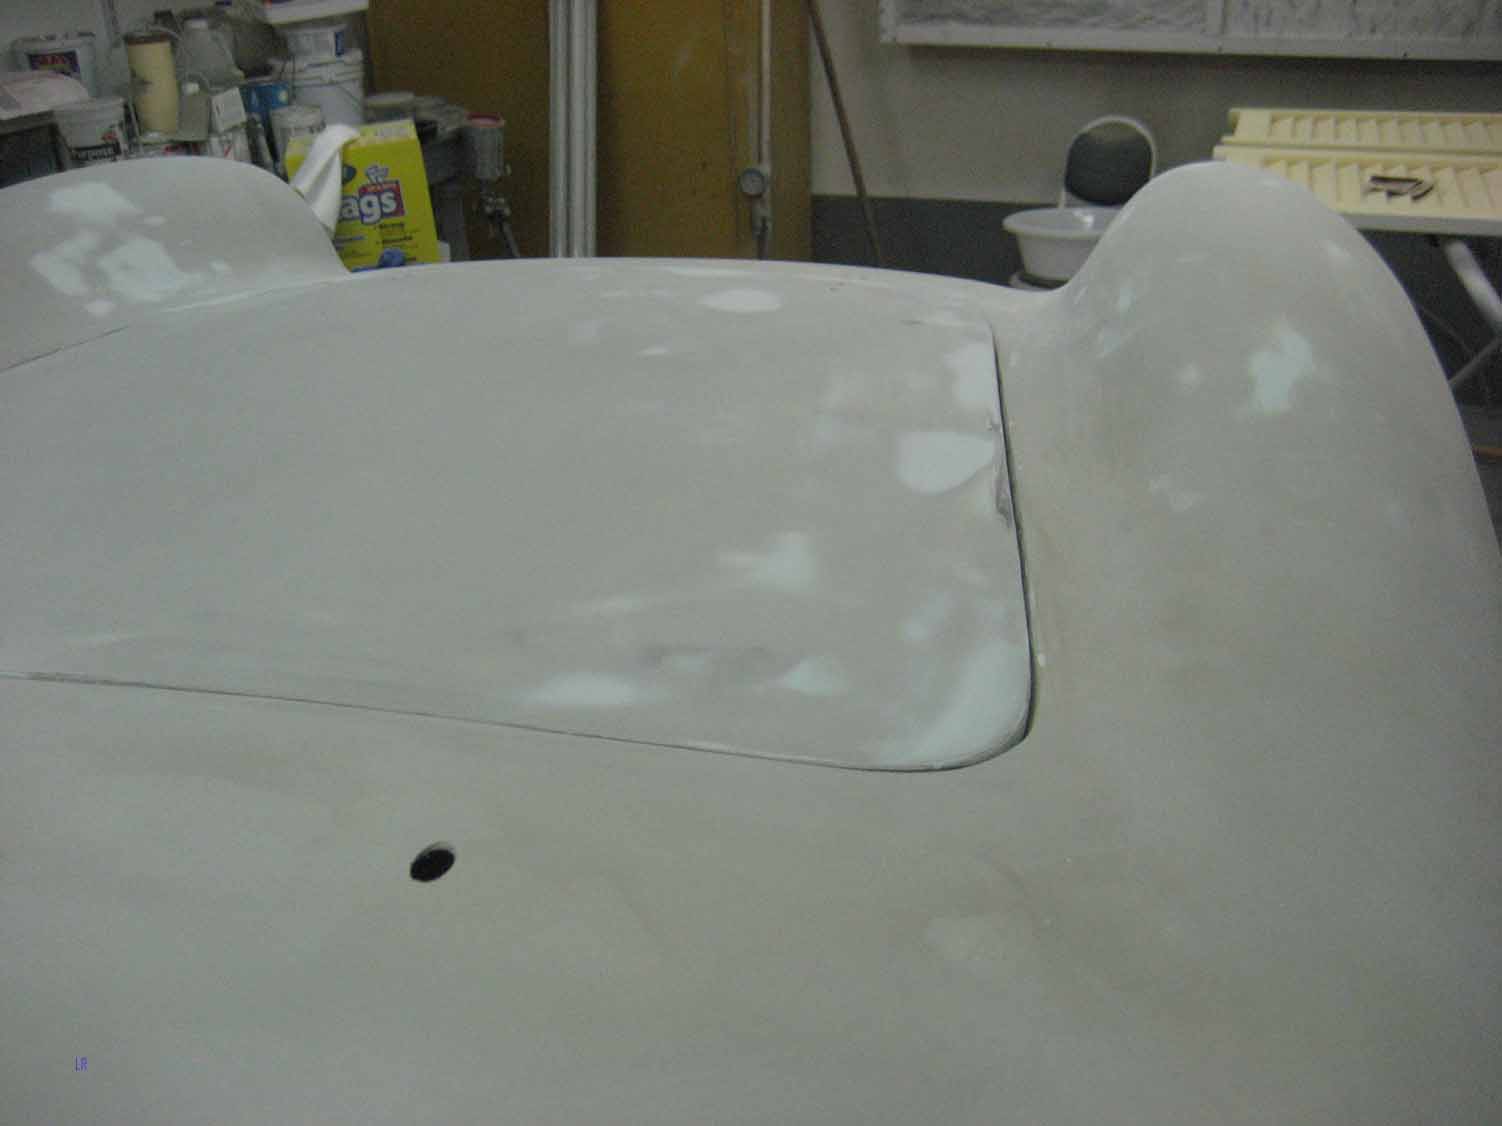
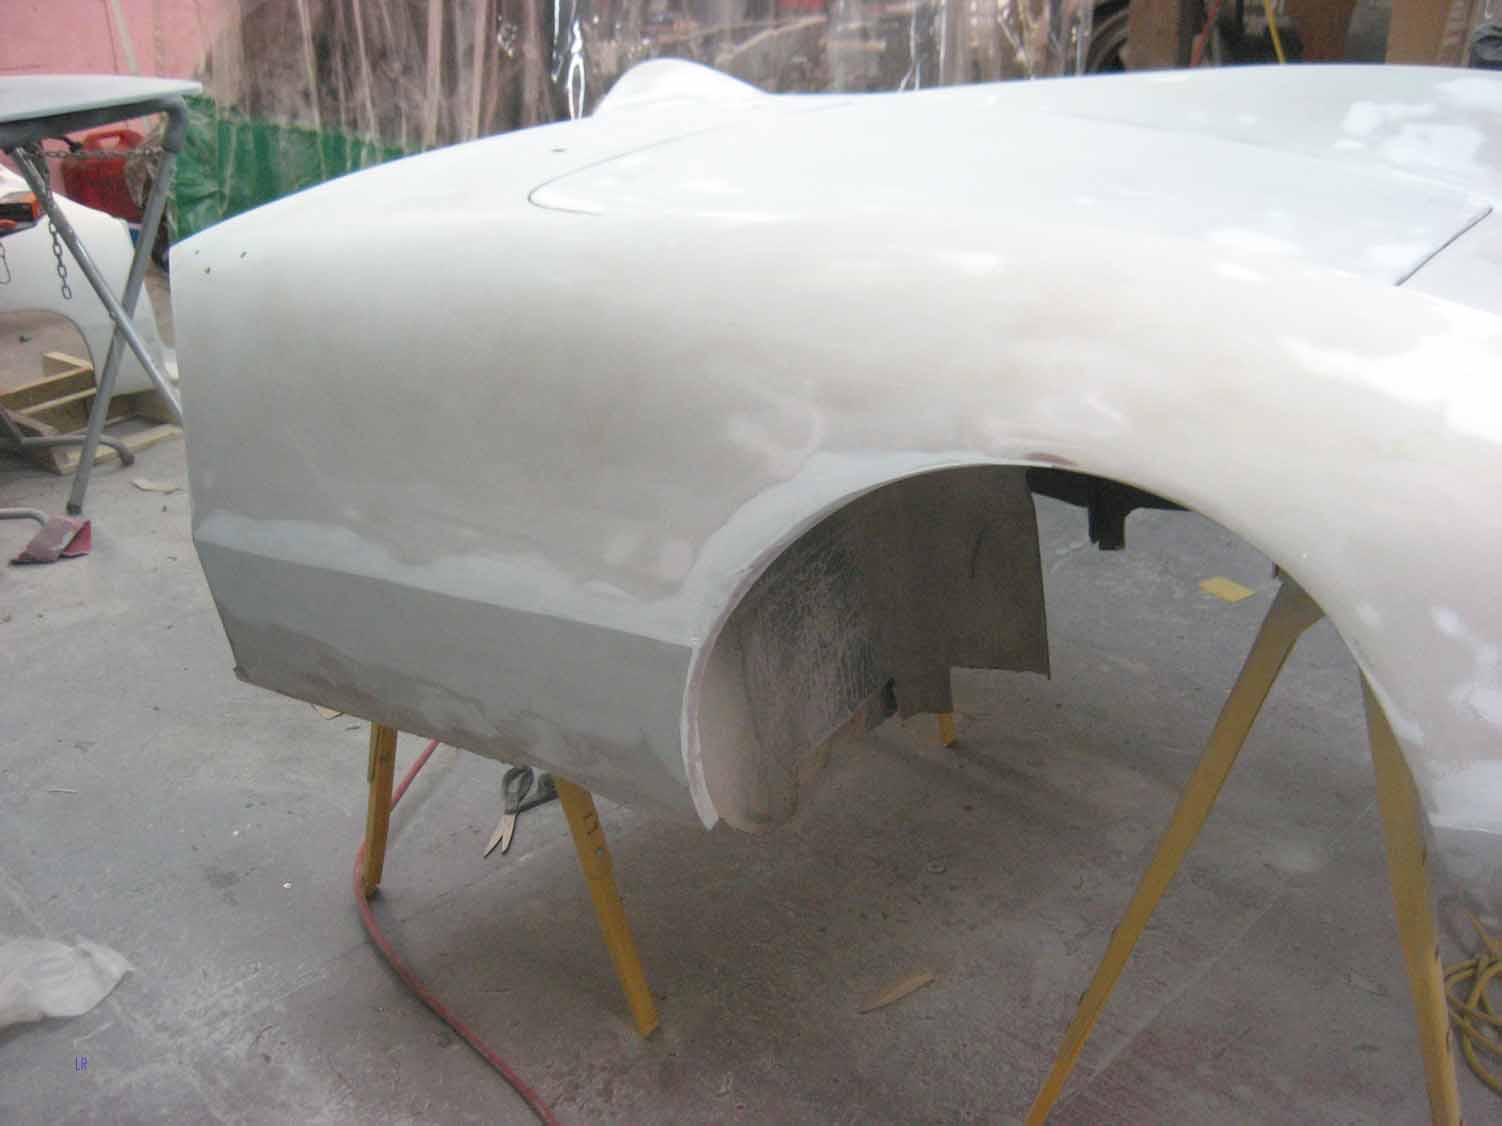
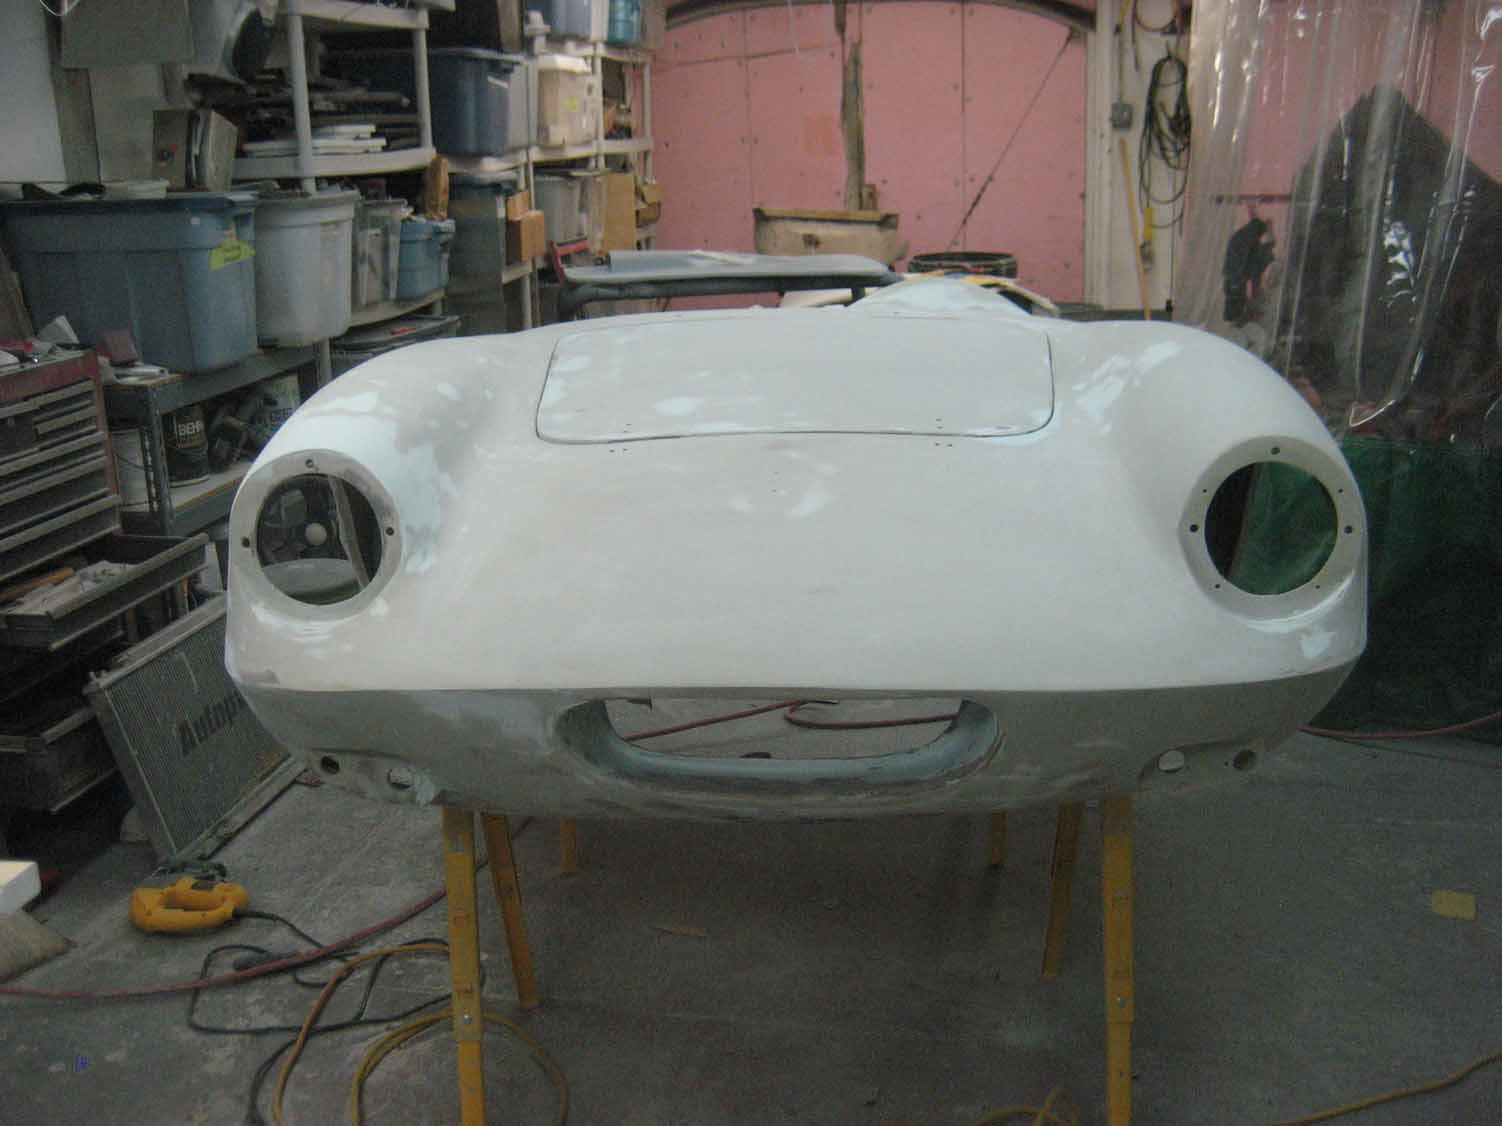
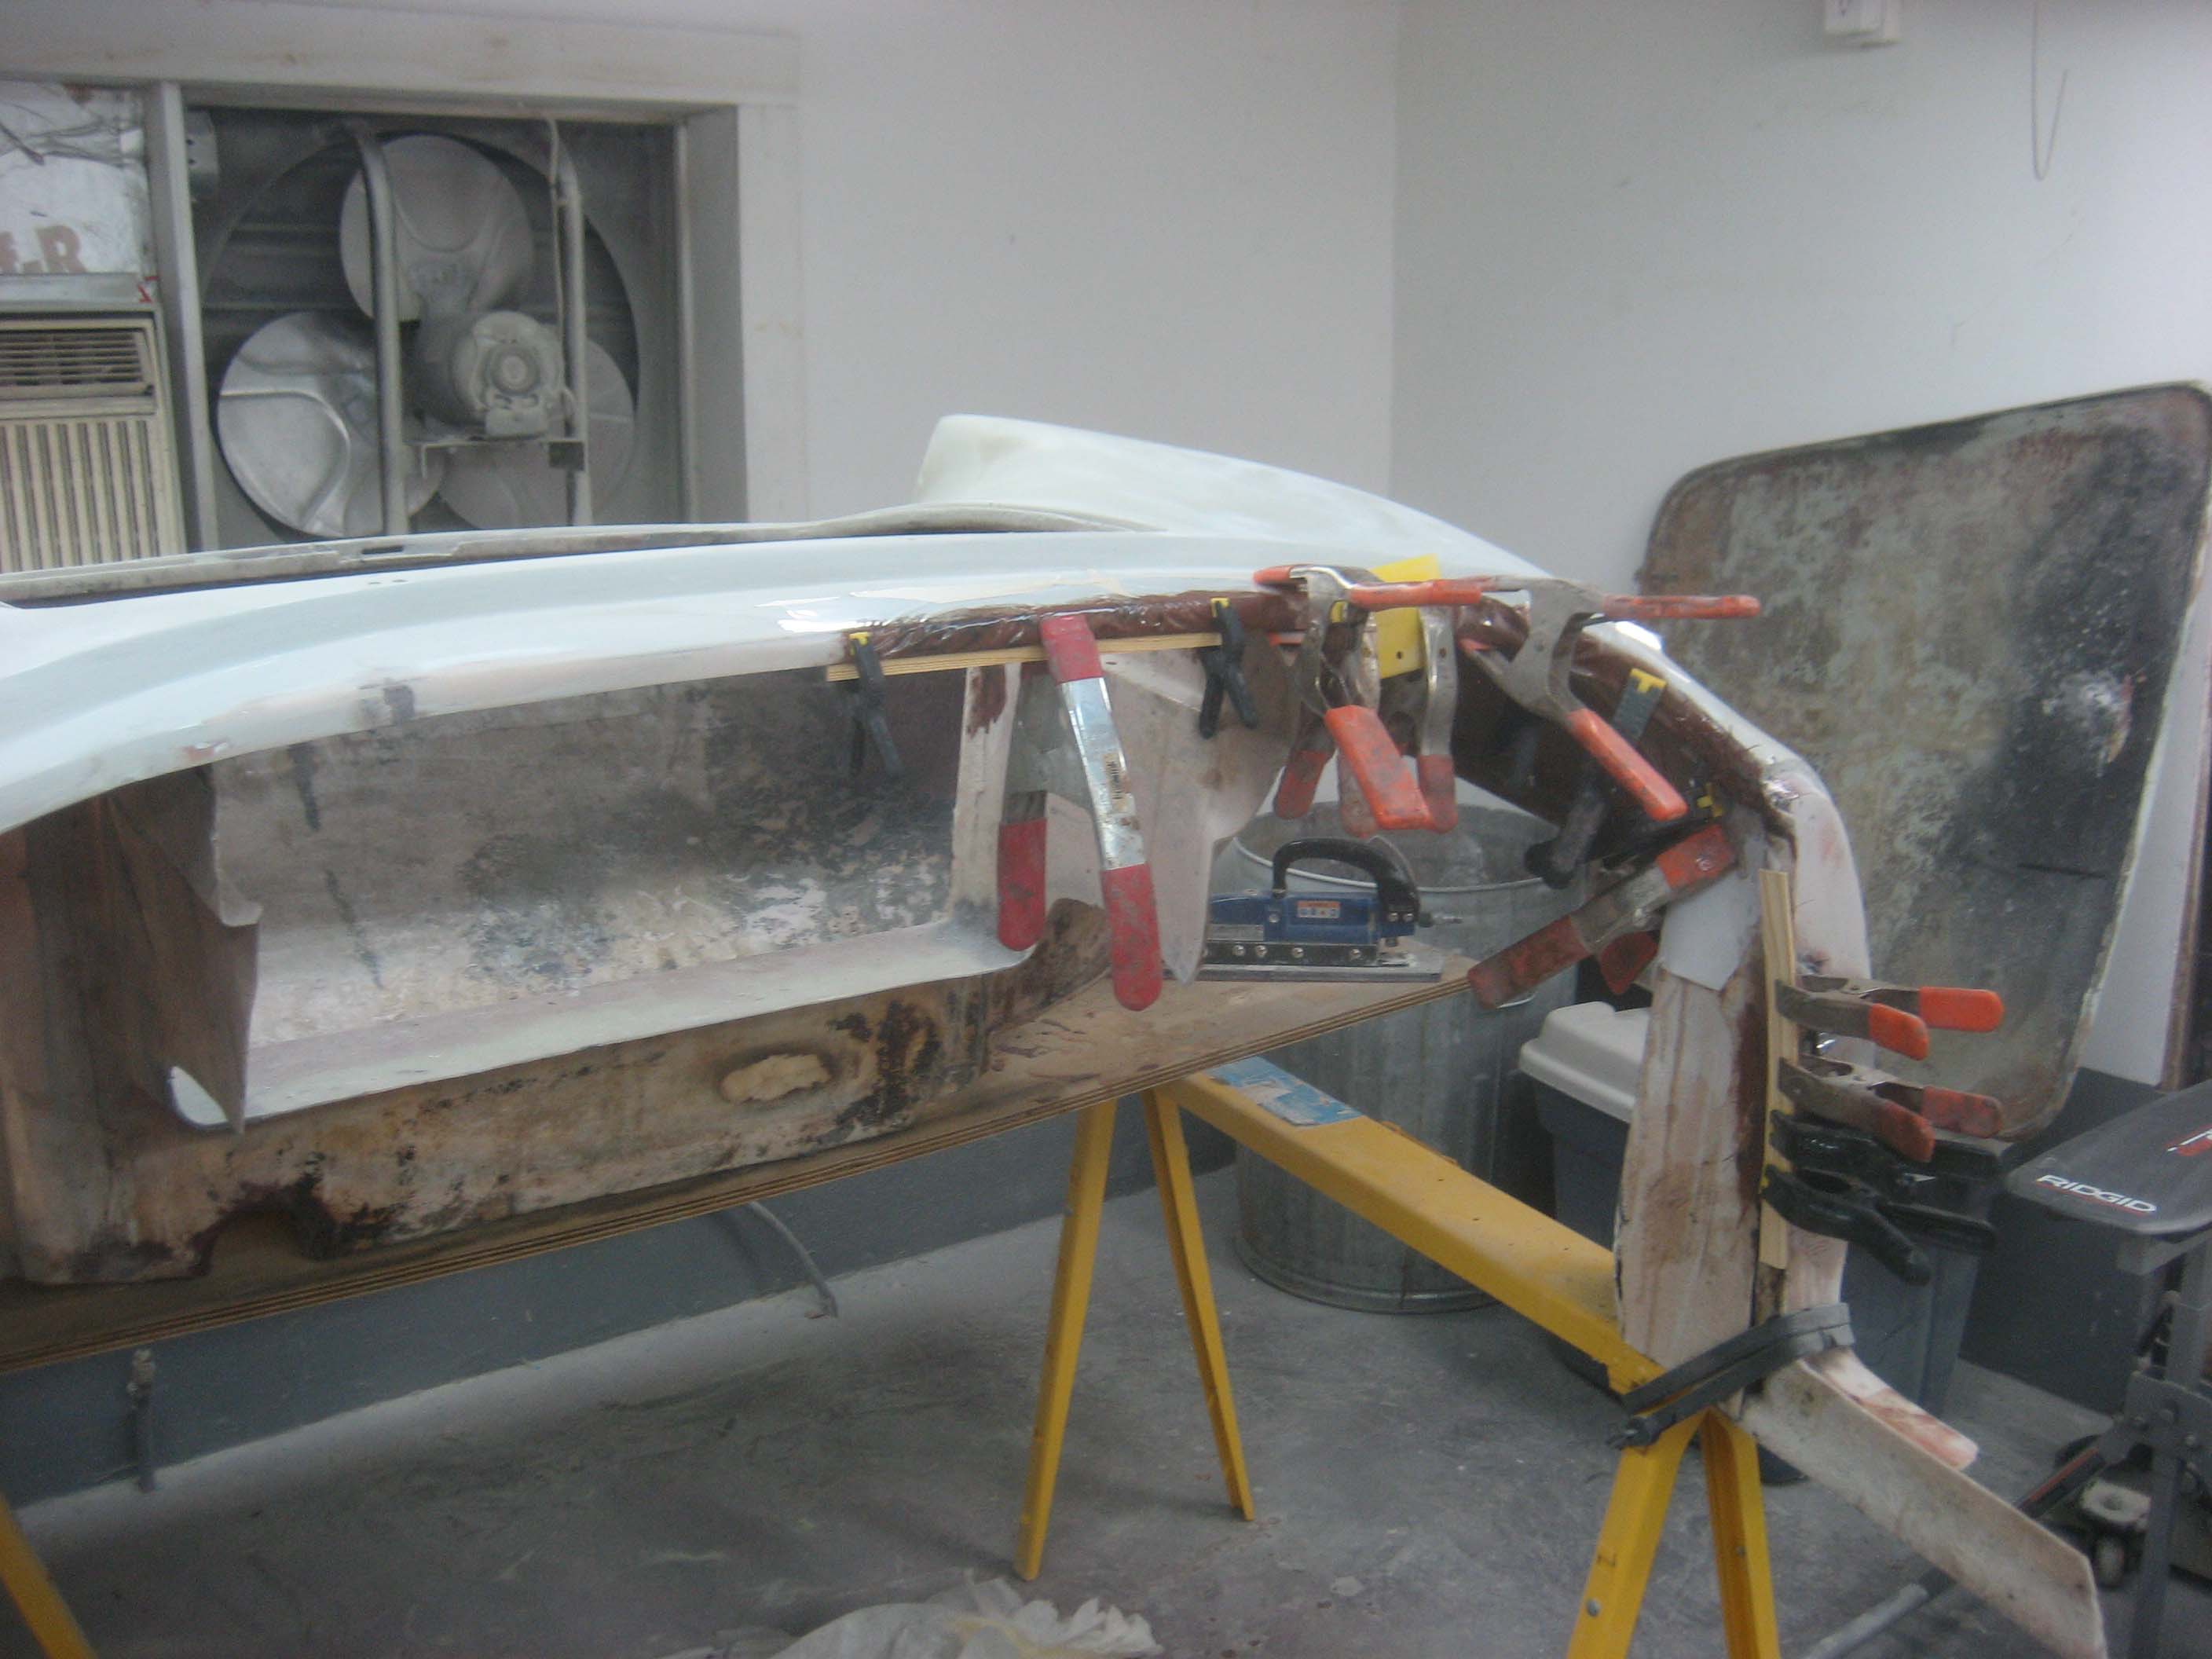
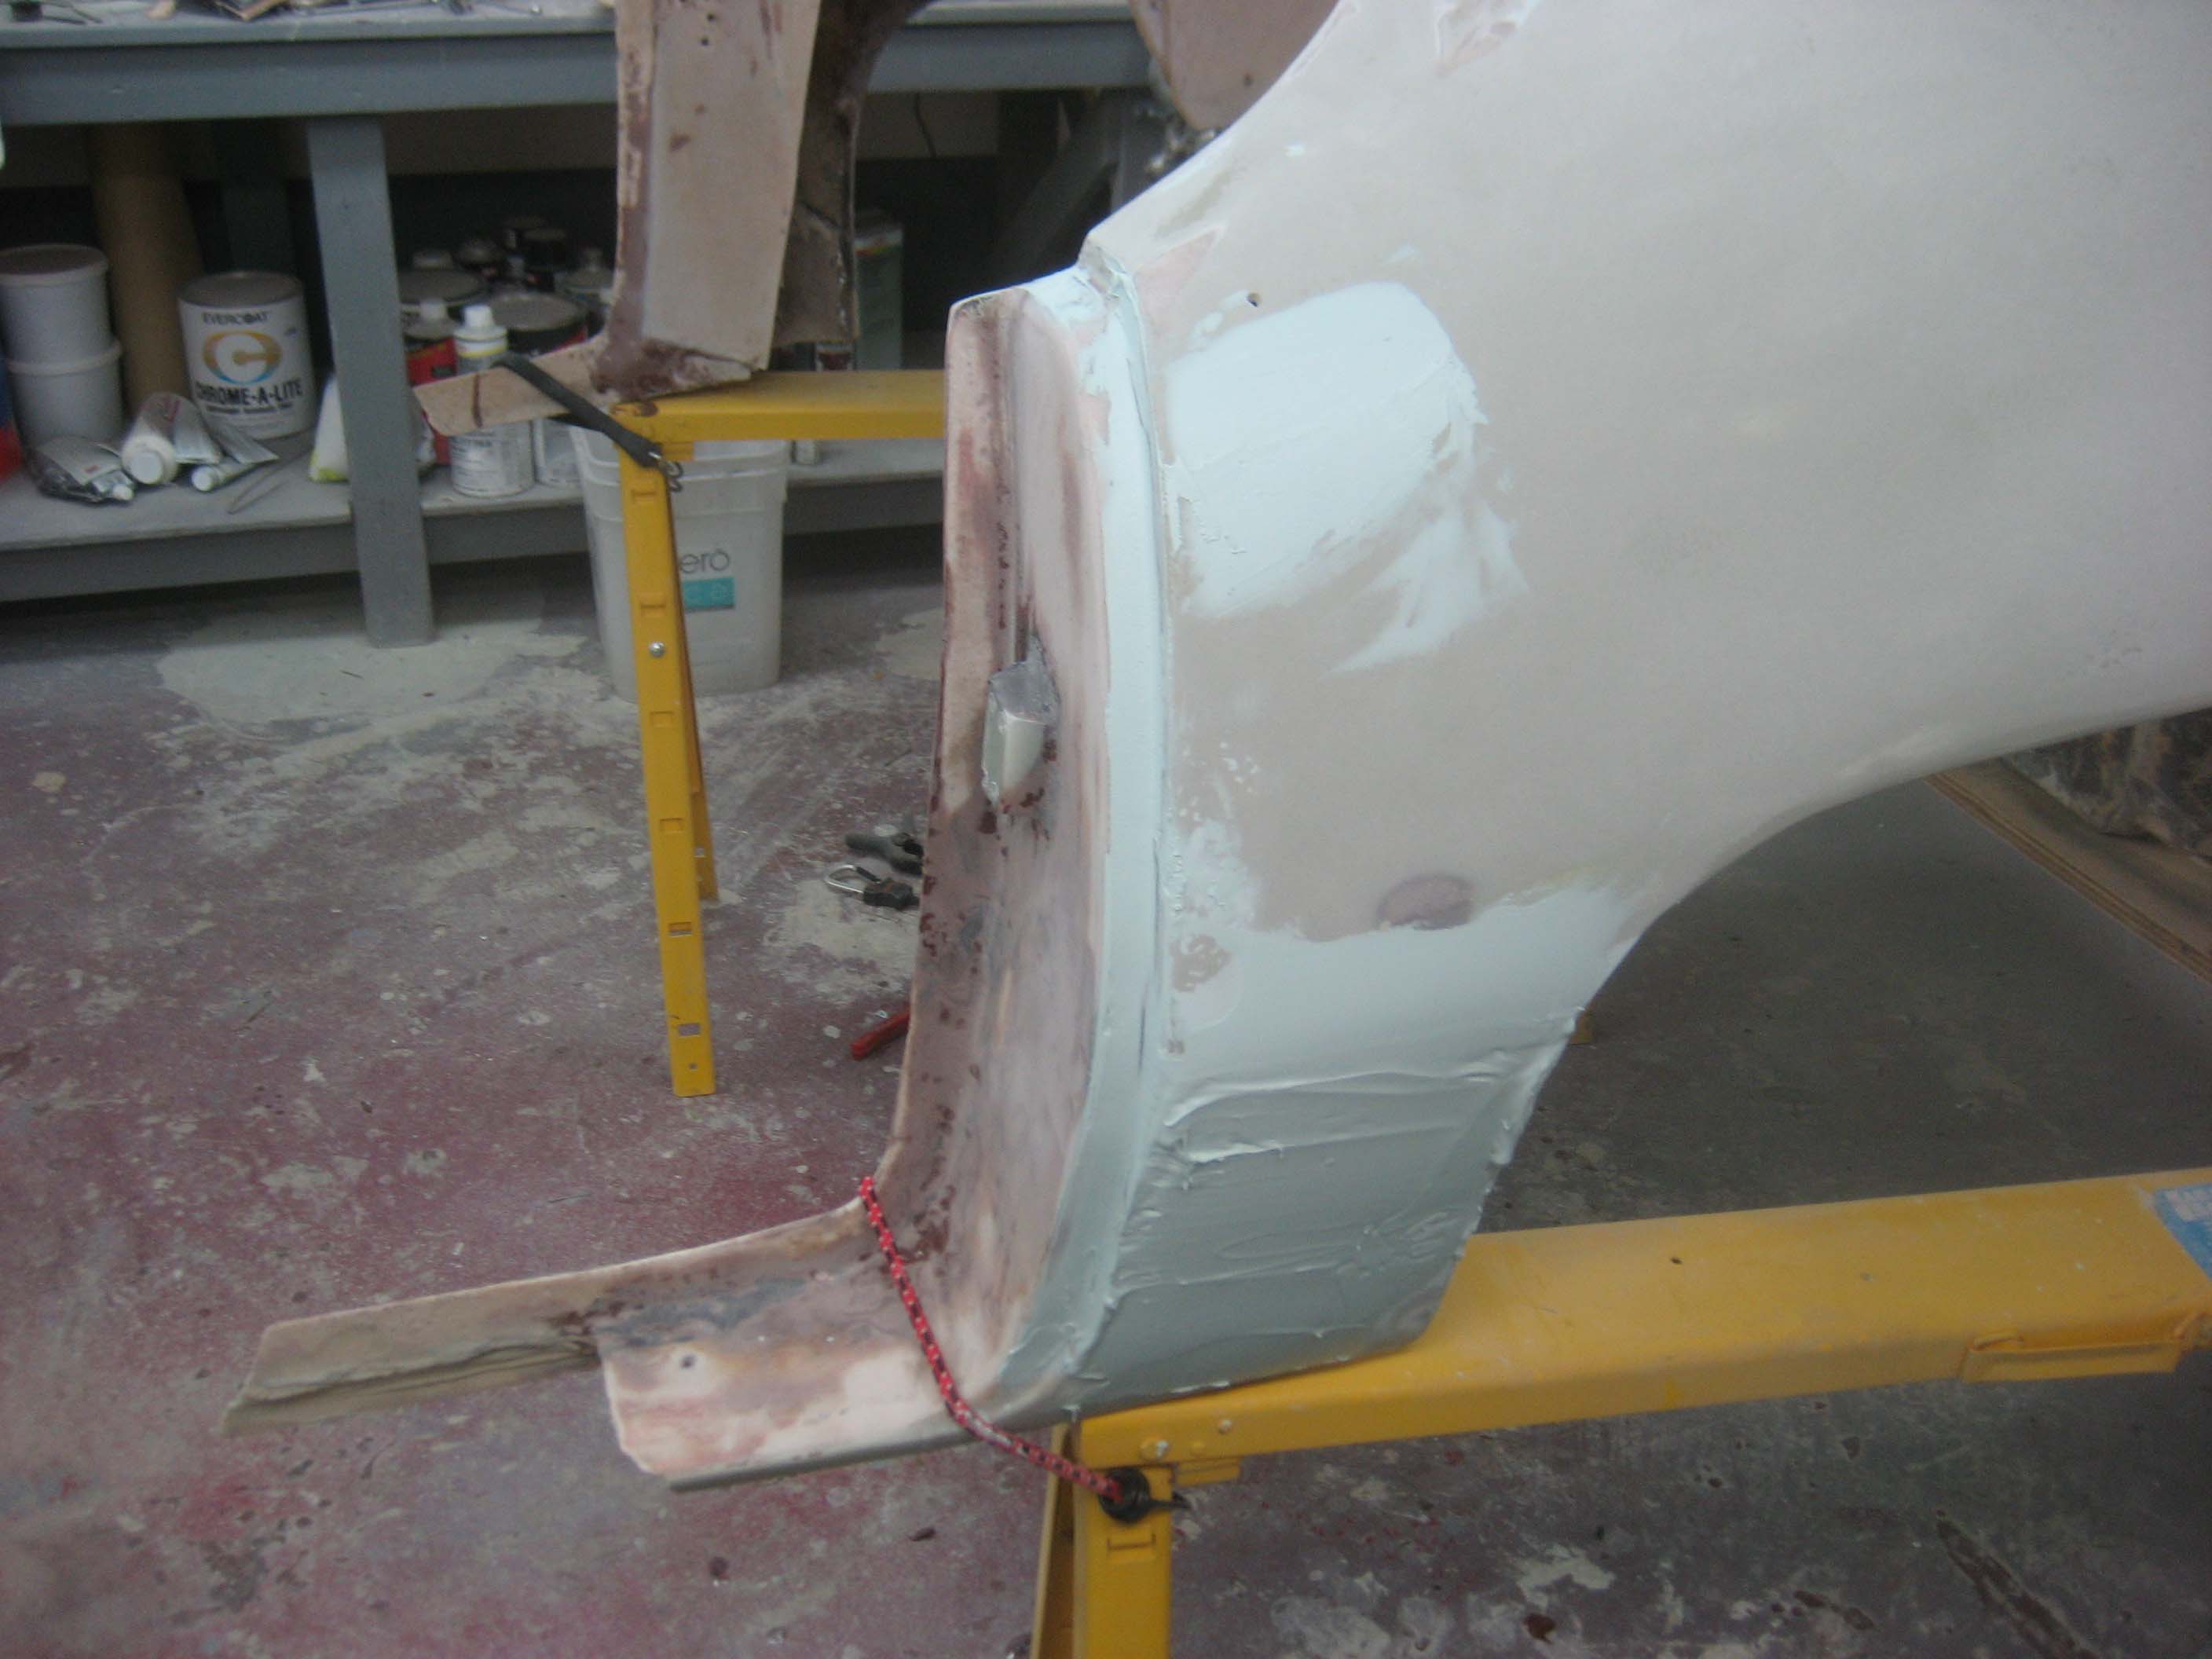
Here, I am now posting a lot of what has been done to fix the fiberglass, the rear deck, the doors, sills and the front end.  If there are questions, I will make comments, but here they are without additional text for each one.  Most should be self-explanatory.

IMG_5581 IMG_5583 IMG_5585 IMG_5586 IMG_5588 IMG_5591 IMG_5594 IMG_5596 IMG_5597 IMG_5598 IMG_5599 IMG_5600 IMG_5601 IMG_5928 IMG_5929 IMG_5930 IMG_5932 IMG_5933 IMG_5934 IMG_5935 IMG_5936 IMG_5937 IMG_5938 IMG_5939 IMG_5940 IMG_5941 IMG_5942 IMG_5943 IMG_5944 IMG_5945 IMG_5946 IMG_5947 IMG_5948 IMG_5949 IMG_5950 IMG_5951 IMG_5952 IMG_5955 IMG_5968 IMG_5969 IMG_5970 IMG_5971 IMG_5972 IMG_5973 IMG_5974 IMG_5975 IMG_5976 IMG_5977 IMG_5978 IMG_5979 IMG_5980 IMG_5984 IMG_5985 IMG_5986 IMG_5987 IMG_5988 IMG_5989 IMG_5990 IMG_5991 IMG_5992 IMG_5993 IMG_5994 IMG_5995 IMG_5996 IMG_5997 IMG_5998 IMG_5999 IMG_6000 IMG_6001 IMG_6002 IMG_6004 IMG_6005 IMG_6006 IMG_6007 IMG_6008 IMG_6009 IMG_6010 IMG_6011 IMG_6012 IMG_6013 IMG_6014


The Shop

June 12, 2013

Osca 2261

The reason I have not made any posts lately is not because nothing has been happening, it’s because what has been happening is not so photogenic or very interesting.

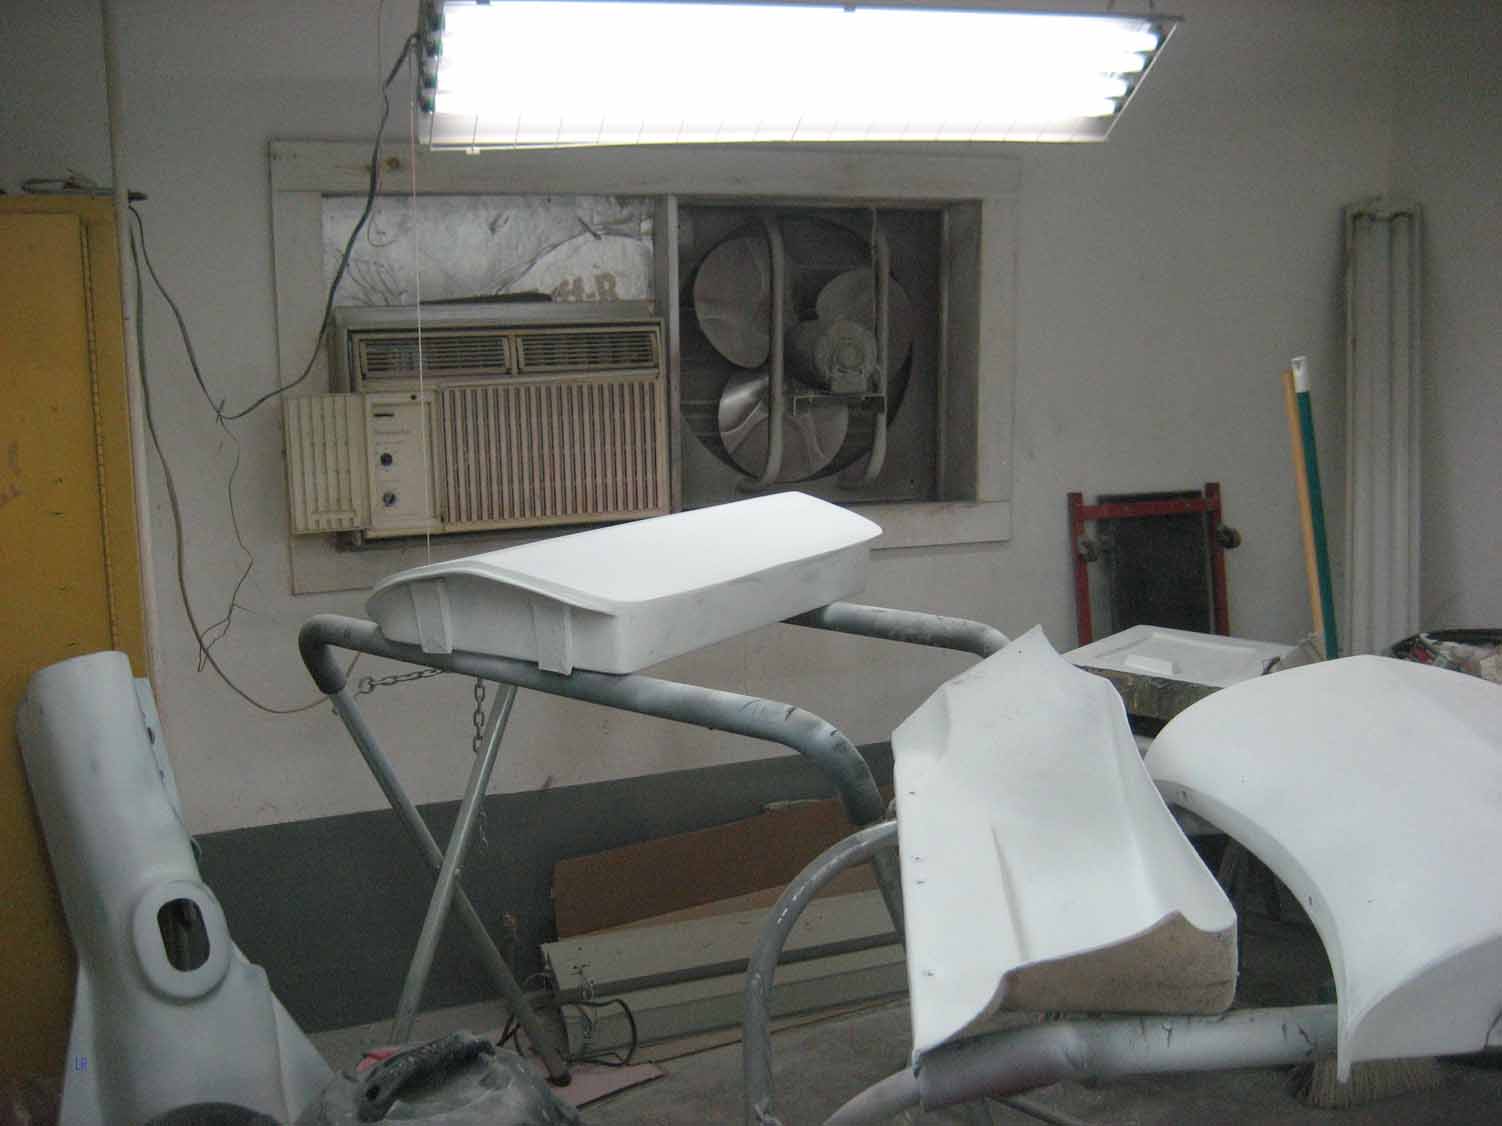
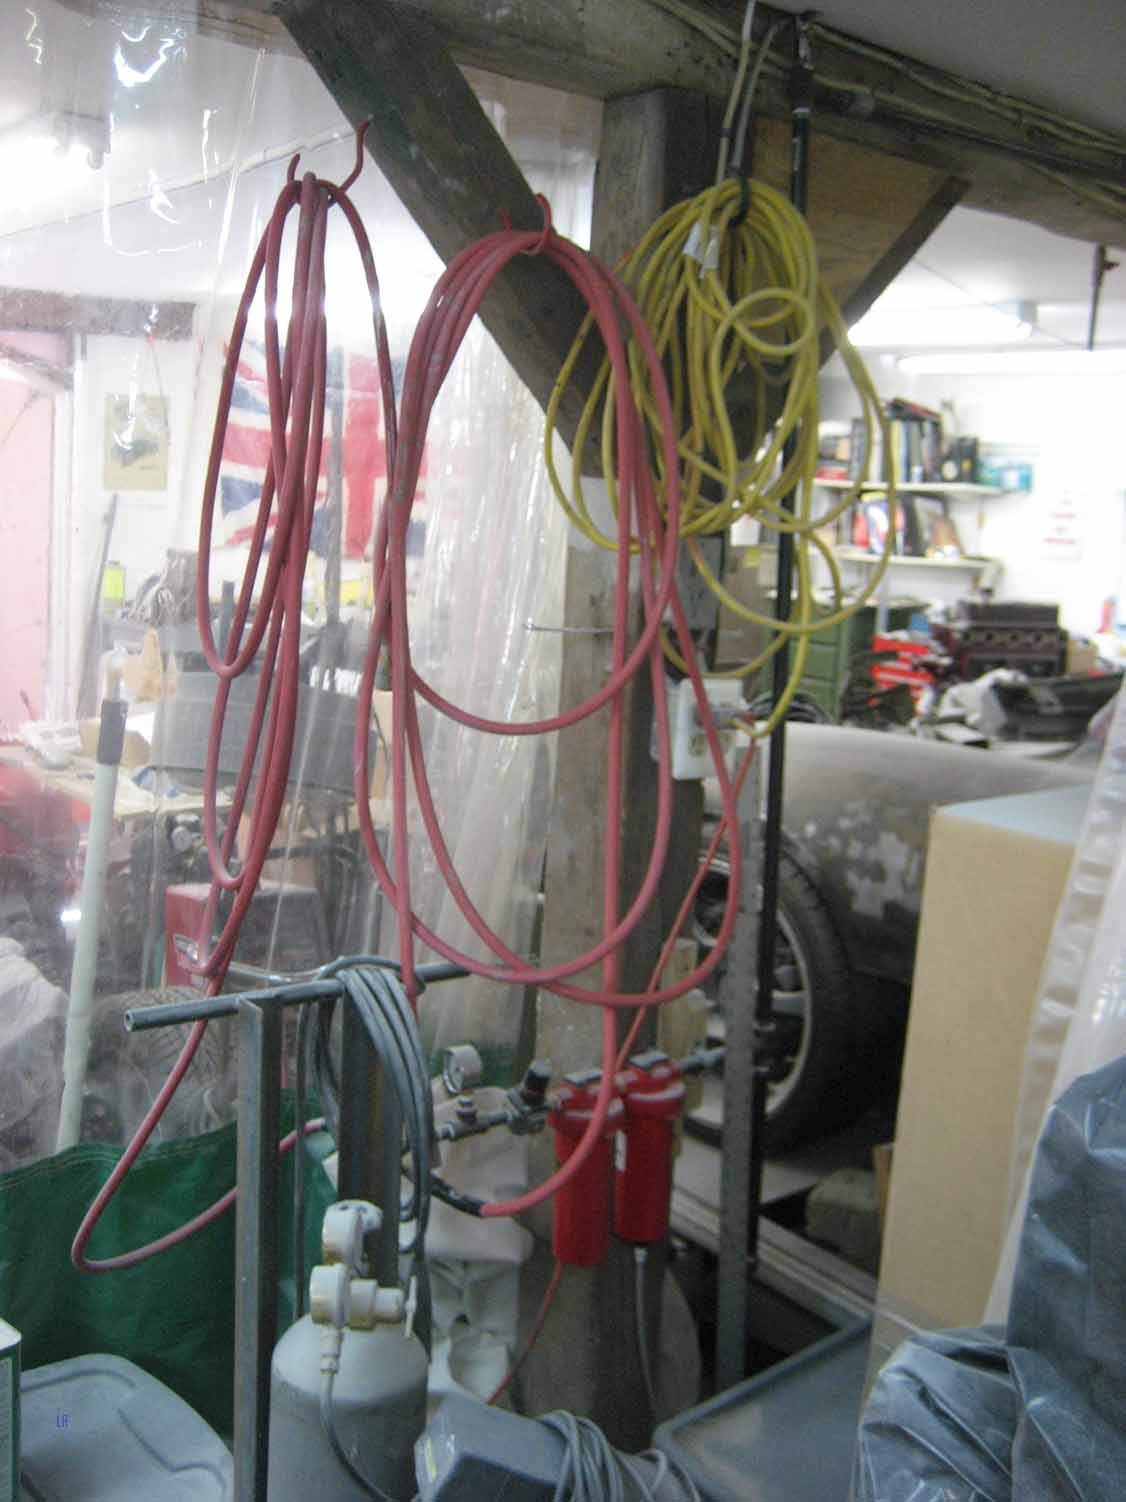
The shop itself became inadequate for me to finish the painting.  Whenever I sanded using air tools, my wrists were getting wet – the lines were full of air.  Neither priming nor painting can be done with that much water in the lines.  I drained the water separator, no water there.  I drained the compressor, no water there.  It was ONLY in the lines from the water separator and the tools.  Something structurally was wrong in the system.  I went to the shops that sells paint and equipment for painting; then I went to Google for more information.  Everything had been wrong with the way the system had been installed, and technology for this issue had improved in the past 17 years.

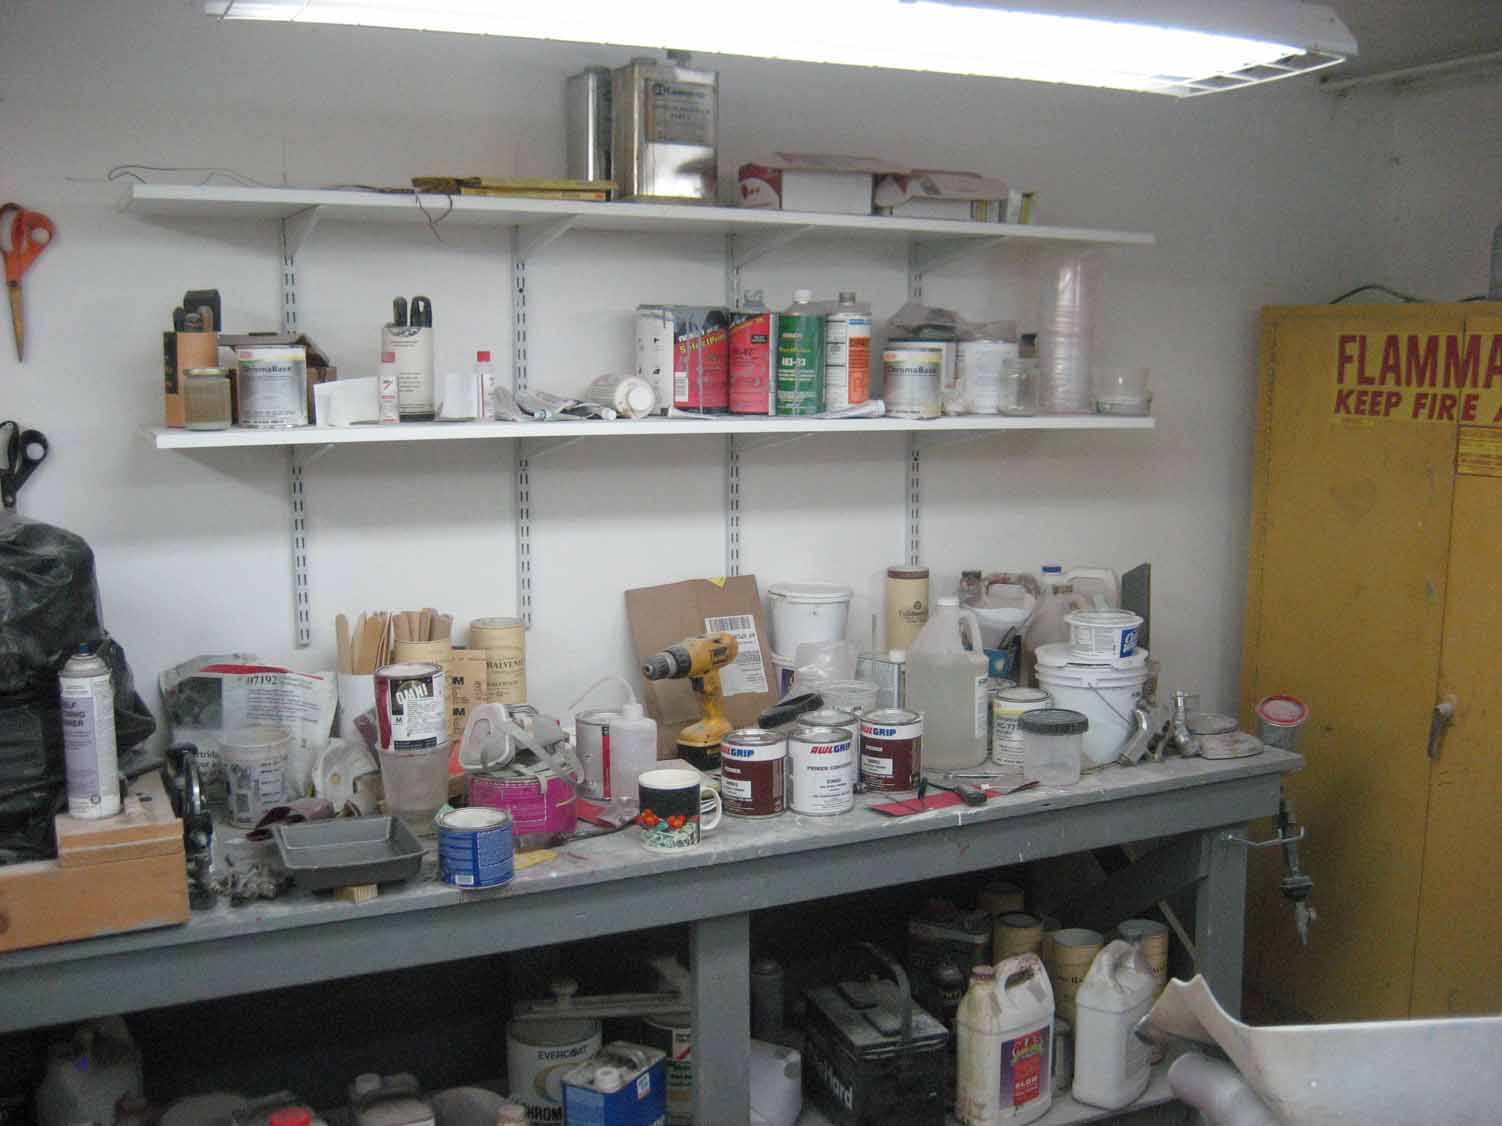
As it turned out, the way I had set up this shop 15+ years ago was all wrong for keeping water out of my air lines; who knew?  Anyway, to make a long story short, I had to buy a new and much improved 21st century air drier system, and I needed to re-plumb the mounting of it, so that it was at the lowest position possible, incorporating a passive trap.  That required that I move everything out of the shop to access the plumbing; that required a complete reorganization  of the shop.  That is why there have not been any progress photos lately.  I don’t think anyone wants to see photos of that operation.

The bodywork has continued, though even that has been somewhat boring to look at photos of.  The floorboards, rear bulkhead and roll cage have now been primed, and sanded several times with minor bits of spot putty along the way.  The goal has been to make the interior look like an Osca, which was all aluminum and had no carpeting.  The transmission tunnel has over 100 hours in it so far.

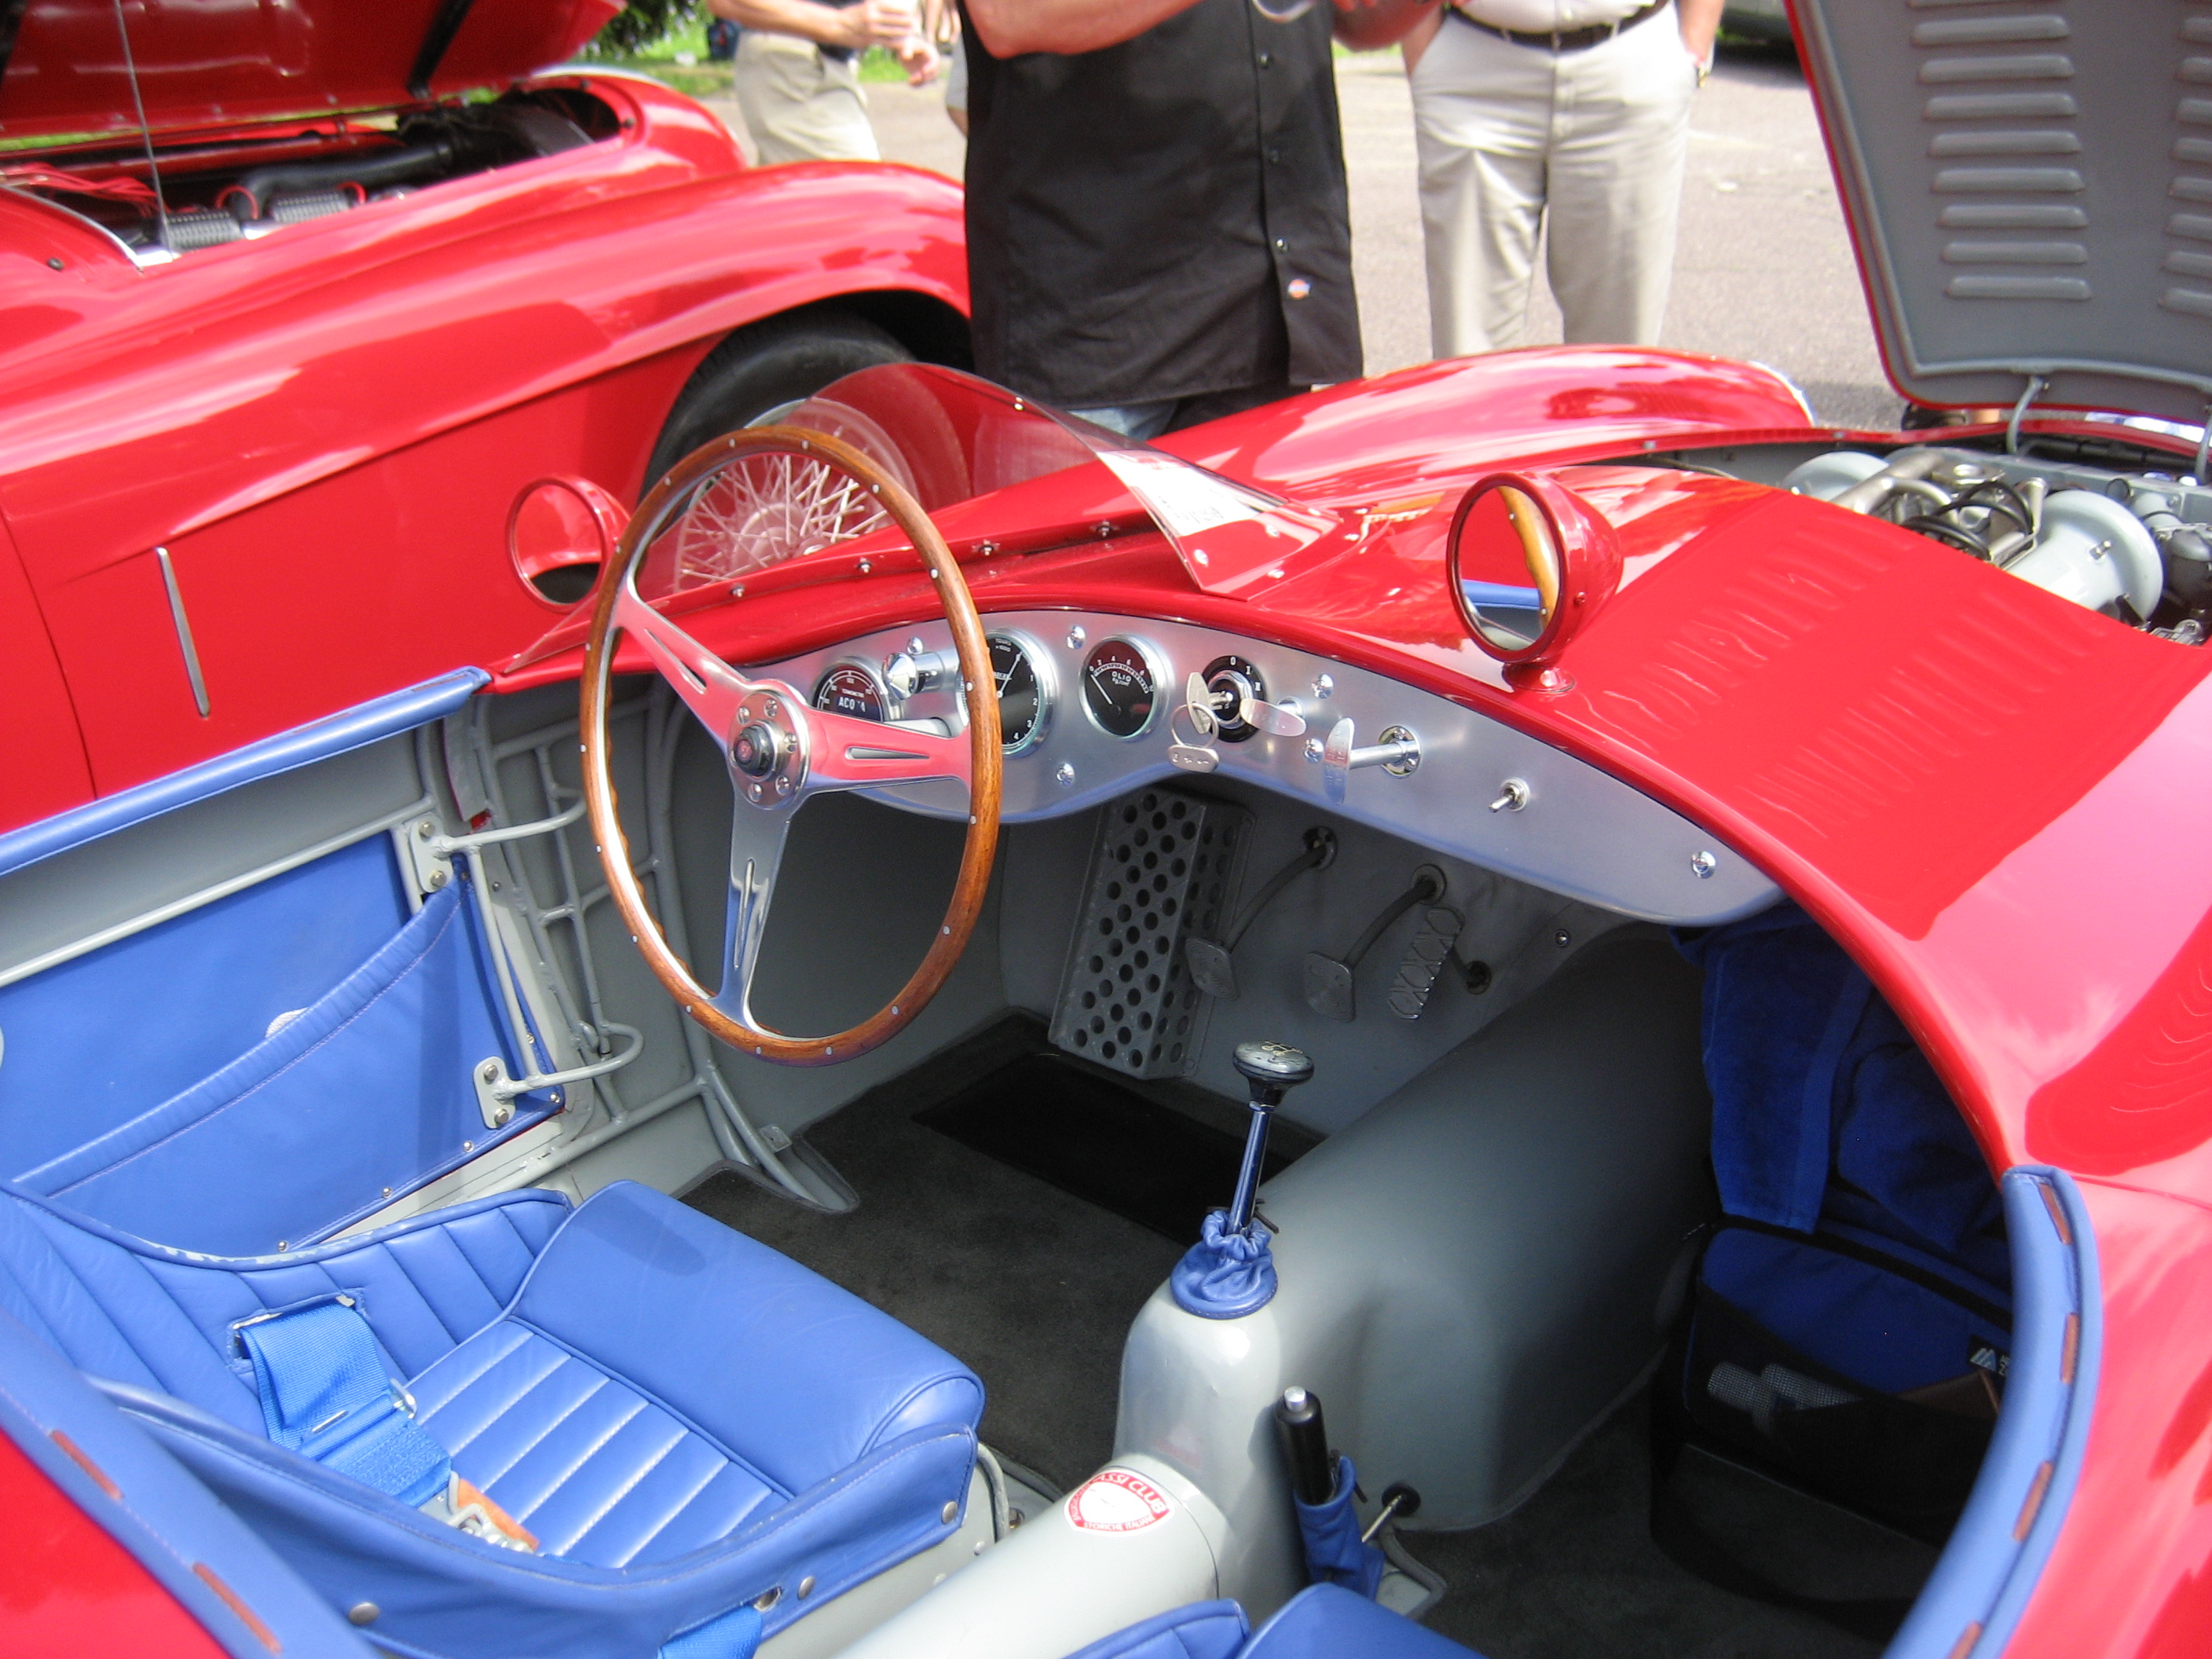
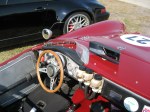
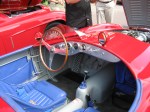
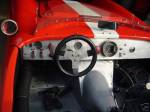
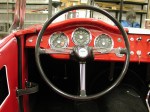
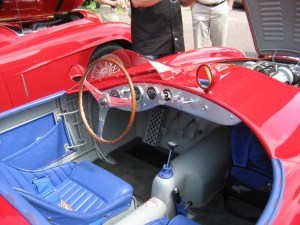
This photo is of the Osca that inspired me to do the dash and interior the way I am doing it, which has been very time-consuming.  My color scheme is obviously BRGreen rather than red, but you get the idea.  Hopefully, the photo communicates both the reason I am doing it, and the why it is taking so long.  Elva never built their cars to this standard, they were cars a middle class guy could afford, unlike the Osca.
Bodywork Part 4

February 7, 2013

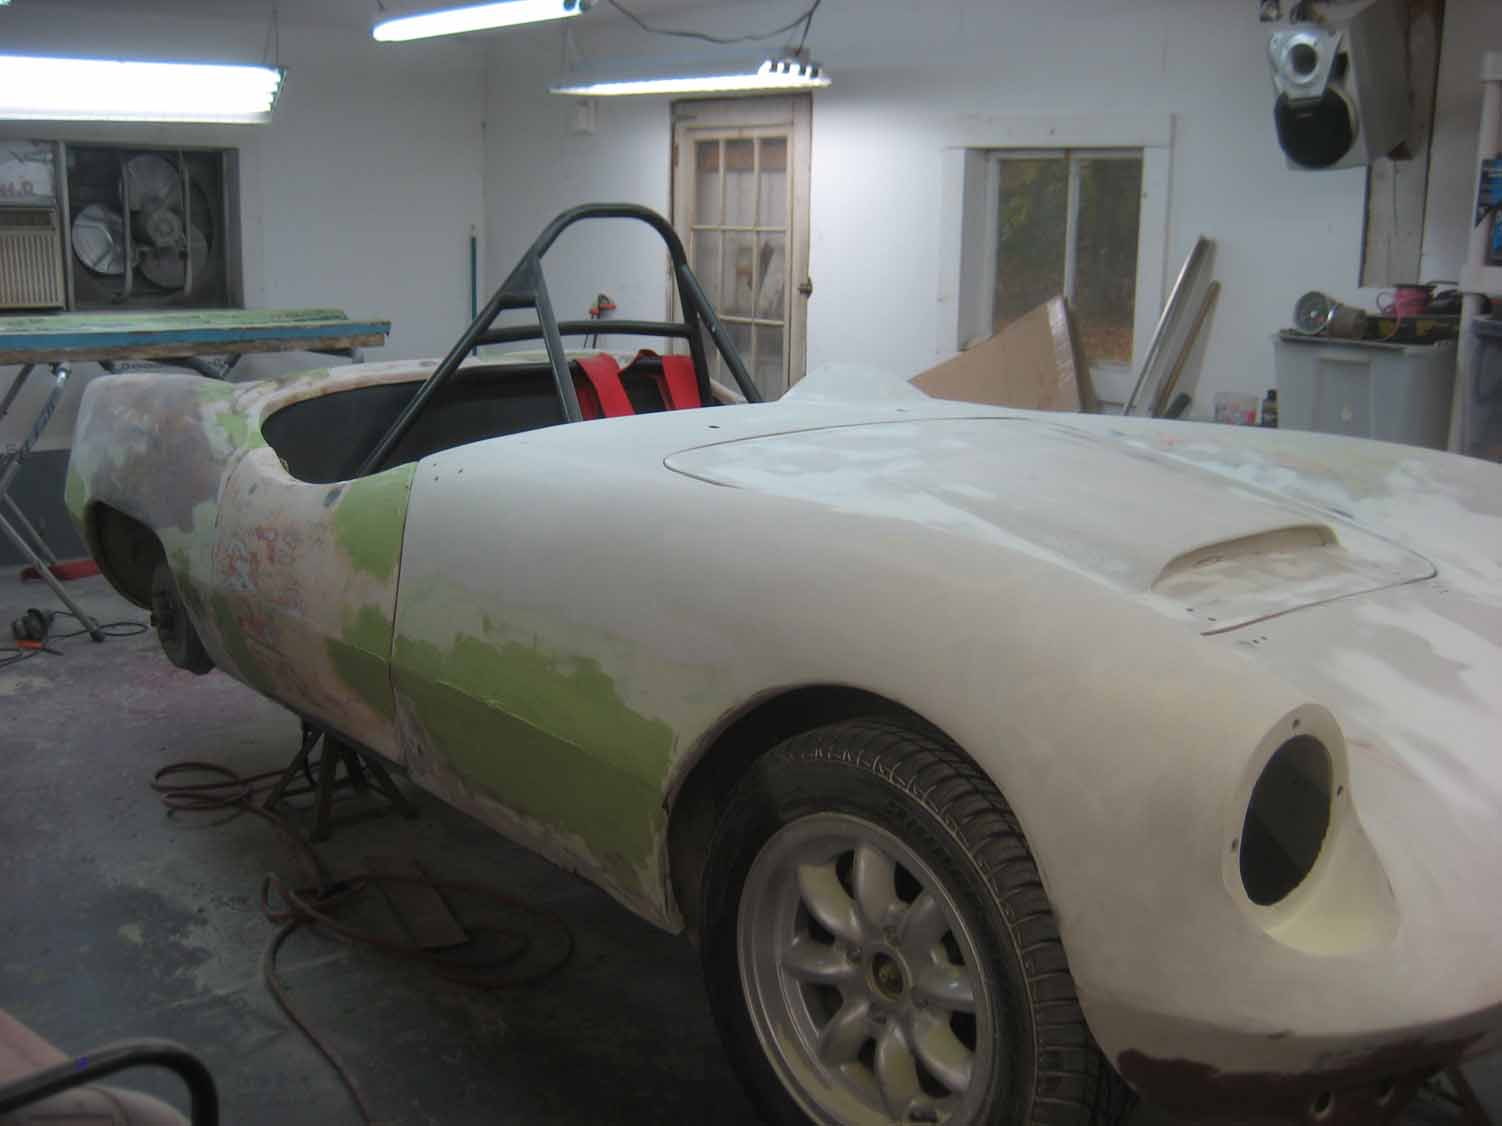
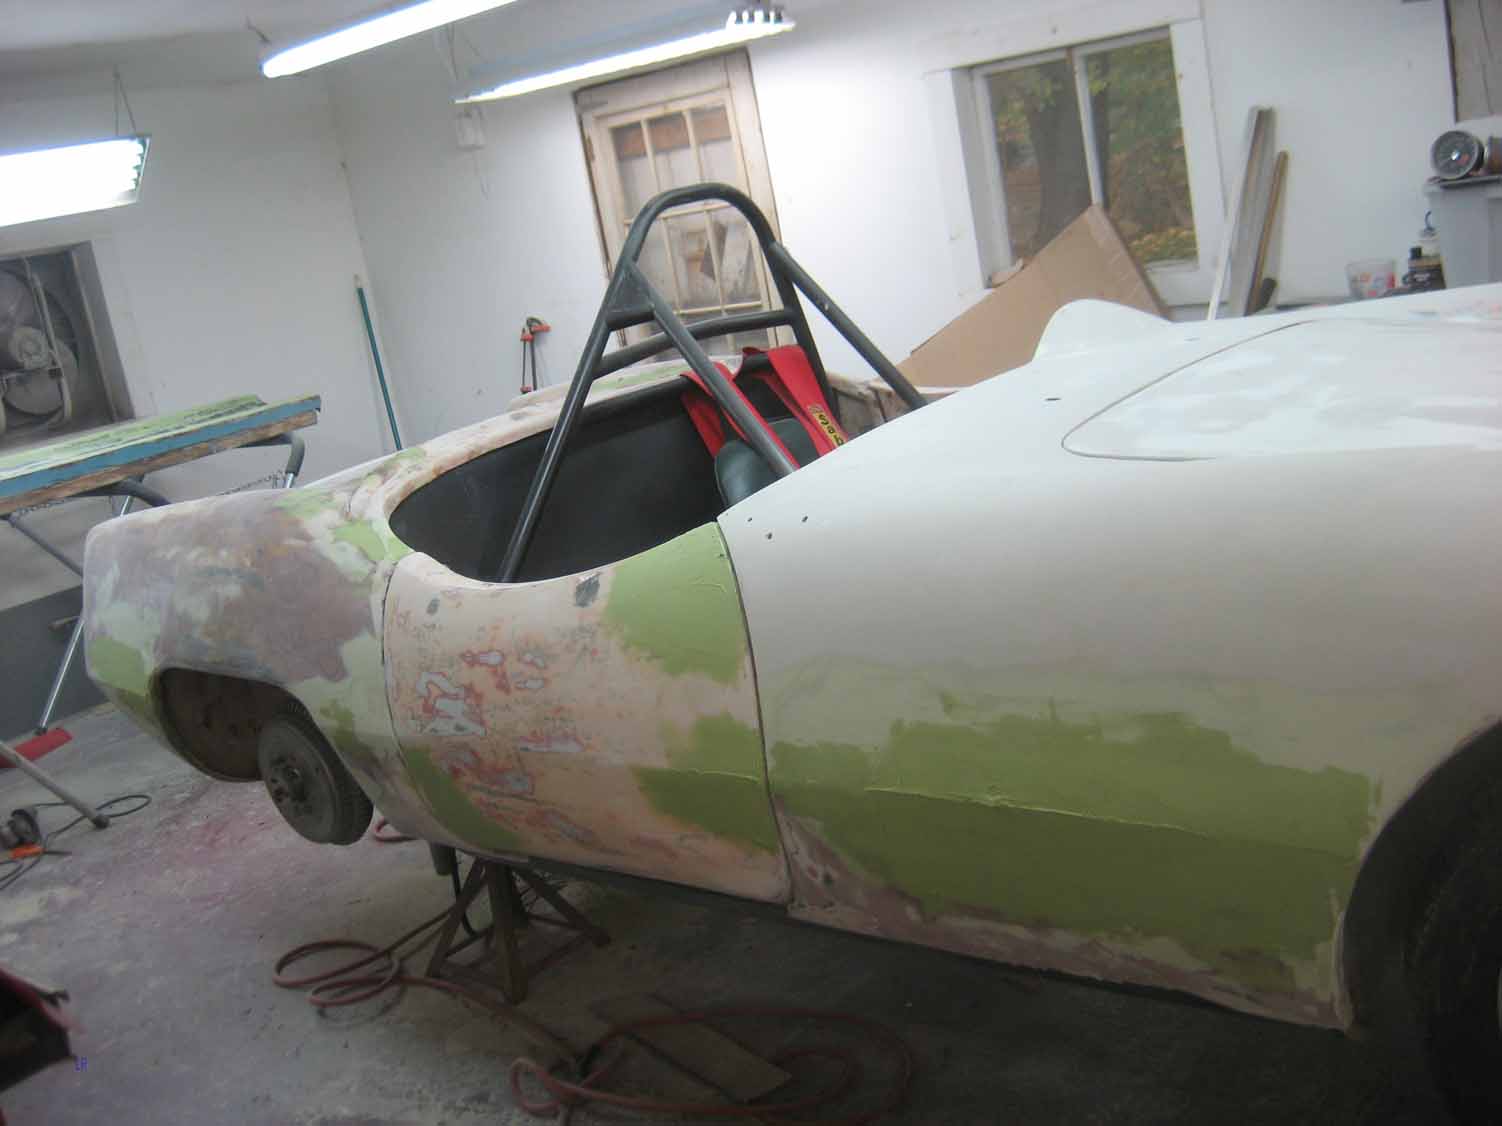
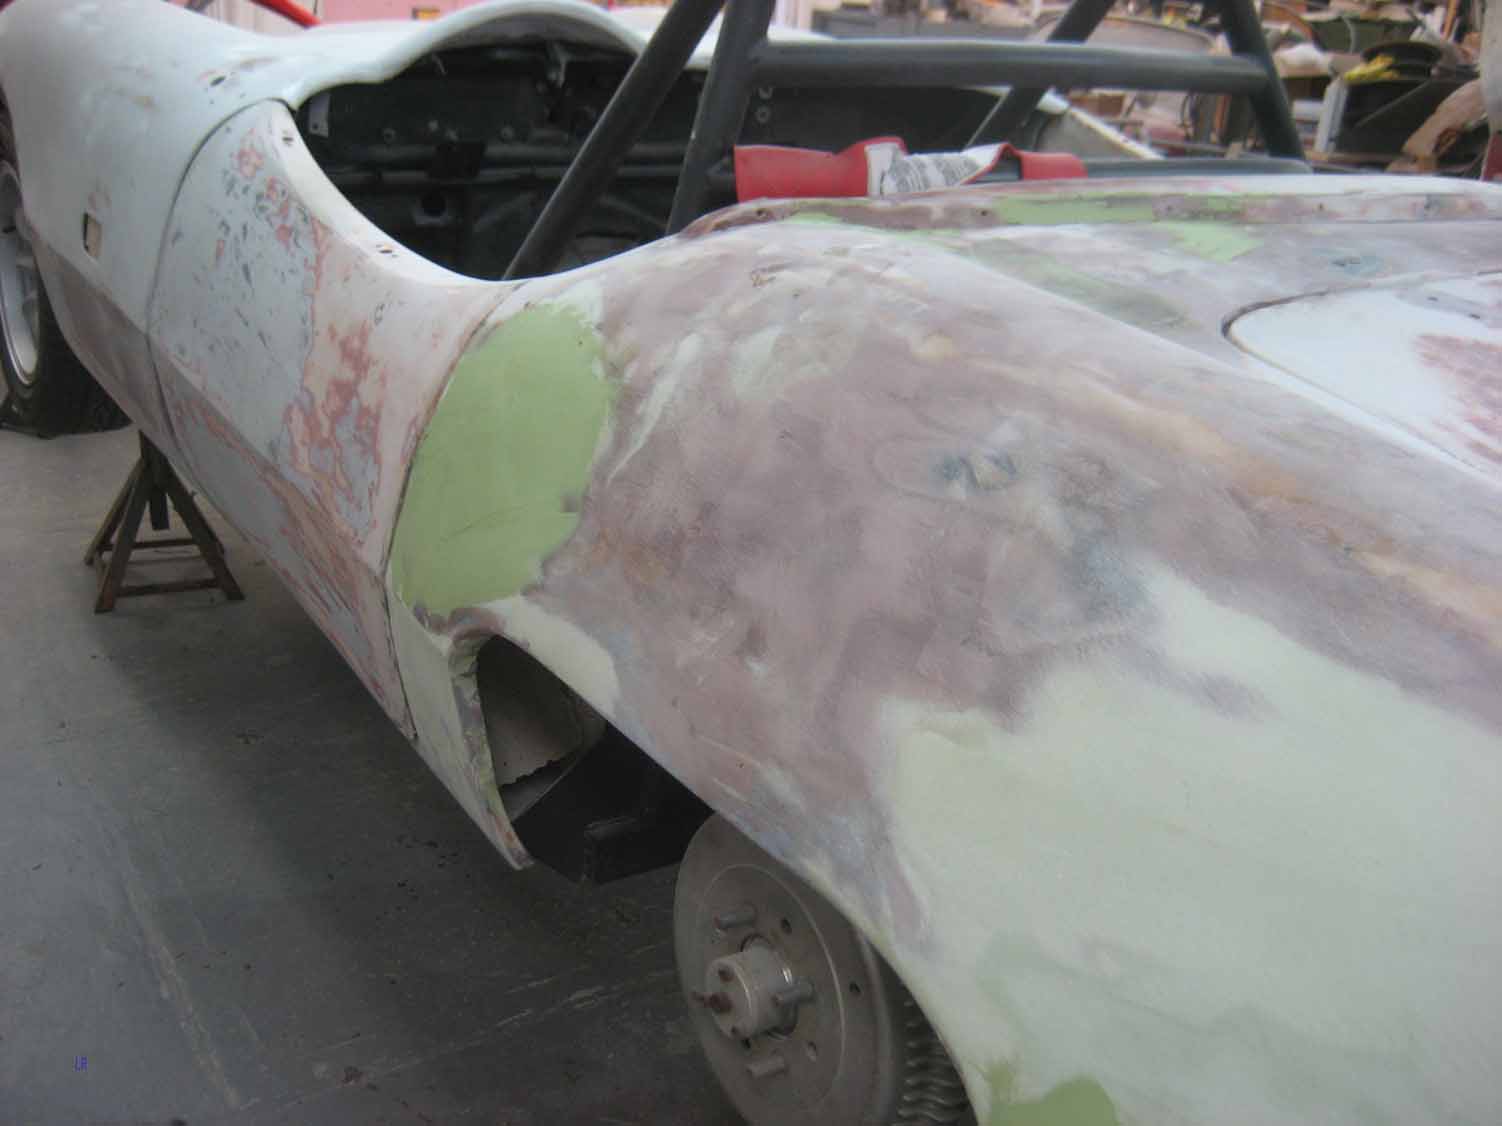
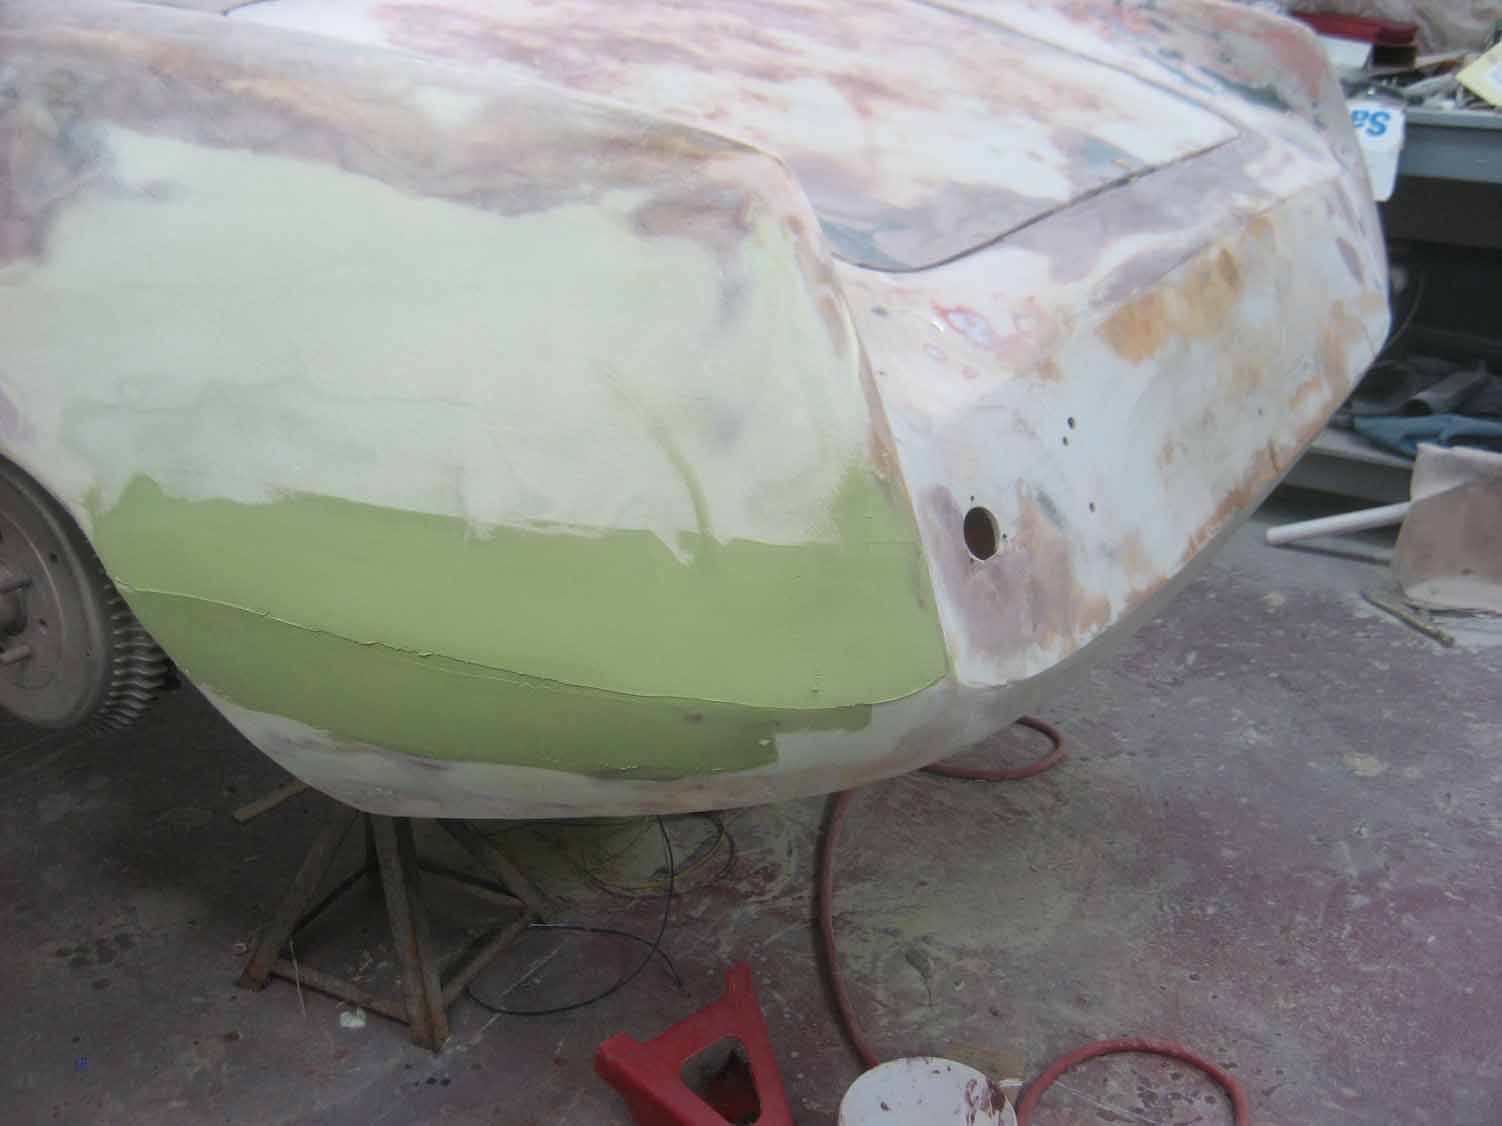
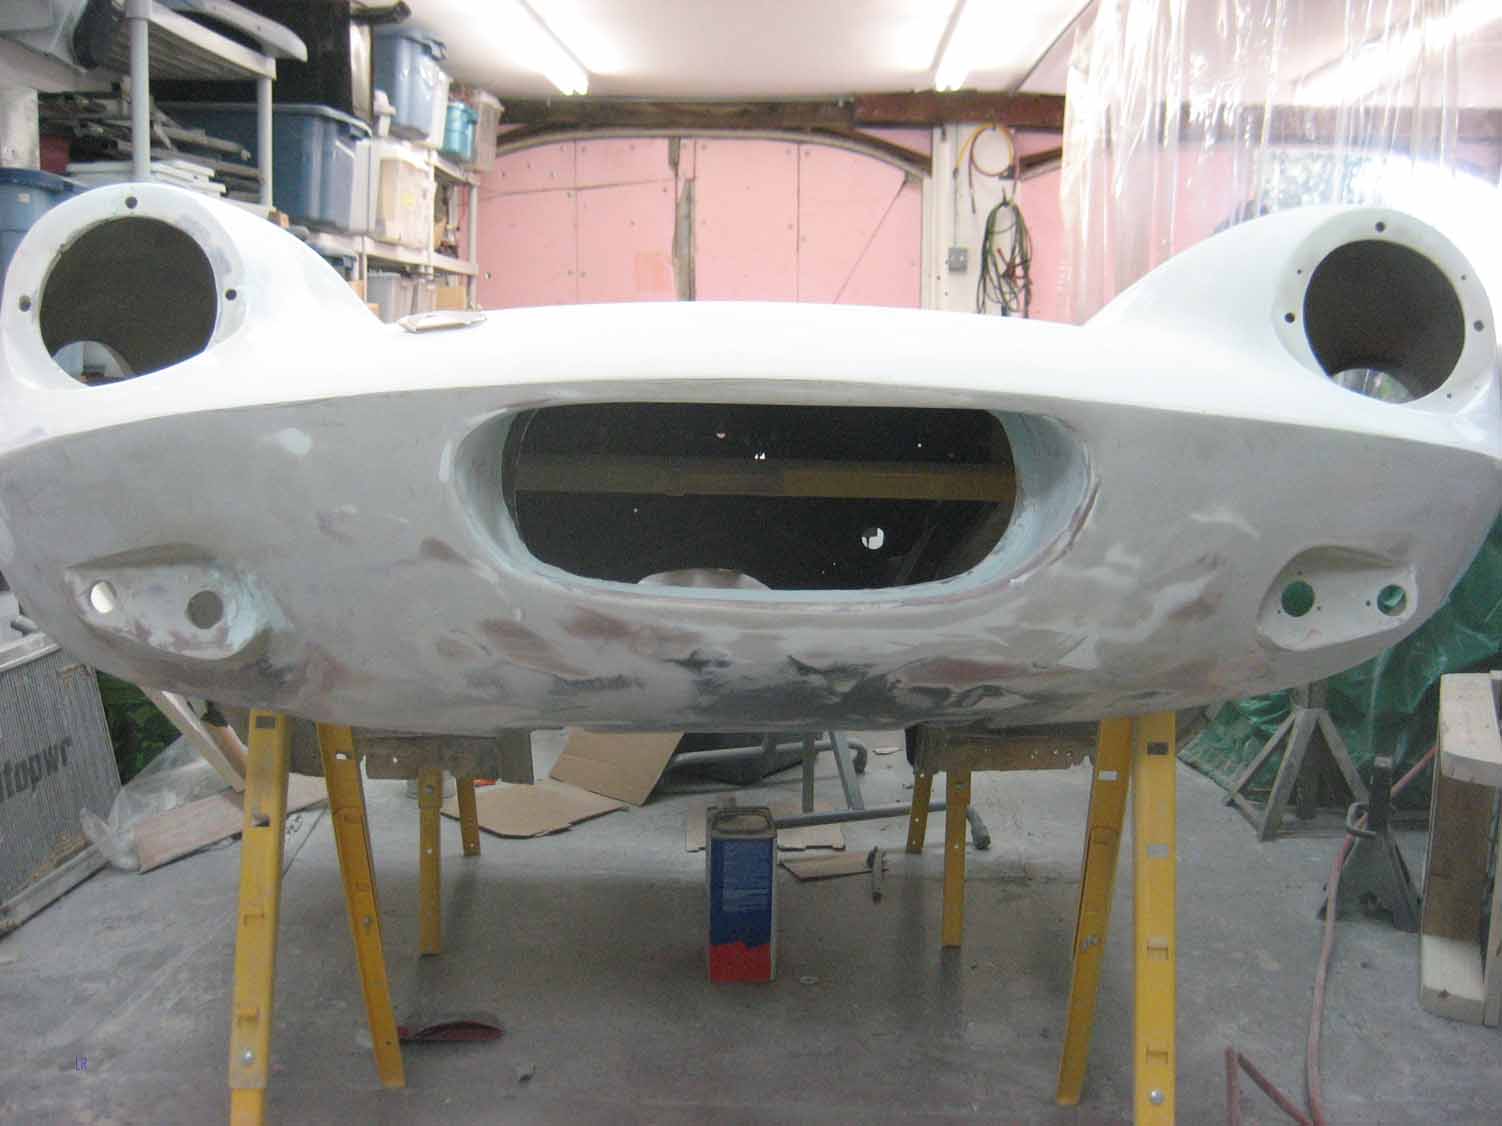
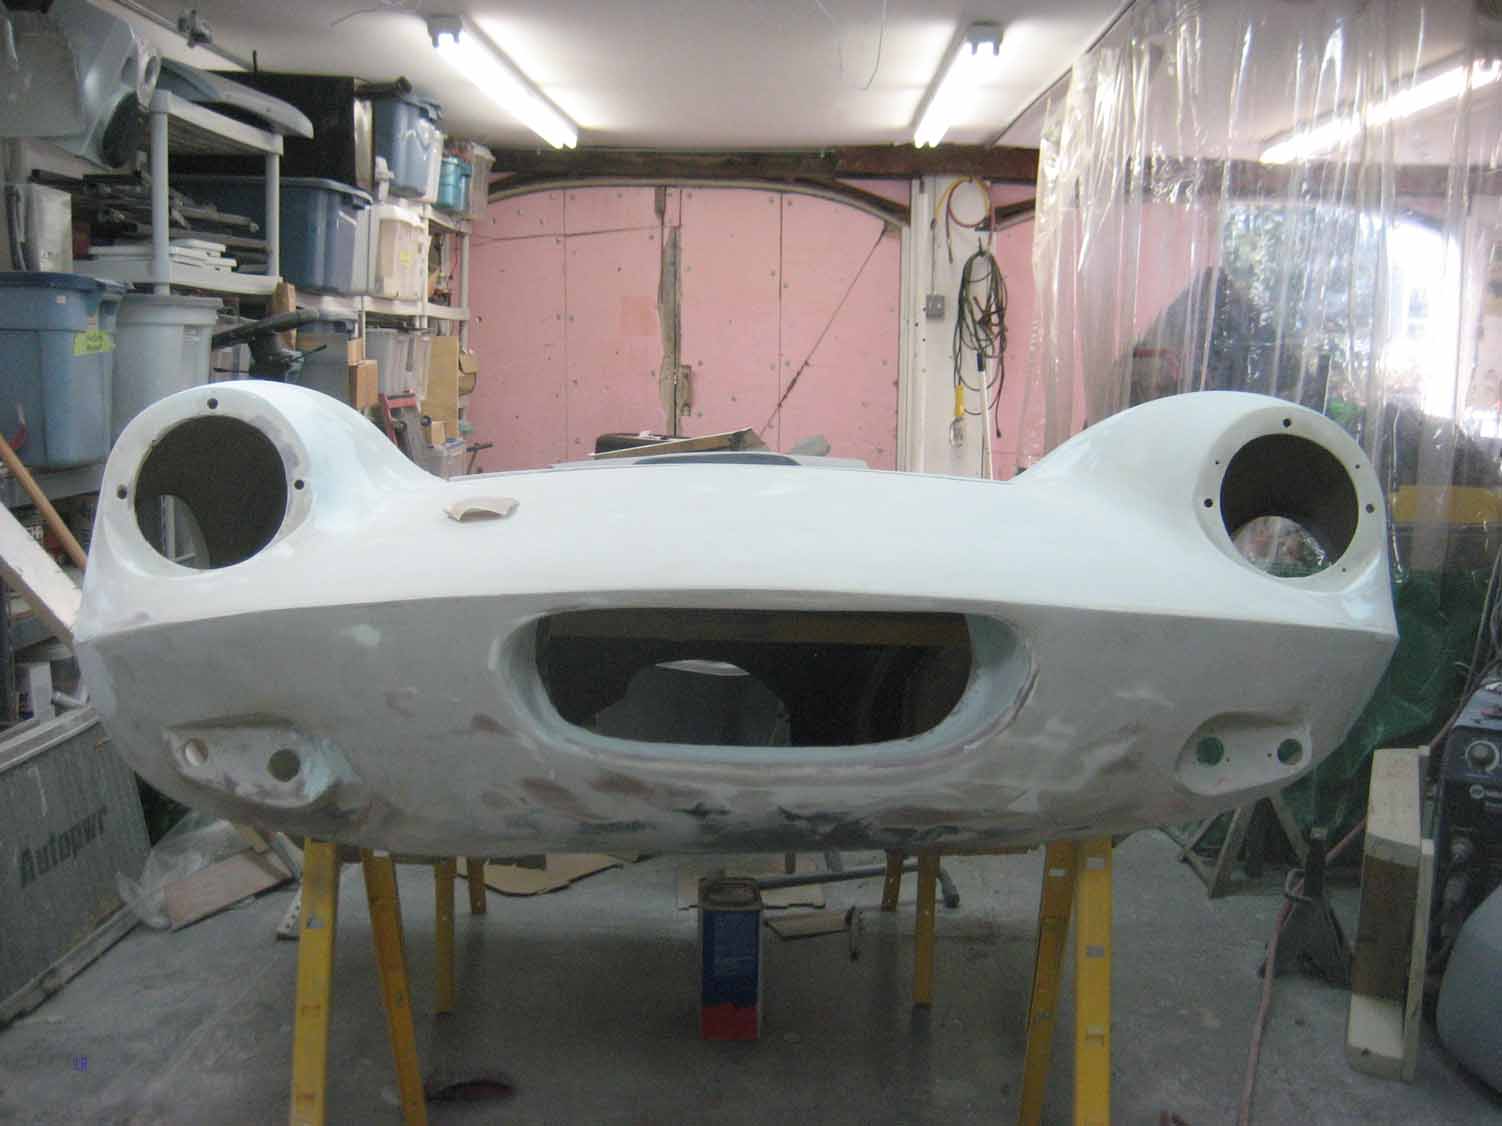
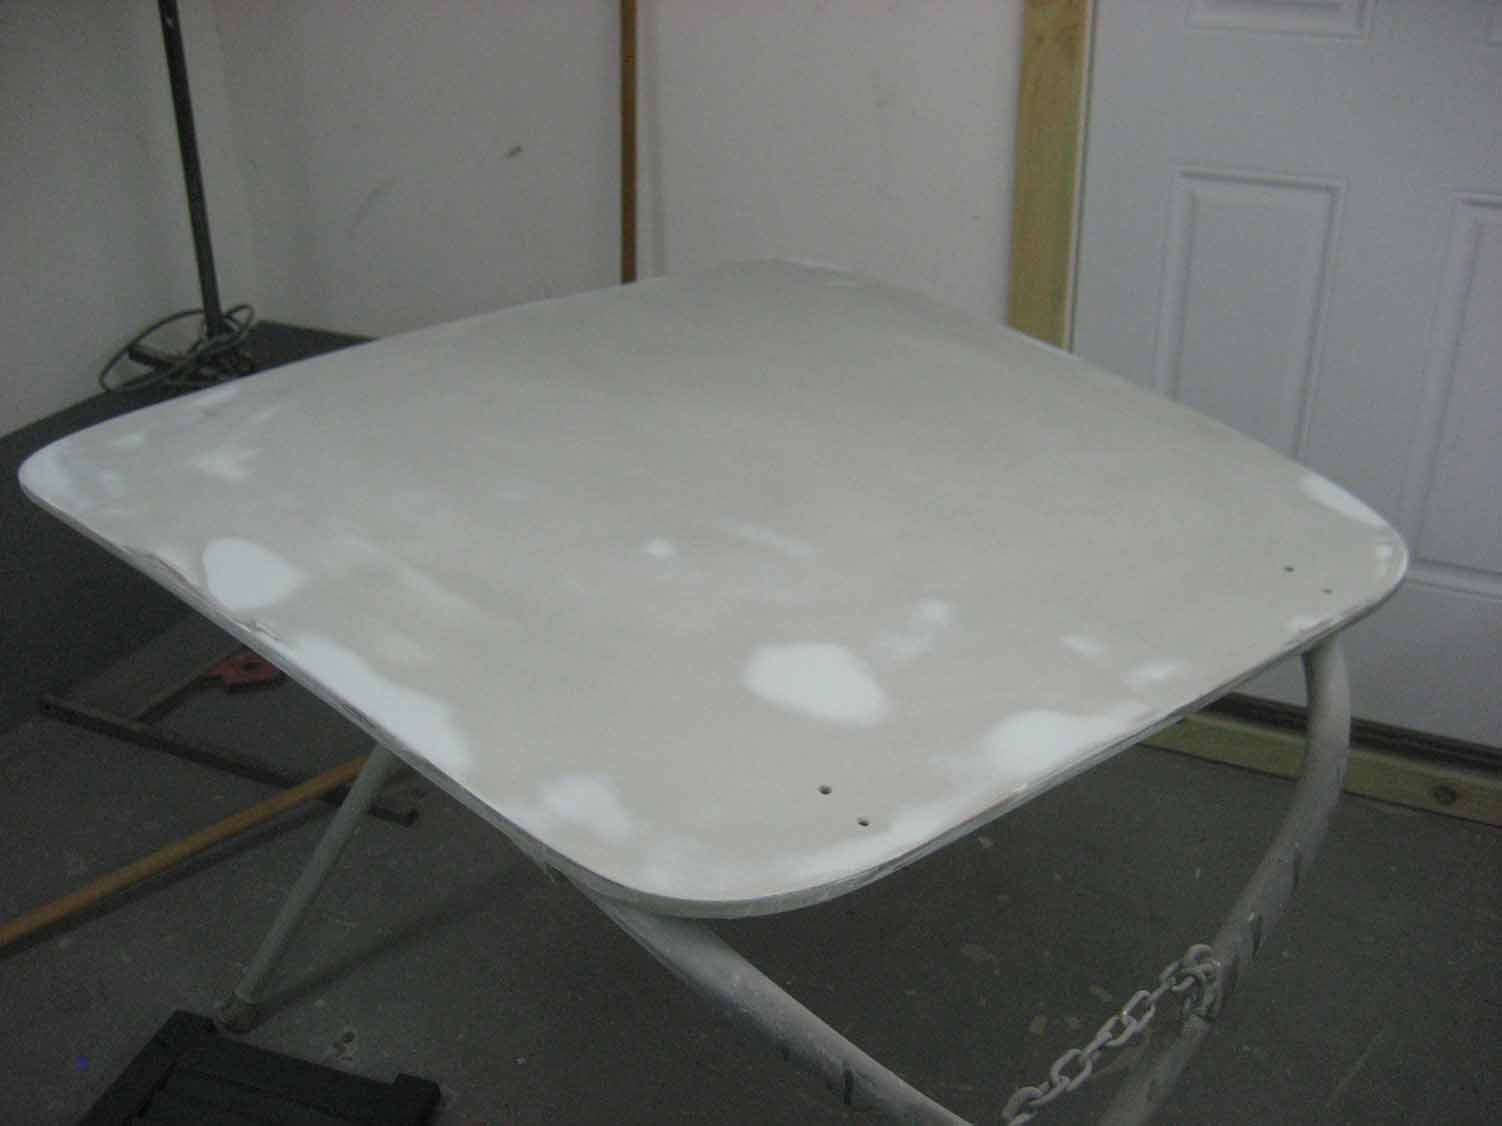
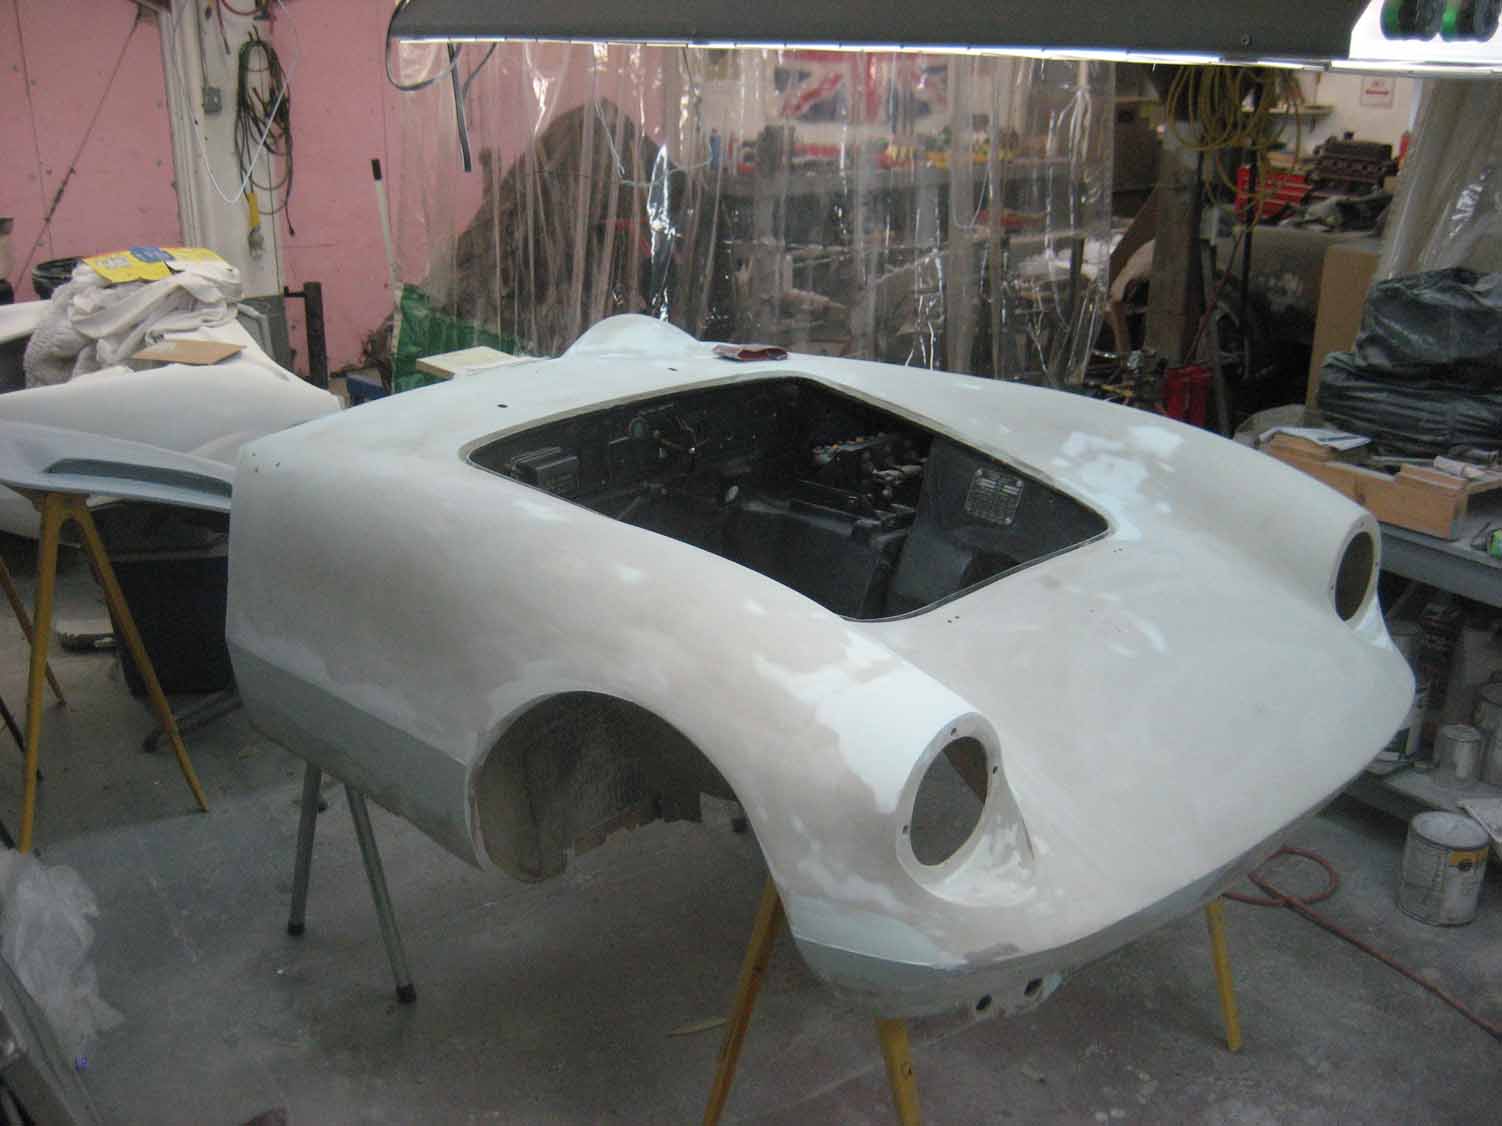
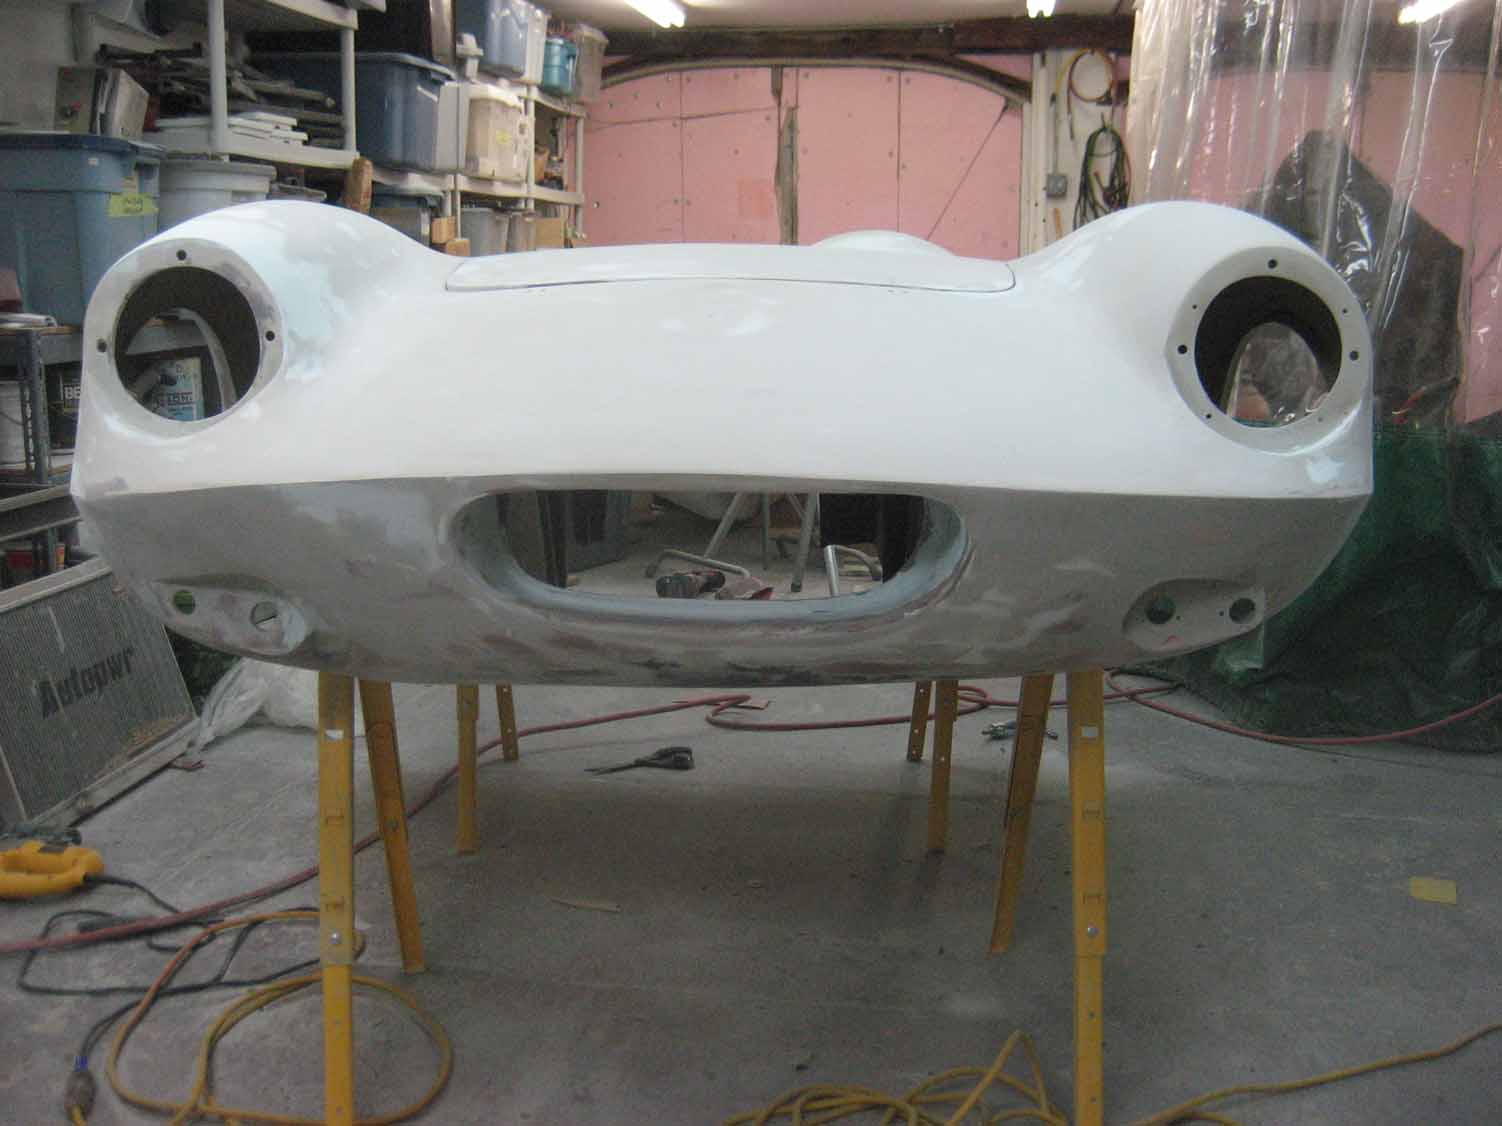
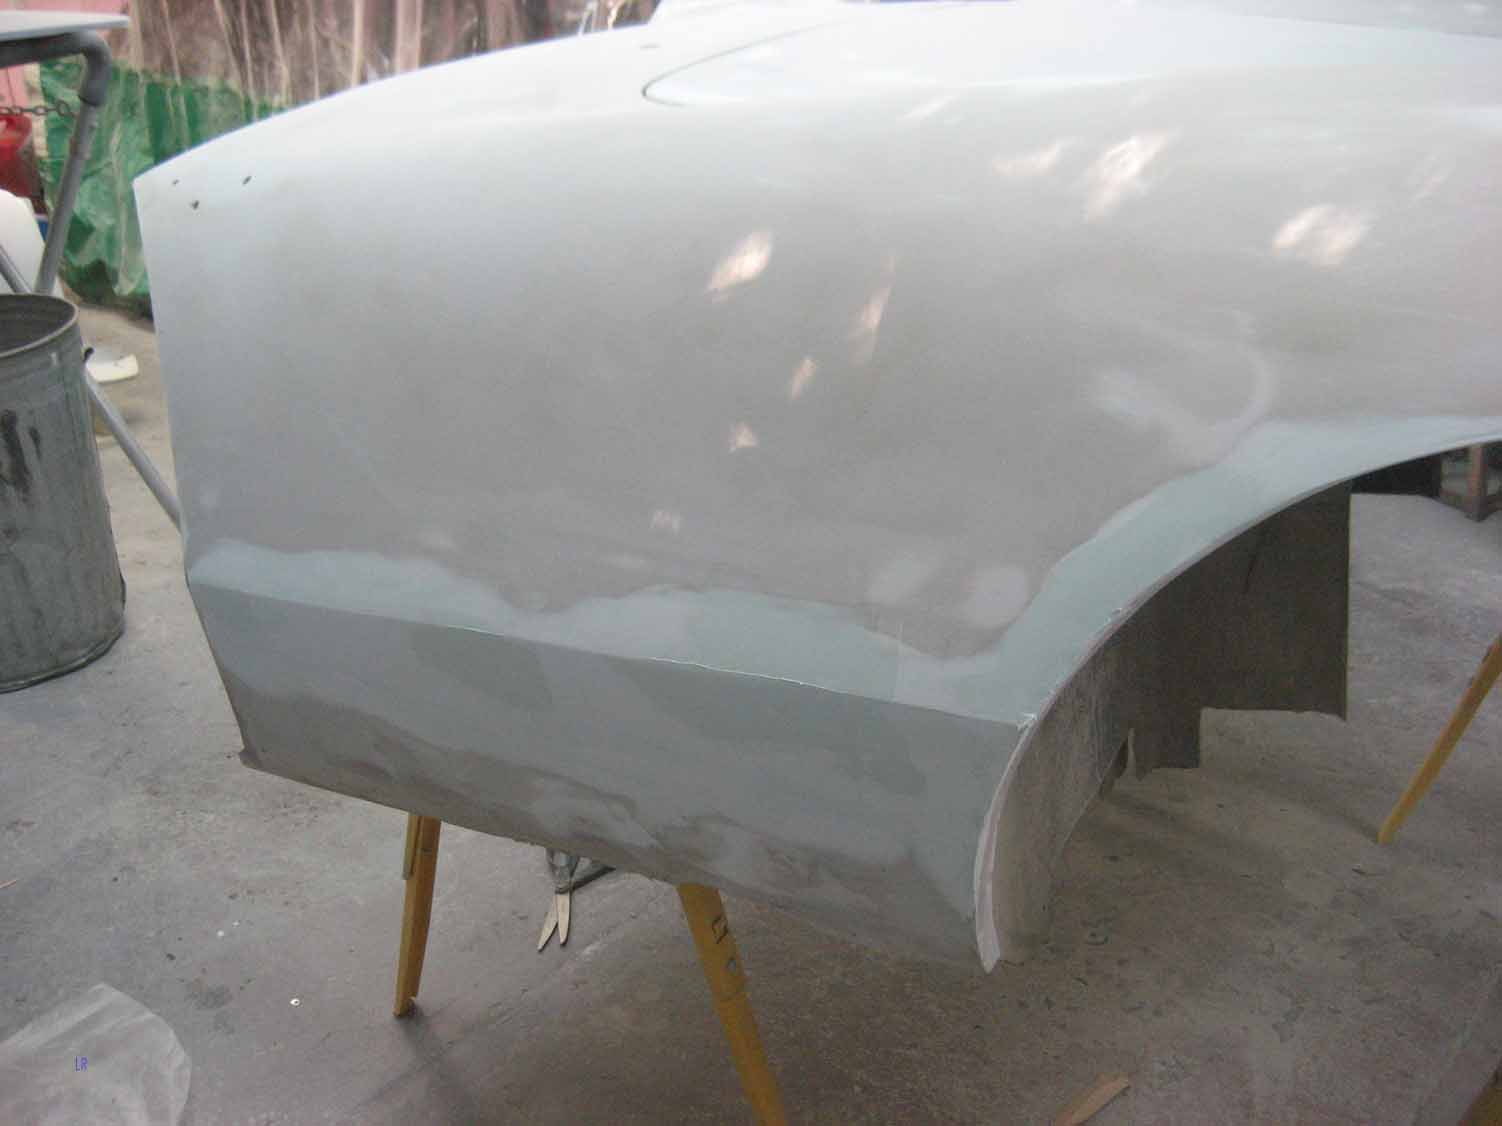
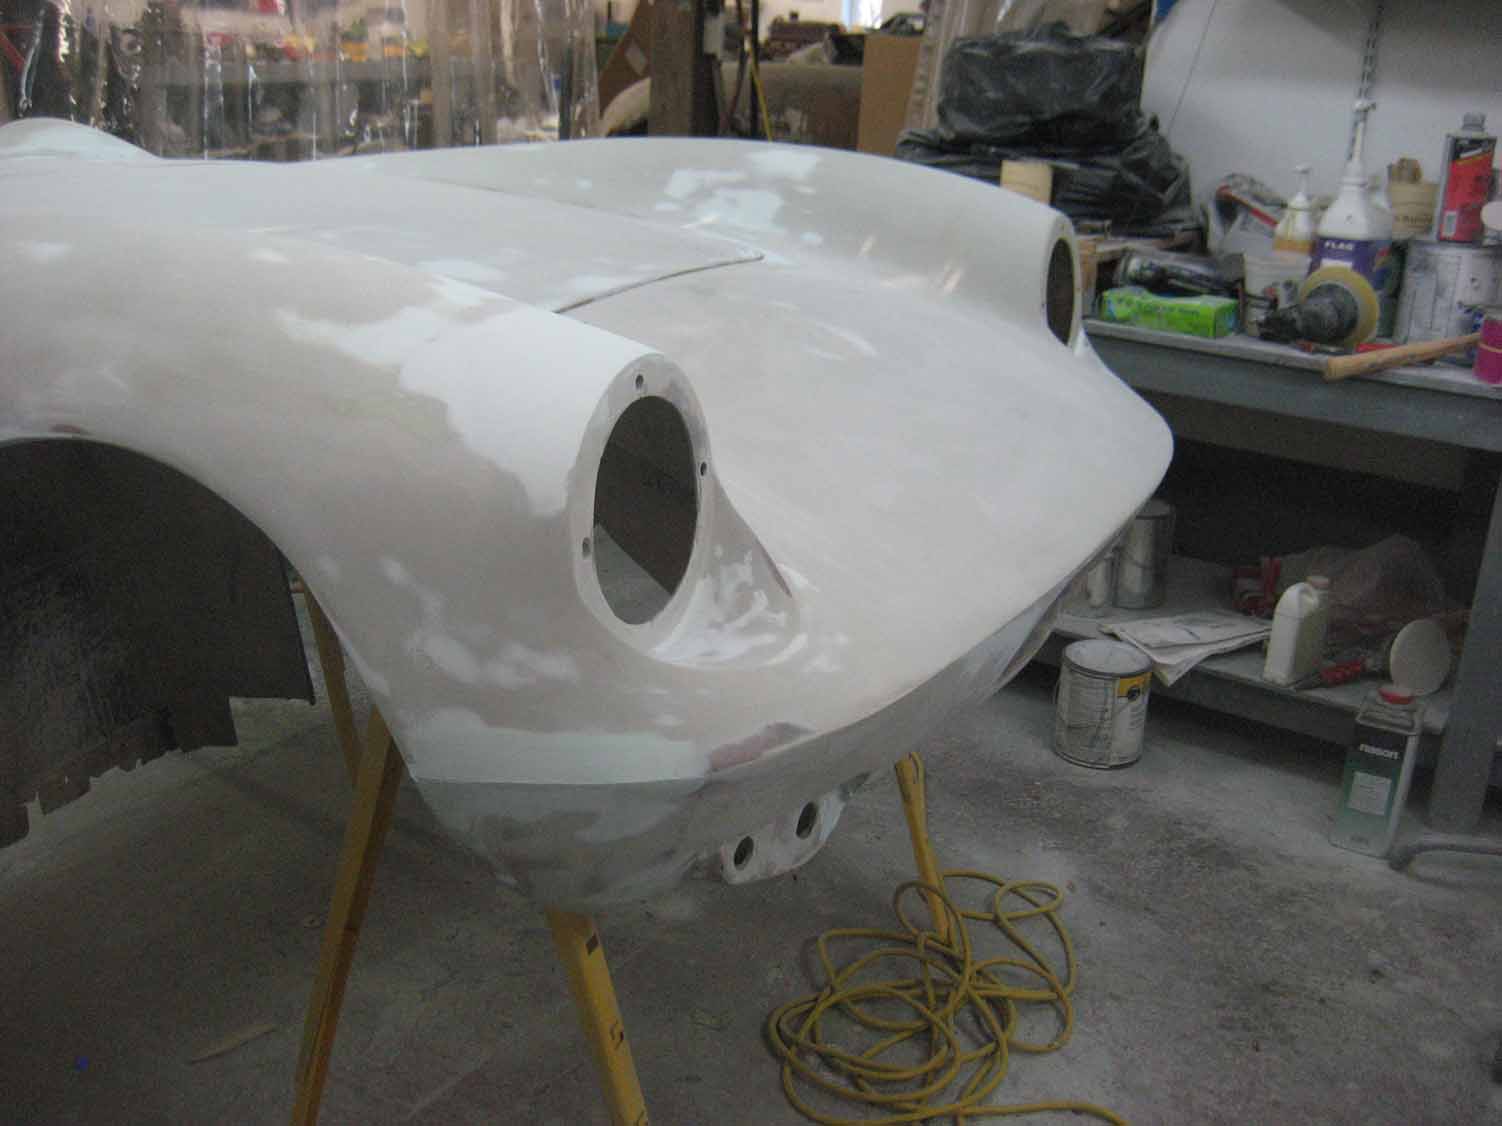
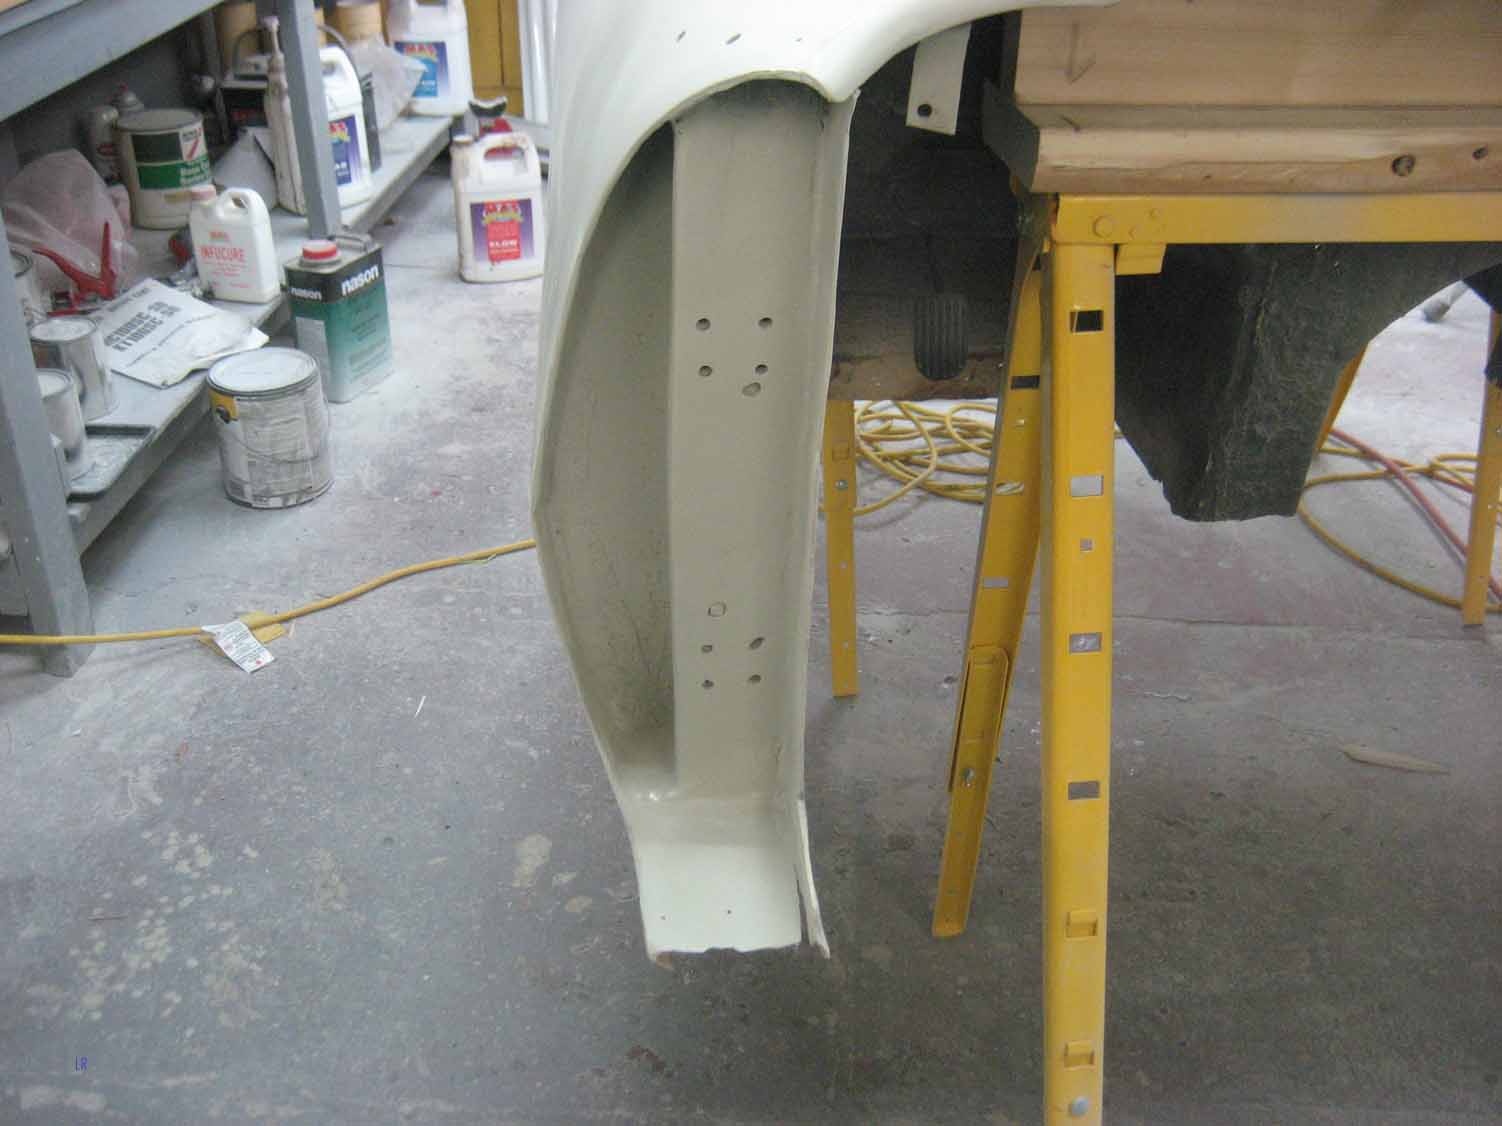
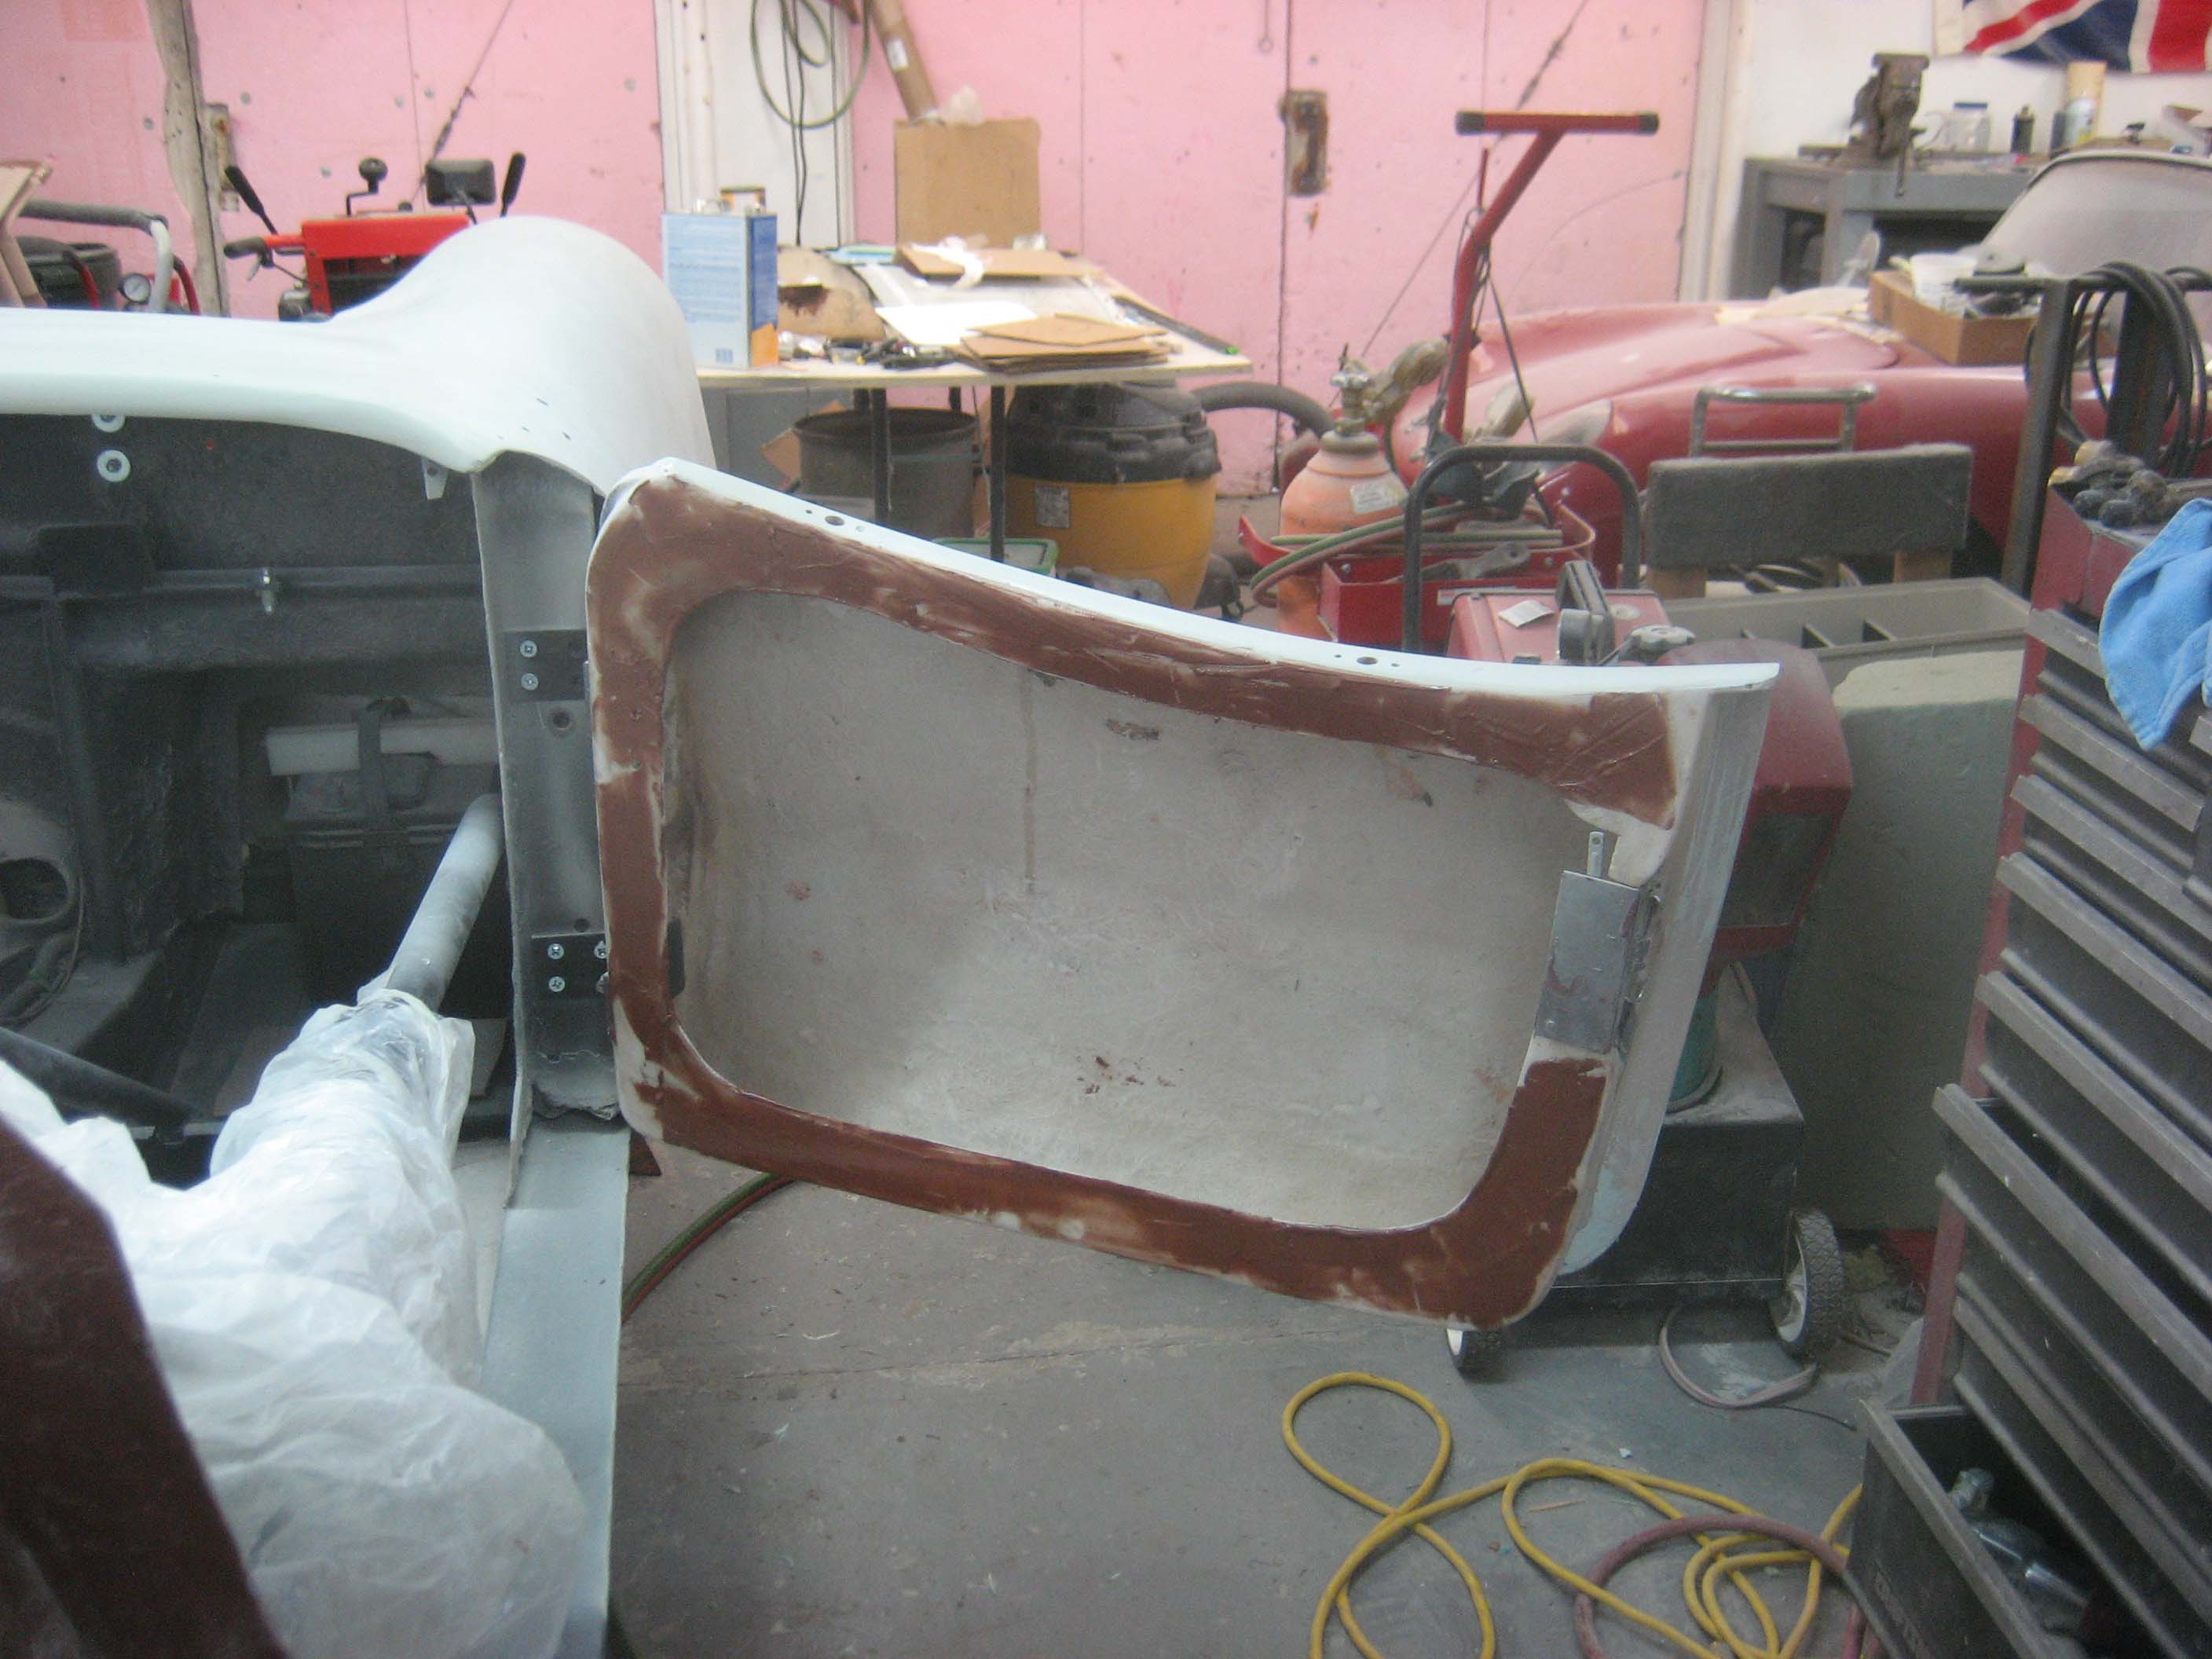
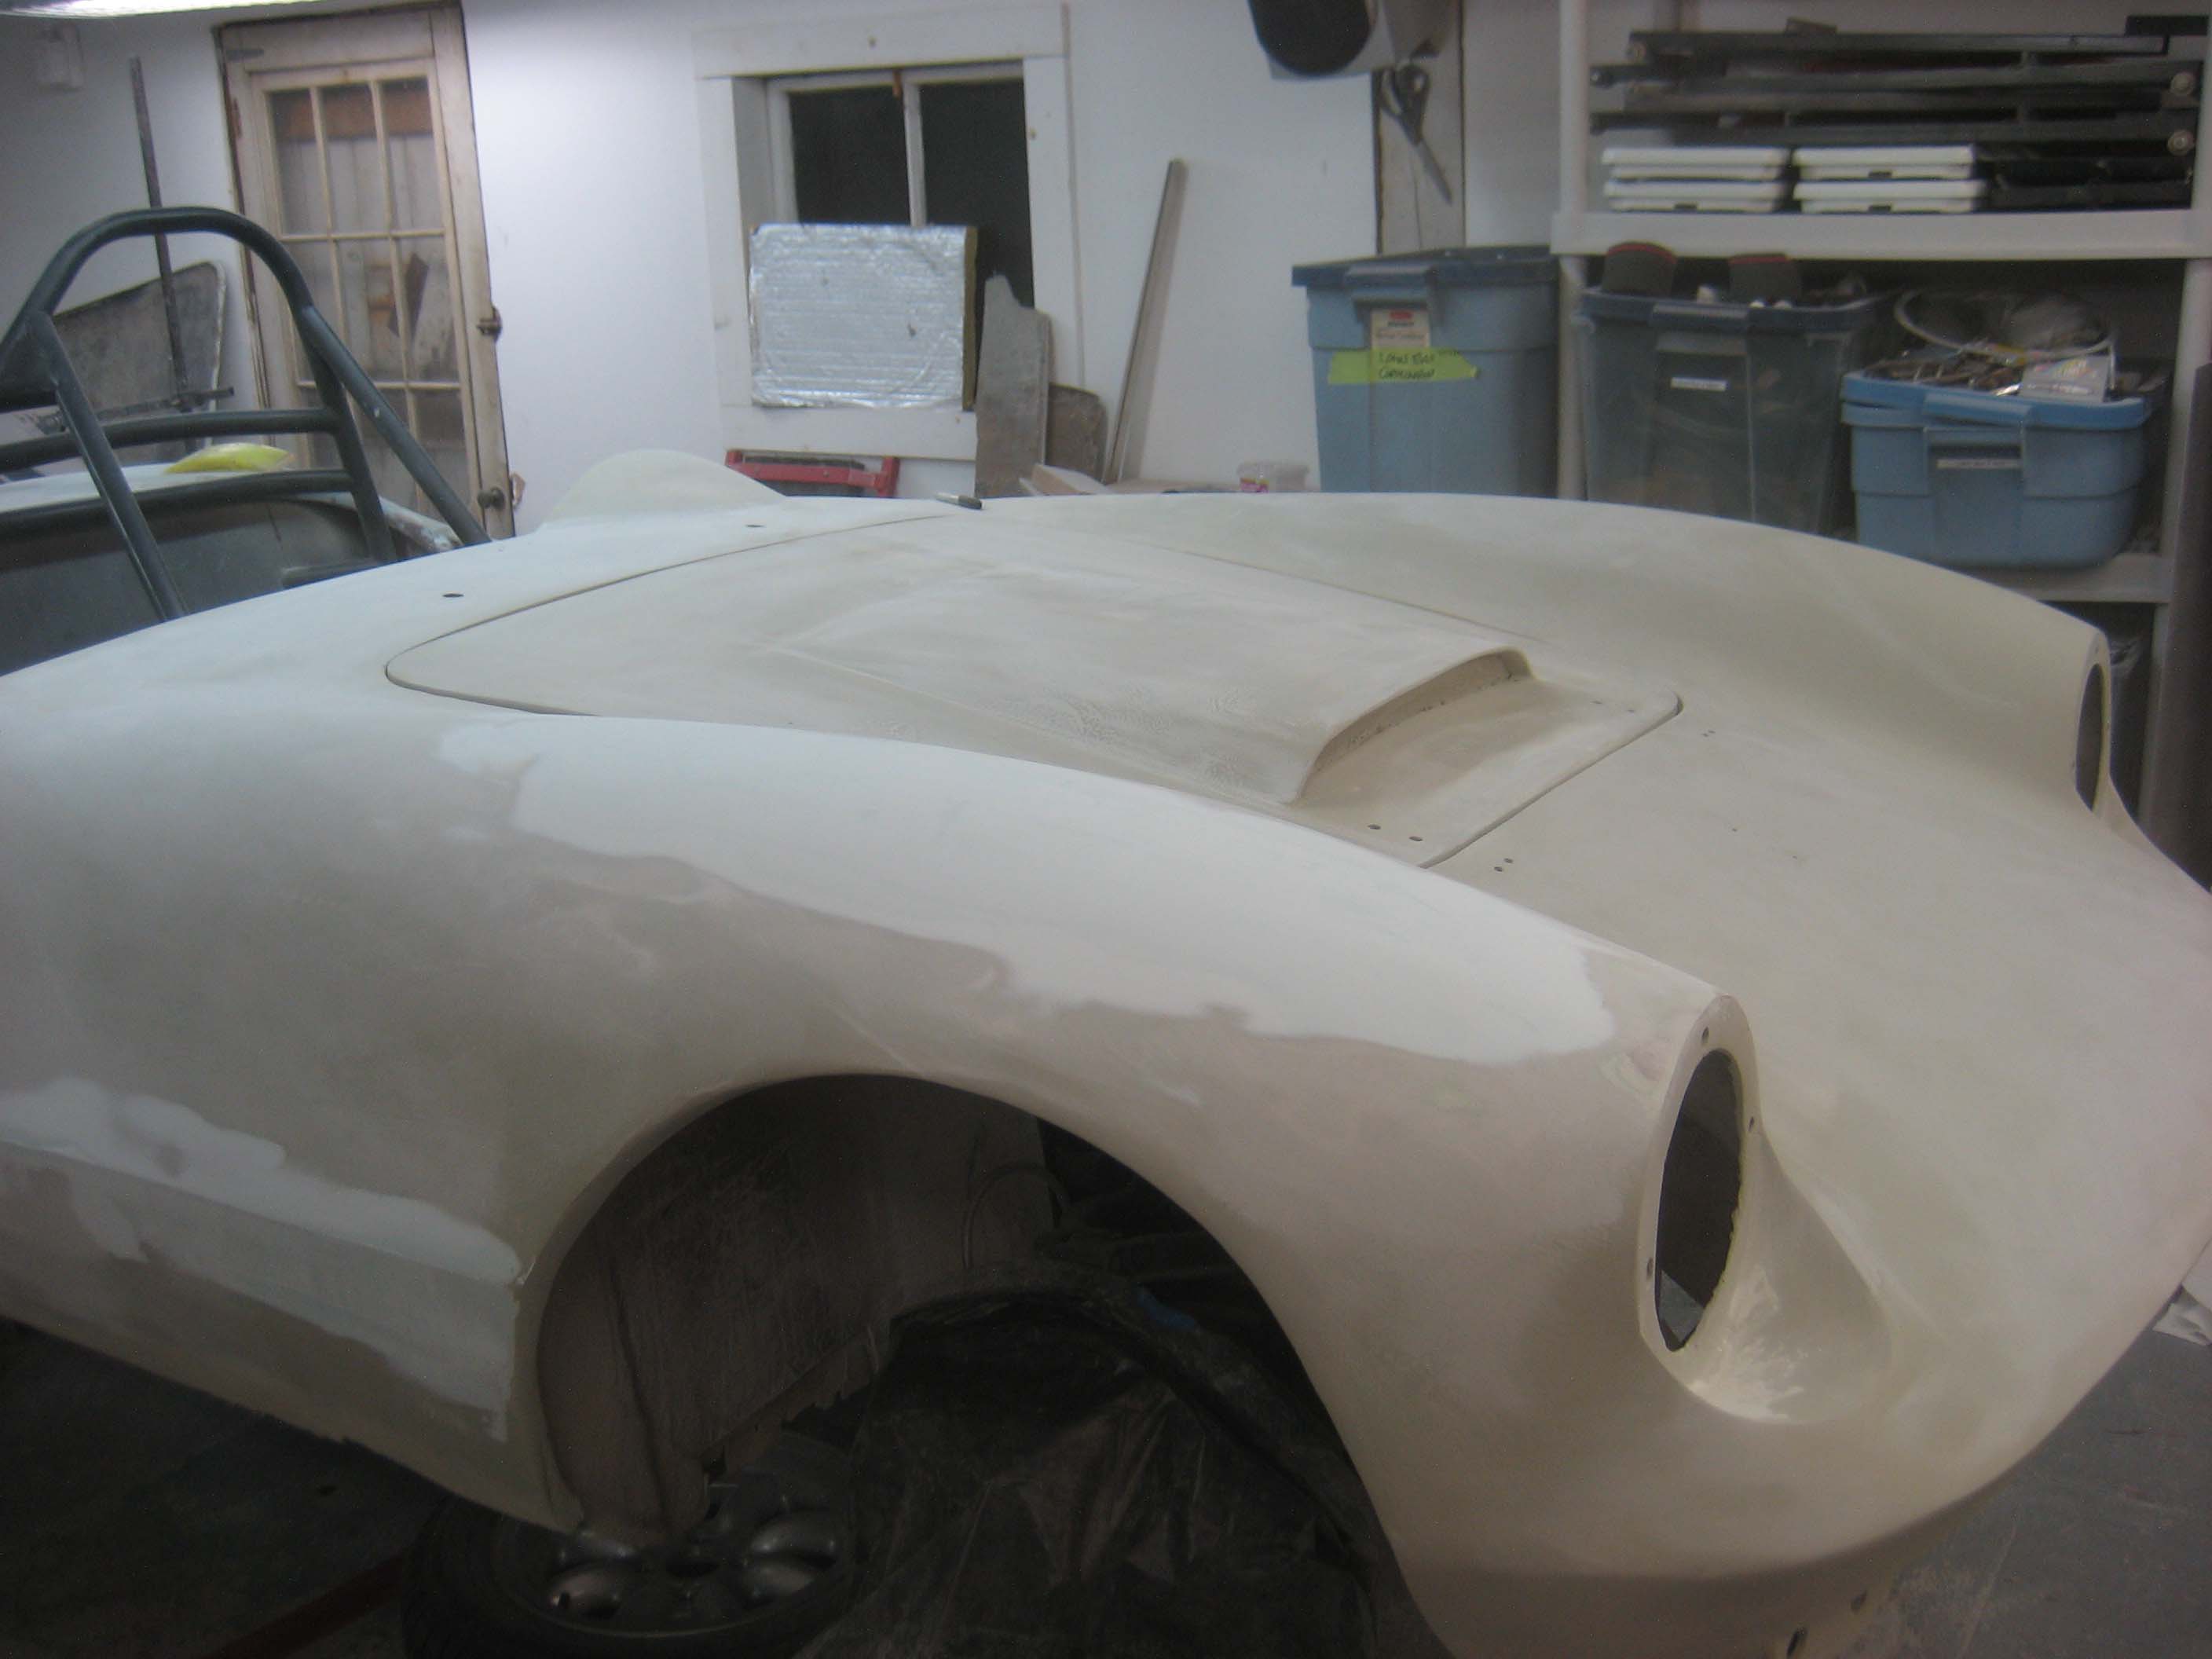
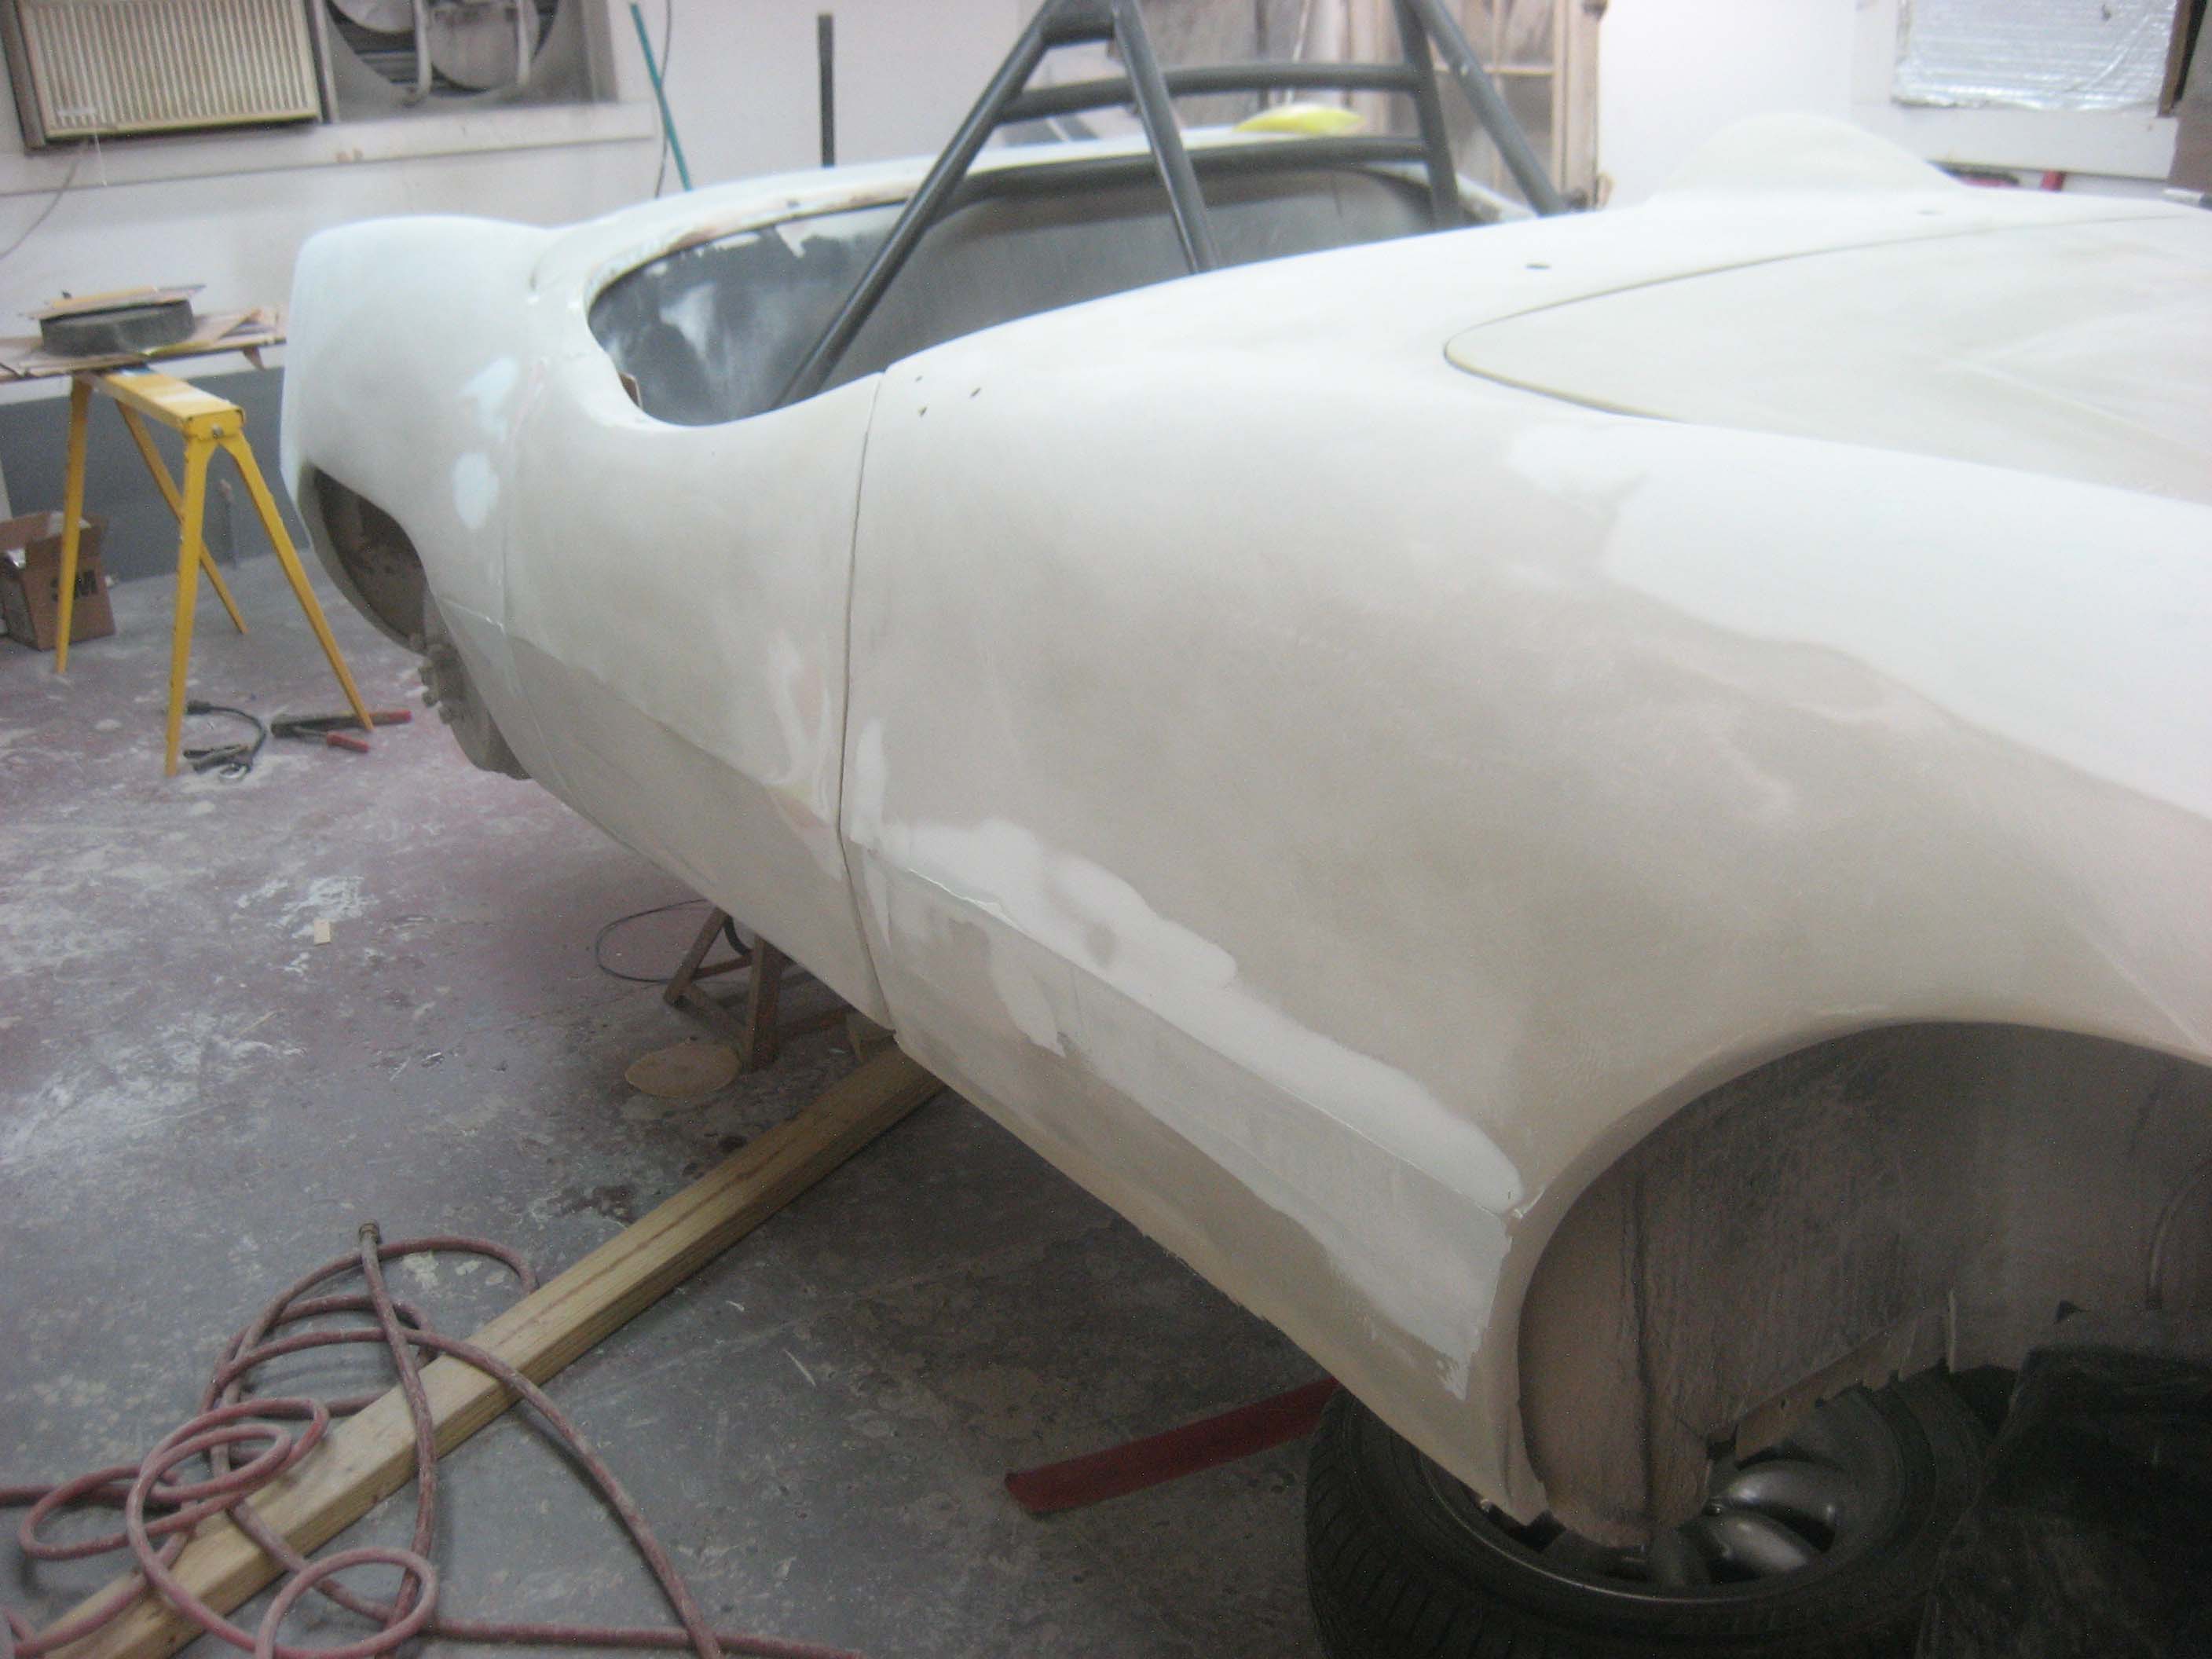
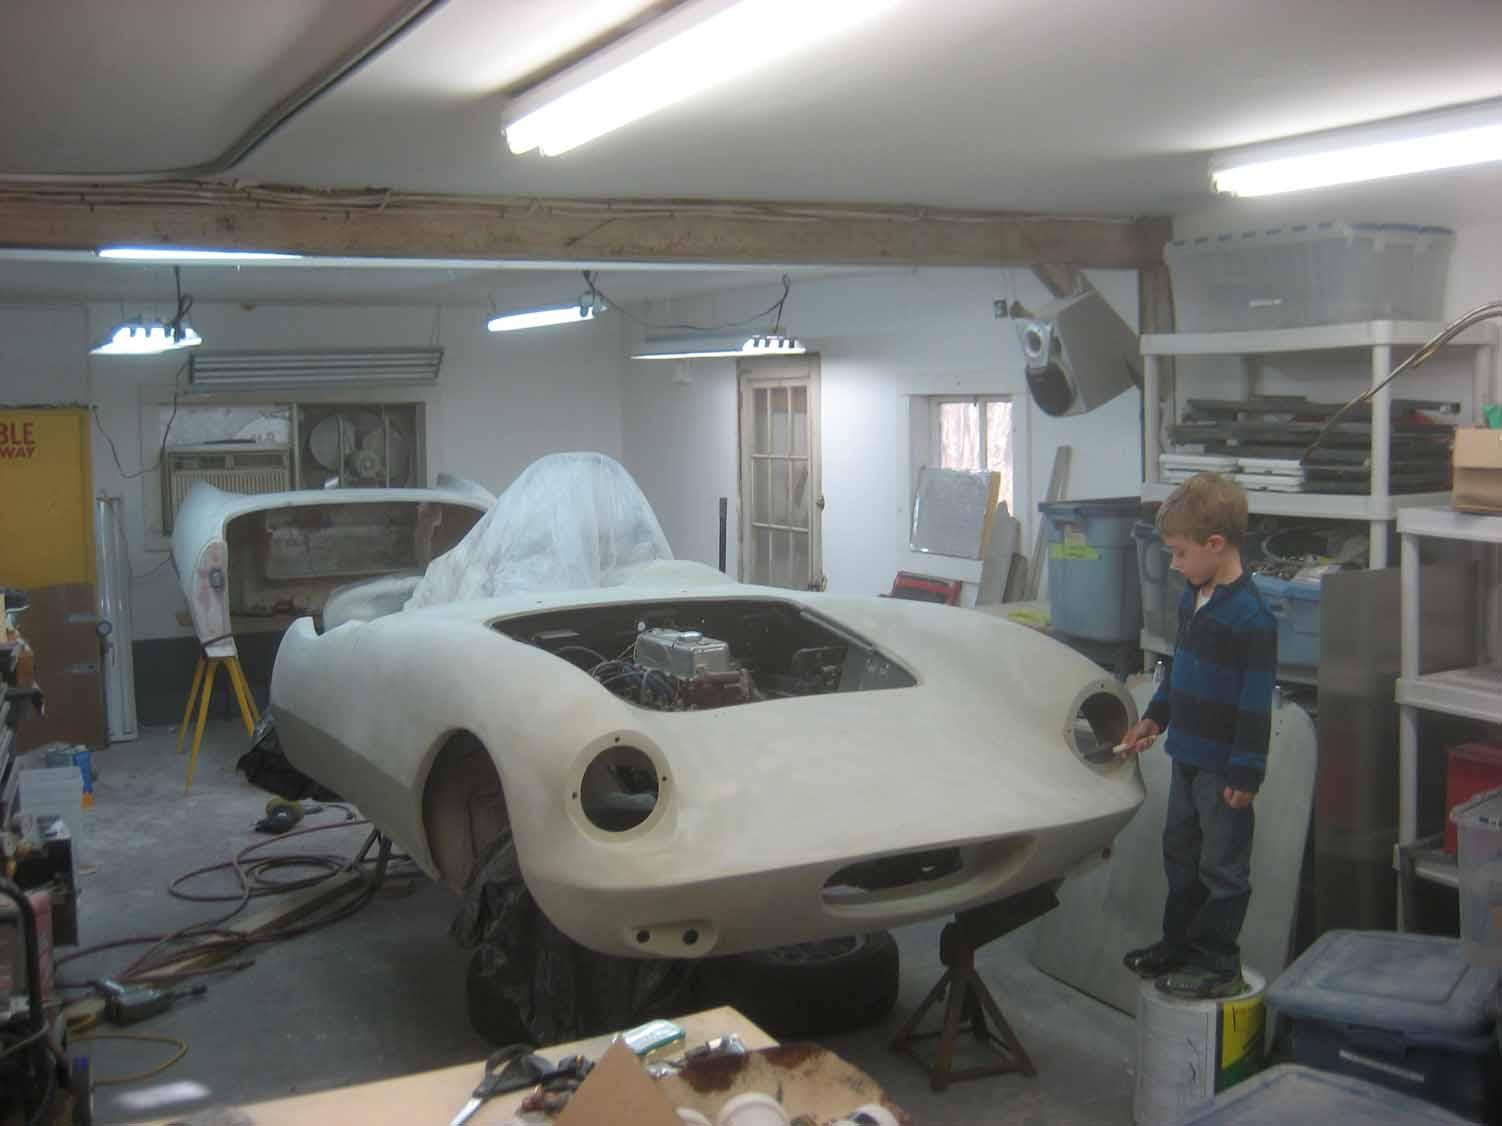
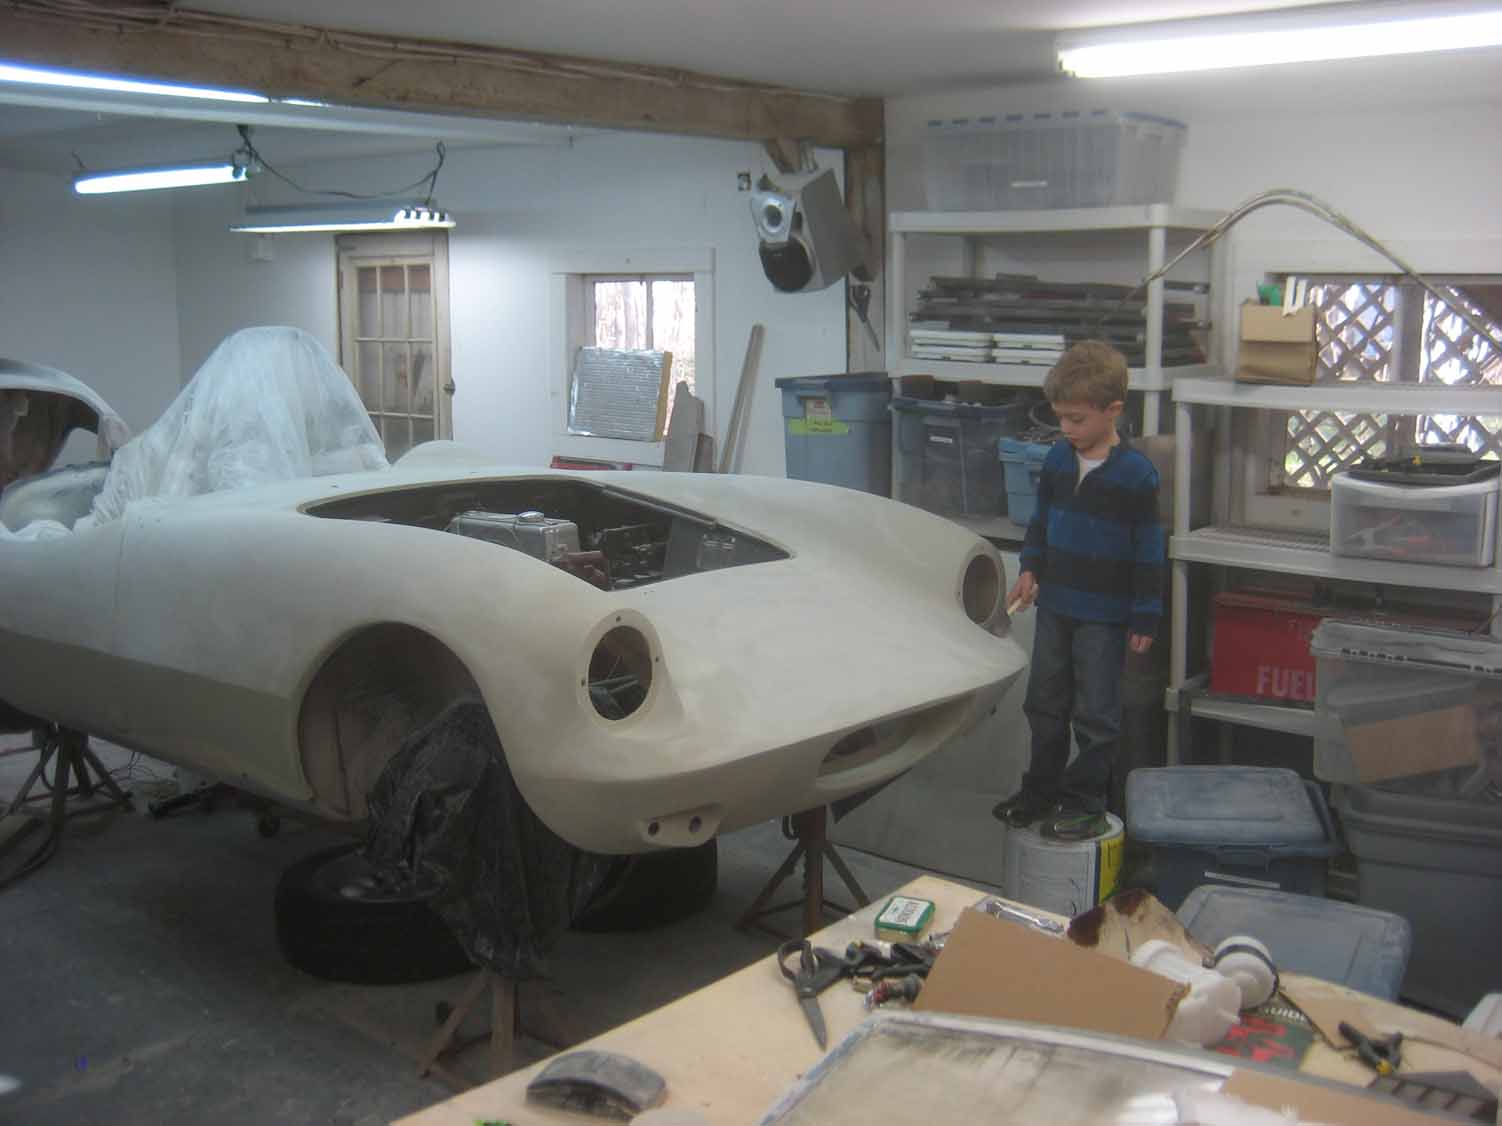
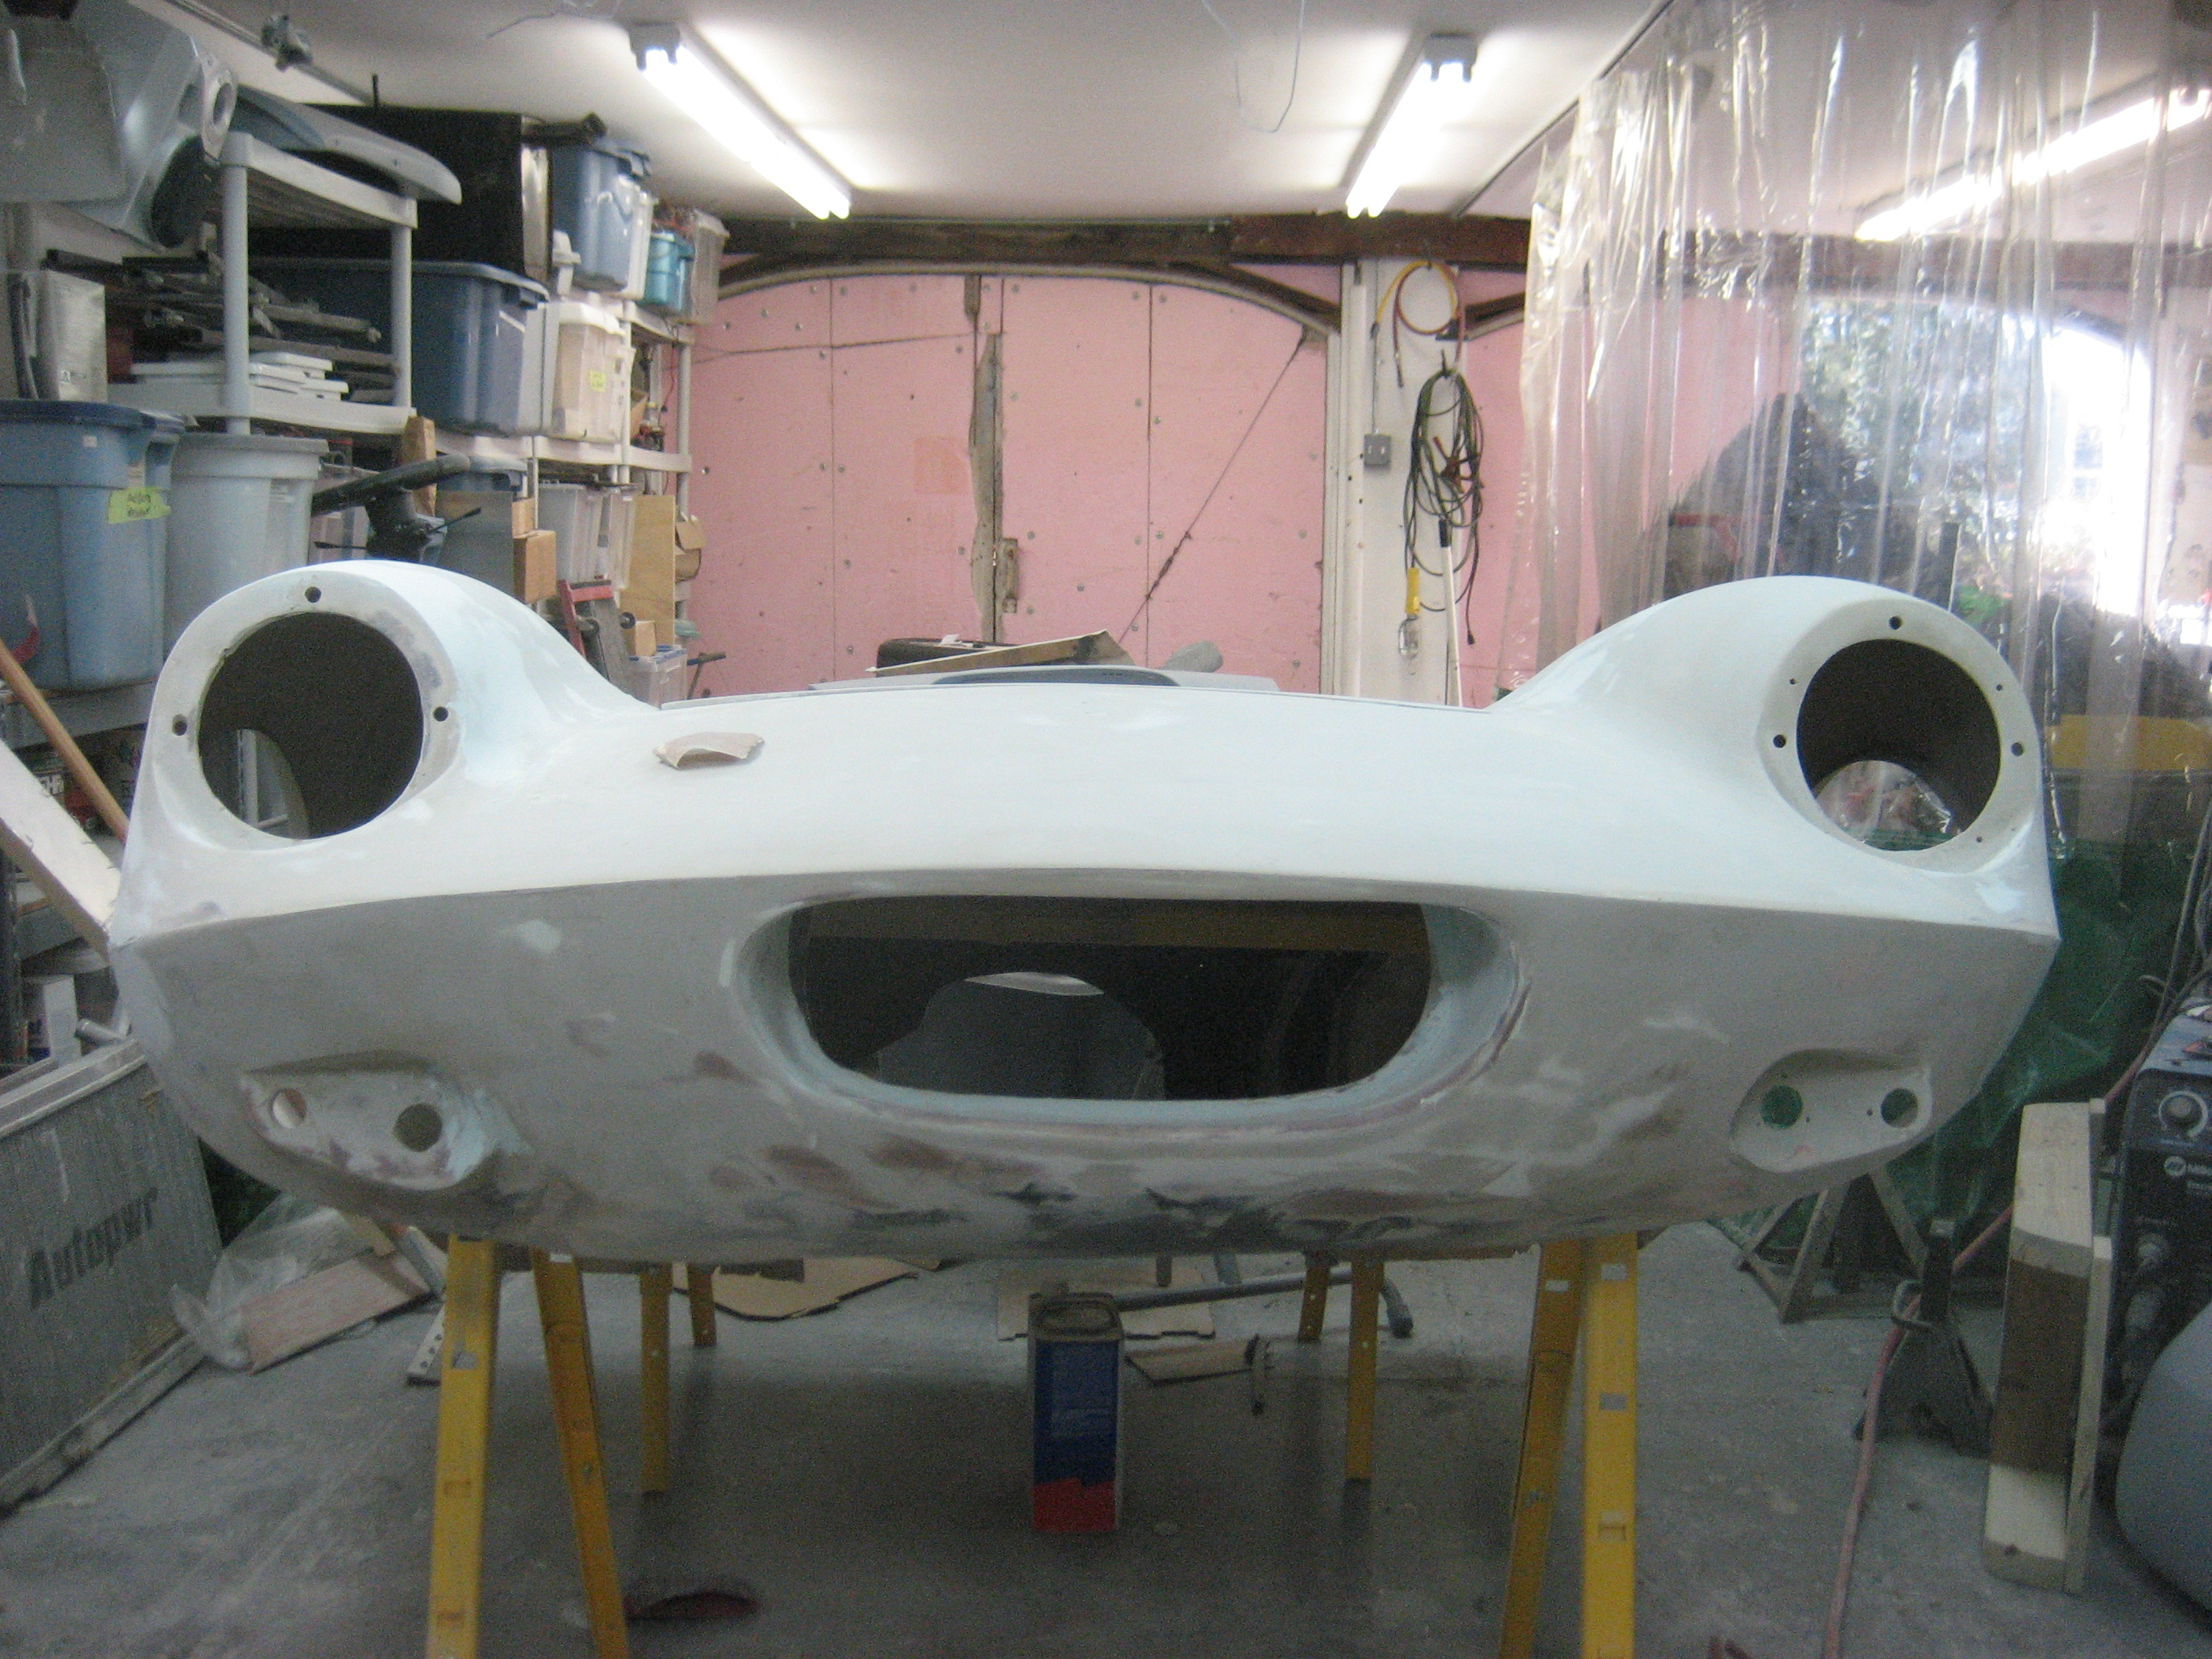
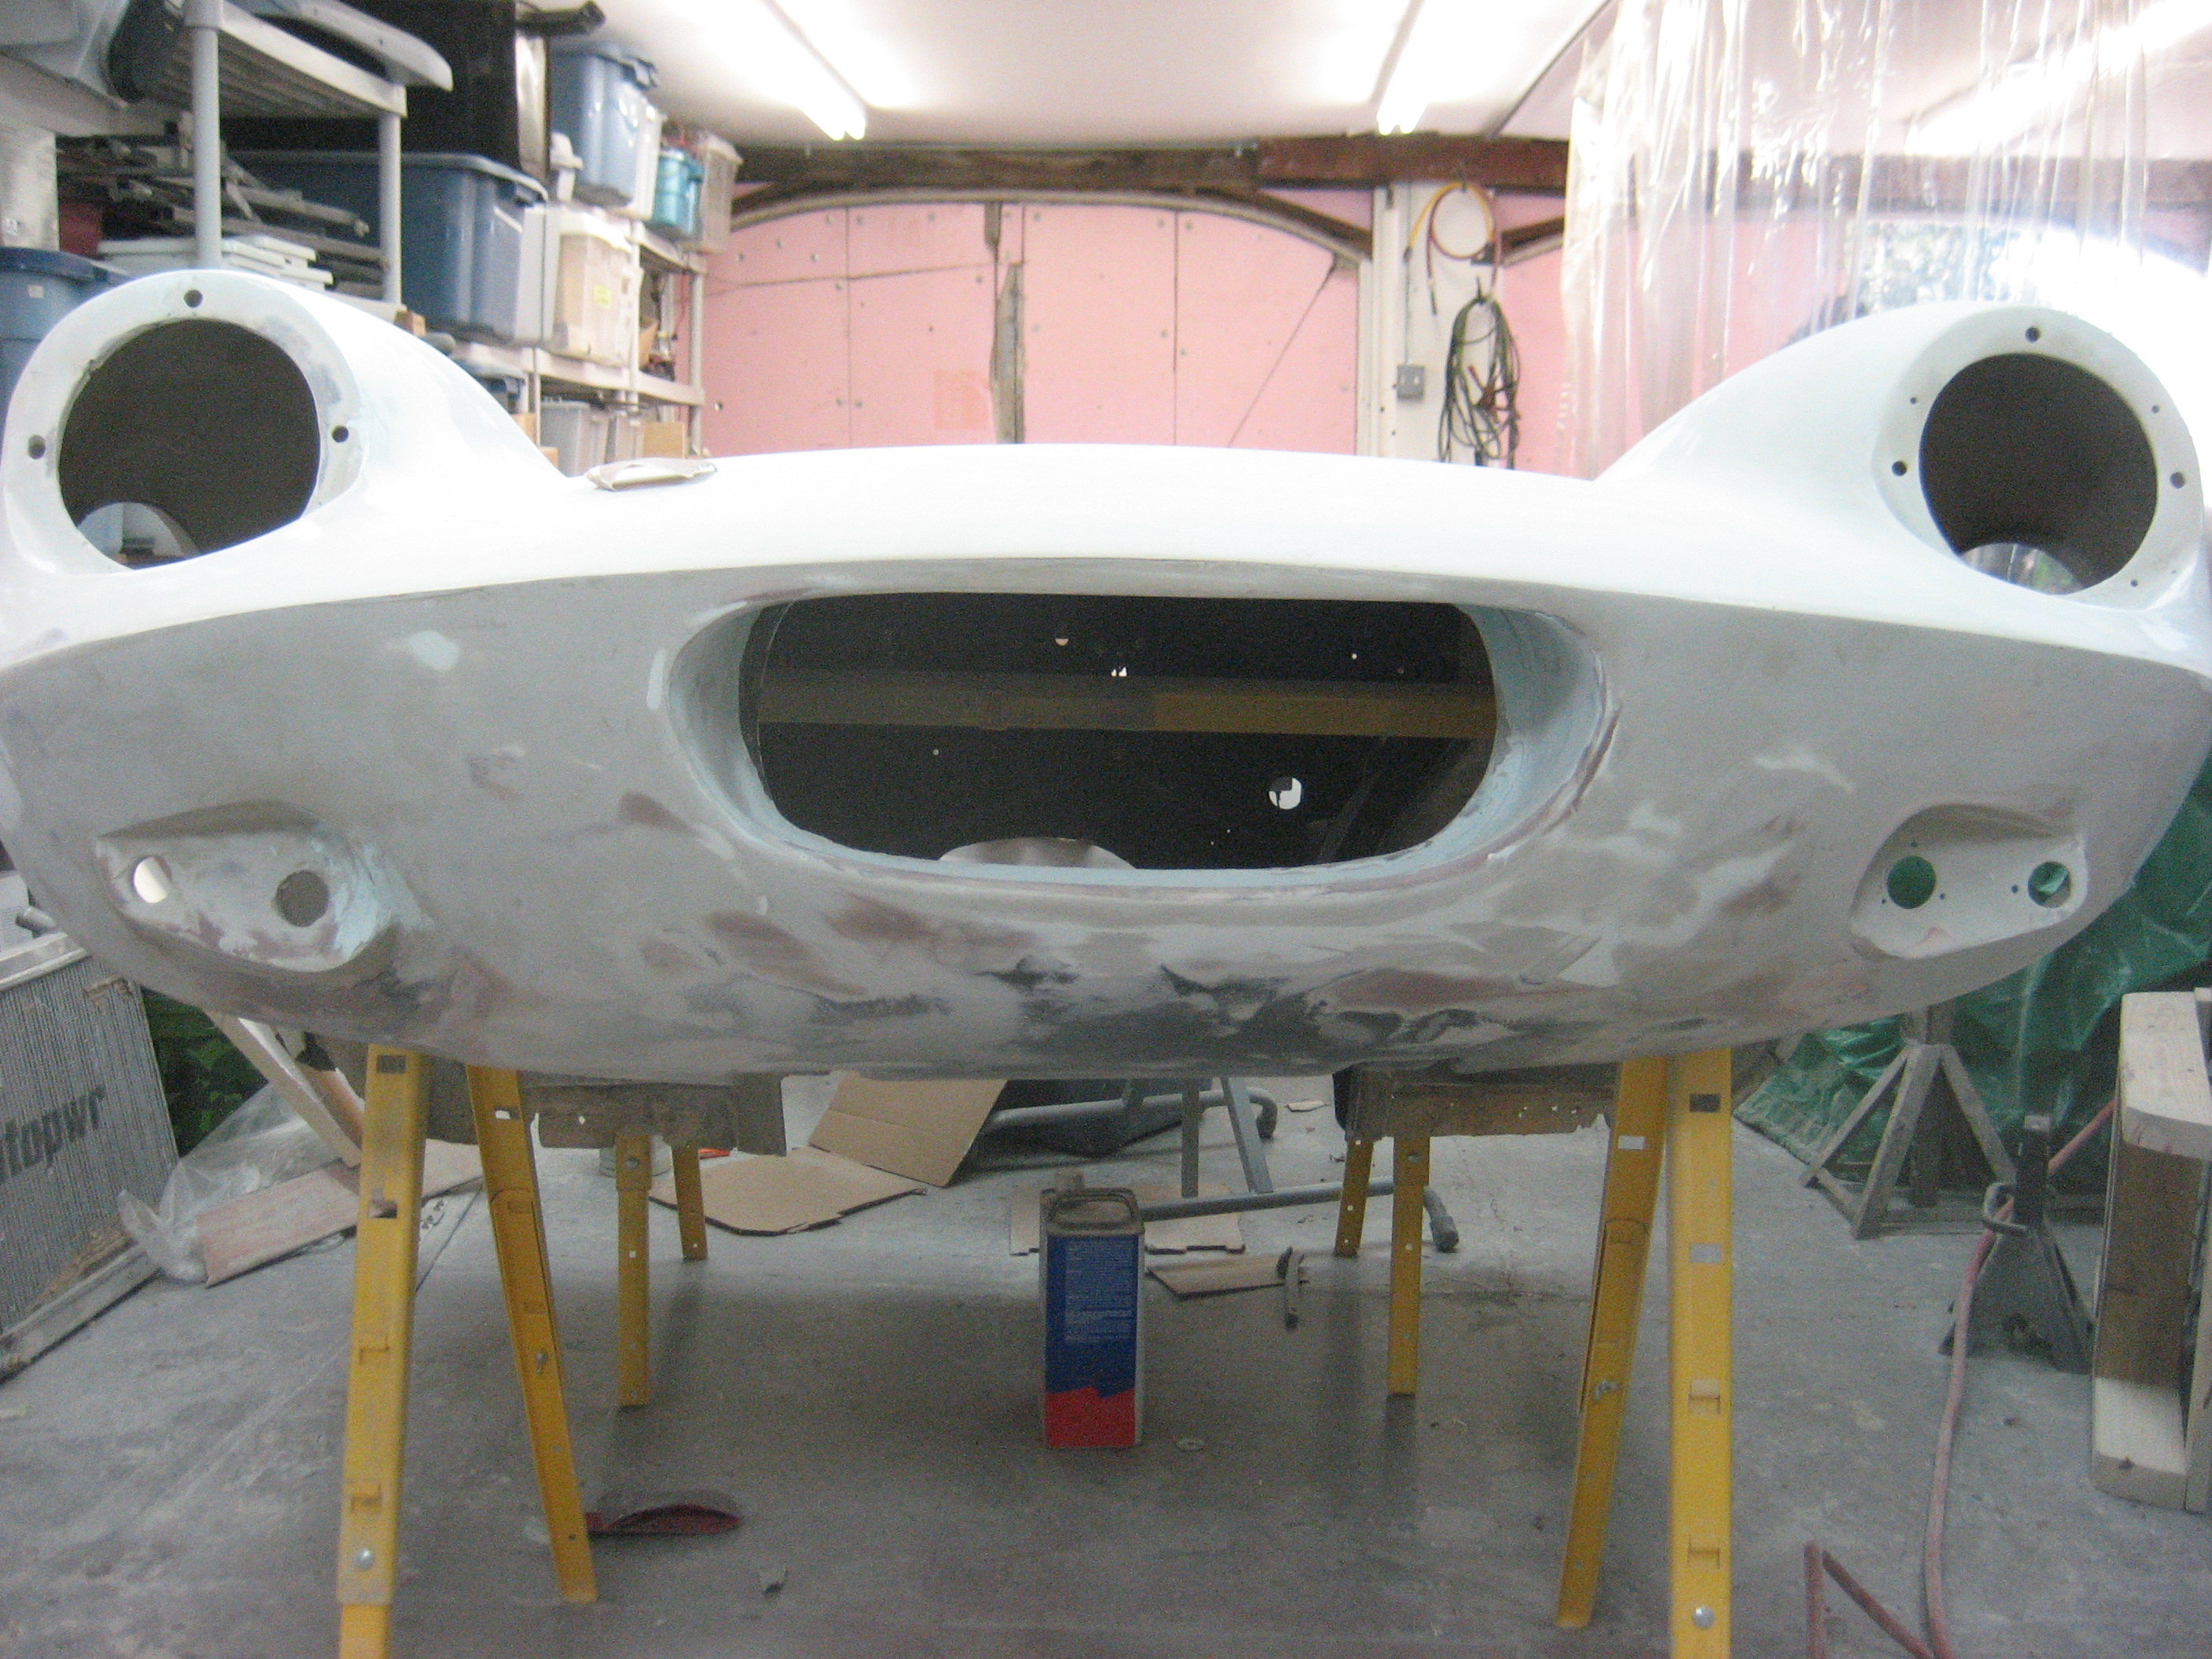
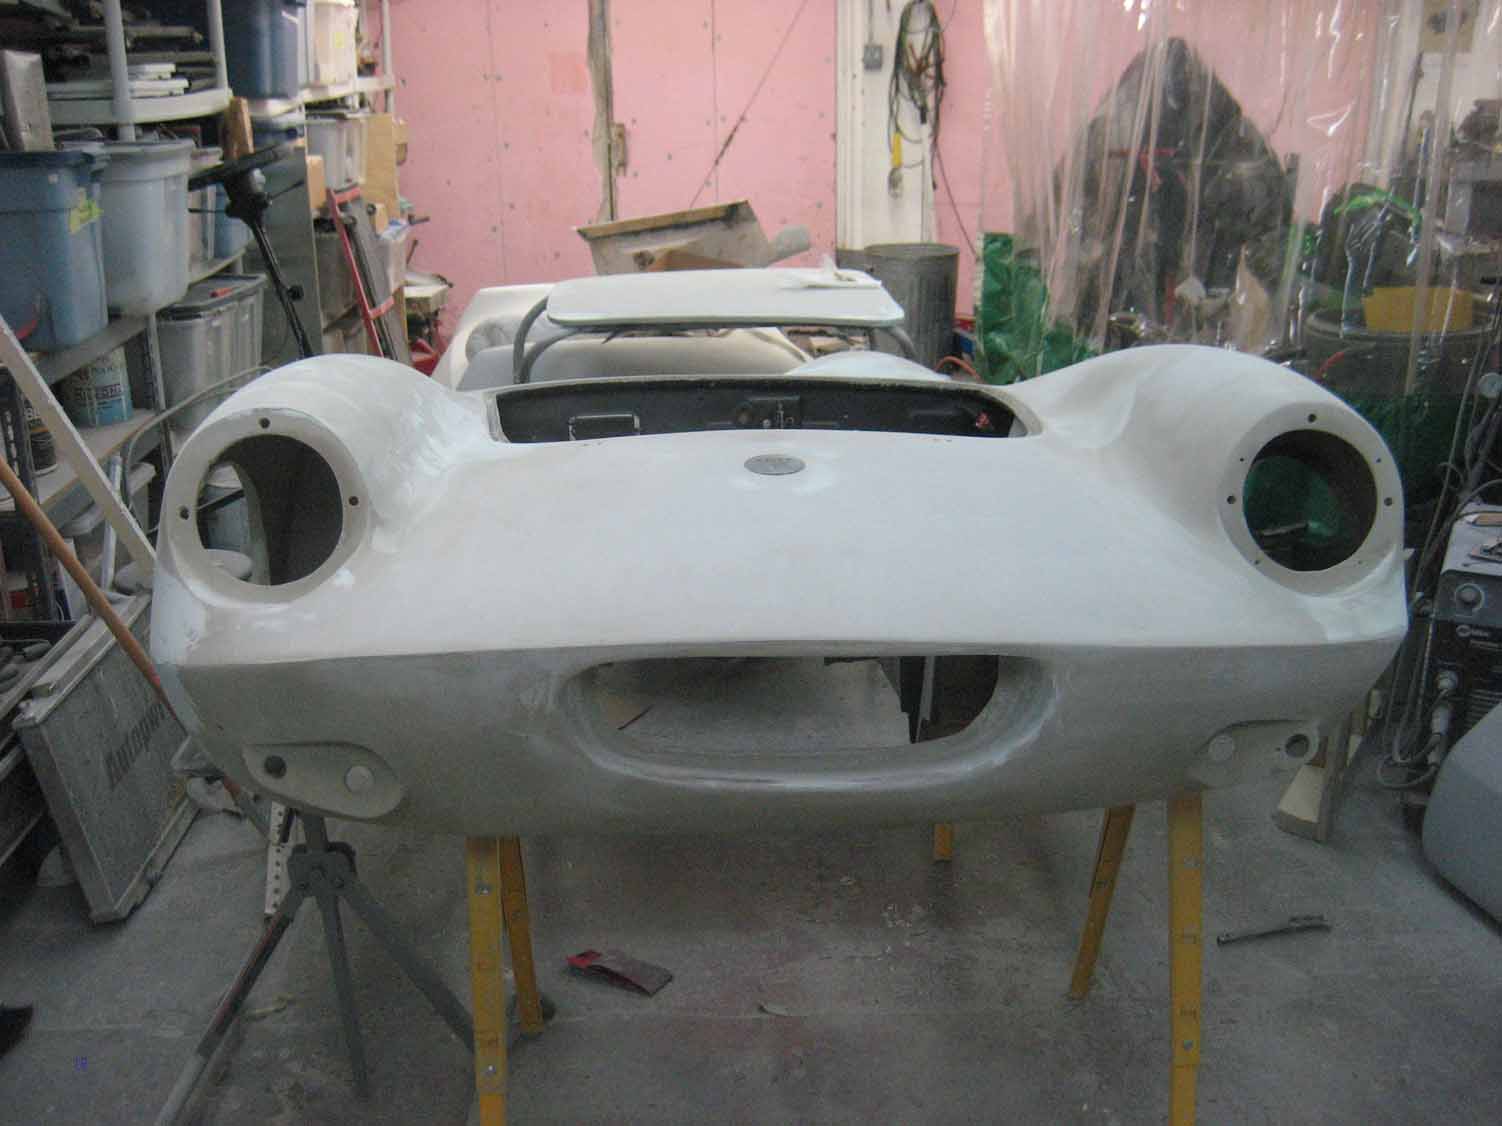
Left door Left Side 1 Left side 2 Left side 3 Nik looks on 2 Nose detail 1 rear clip Rear lip 2 rear lip work 1 right dogleg right door Right fender top Right side 1 Trunk front wallThis is sort of a boring part of the job, lots and lots of sanding, blocking, filling, blocking, sanding. etc.

The rear section had to come back off to fix up the ridge across the top of the bulkhead, because that can’t be reached once it is bonded on.  The roll cage gets in the way of priming and painting it back there.  I had to fix several cracks along that edge with epoxy and microballoon.  If I tried to use ordinary bondo it would just crack and fall off.

The doors are being painted body color inside as well, and this also required the epoxy and microballoon treatment.

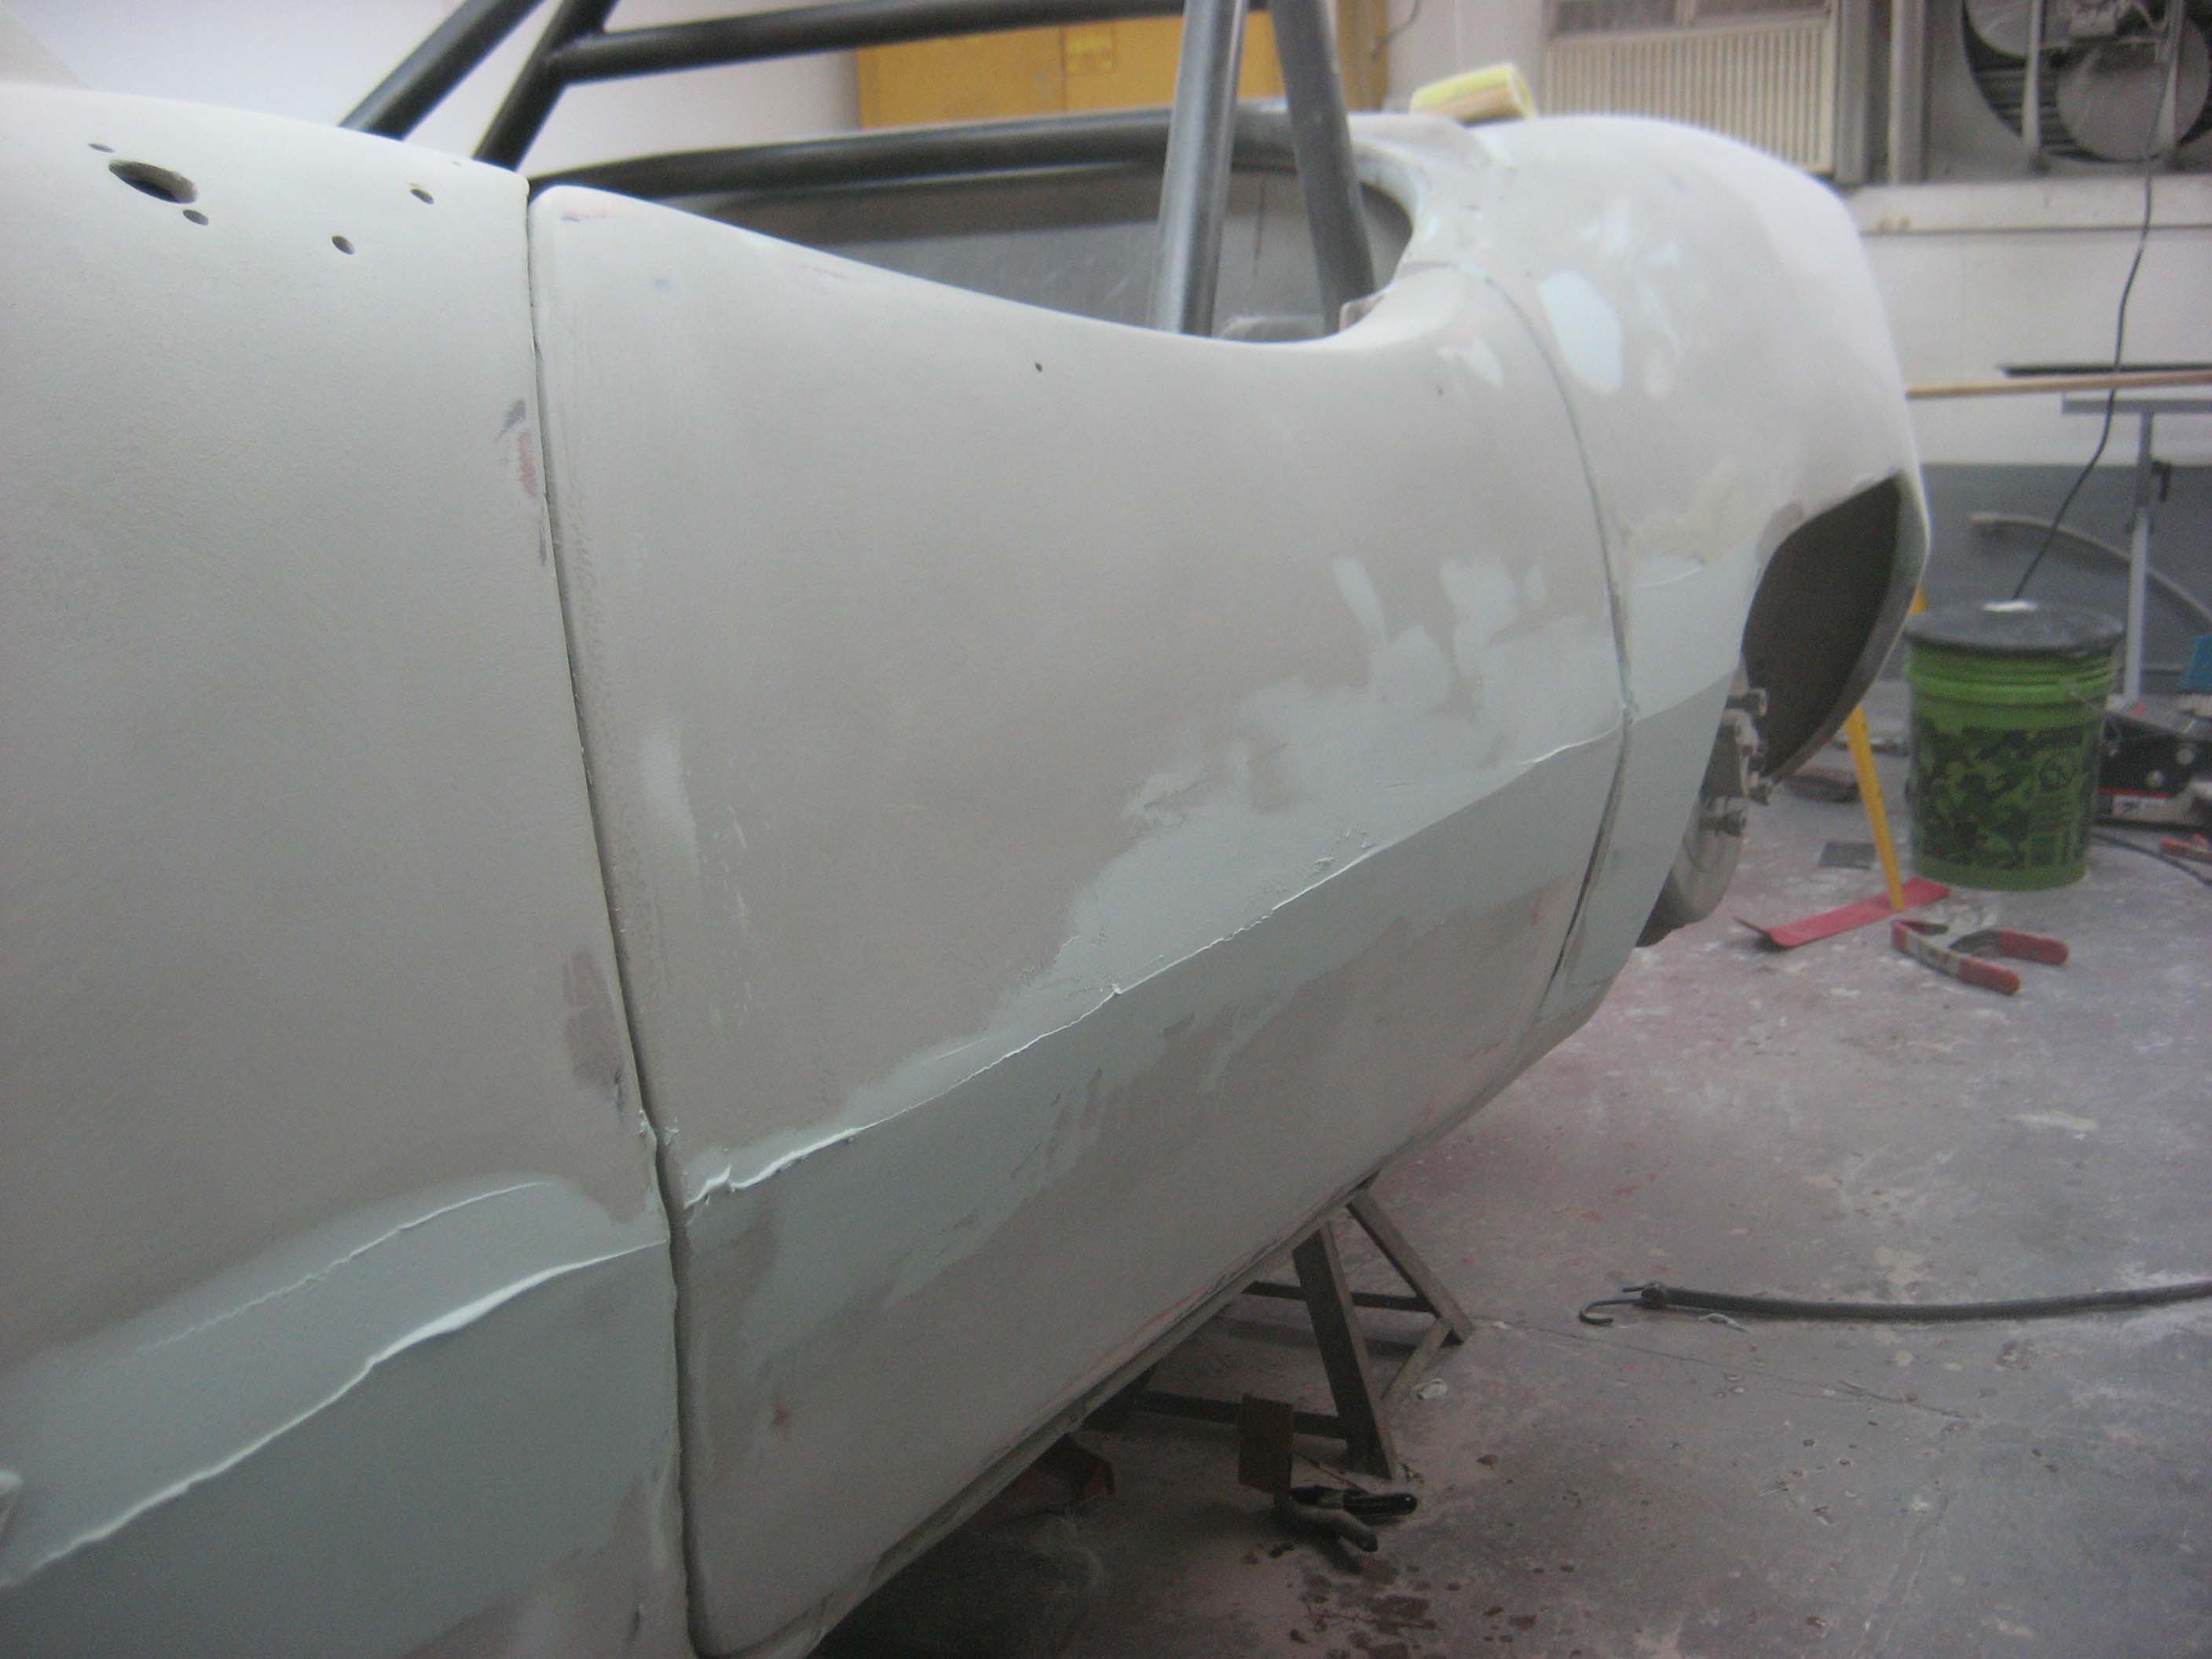
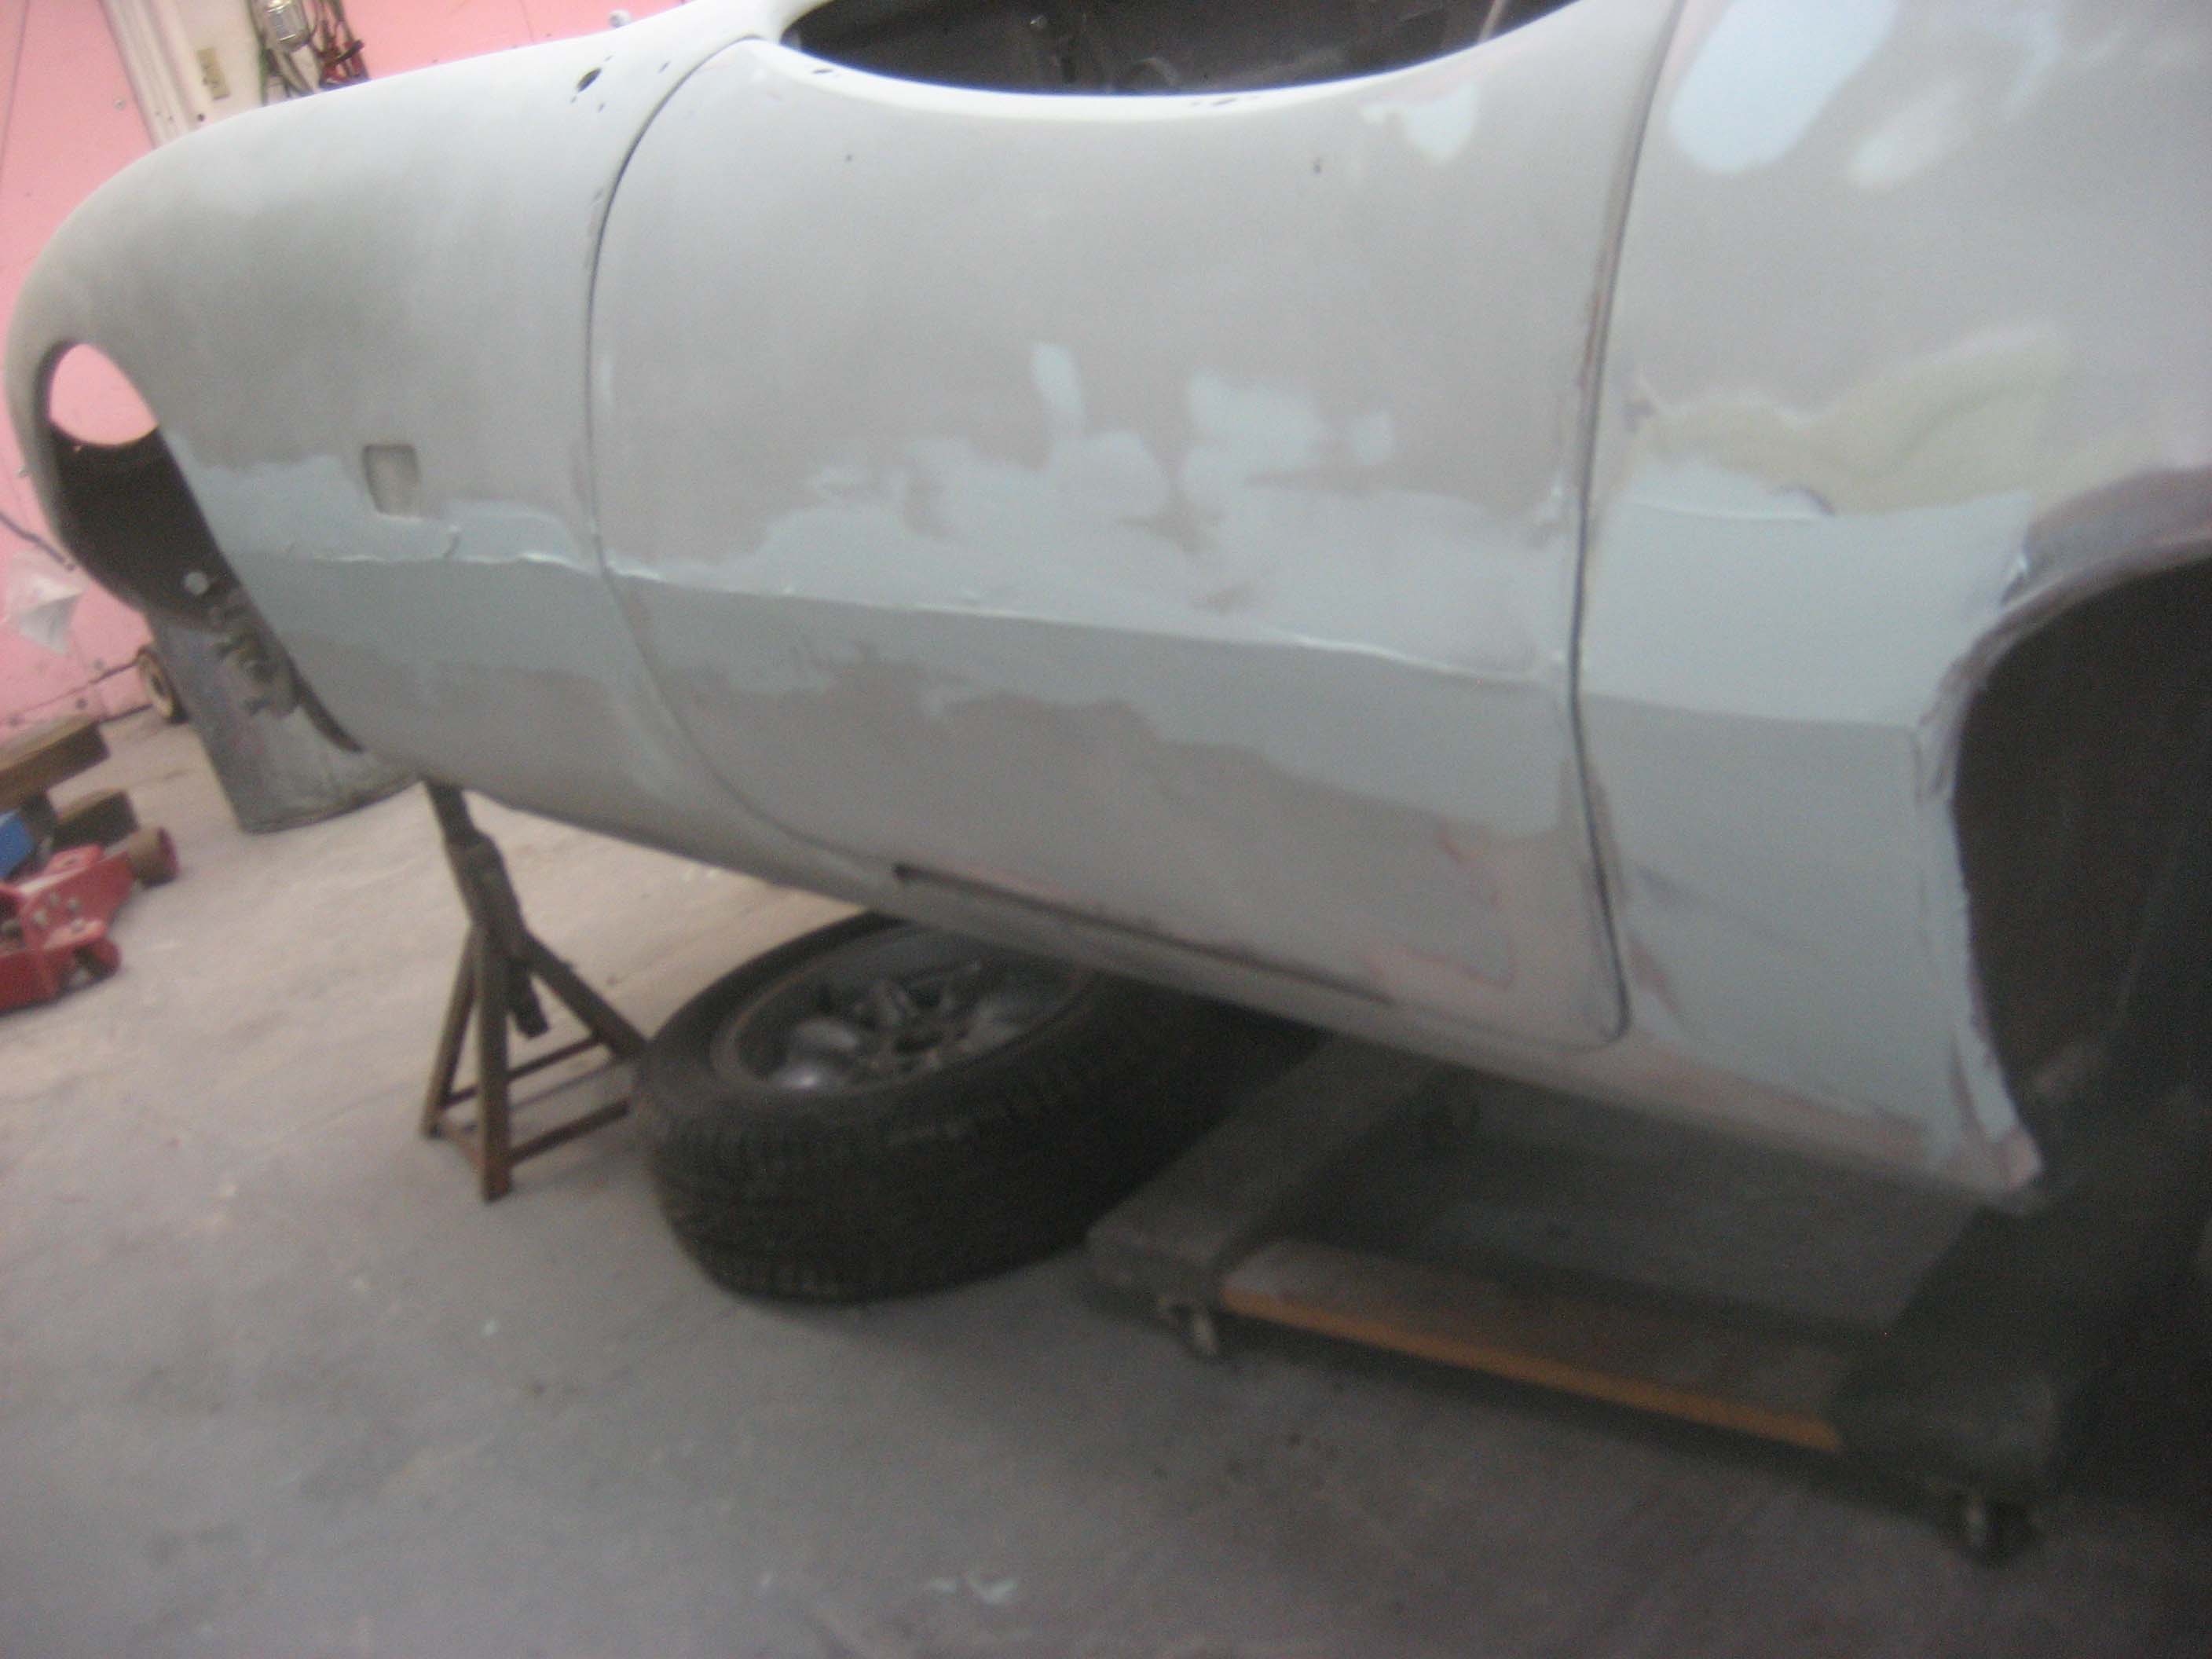
The biggest use of regular bondo on this car has been the body lines which are at about knee height that go from the front of the car to the back along the front fenders, doors, and rear fenders.  What a mess that was; I have really tried to bring that line out, to look fresh and straight.  Most of these cars lose the crispness of that line and I don’t know how straight they ever were when knew, but I just want it to look good.  It’s one of the things that will make the car stand out.


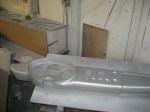
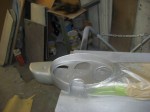
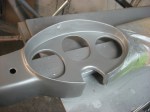
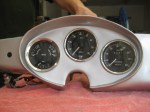
The Dashboard

August 27, 2012

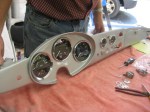
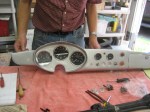
As most of you know, anyone who has ever driven a car knows, the dashboard is the driver’s link to the mechanical systems and the outside world.  It is a critical part of any car, and even more critical for the sports/racing type of car.  One little problem, this basket case project had no dashboard: none.  There should have been a metal dash, which was mostly flat with some rounded edges, and also a padded section that went over the instruments, which would have been upholstered along with the top of the cowl.    If I can find them, I will include a couple of photos of other MkIII Couriers with the proper dashes.

In among the boxes of parts I got was a piece of a dashboard that I later found was the instrument cluster from an Alfa Romeo Giulietta.  So I built my dashboard out of that cluster section and two other metal dash pieces from a 1967 MGB.   The final assembly into one welded unit was both a nightmare in the process, and a better-than-expected success in the end.

Add to this, the interesting quandary:  First, it should be functional for the race track;  secondly, it will occasionally be driven on the street.  So, because I will have two separate engines, I also have two separate sets of gauges for the oil pressure and the water temperature.   One set is electronic and feed information to the original-style 3-in-1 gauge.  The other two will use a mercury tube and oil capillary tube to the separate instruments.  The two recesses which were used on the MGB for heater and defroster controls are being replaced with low oil pressure and high water temperature warning lights.


A Good Time Was Had by All

May 2, 2012

Well, after the hellish trip, the rain, the shorter track time, the snow on Sunday night, (no heat in the hotel room) and the UHaul truck trailering the car and the flatbed bringing the Durango to Aamco in Quincy, my son said to my wife: “Sunday was the best day of my life!”  Well, that sums it up.

All in all, as a social  event, it was a success.  No one got to race, only 5 Elvas made the laps around the Glen, and those that did were COLD, and wet.  But still, we all got to see each other face to face,
instead of just emailing back and forth, so that was worth the time.  The Durango is now rebuilt, with its transmission working better than ever, due to a few better parts being used to make the repair, and my budget for the month is shot.


Ultimate Blogger’s Challenge

February 14, 2012

I have been working on this car at various rates of speed for the past 5 years now.  Sometimes, there is a reason to push harder than others, sometimes there are serious impediments in the way.  This is one of those times when there is a serious reason to push and no shortage of impediments.  The next Elva Meet will be at Watkins Glen April 21-22.  http://www.racingarchives.org/
I have decided to go, to force myself to push once again for a deadline.  I don’t know if I can do it, but it is worth trying.  Here are some photos to bring y’all up to date on where I am today.

The race for April 21 is on!


Misc. Updates

January 28, 2012

I am trying to catch up on where I am today, but have not quite made it.  So here is an attempt to use some slightly older photos to fill in the gaps.

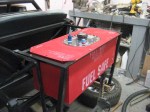
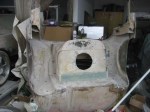
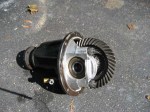
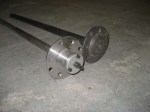
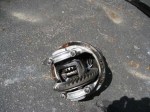
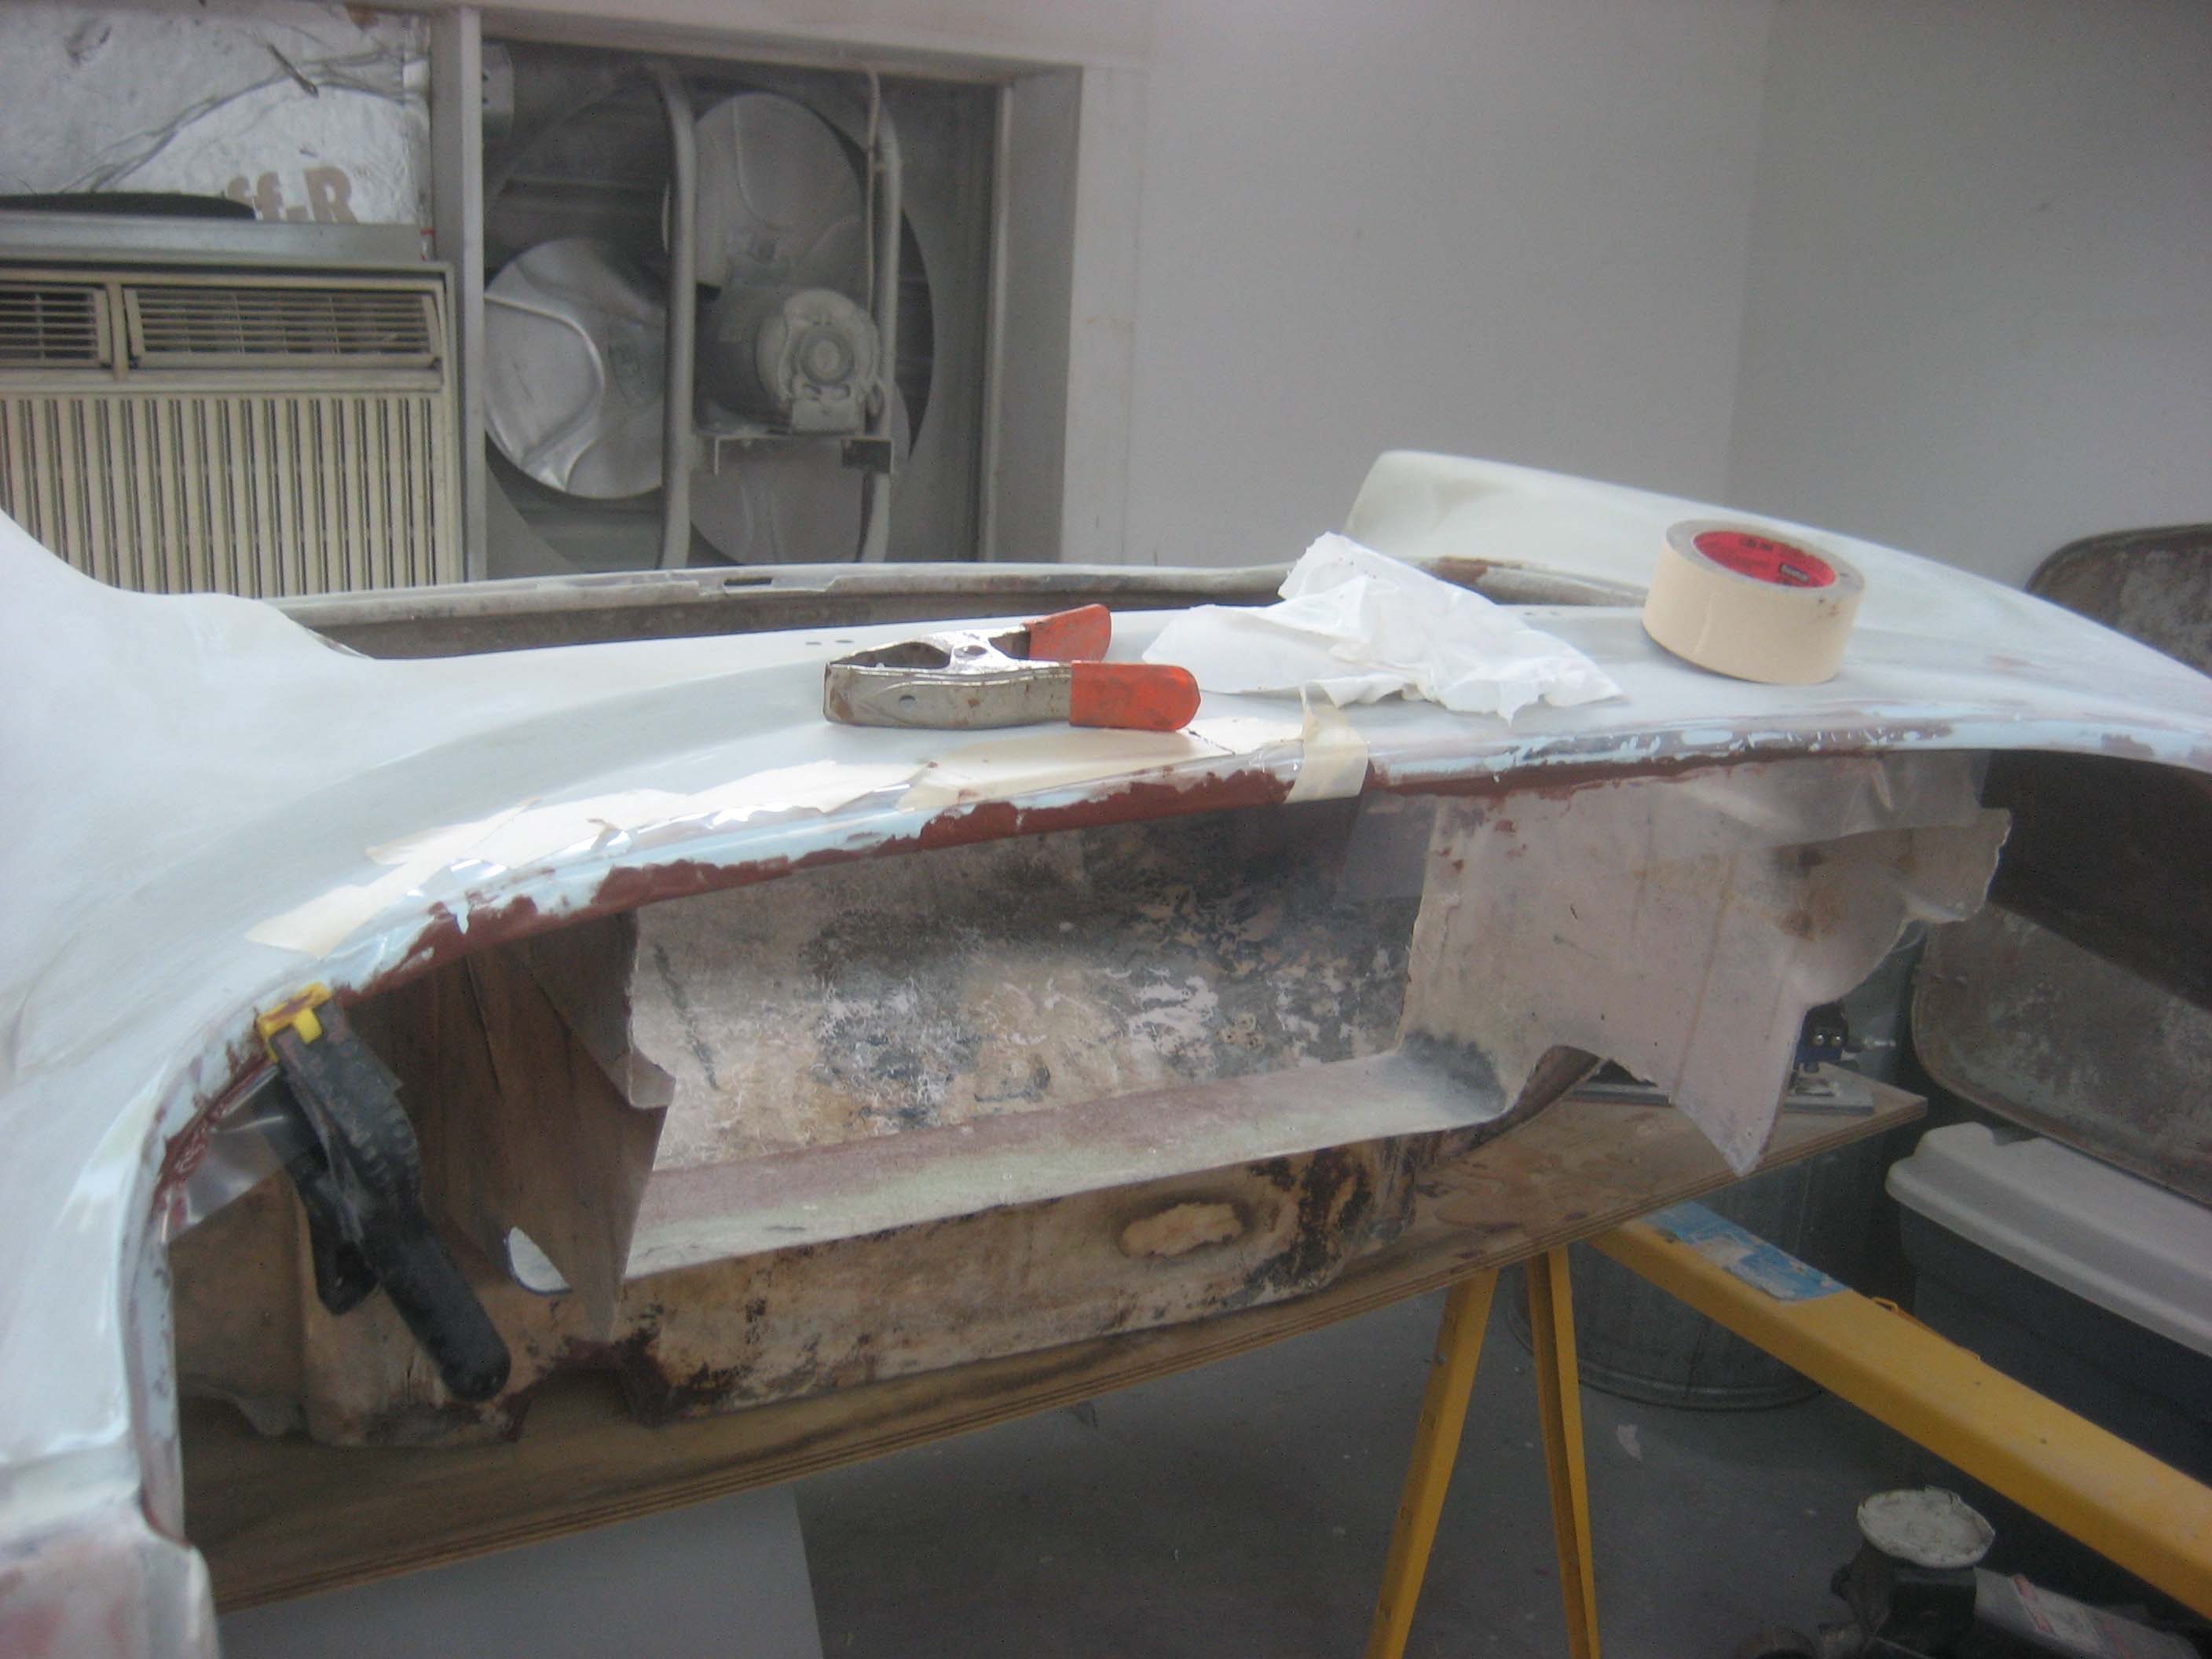
In these photos are a selection of things that have already been done, but not mentioned in the blog so far.  I have photos of the mounting bracket I made for the fuel cell, the various parts that were used to fix the old differential, like the new hardened axle, compared to an old one.  Fortunately, the gears in the diff were in extremely nice condition, so no work needed there, thank goodness.  I am also showing the bottom of the trunk floor area, and how much fiberglass work had to be done under there.  There is a recent pic of the pedal assembly being pre-fitted; although it is not quite done yet.  The dashboard is my next big project.  That, and the gaps between the body and the chassis at the rear bulkheads, . . .


Cleaning up the firewall

December 13, 2011

I’m not going exactly in chronological order here.  This work on the firewall was actually done earlier, but it fits the story here anyway.  The firewall and engine bay looked absolutely horrible when I got the car in pieces.  I had the whole inner area sandblasted with plastic media so I could start from scratch.  But then,  because it was not going to be made into a street car anymore, except for an occasional drive, it would not need some of those extra holes, like for a heater, and other things.  Also, some previous owner seems to have thought he was going to switch it over to right-hand drive, and he cut a big hole in the right side of the firewall, which I had to fill in!   The work was far more laborious than I had ever expected, (what else is new) and so here are the highlights:


Making a new rear bulkhead

December 13, 2011

In my previous post, I showed how the whole chassis had to be dis-assembled one last time to be re-primed with several coats of epoxy primer.  In most of those photos, the chassis had no rear bulkhead.  Then in the last two photos, the new bulkhead was starting to take shape.  Here are a few more details of that process:


Design a site like this with WordPress.com
Get started