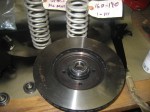
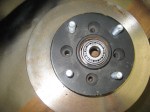
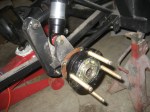
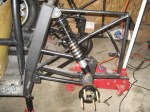
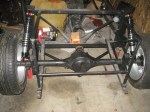
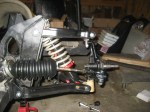
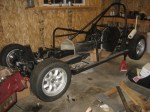
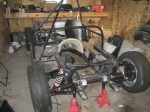
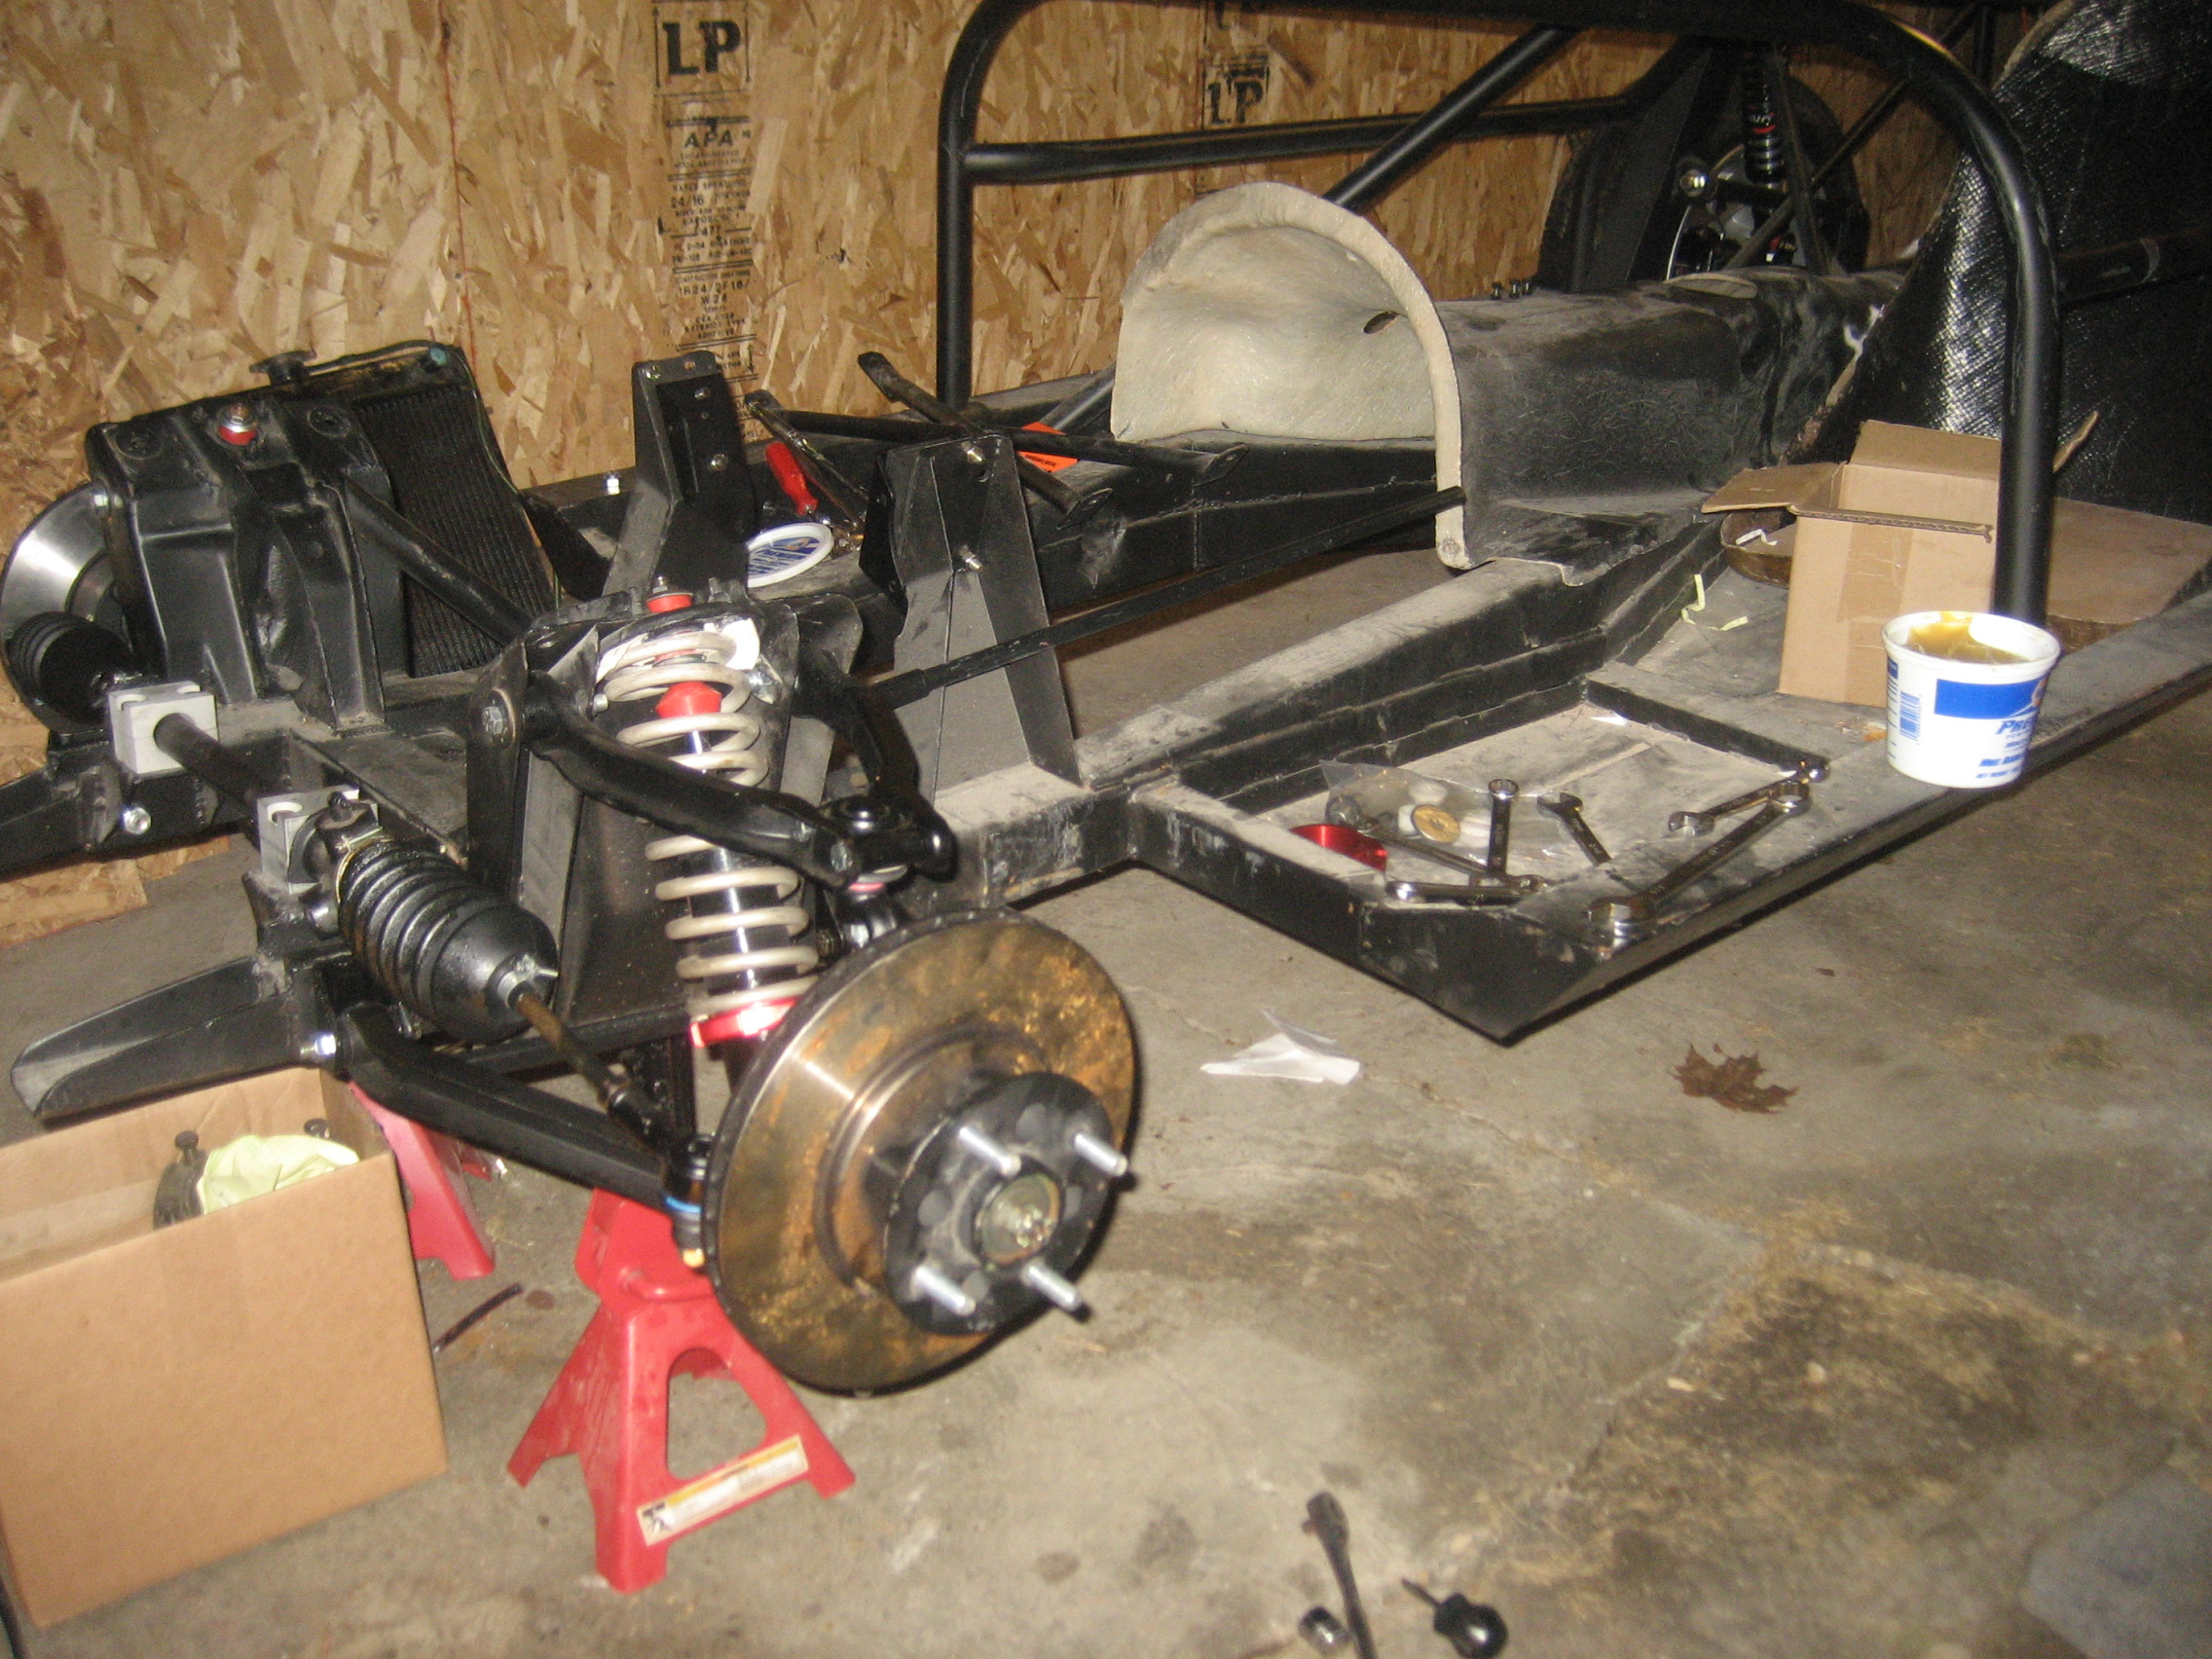
After getting the newly re-welded chassis back from the welding shop, the chassis with its new roll bar was primed with black DP-90, an acid etching epoxy primer. Then I set about to assemble it with the new parts I had bought. The rear end gained new double-bearing hubs and new AVO shocks from England. The front end also had new AVO shocks and urethane bushings, and new tie rod ends and new rubber boots on the steering rack. This was all very significant to me, because the chassis finally rolled out of the garage on its own four wheels for the first time in at least 15 years, certainly the first time since I had owned it. However, this was to be just the beginning of the chassis work. I immediately sent it to Charlie North, who set about doing everything right. Somehow just assembling it so it rolls does not make it qualified to go to the track, and deep inside, I knew that, but the truth was still painful.