What Could Go Wrong?

April 30, 2012

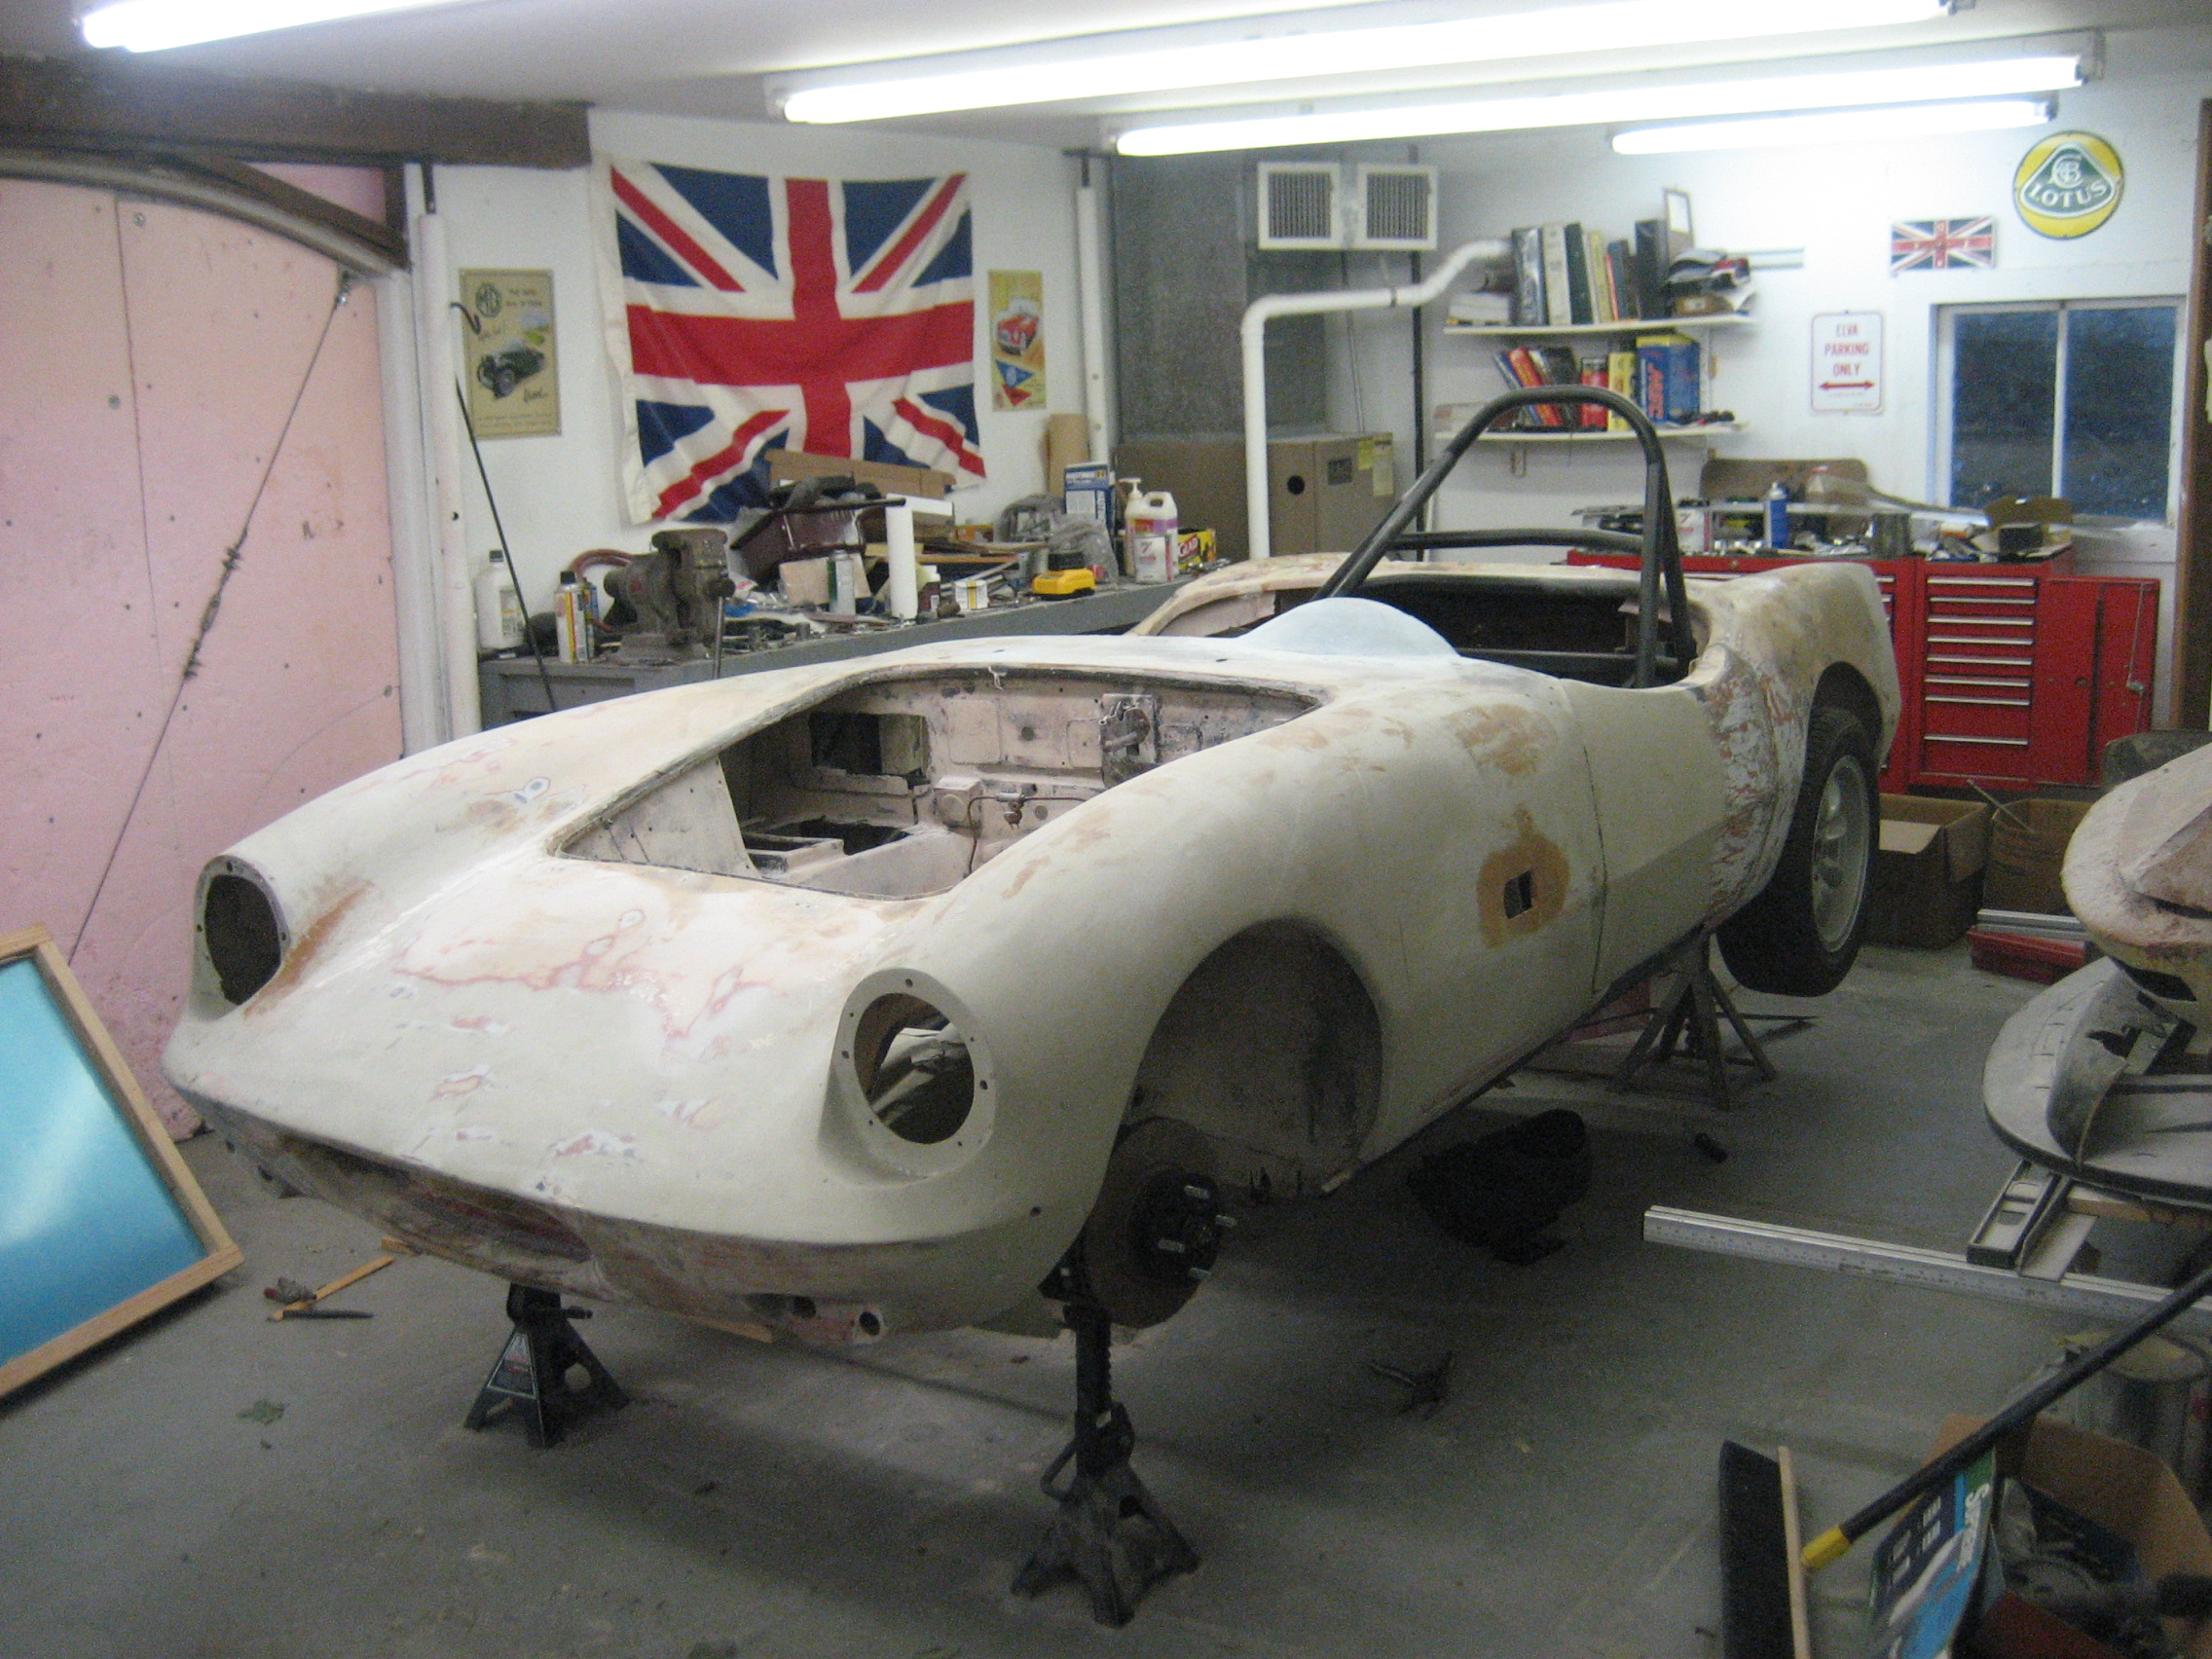
Well, I started by lowering my standards:  the event at the Glen would not require that the car be registered, and as it was not a real race, it didn’t even need to be race-worthy.  It just had to start and run and stop.  I figured making it green and doing a nice job of it might be a nice goal, but that too was a reach.

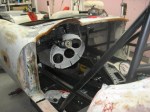
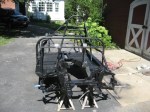
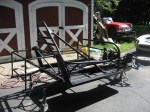
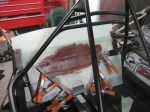
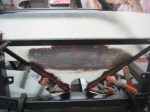
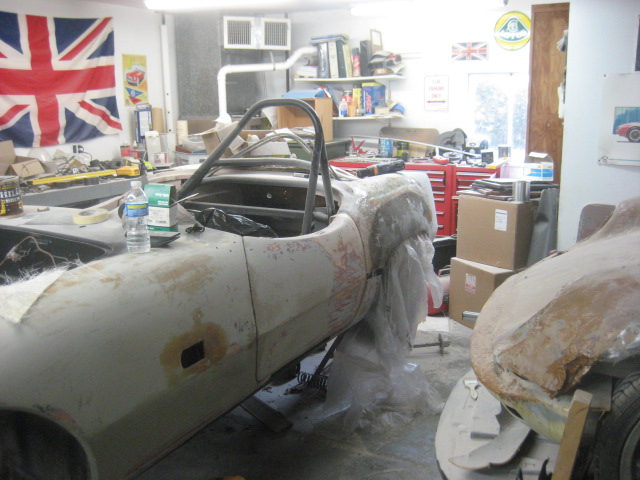
Every part of the car has been tested mechanically at this point, and it has been apart and back together so many times that I am pretty sure if I finish the paint job, it will run, stop and steer.  What I am learning is that even if all the individual parts worked on the bench, and were shown to work in car position, it does not mean they will all necessarily do that in car position all at the same time.


Several interesting problems emerged which hampered my completion:


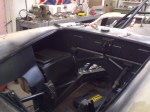
  1. The starter position interfered with the placement of the engine in the chassis.  This required the transmission to be removed and all the innerds placed into another bell housing.  So the whole transmission was re-built in the process.  The rear backing plate between the engine and the flywheel-clutch assembly also had to be changed.  Fortunately, I had one of those, but I did not have one for the street engine.  This was also made easier by the fact that the body is not yet fixed in place, and the engine hoist was in place.
  2. The original MG engine-mounting brackets are at a different angle than the Elva chassis points meant to receive them.  On the right, side the needed change was easy to make (oval out two holes), but on the left side, the mounting bracket required significant welding to add material and move a bolt hole to a place which did not exist on the original metal bracket.  Then once that was done, I had to take it back apart to paint it.
  3. The bolting flanges of the new wheels hit the new front brake calipers, just enough so that the car would not roll.  This will require spacers be made, but two washers under each lug are doing the job for now.
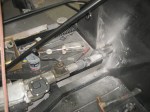
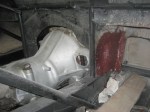
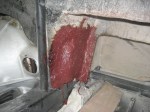
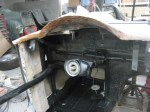
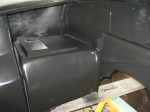
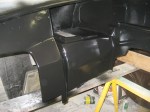
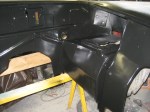
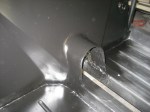
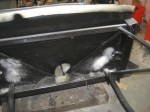
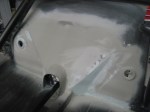
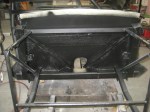
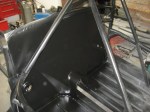
  4. The full compression of the rear suspension (without the springs in place) was shown to cause the driveshaft to hit the new rear bulkhead at the top of the transmission bulge.  The interfering part of the bump was cut out and re-glassed to make it clear the driveshaft under any circumstance, such as the full compression of the suspension.
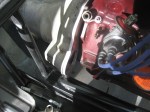
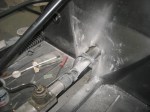
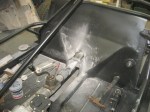
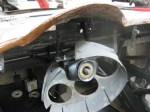
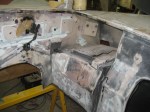
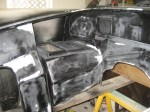
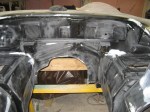
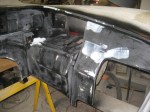
  5. The new gear-reduction high torque starter didn’t fit between the distributor and the chassis, (at first), but I was able to make an easy adjustment to the mounting position (clock it over 90 degrees) to make that clearance.  Now it just interfered with the fiberglass inner fender well, right next to the battery box.   This led to more fiberglass cuts and re-glassing the area around the starter.  I still have not had a chance to smooth it out in the engine bay and re-prime the area.  It will need one more lay-up before the primer.
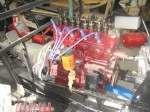
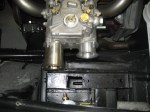
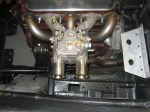
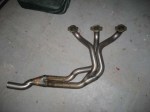
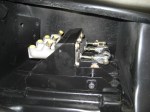
  6. Finally, the engine was dyno-ed on the bench, last year, but the engine had never been in car position before, so I hadn’t been able to tell what the velocity stacks might run into.  It turned out to be the pedal box, right next to the accelerator pedal.  I am going to my engine guy’s shop later today to pick up a pair of shorter horns.
While 4 hours from home and 3 hours from the Glen, the Durango’s input shaft snapped, leaving me and the boy stranded in the middle of nowhere.  AAA paid to tow it to a Dodge dealer who offered to sell me a Jeep Liberty, which could finish the trip, or charge me $4,000 for a new transmission.   AAA then towed it halfway home on Monday and I had to pay the last 120 miles, as well as renting a U-Haul truck to bring the unfinished racecar home in the rain, (and snow).


A good time was had by all.


Ultimate Blogger’s Challenge

February 14, 2012

I have been working on this car at various rates of speed for the past 5 years now.  Sometimes, there is a reason to push harder than others, sometimes there are serious impediments in the way.  This is one of those times when there is a serious reason to push and no shortage of impediments.  The next Elva Meet will be at Watkins Glen April 21-22.  http://www.racingarchives.org/
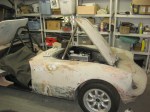
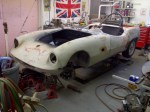
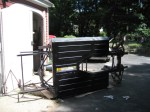
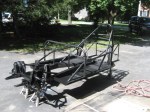
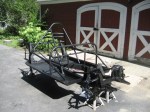
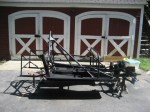
I have decided to go, to force myself to push once again for a deadline.  I don’t know if I can do it, but it is worth trying.  Here are some photos to bring y’all up to date on where I am today.

The race for April 21 is on!


Misc. Updates

January 28, 2012

I am trying to catch up on where I am today, but have not quite made it.  So here is an attempt to use some slightly older photos to fill in the gaps.

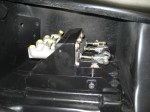
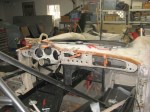
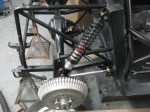
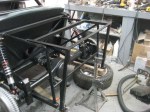
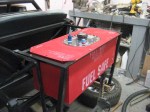
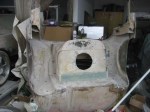
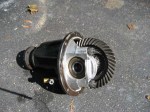
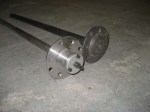
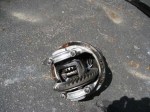
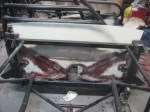
In these photos are a selection of things that have already been done, but not mentioned in the blog so far.  I have photos of the mounting bracket I made for the fuel cell, the various parts that were used to fix the old differential, like the new hardened axle, compared to an old one.  Fortunately, the gears in the diff were in extremely nice condition, so no work needed there, thank goodness.  I am also showing the bottom of the trunk floor area, and how much fiberglass work had to be done under there.  There is a recent pic of the pedal assembly being pre-fitted; although it is not quite done yet.  The dashboard is my next big project.  That, and the gaps between the body and the chassis at the rear bulkheads, . . .


Fender Flaring Part Deux

January 10, 2012

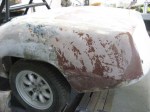
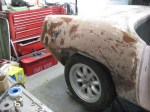
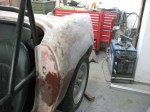
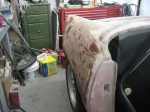
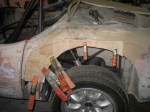
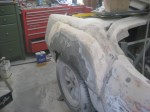
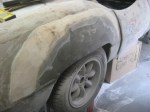
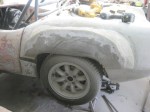
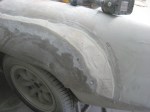
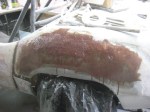
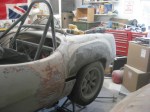
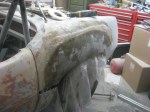
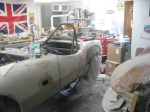
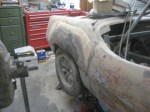
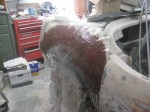
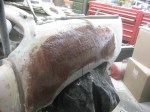
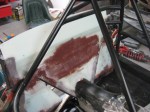
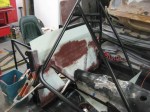
OK, so did you think that I was going to leave it like that?  No, there was a bit more work to do on the job of faring these rear quarters in until they looked natural.  To be specific, the area behind the flares was sunken in, or now appeared sunken due the the wider stance of the wheel wells.  I added layers of fiberglass, epoxy, and microballoon.

In the area in front of the flares, I shaved a LOT of material off with a long board (80-grit) to make the flare look more gradual.  Then, the whole thing was covered with more epoxy and microballoon.    It now has a much more natural-looking shape.   It’s not finished yet, but it is getting there.   The important thing to me is not to use much bondo in the end, because that just adds dead weight.  The next step will involve wetting out a scrim, a thin layer of glass to become the new top substrate layer before the primer.


Flaring the fenders

December 13, 2011

As most of you know, the original Elva Courier had 3-inch wide wheels, and a little styling cue called fender skirts, which like the tailfins, have gone away in recent years.  However, what this means is that if anyone wants to race an Elva Courier with wider than 4.5 inch wheels, (as I do), and they want the car to appear to have the original styling, they must go through this process.  I bought these flared fender skirts from Butch Gilbert, but then added another 1/2 inch of width using balsa core to make the wheels and tires clear the fenders even if both sides were pushed all the way up at the same time.  You guessed it, this was much more work than I had thought it would be!


Cleaning up the firewall

December 13, 2011

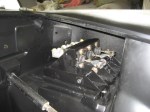
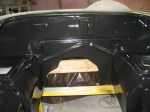
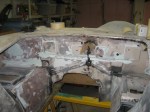
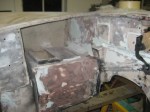
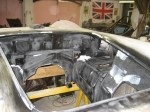
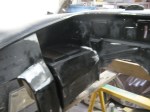
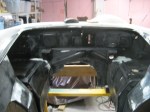
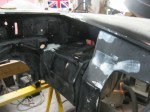
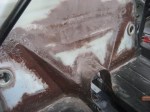
I’m not going exactly in chronological order here.  This work on the firewall was actually done earlier, but it fits the story here anyway.  The firewall and engine bay looked absolutely horrible when I got the car in pieces.  I had the whole inner area sandblasted with plastic media so I could start from scratch.  But then,  because it was not going to be made into a street car anymore, except for an occasional drive, it would not need some of those extra holes, like for a heater, and other things.  Also, some previous owner seems to have thought he was going to switch it over to right-hand drive, and he cut a big hole in the right side of the firewall, which I had to fill in!   The work was far more laborious than I had ever expected, (what else is new) and so here are the highlights:


Making a new rear bulkhead

December 13, 2011

In my previous post, I showed how the whole chassis had to be dis-assembled one last time to be re-primed with several coats of epoxy primer.  In most of those photos, the chassis had no rear bulkhead.  Then in the last two photos, the new bulkhead was starting to take shape.  Here are a few more details of that process:


Final dis-assembly

December 13, 2011

Really, I hope this is the last time.  This past summer (2011) I finally decided that everything had been properly pre-assembled well enough, that I could put the final coats of DP-90 primer on all the bits and pieces.  Damn, there are a lot of bits and pieces!  Individually painting all of them was more work than I expected, and took a lot longer than I’d hoped, but here we go:


Hello world!

September 24, 2010

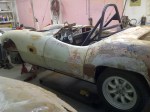
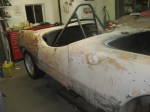
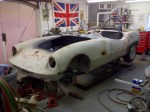
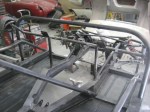
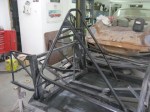
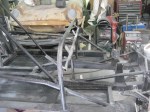
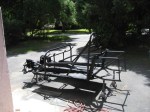
This is my first post.  I have no idea what I am doing, yet.  My intention is to keep my friends posted on the progress of the restoration of this 1963 Elva Courier Mk3 from basketcase condition to a vintage racer.   Please let me know if anything looks amiss, because I am constantly making changes.

My name is Andy Rich.  I’m an engineer who is building a vintage race car, actually rebuilding one, which happens to have been built in the same year I was born — 1963. Coincidentally, this car is chassis number 1063.   I have been a British car restoration specialist for about 20+ years, but this is the most extensive project I have ever done.

Here are some photos of the current state of affairs:

Things are getting messy


Design a site like this with WordPress.com
Get started