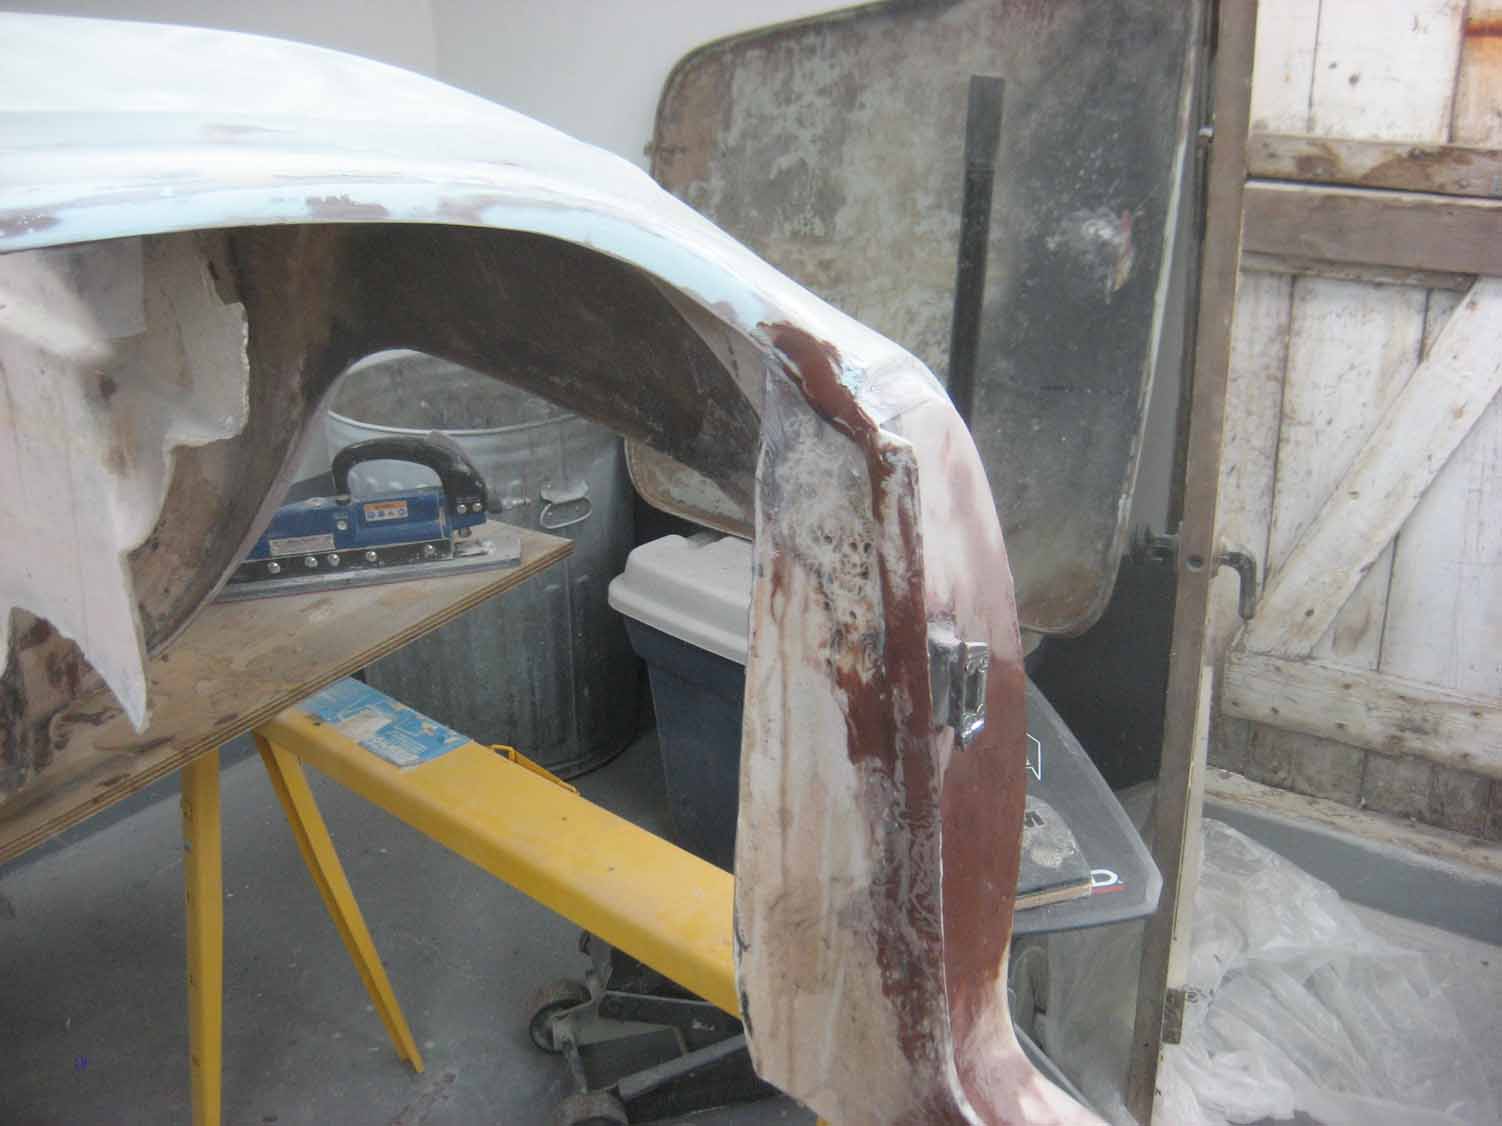
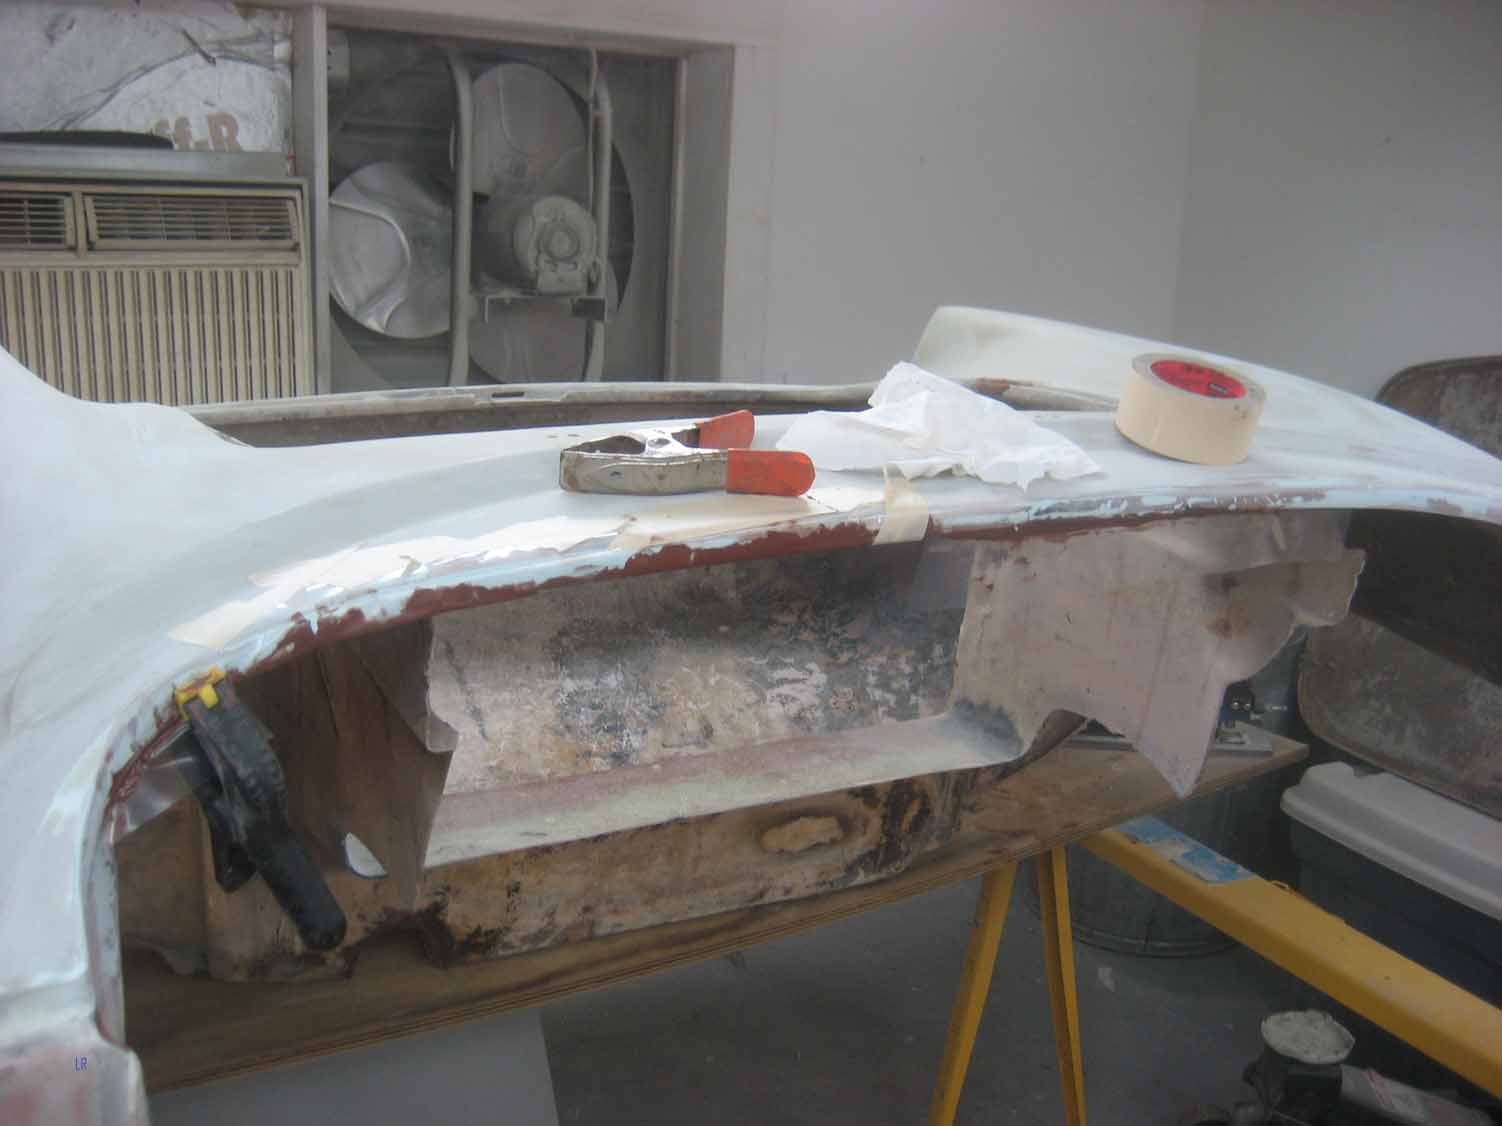
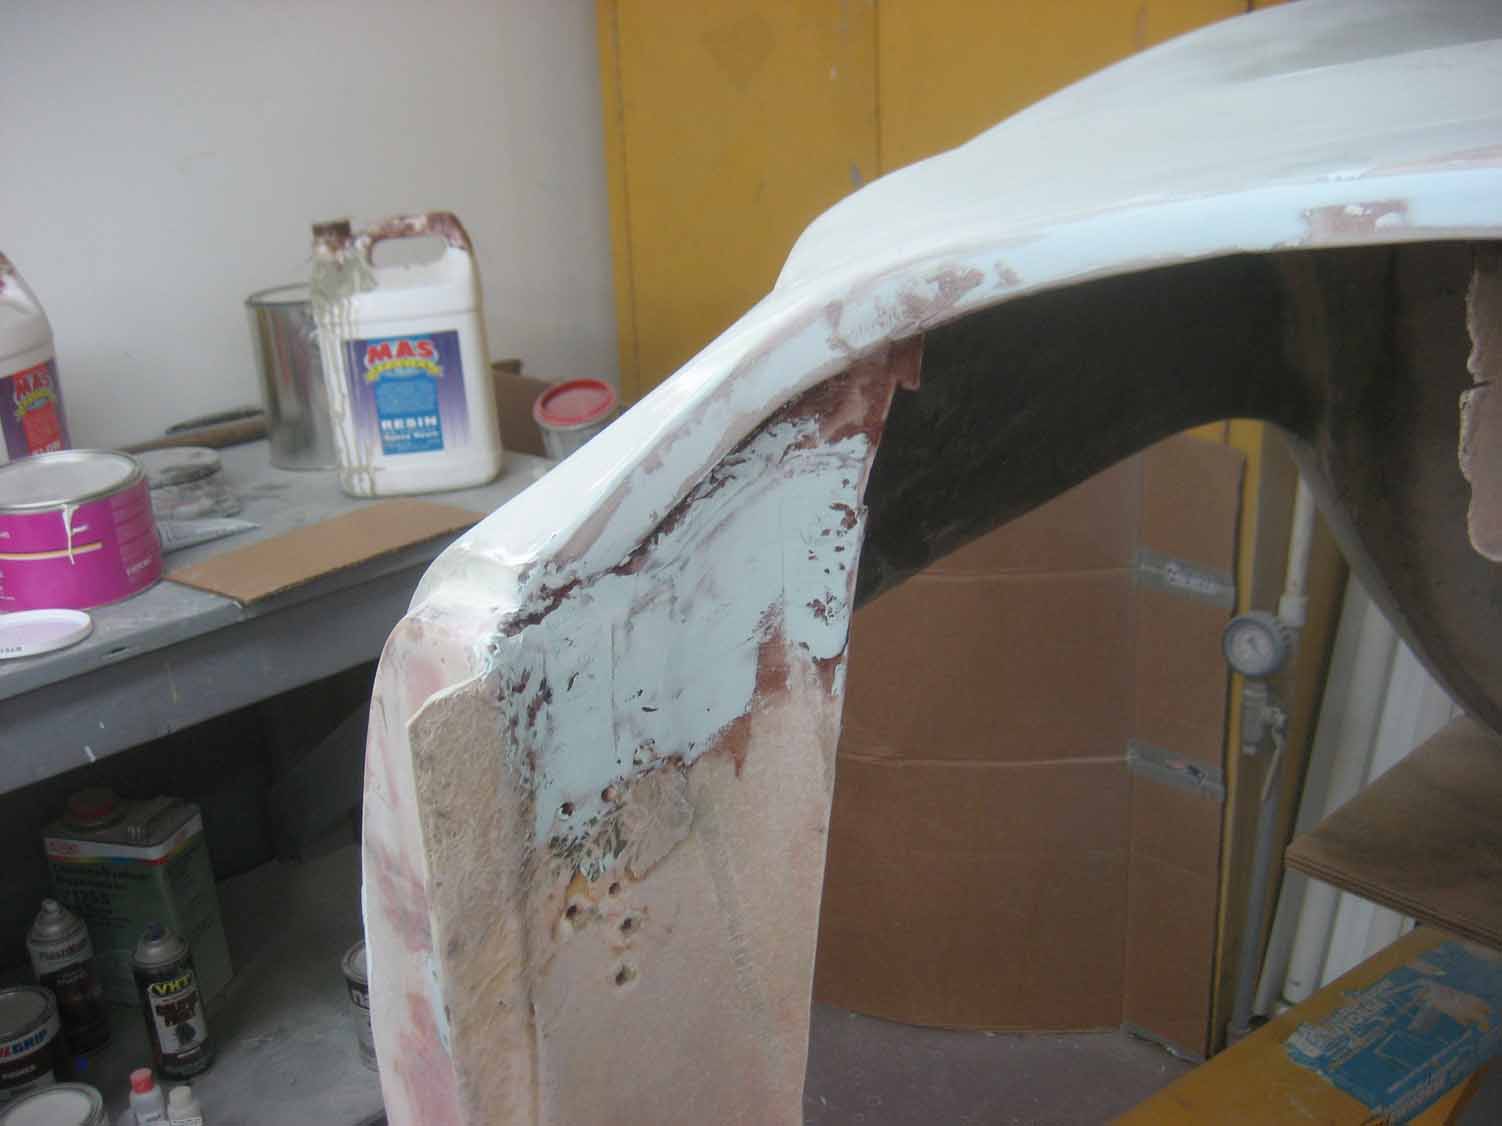
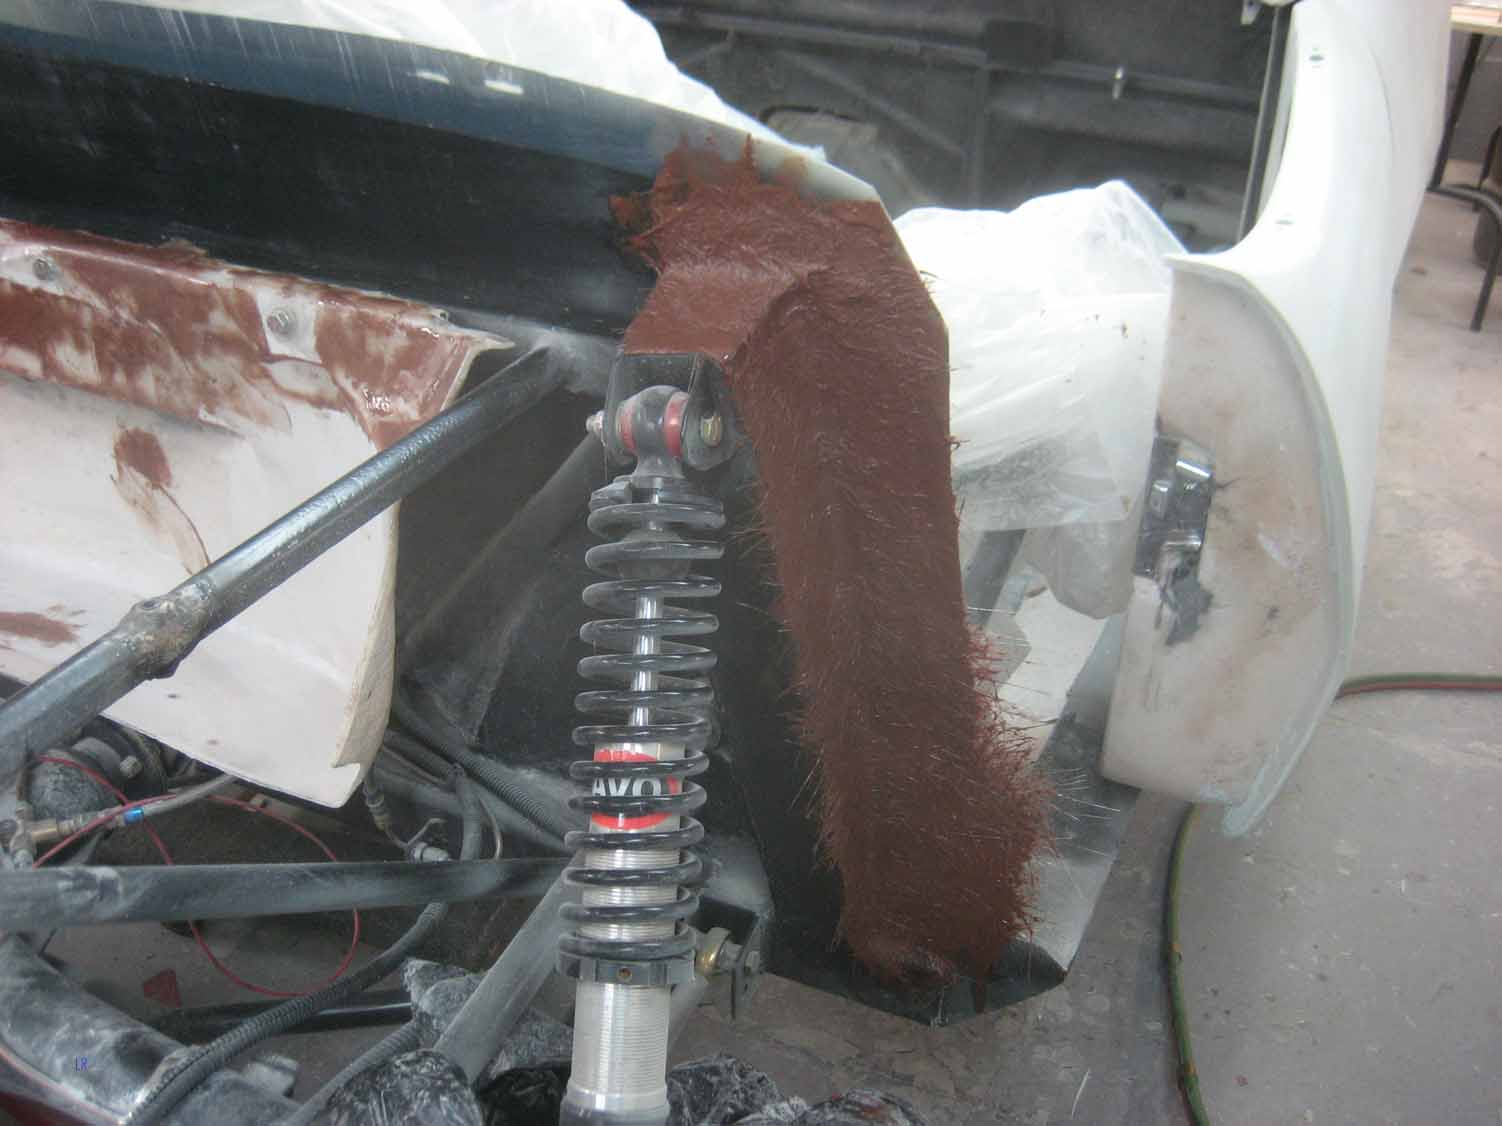
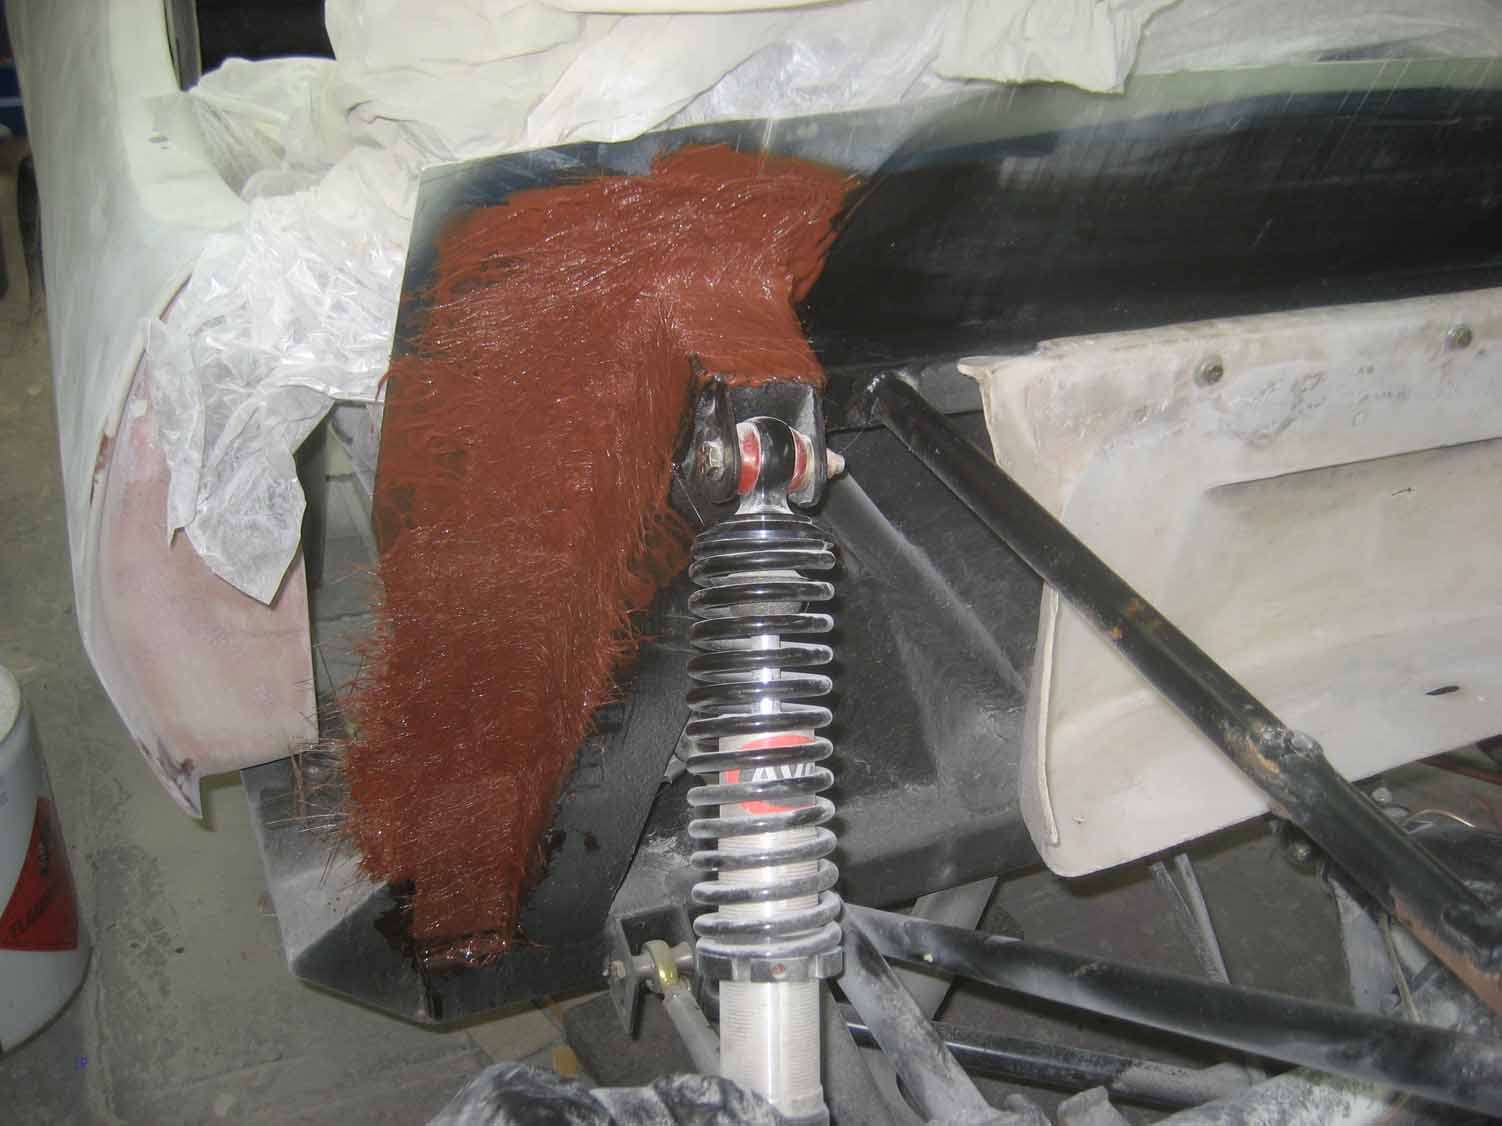
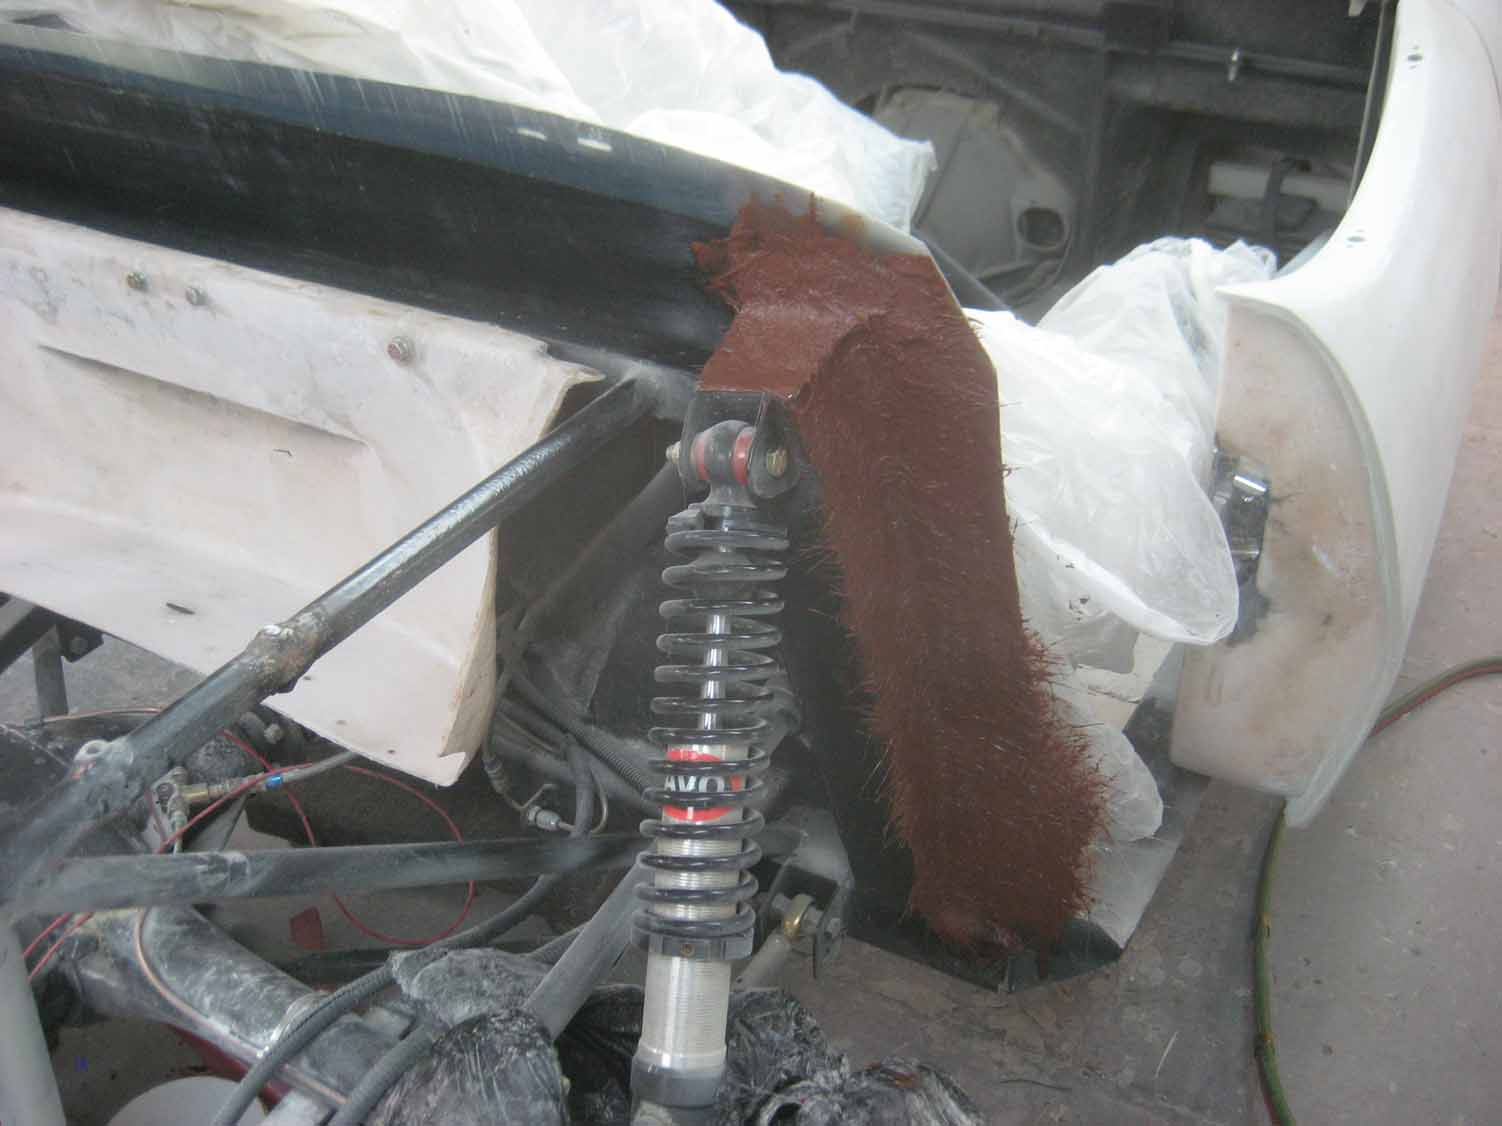
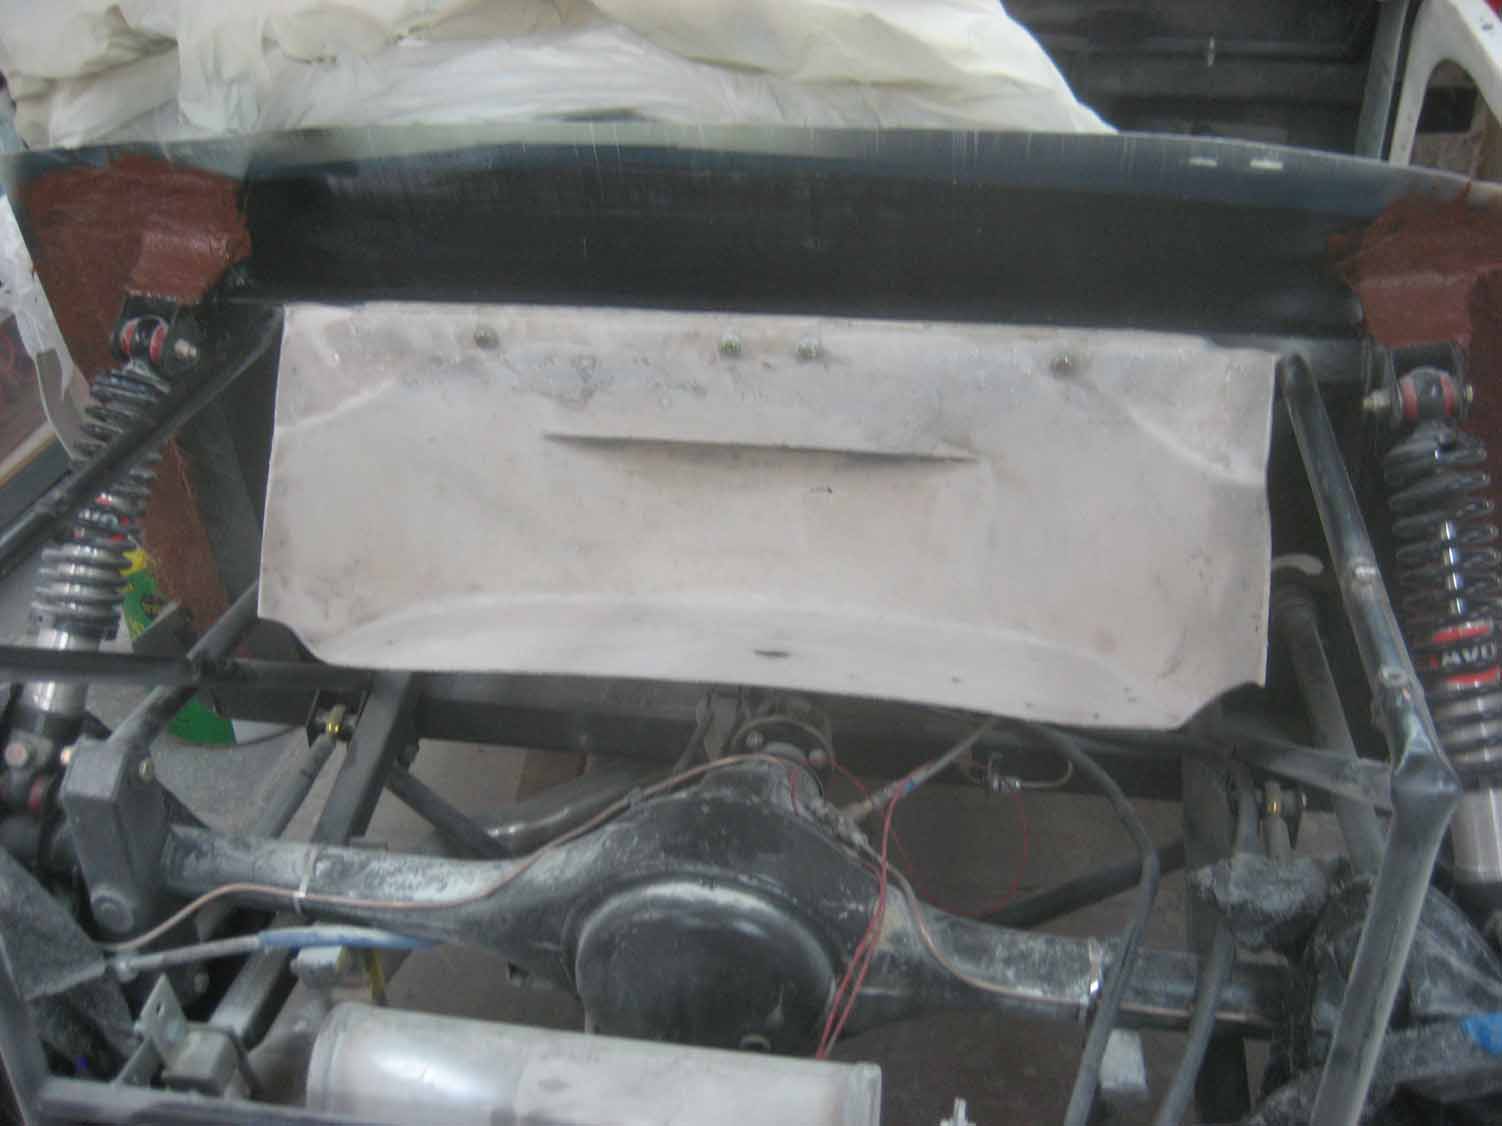
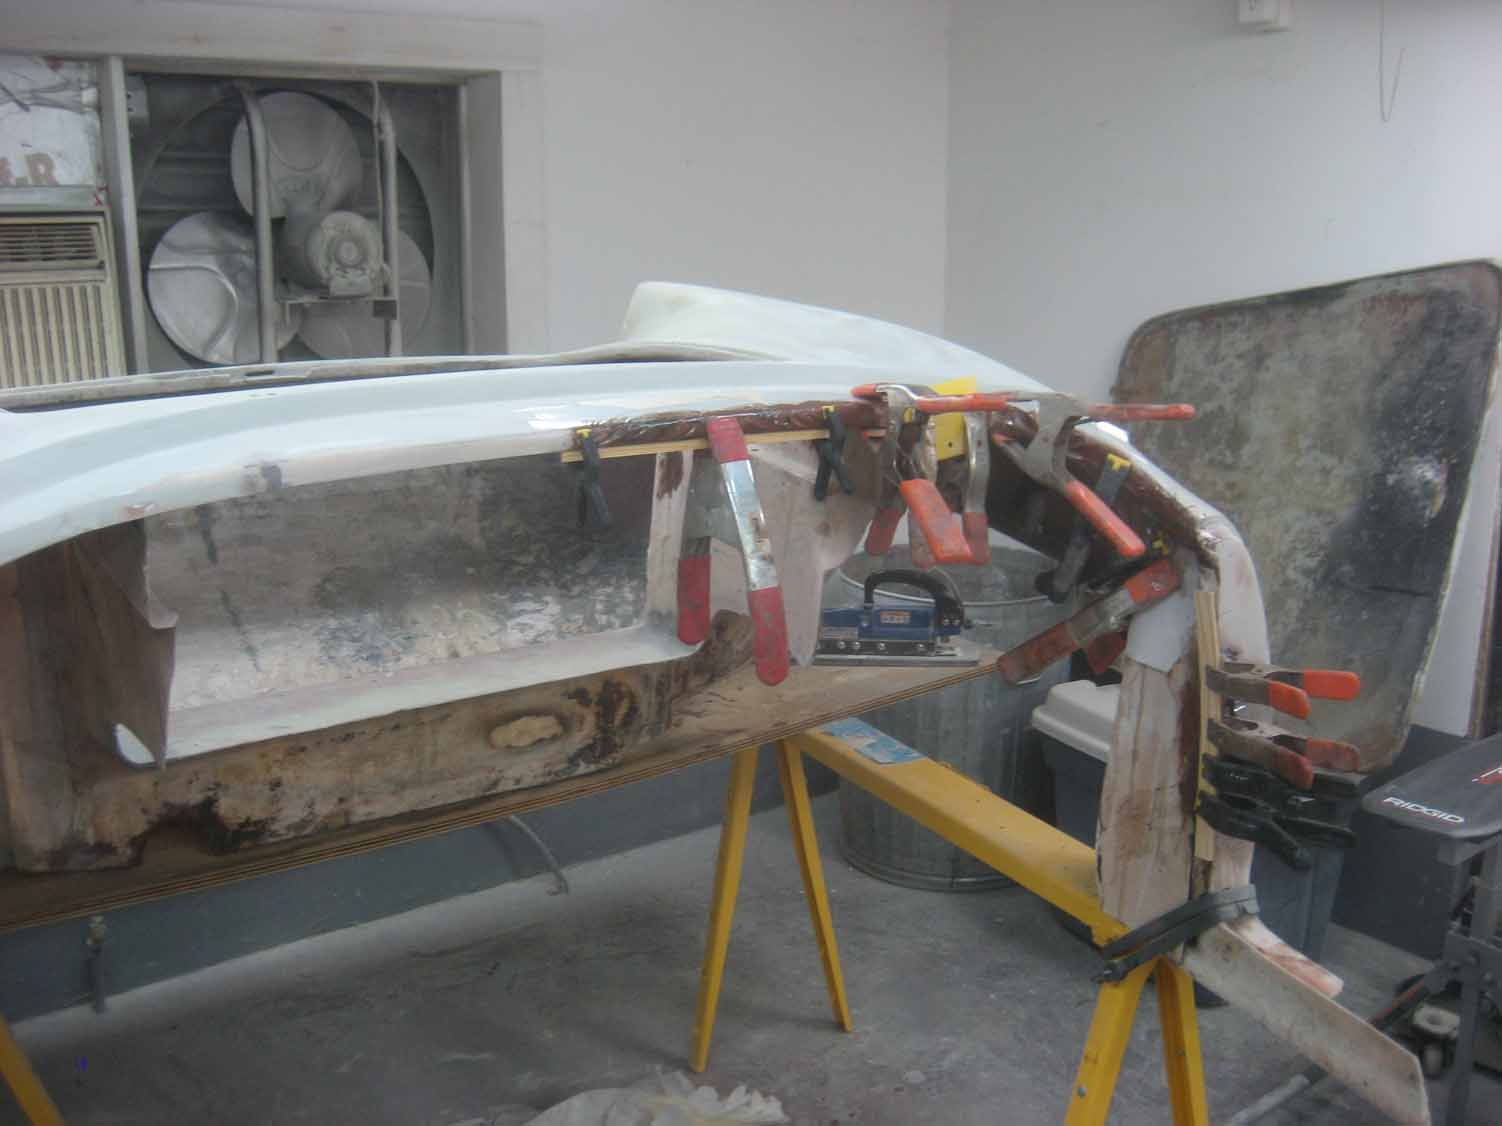
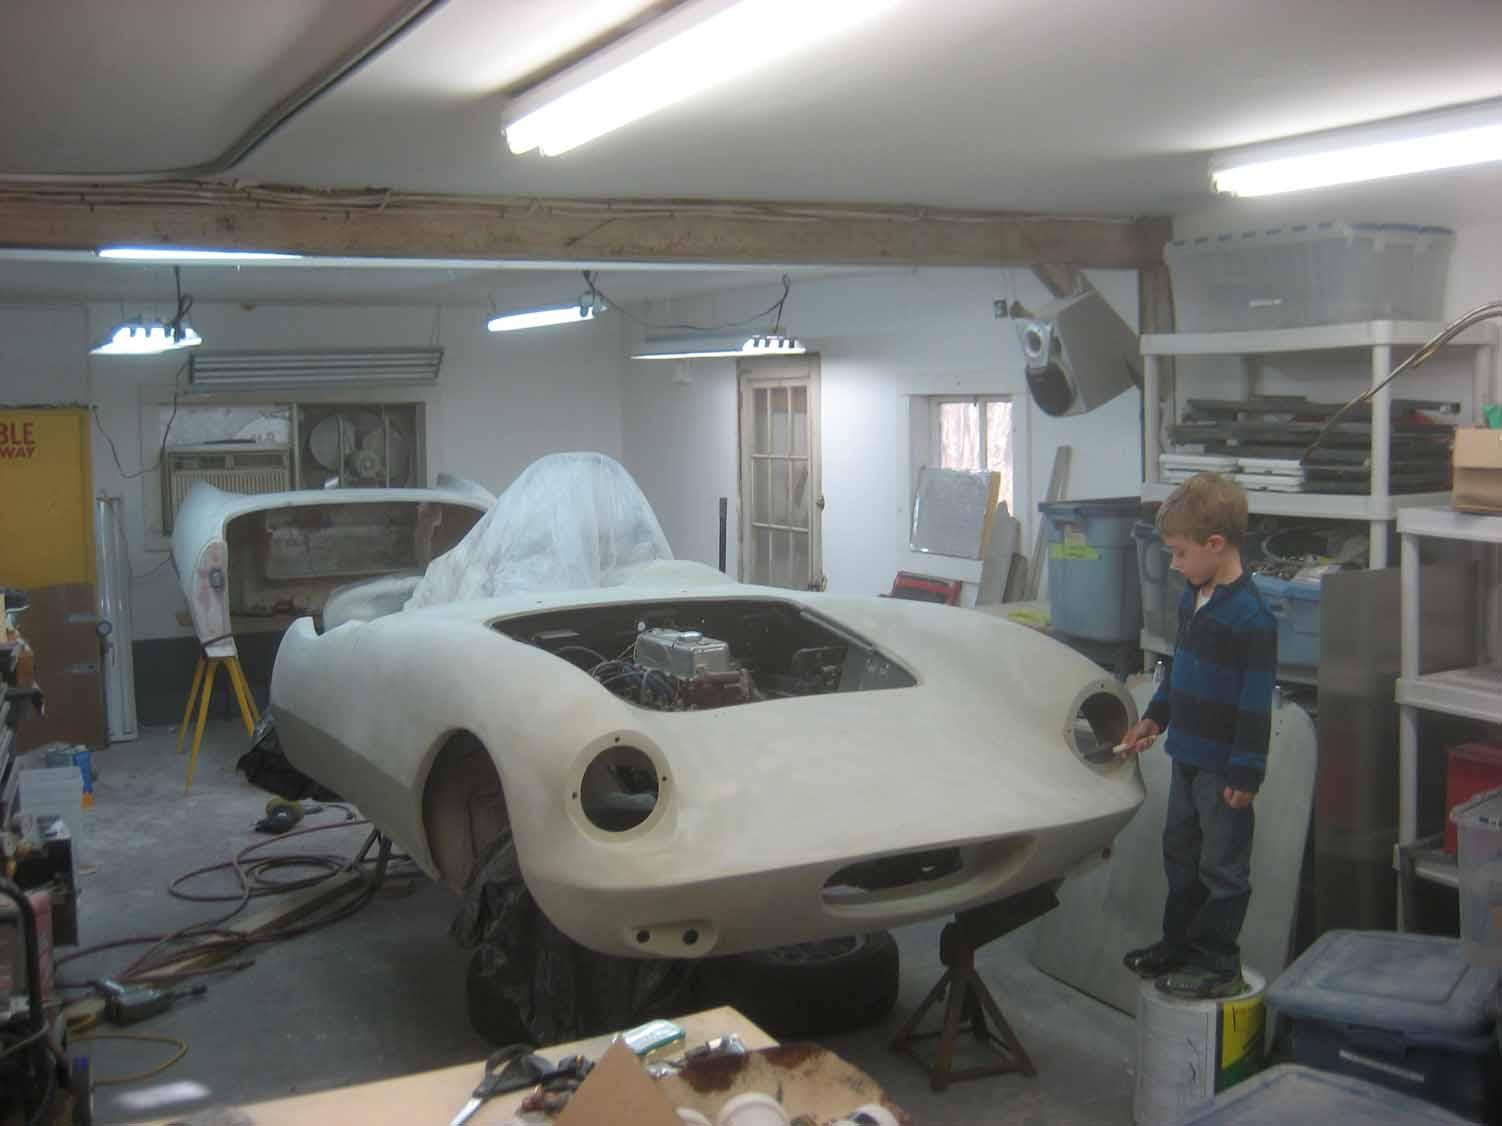
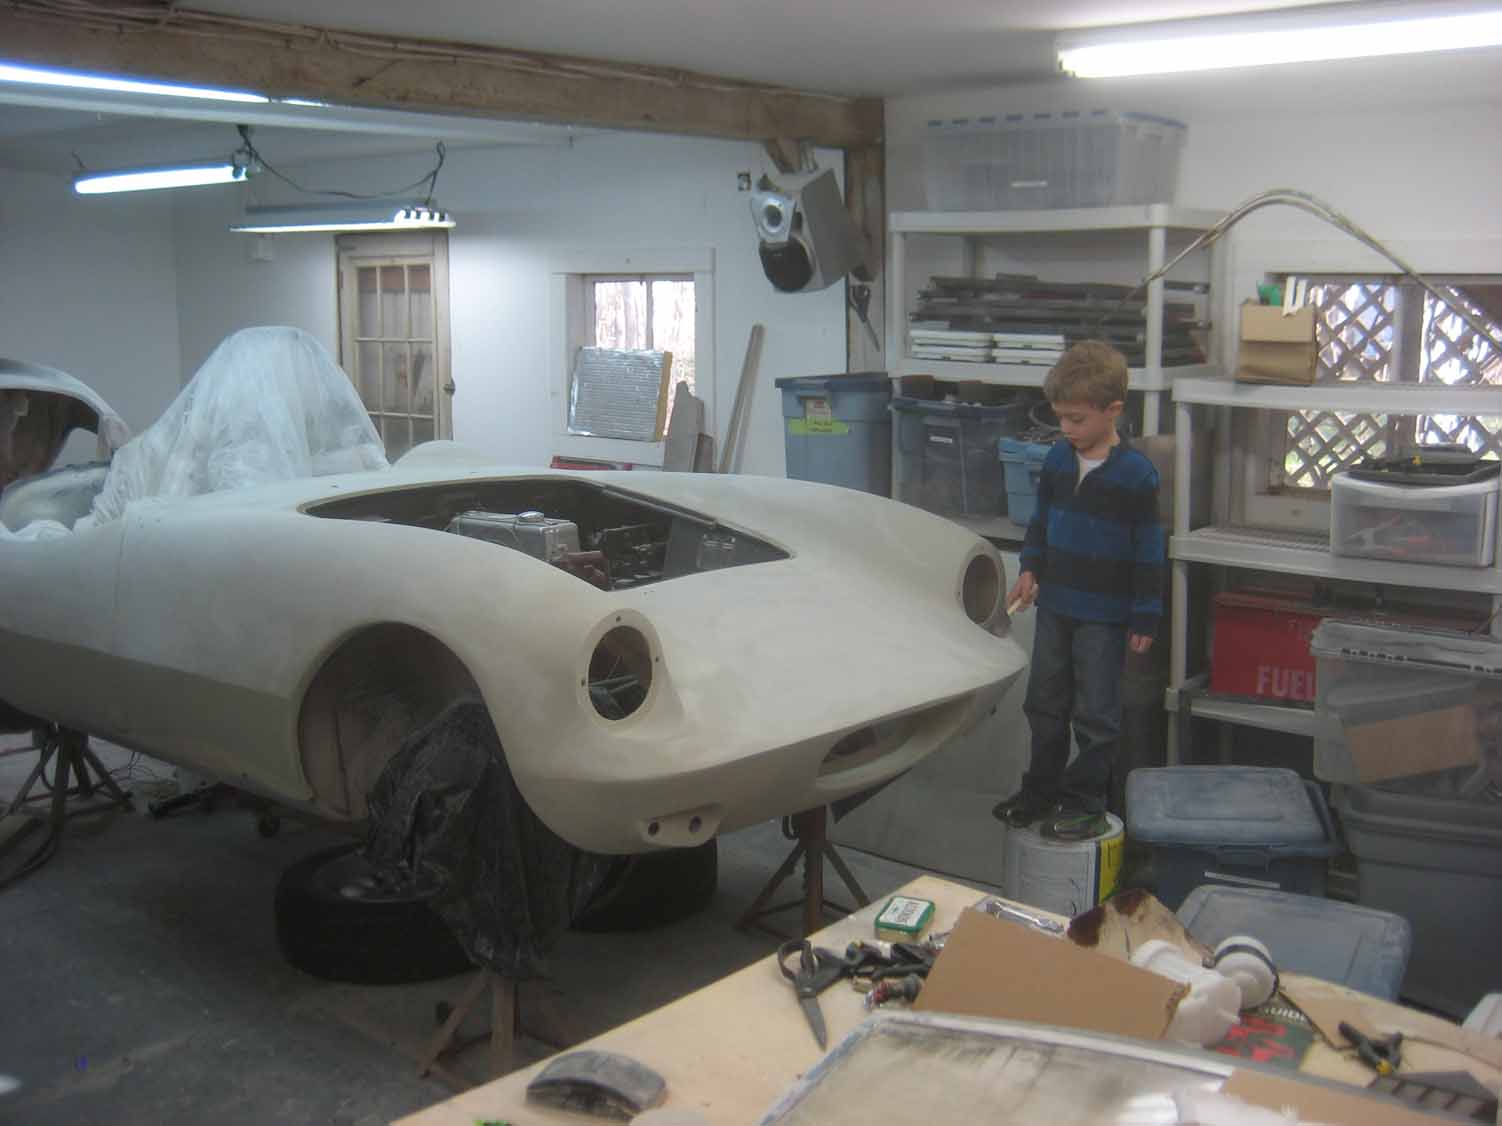
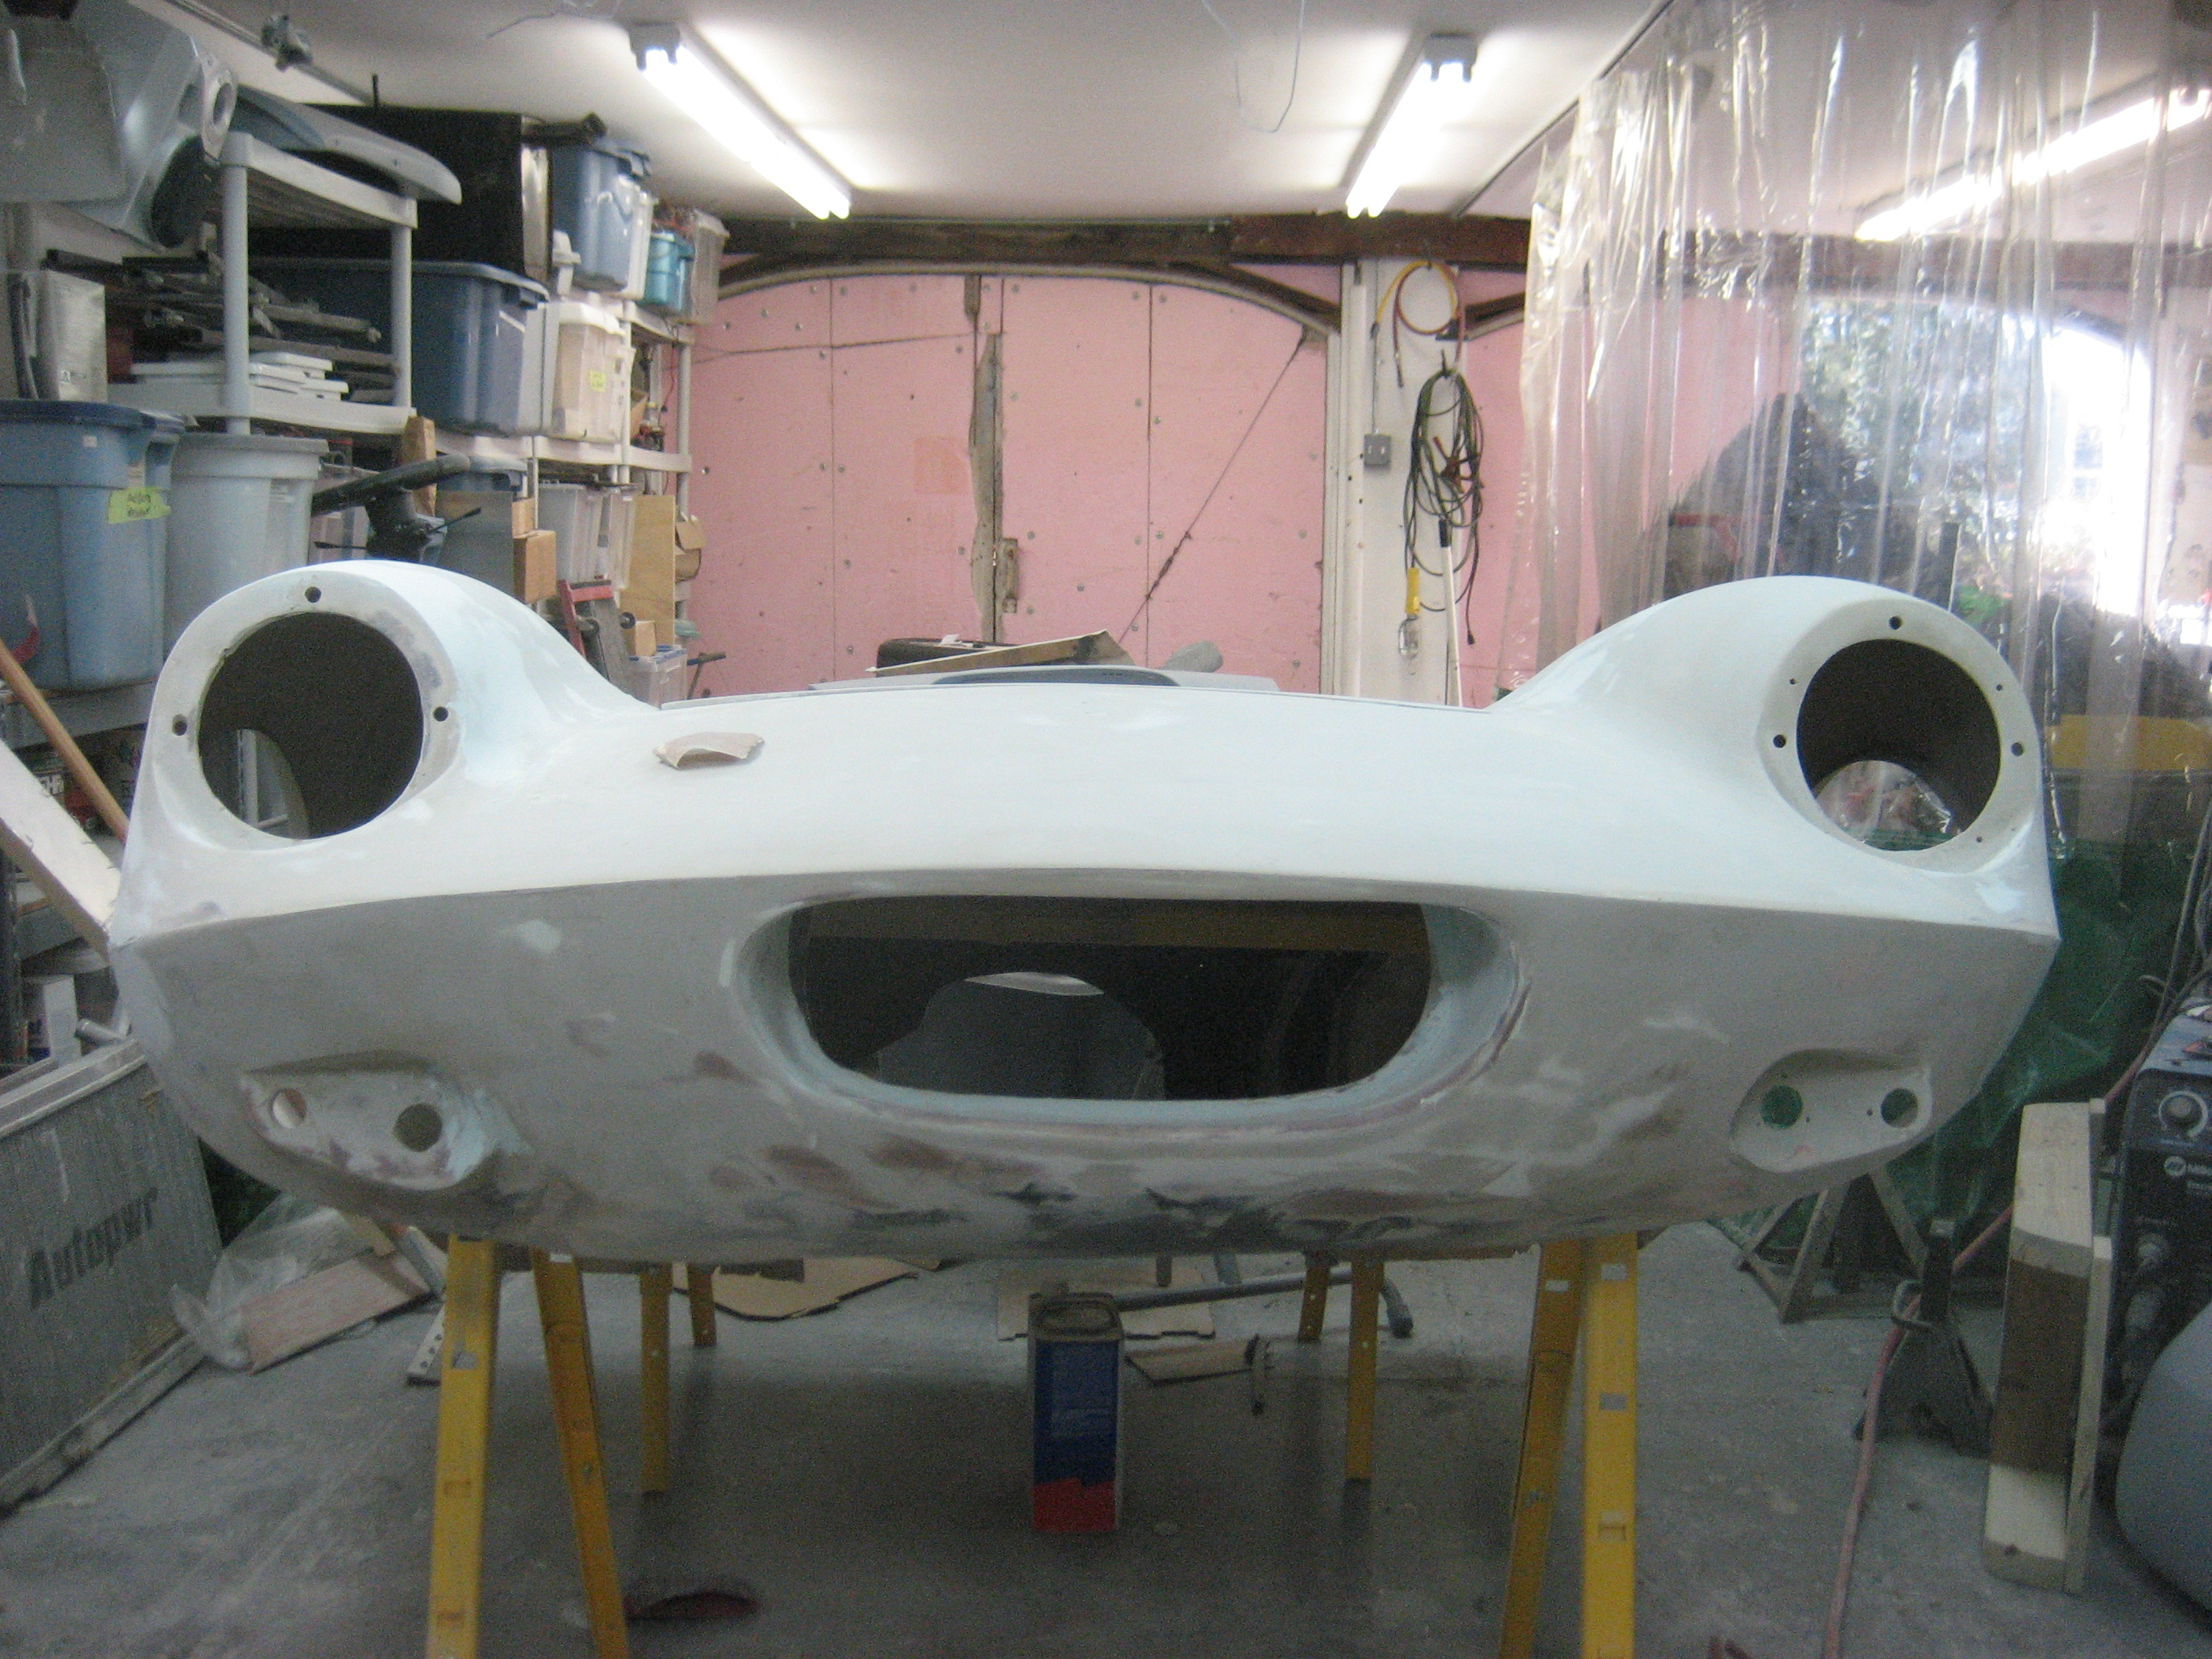
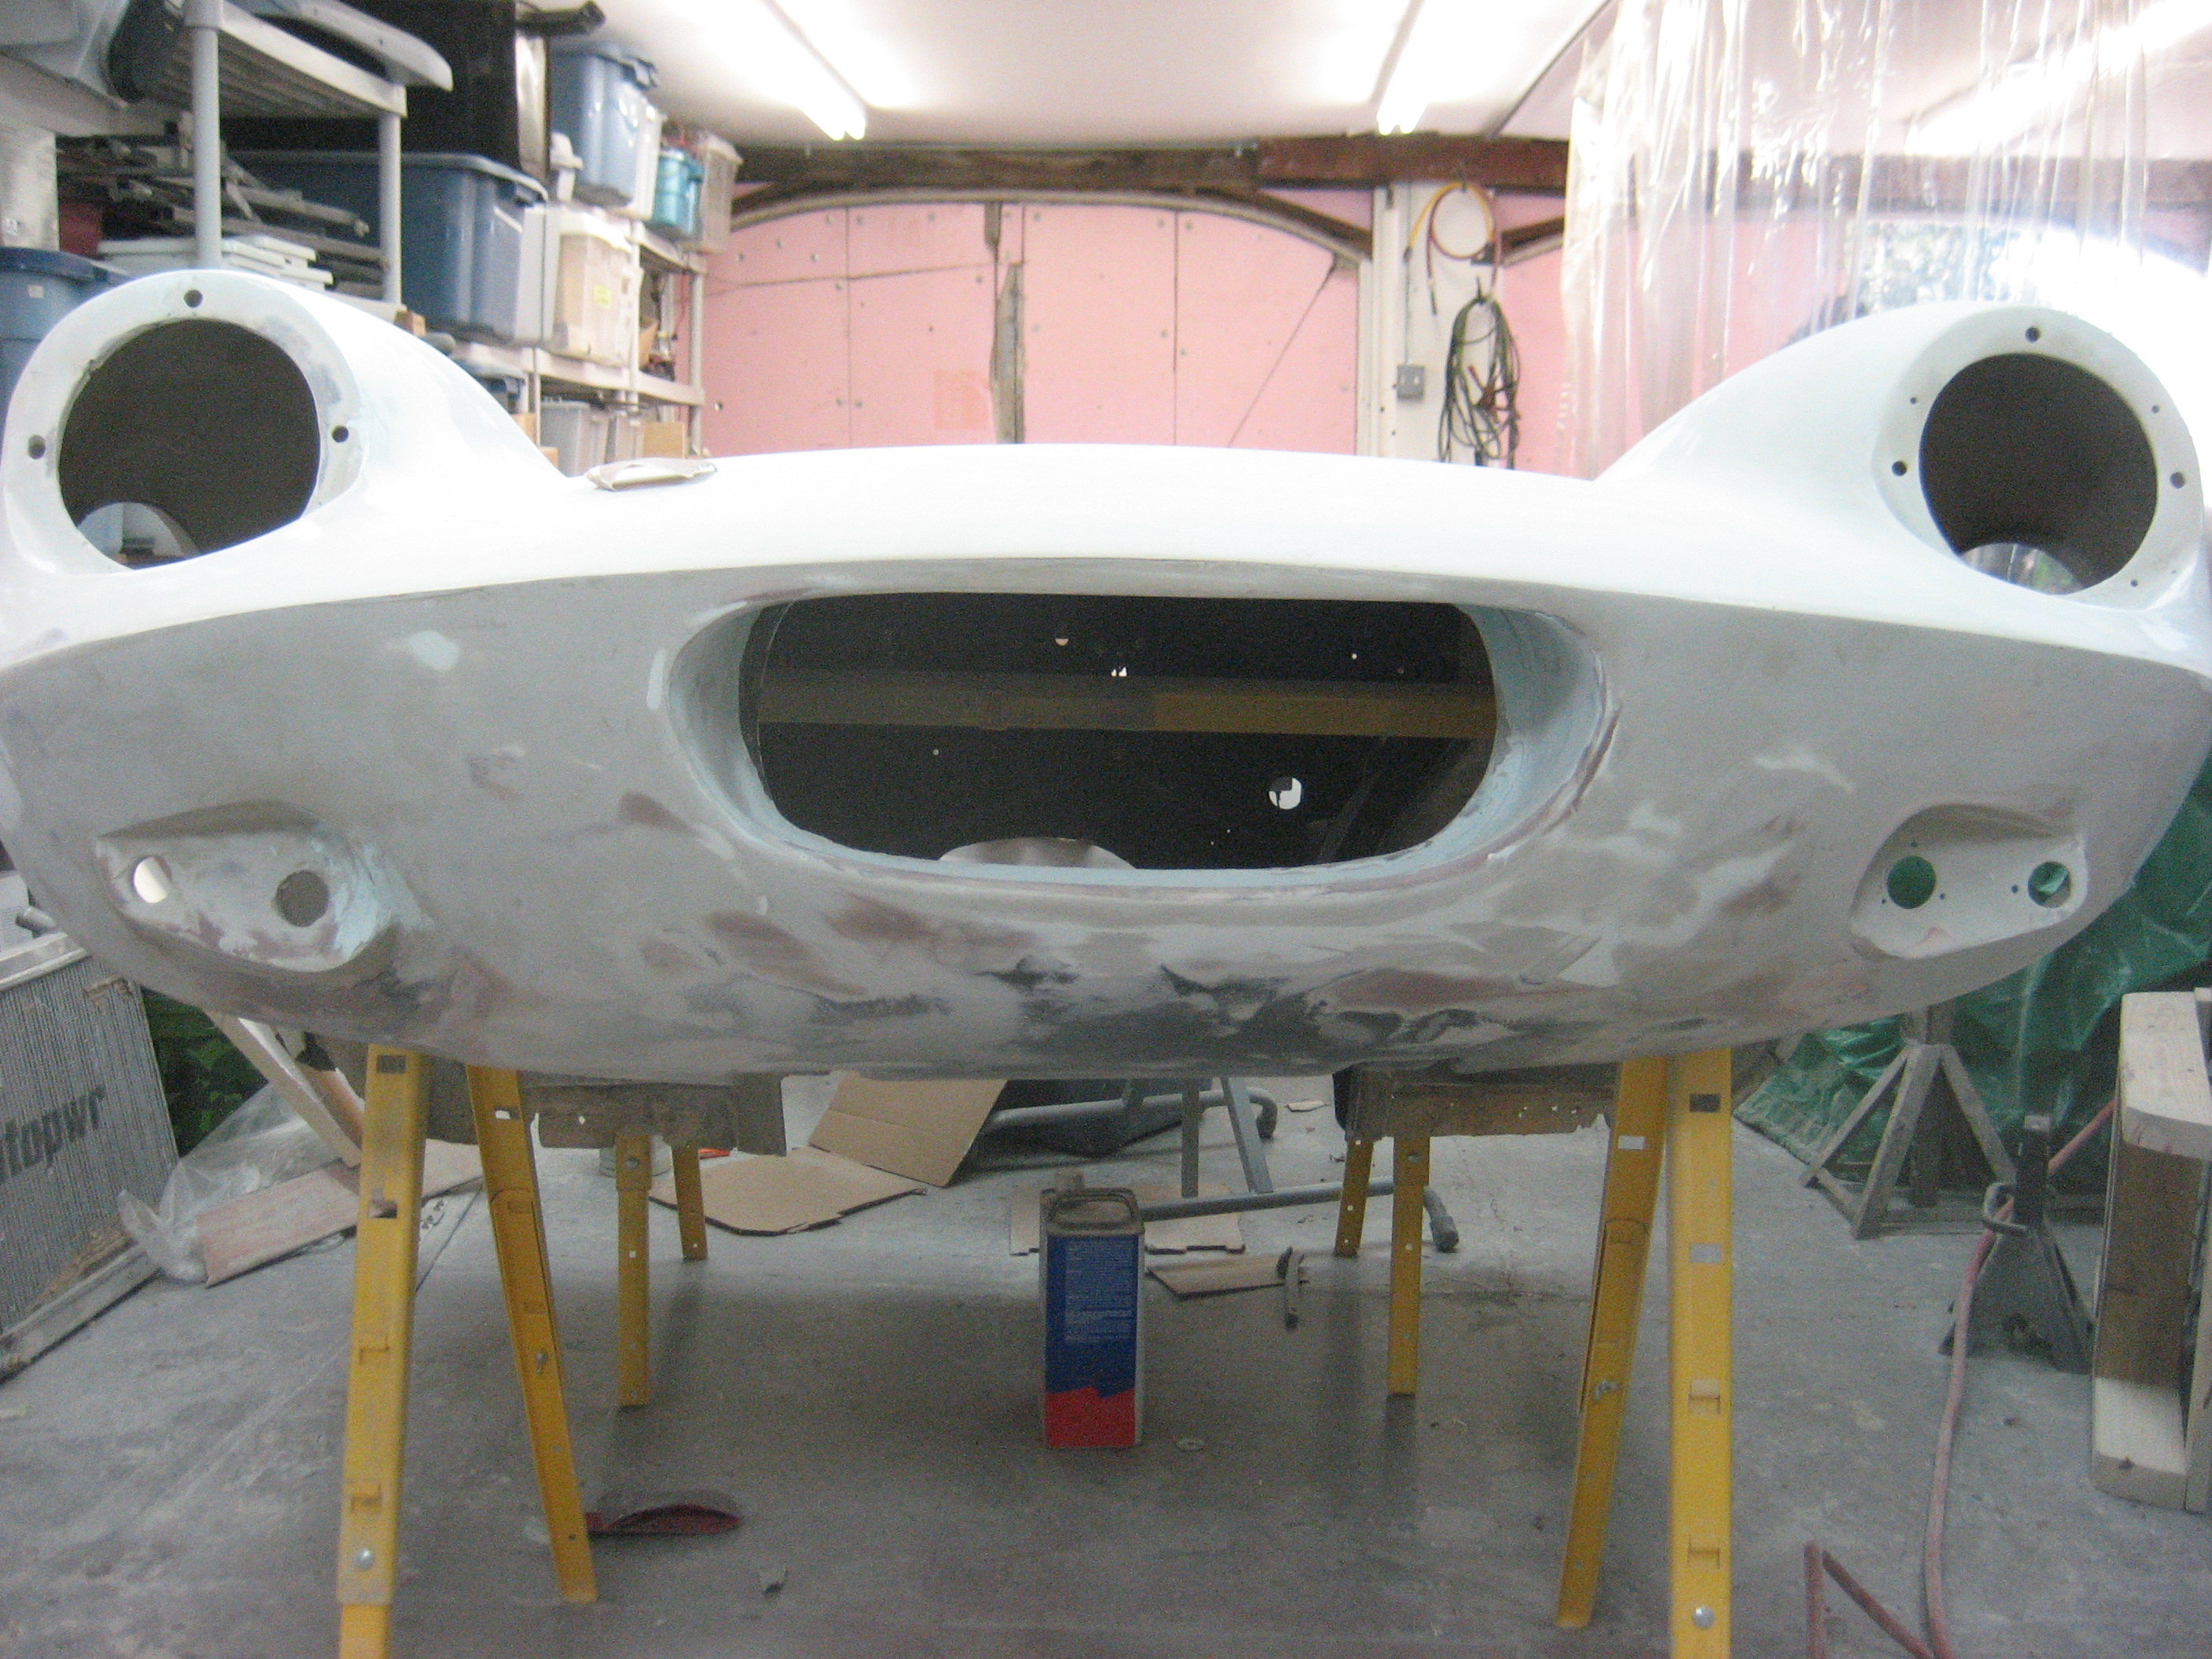
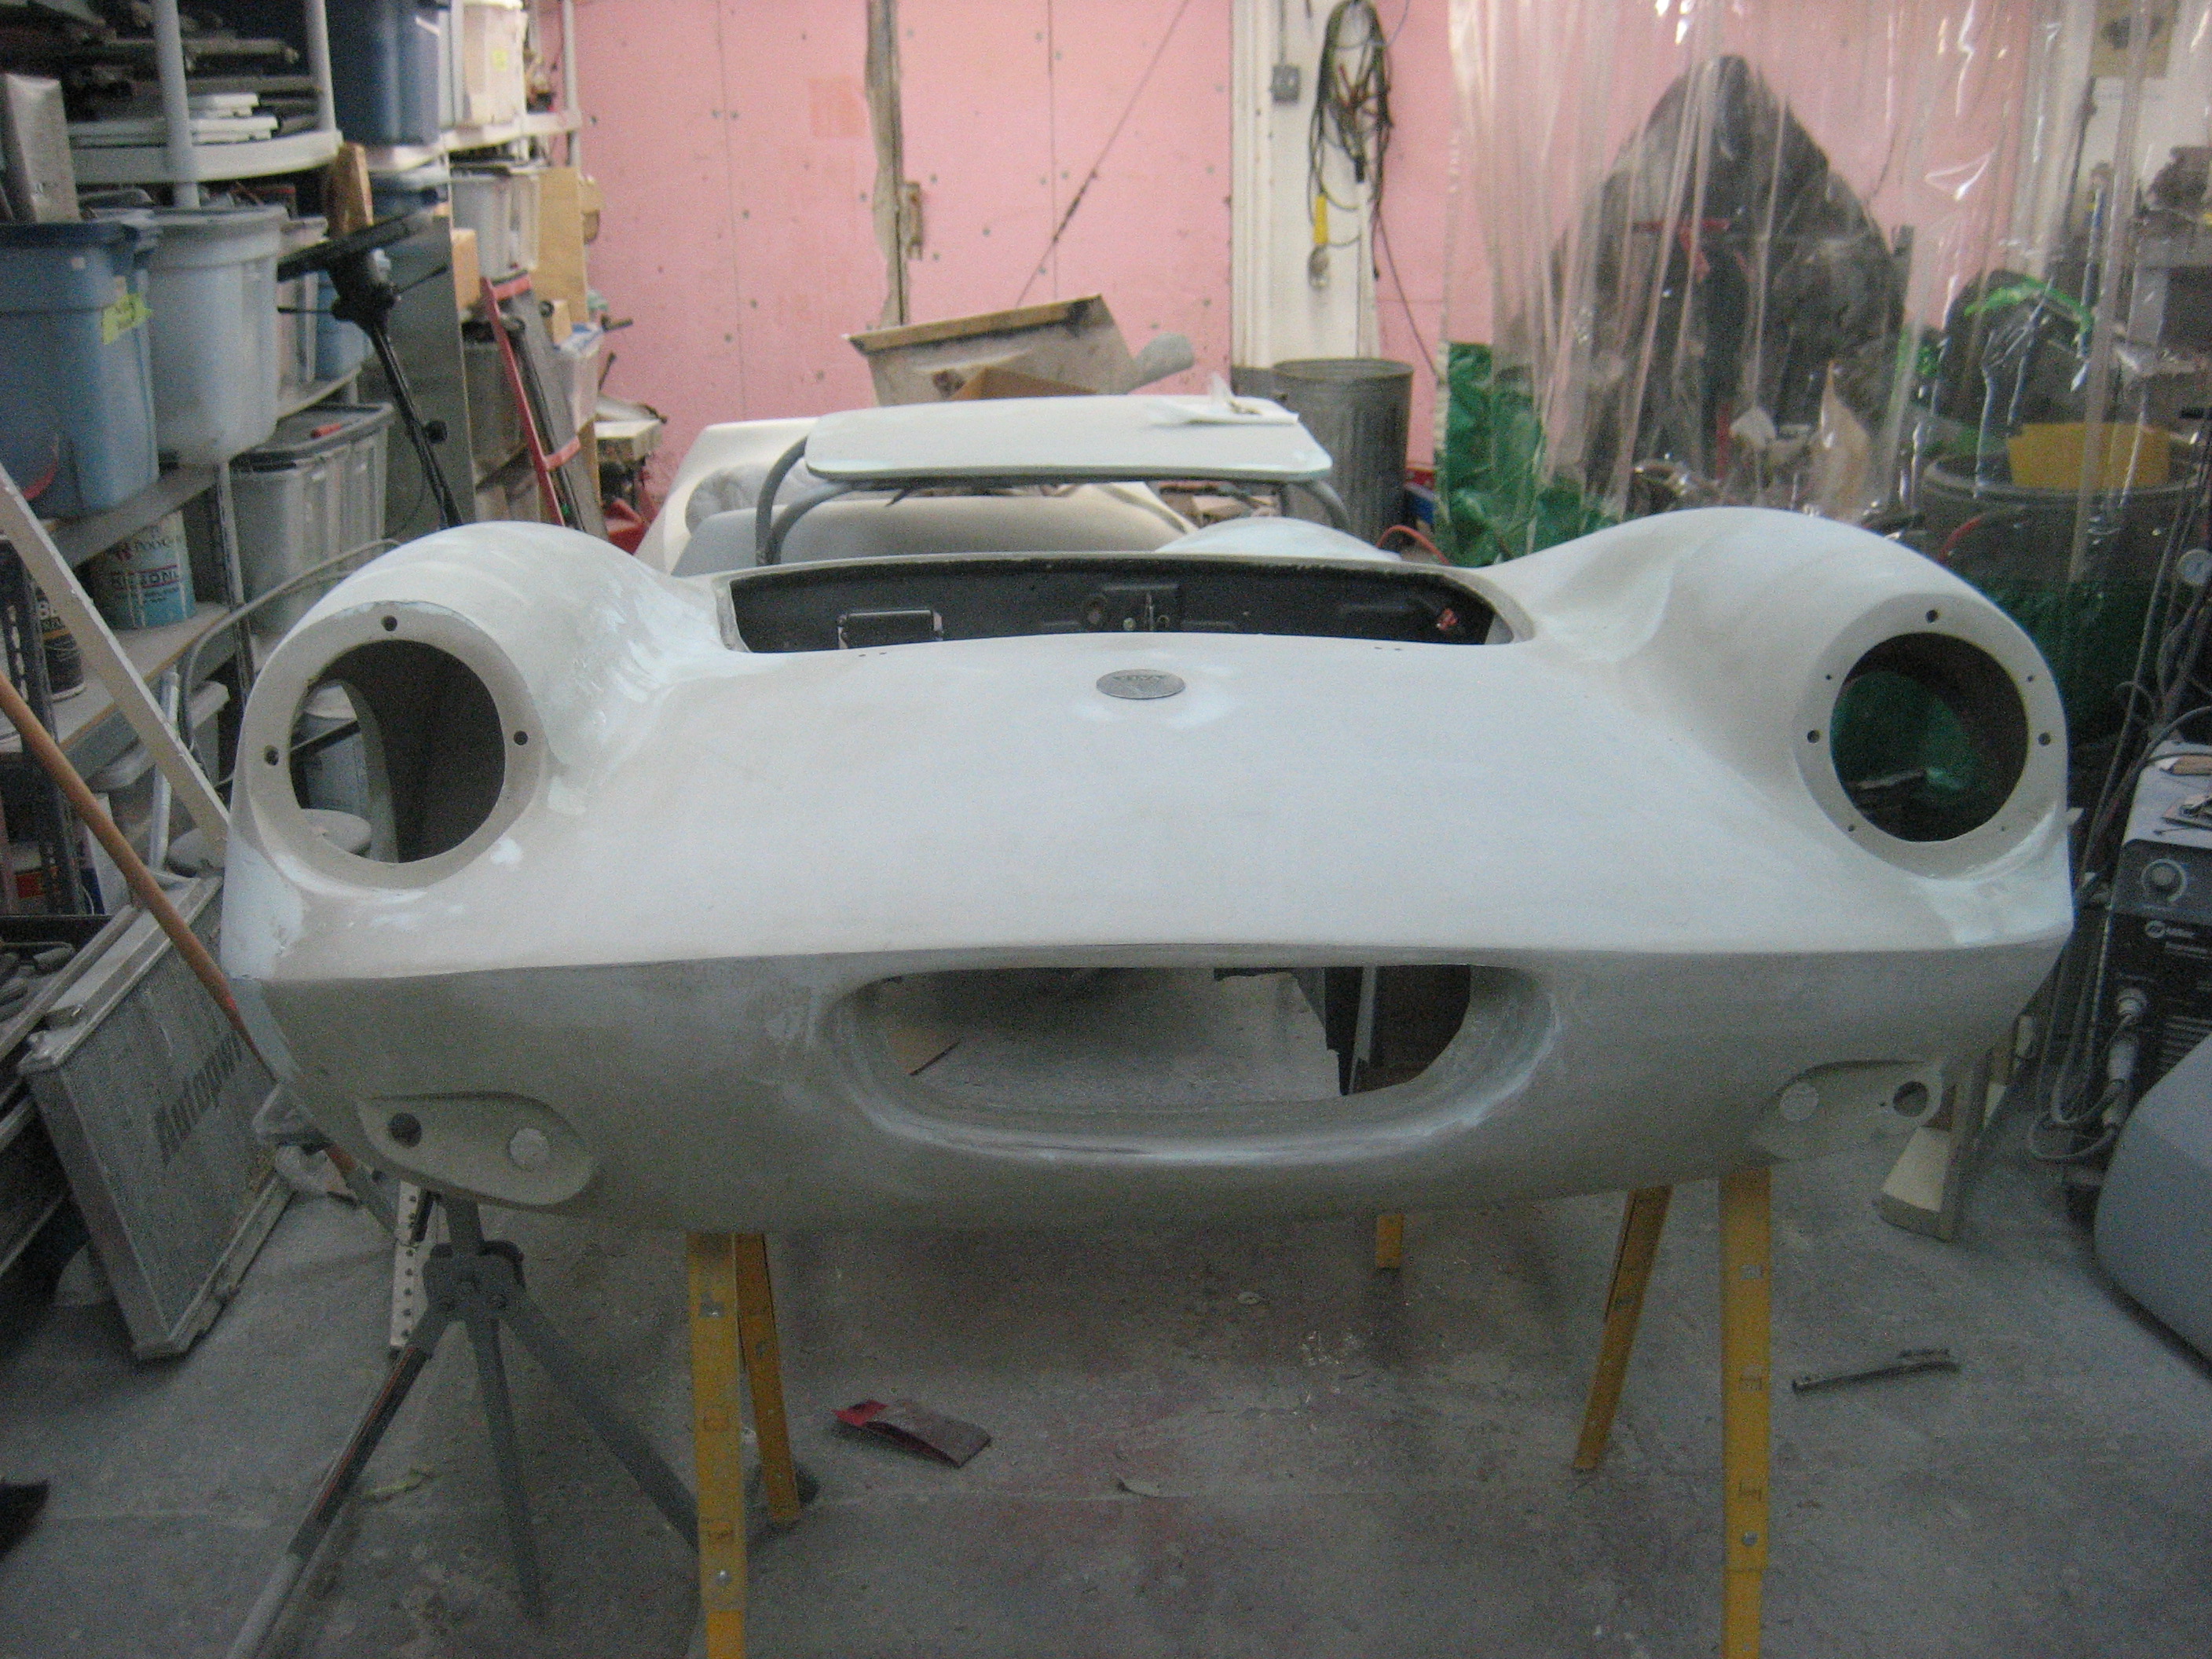
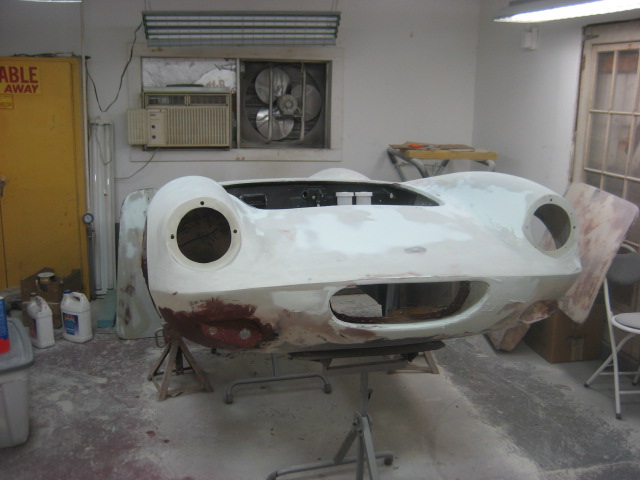
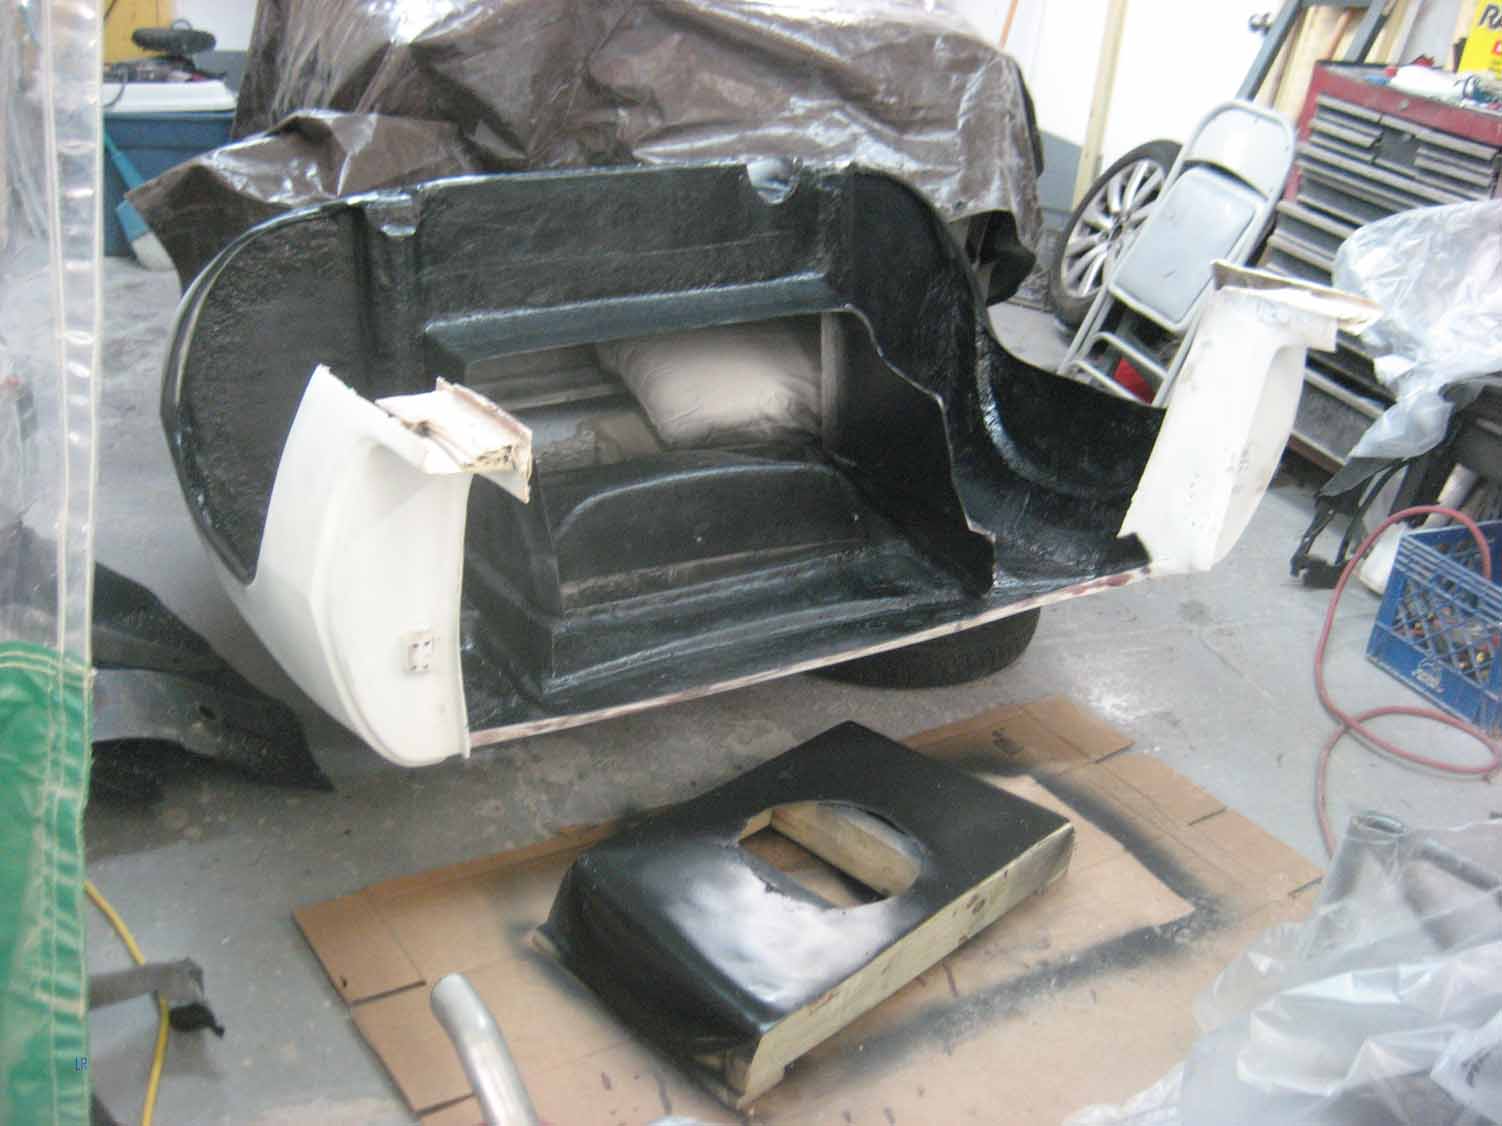
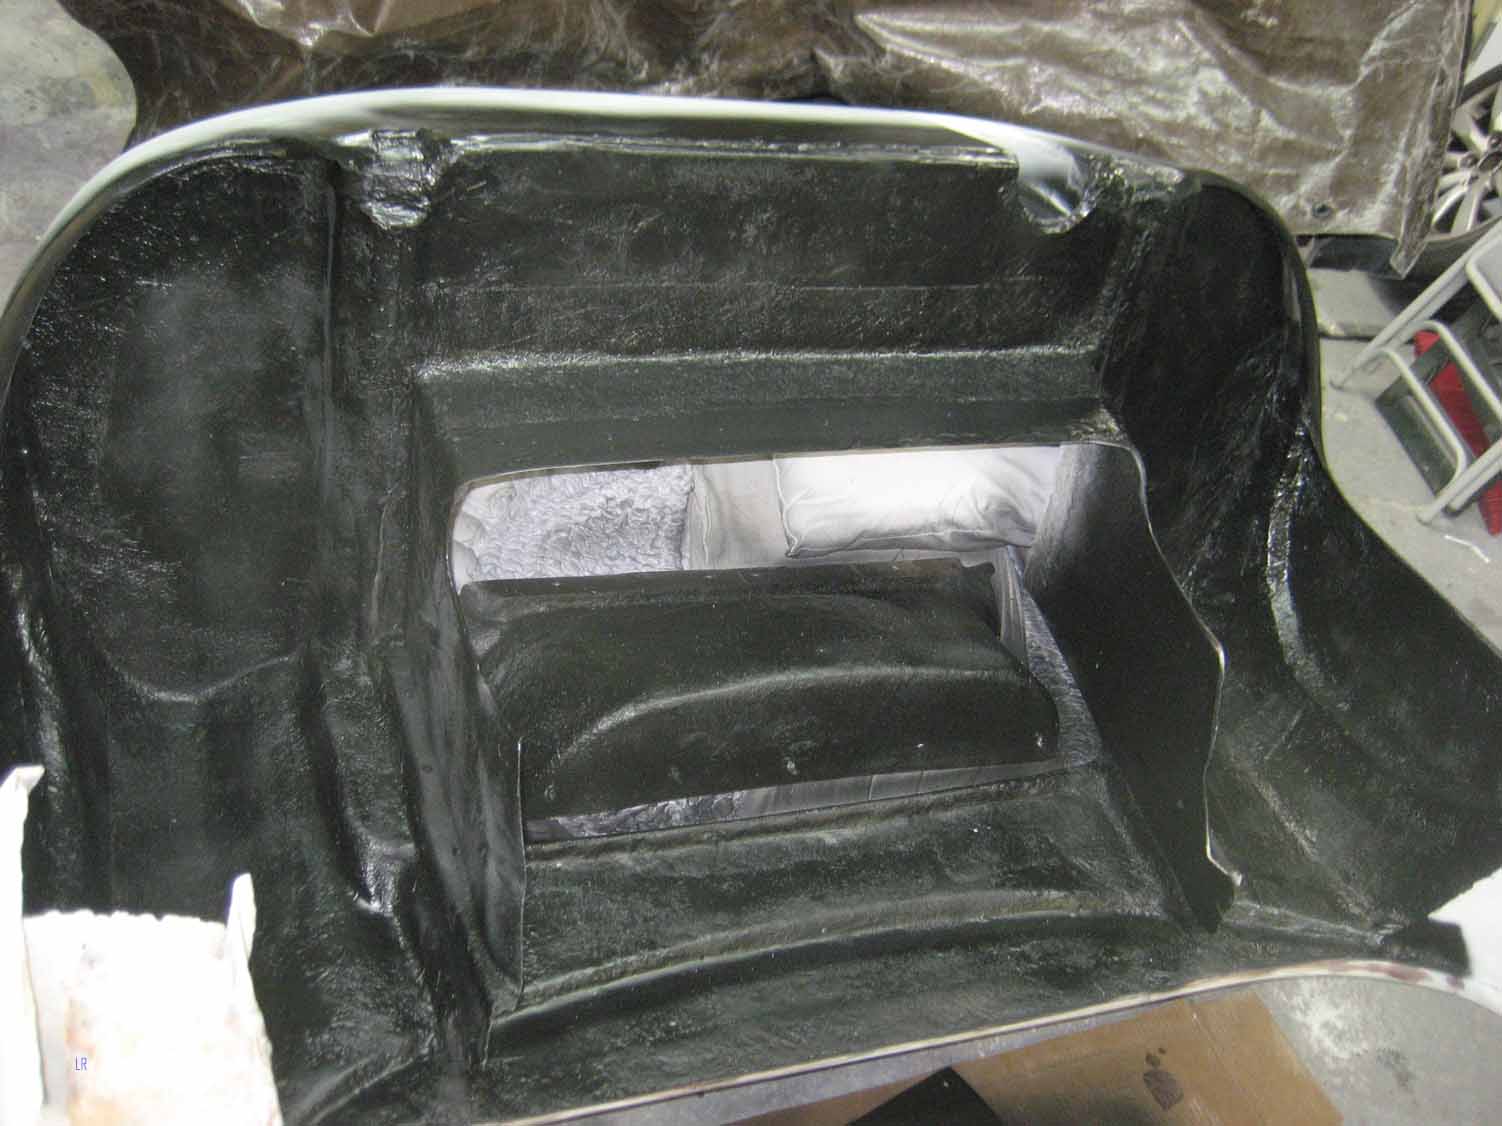
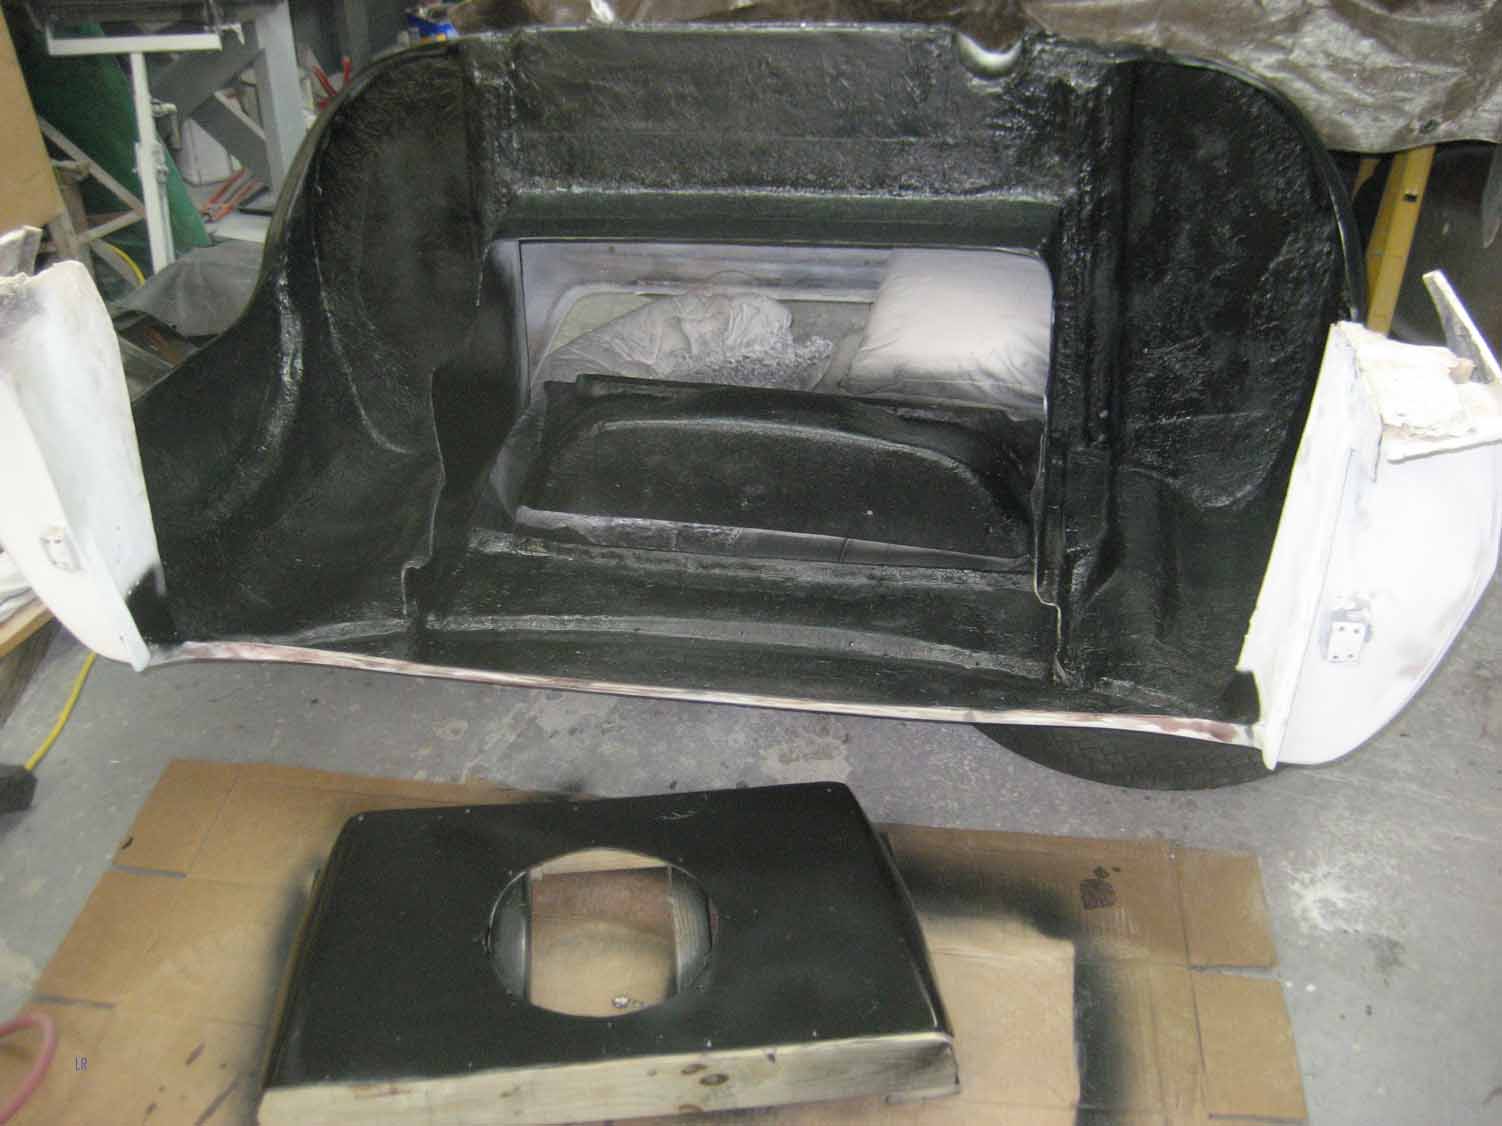
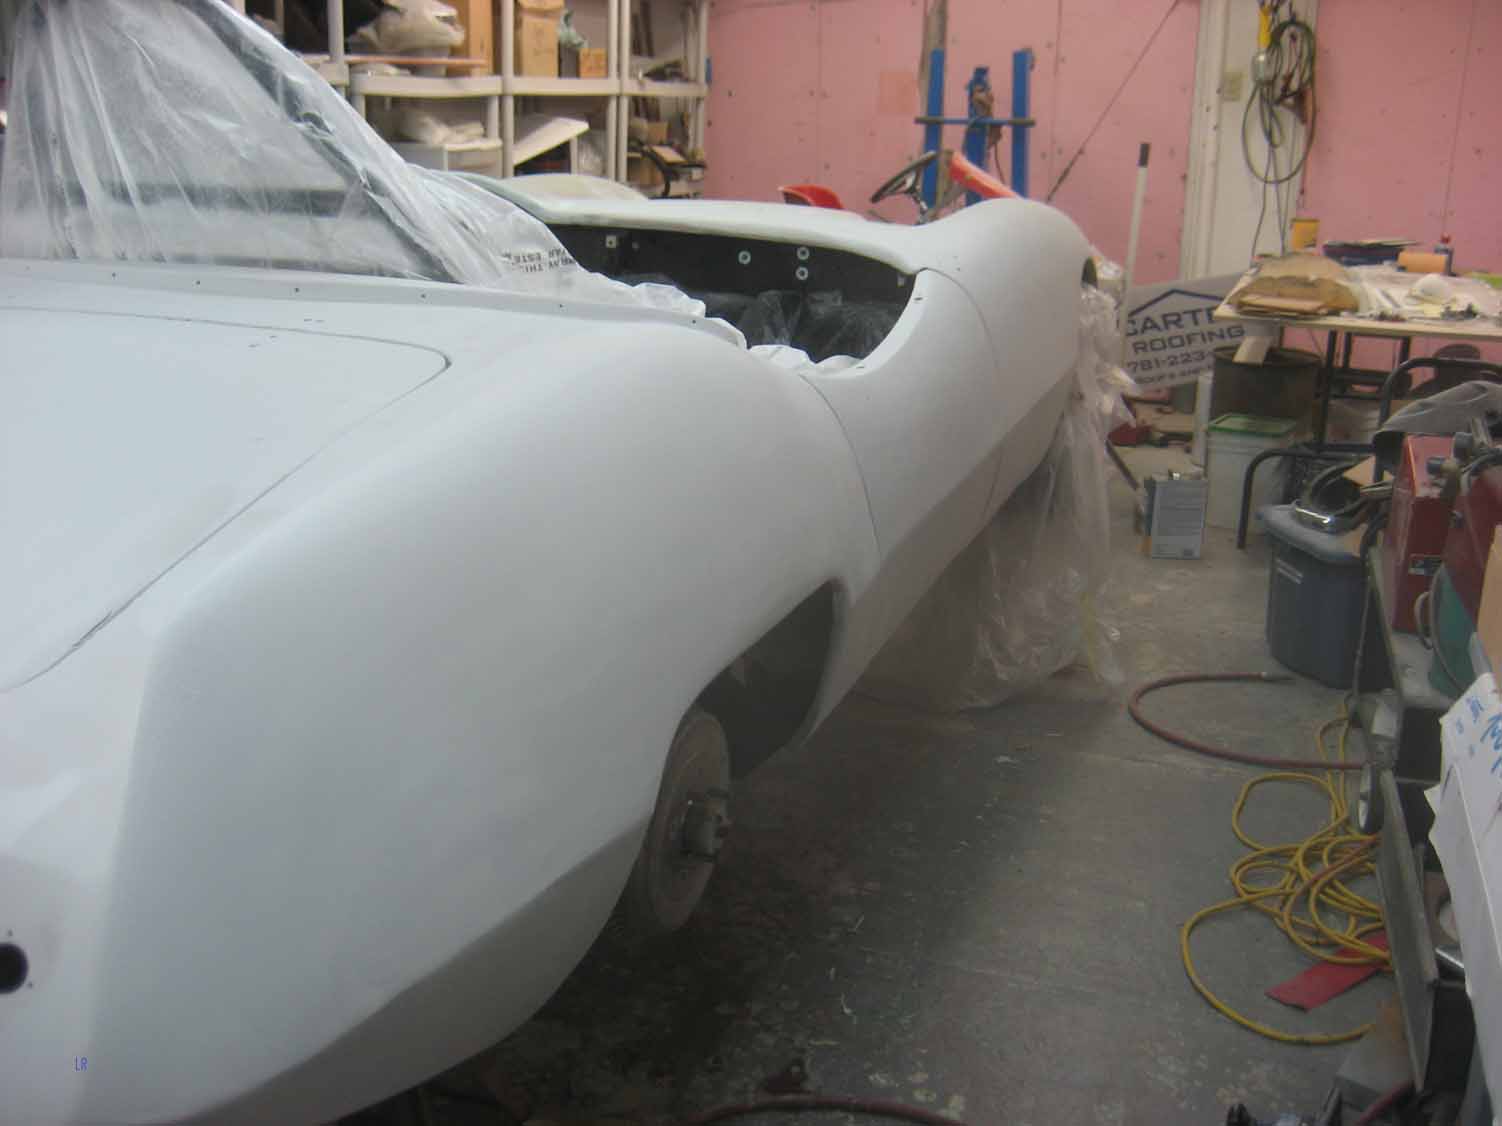
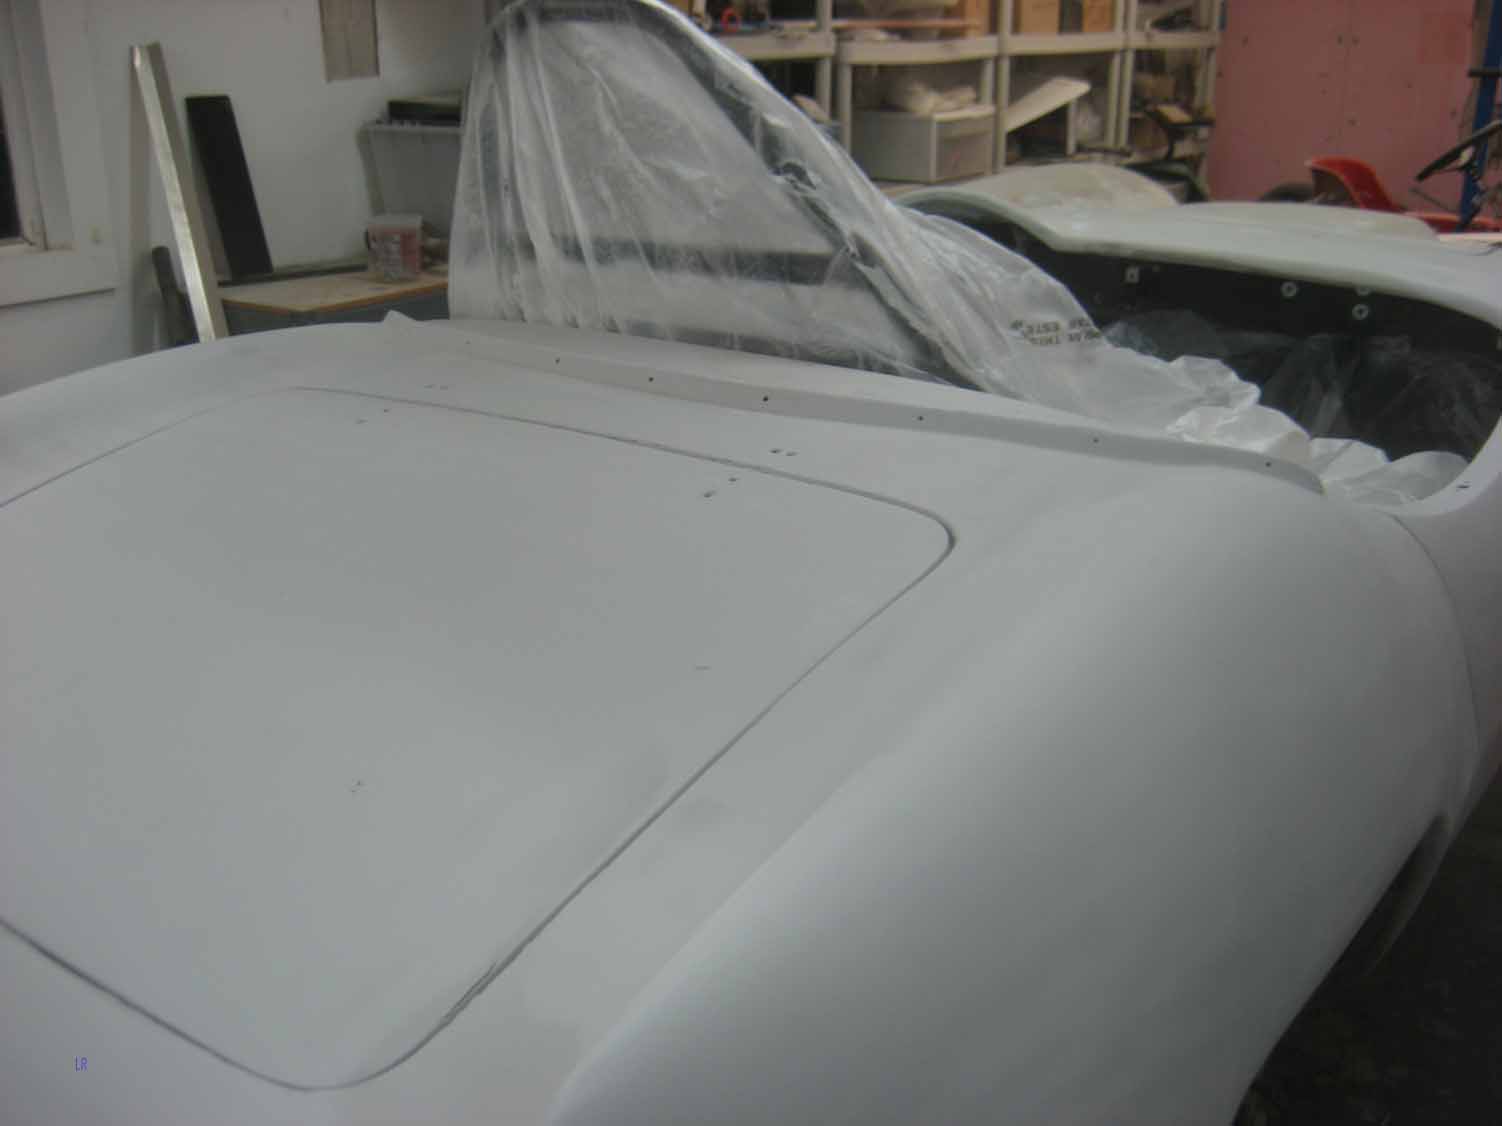
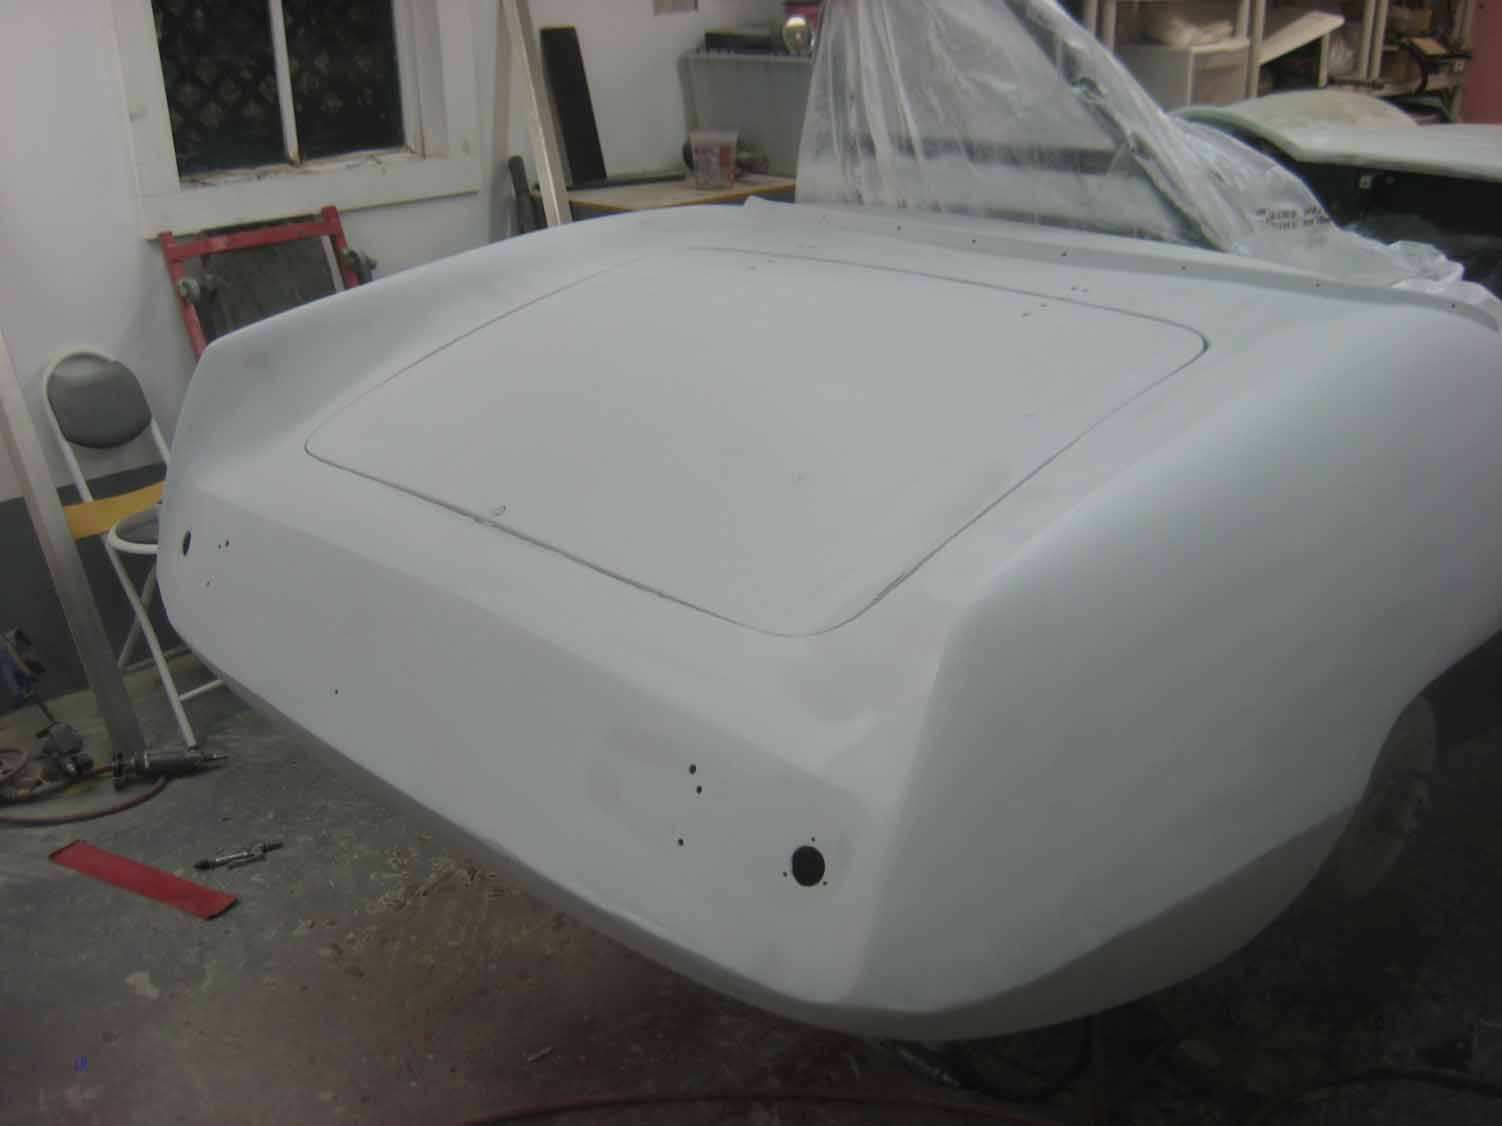
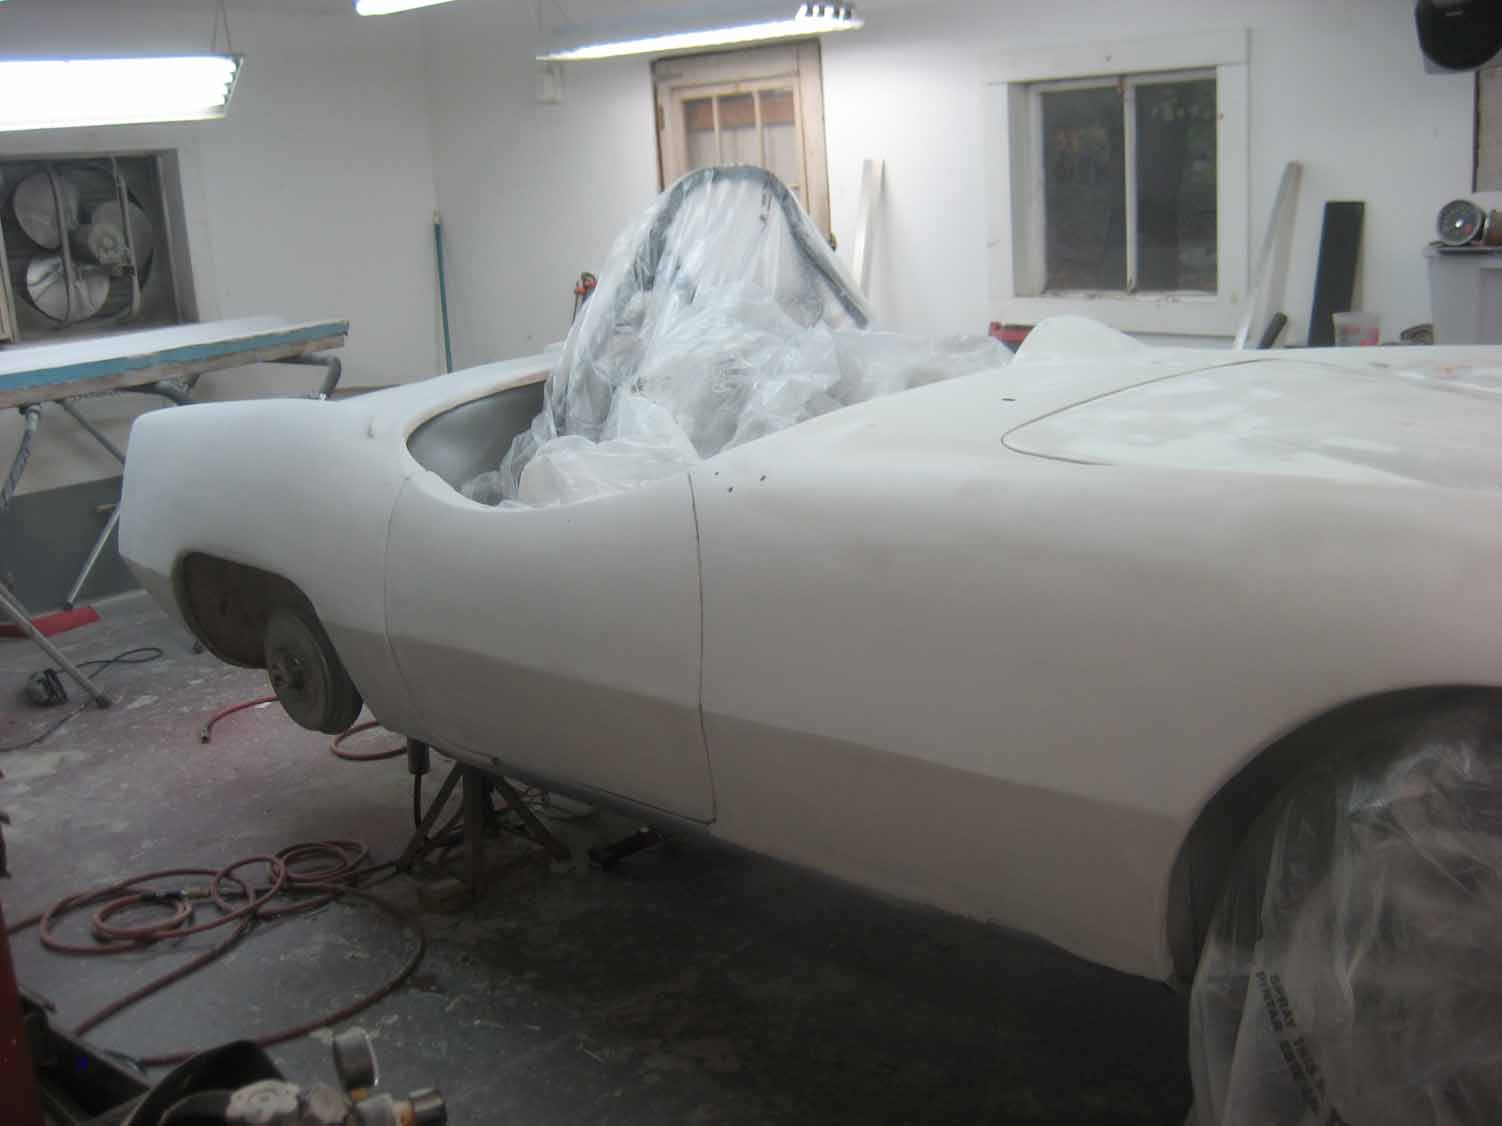
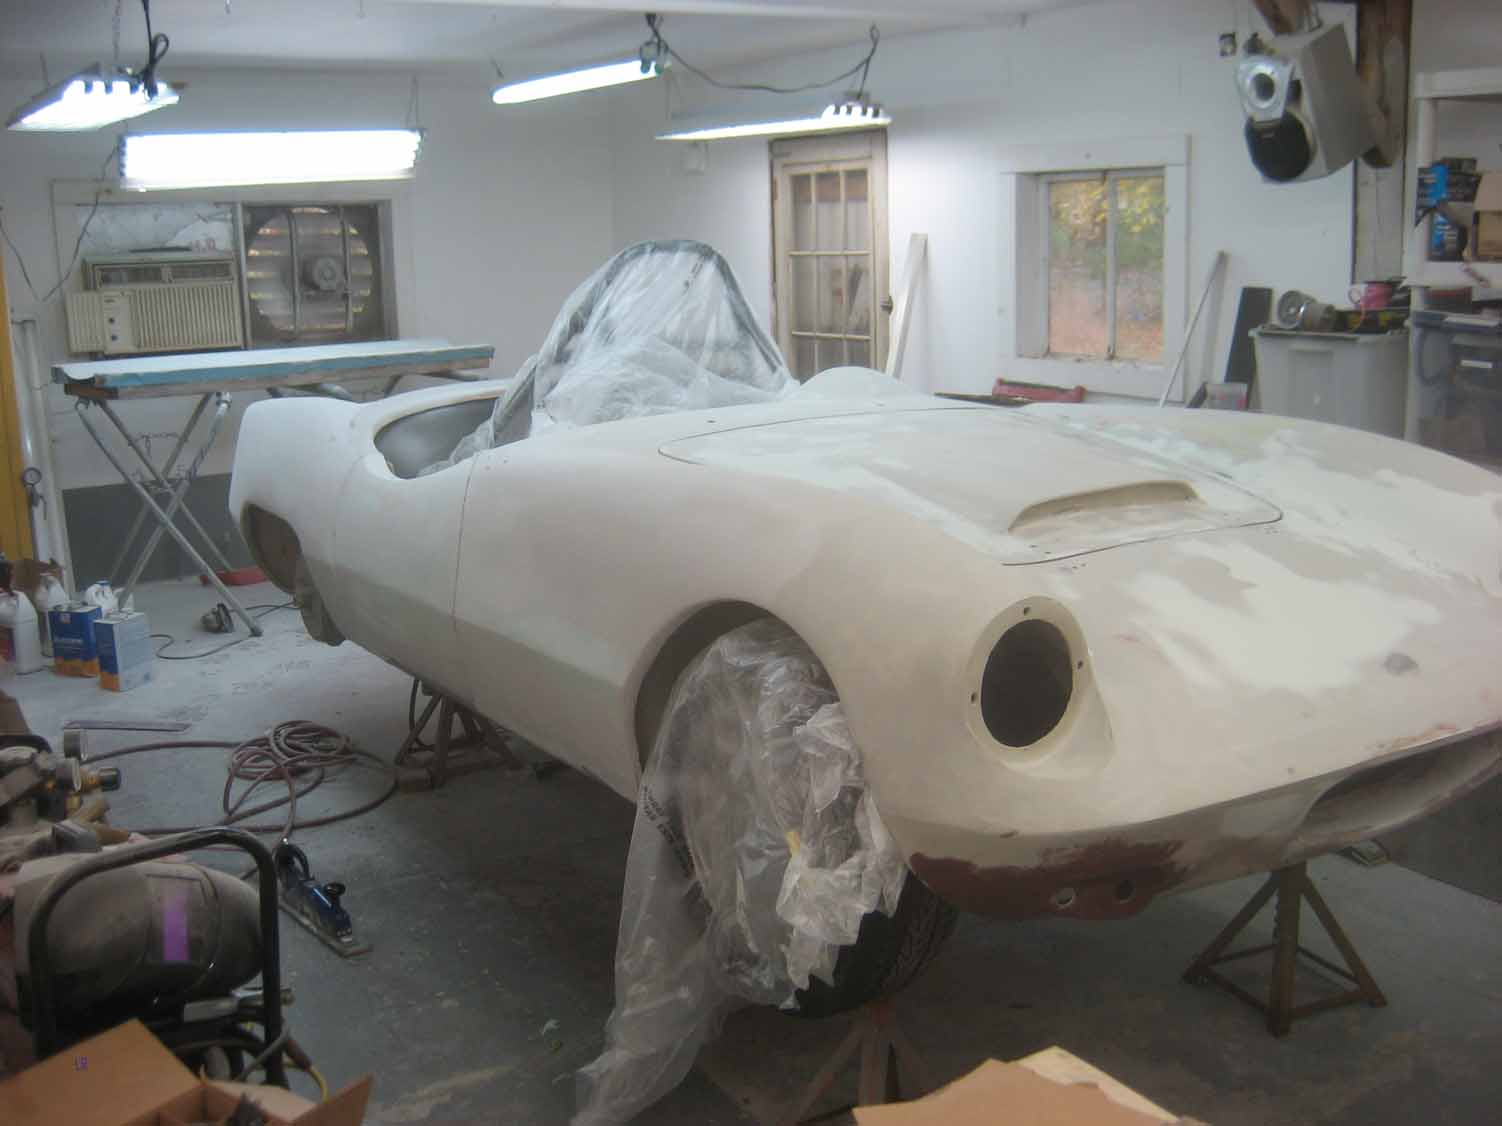
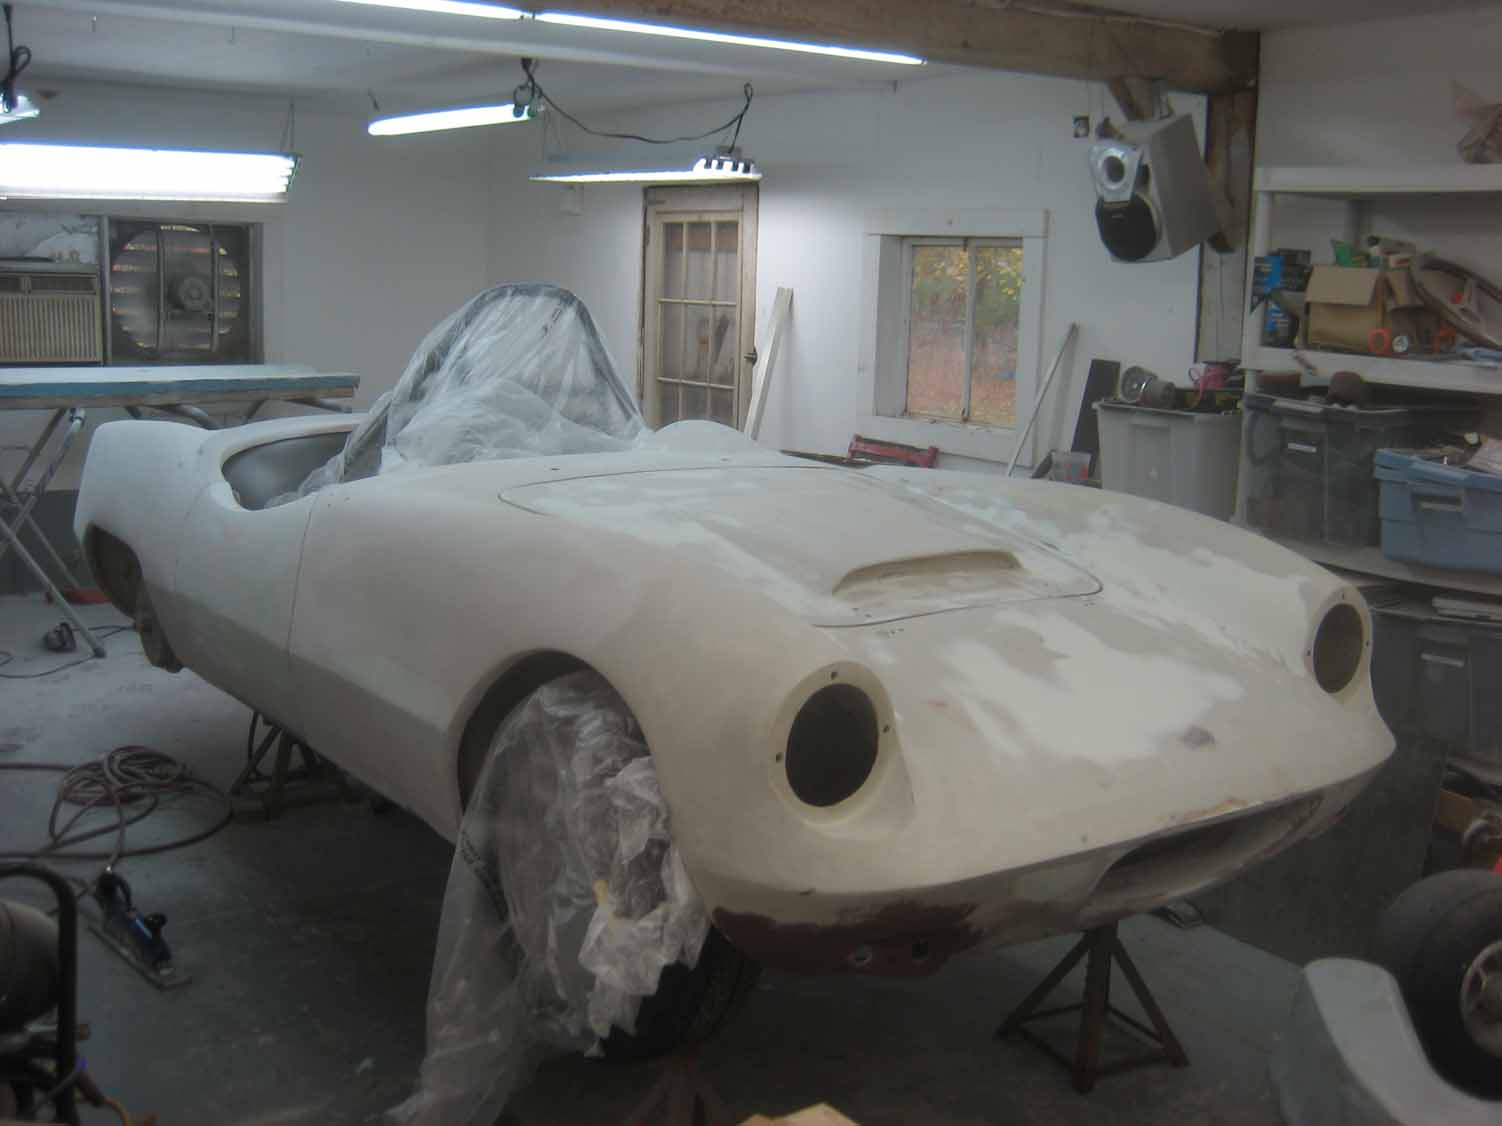
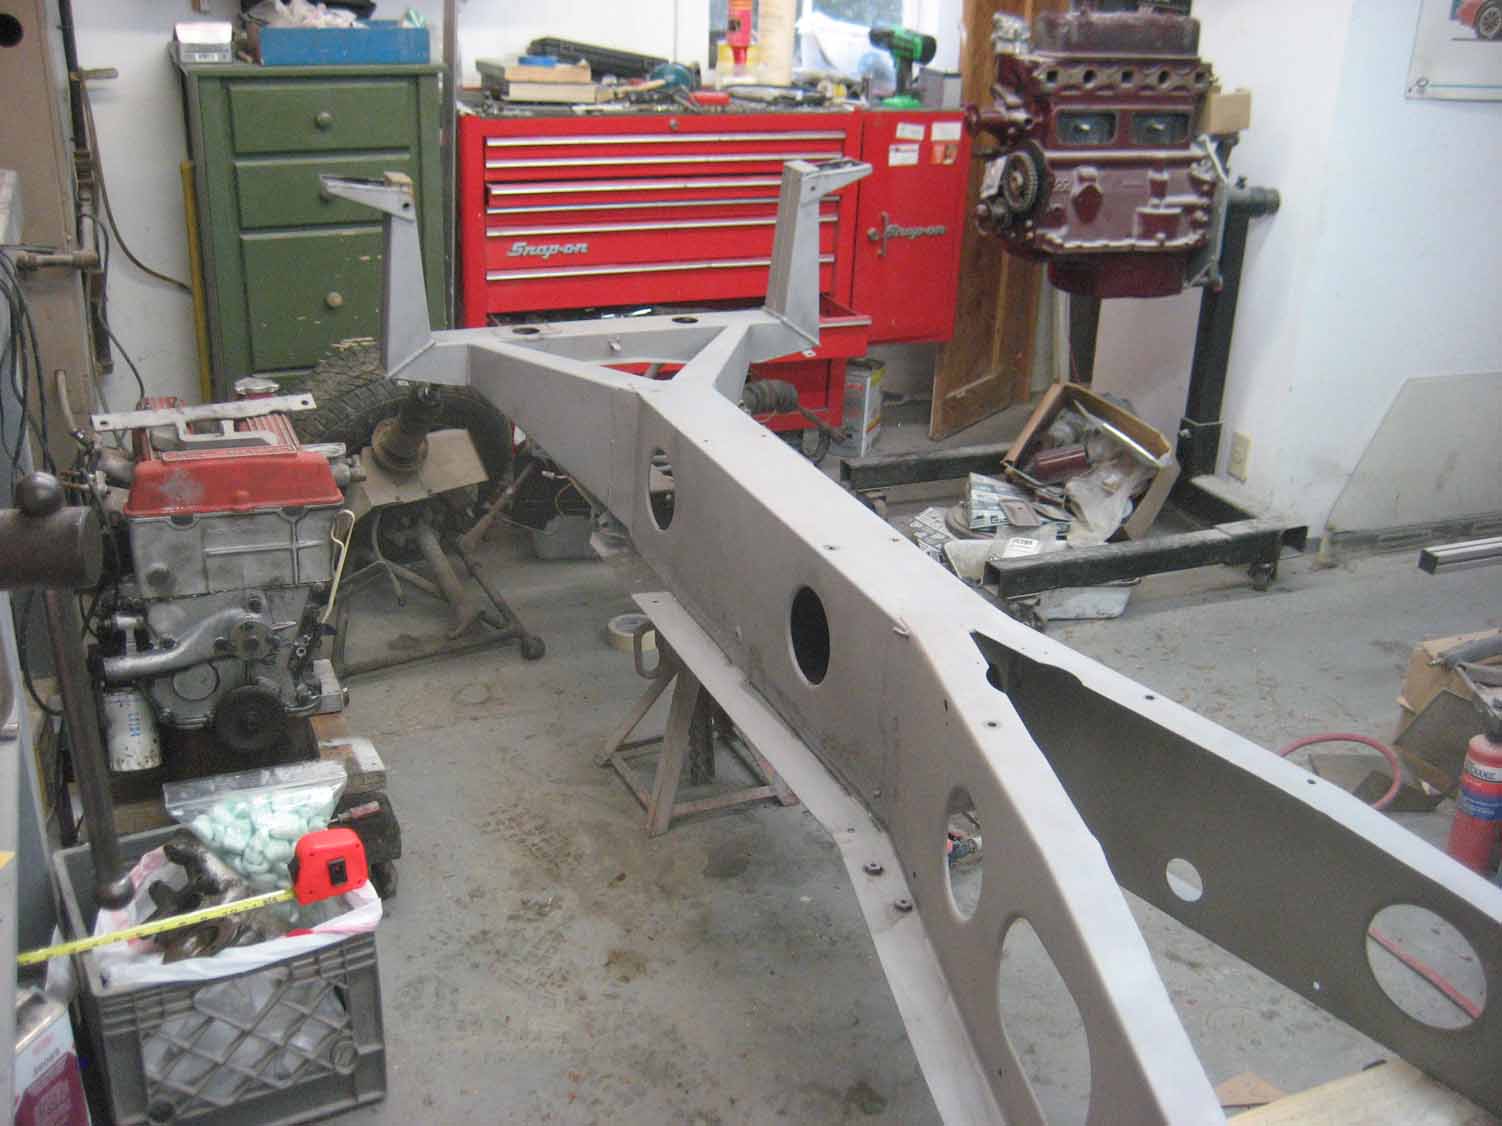
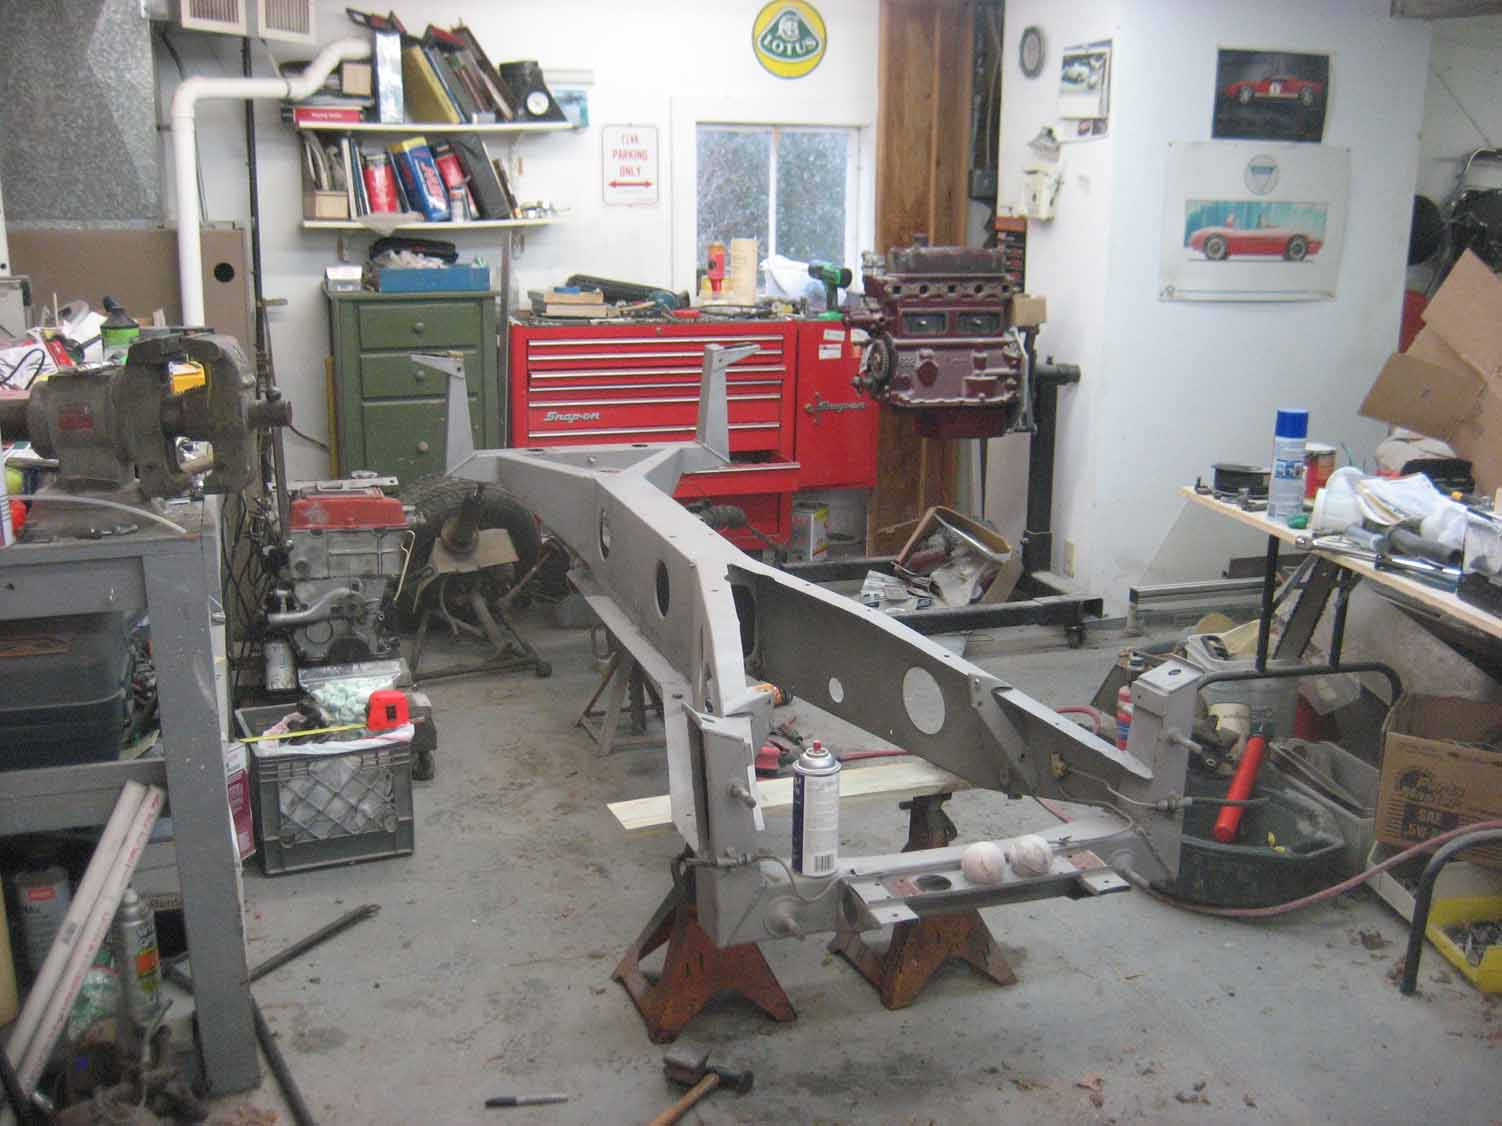
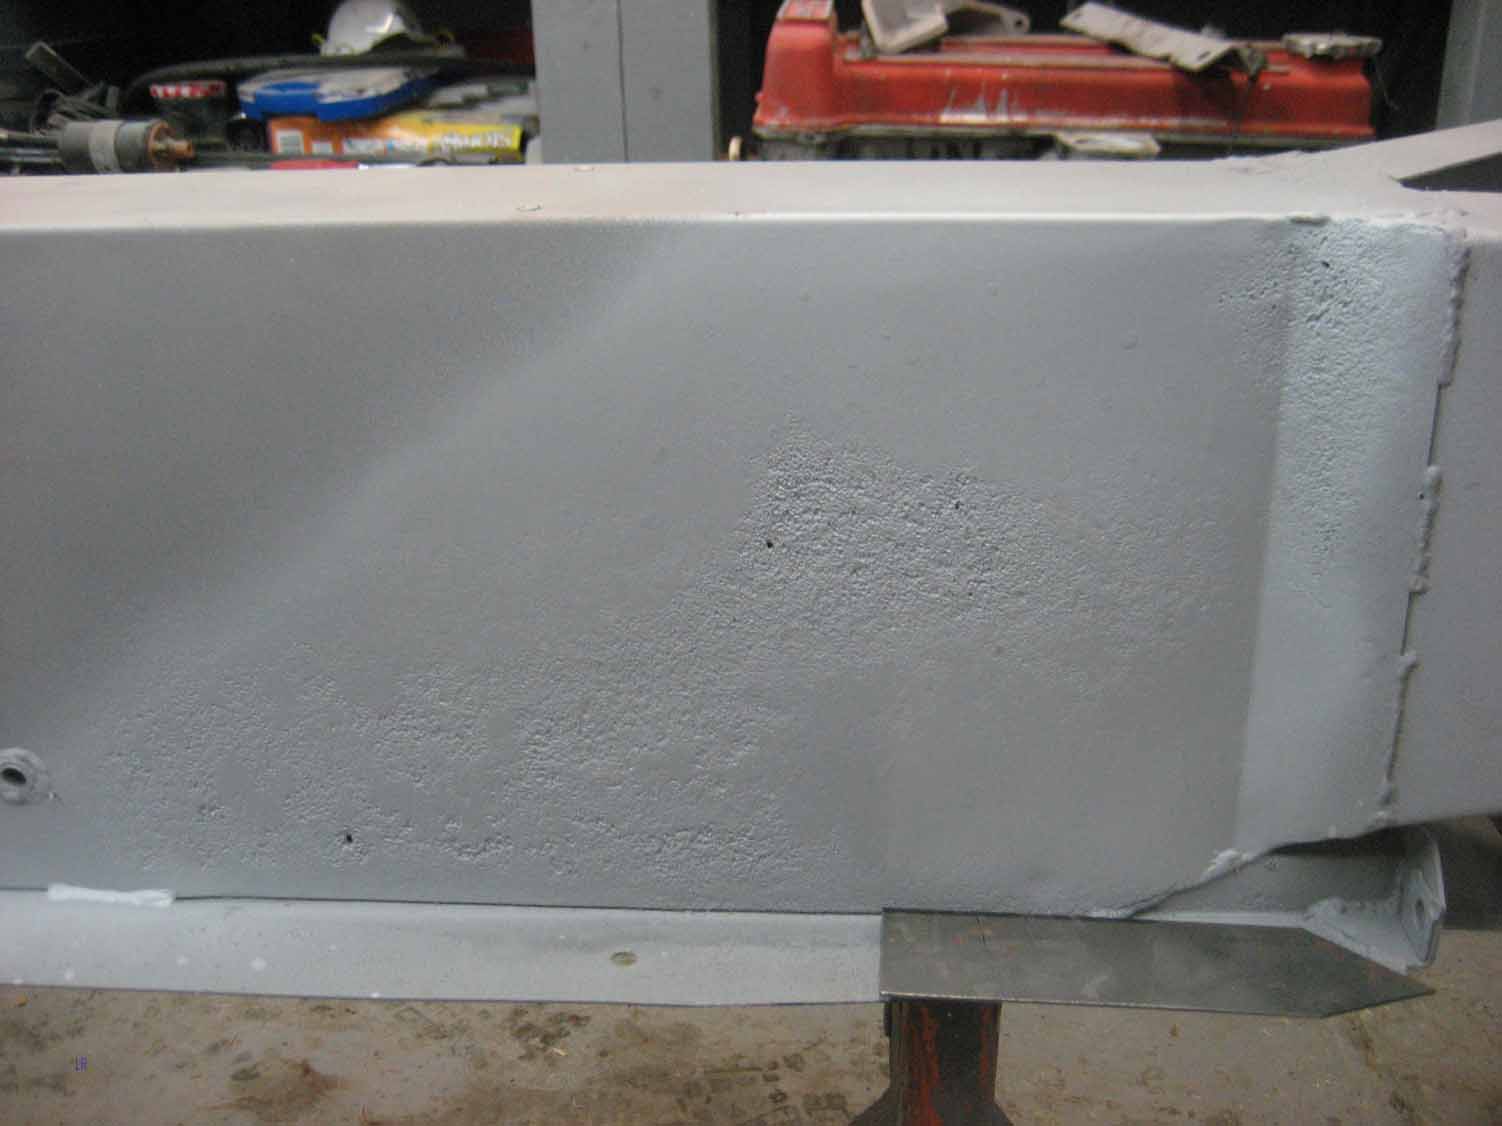
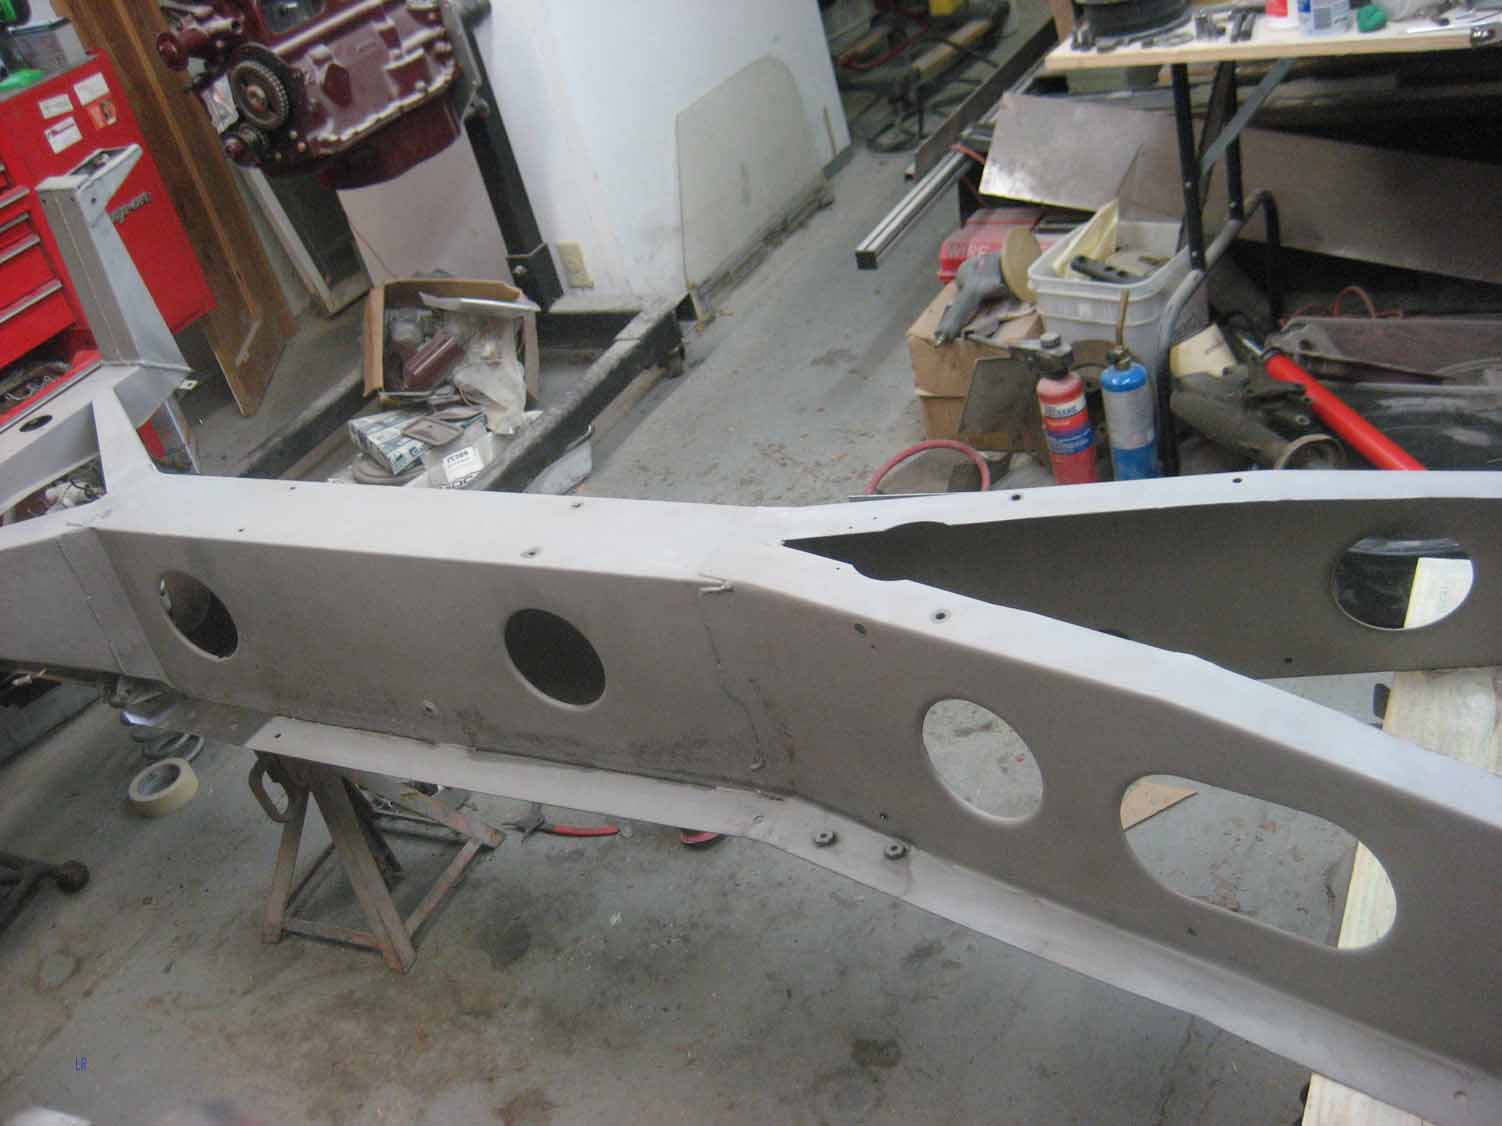
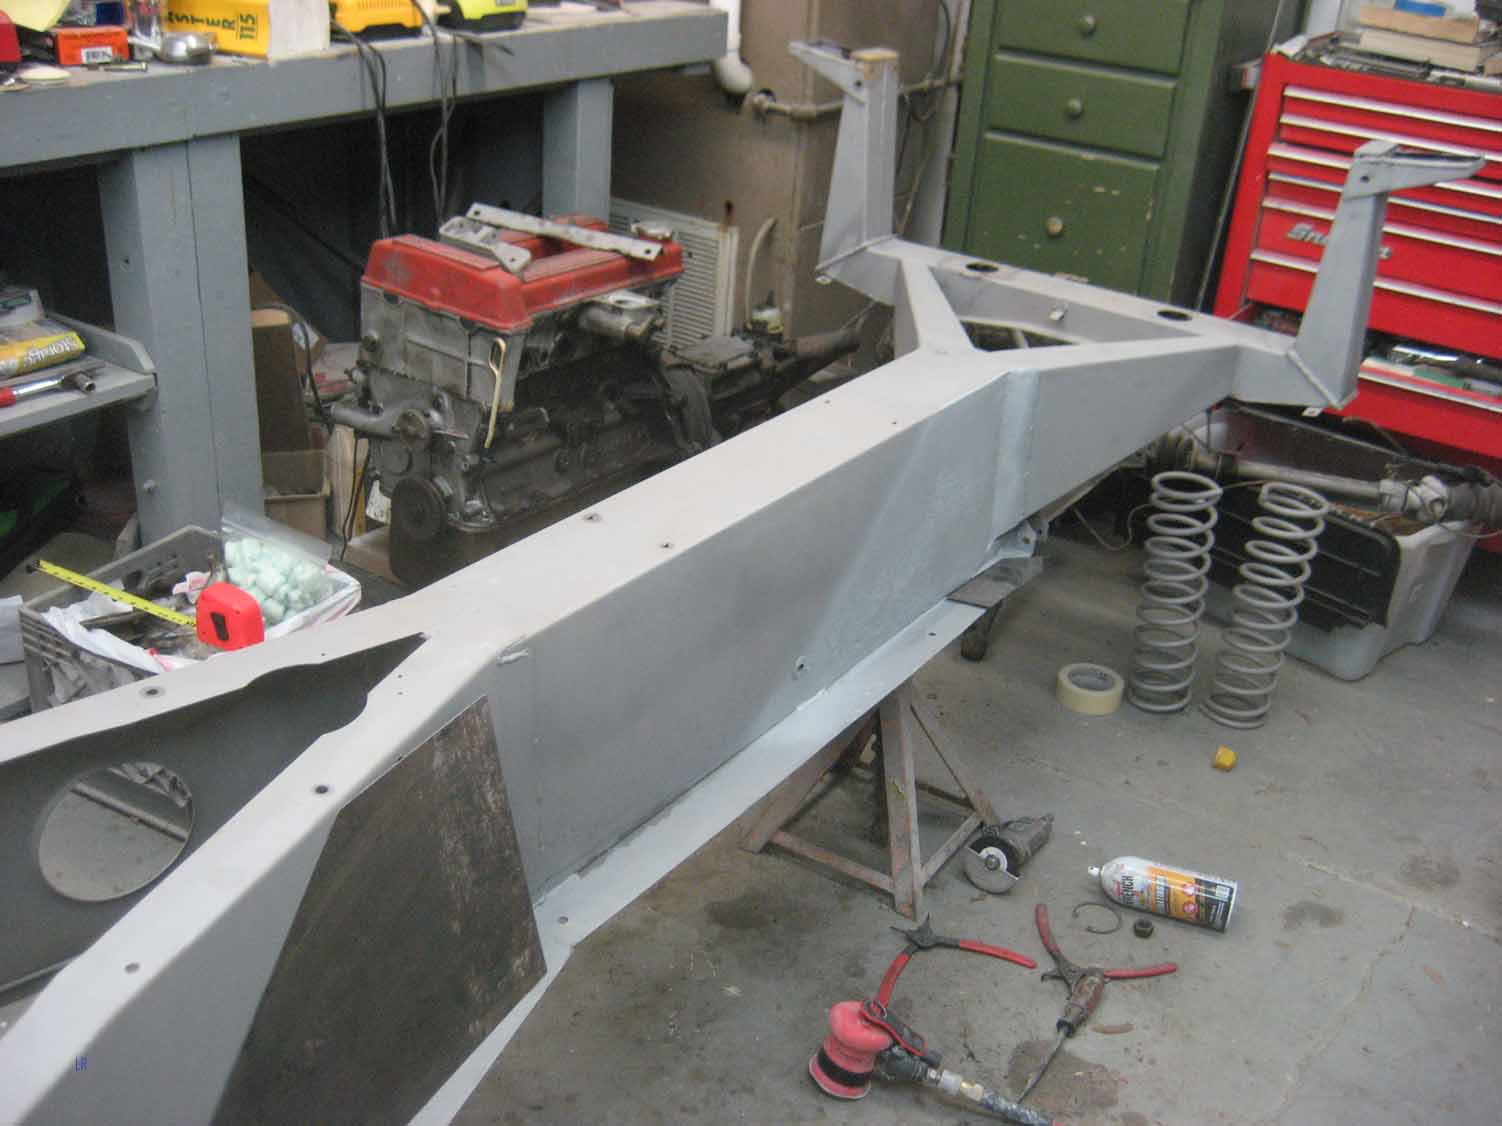
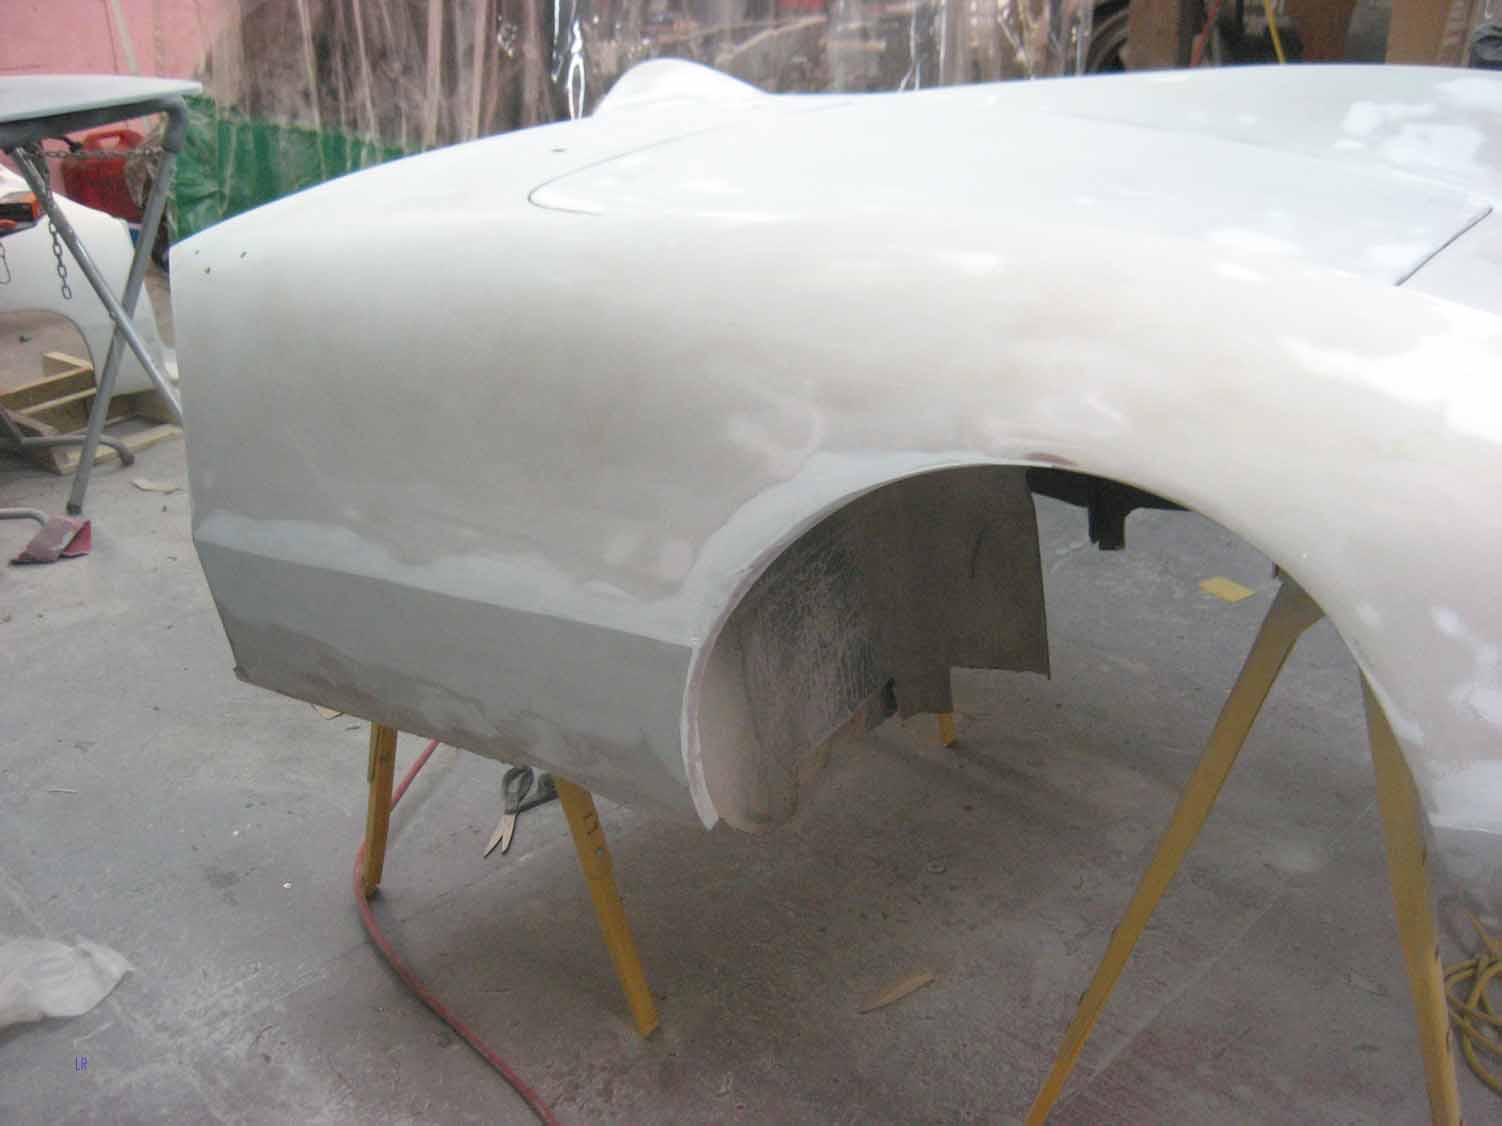
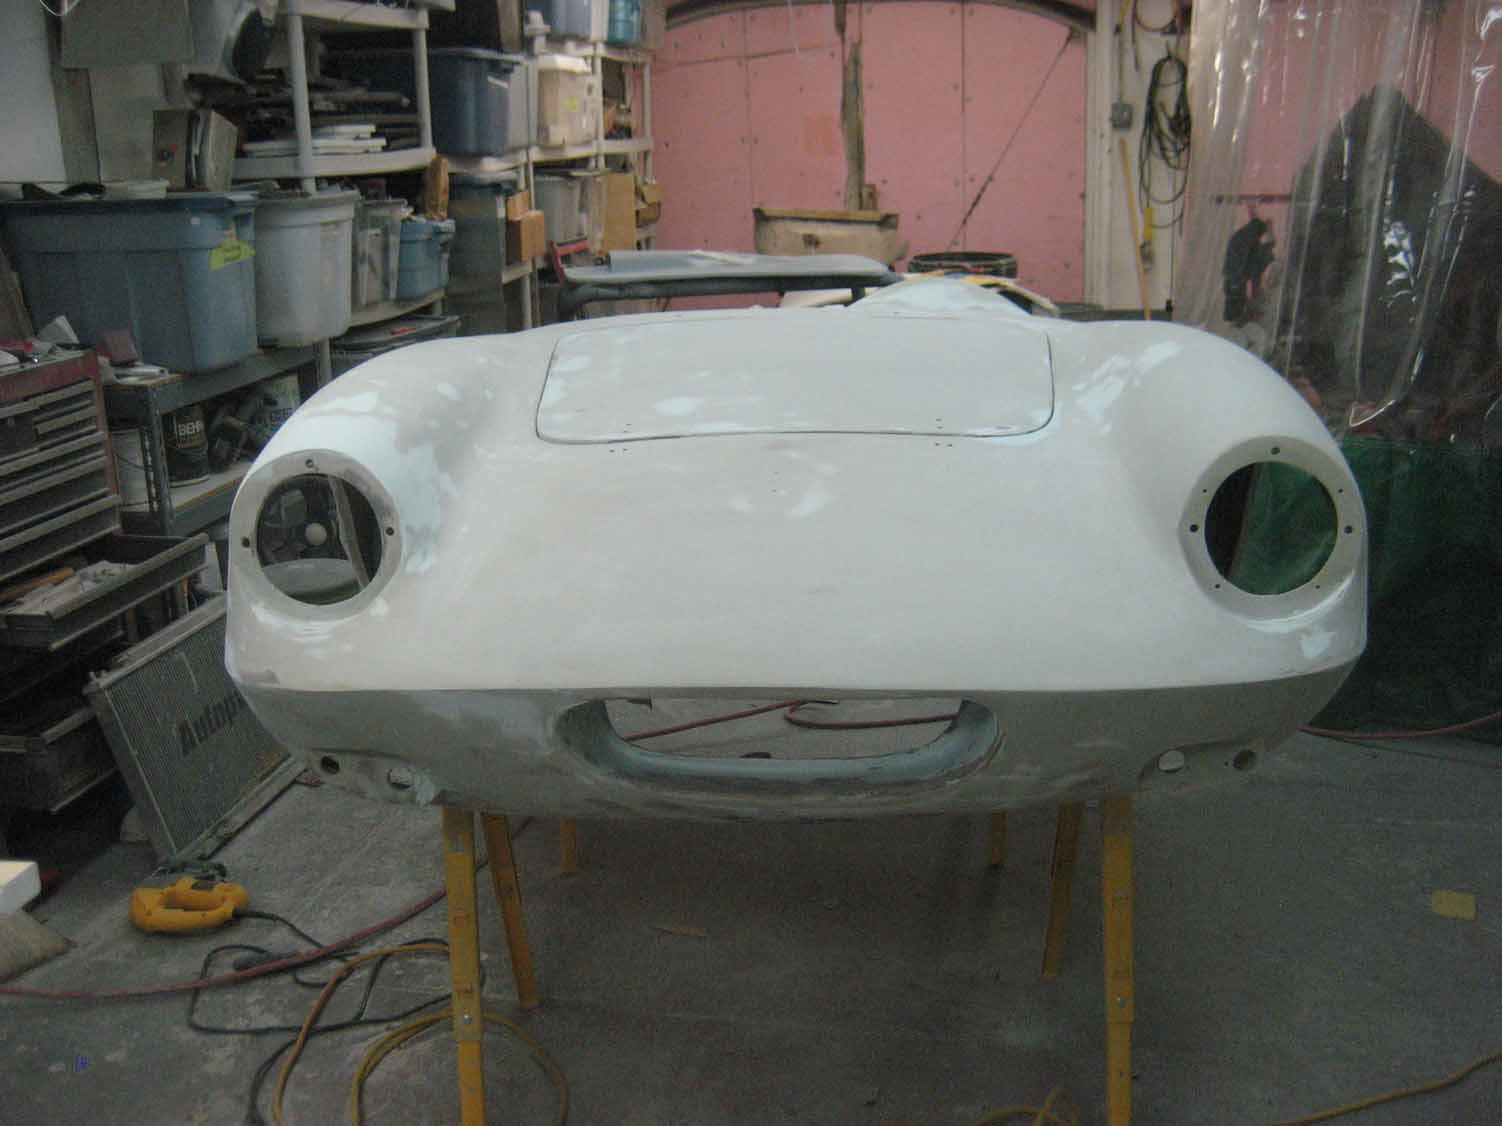
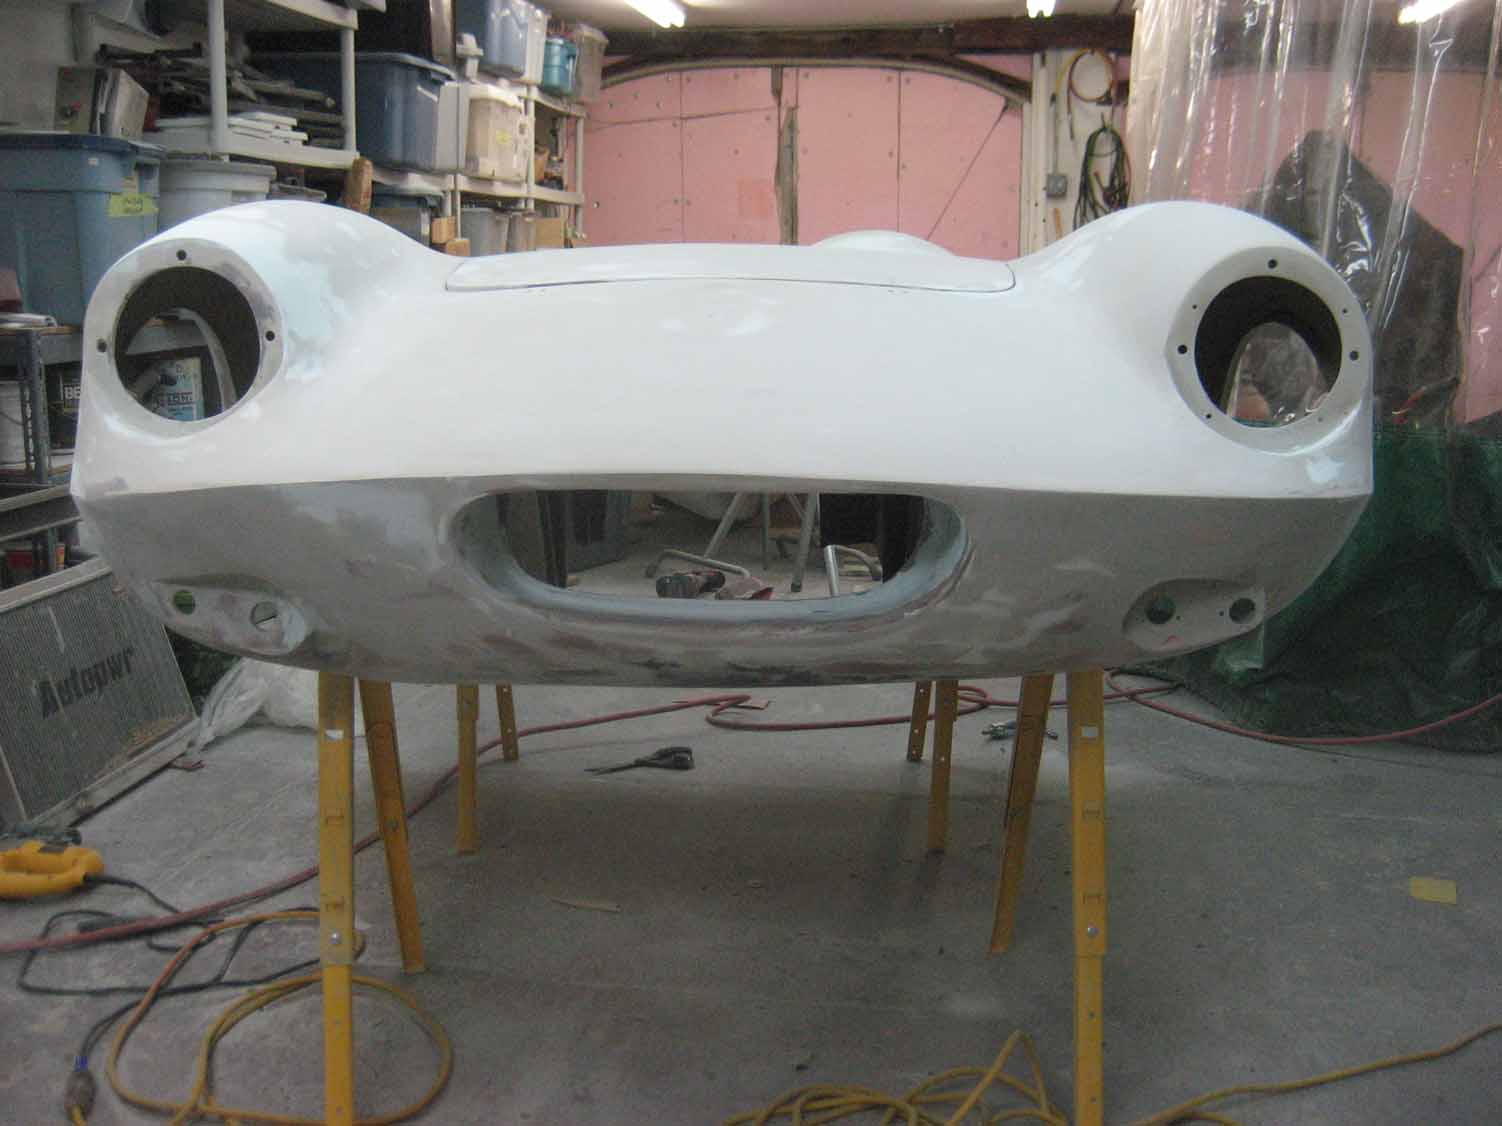
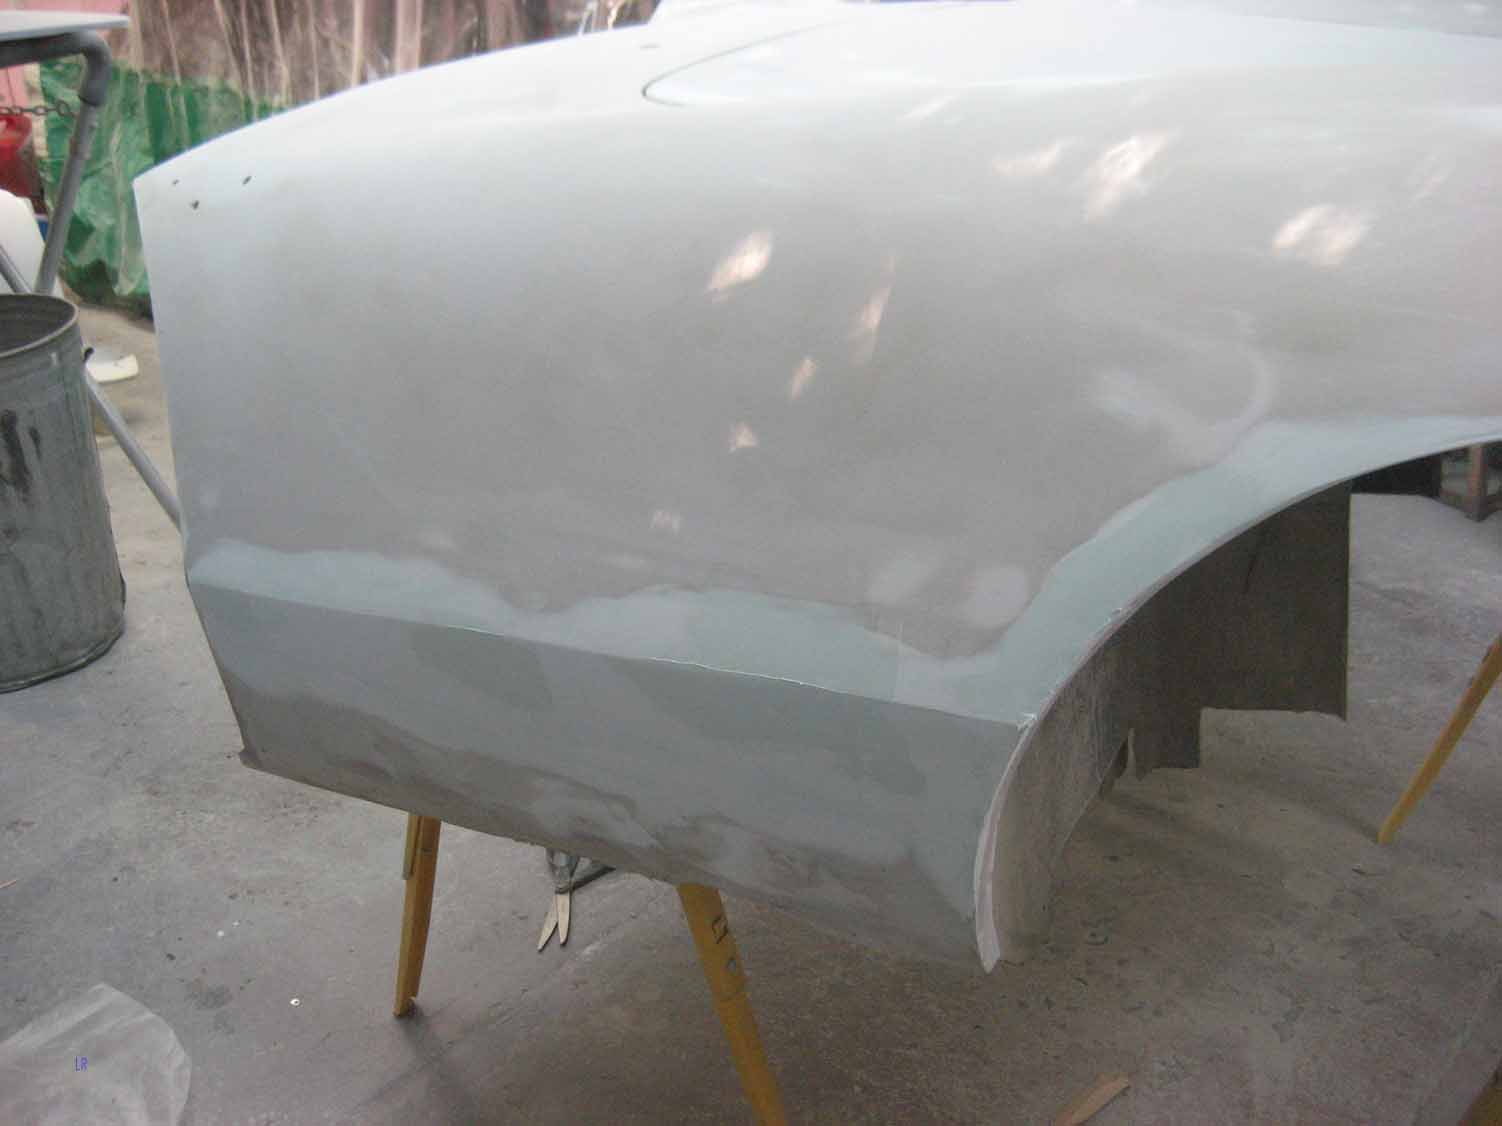
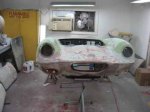
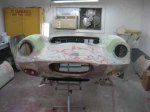
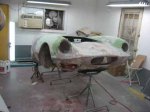
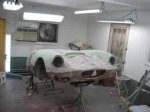
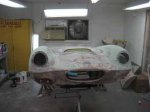
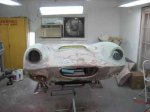
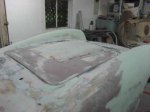
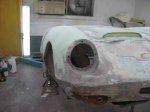
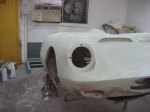
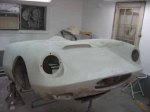
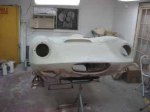
Here are the photos showing the long process of putting green paint on it, bonding the body on, and putting more green paint on it, making and bonding the rockers and then putting more green paint on it. In that order.
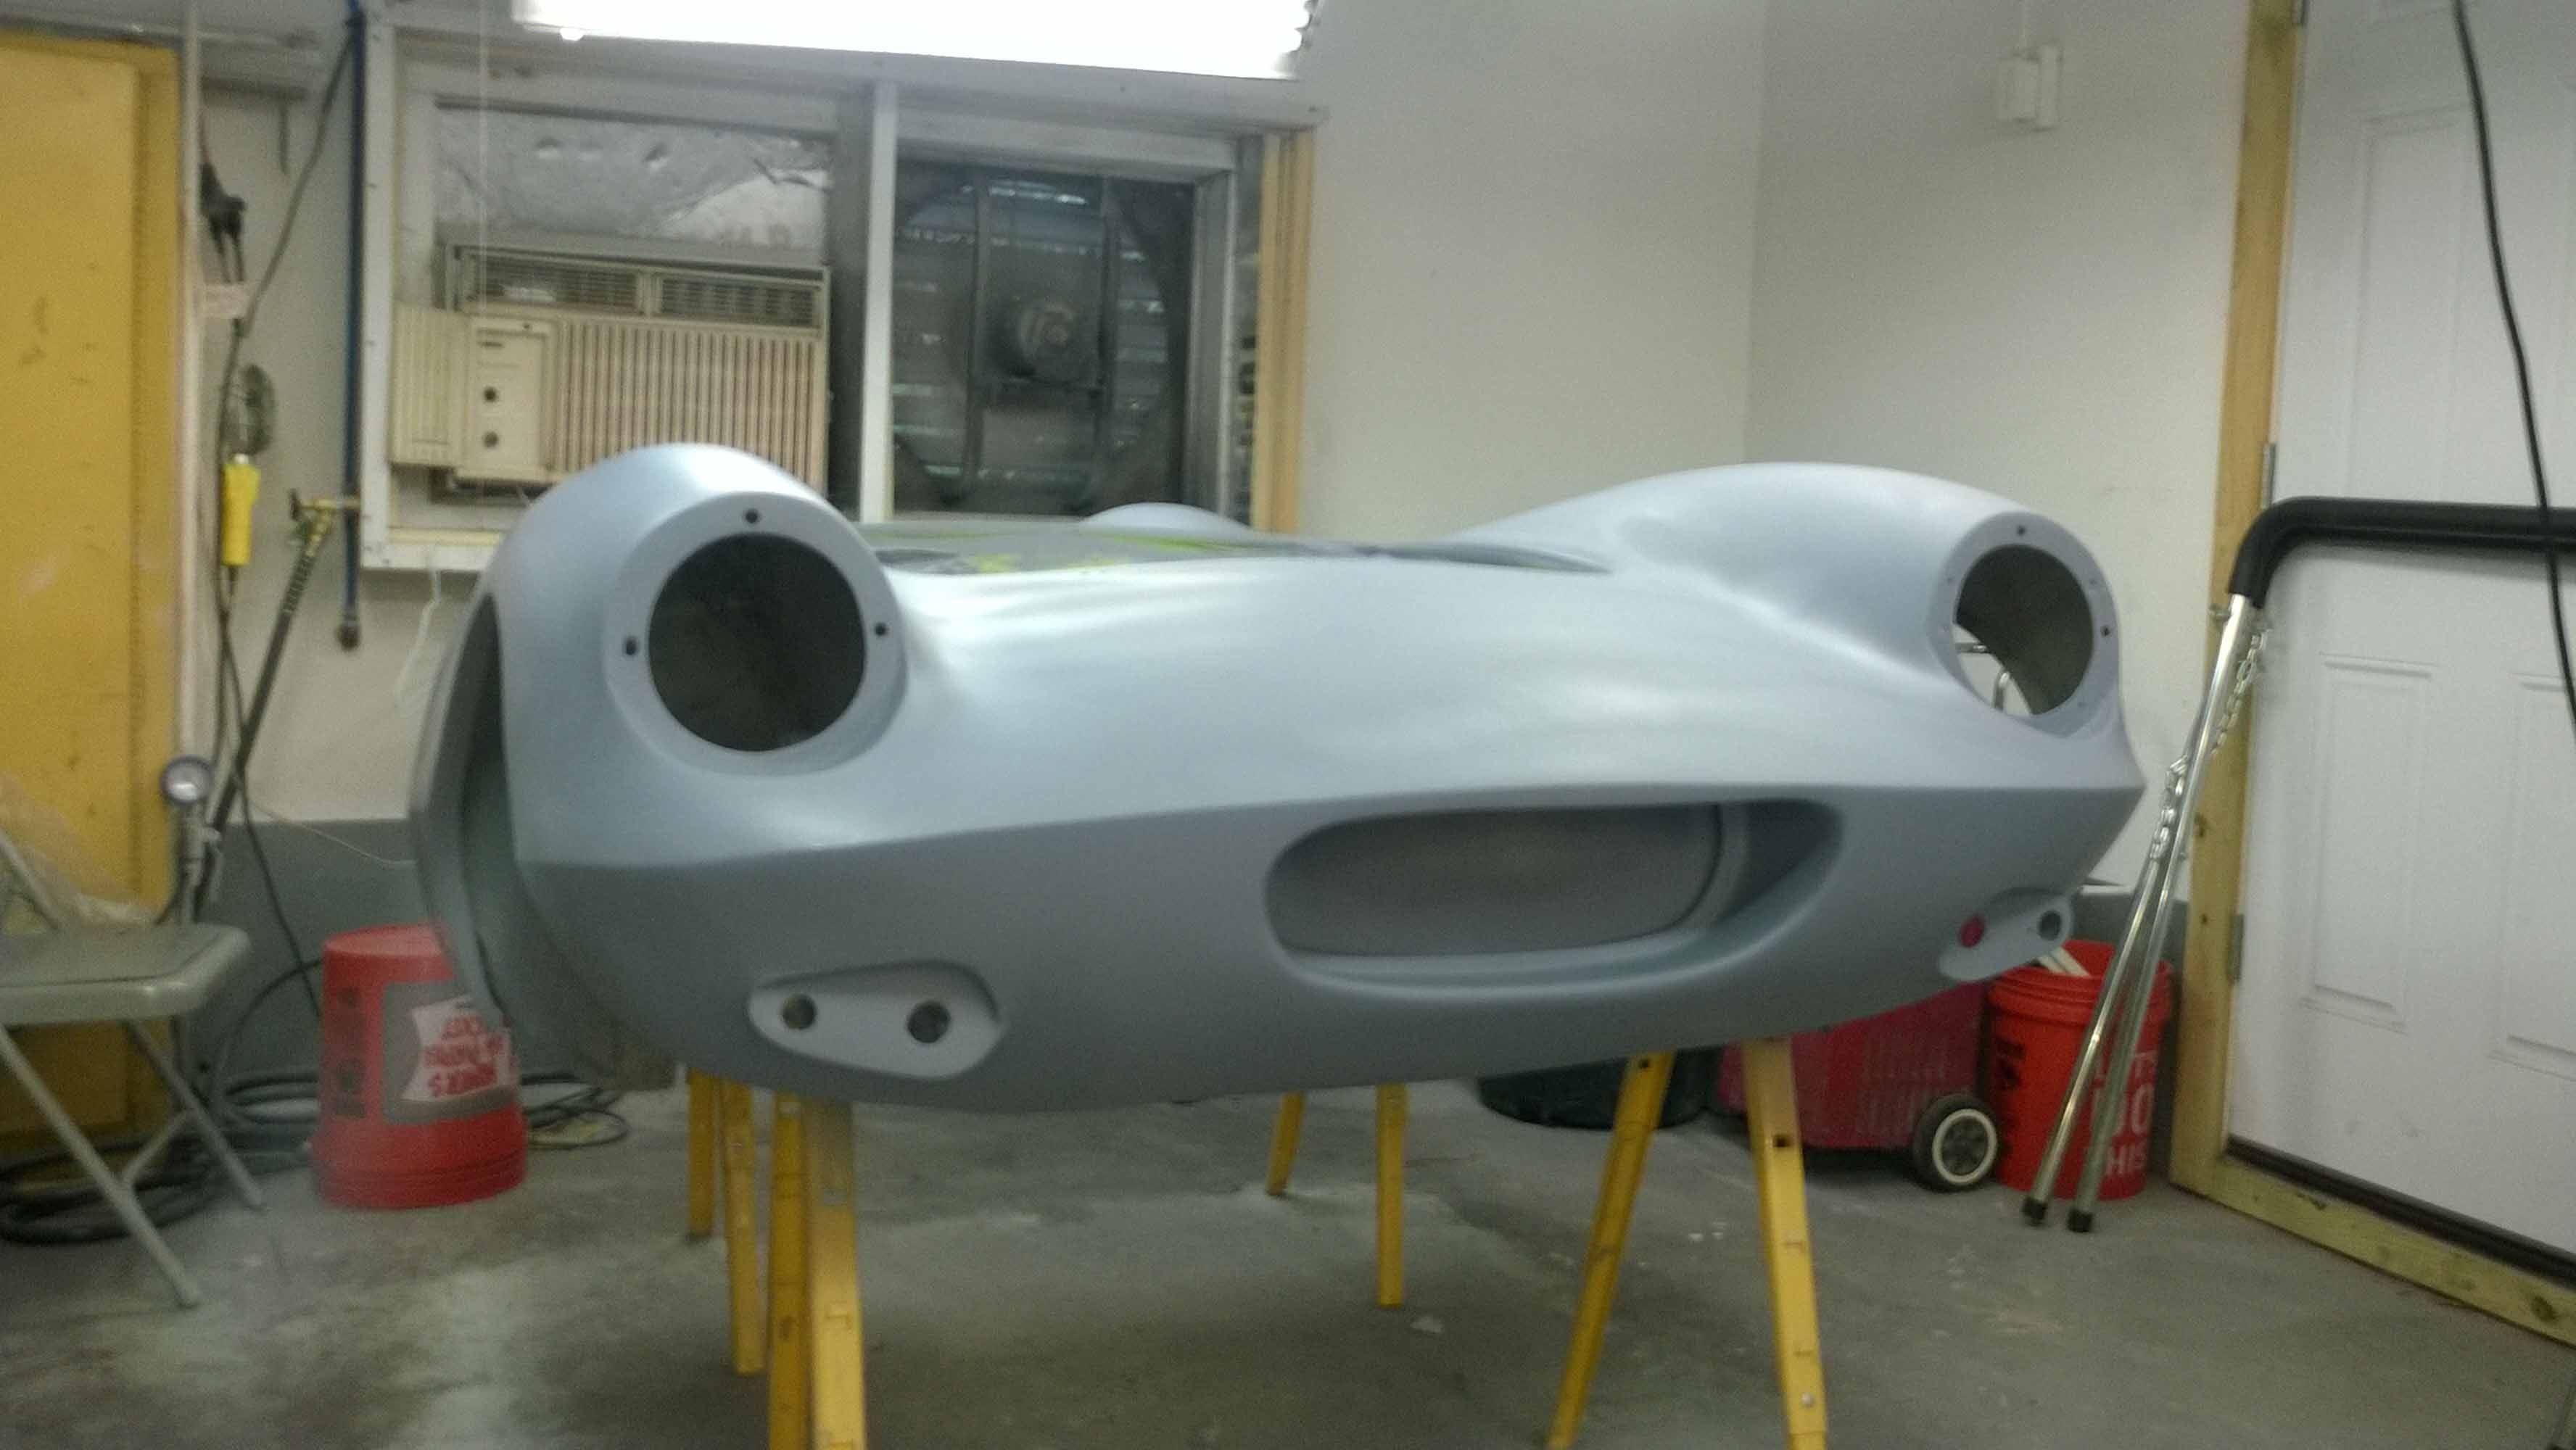
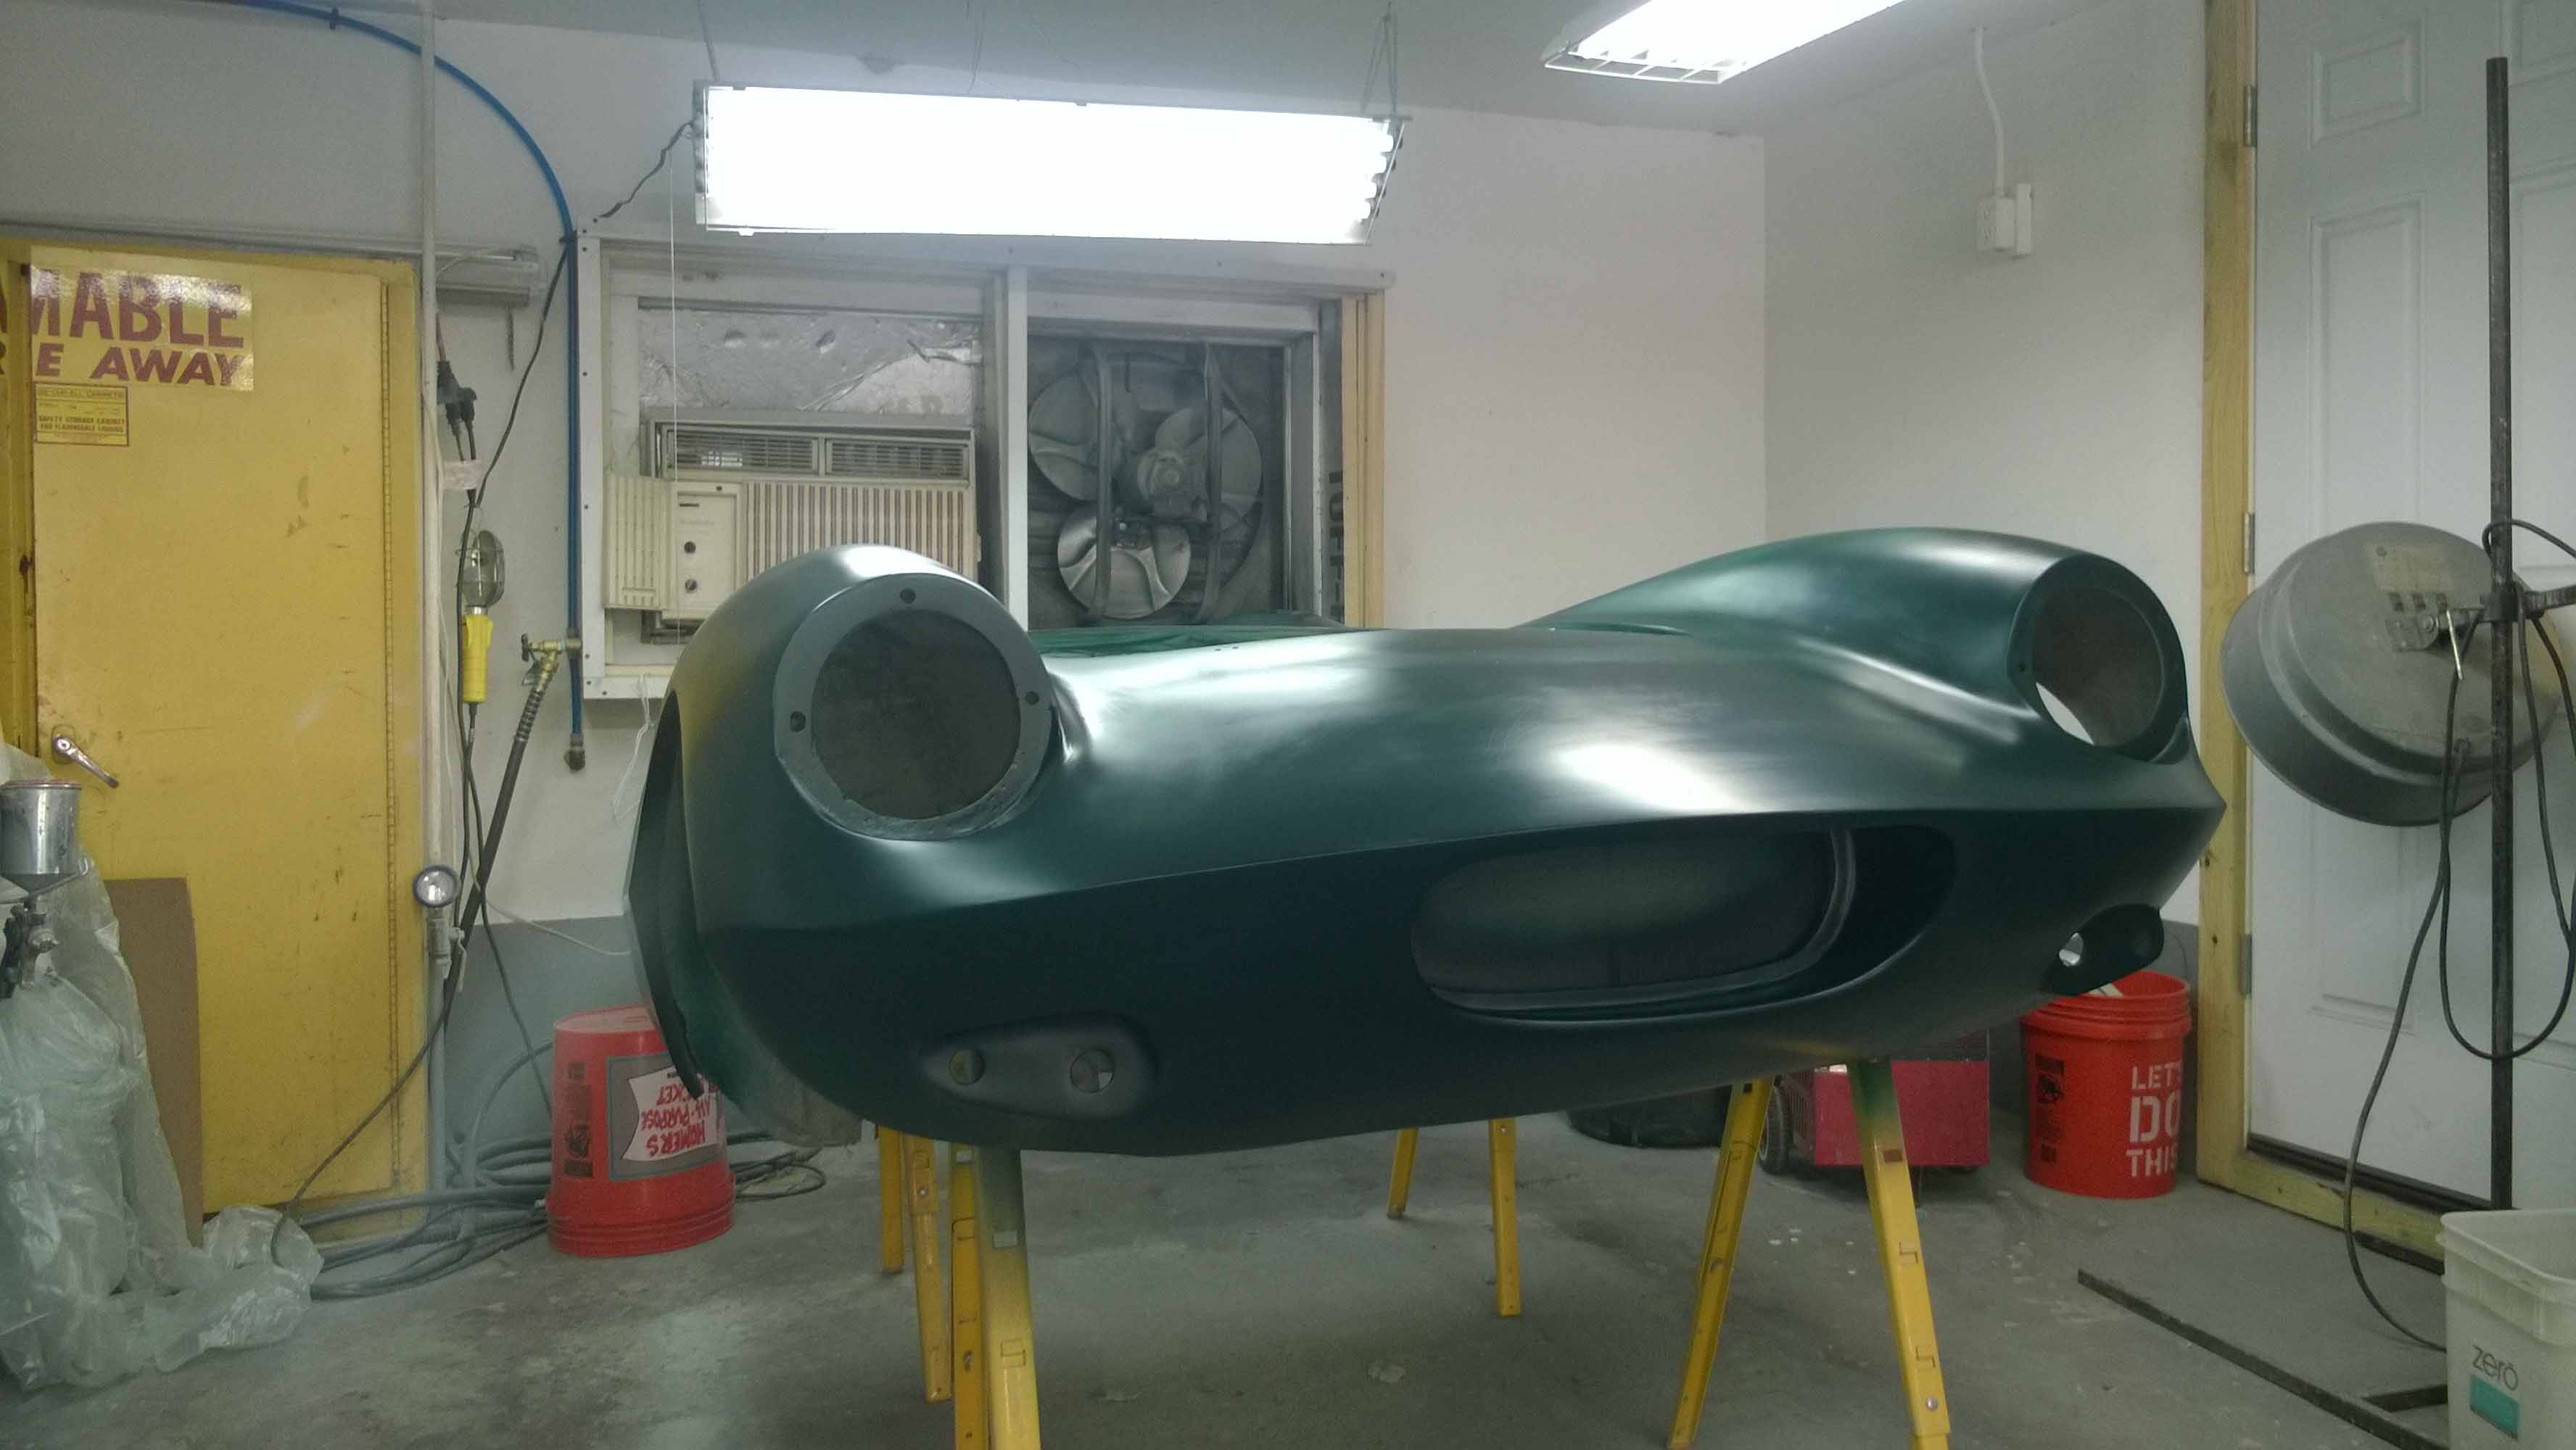
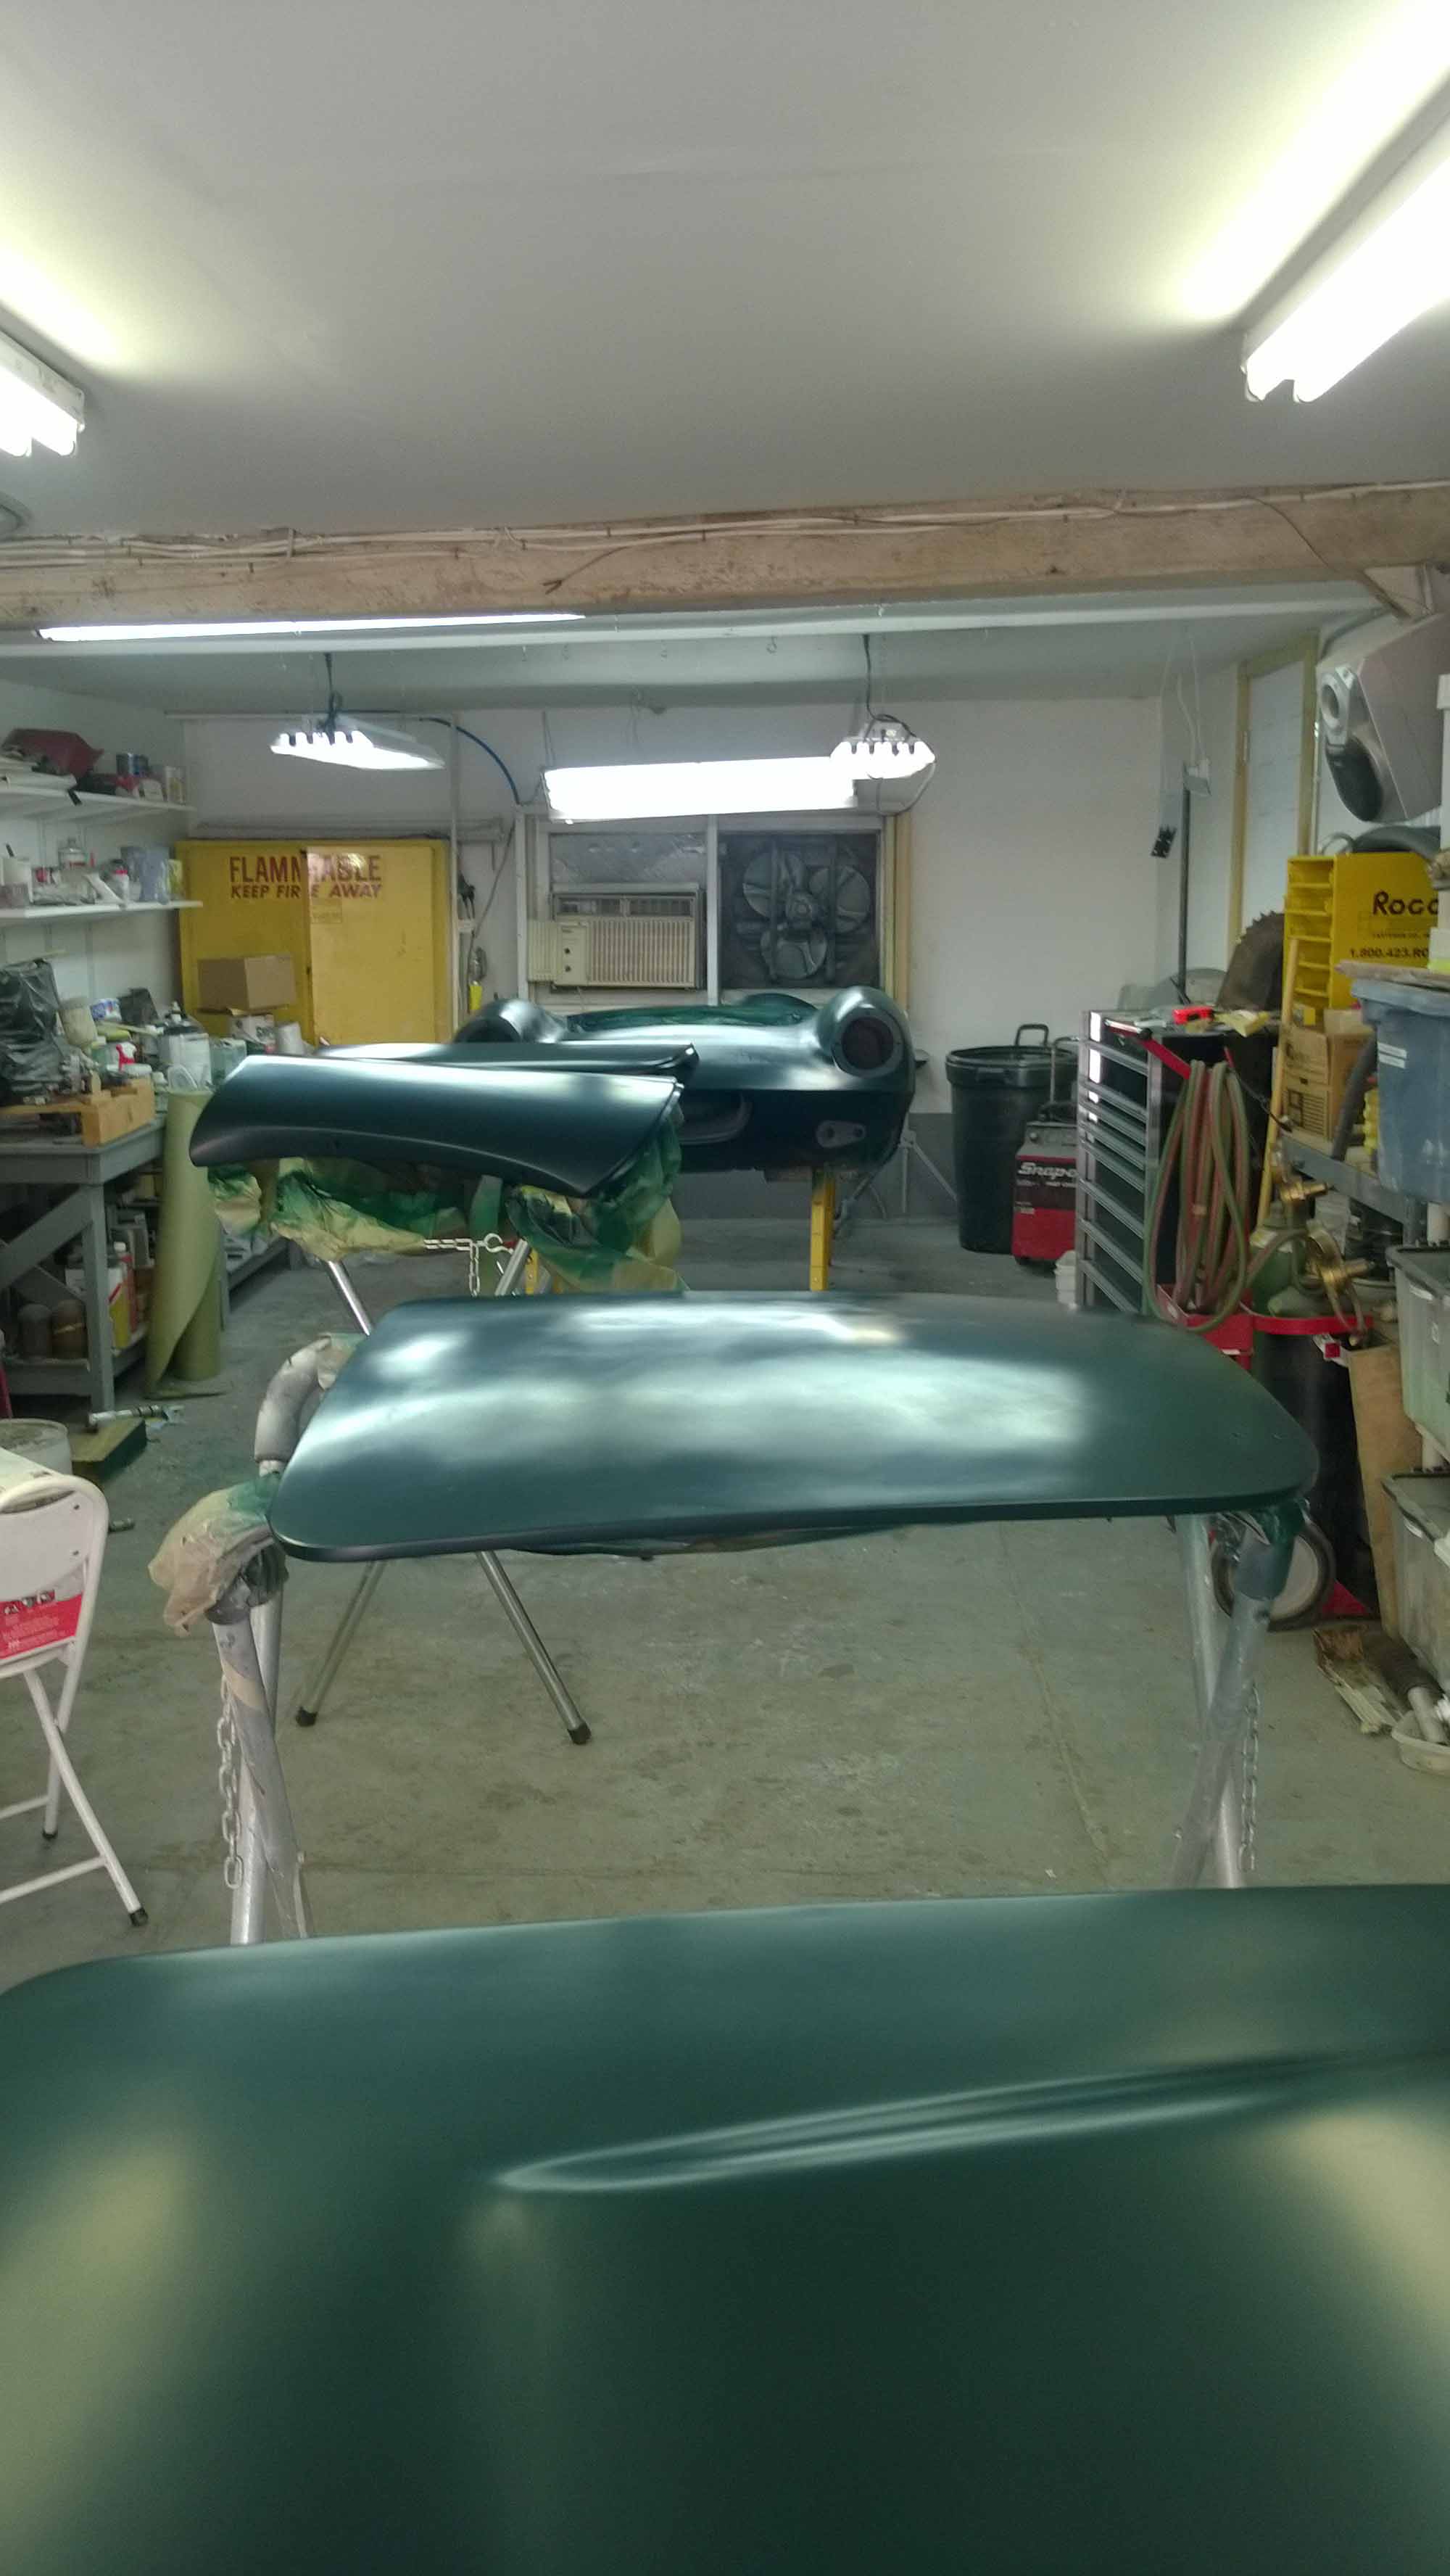
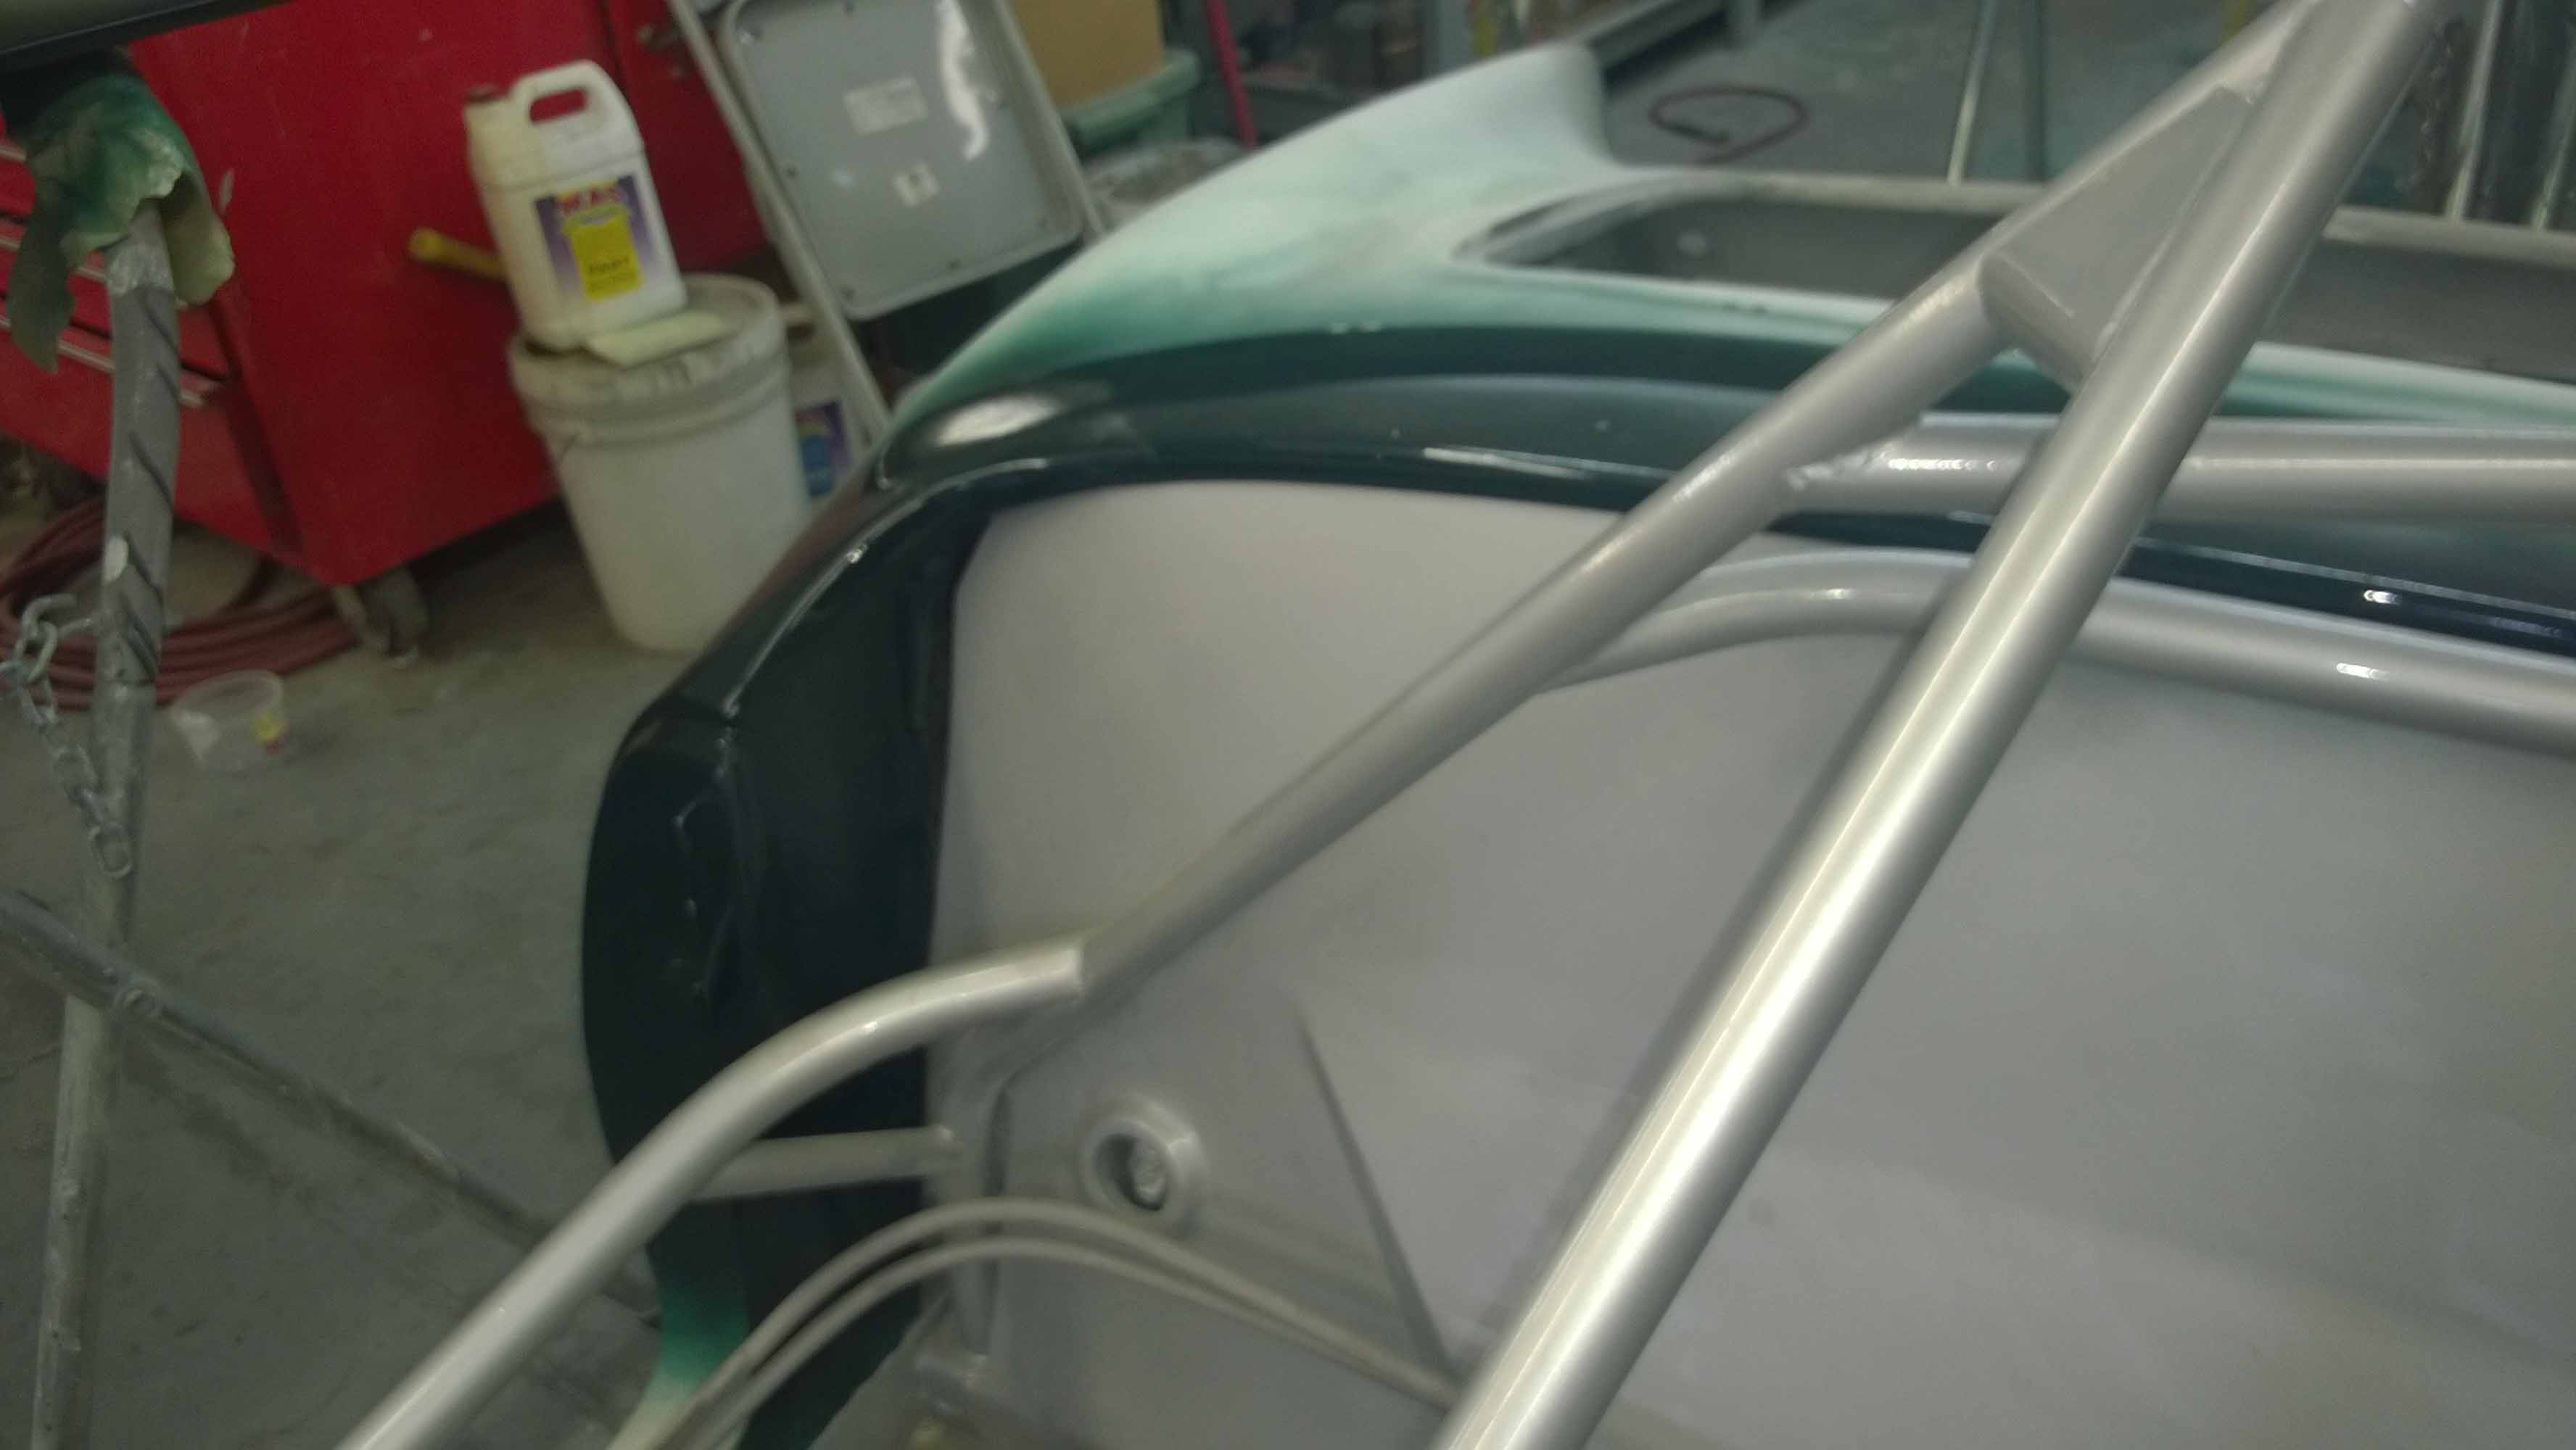
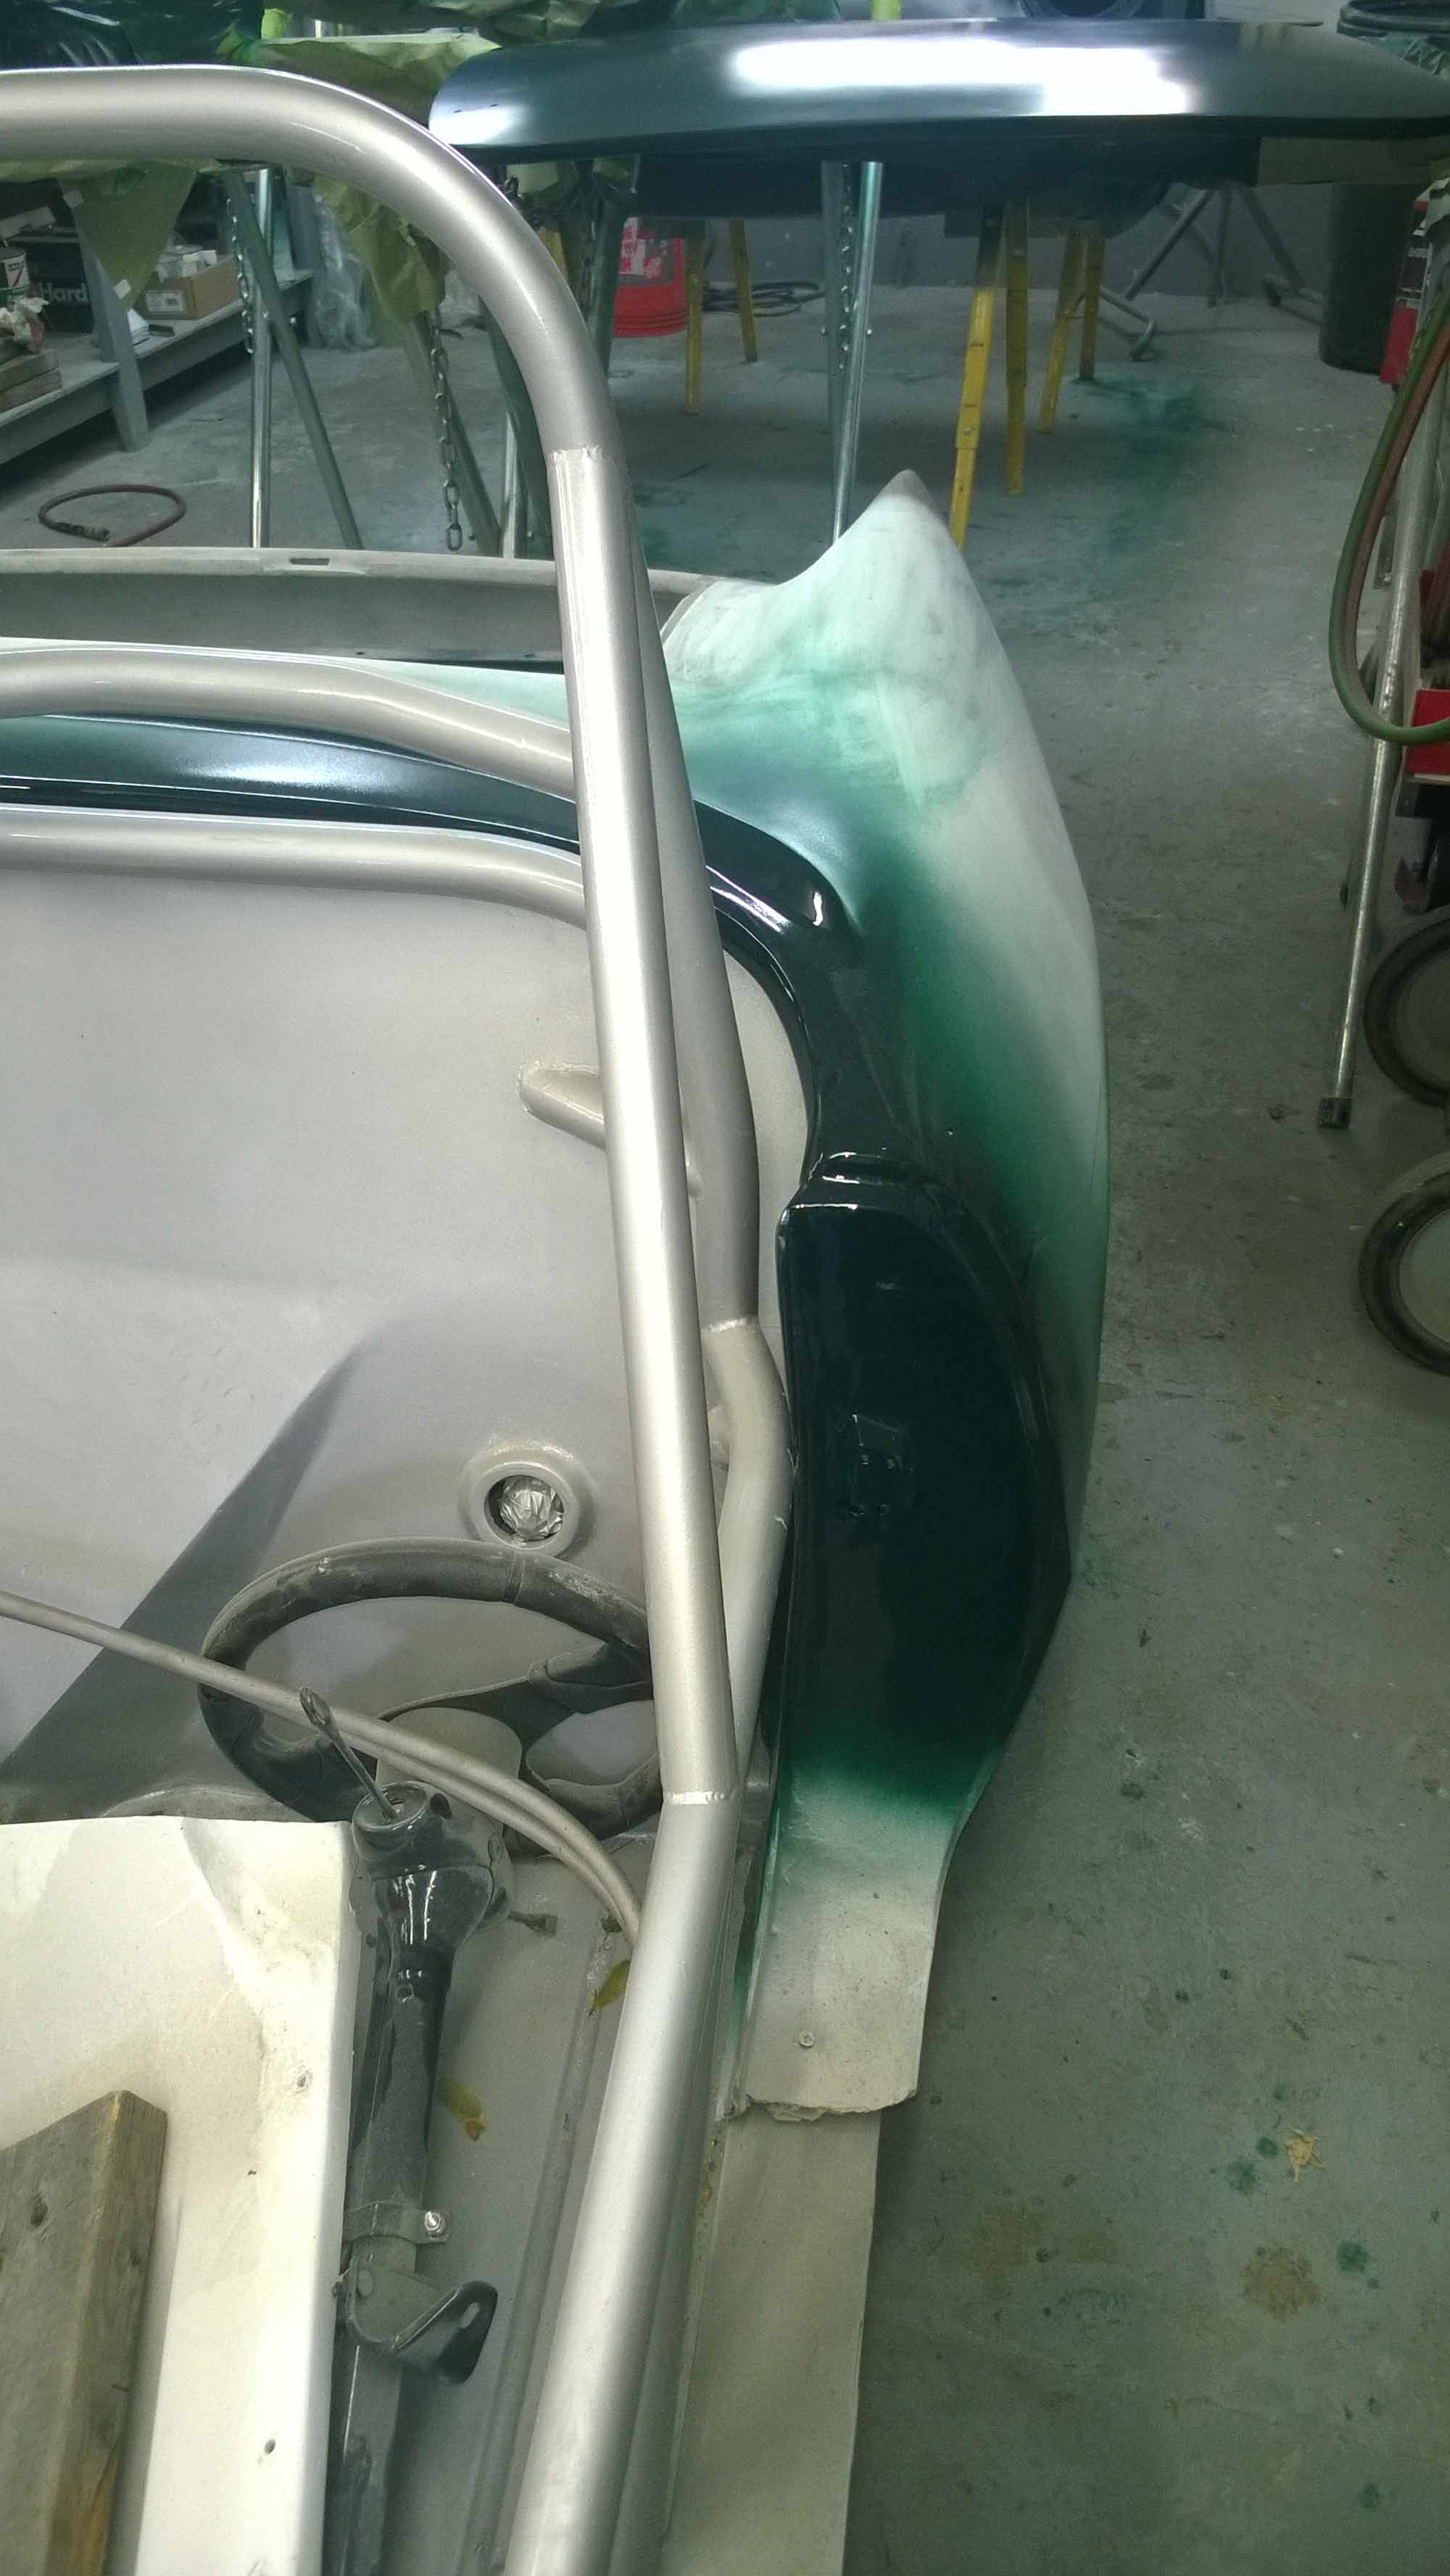
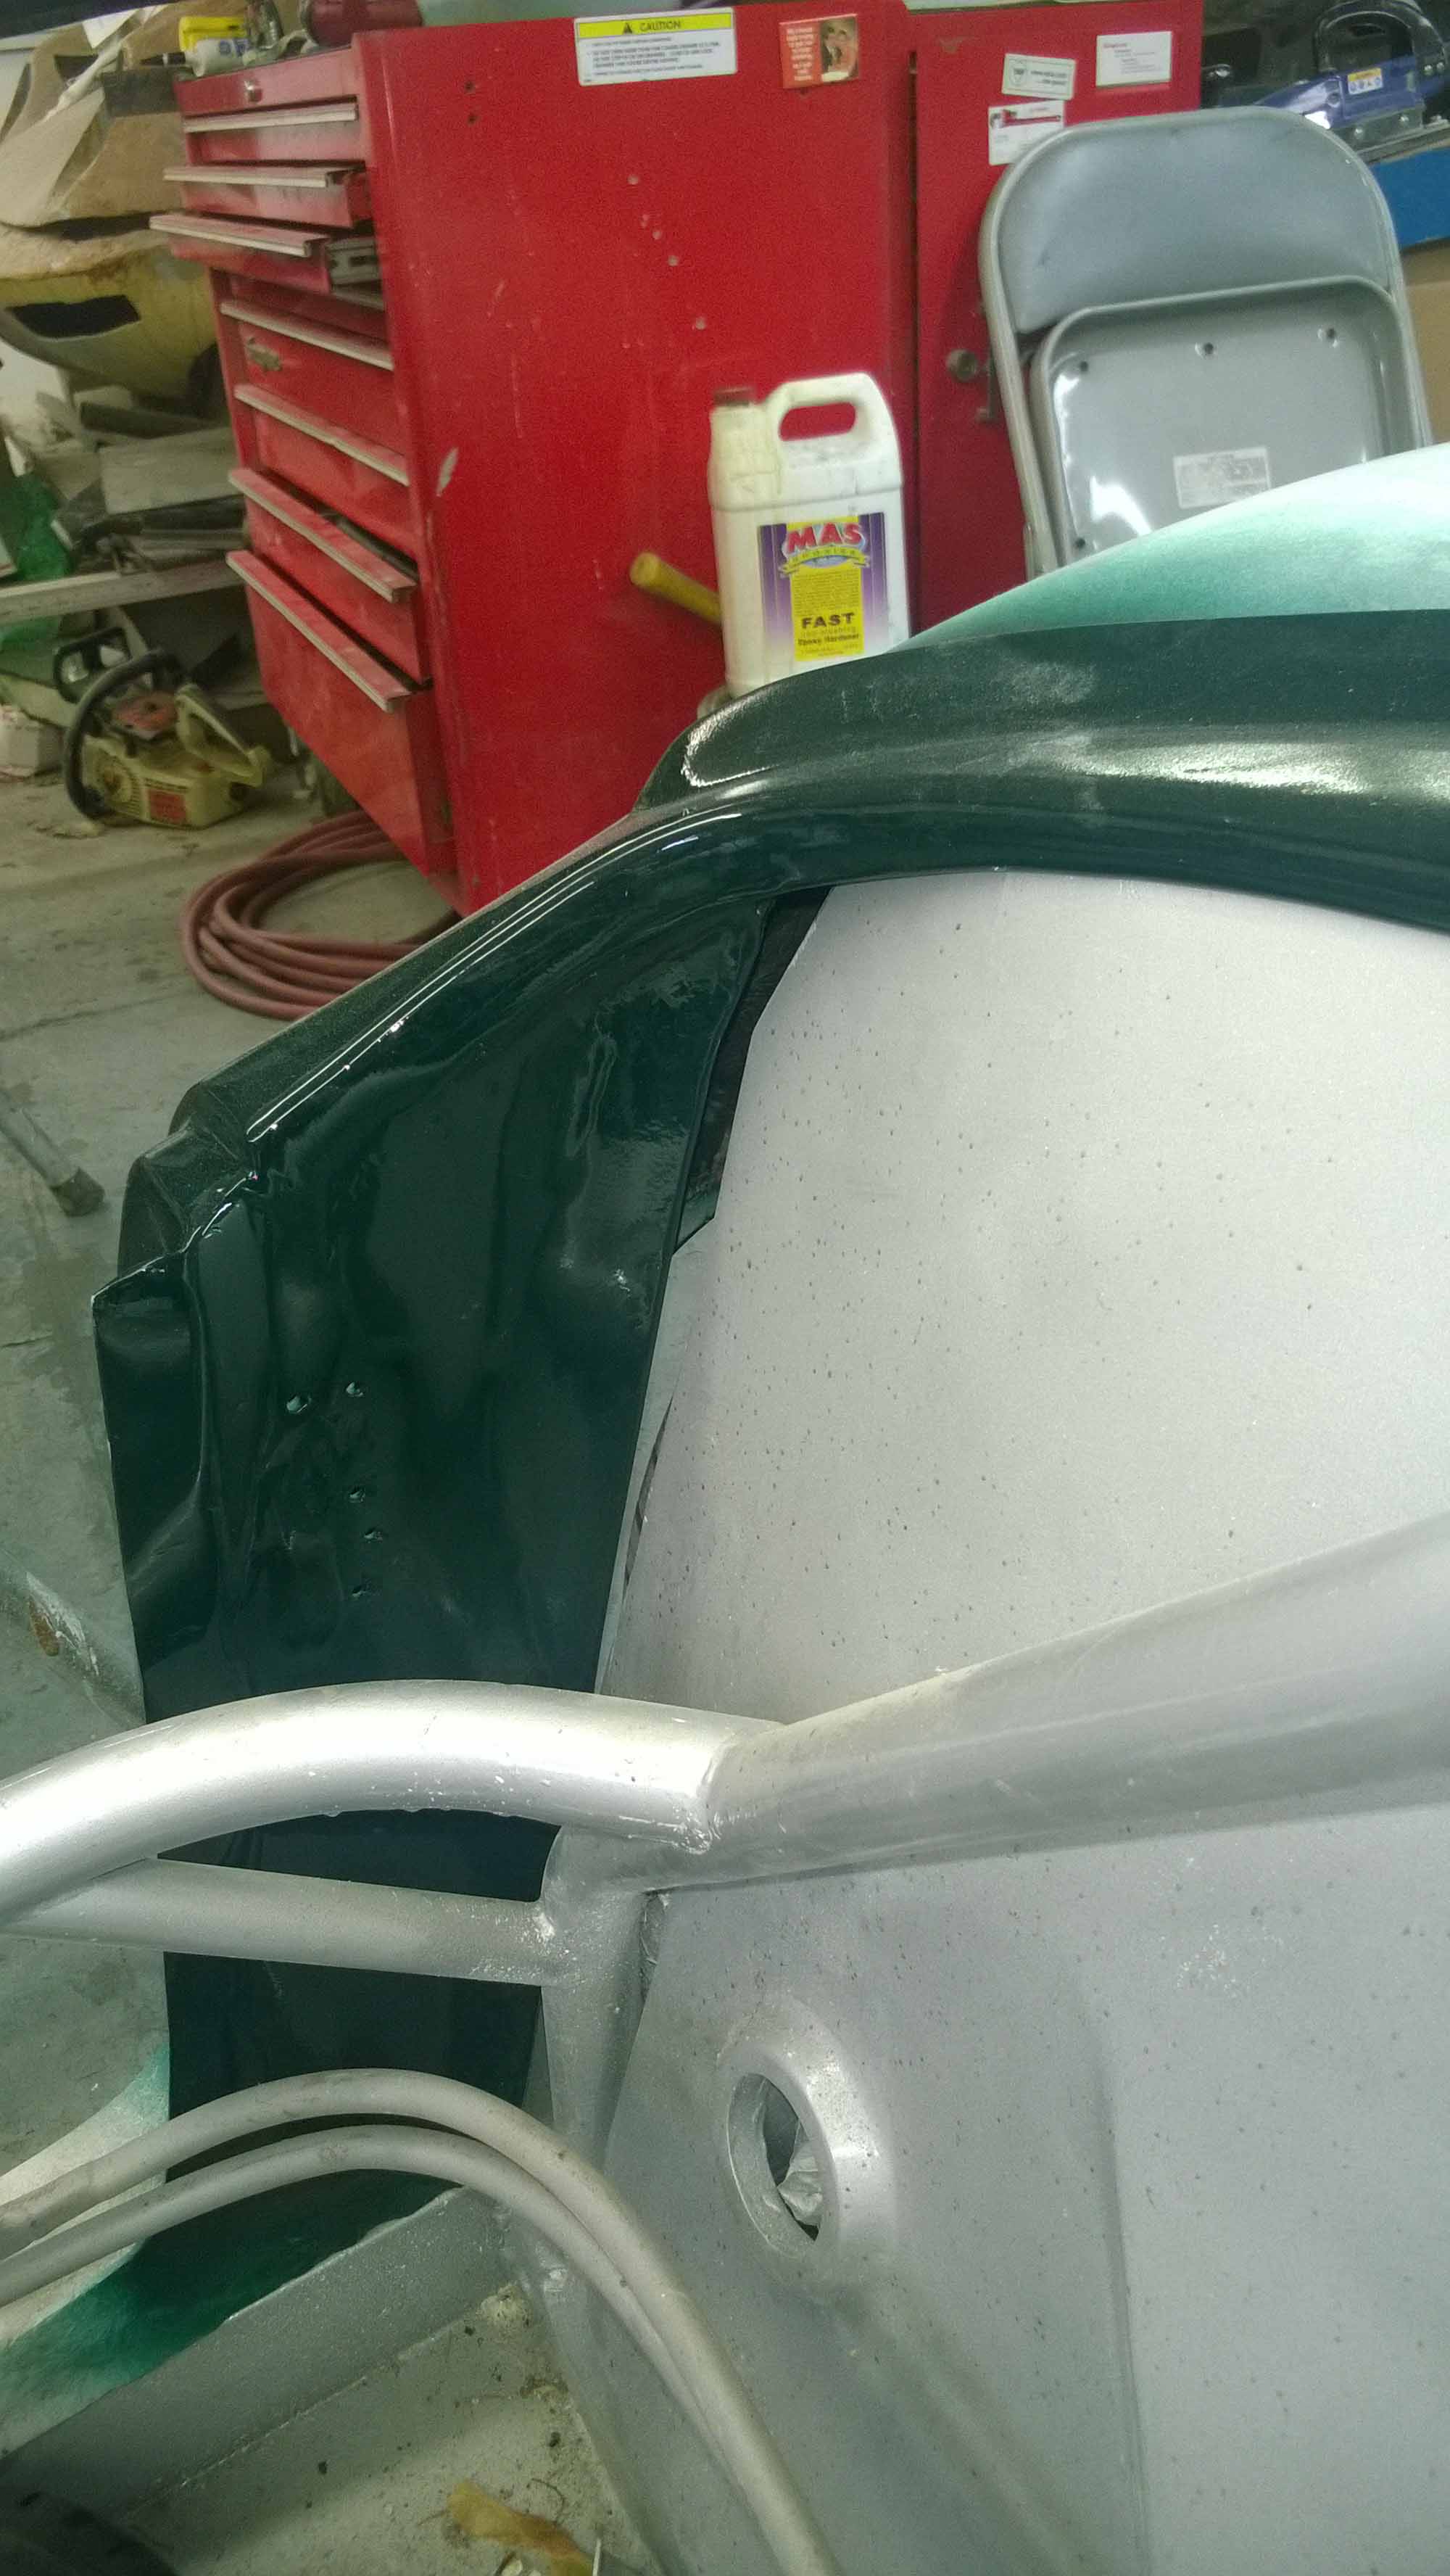
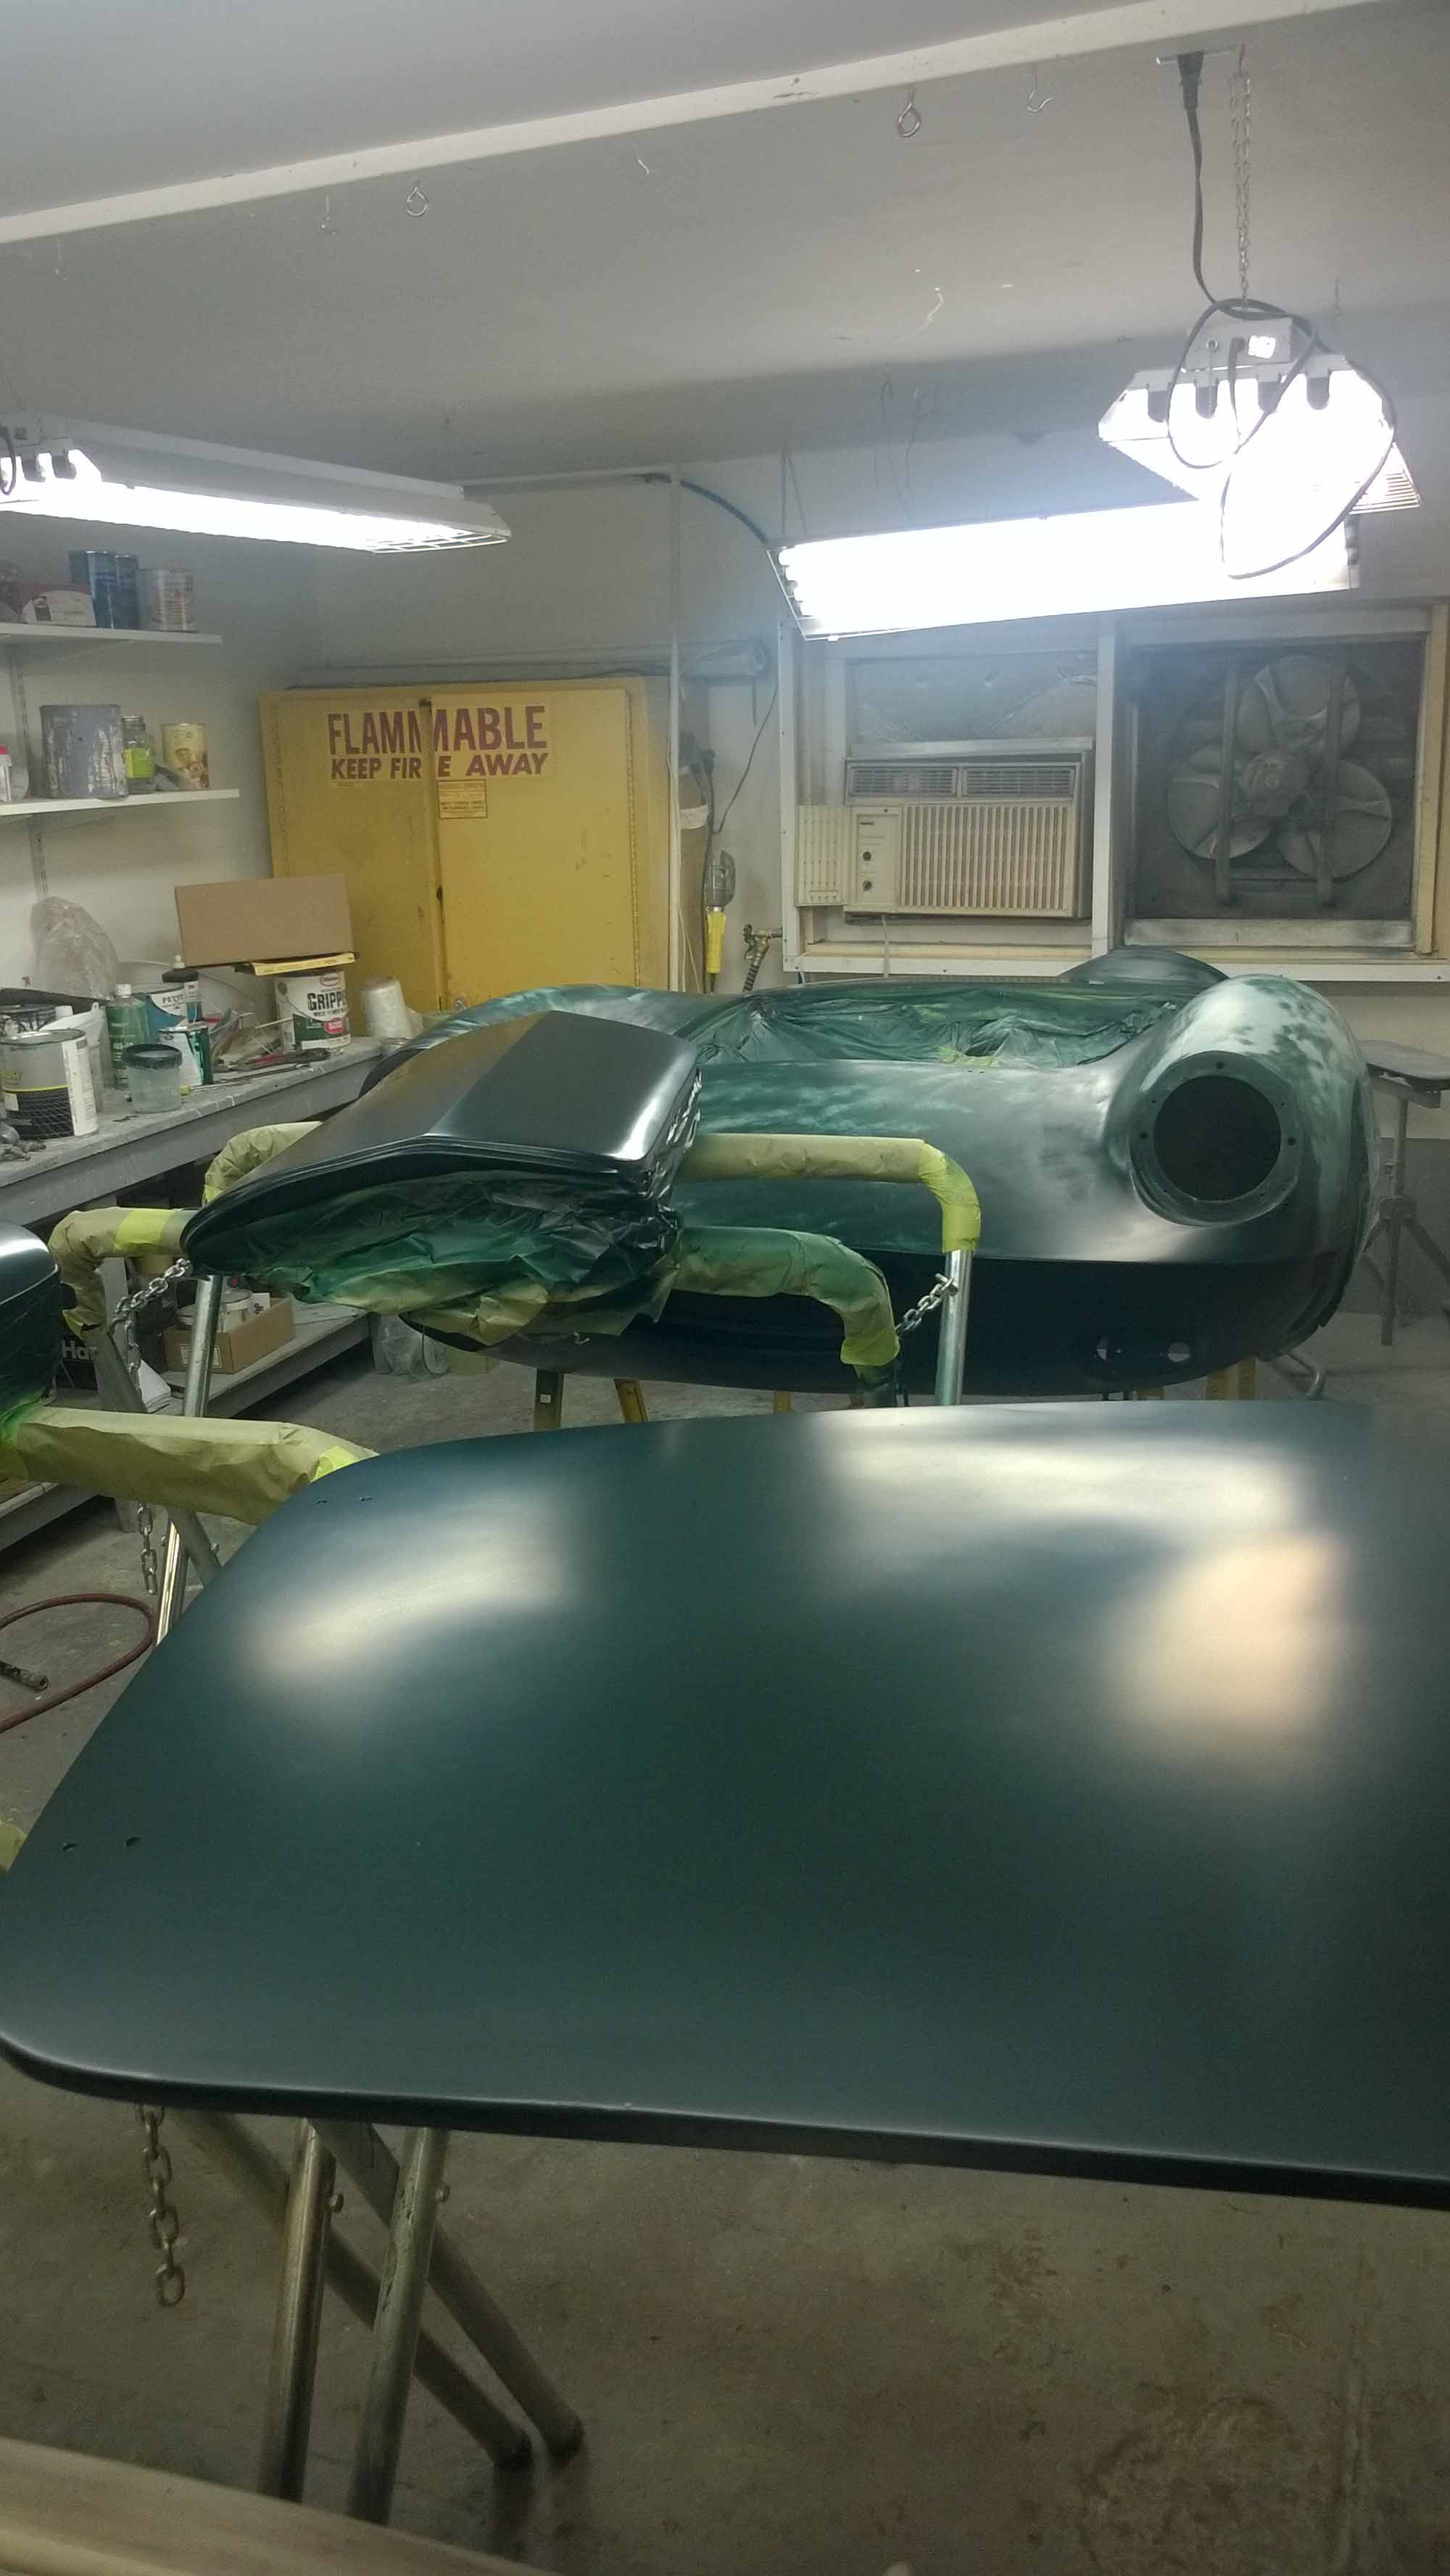
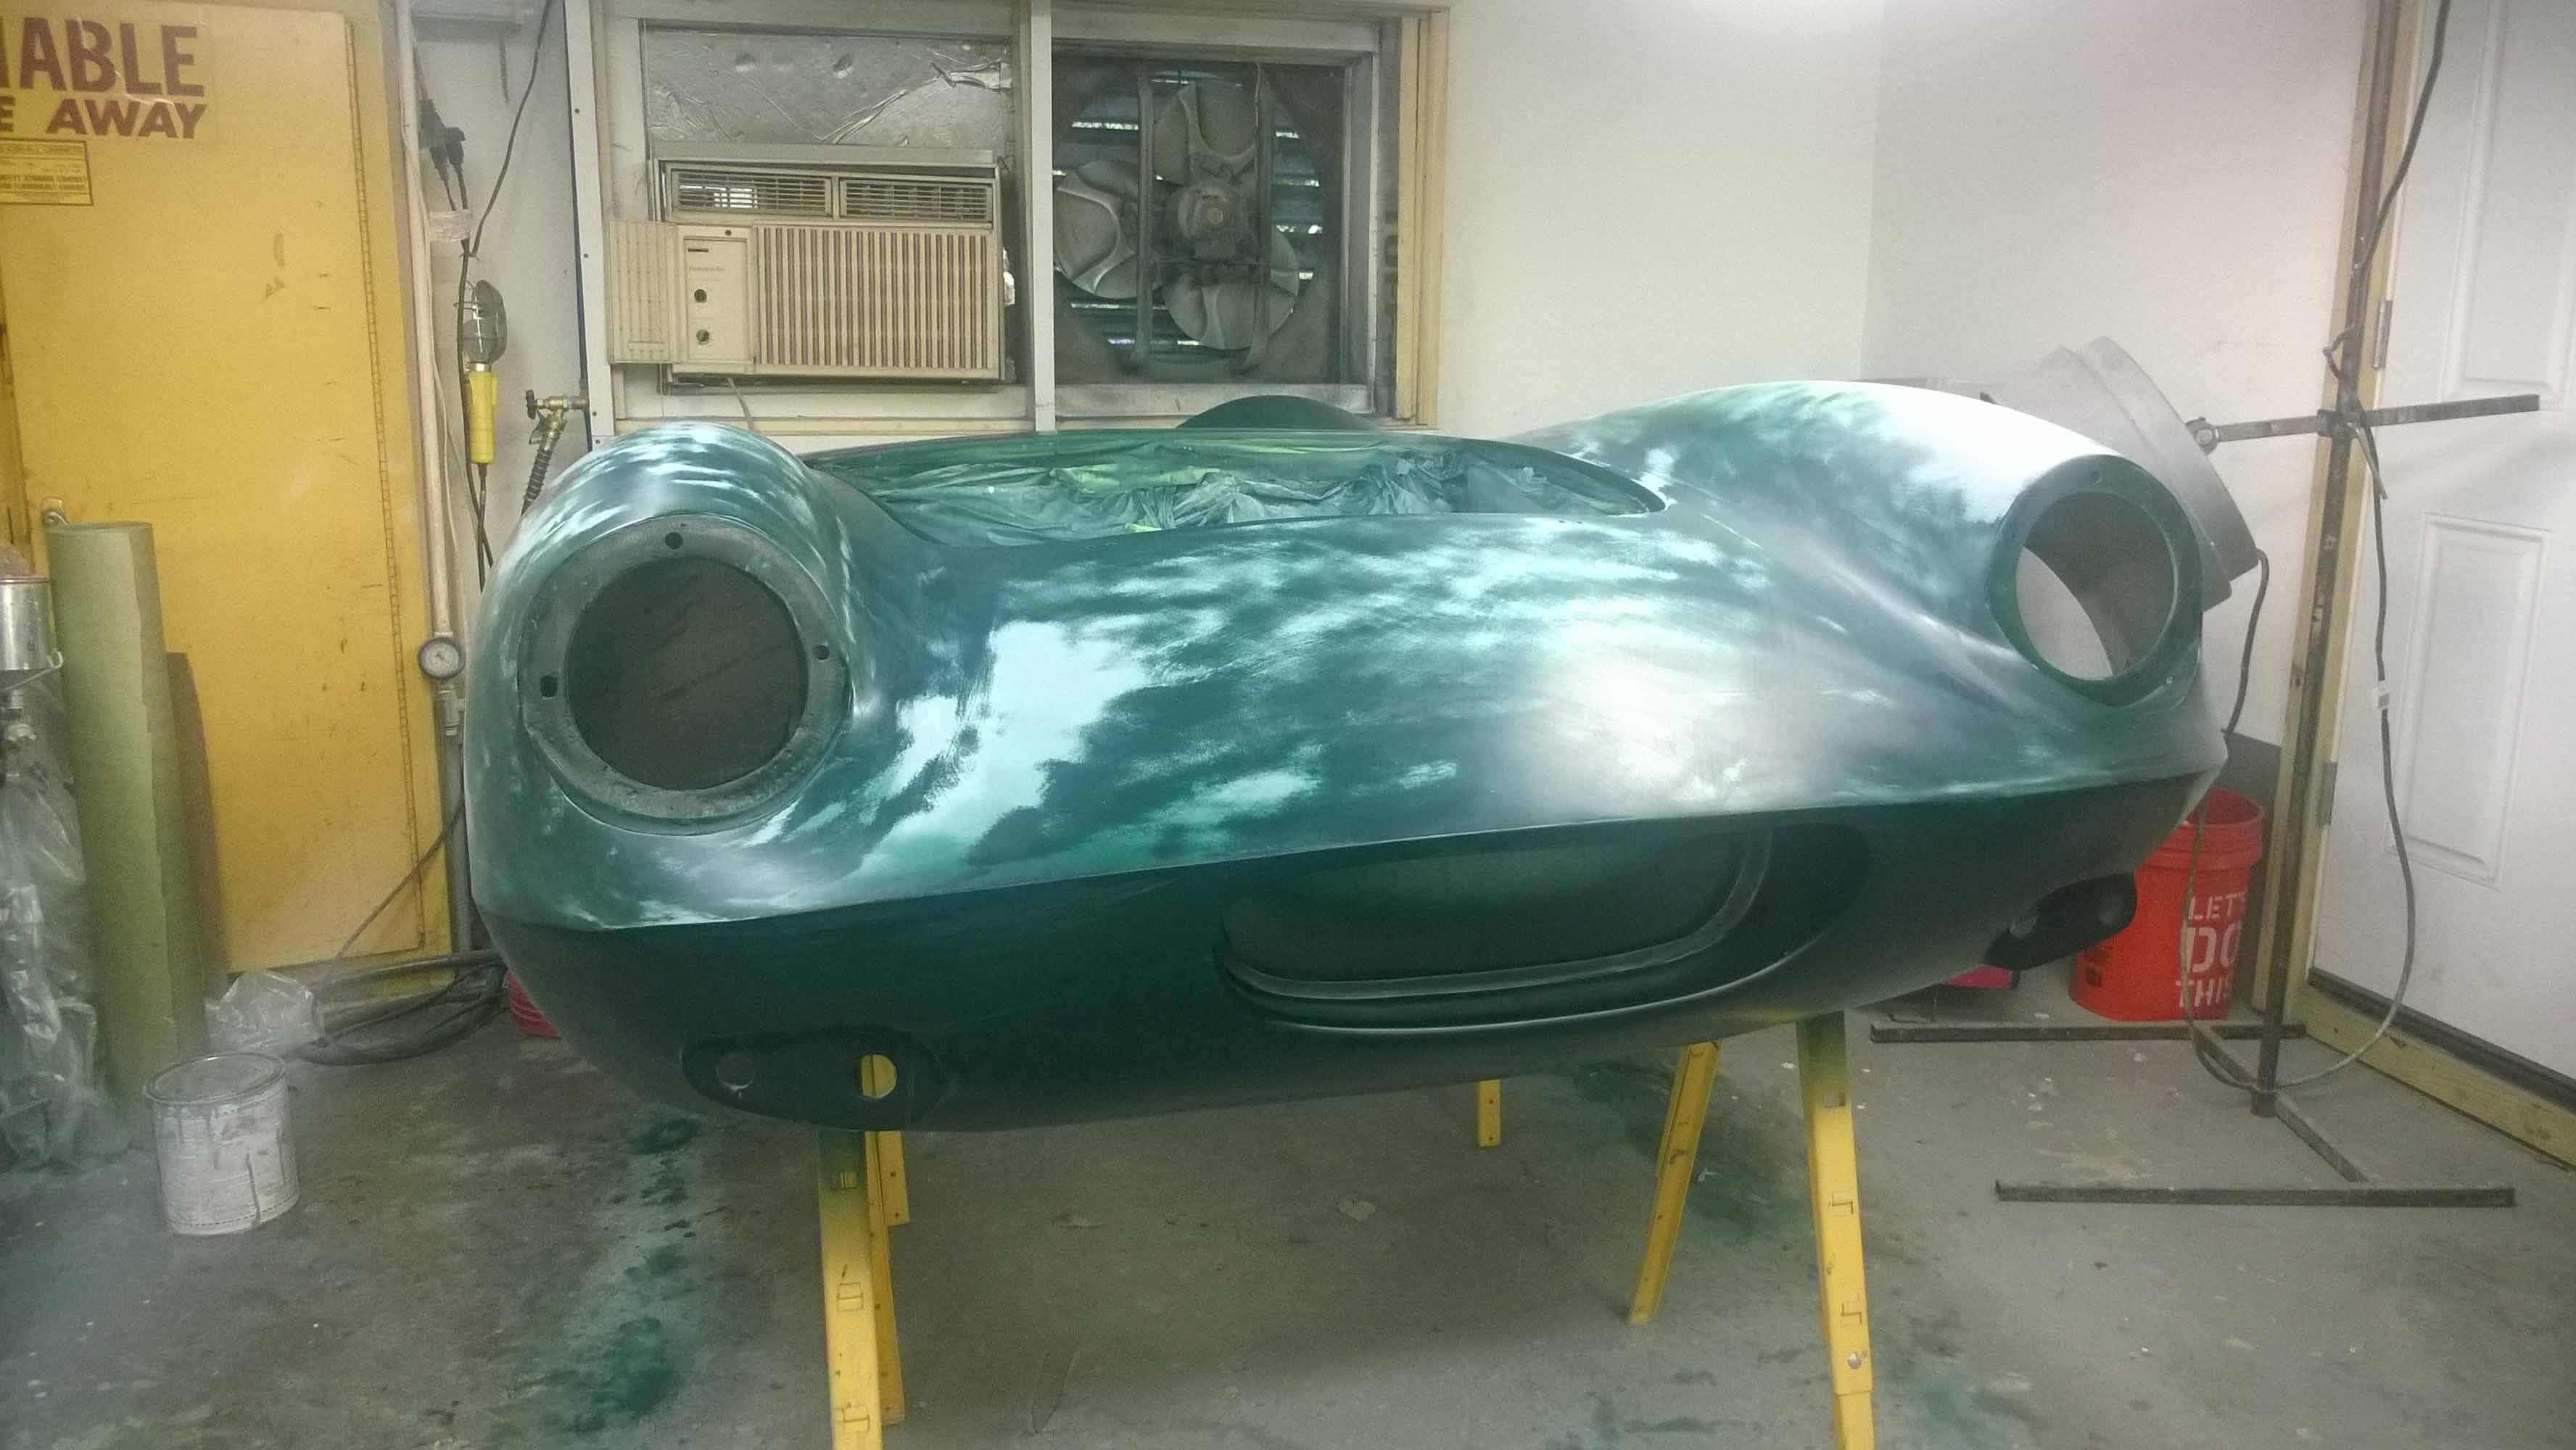
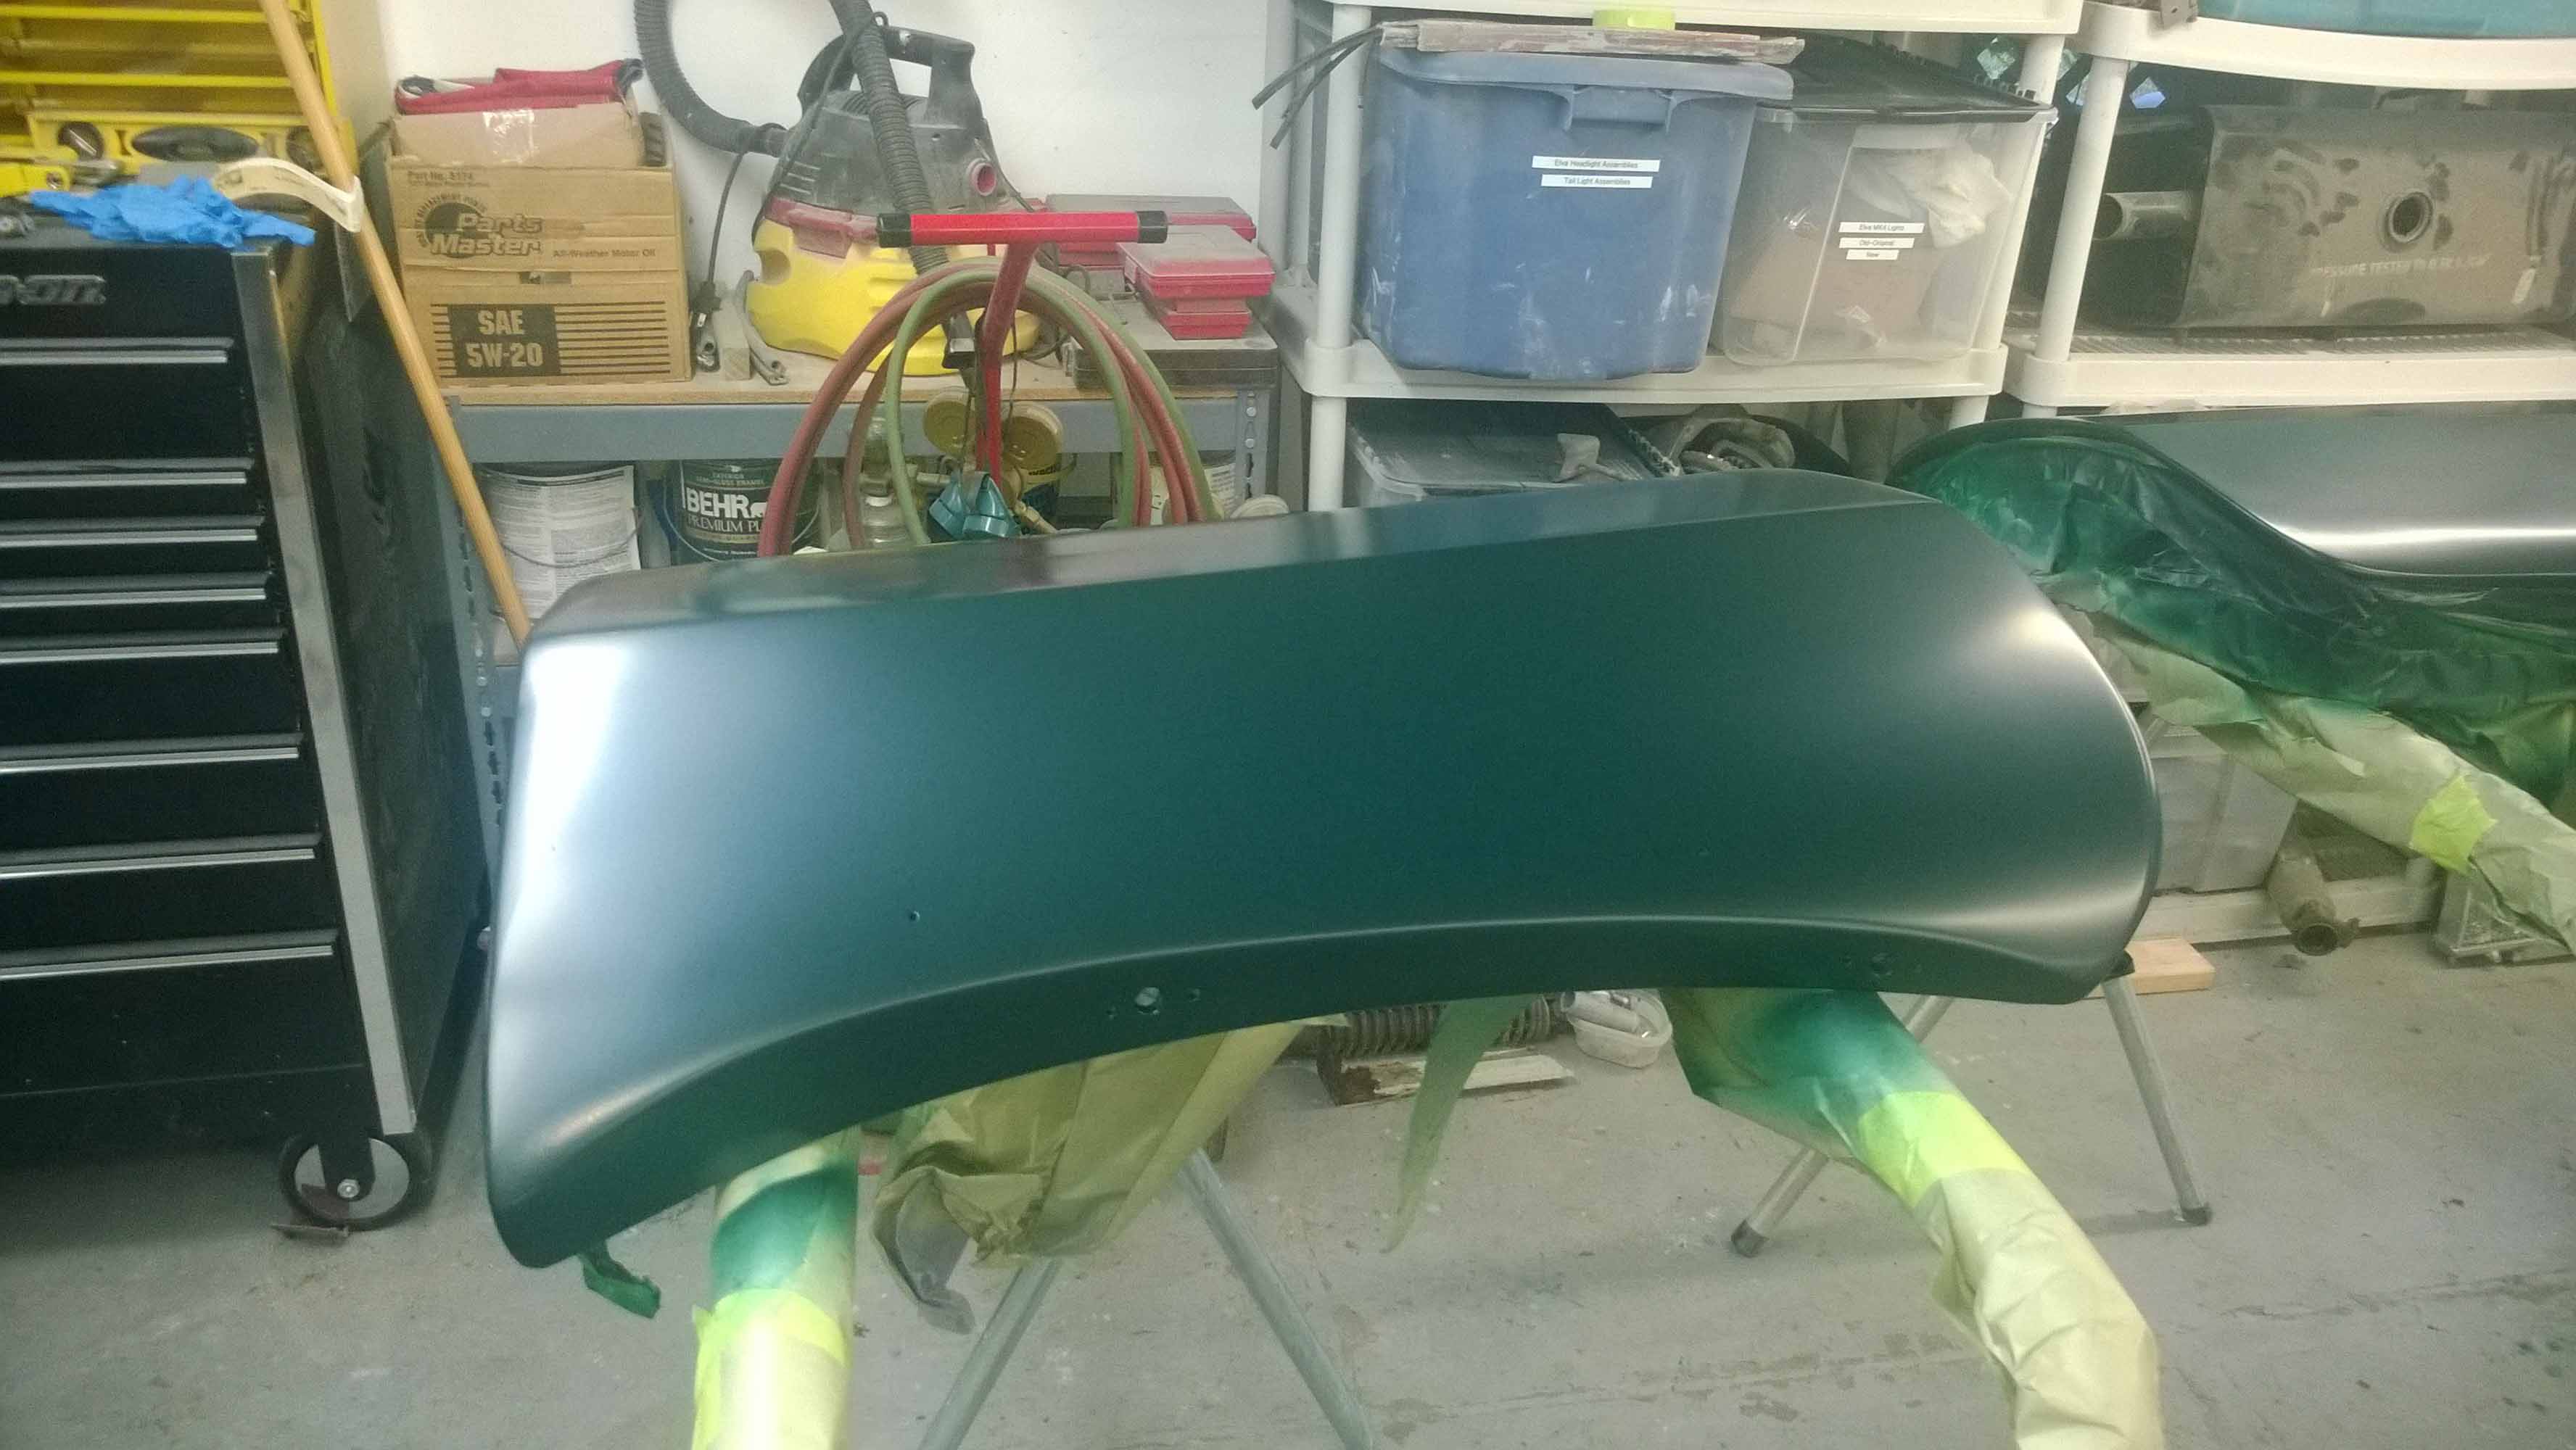
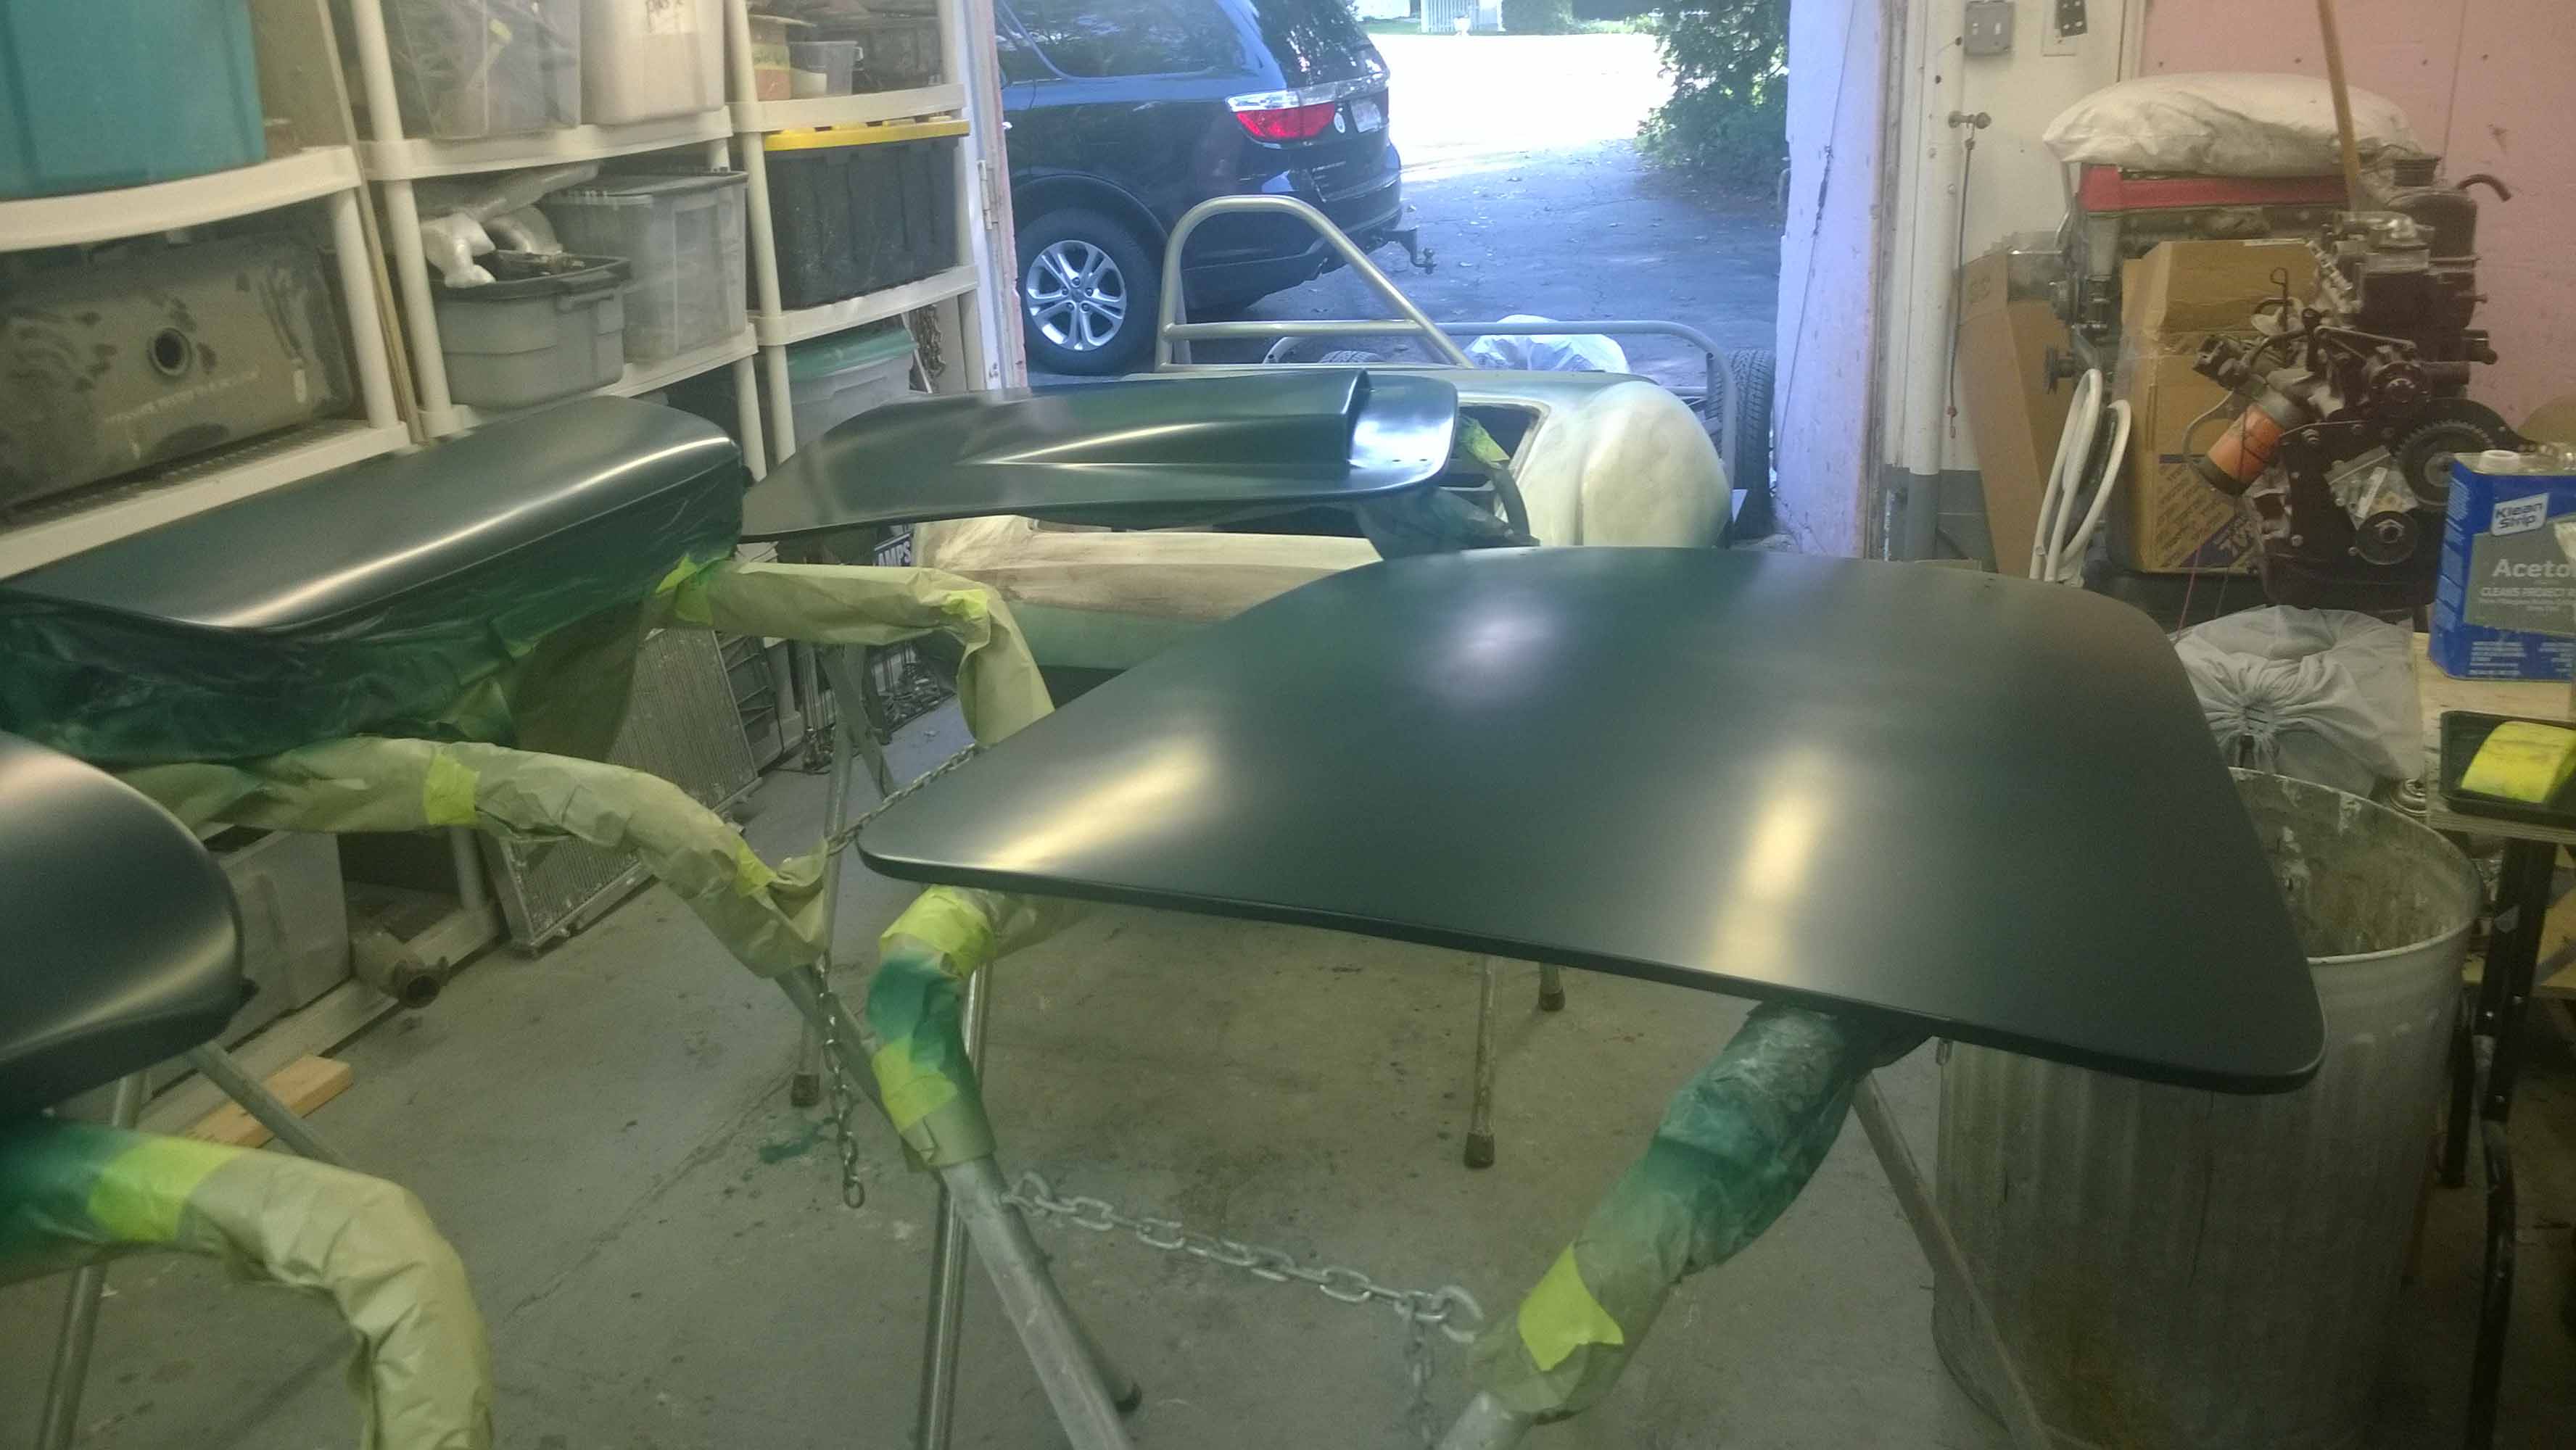
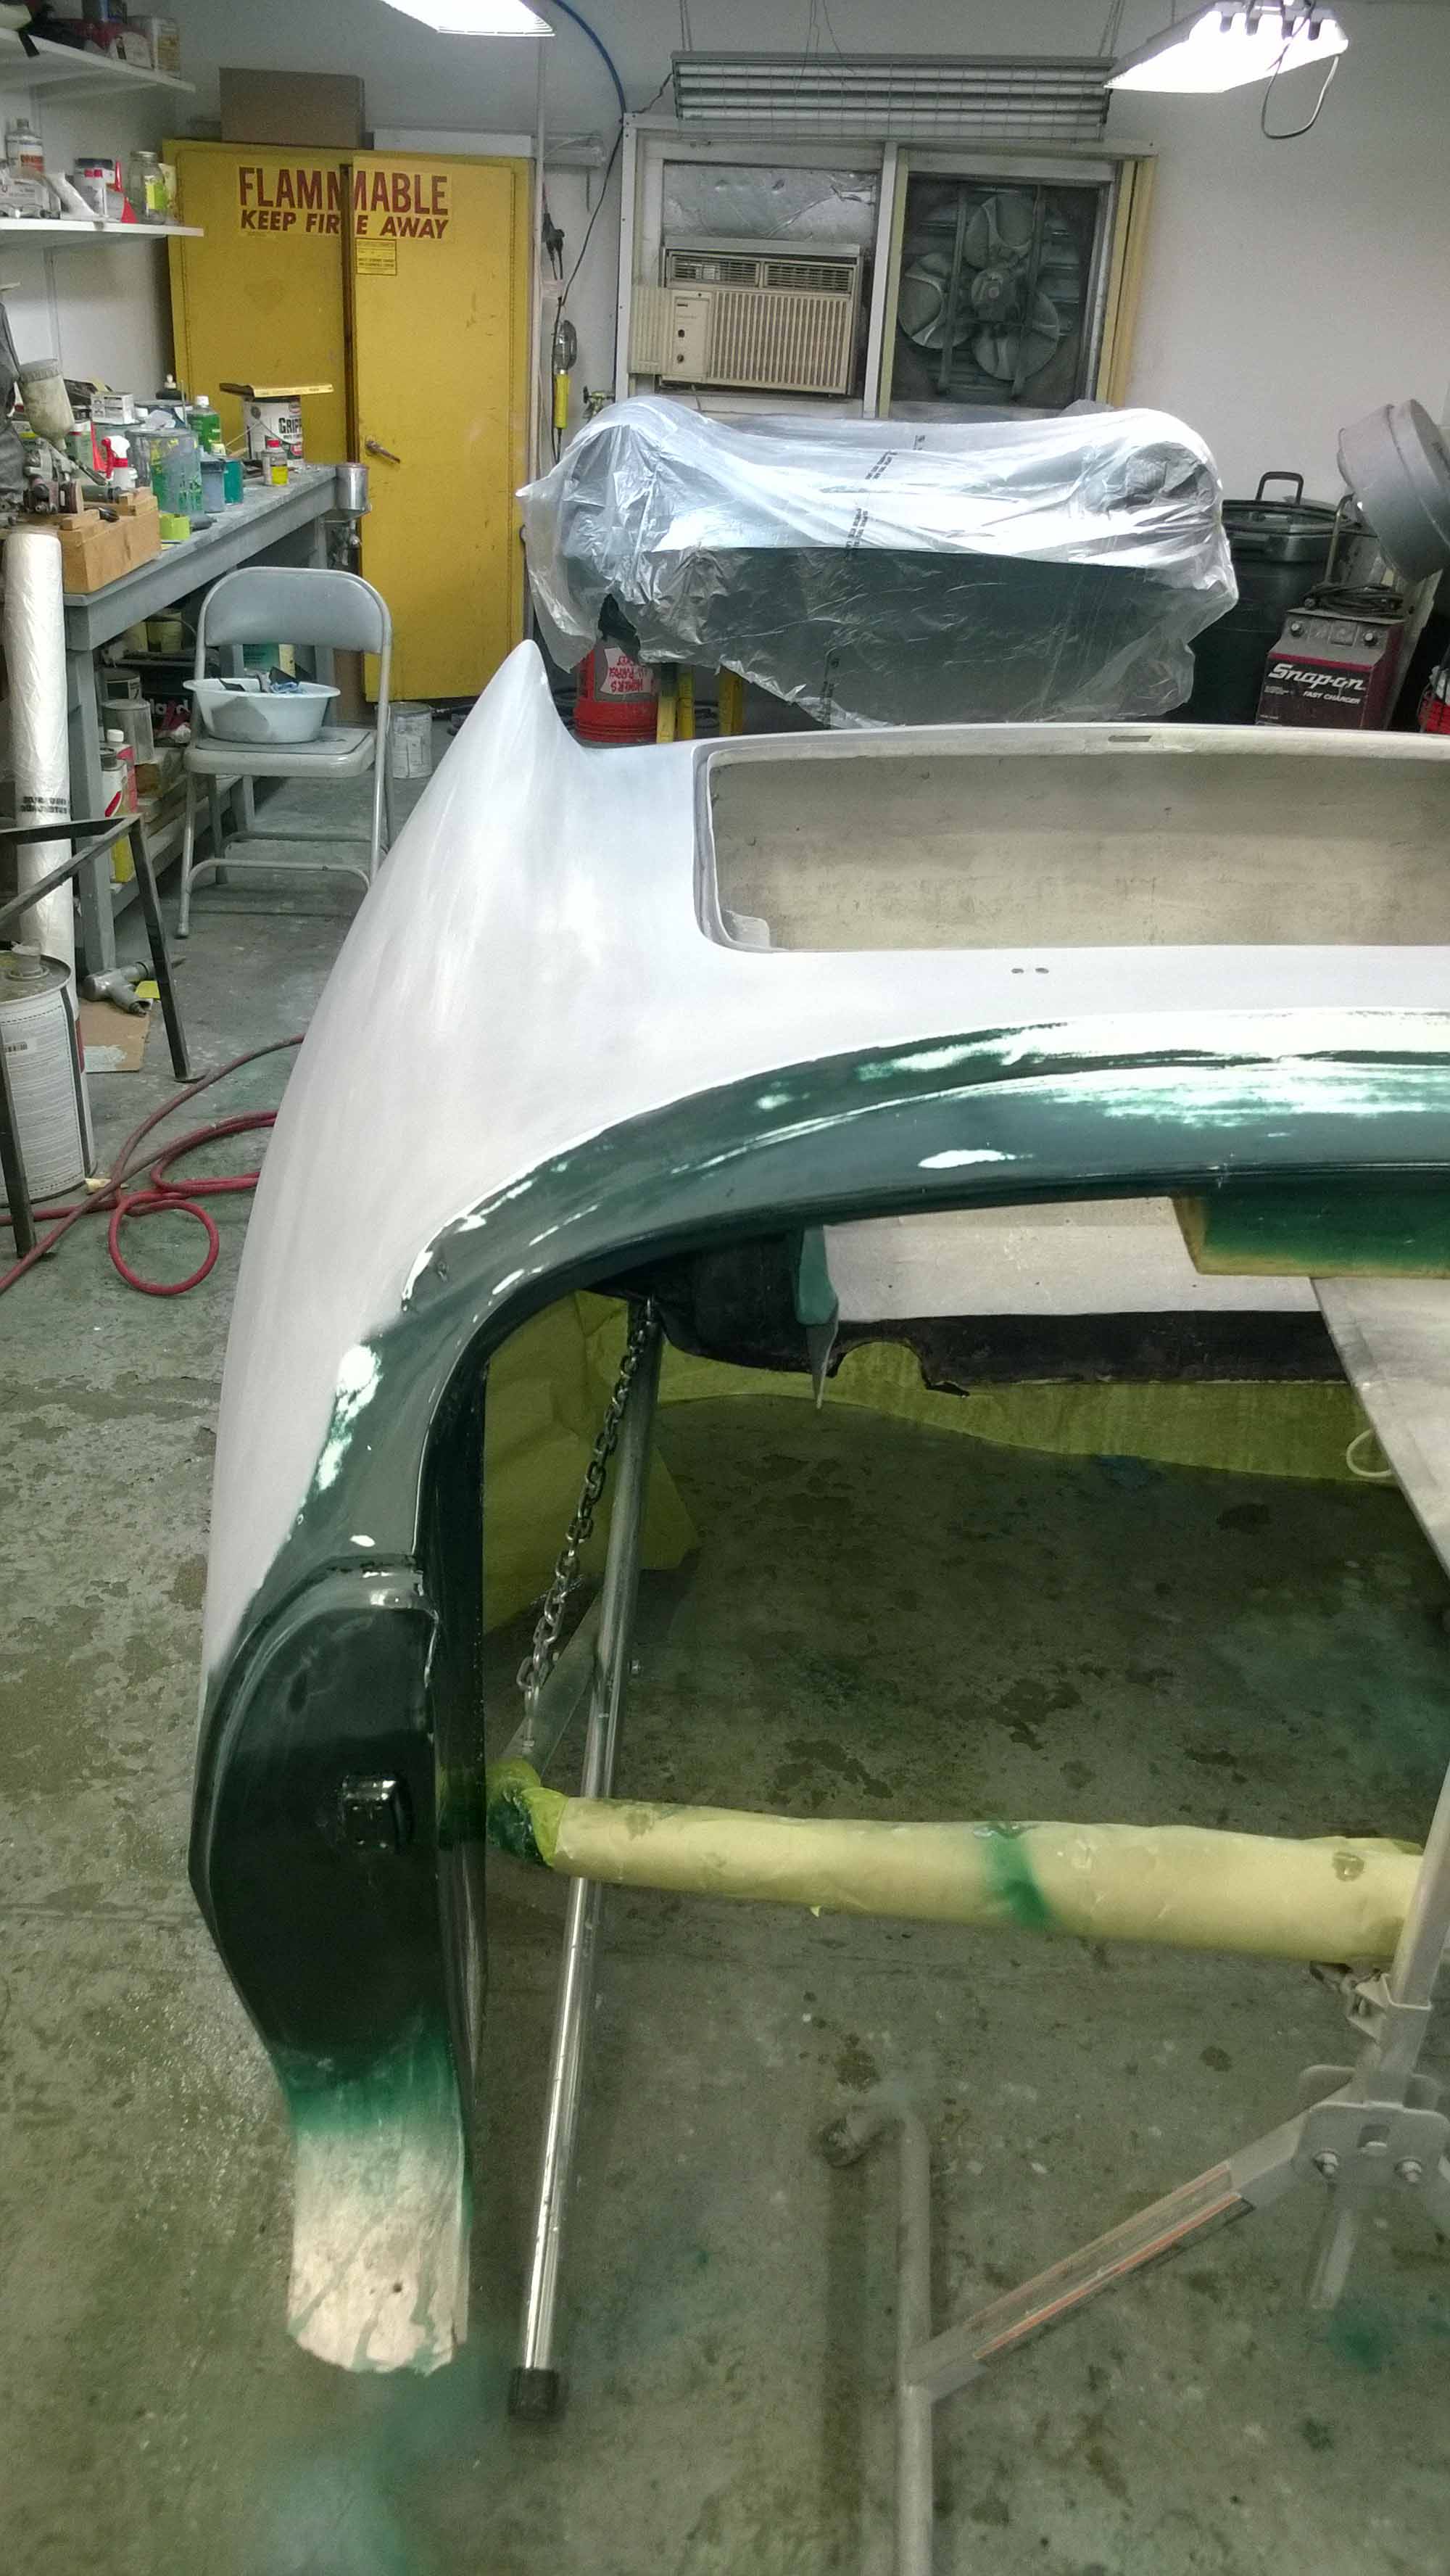
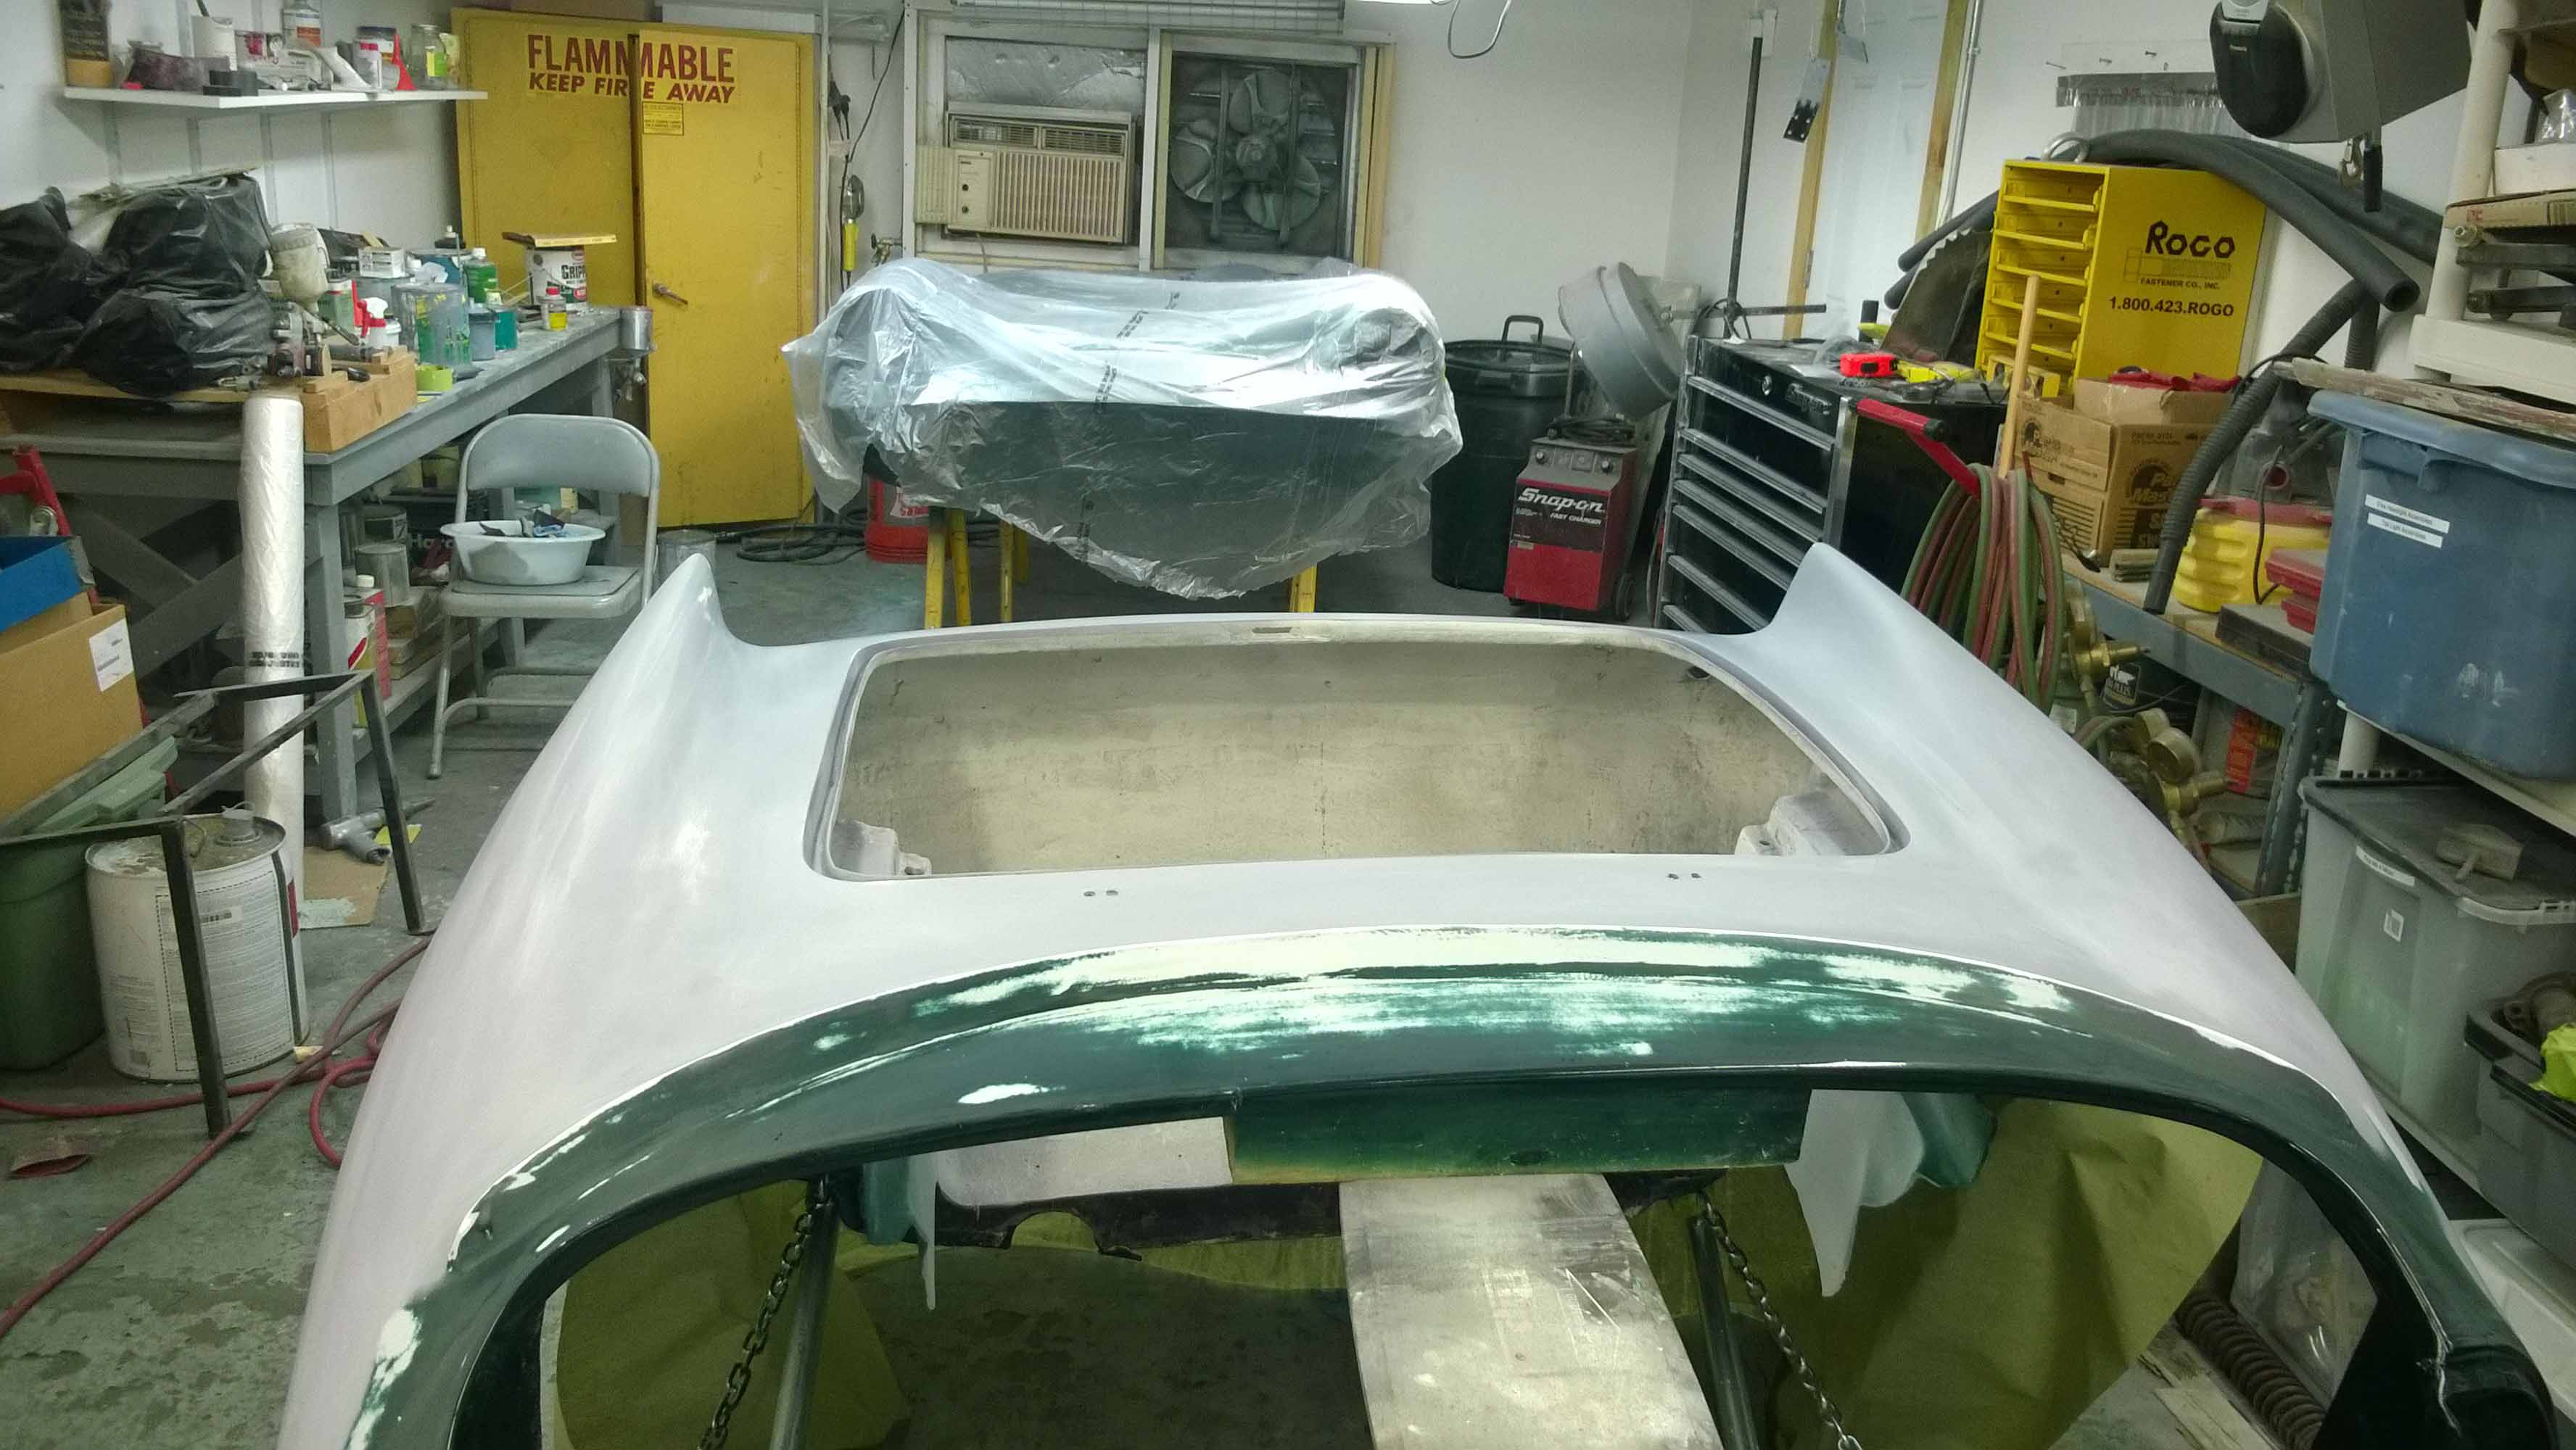
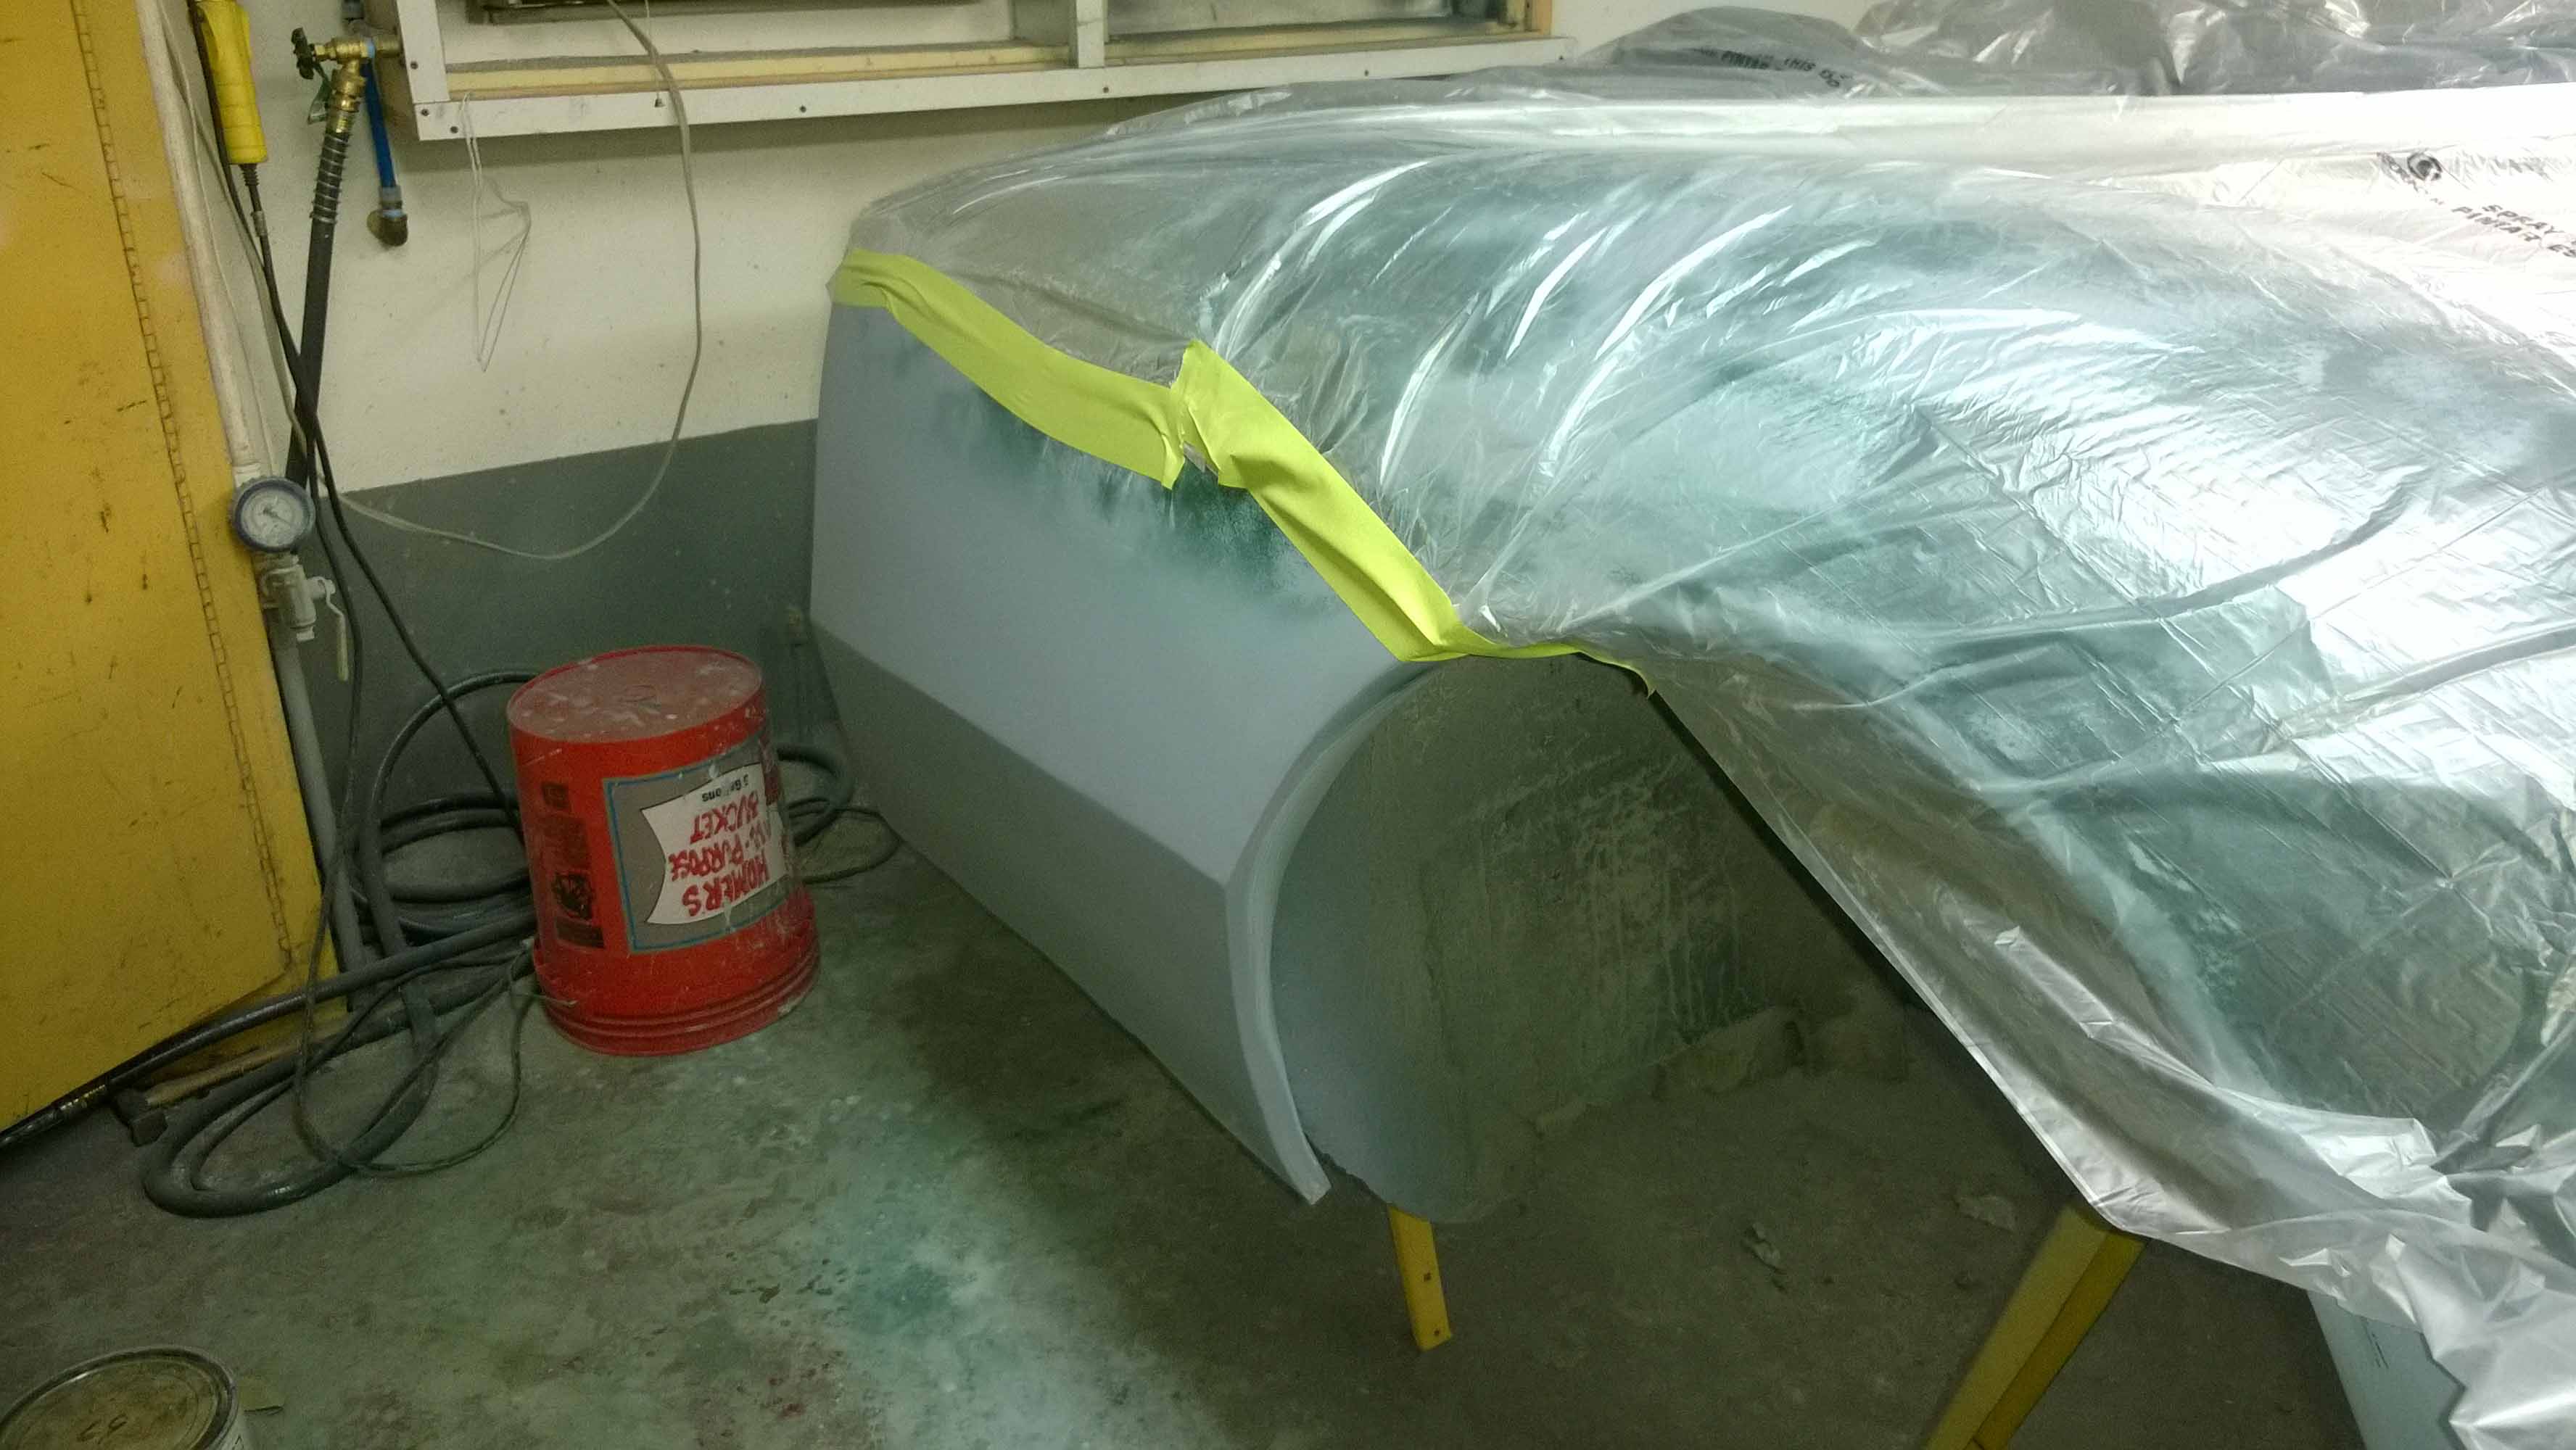
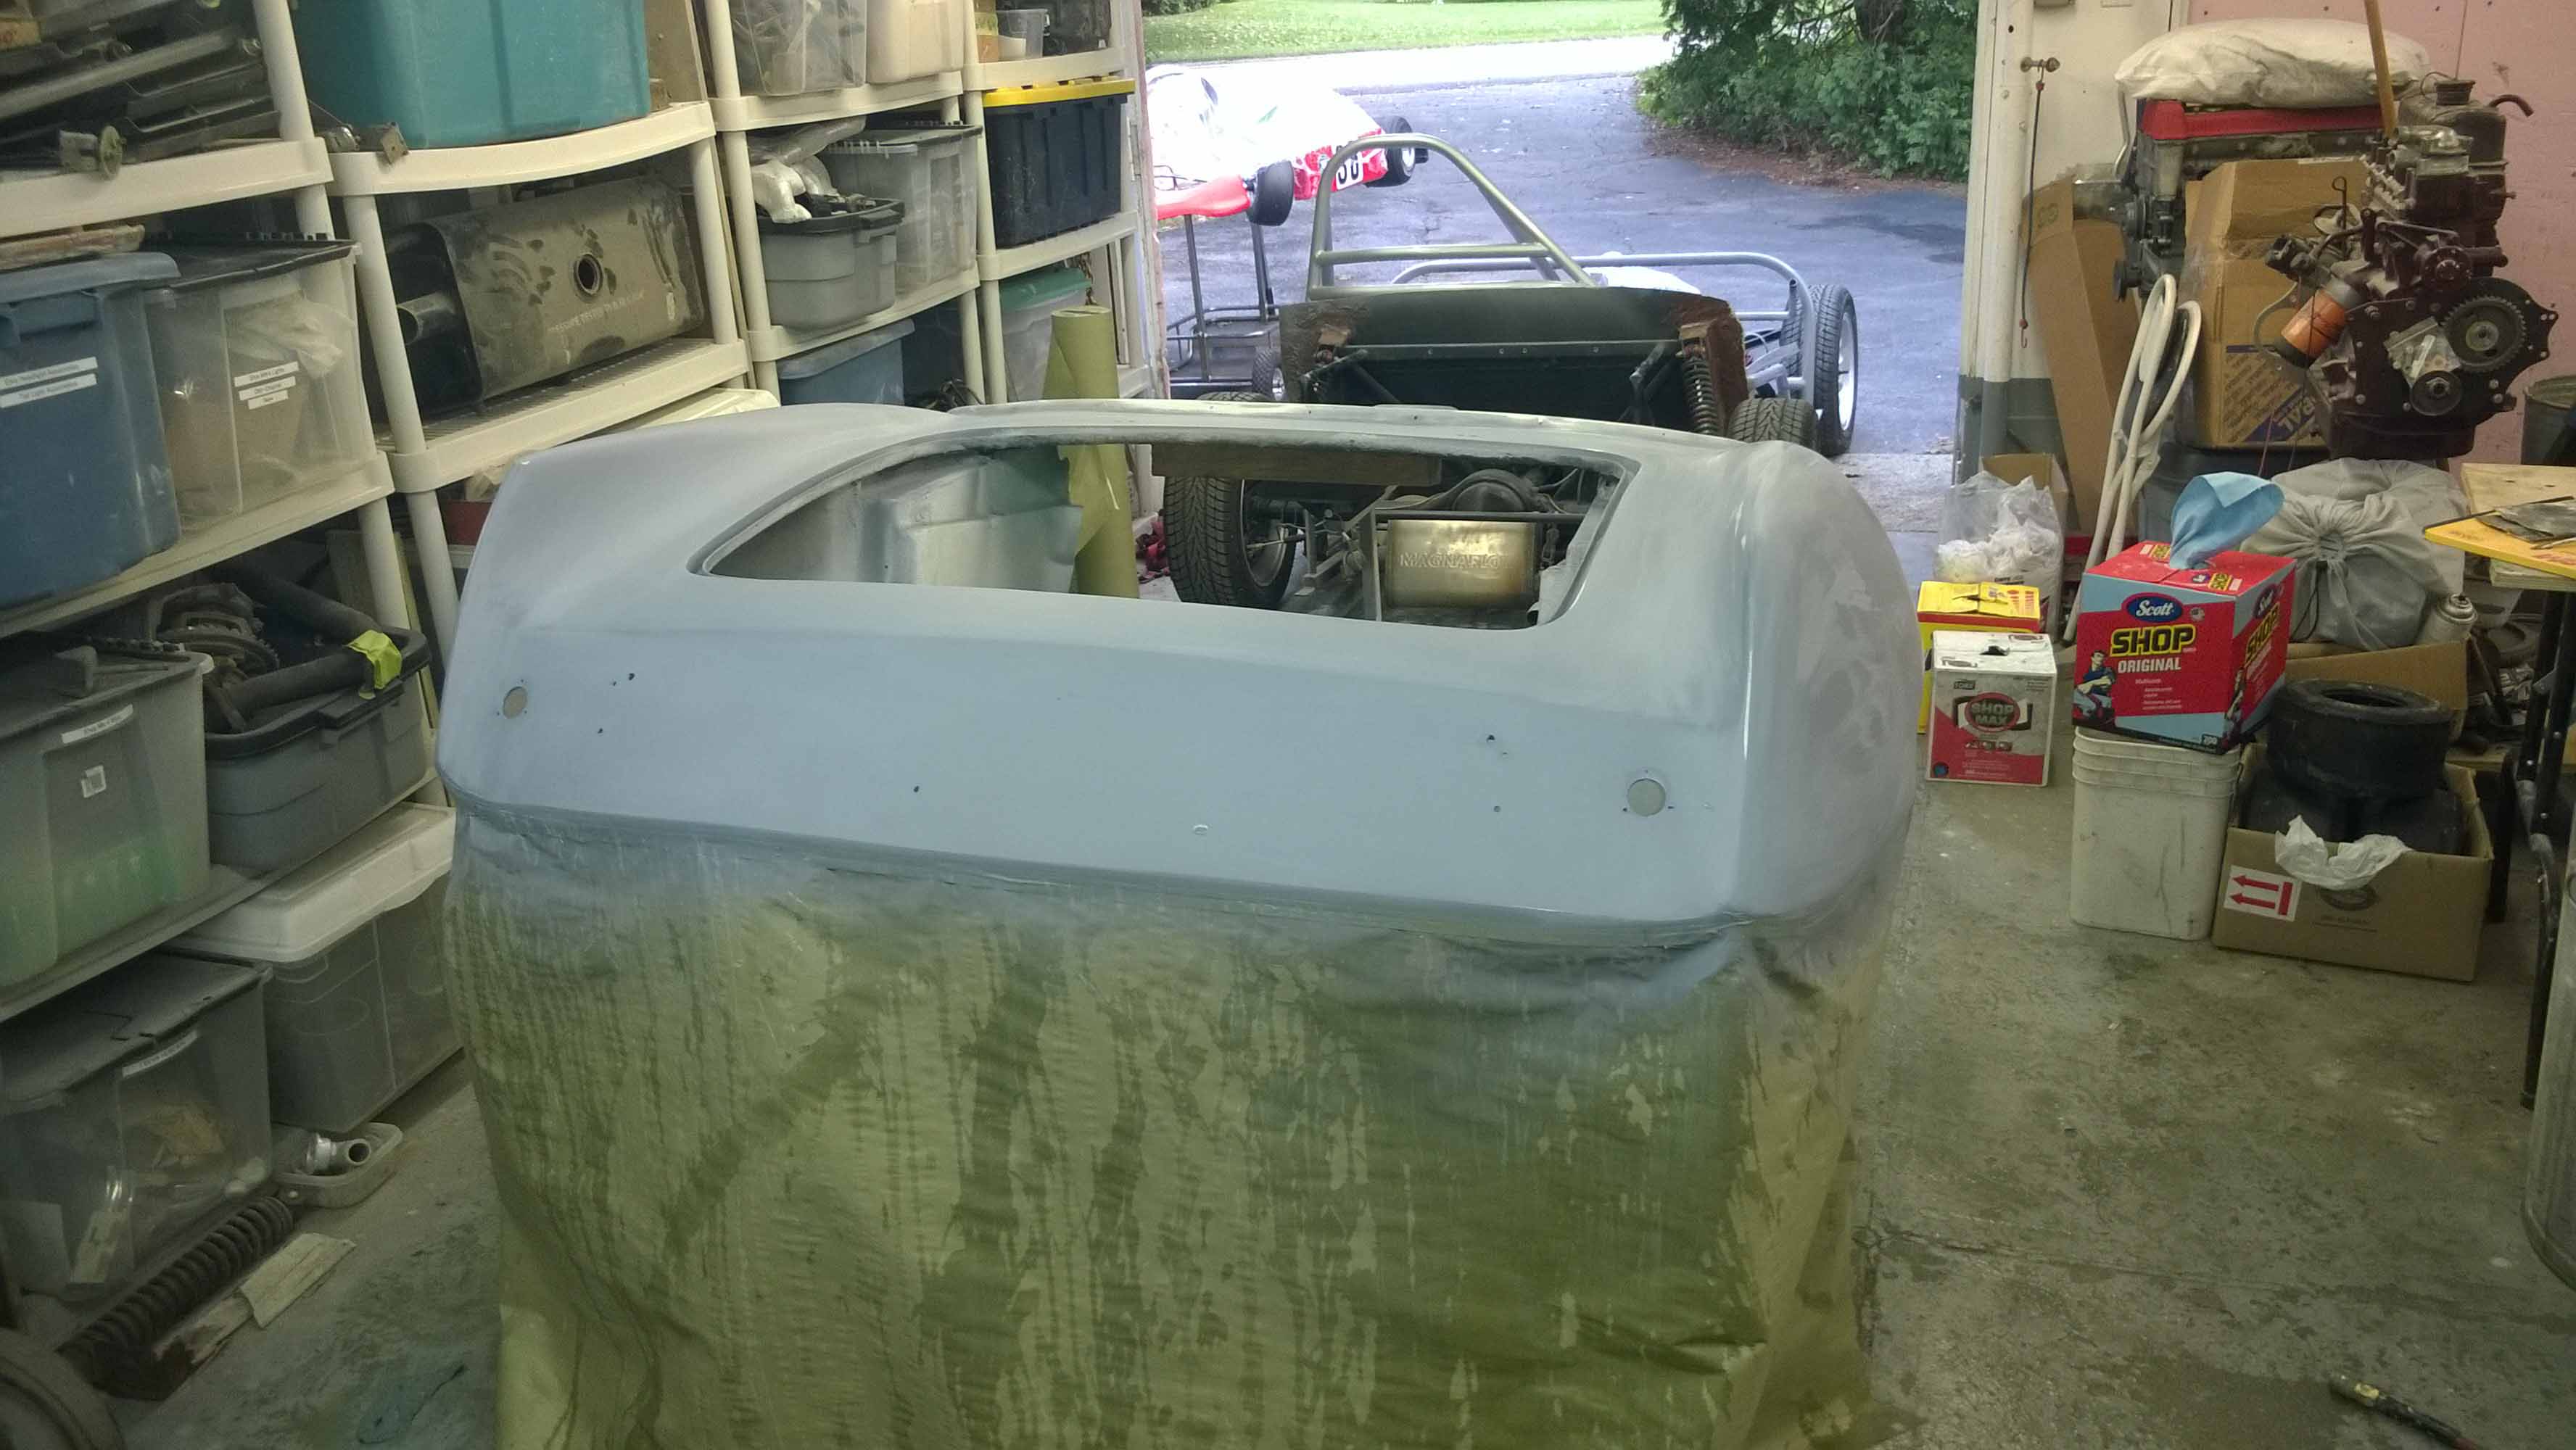
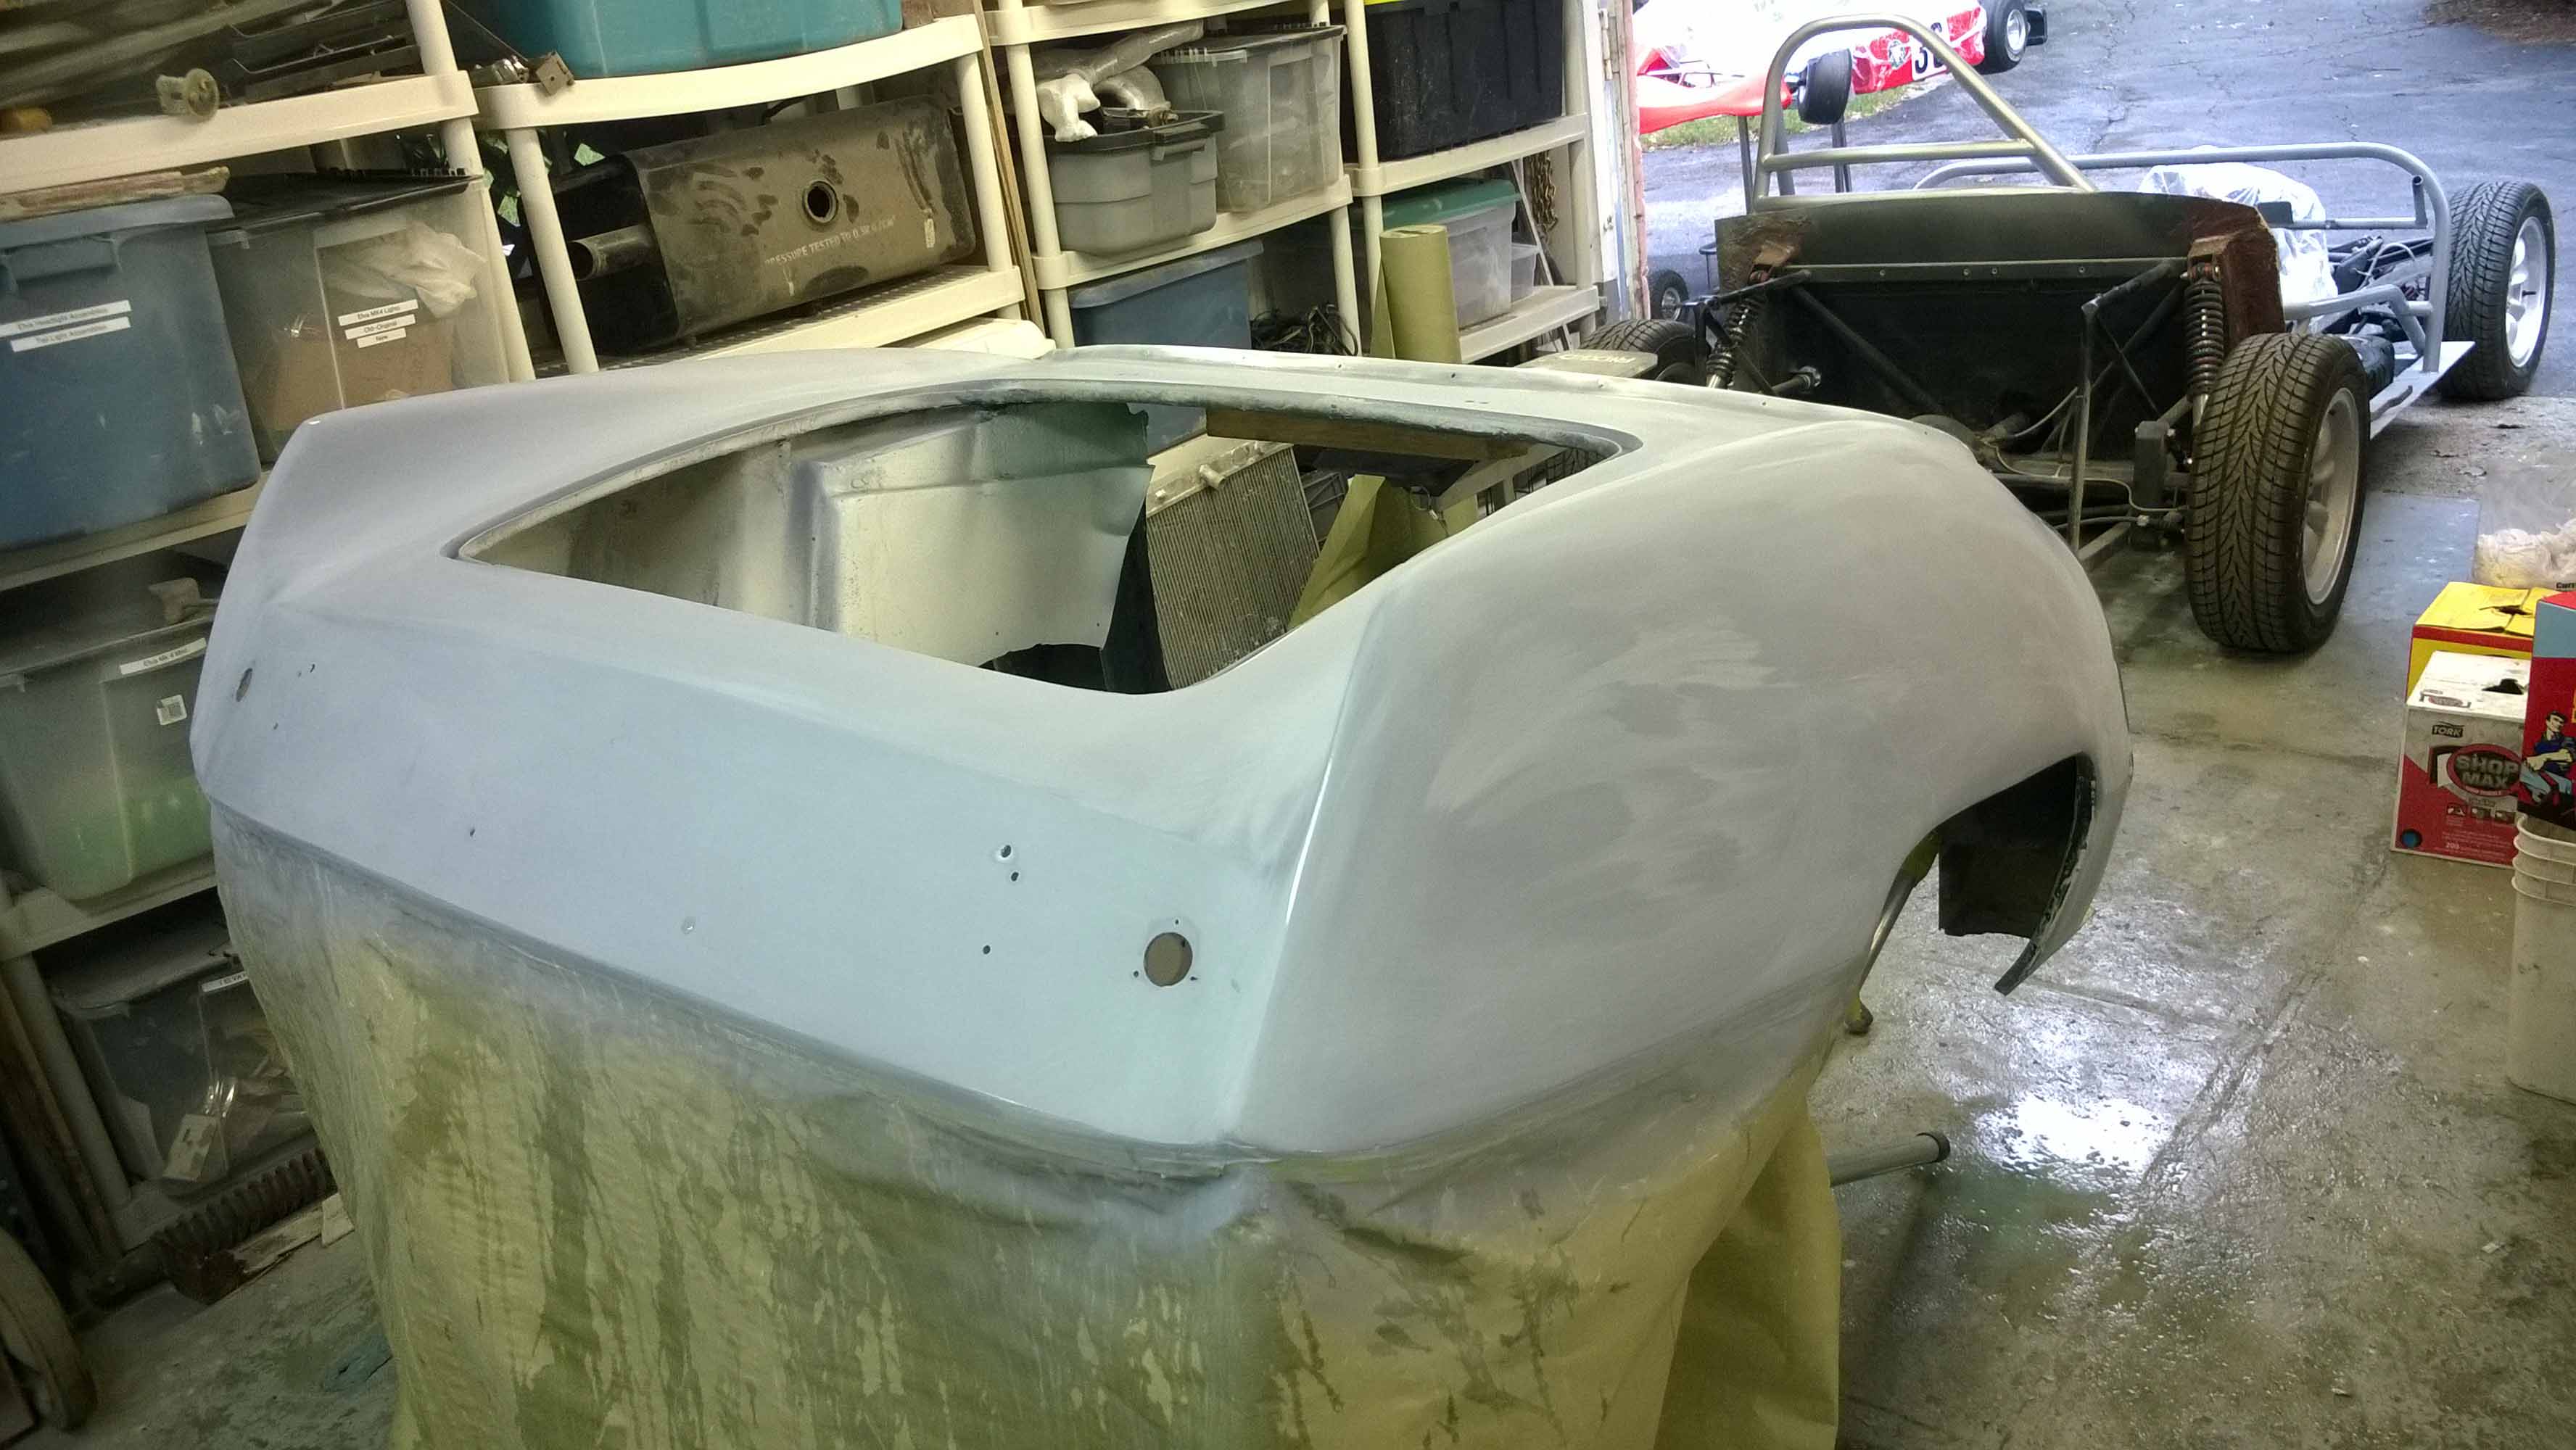
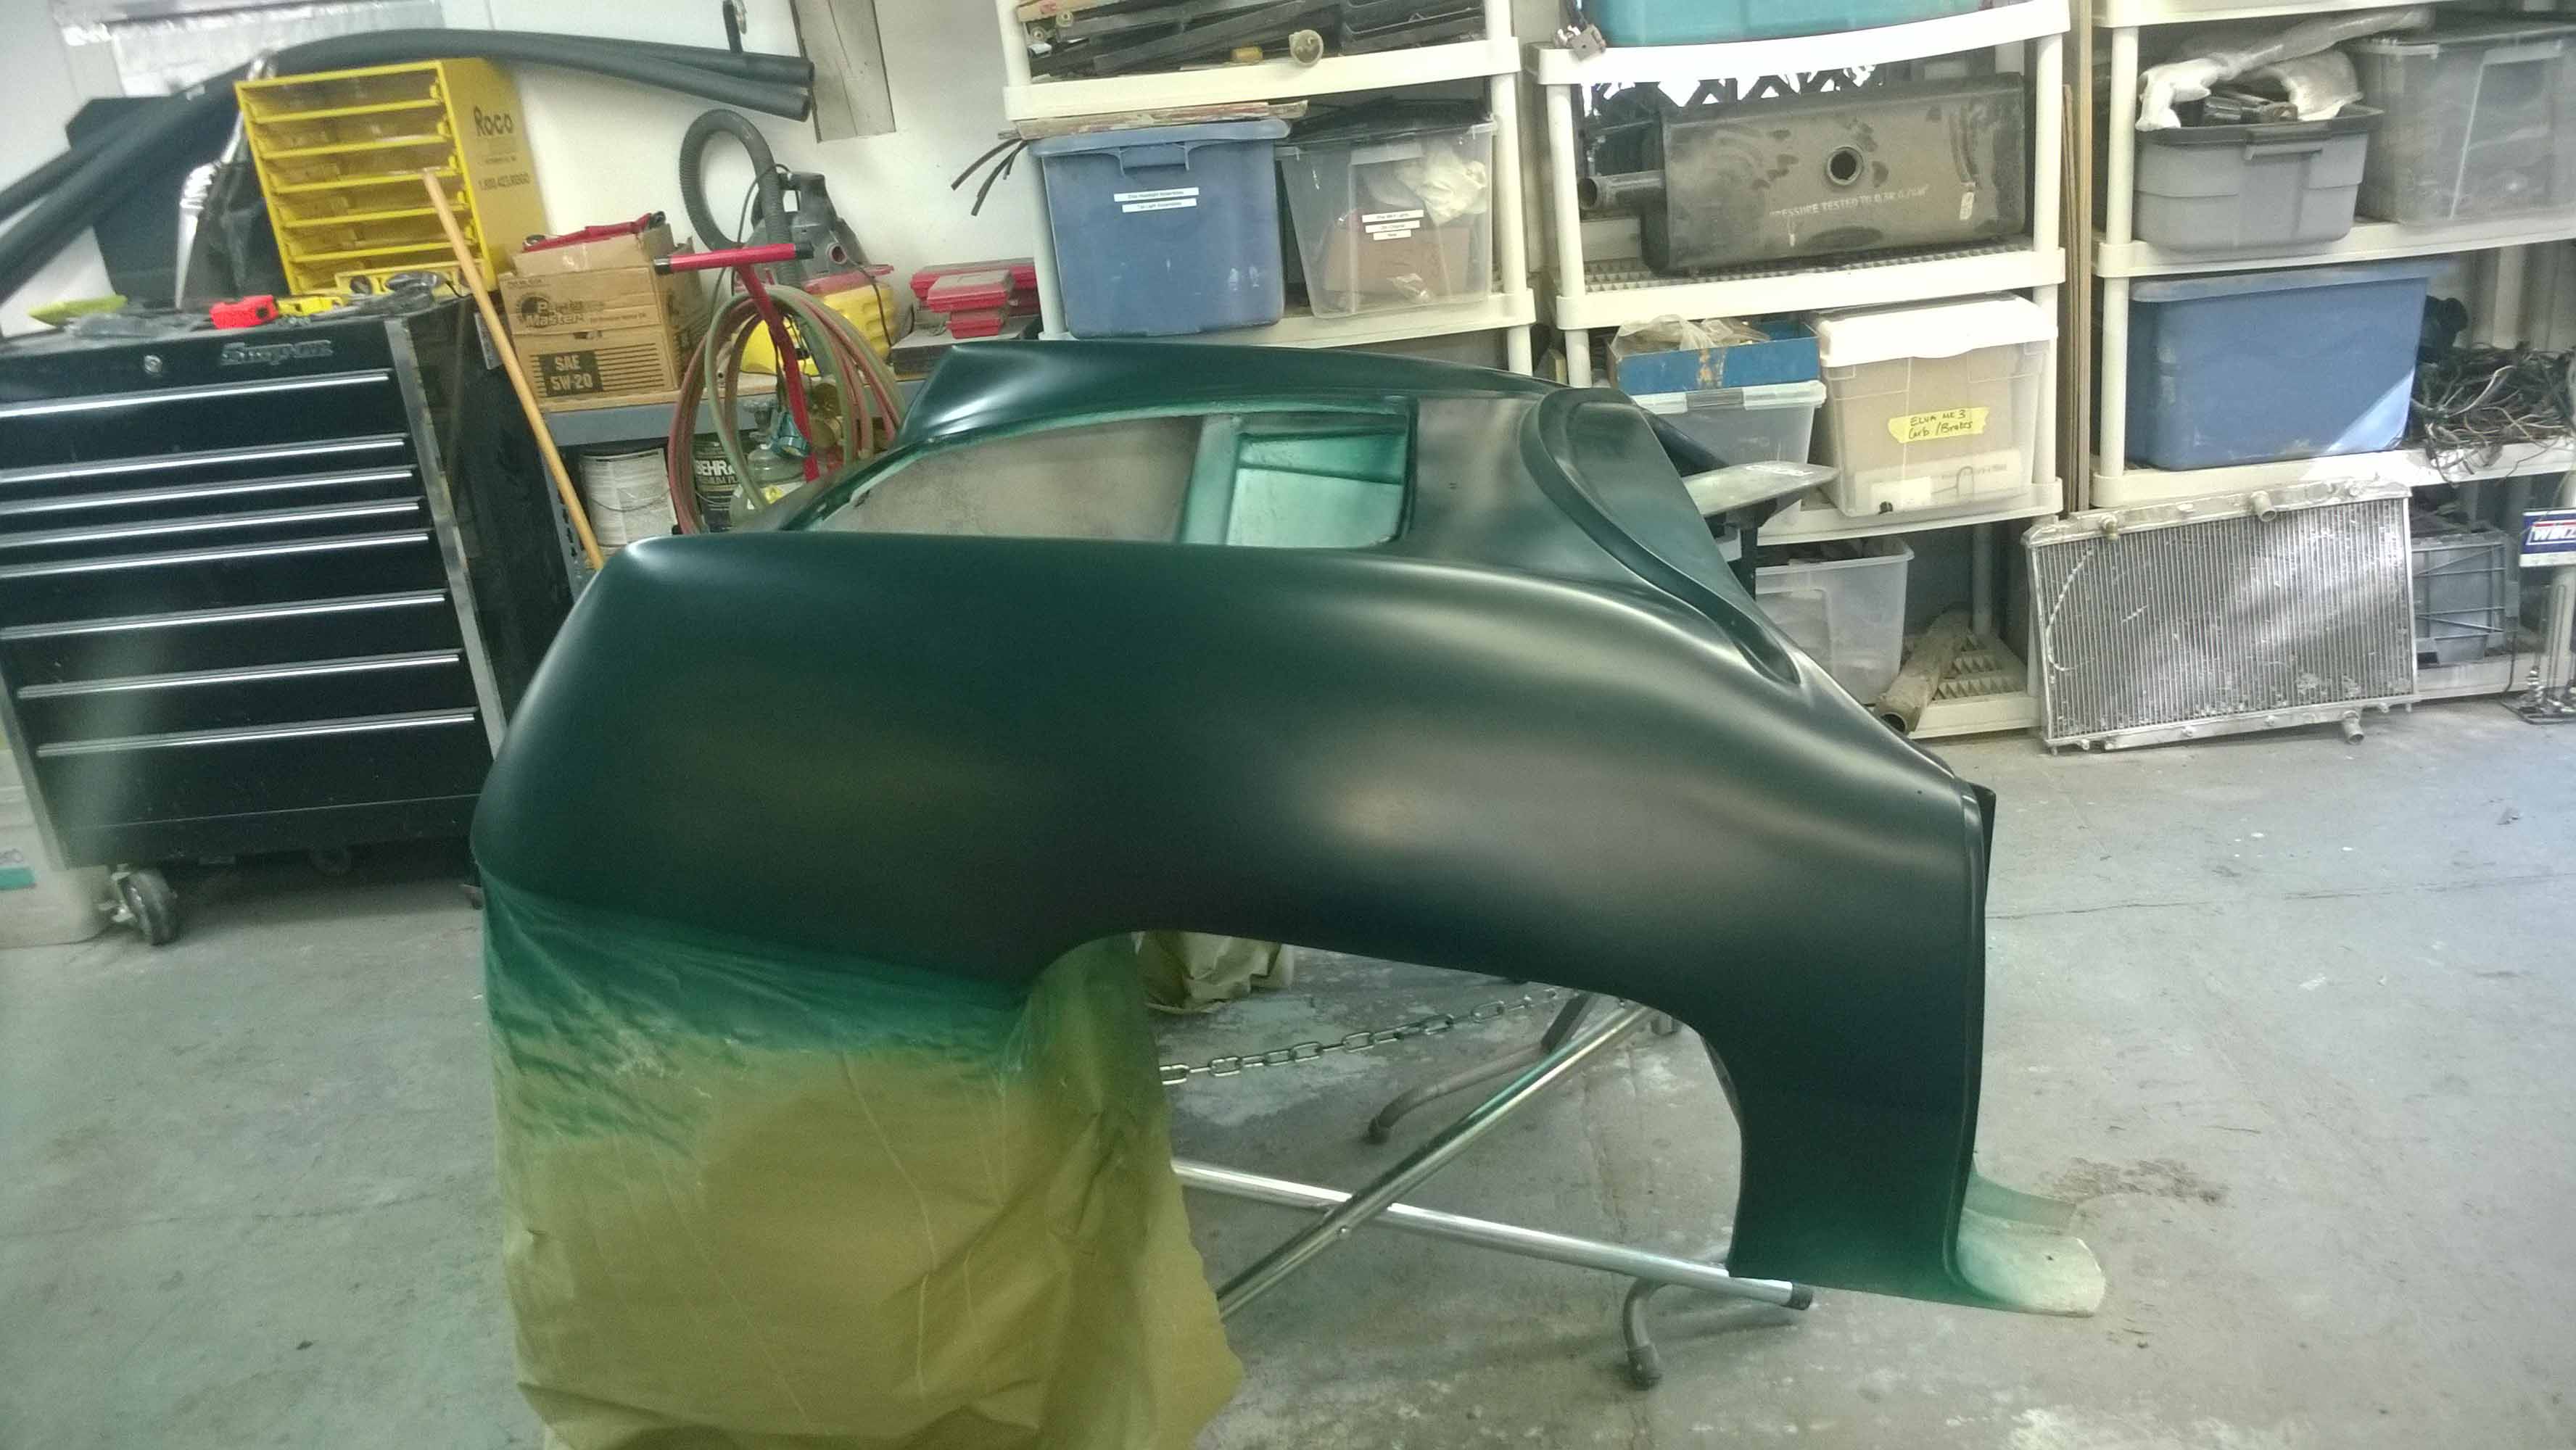
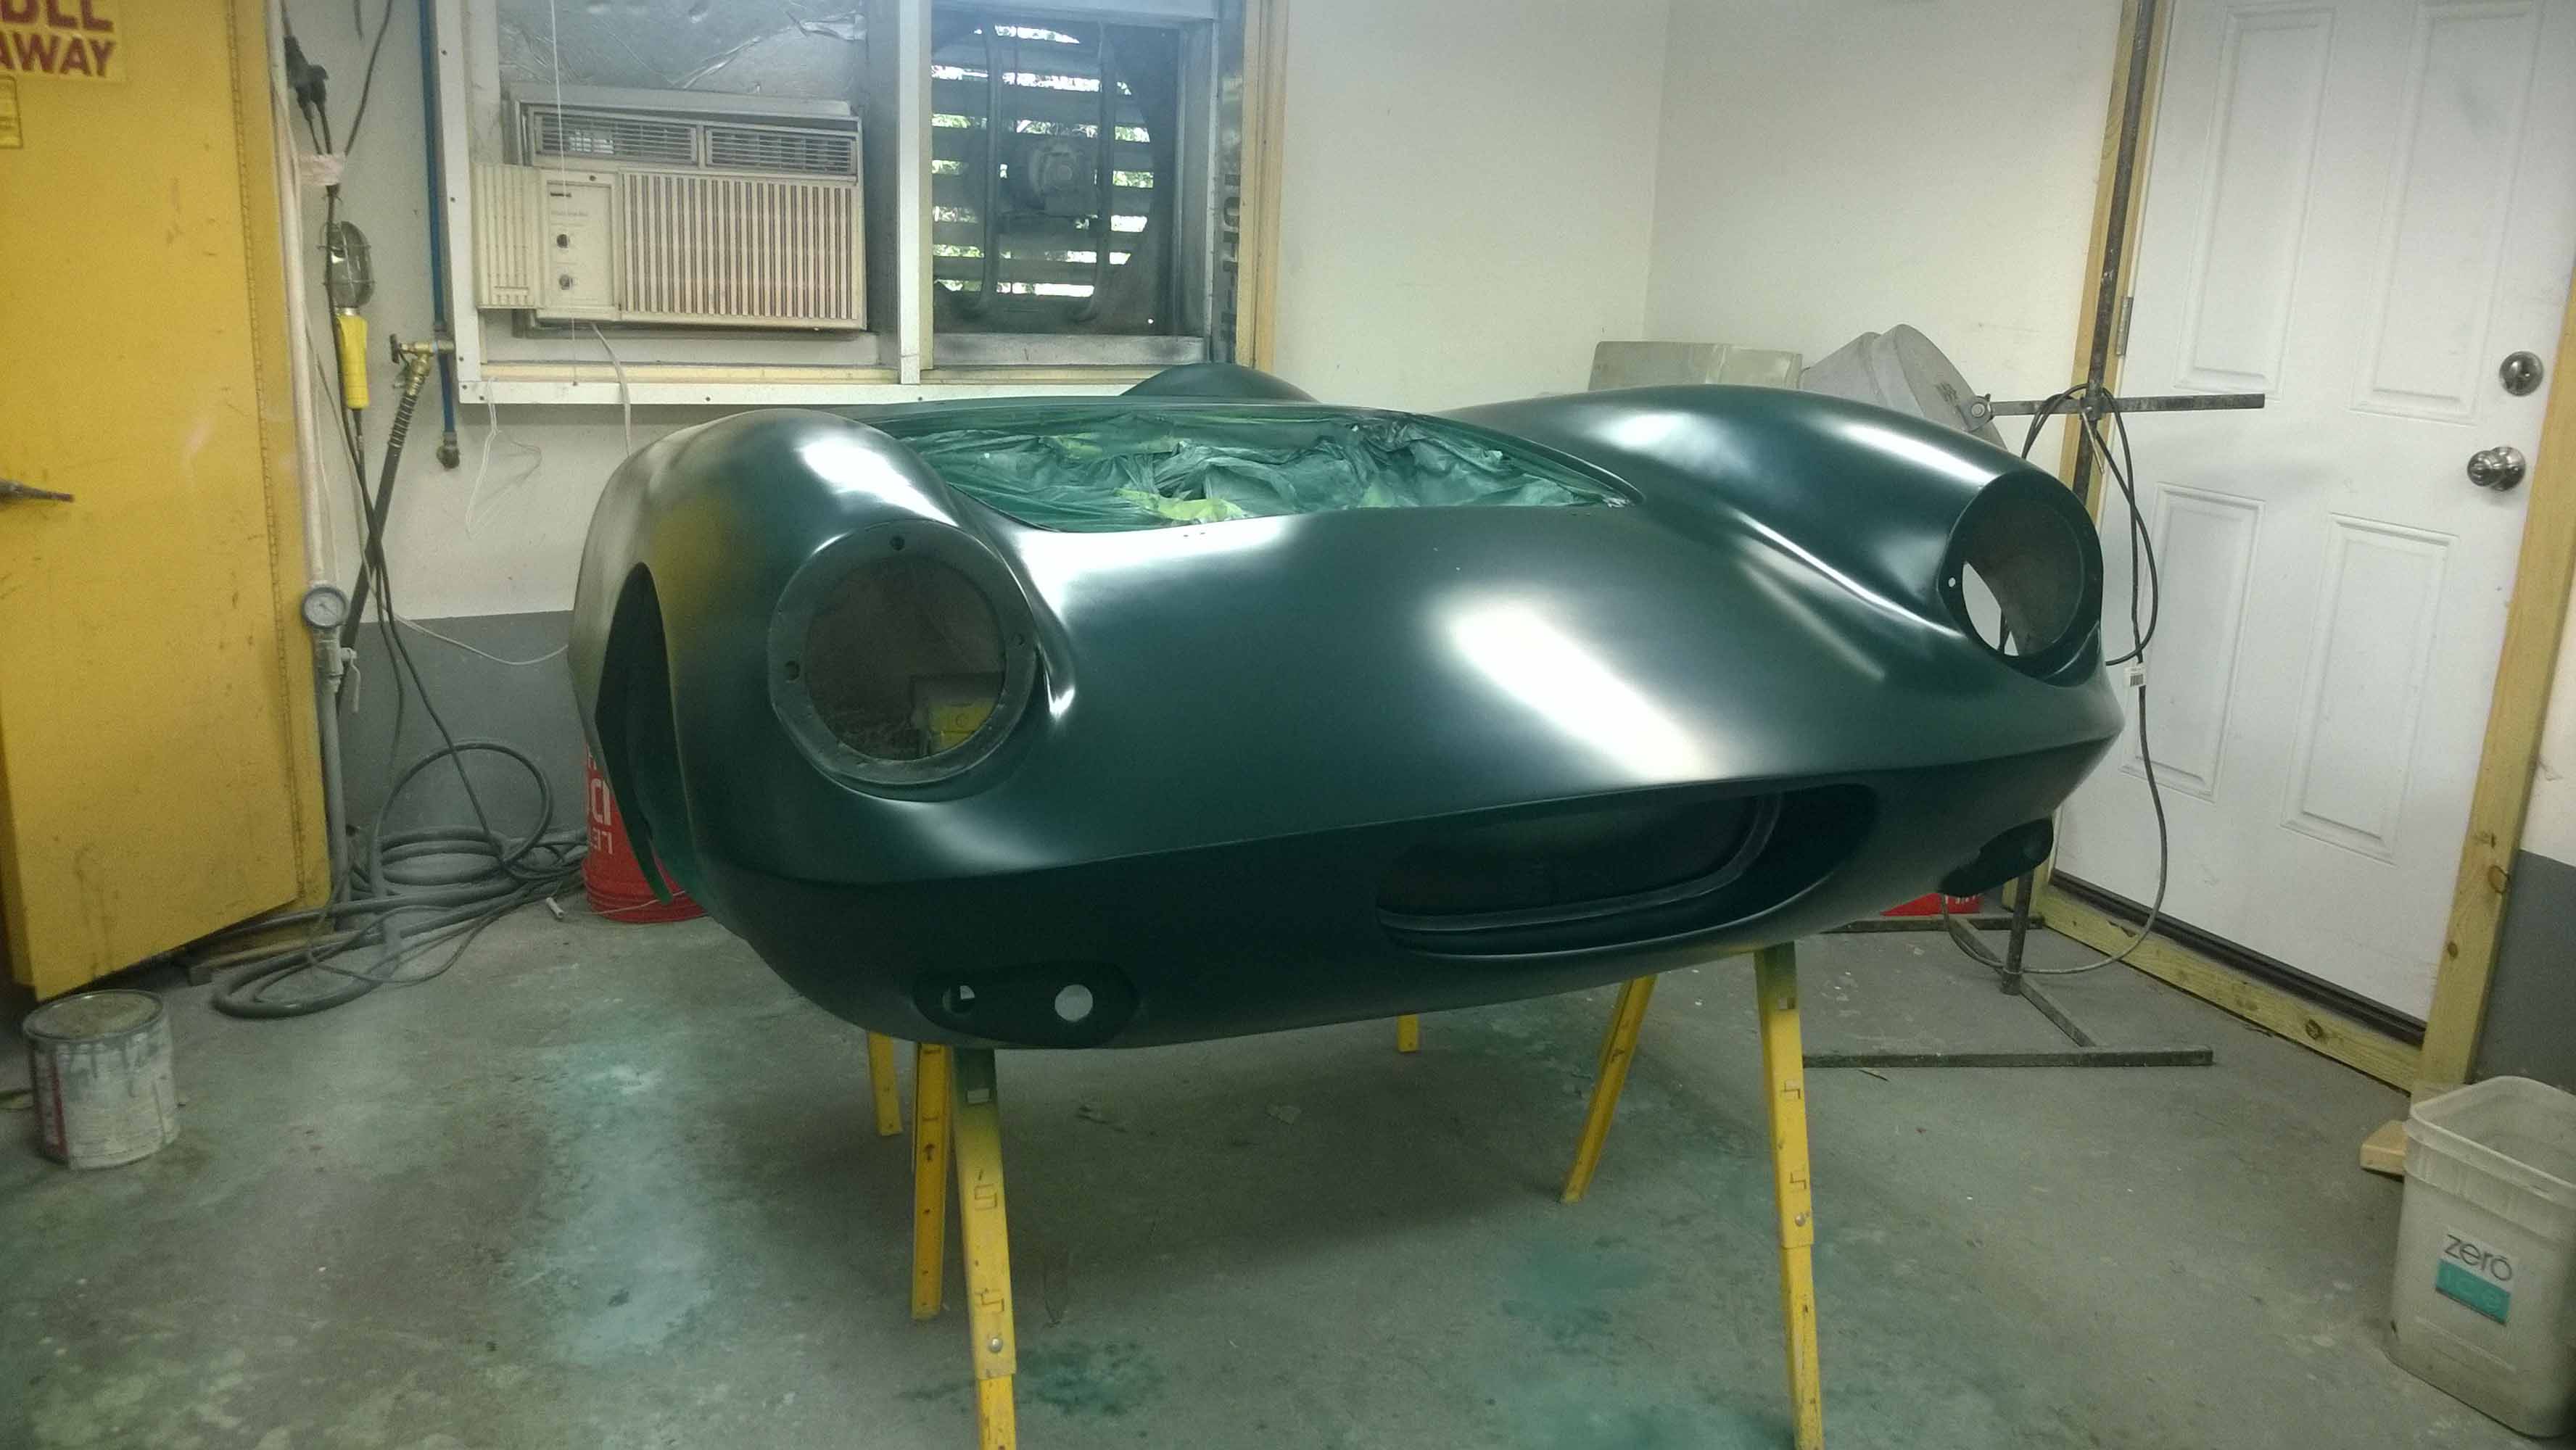
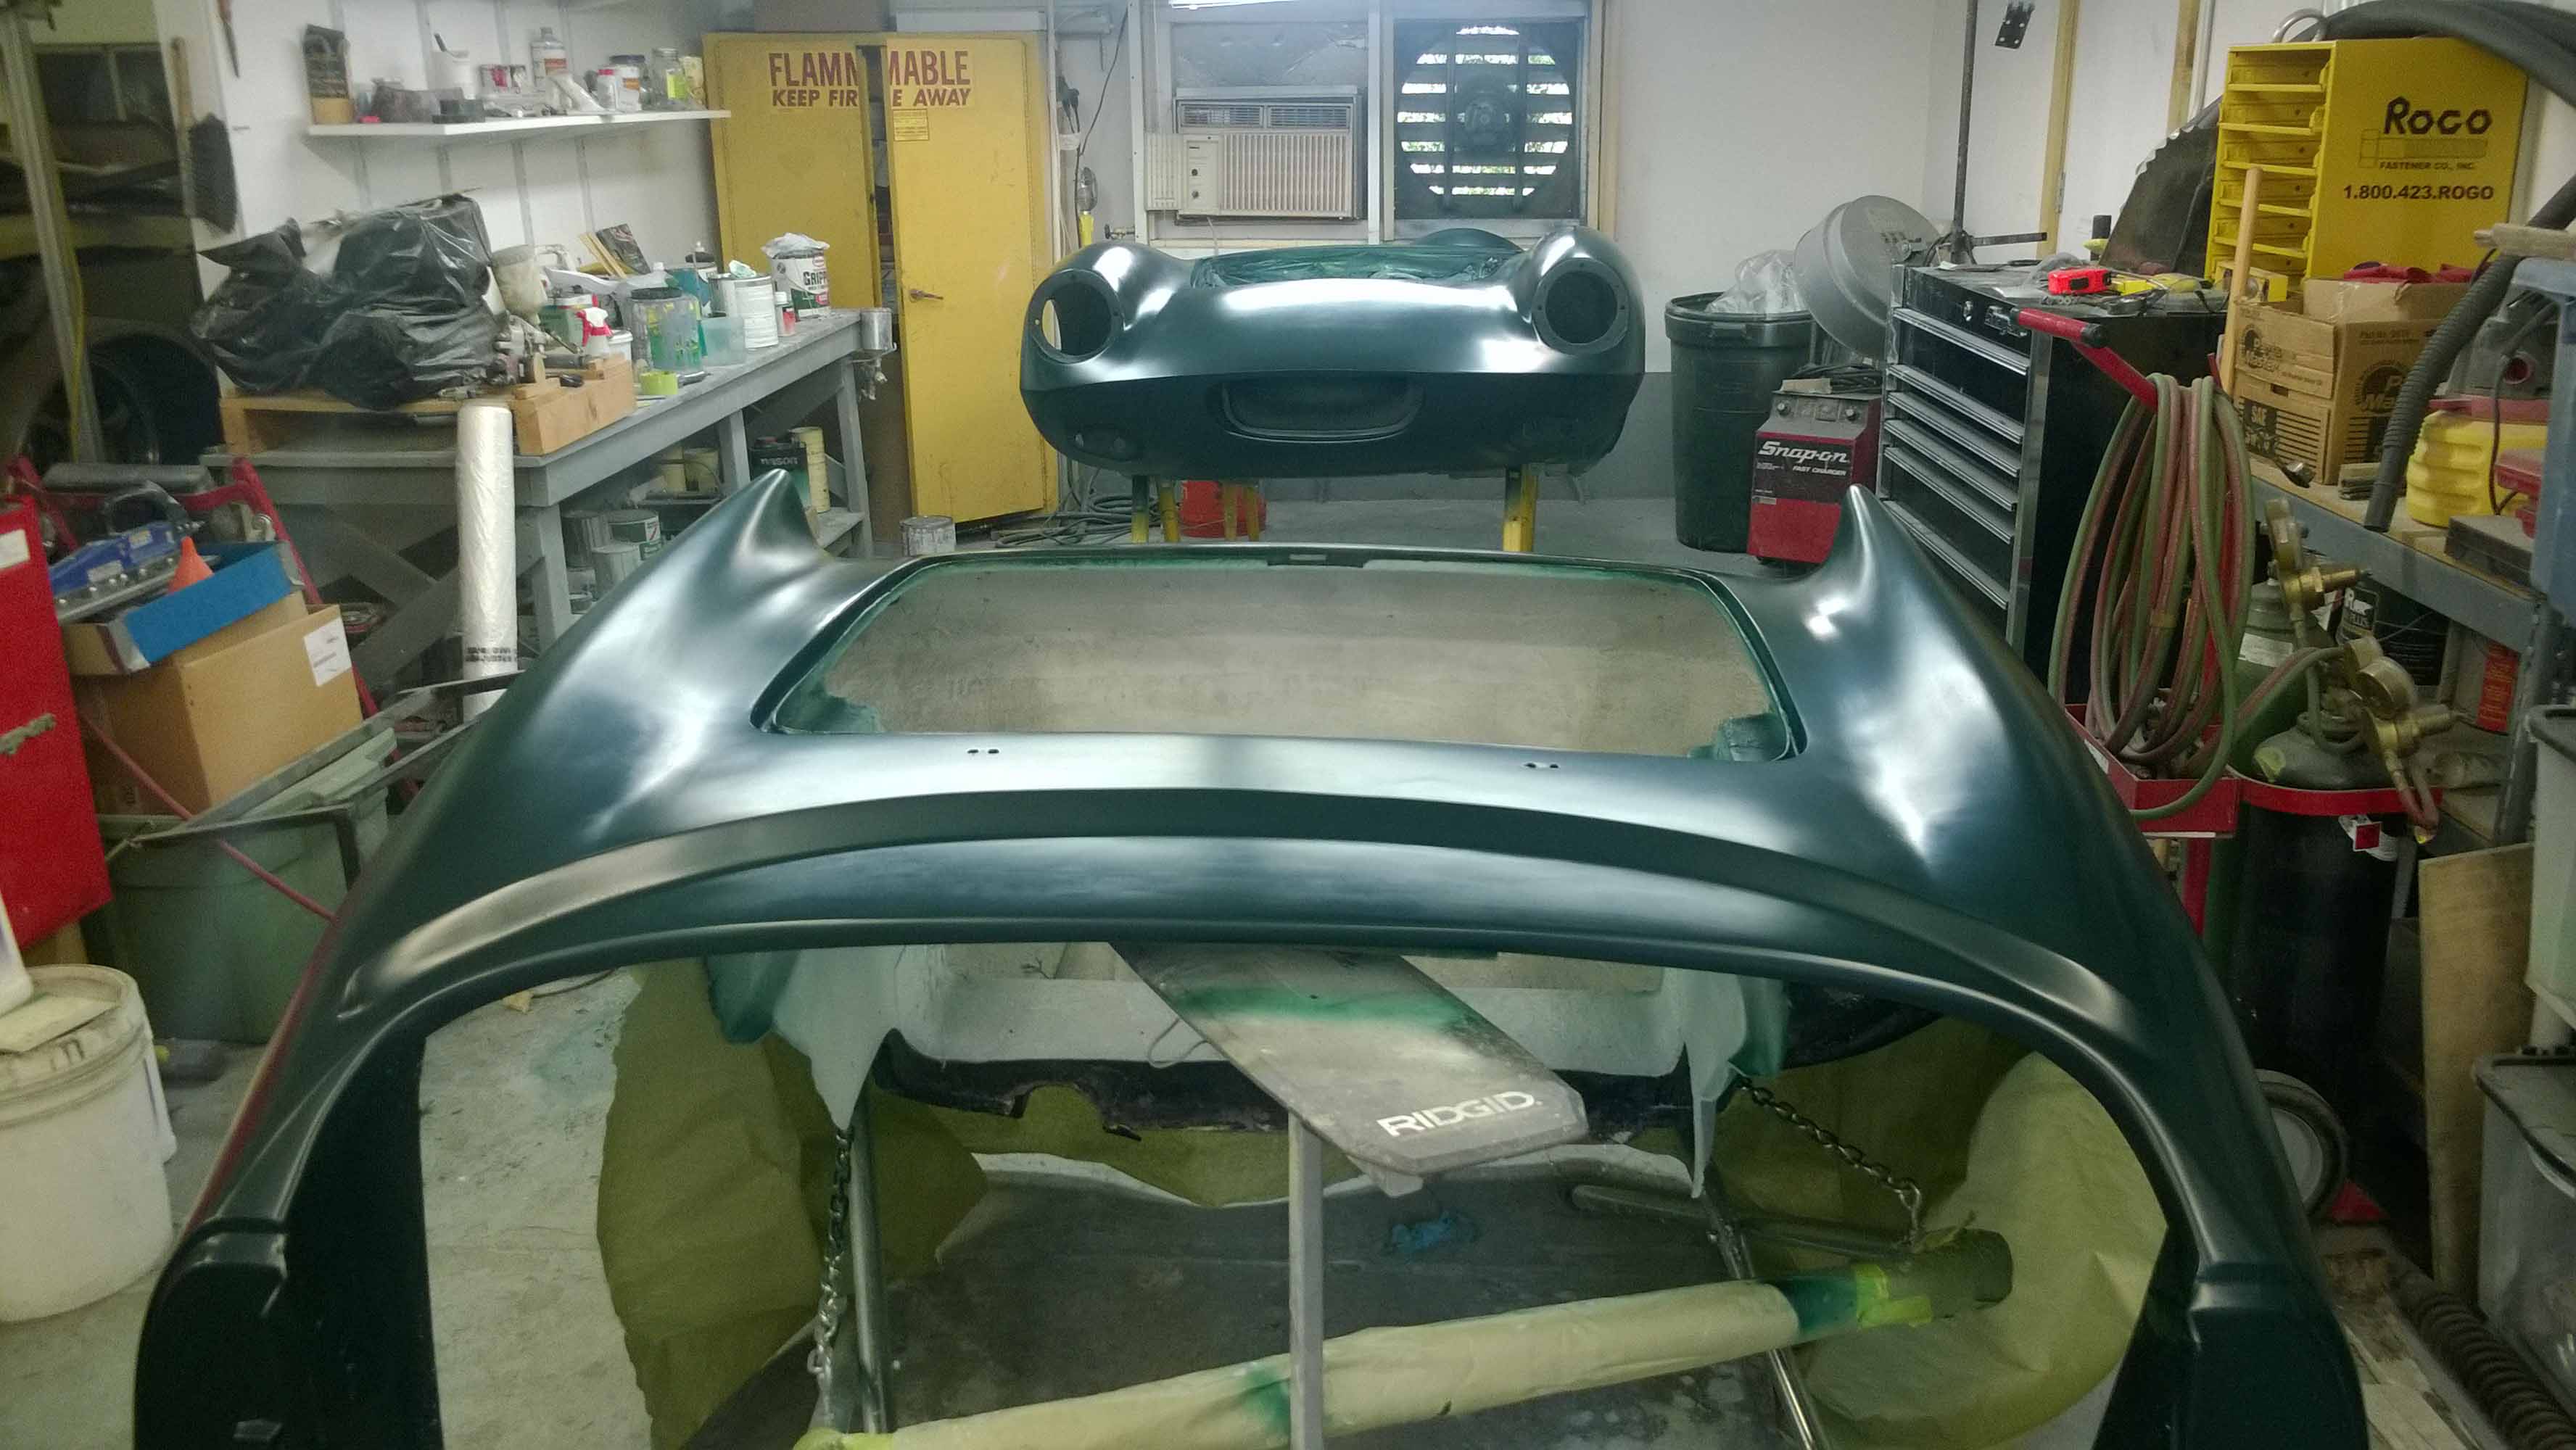
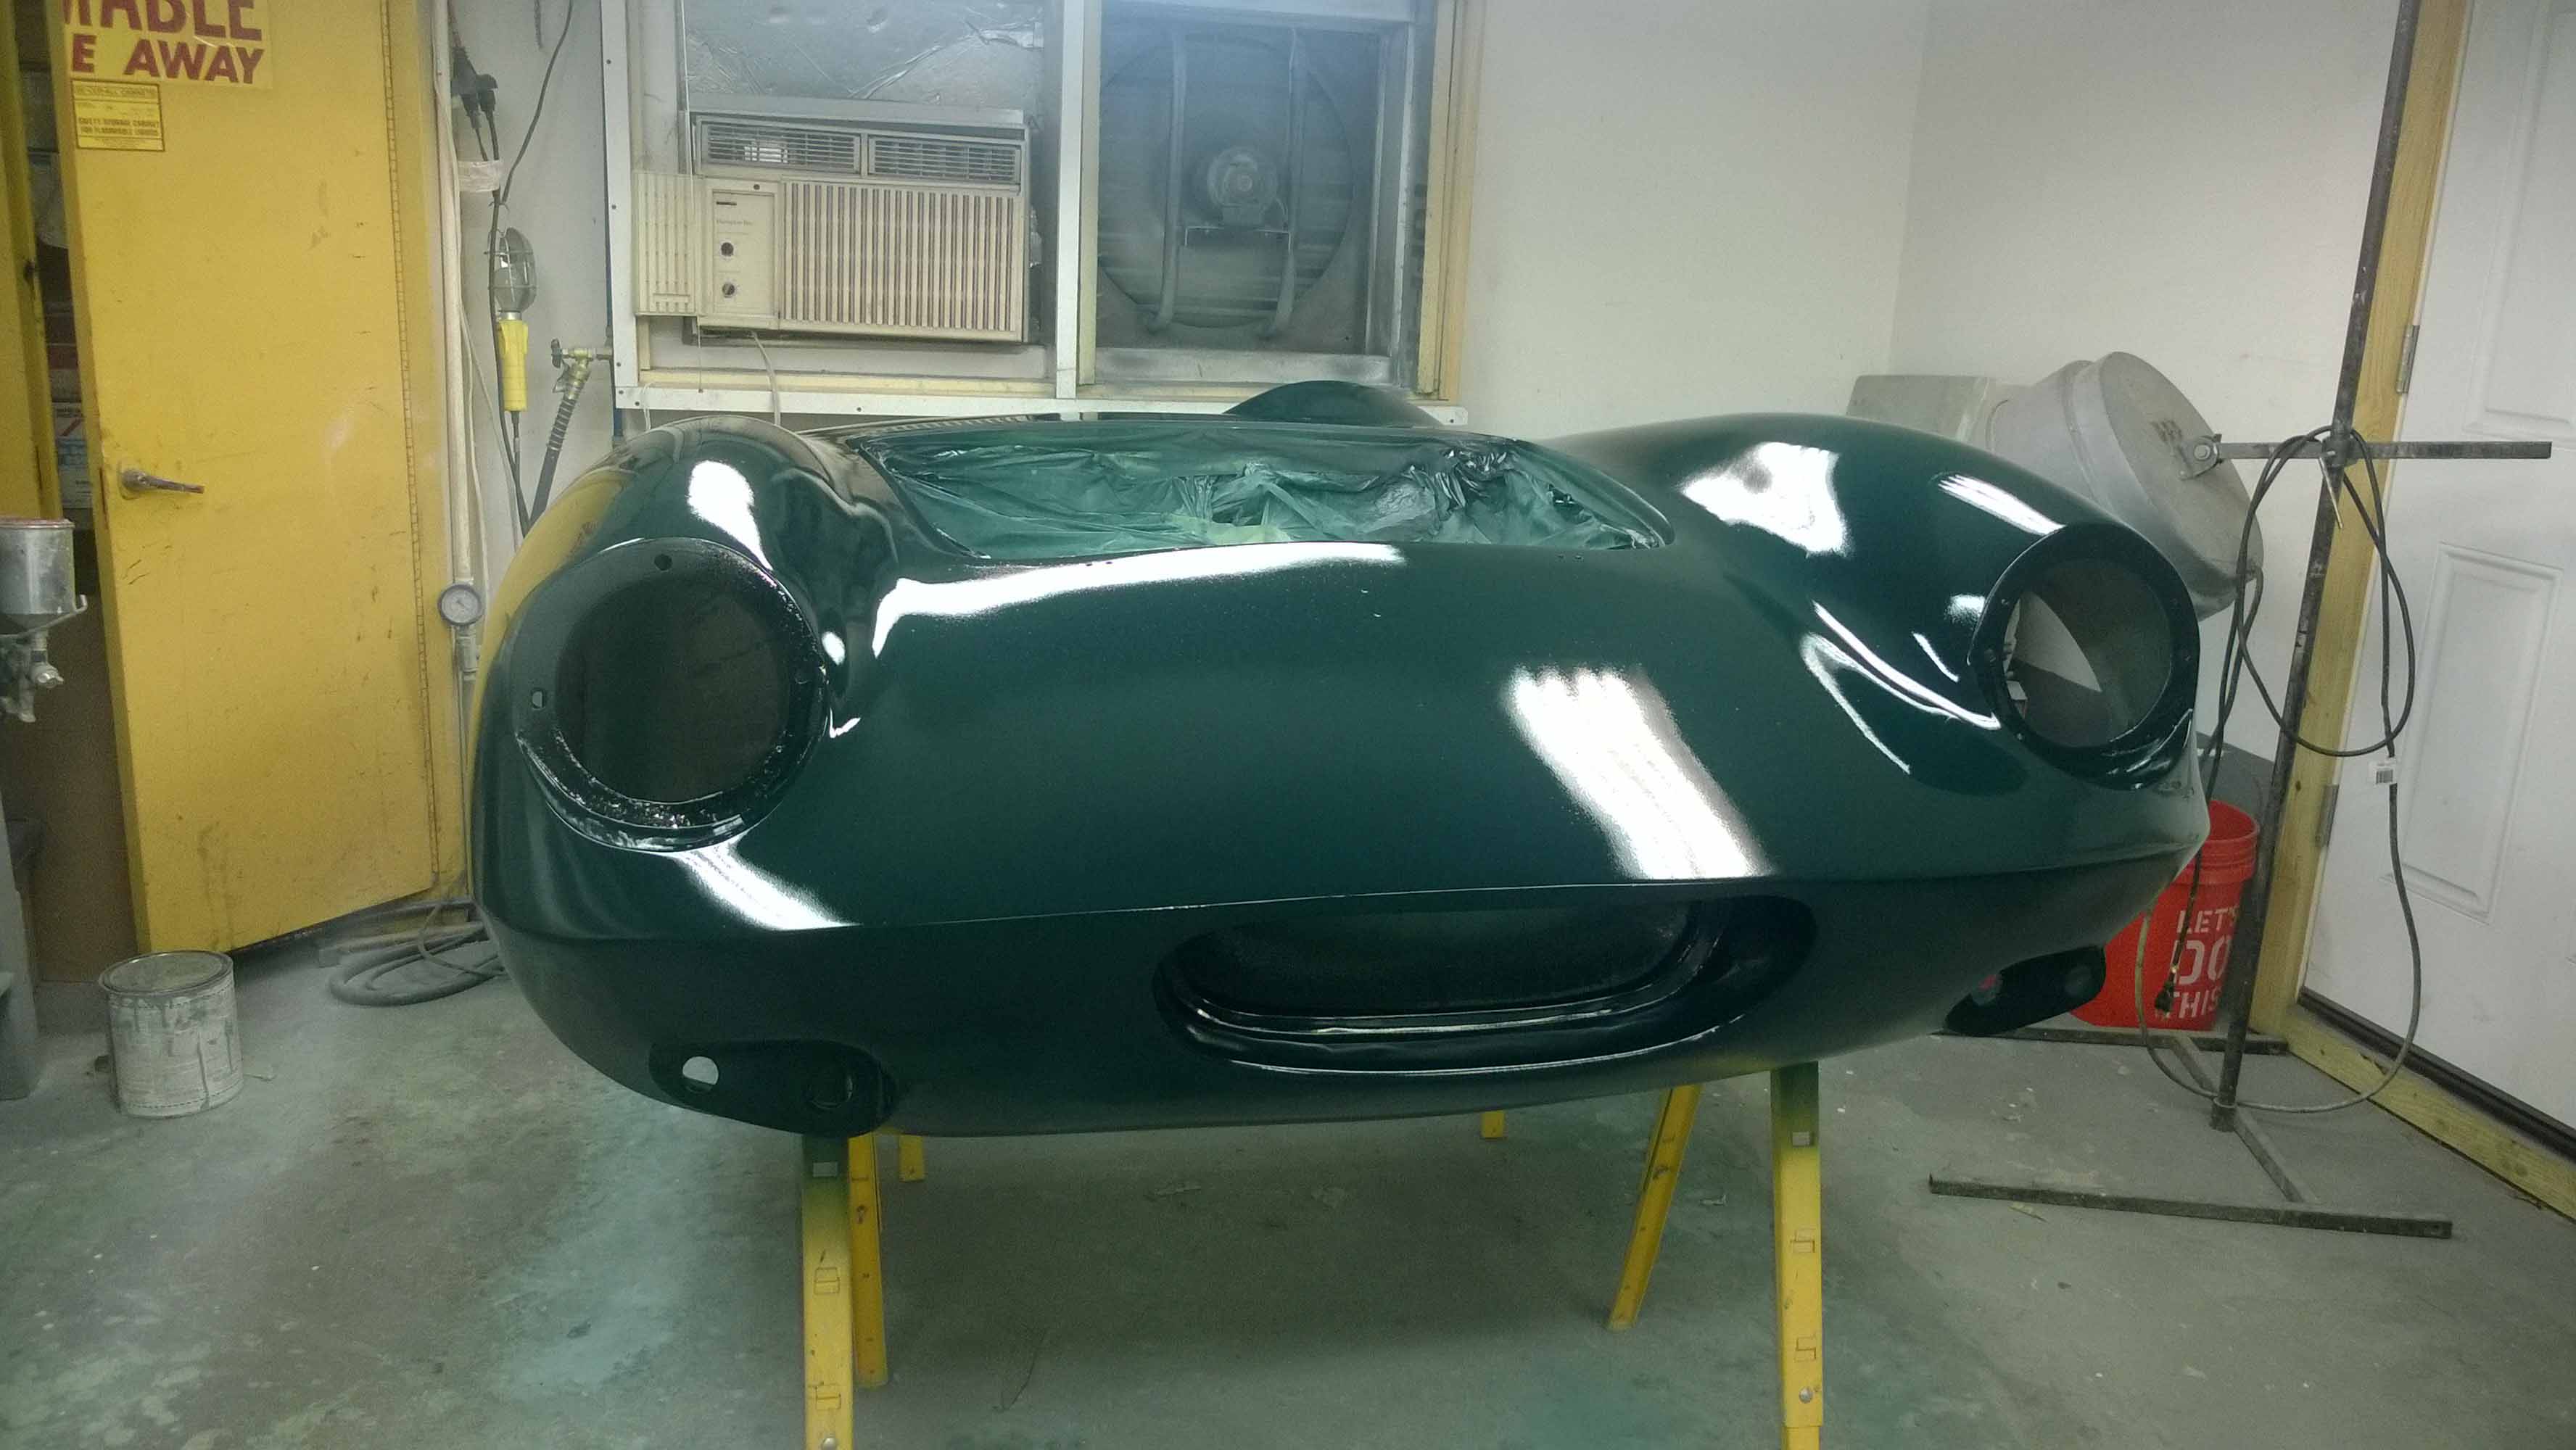
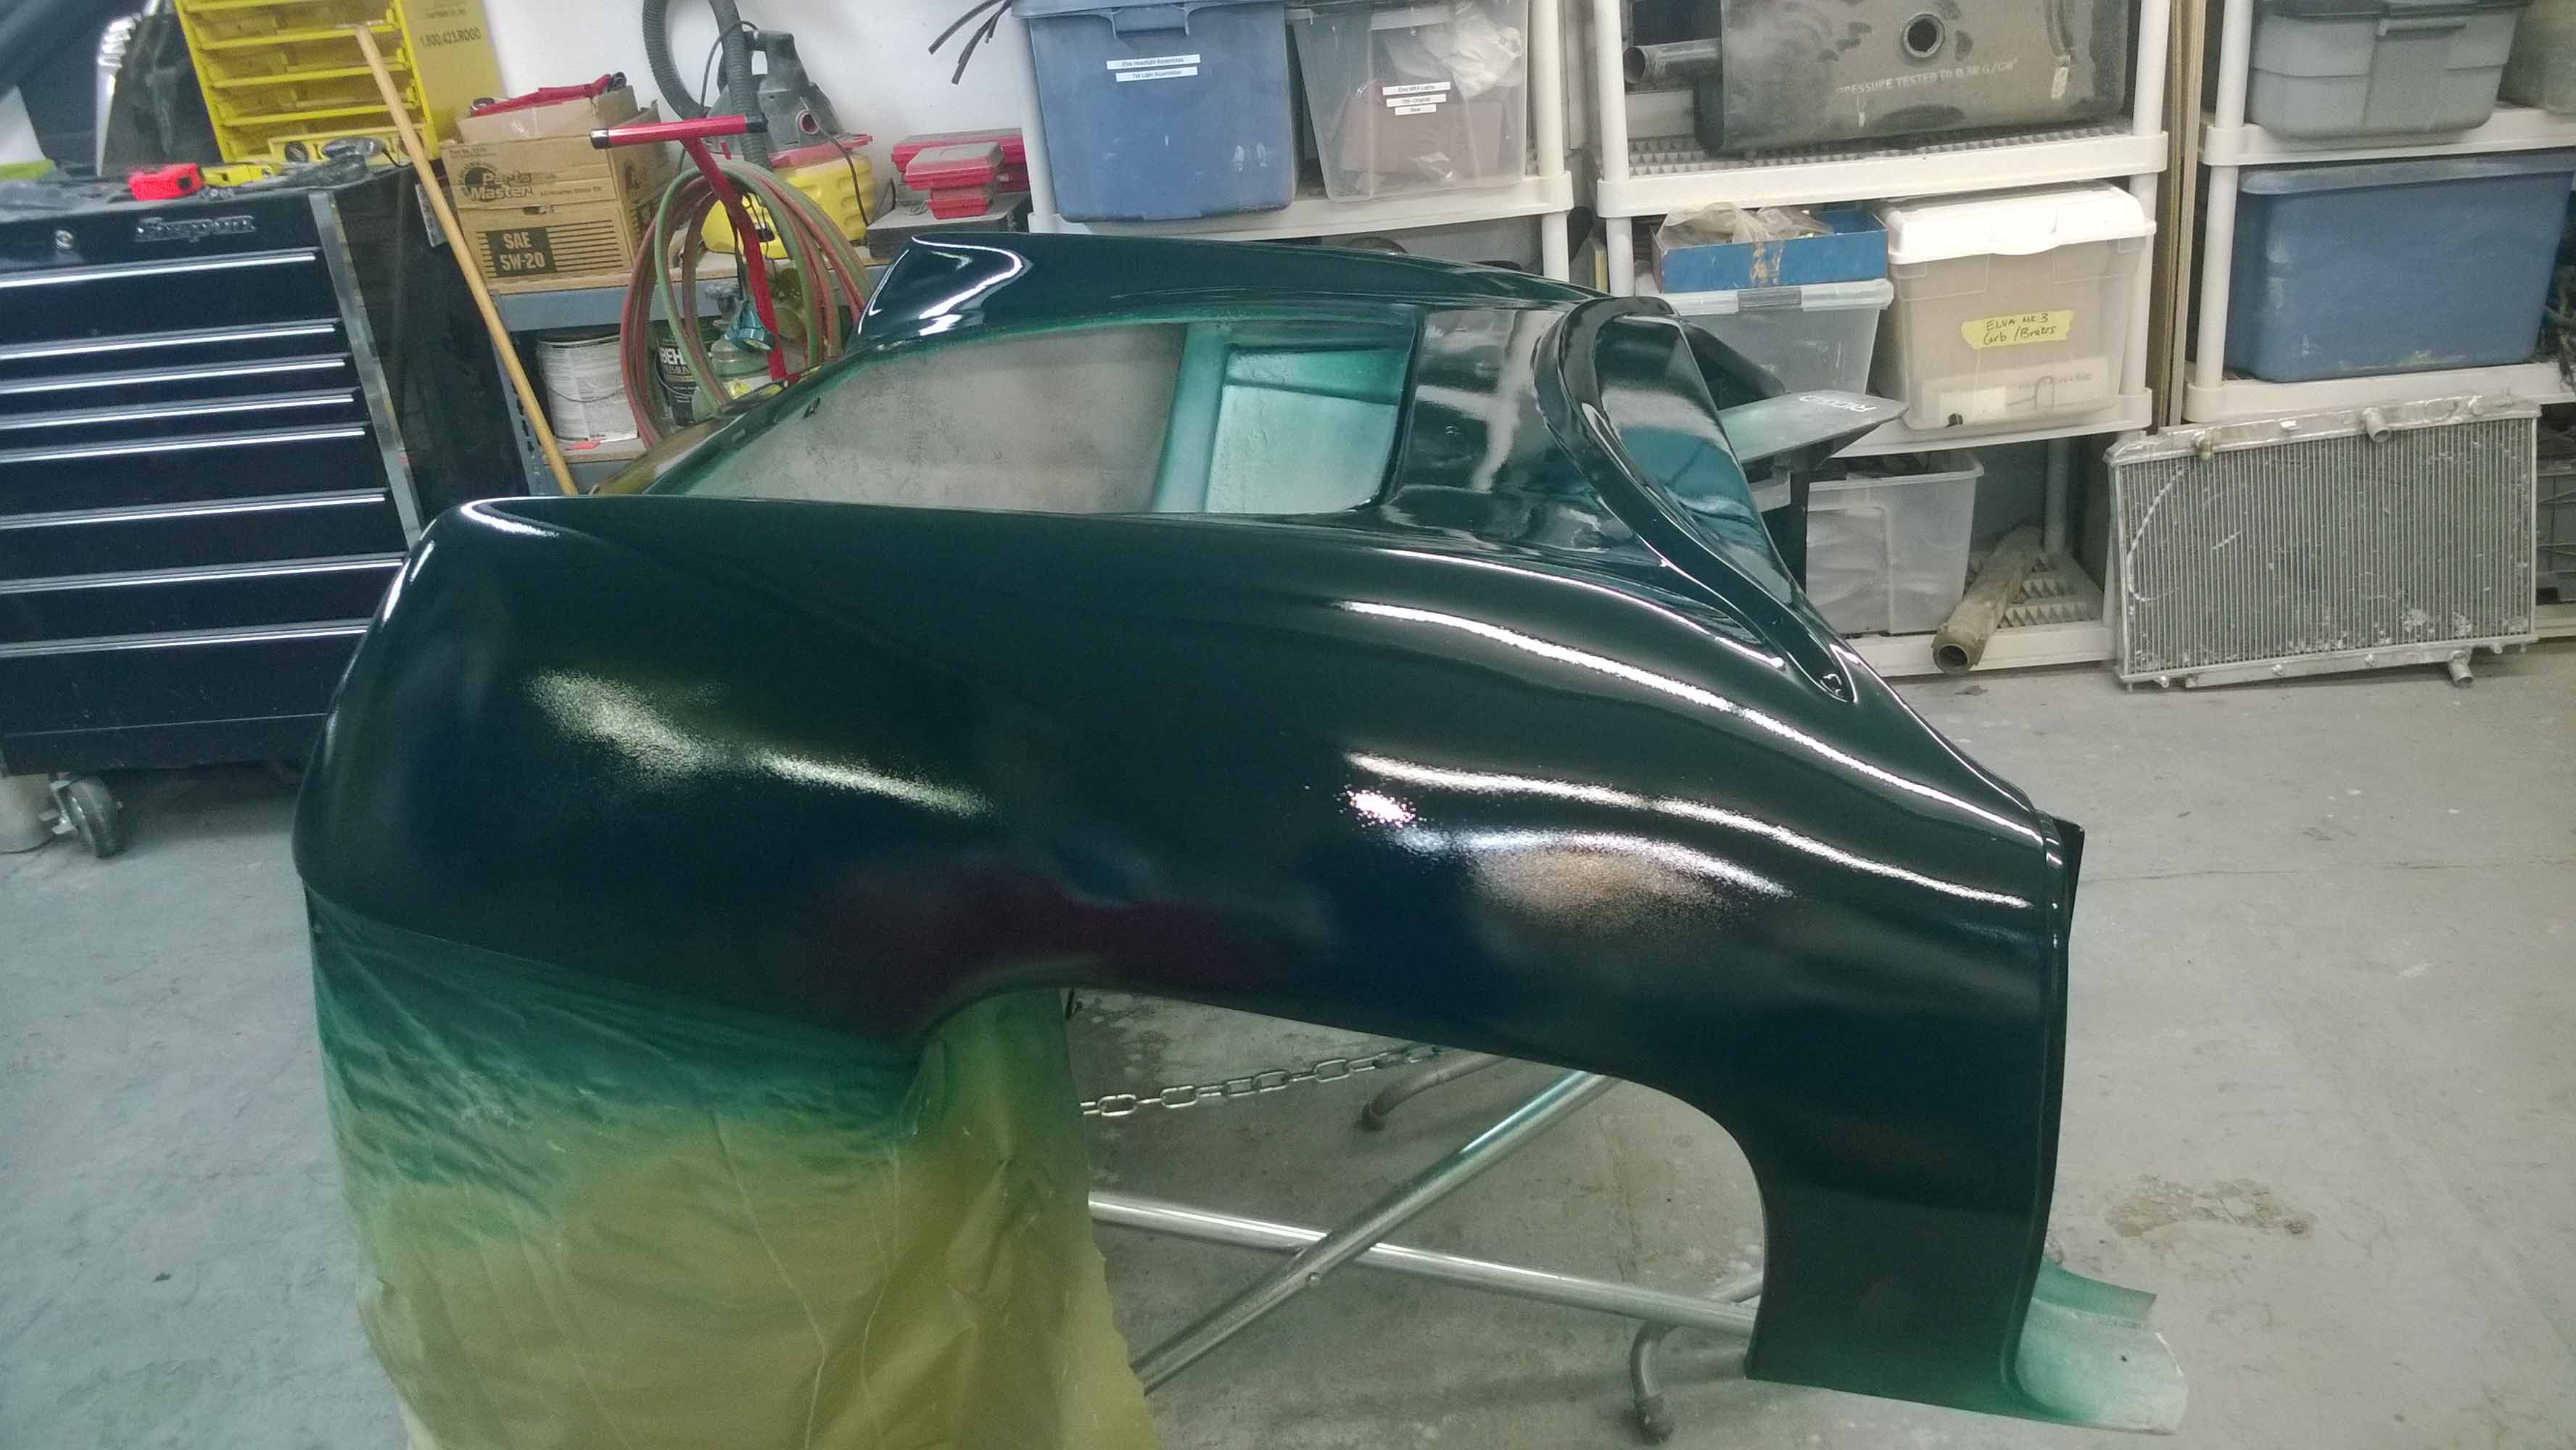
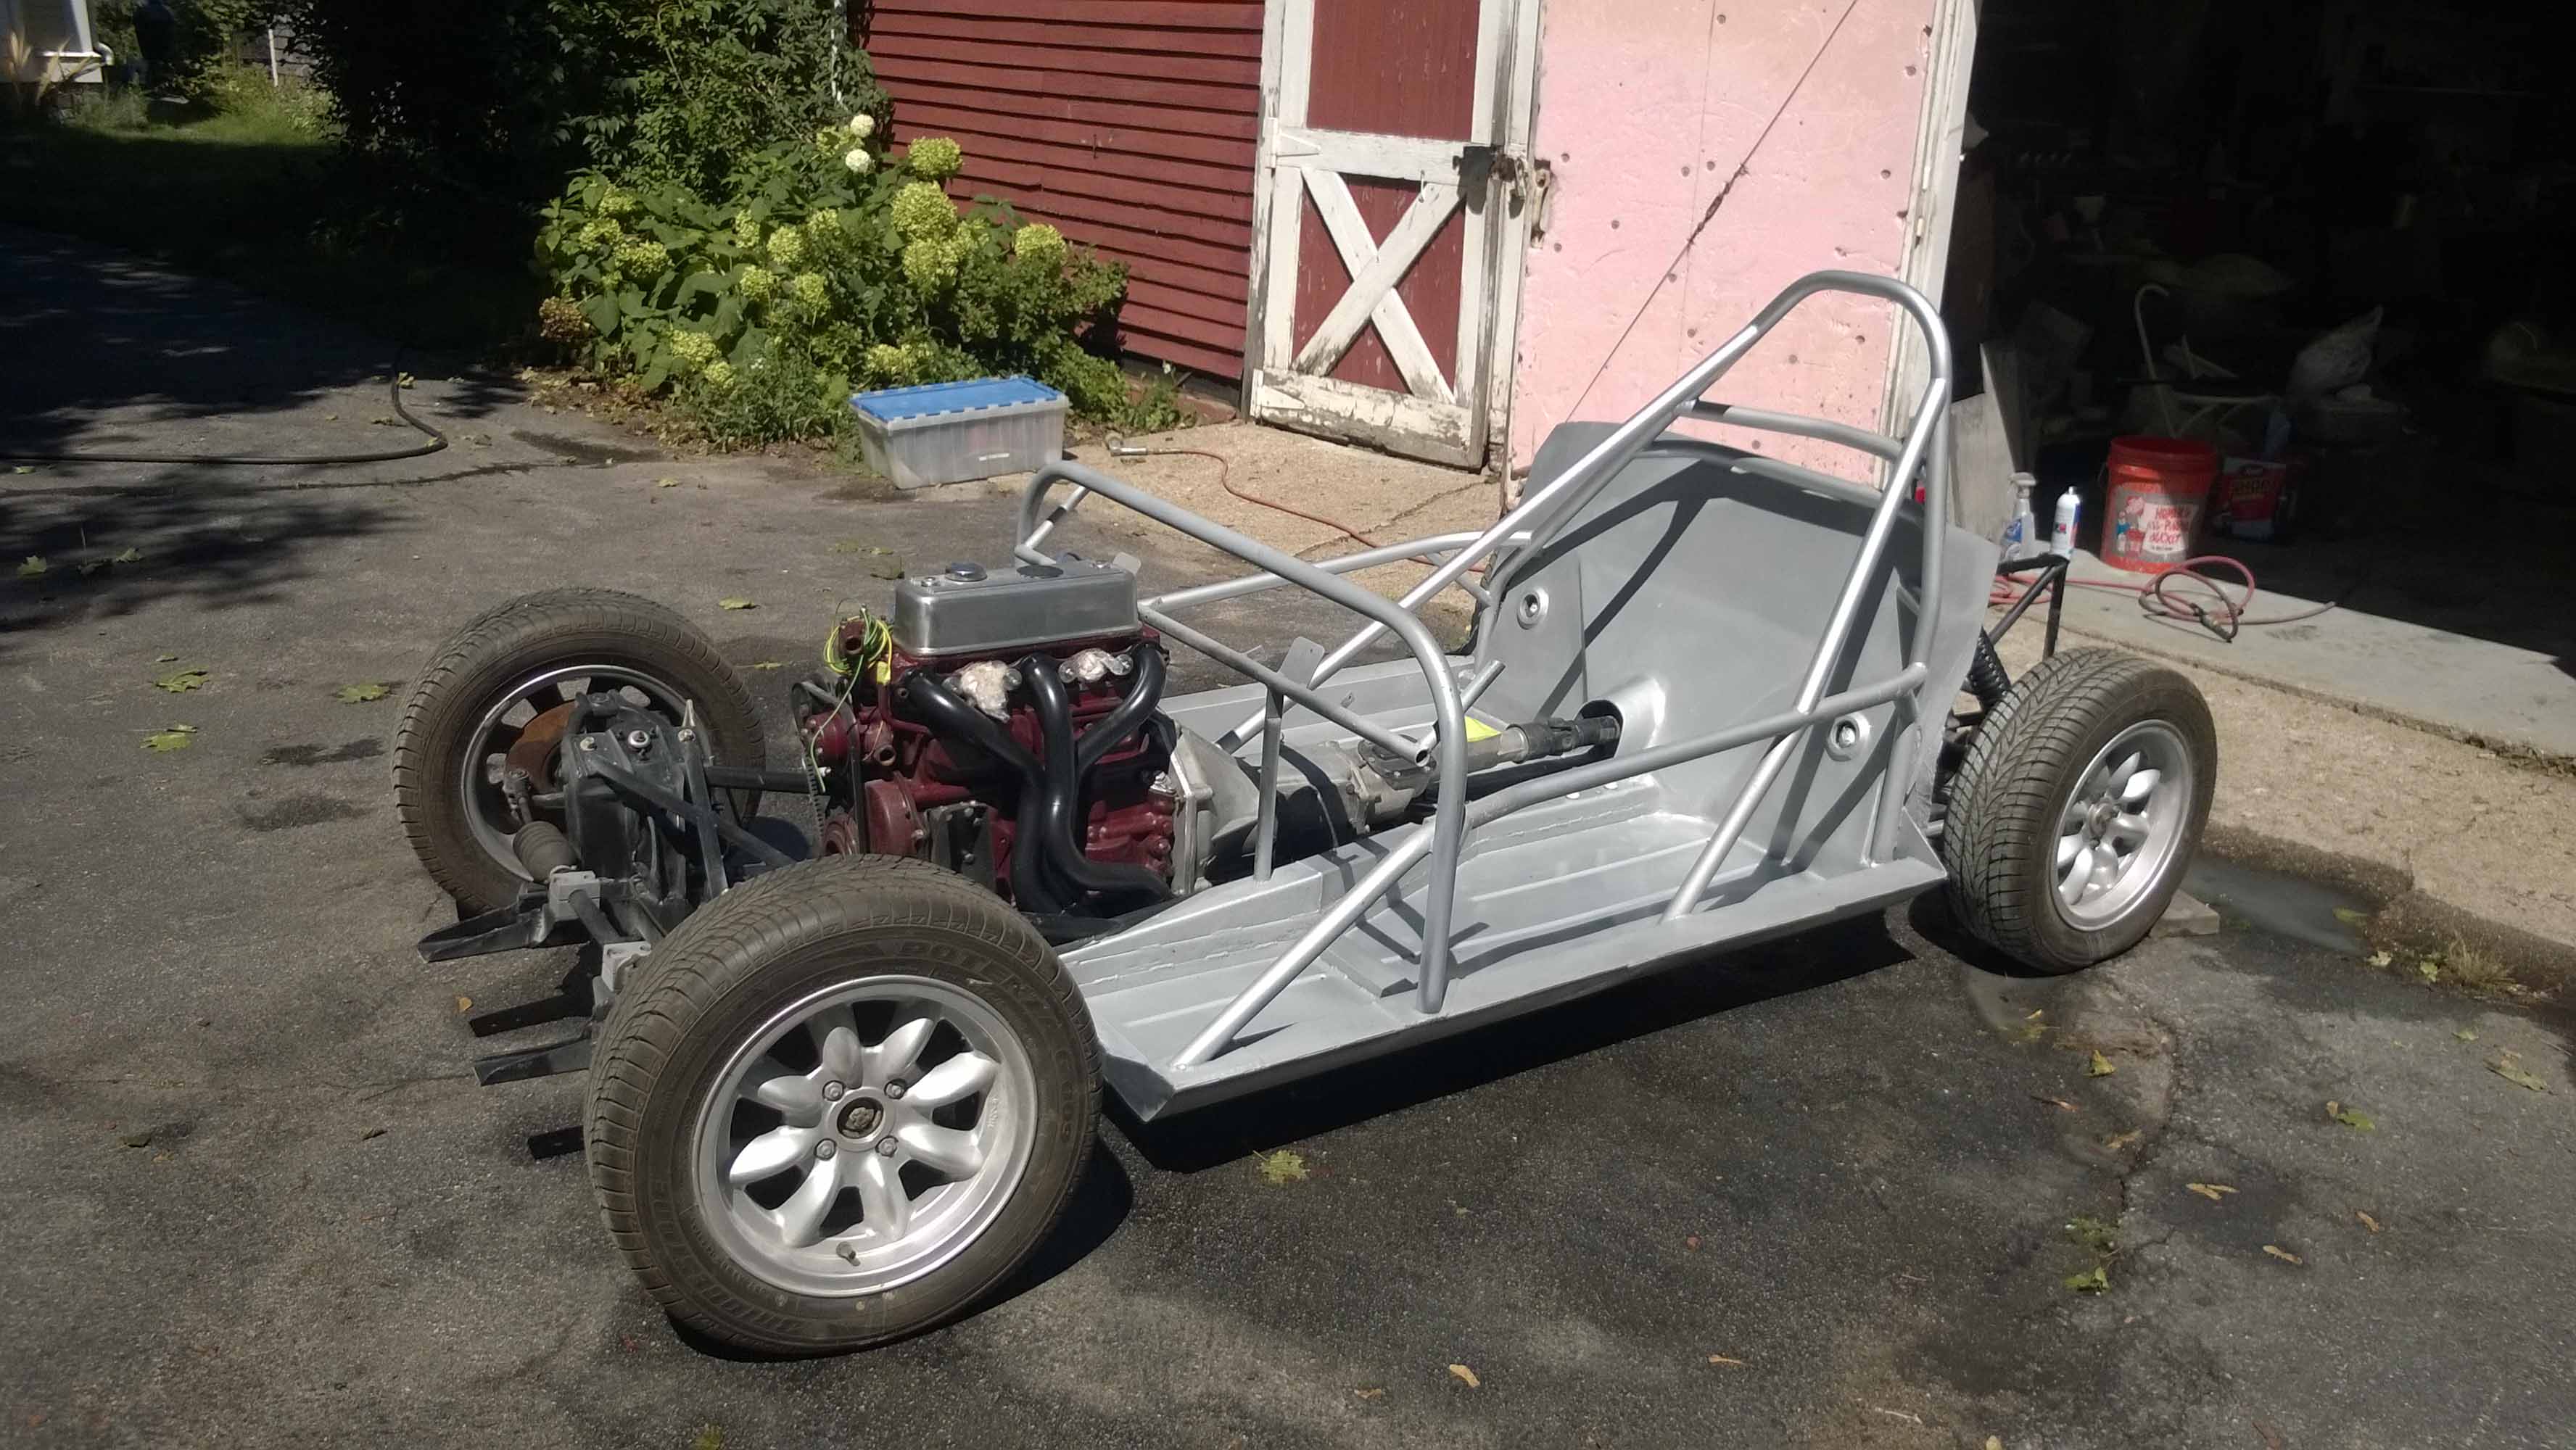
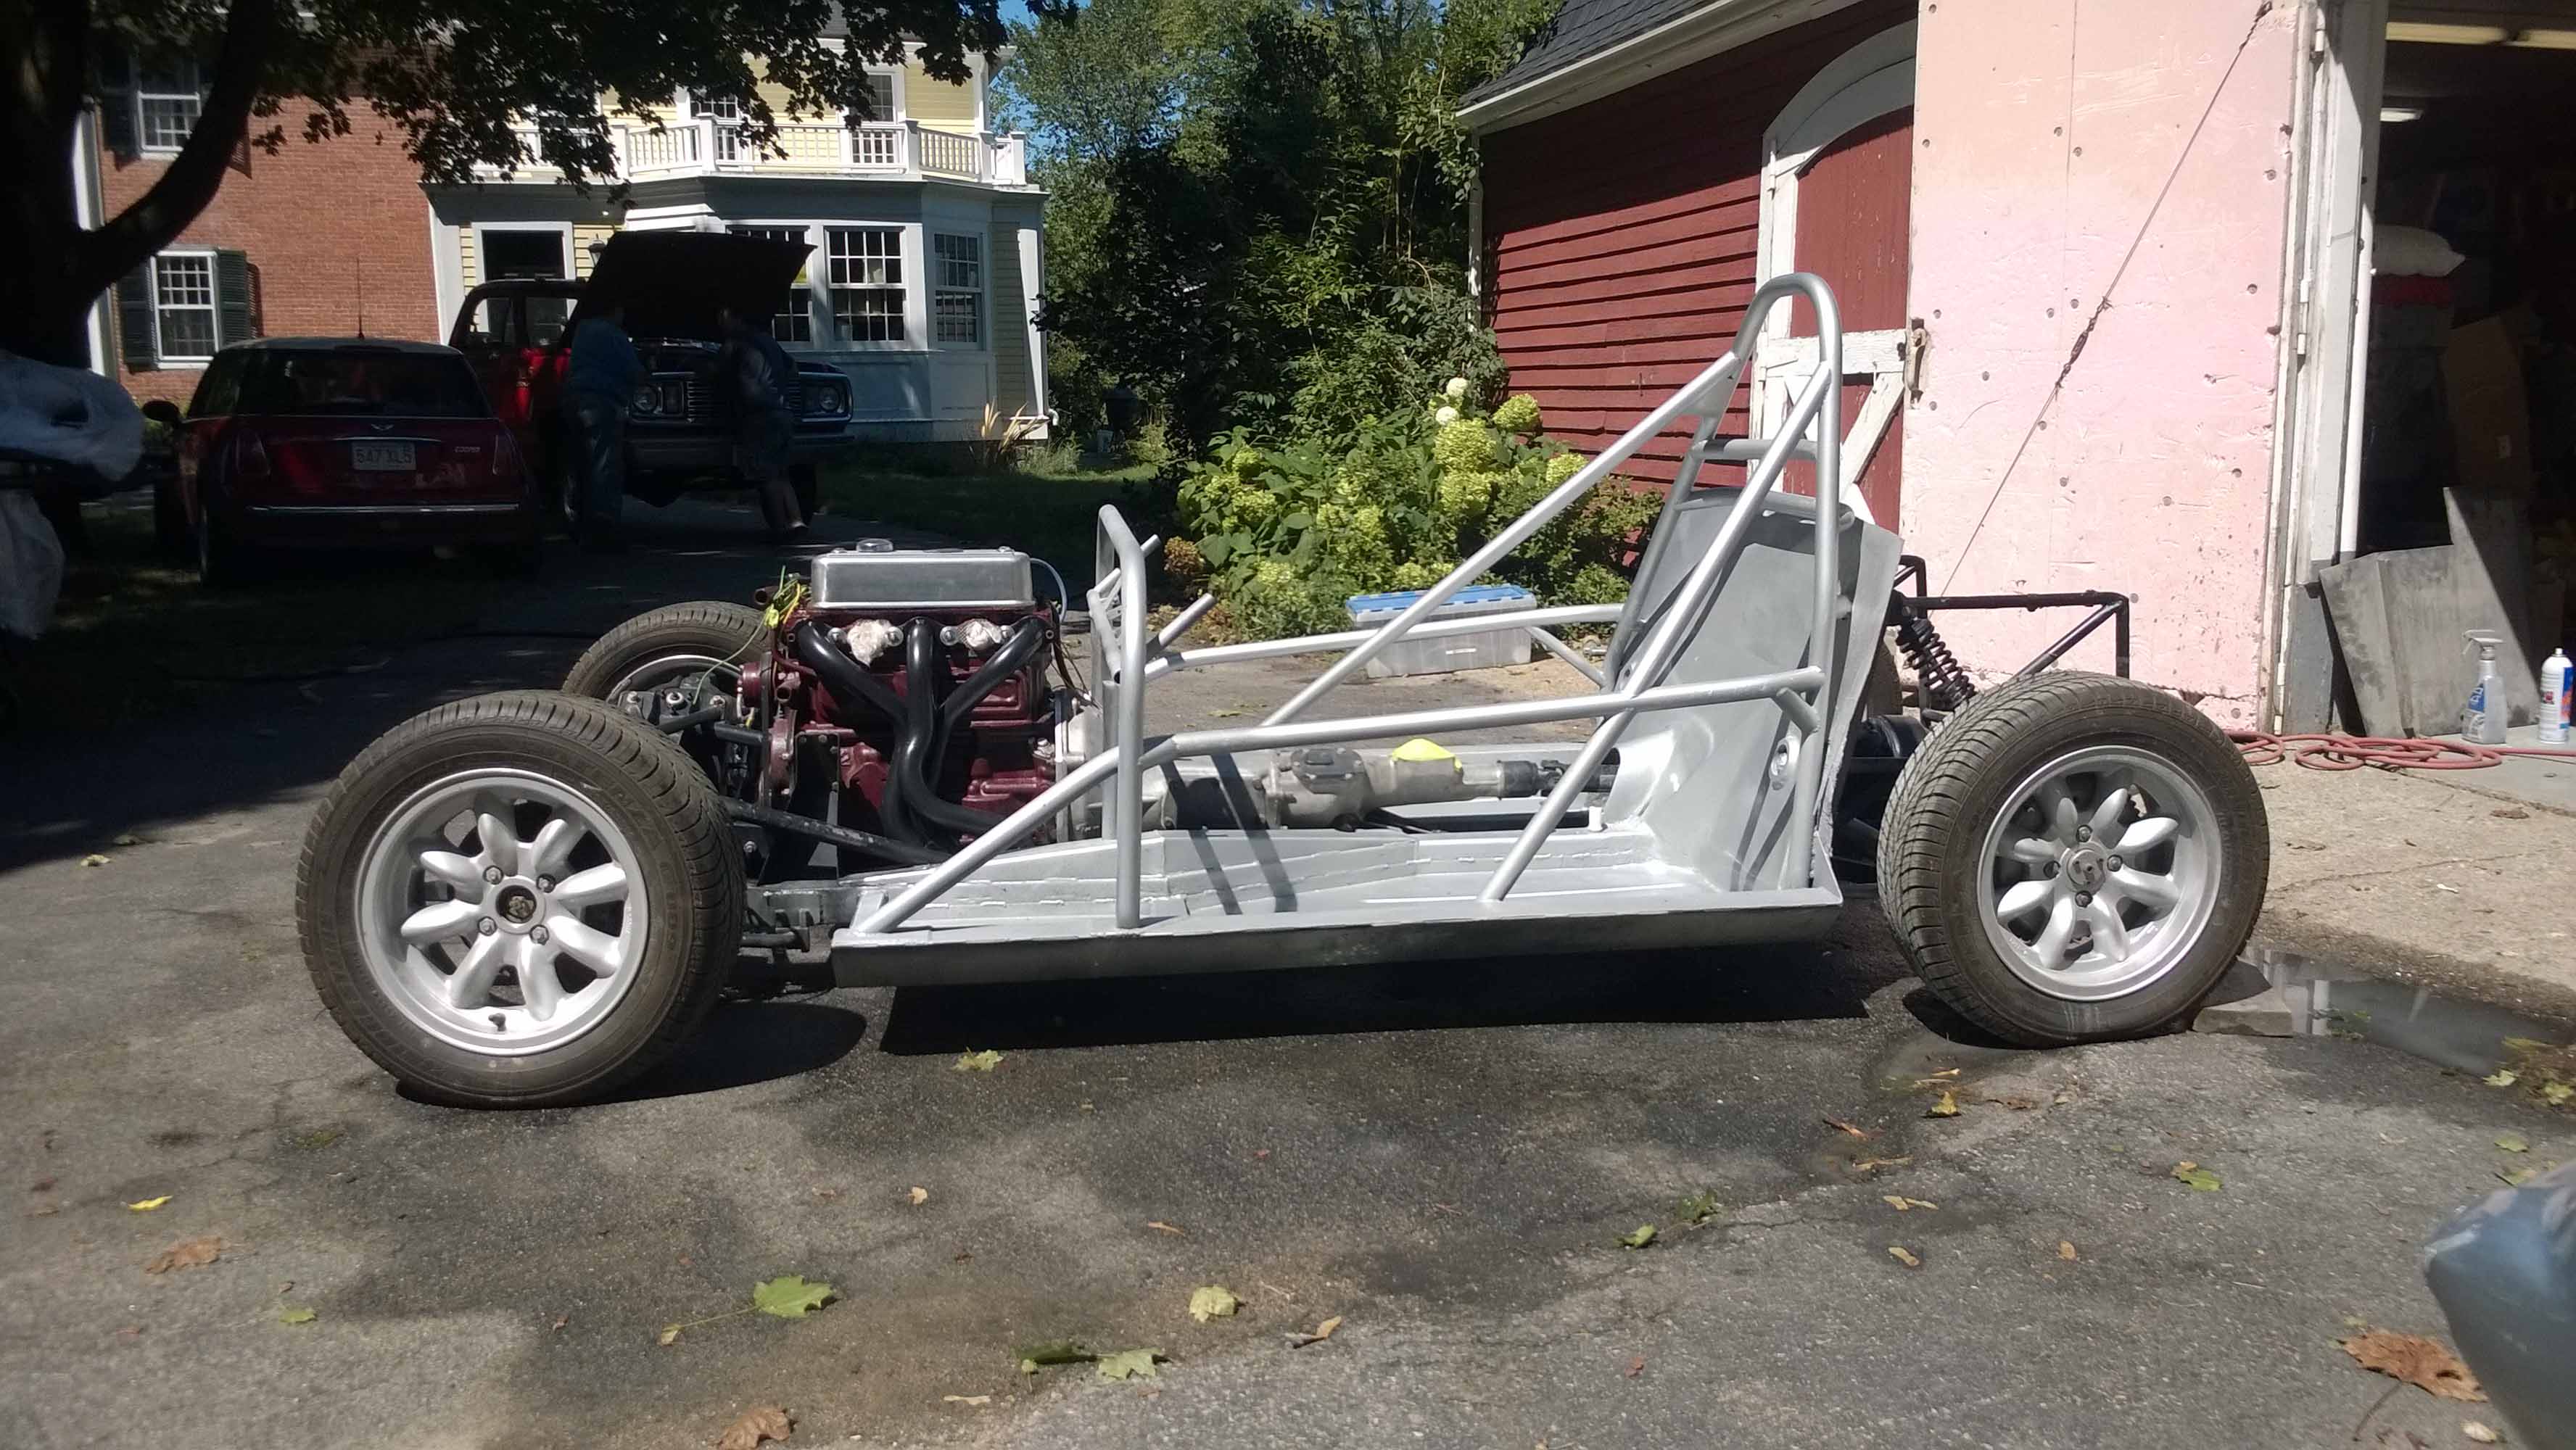
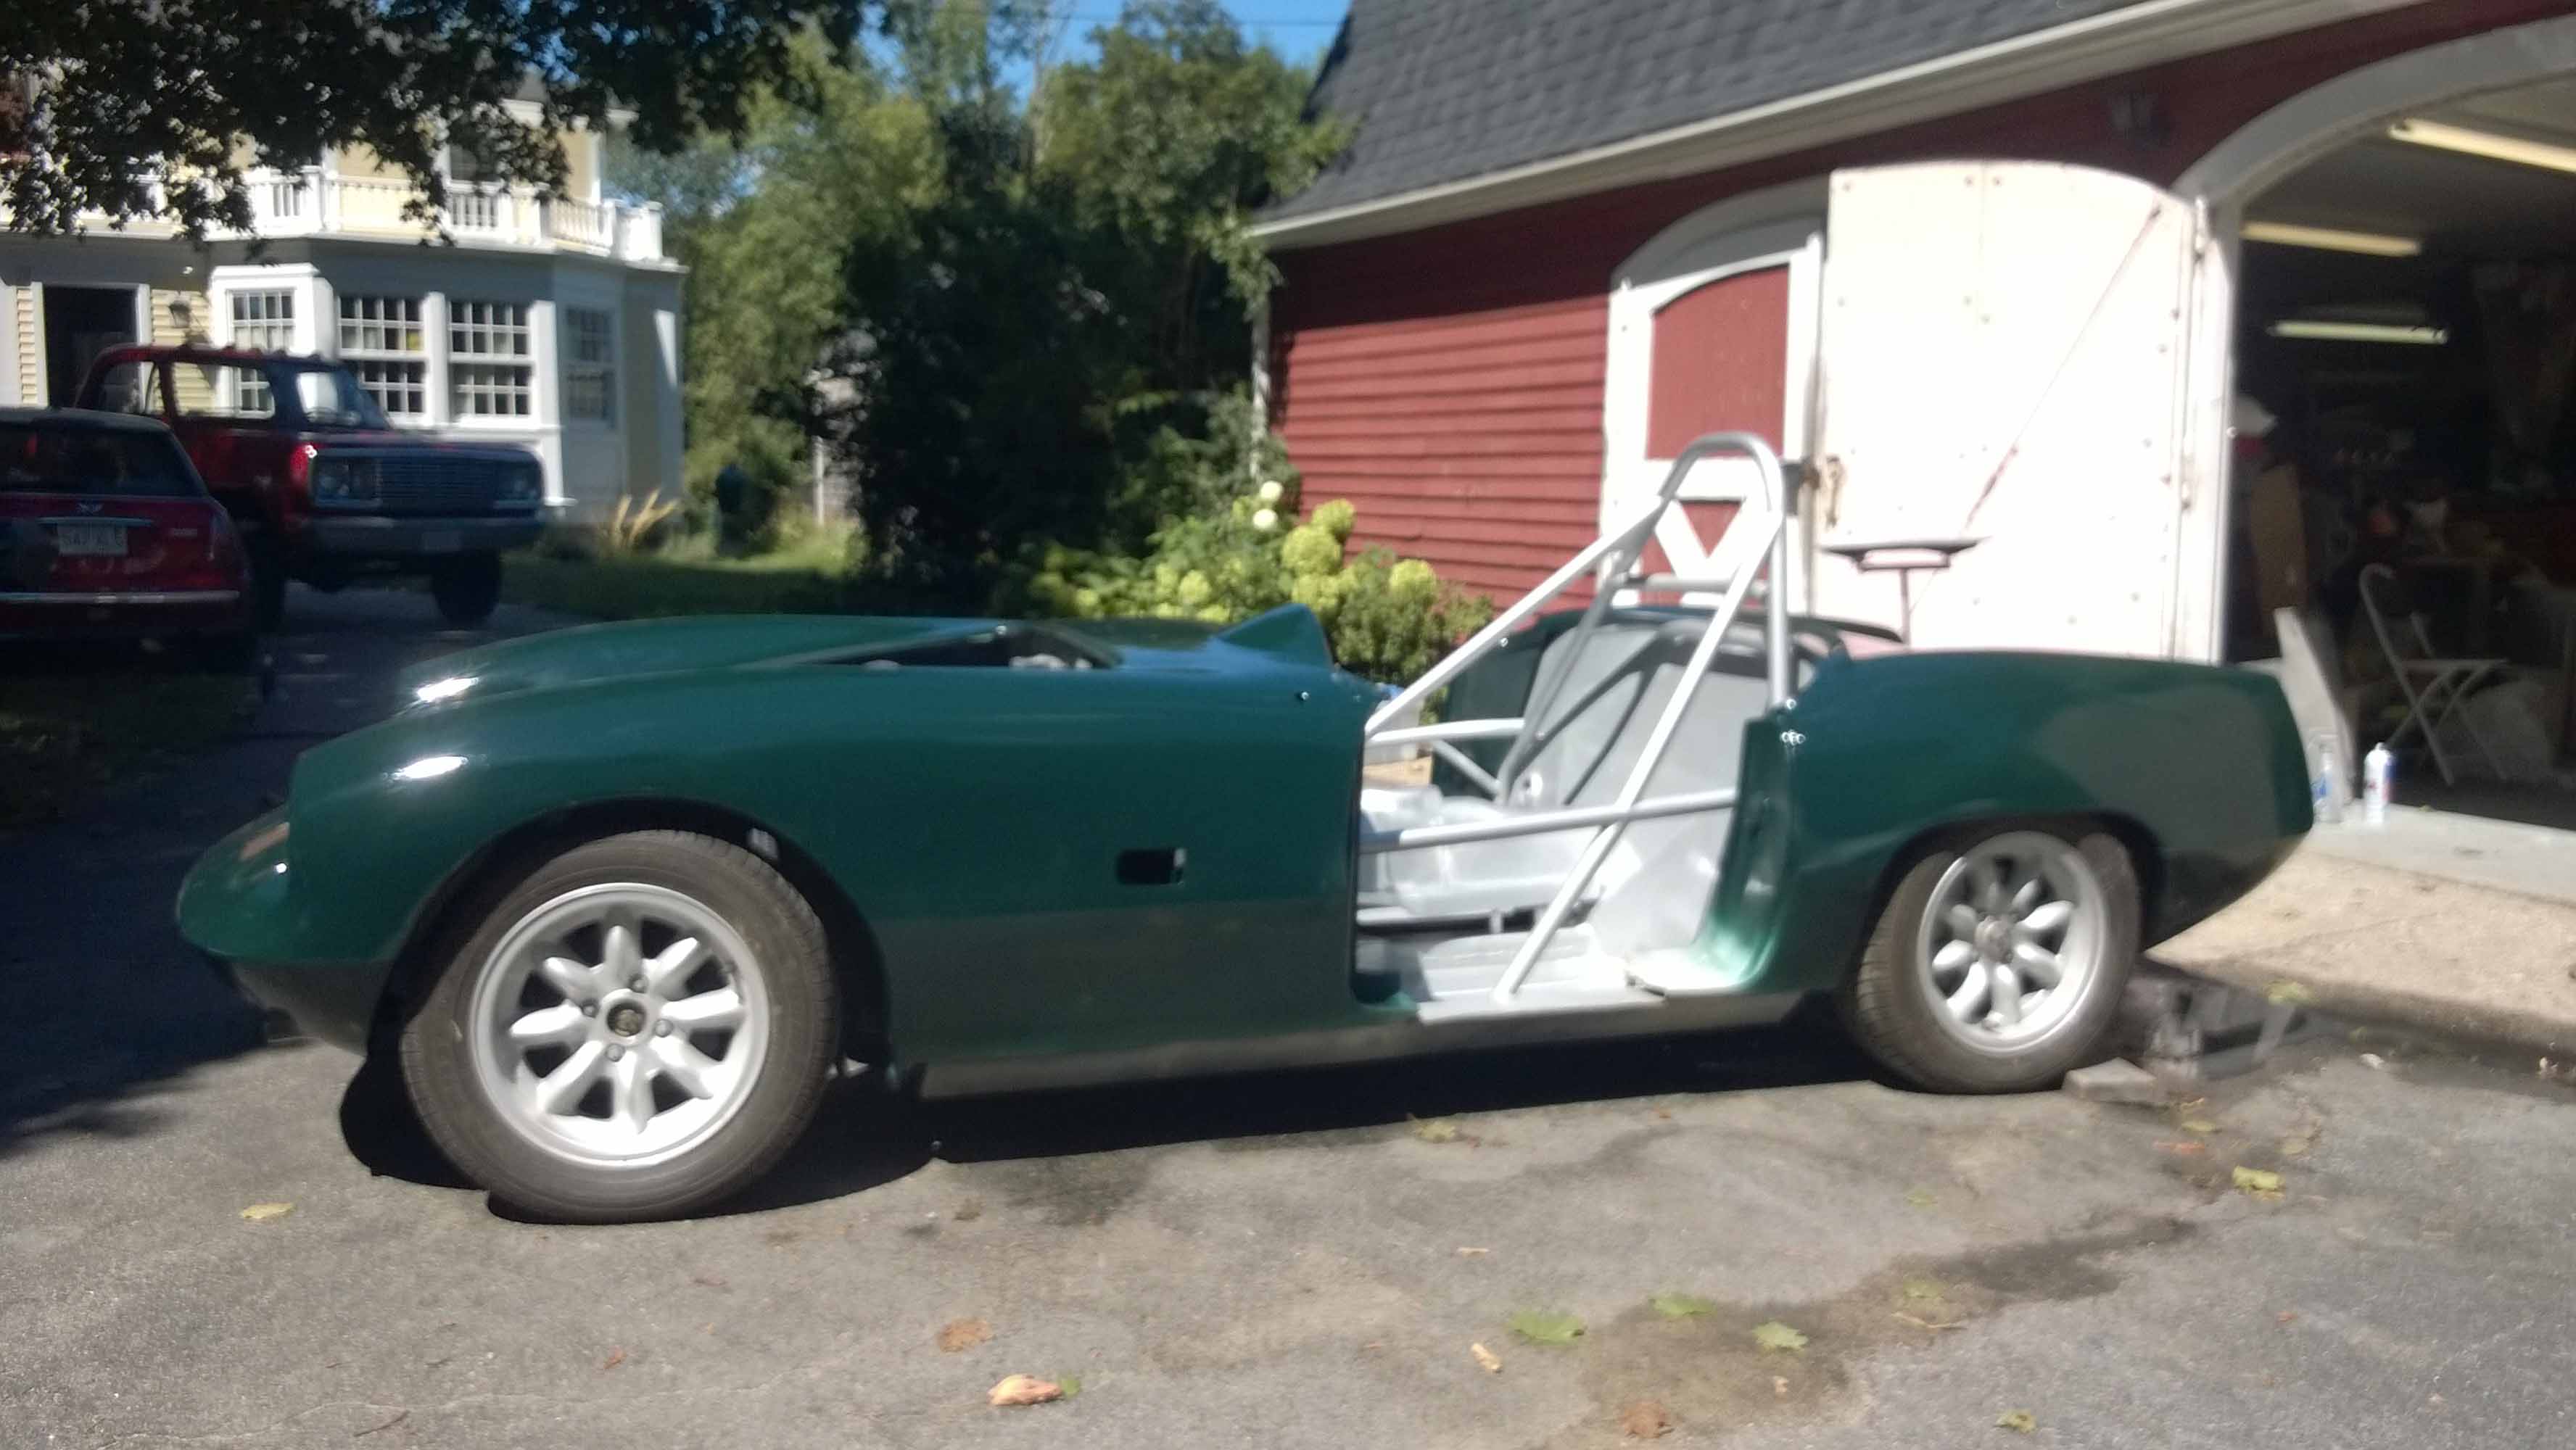
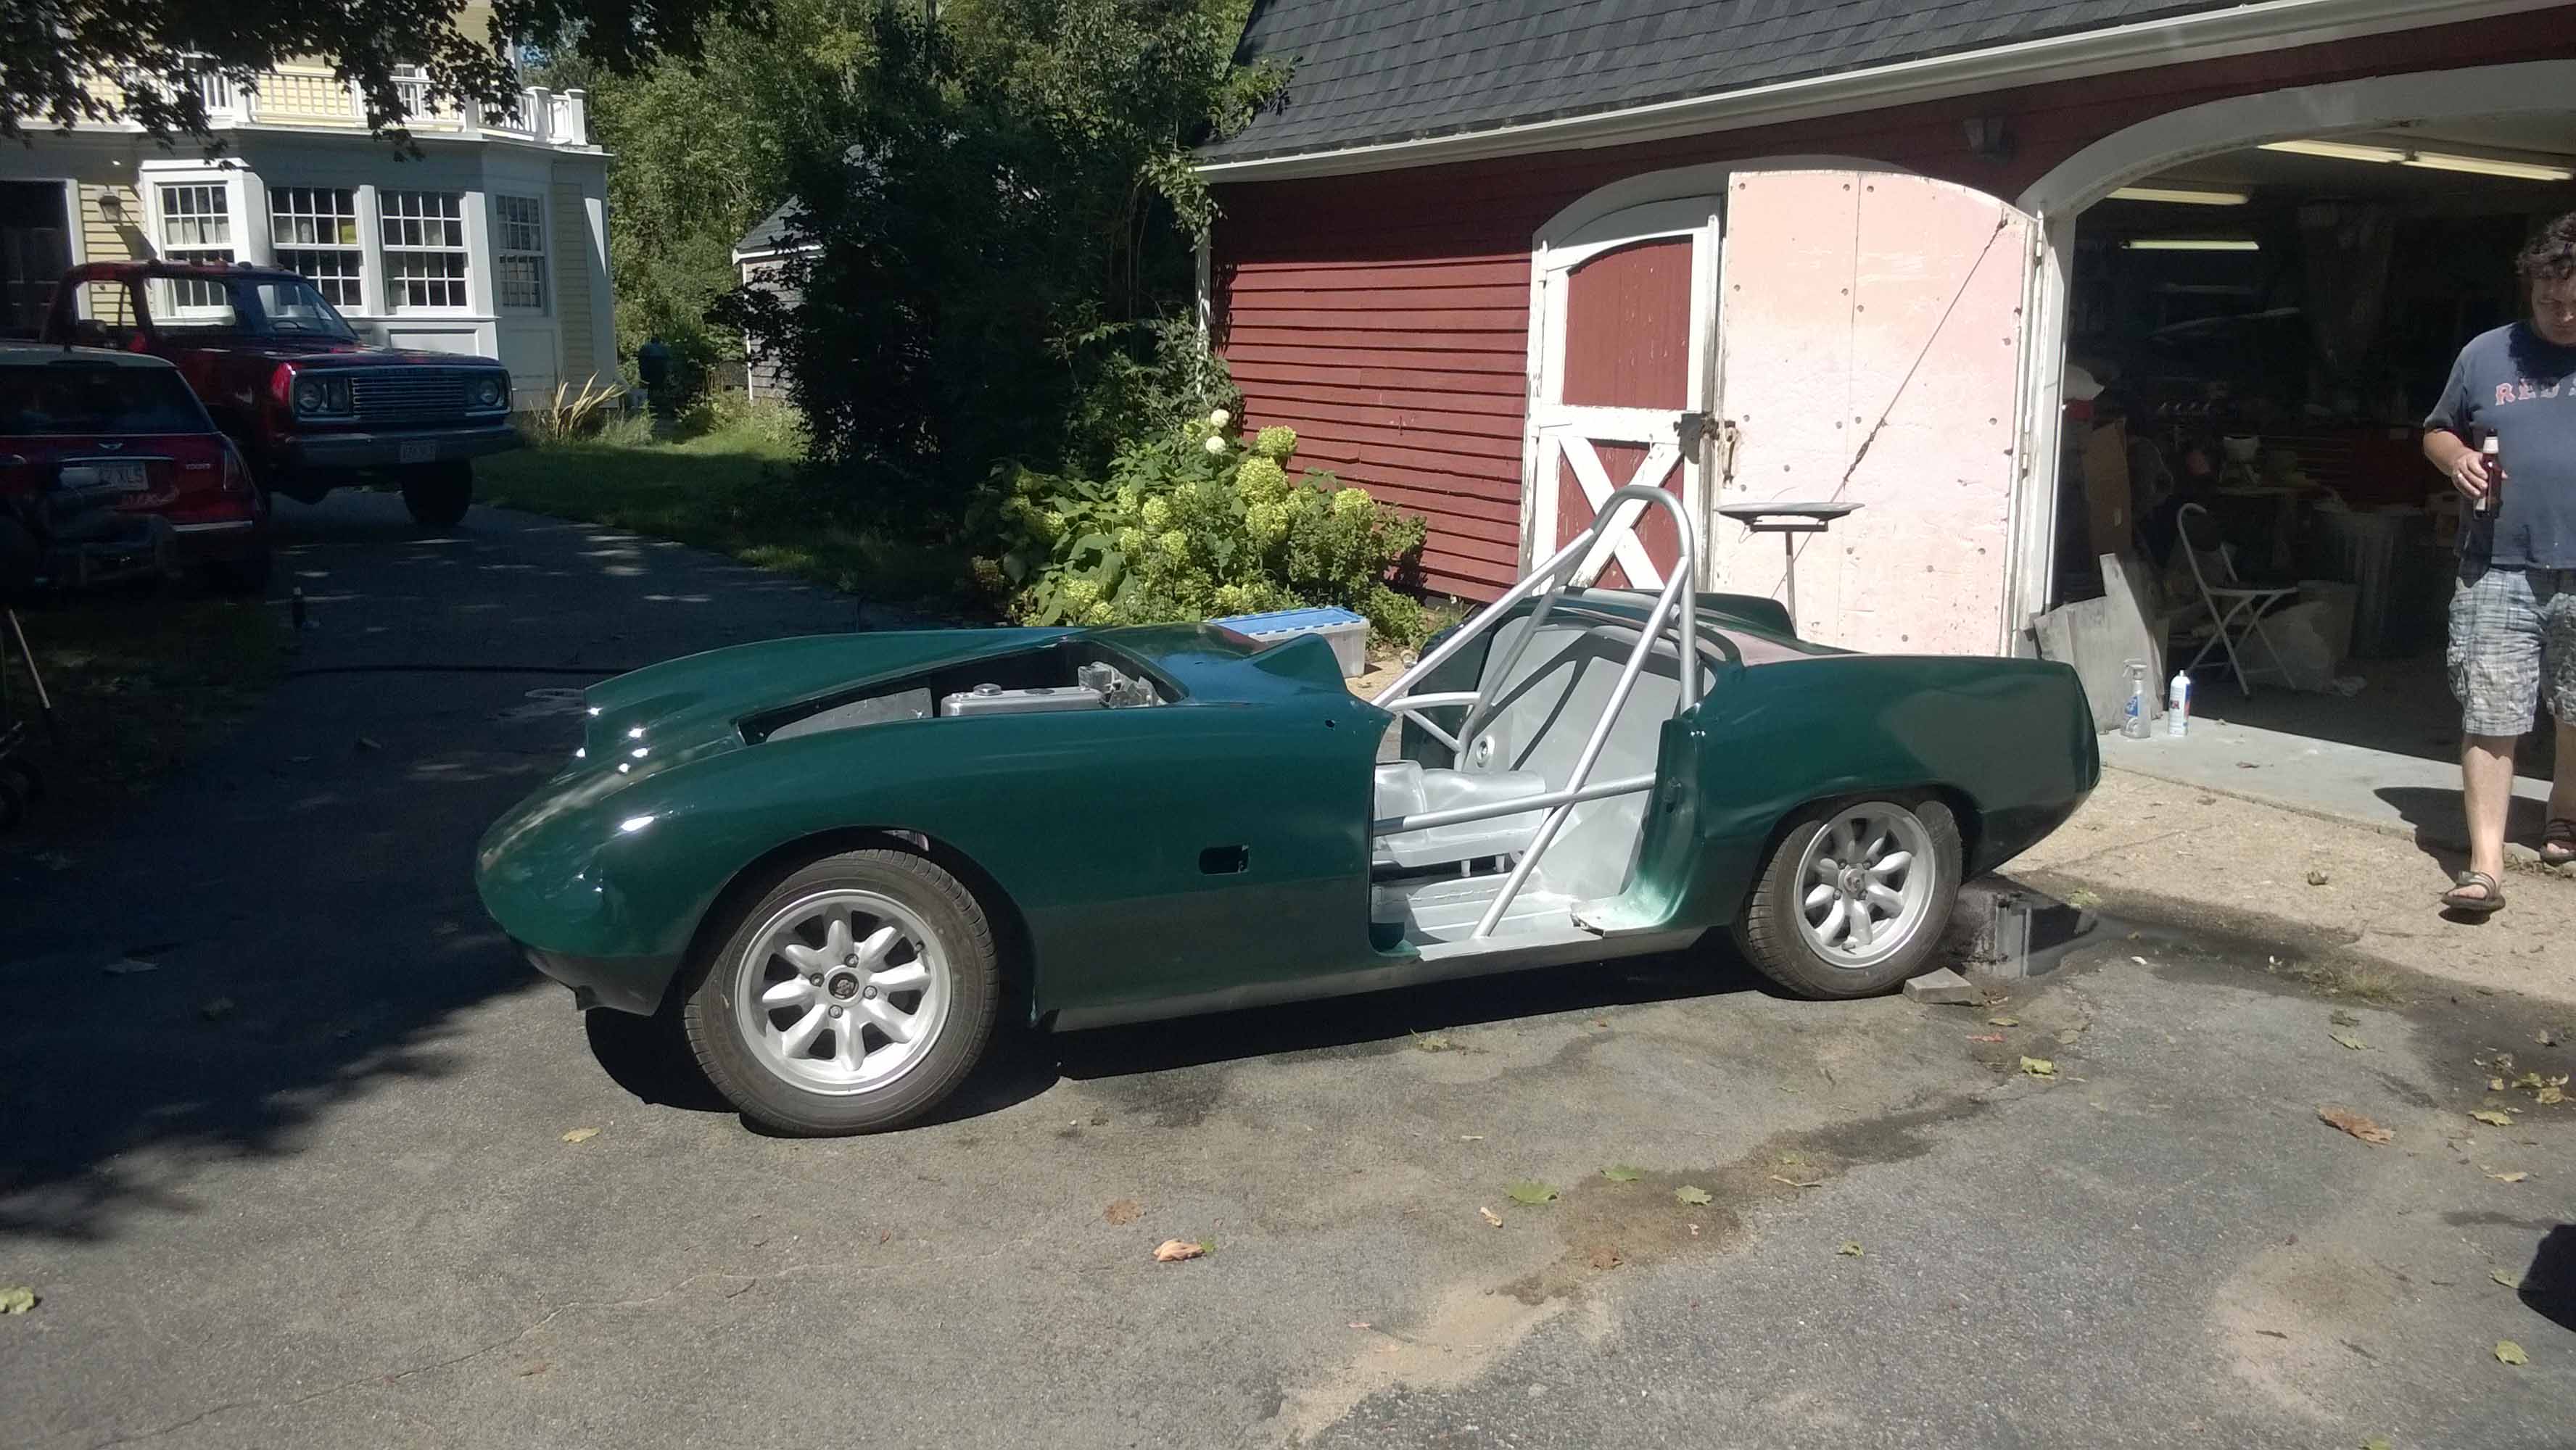
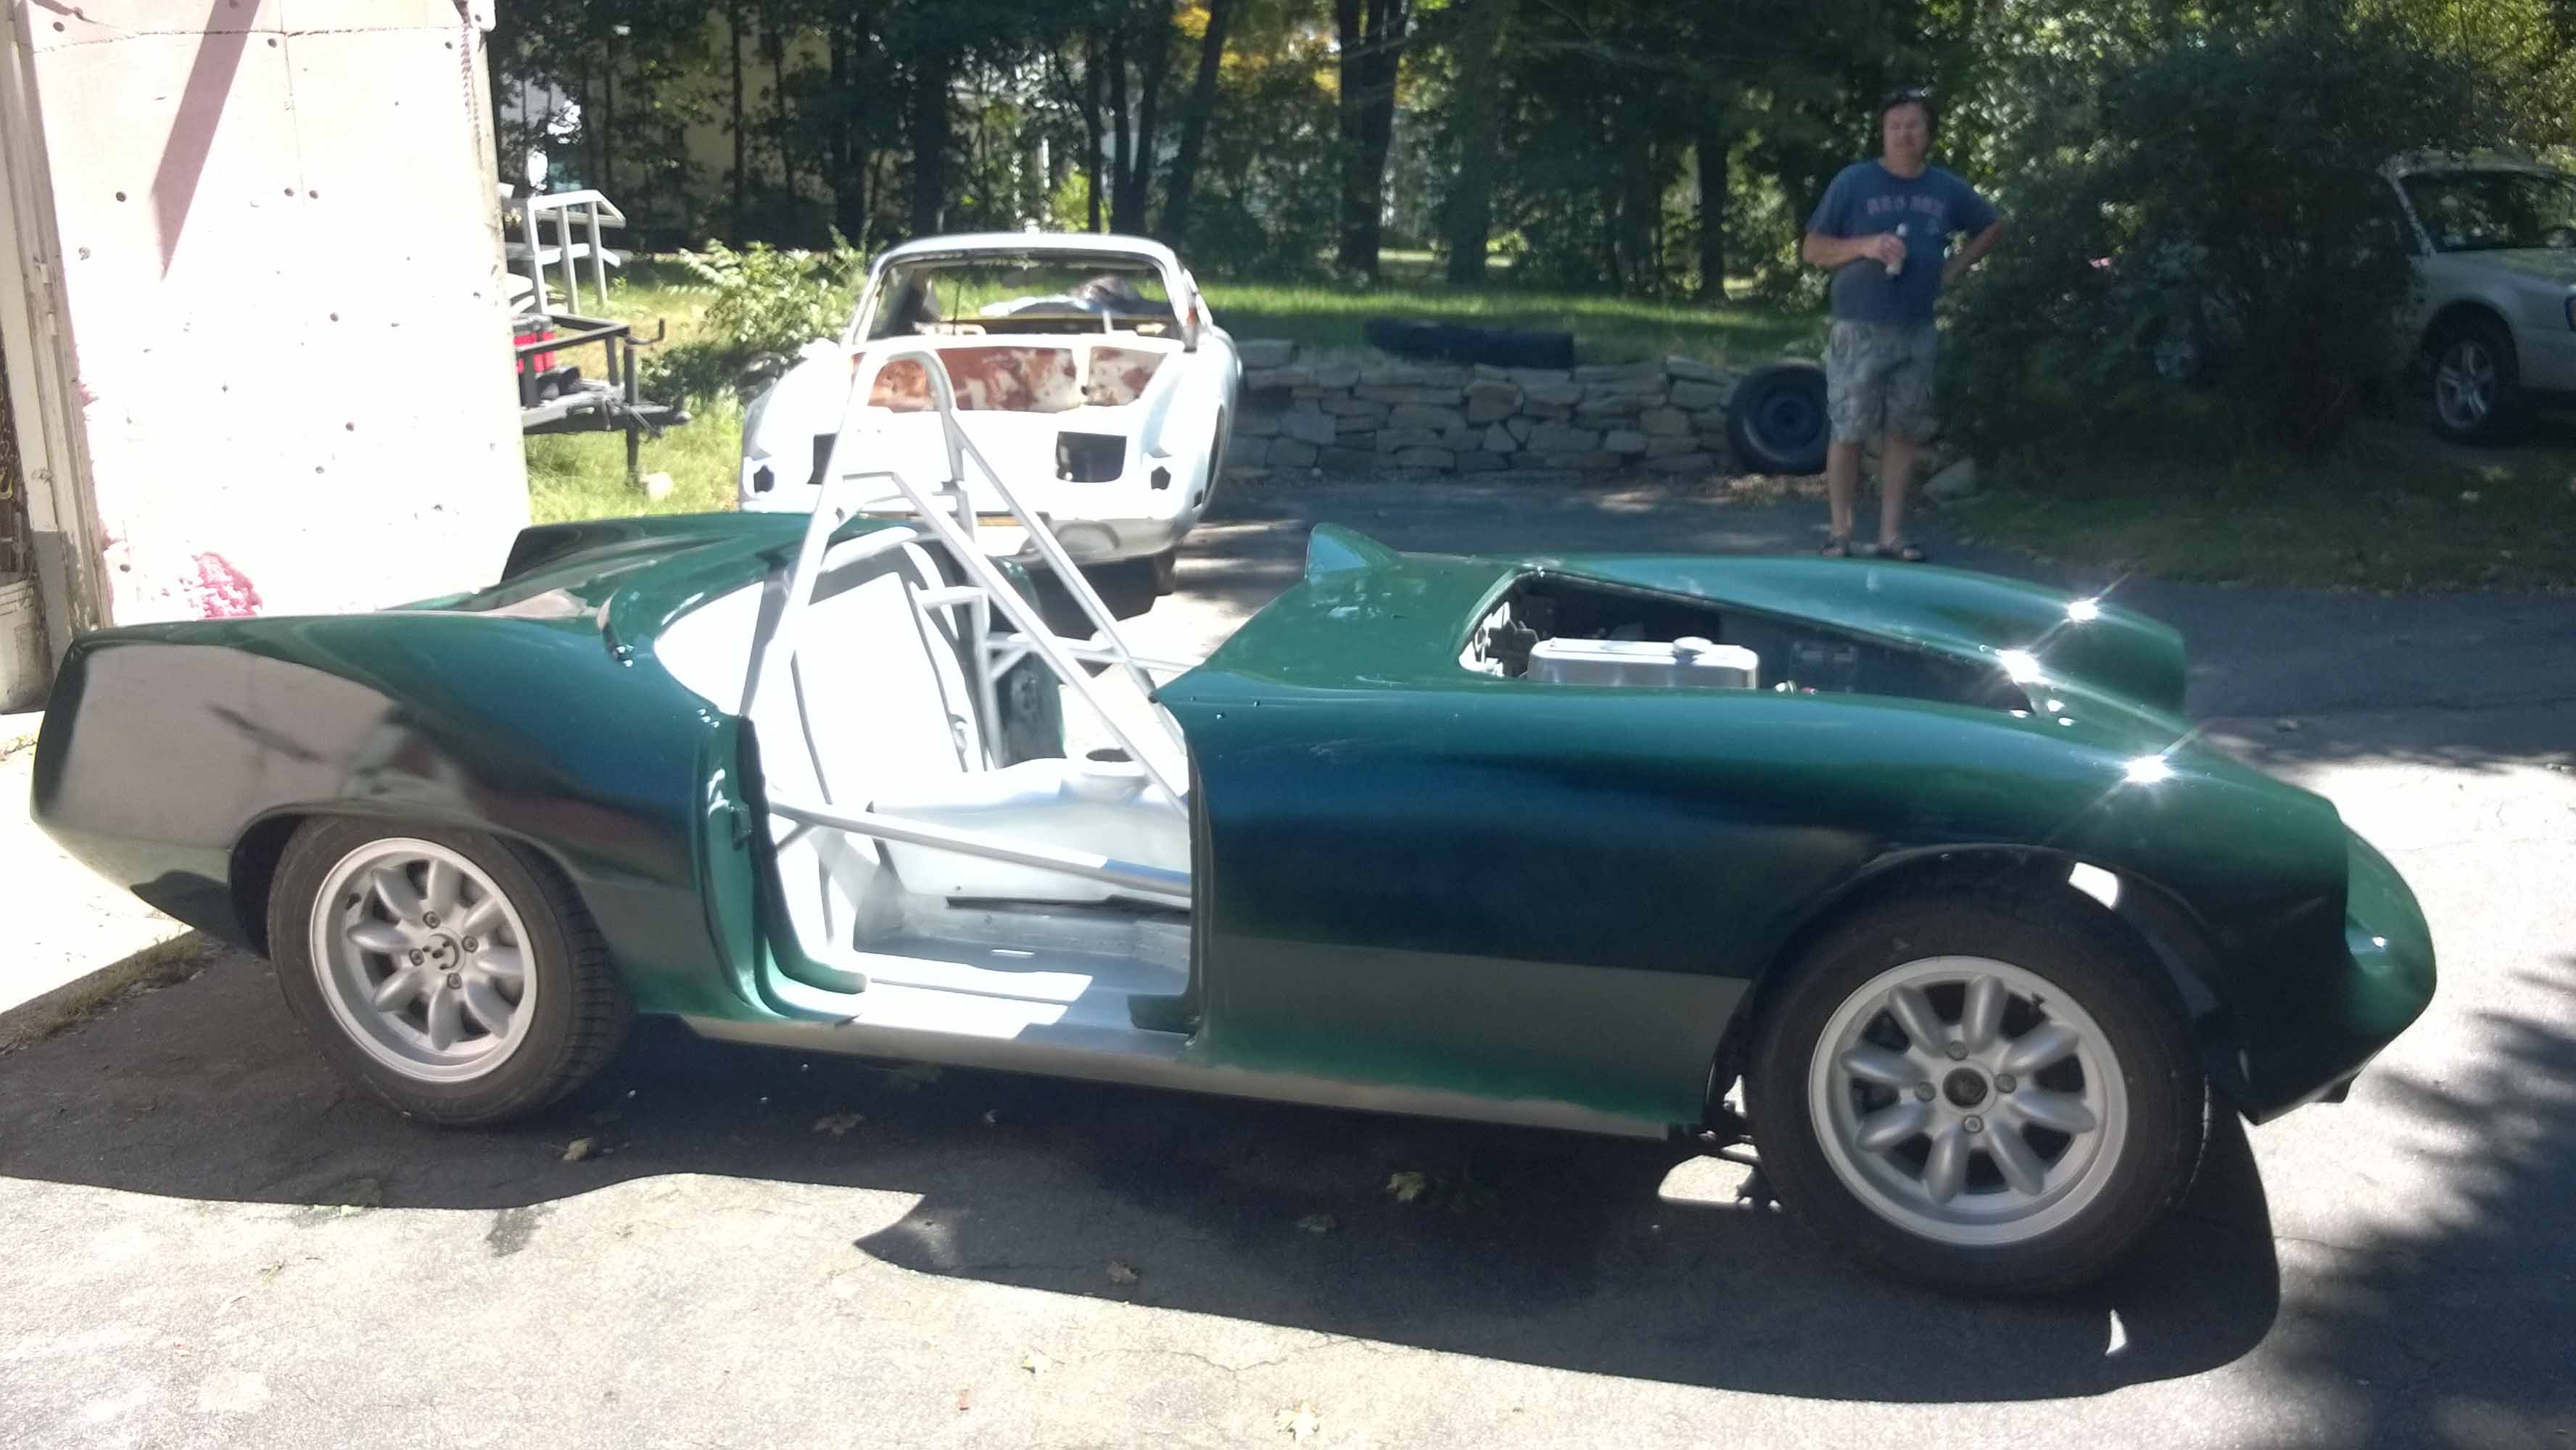
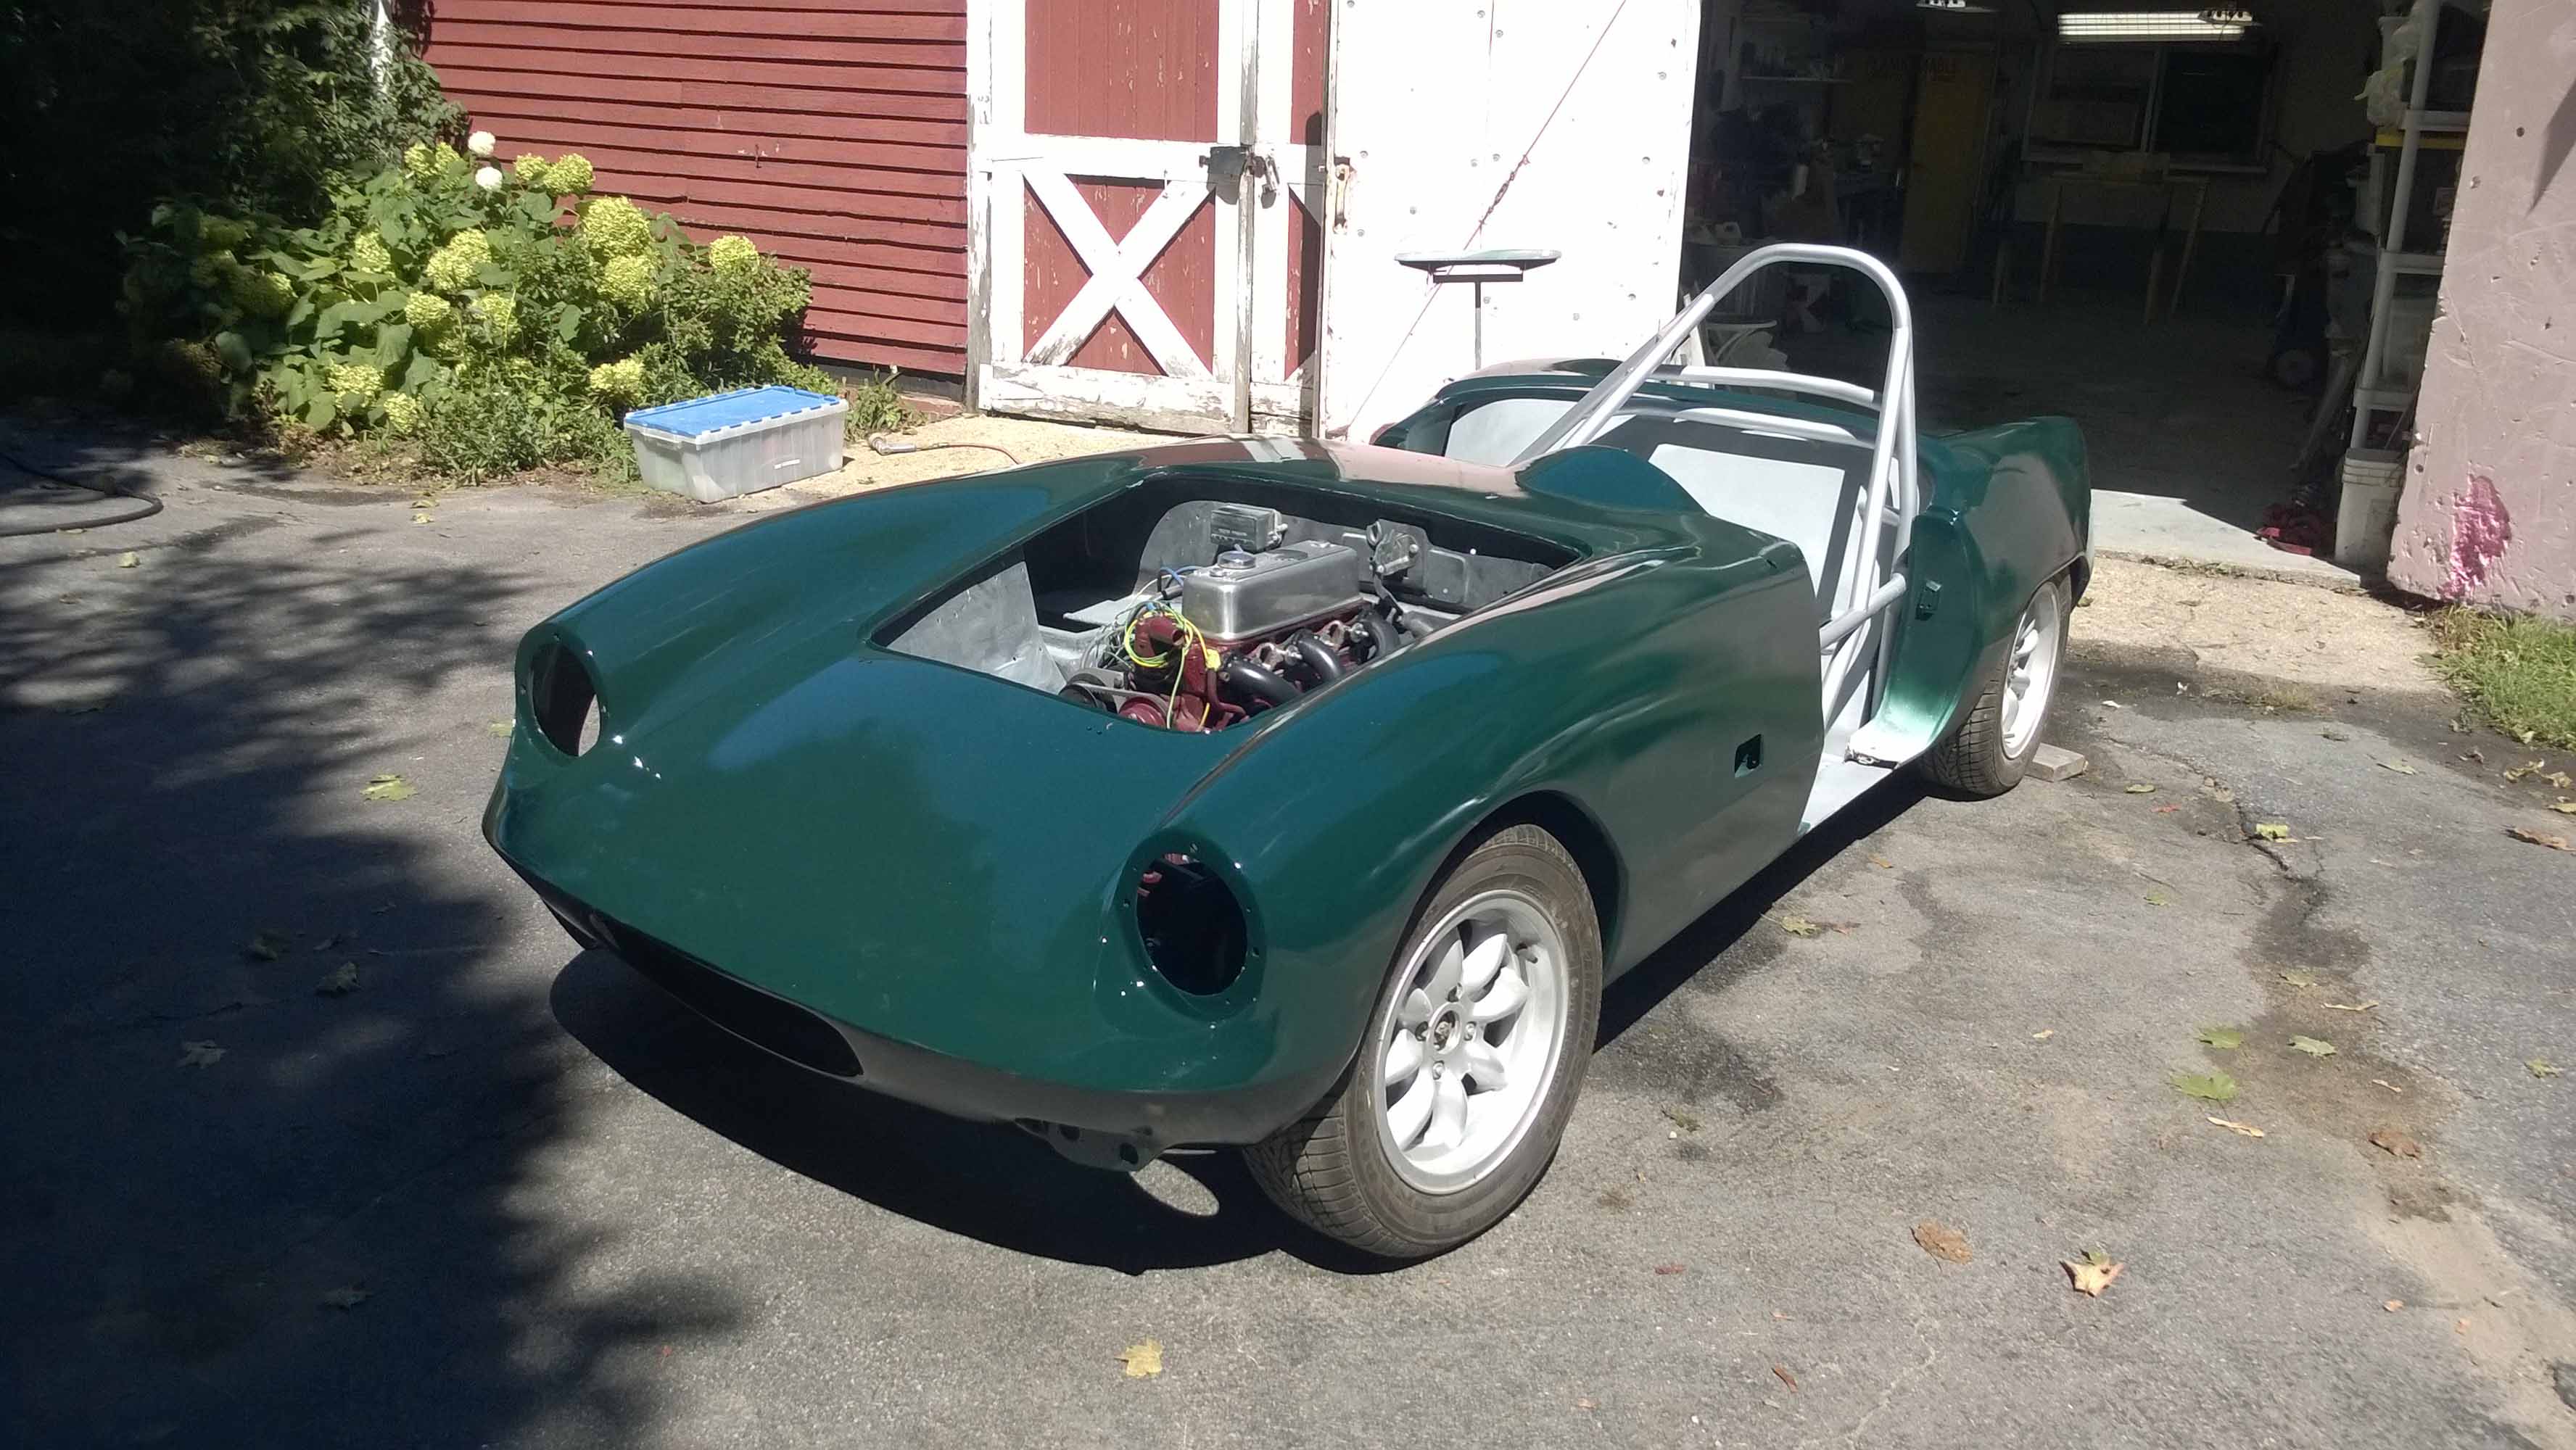
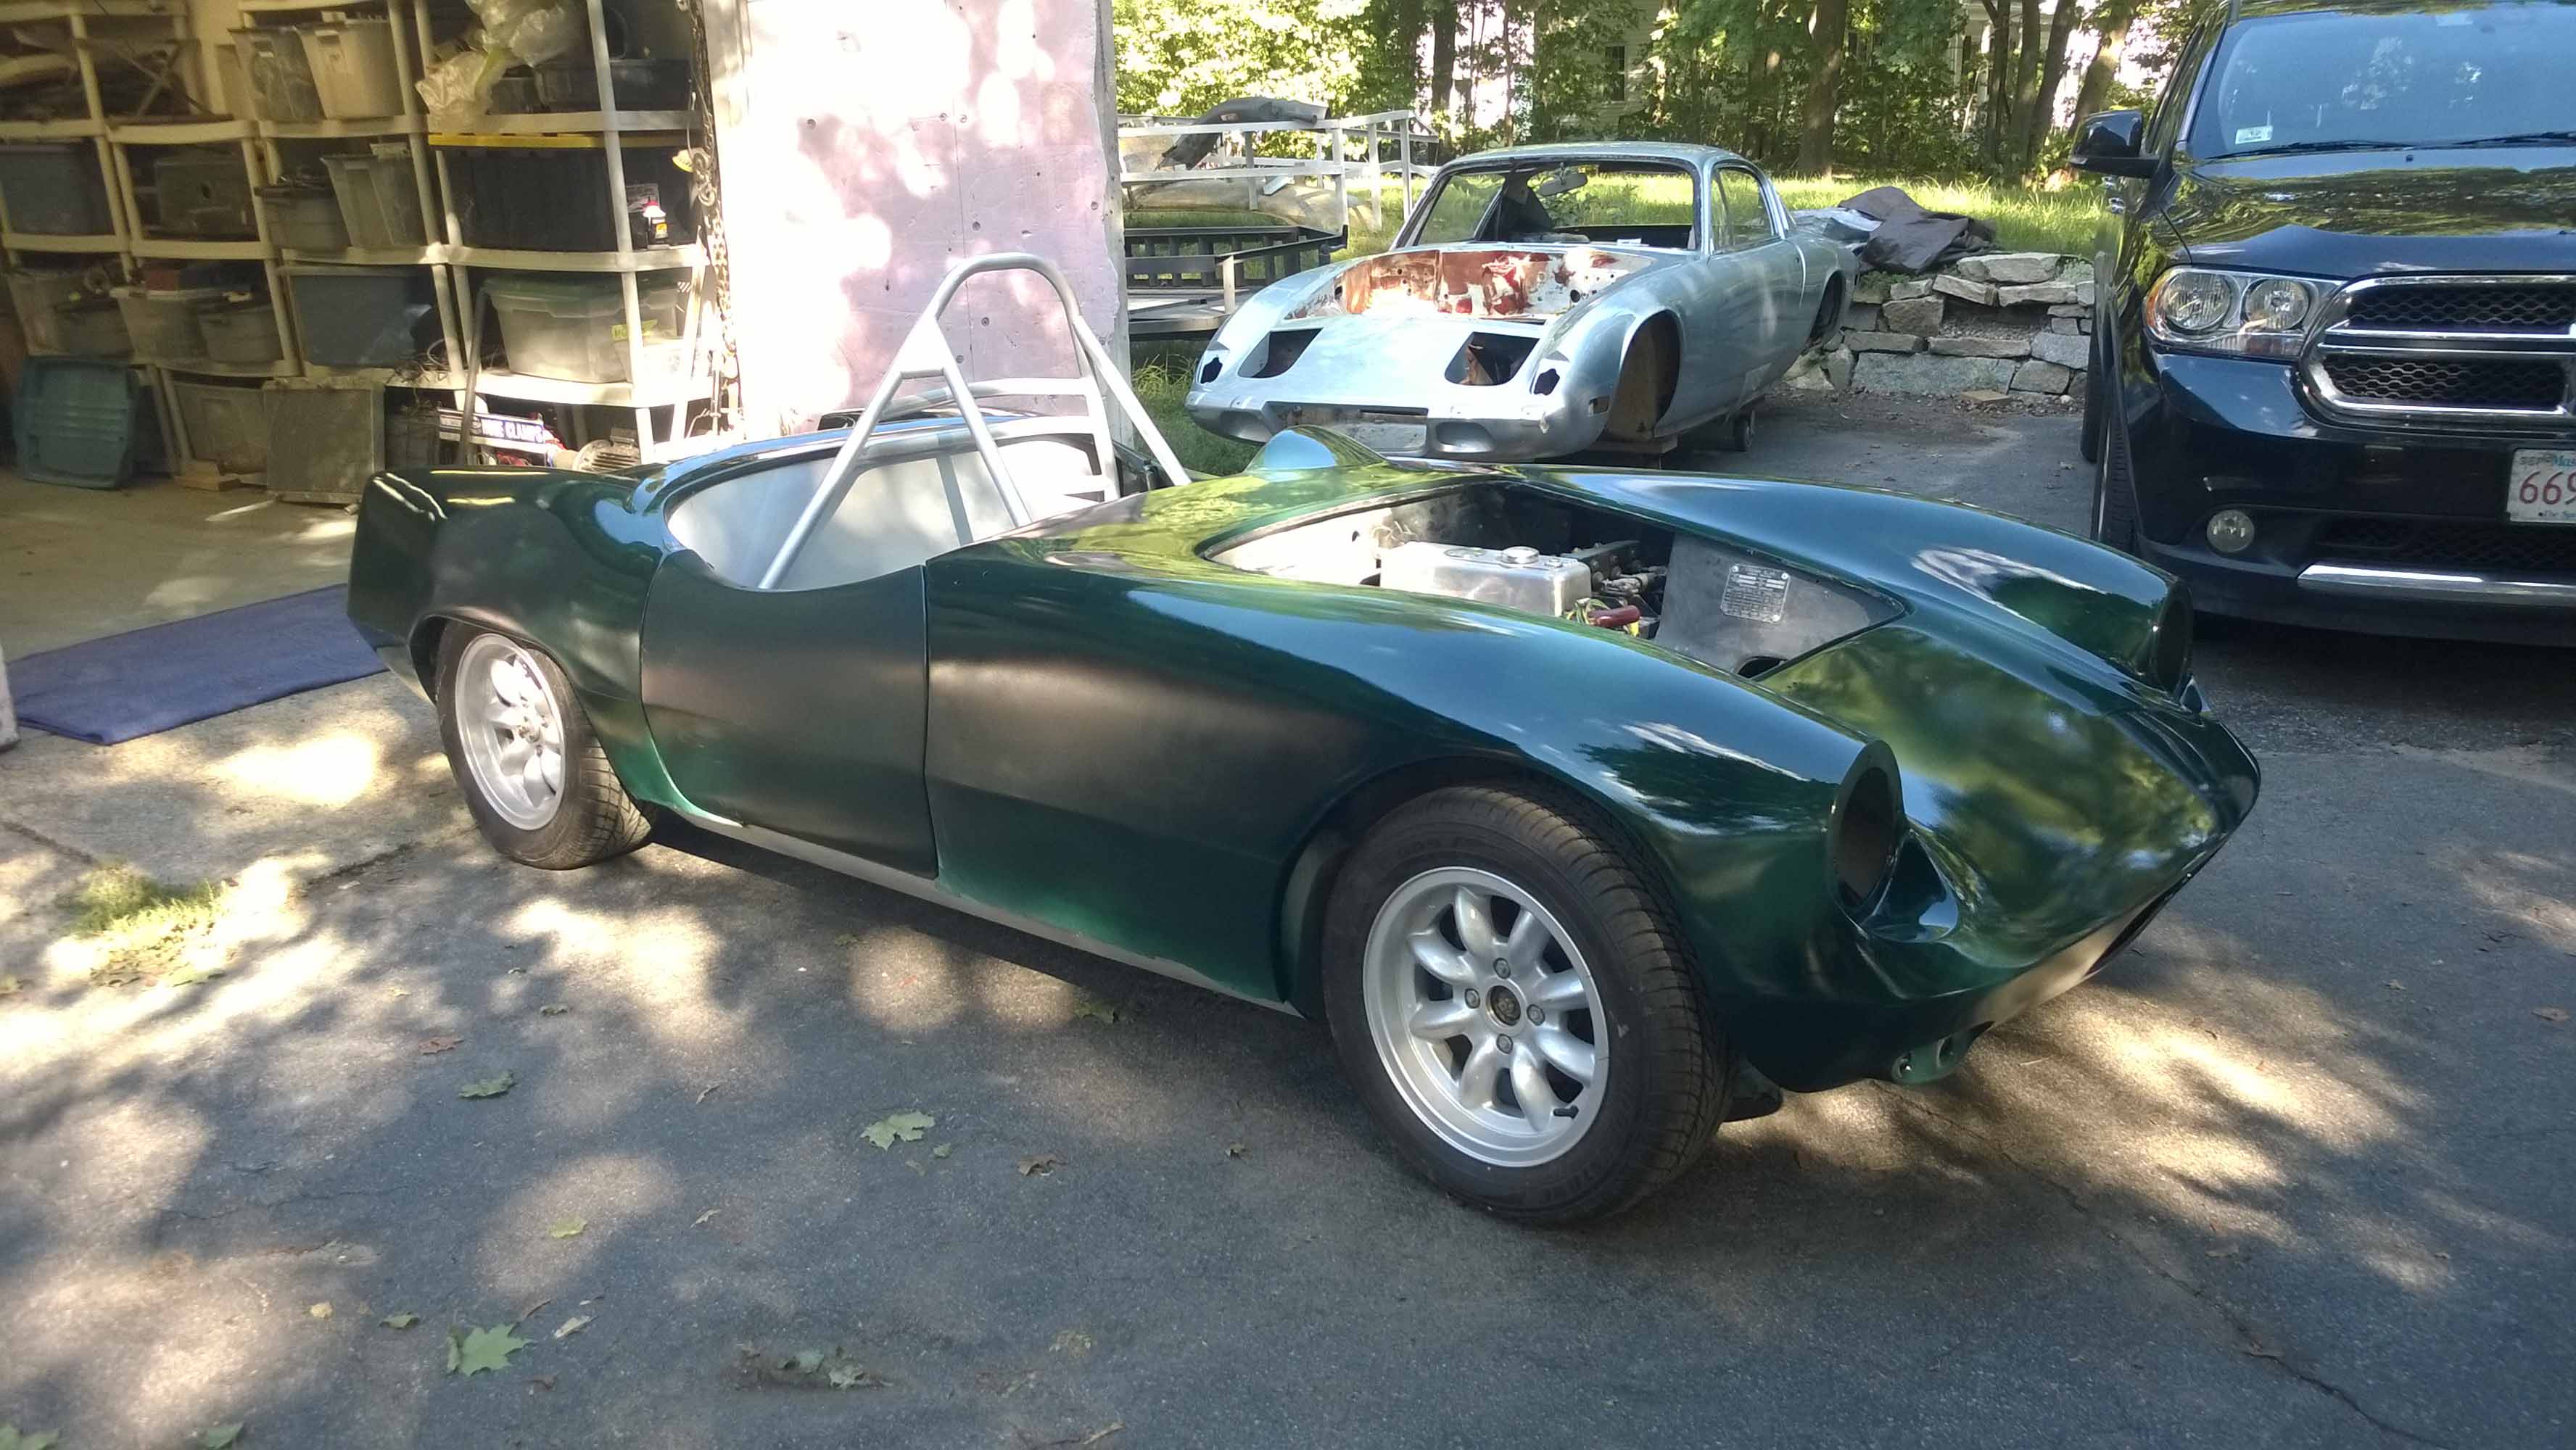
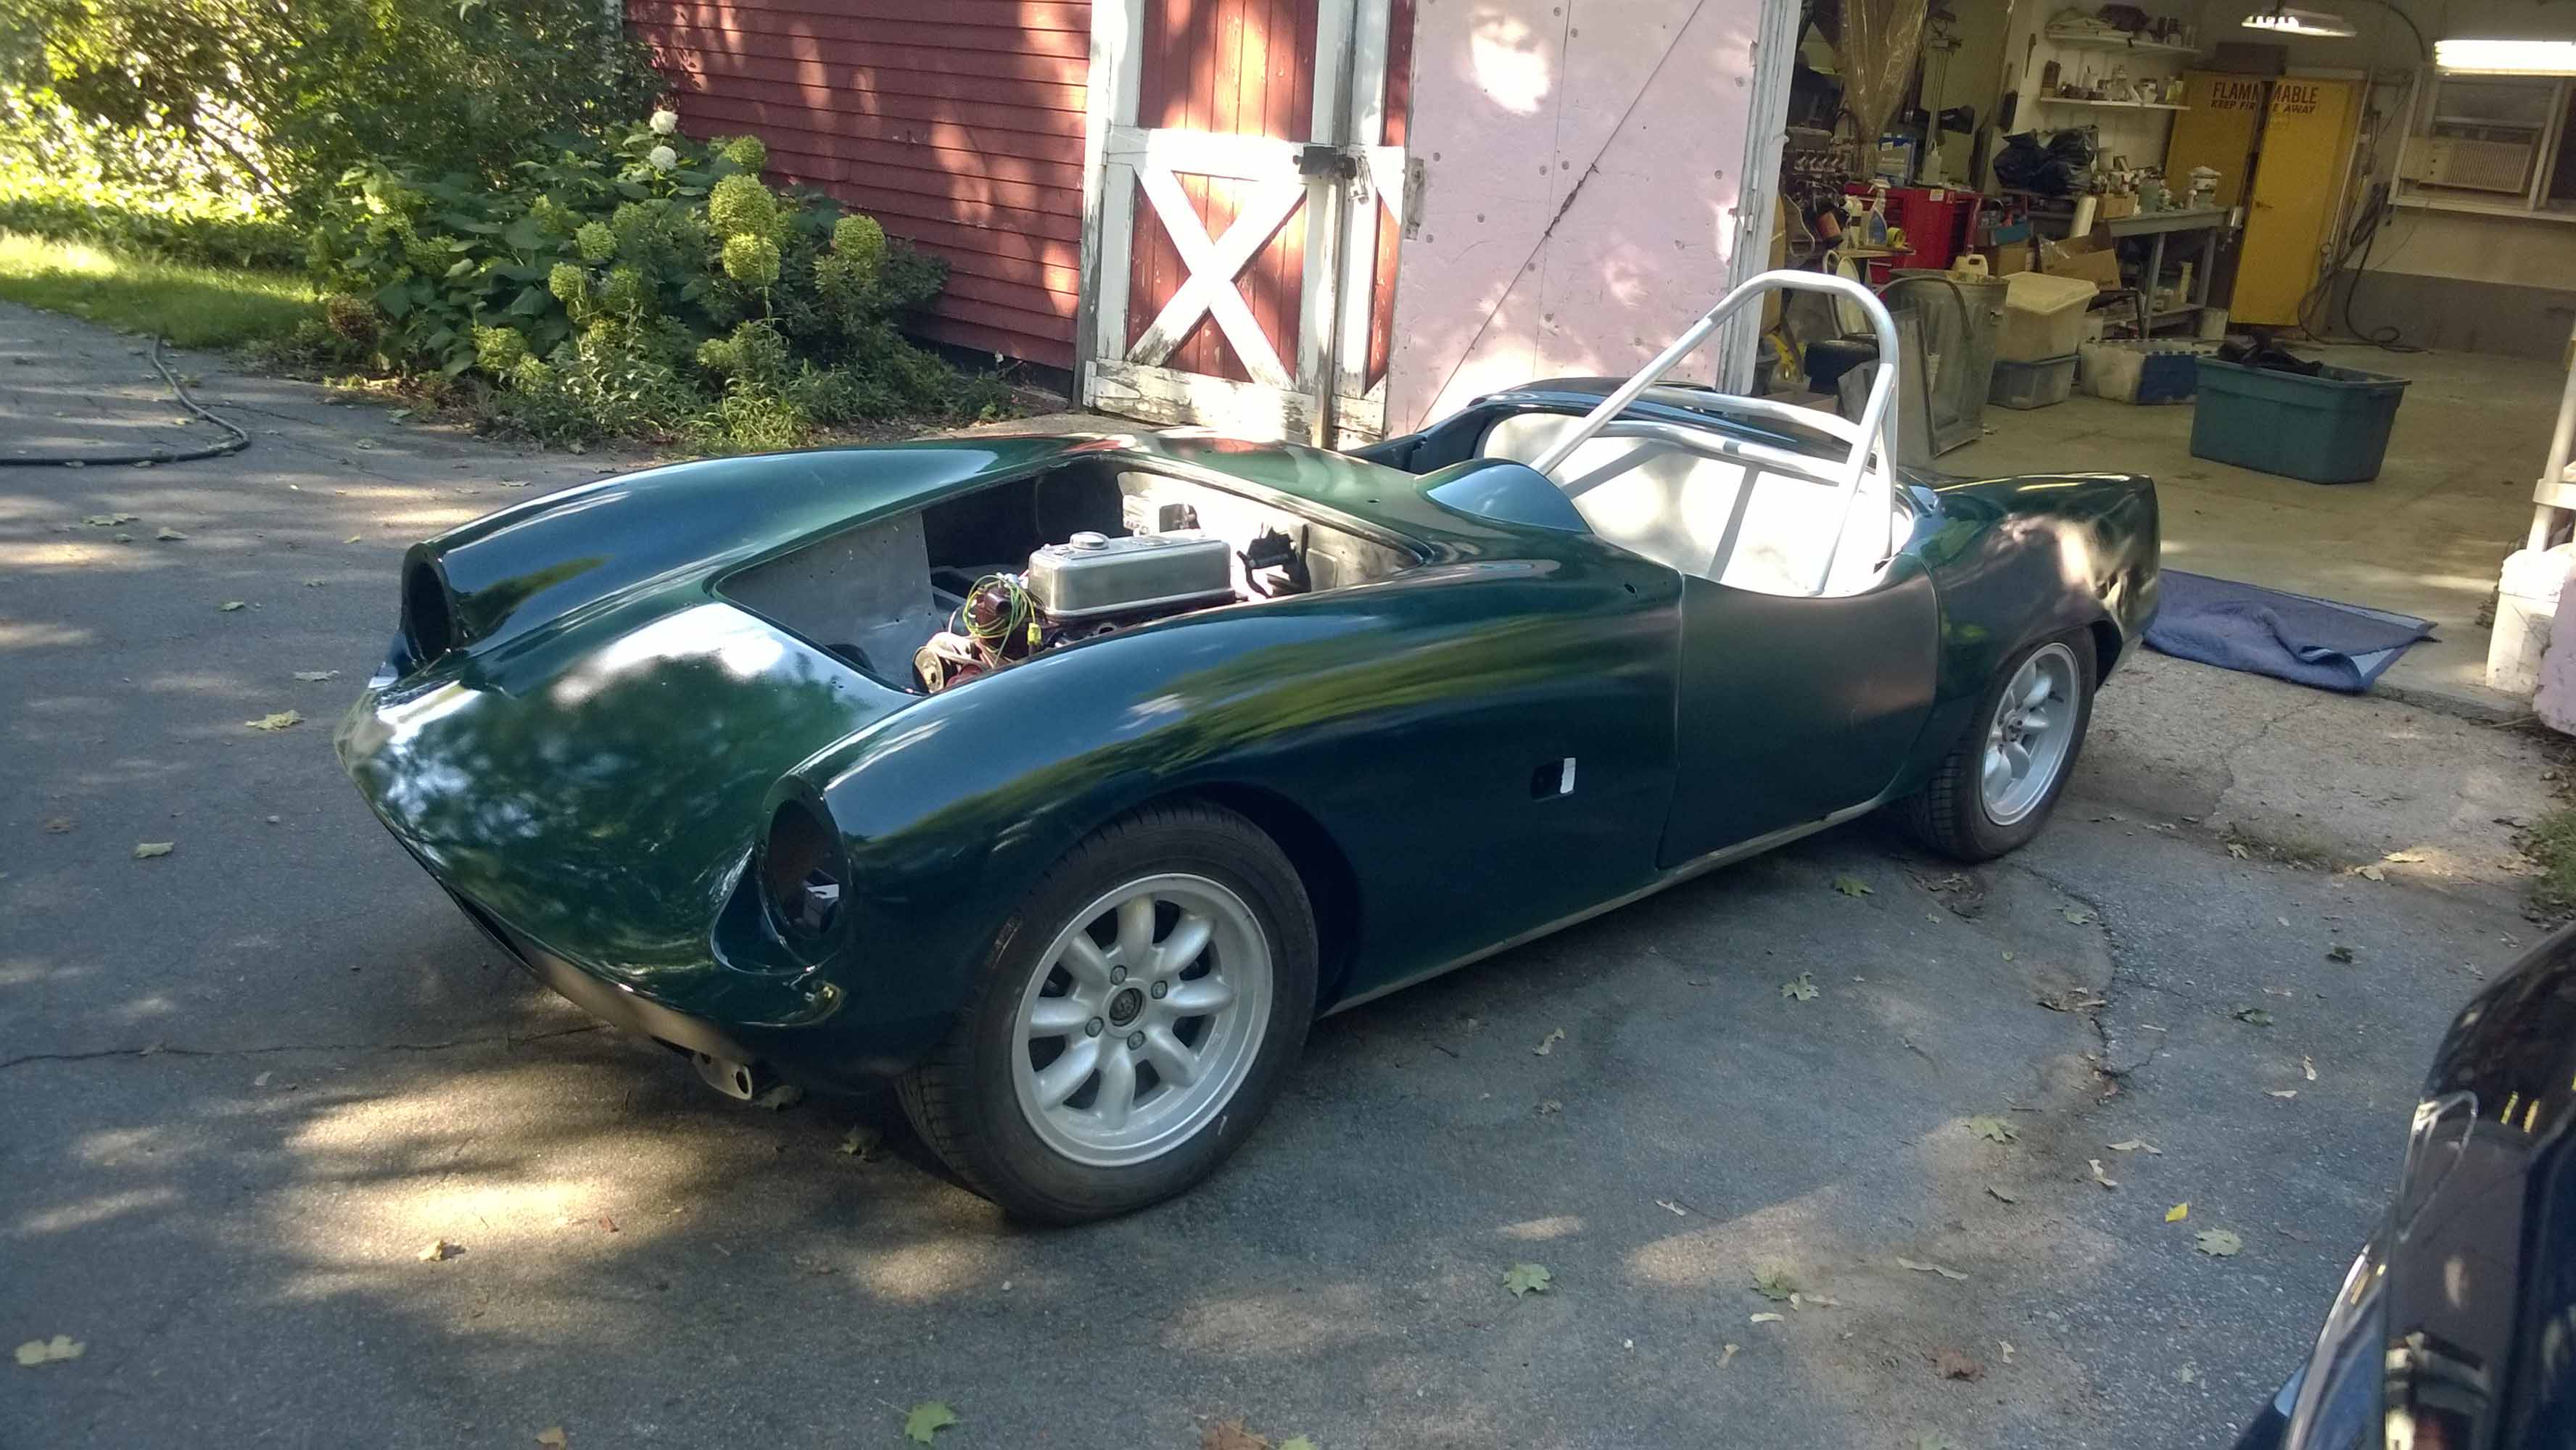
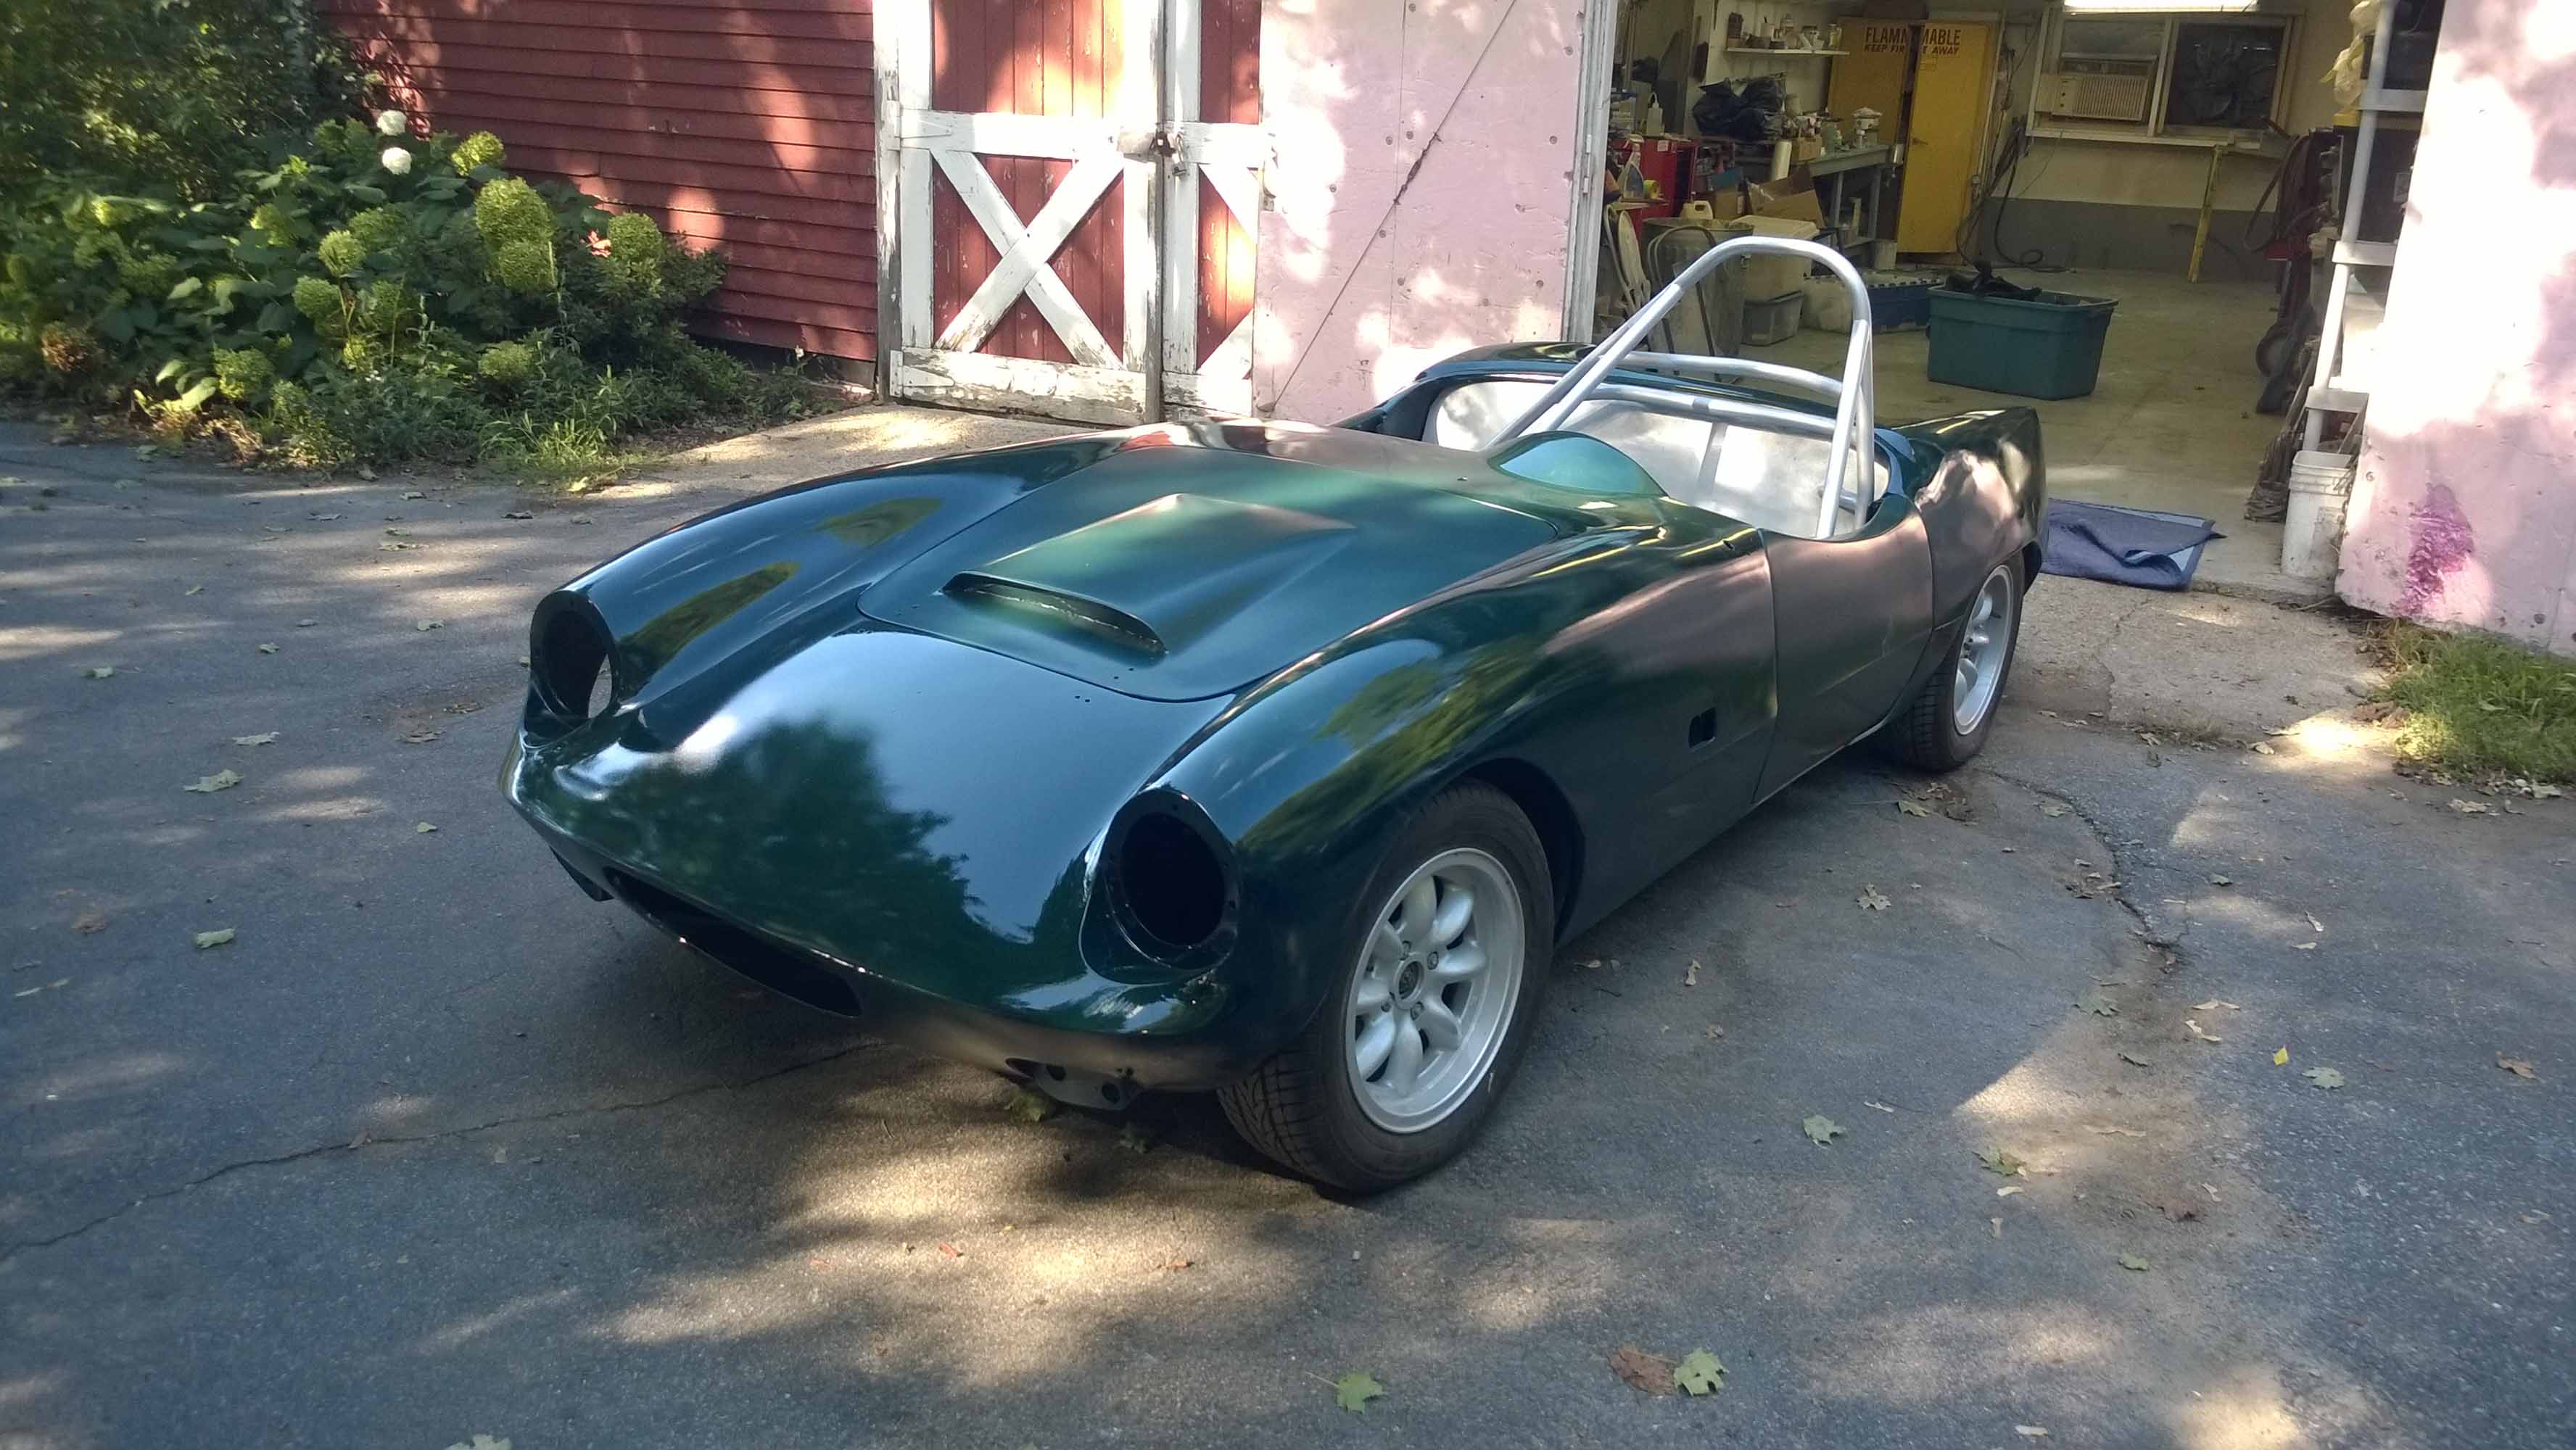
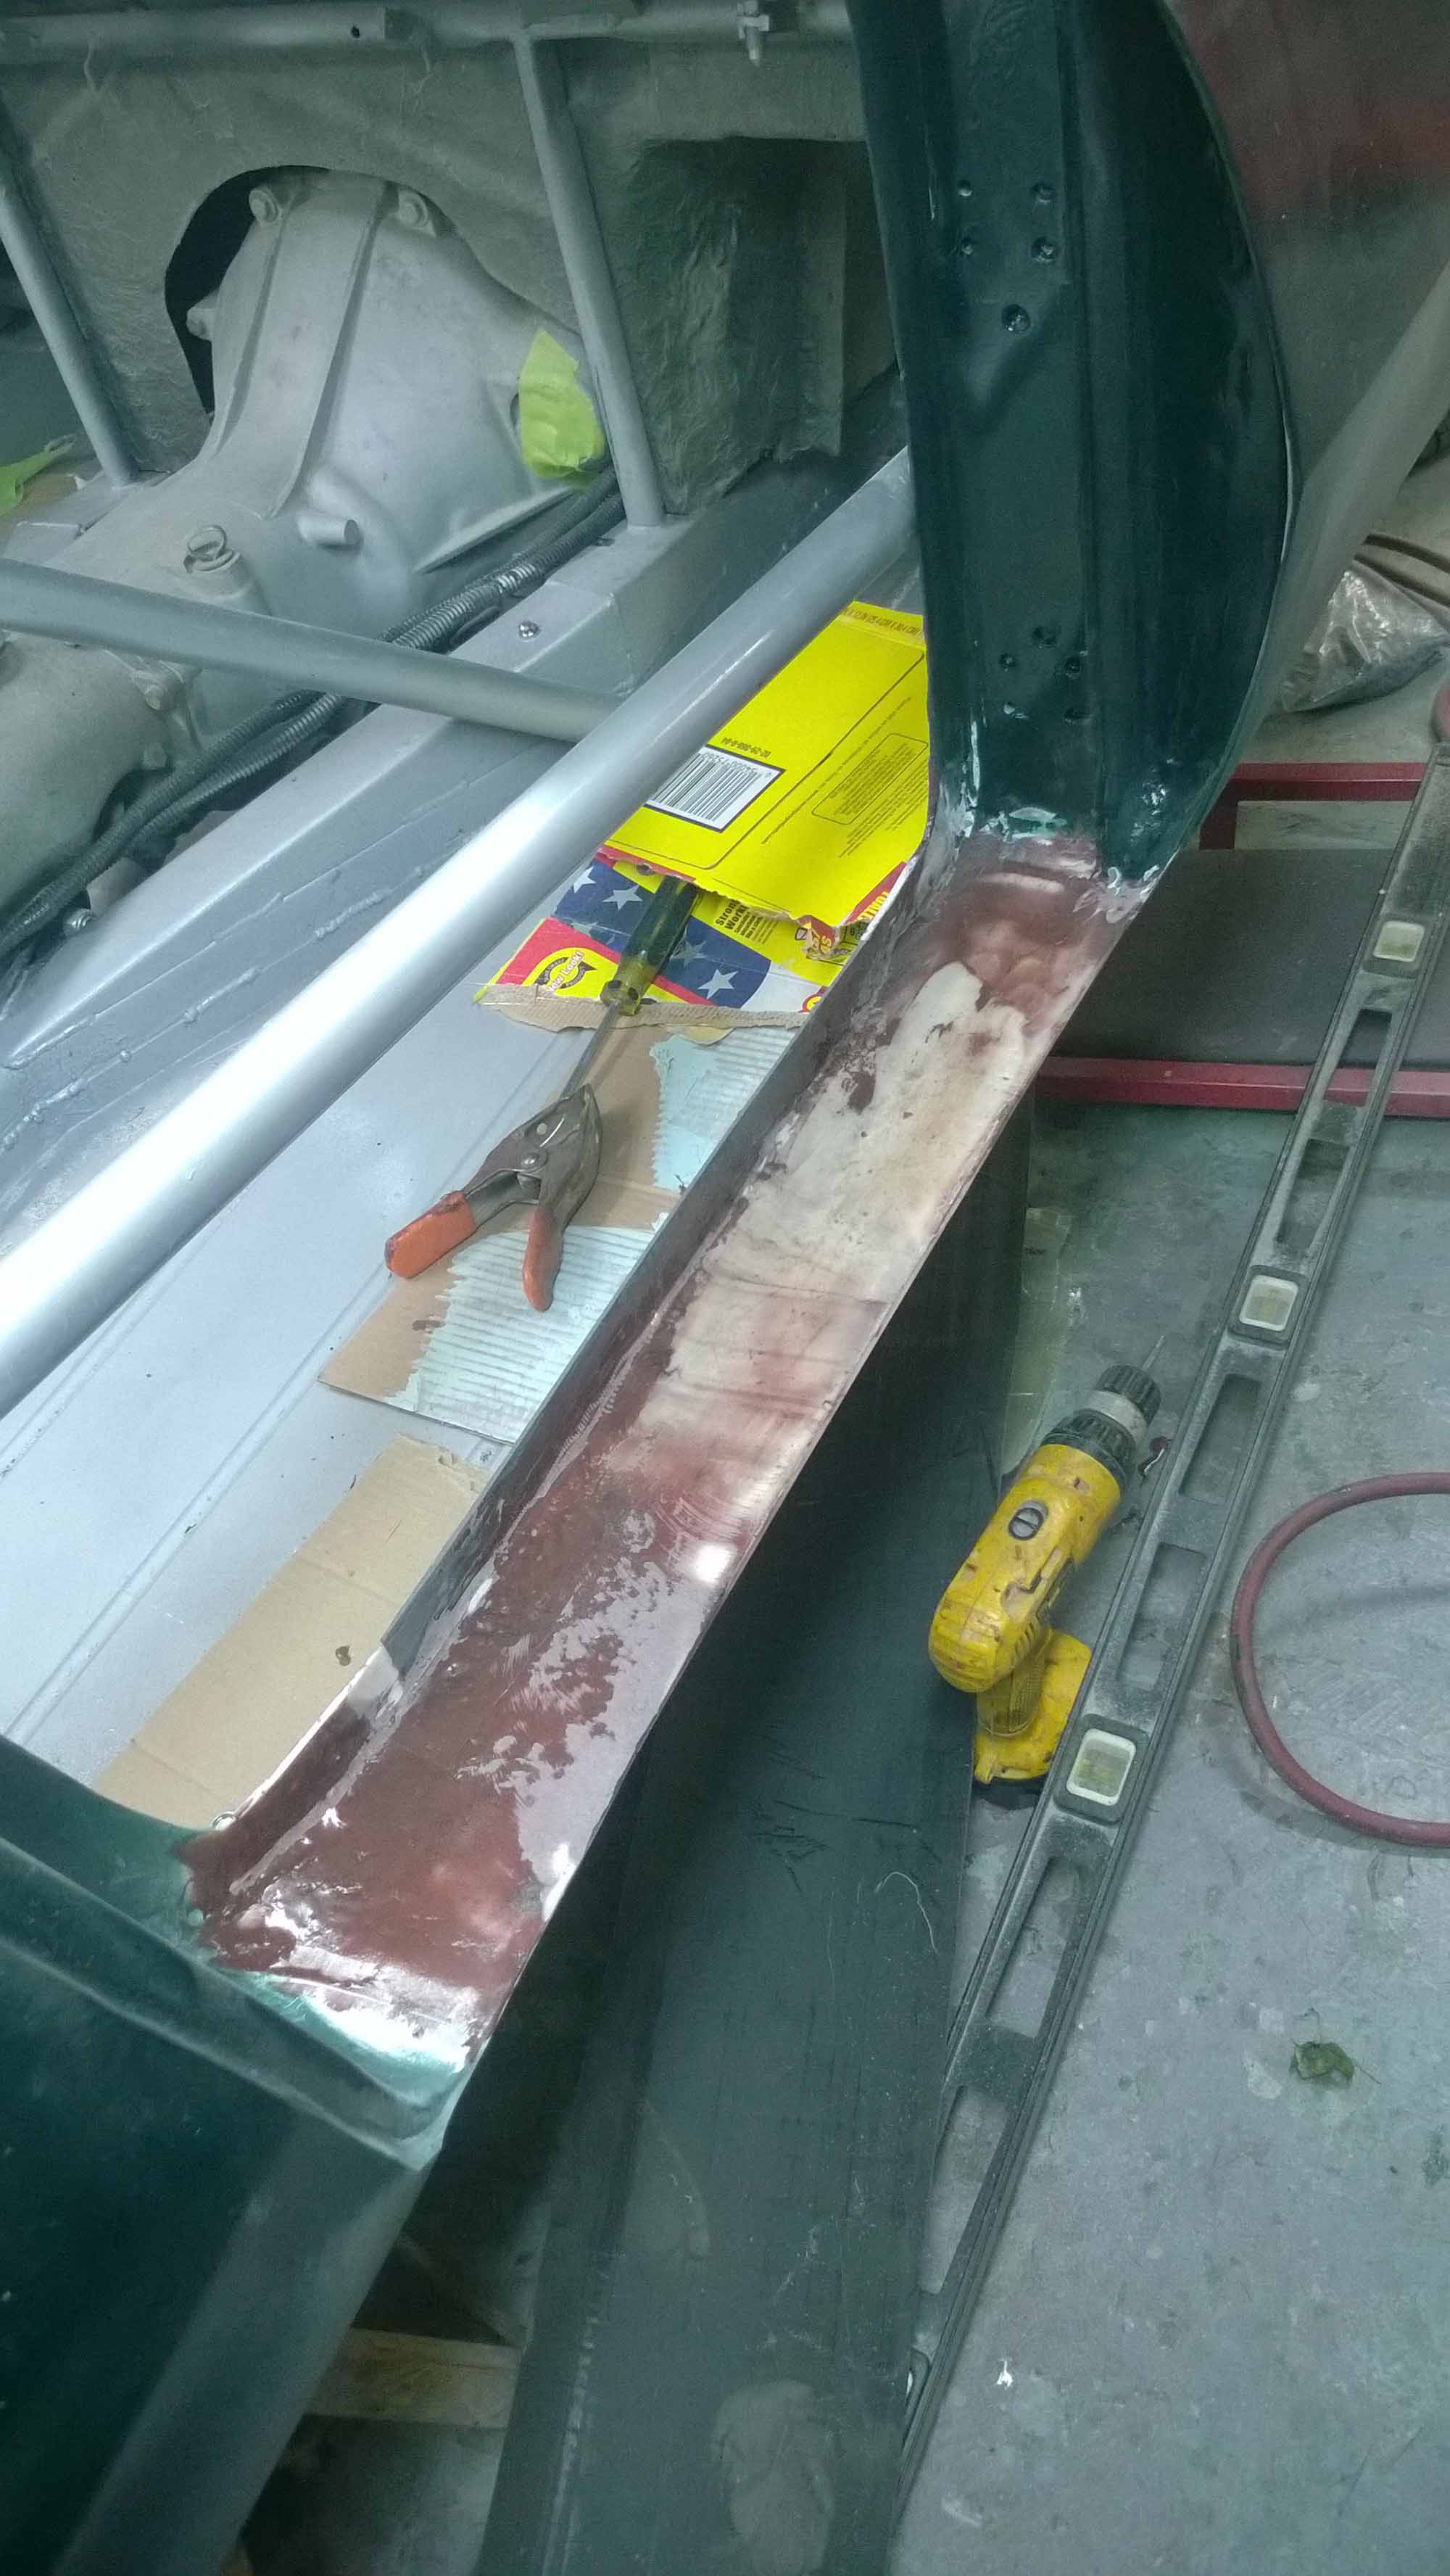
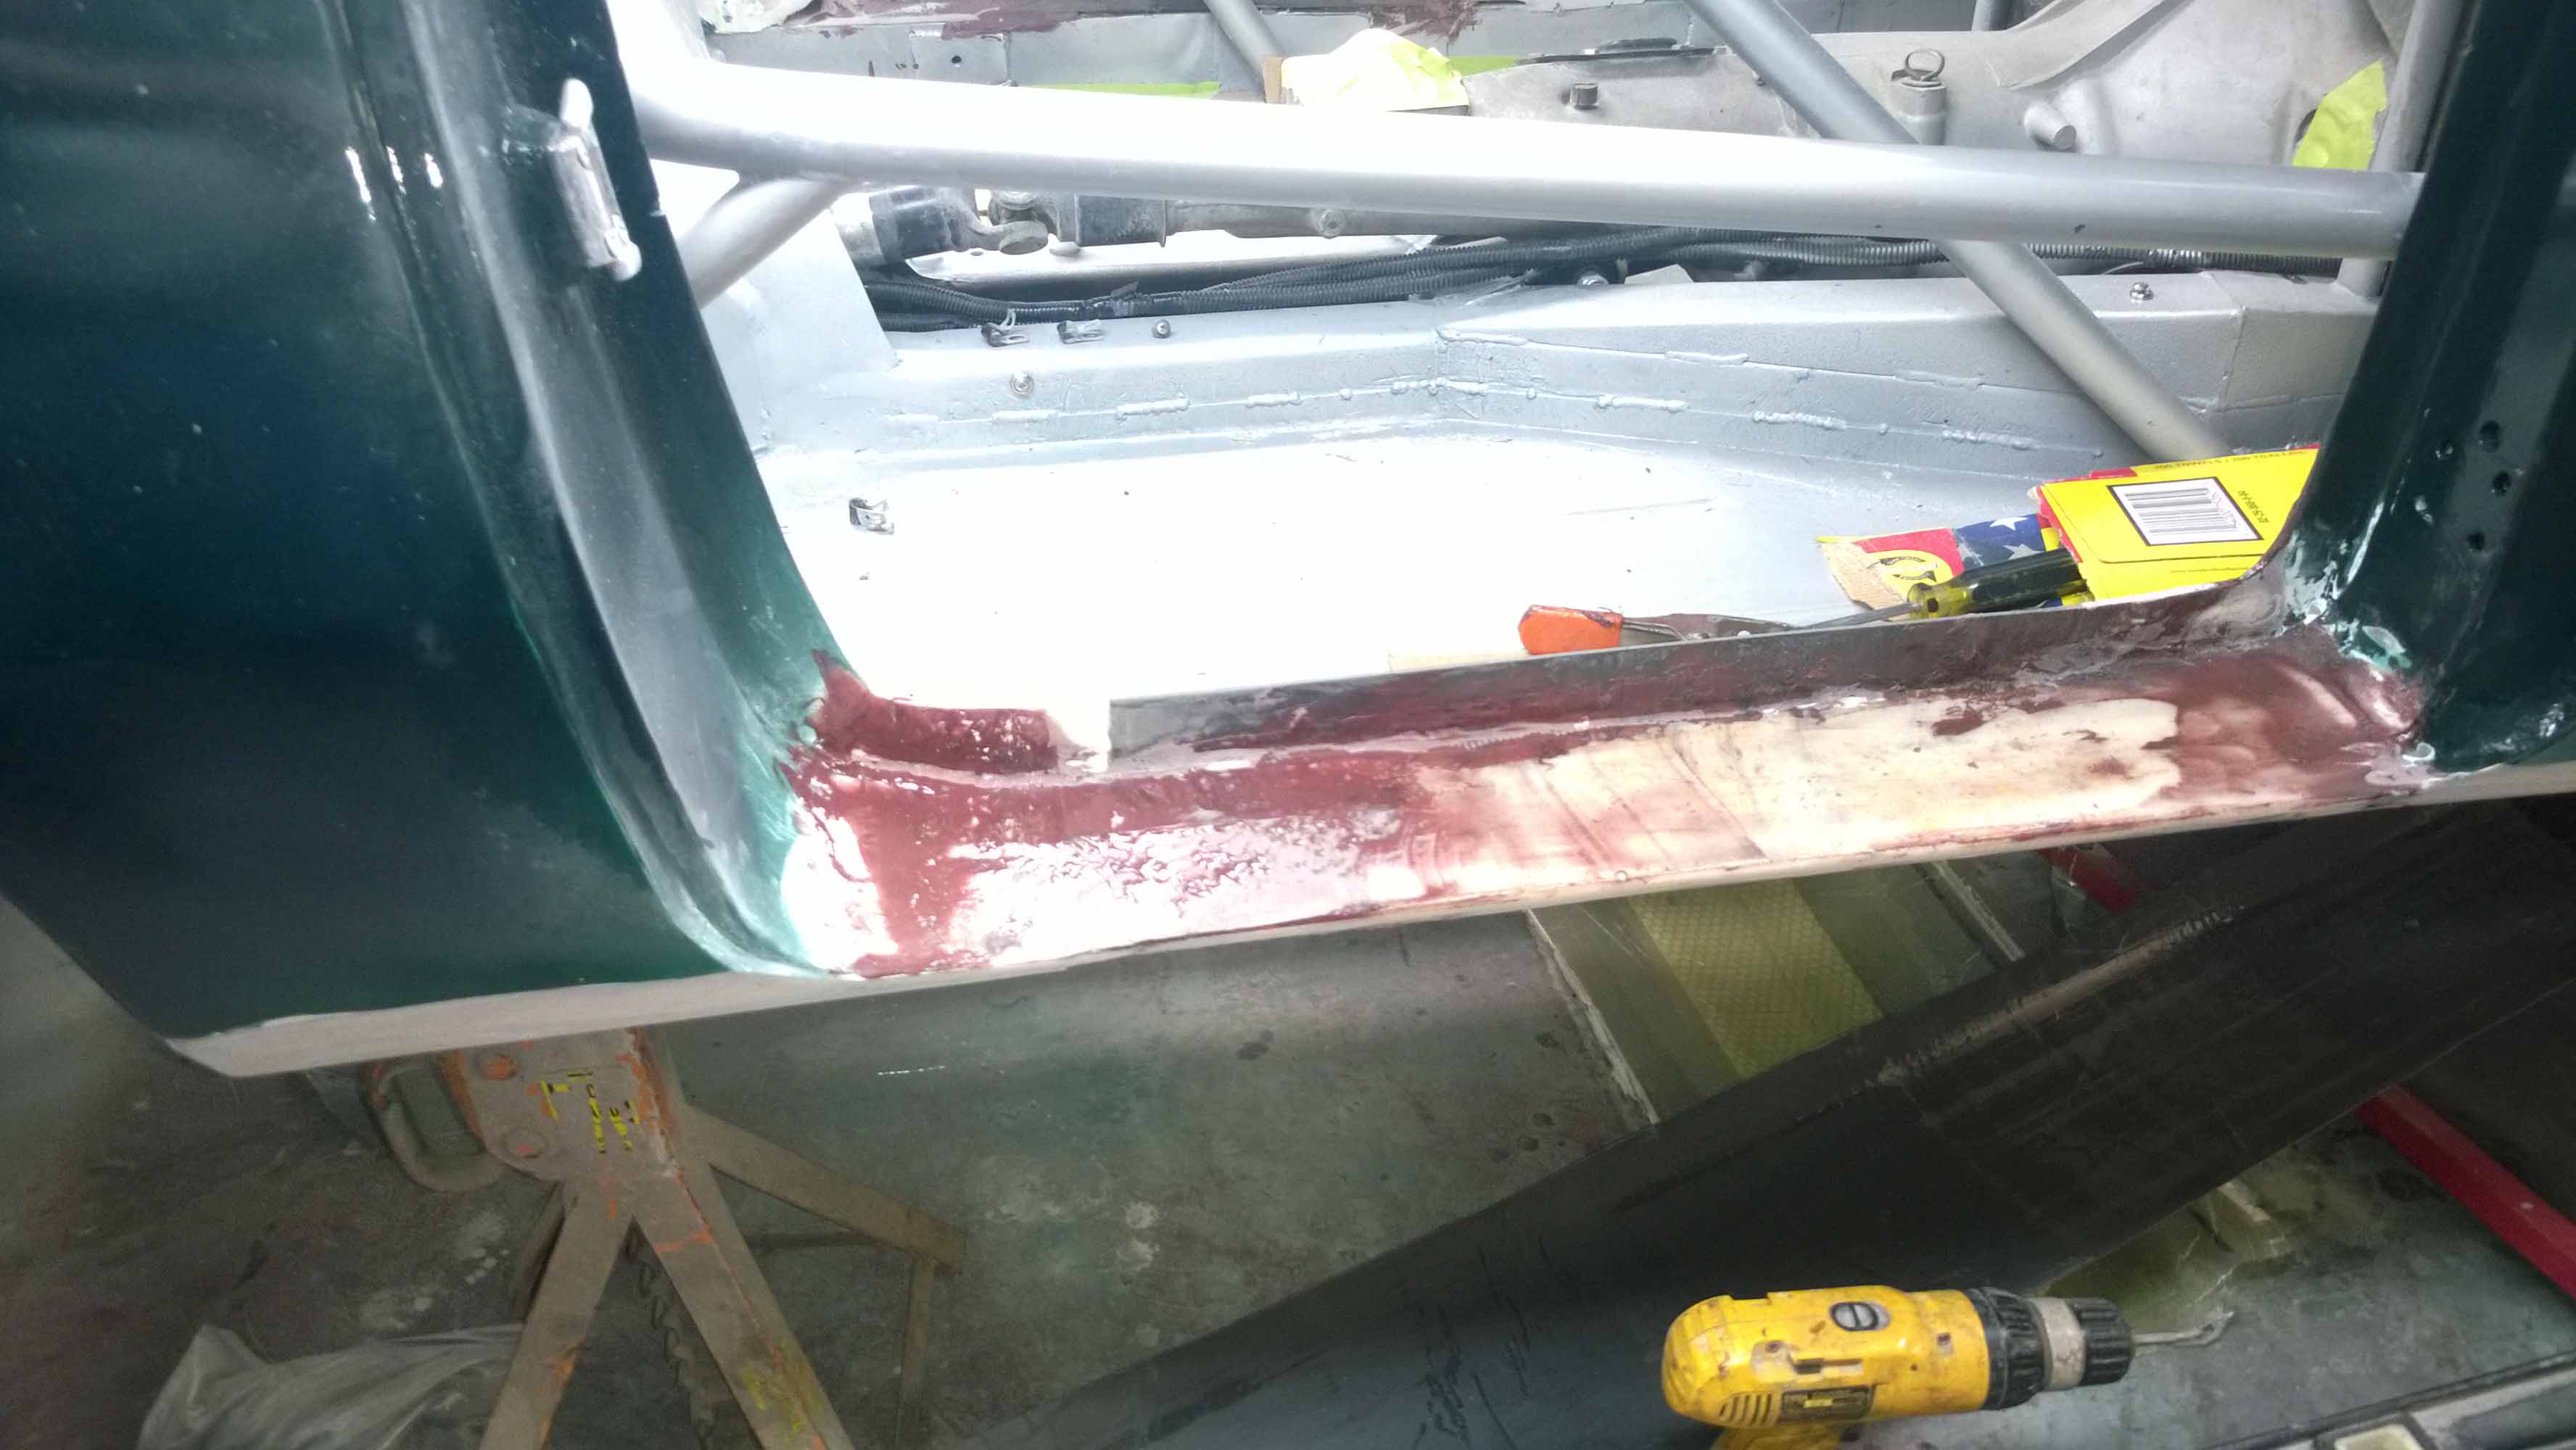
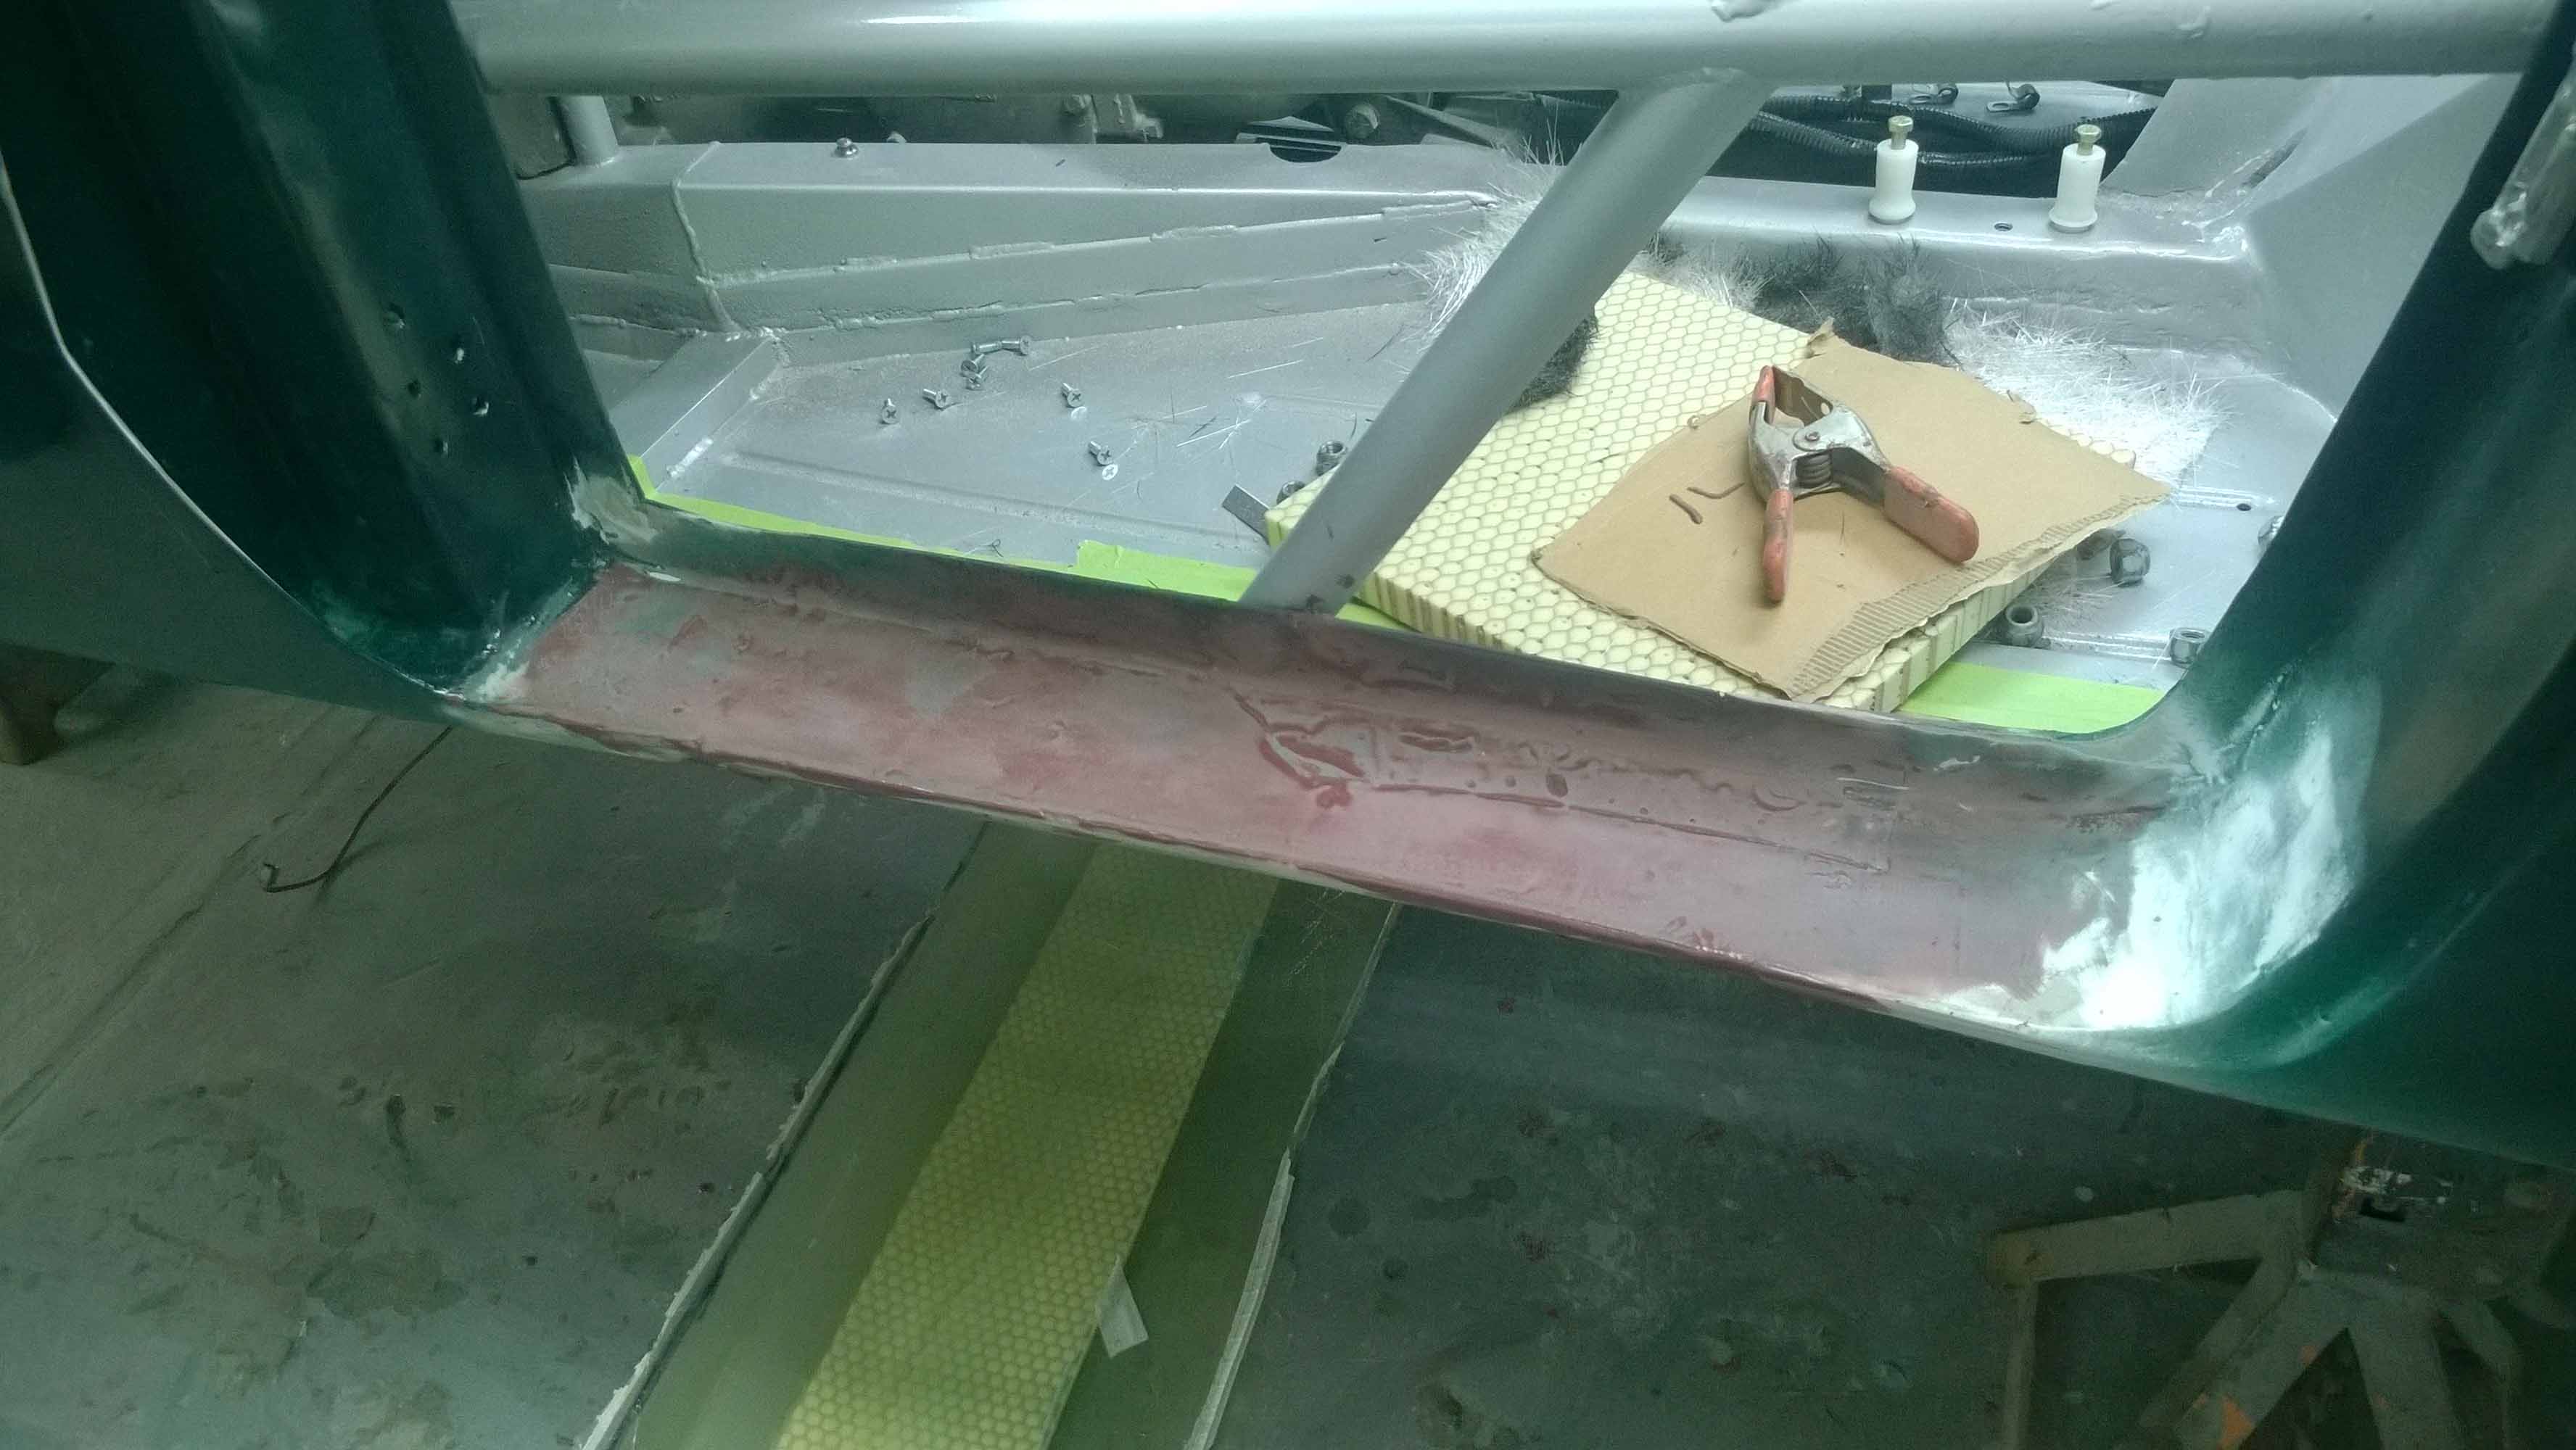
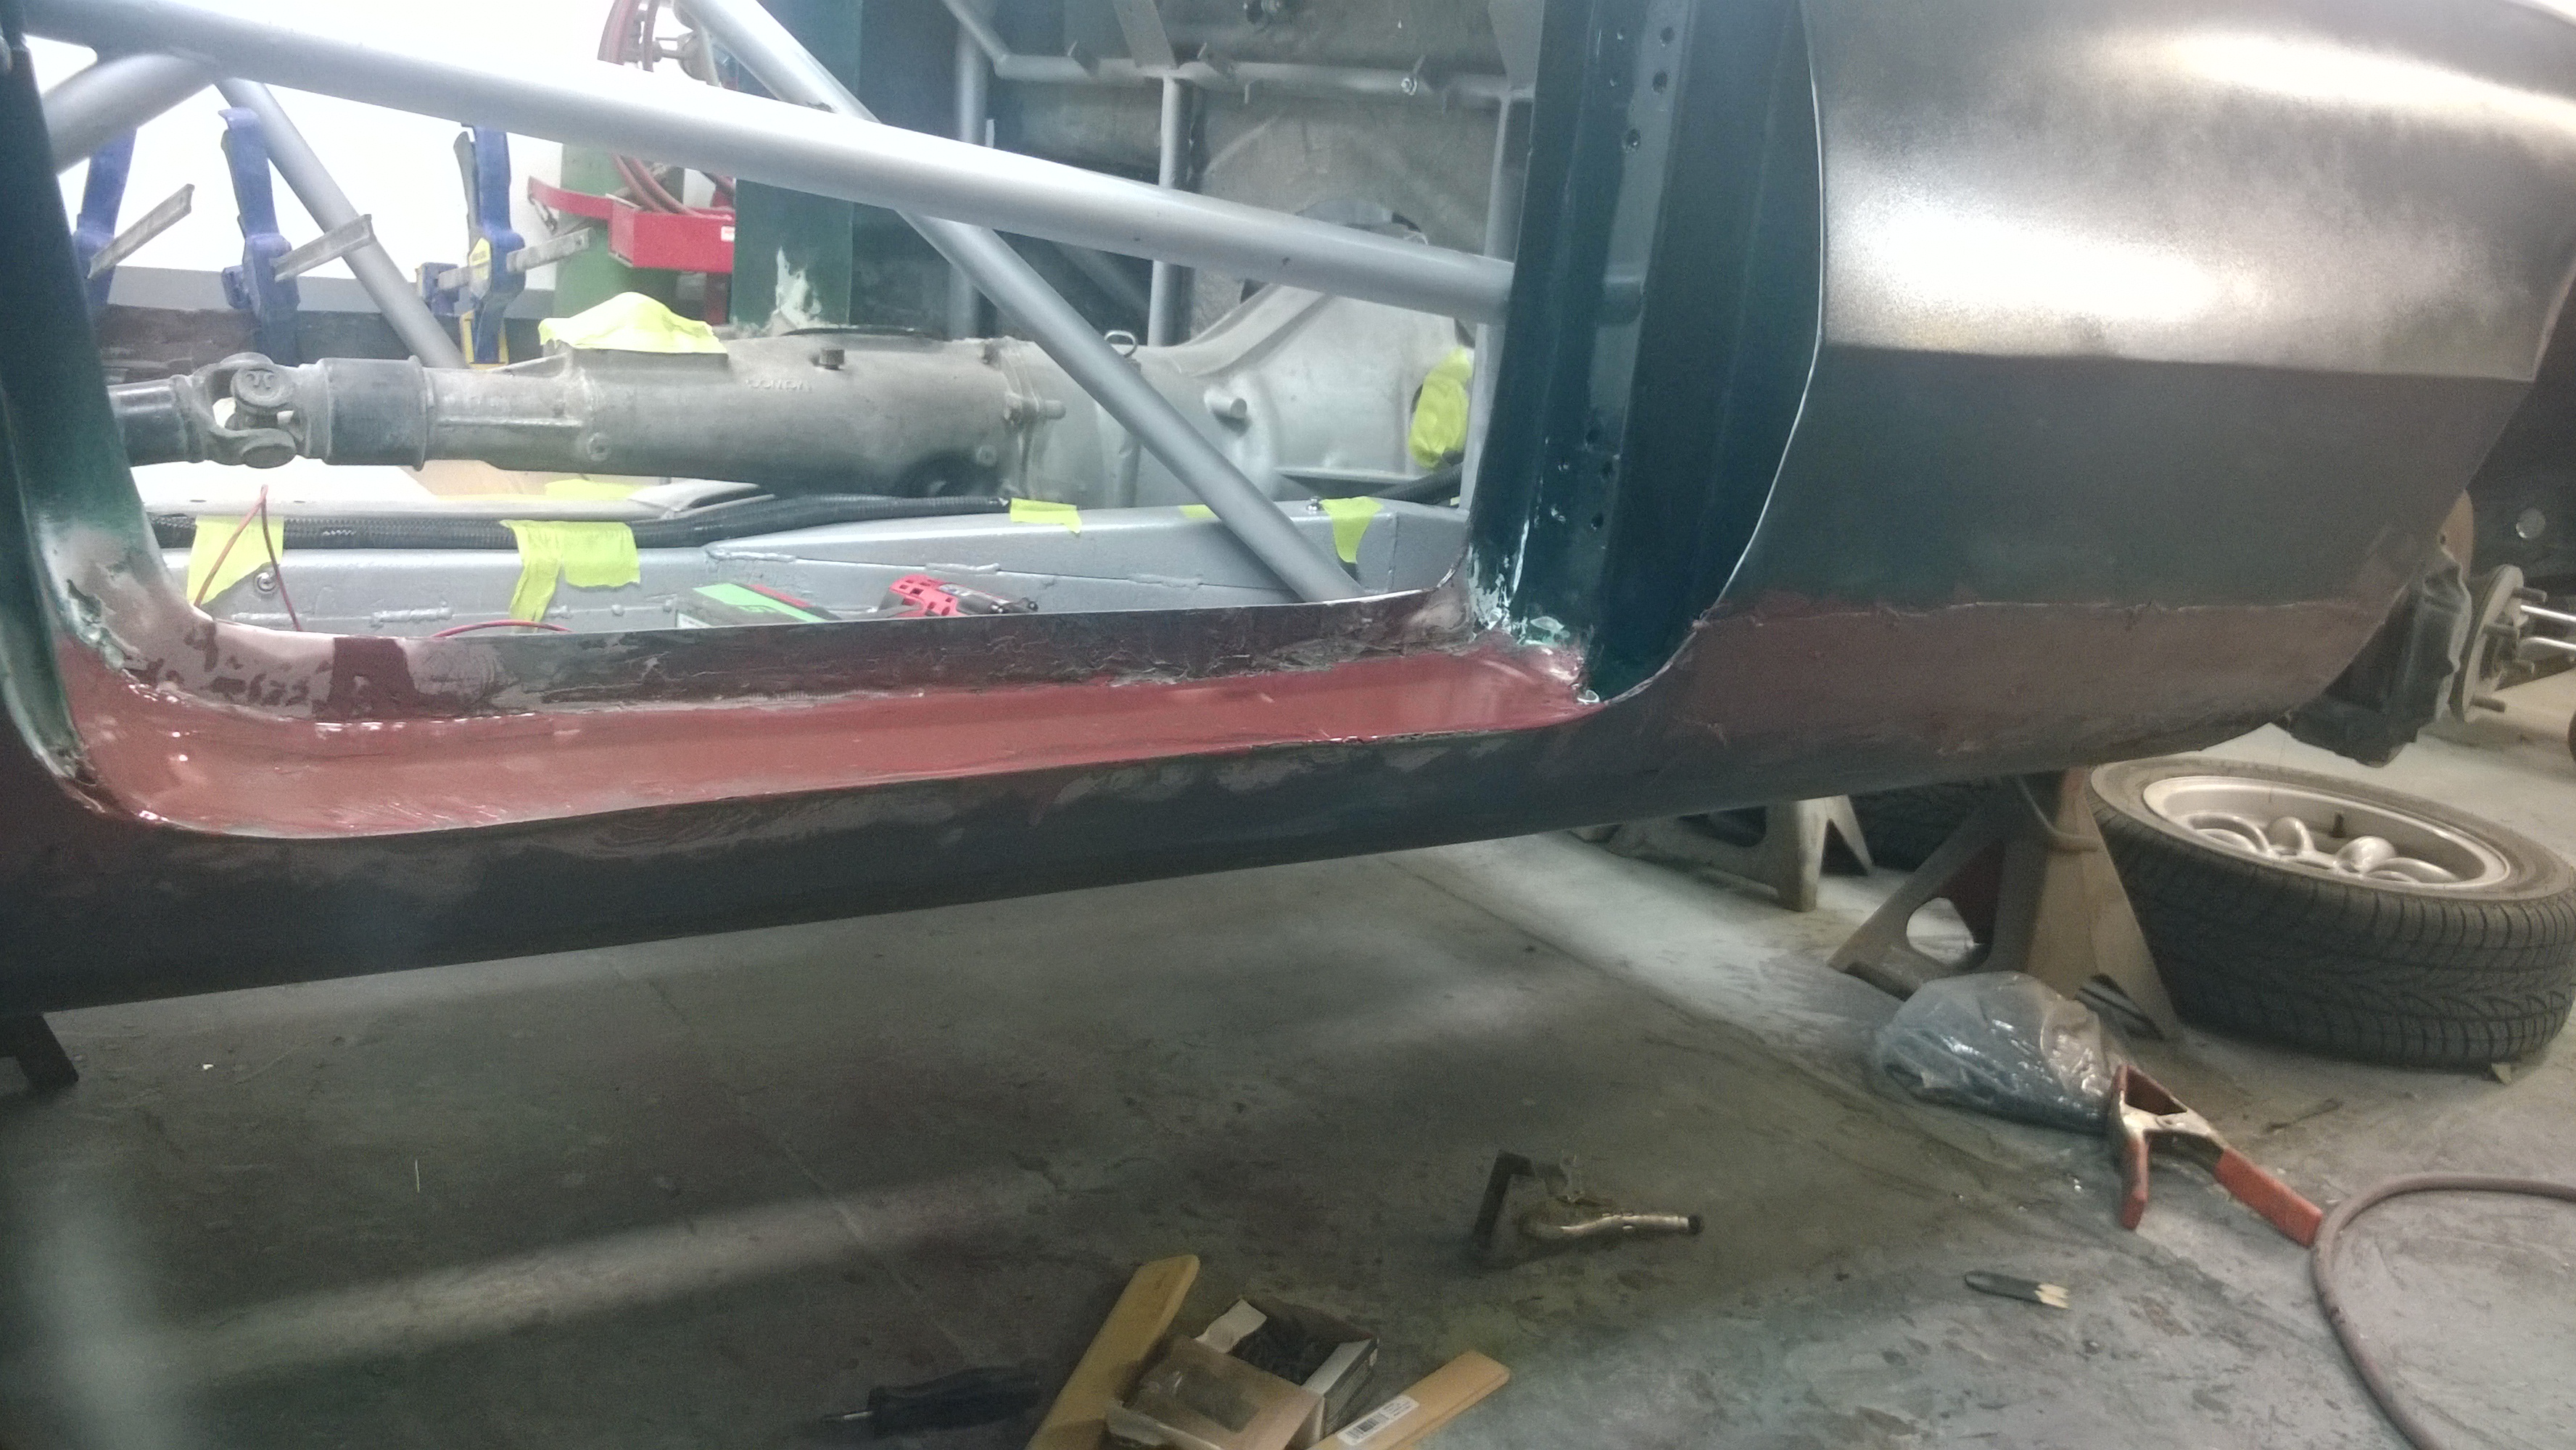
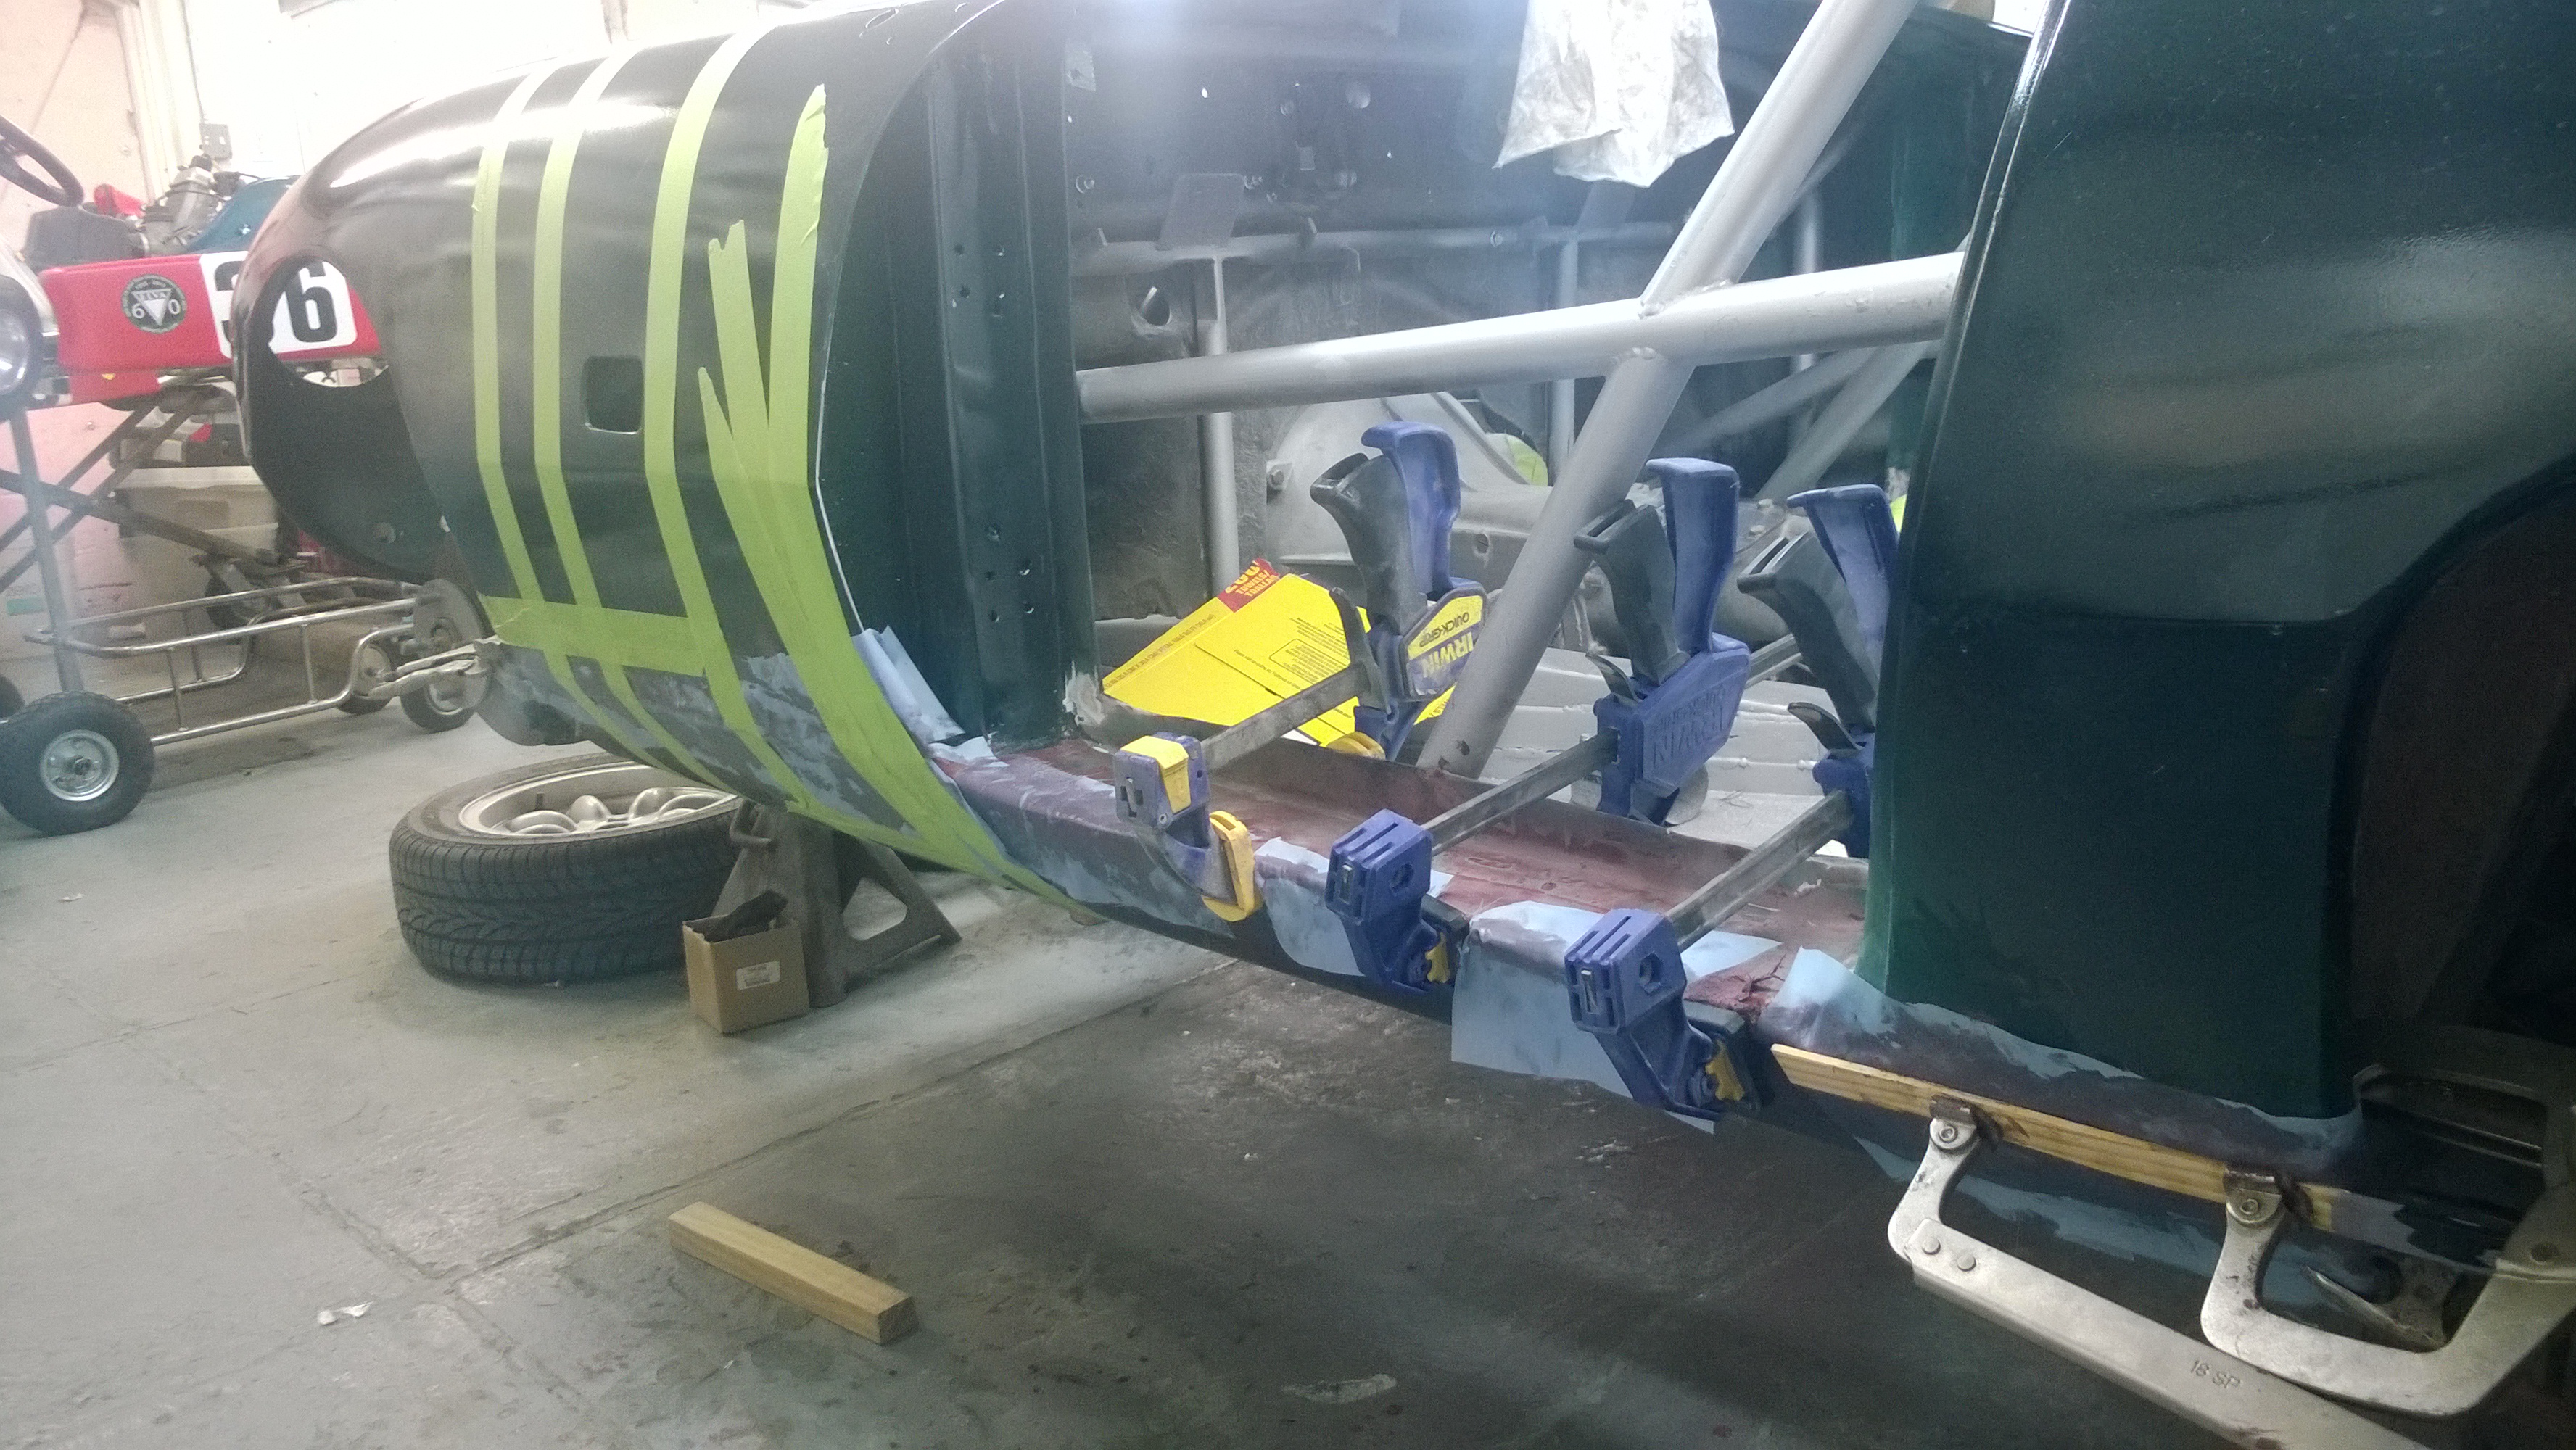
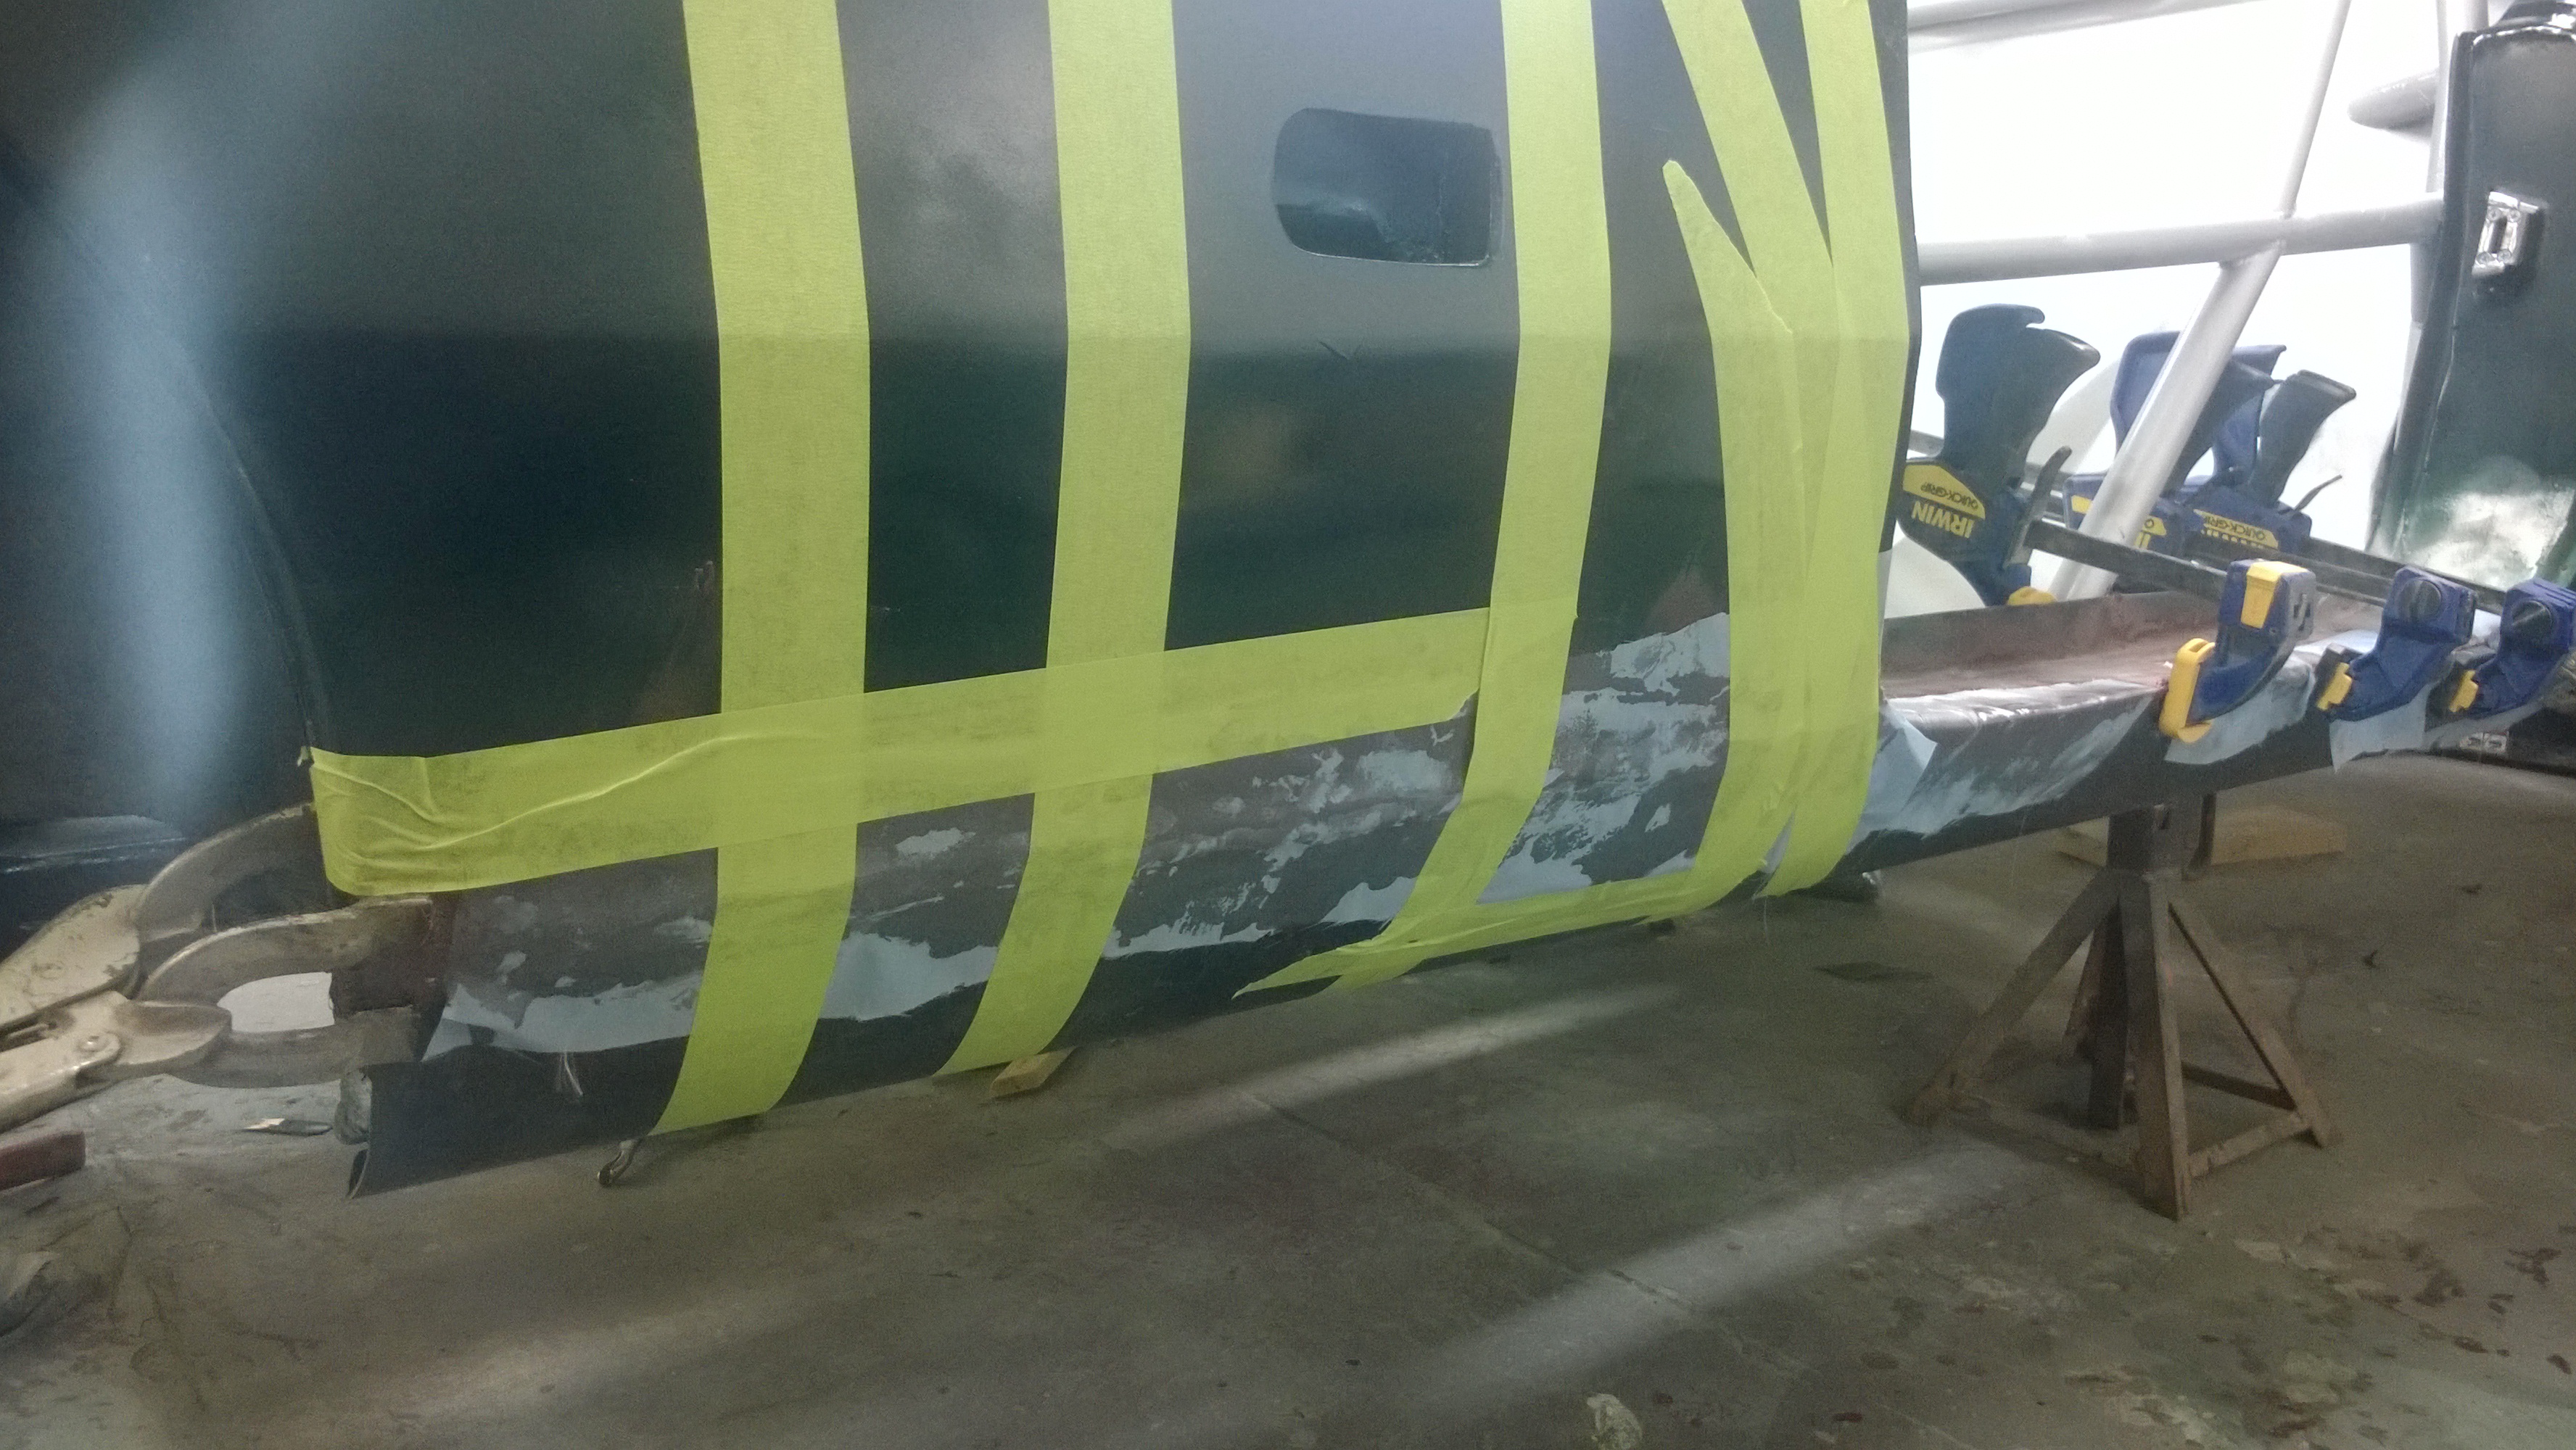
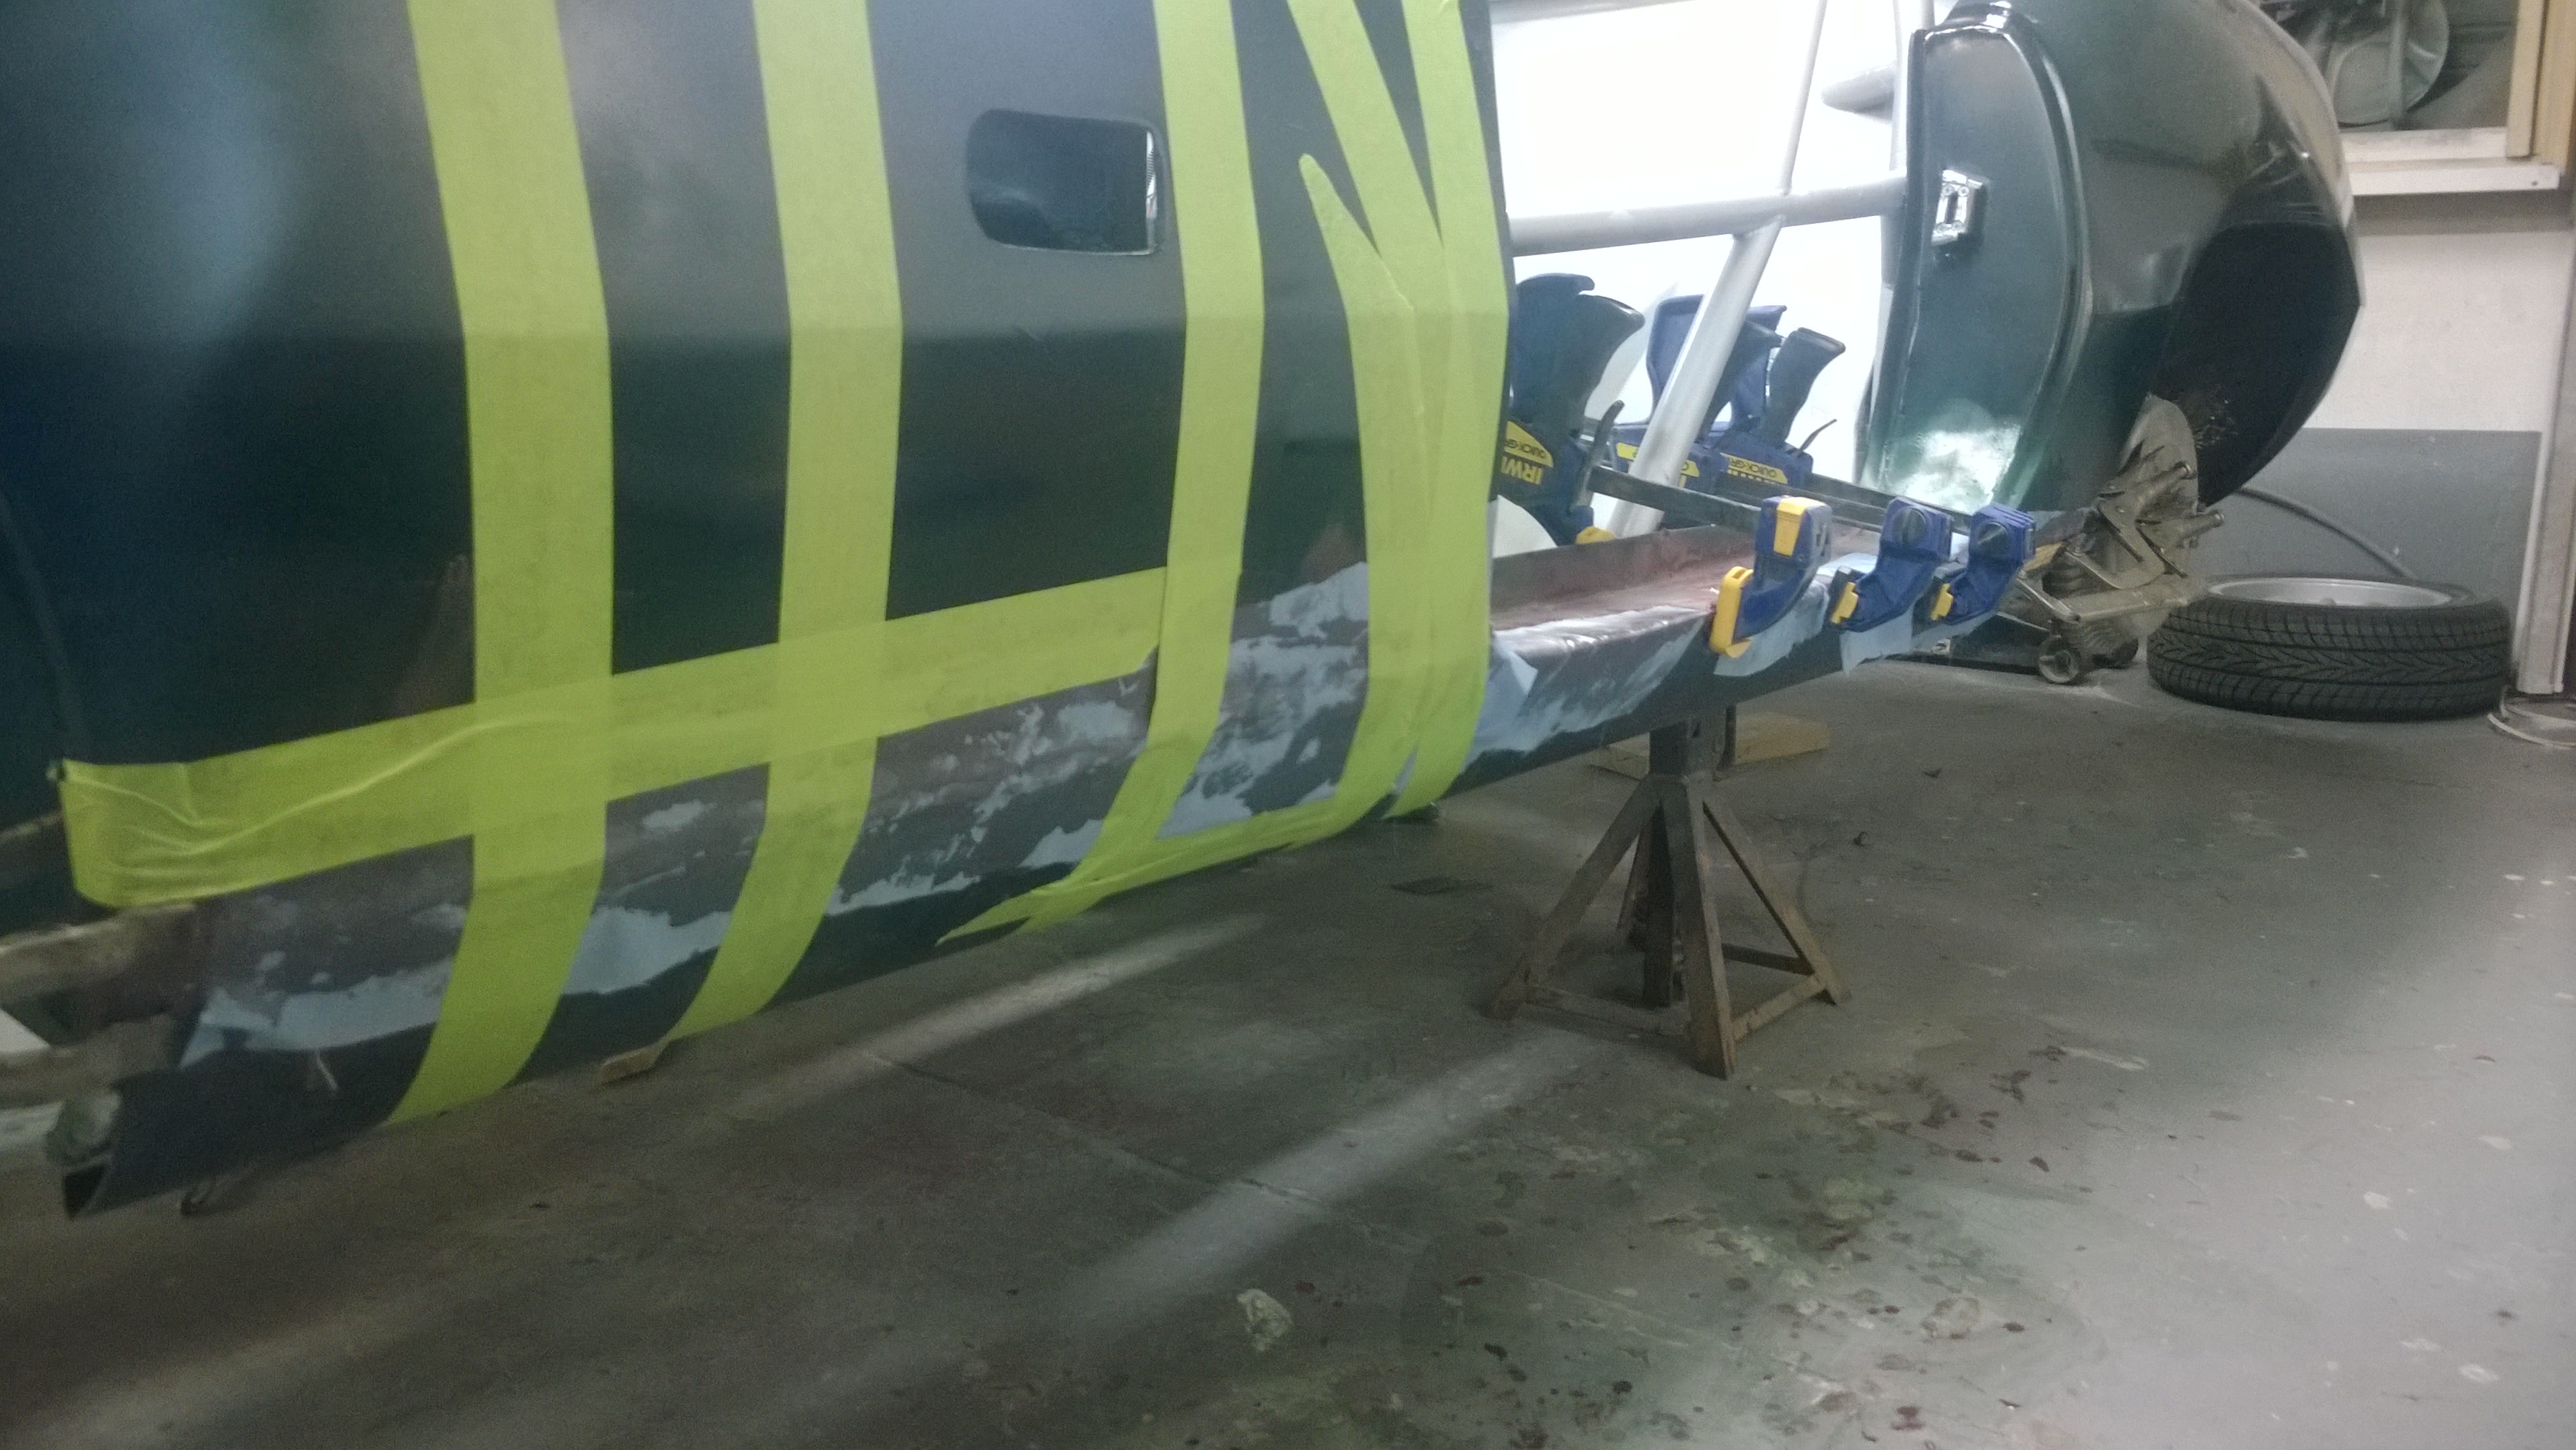
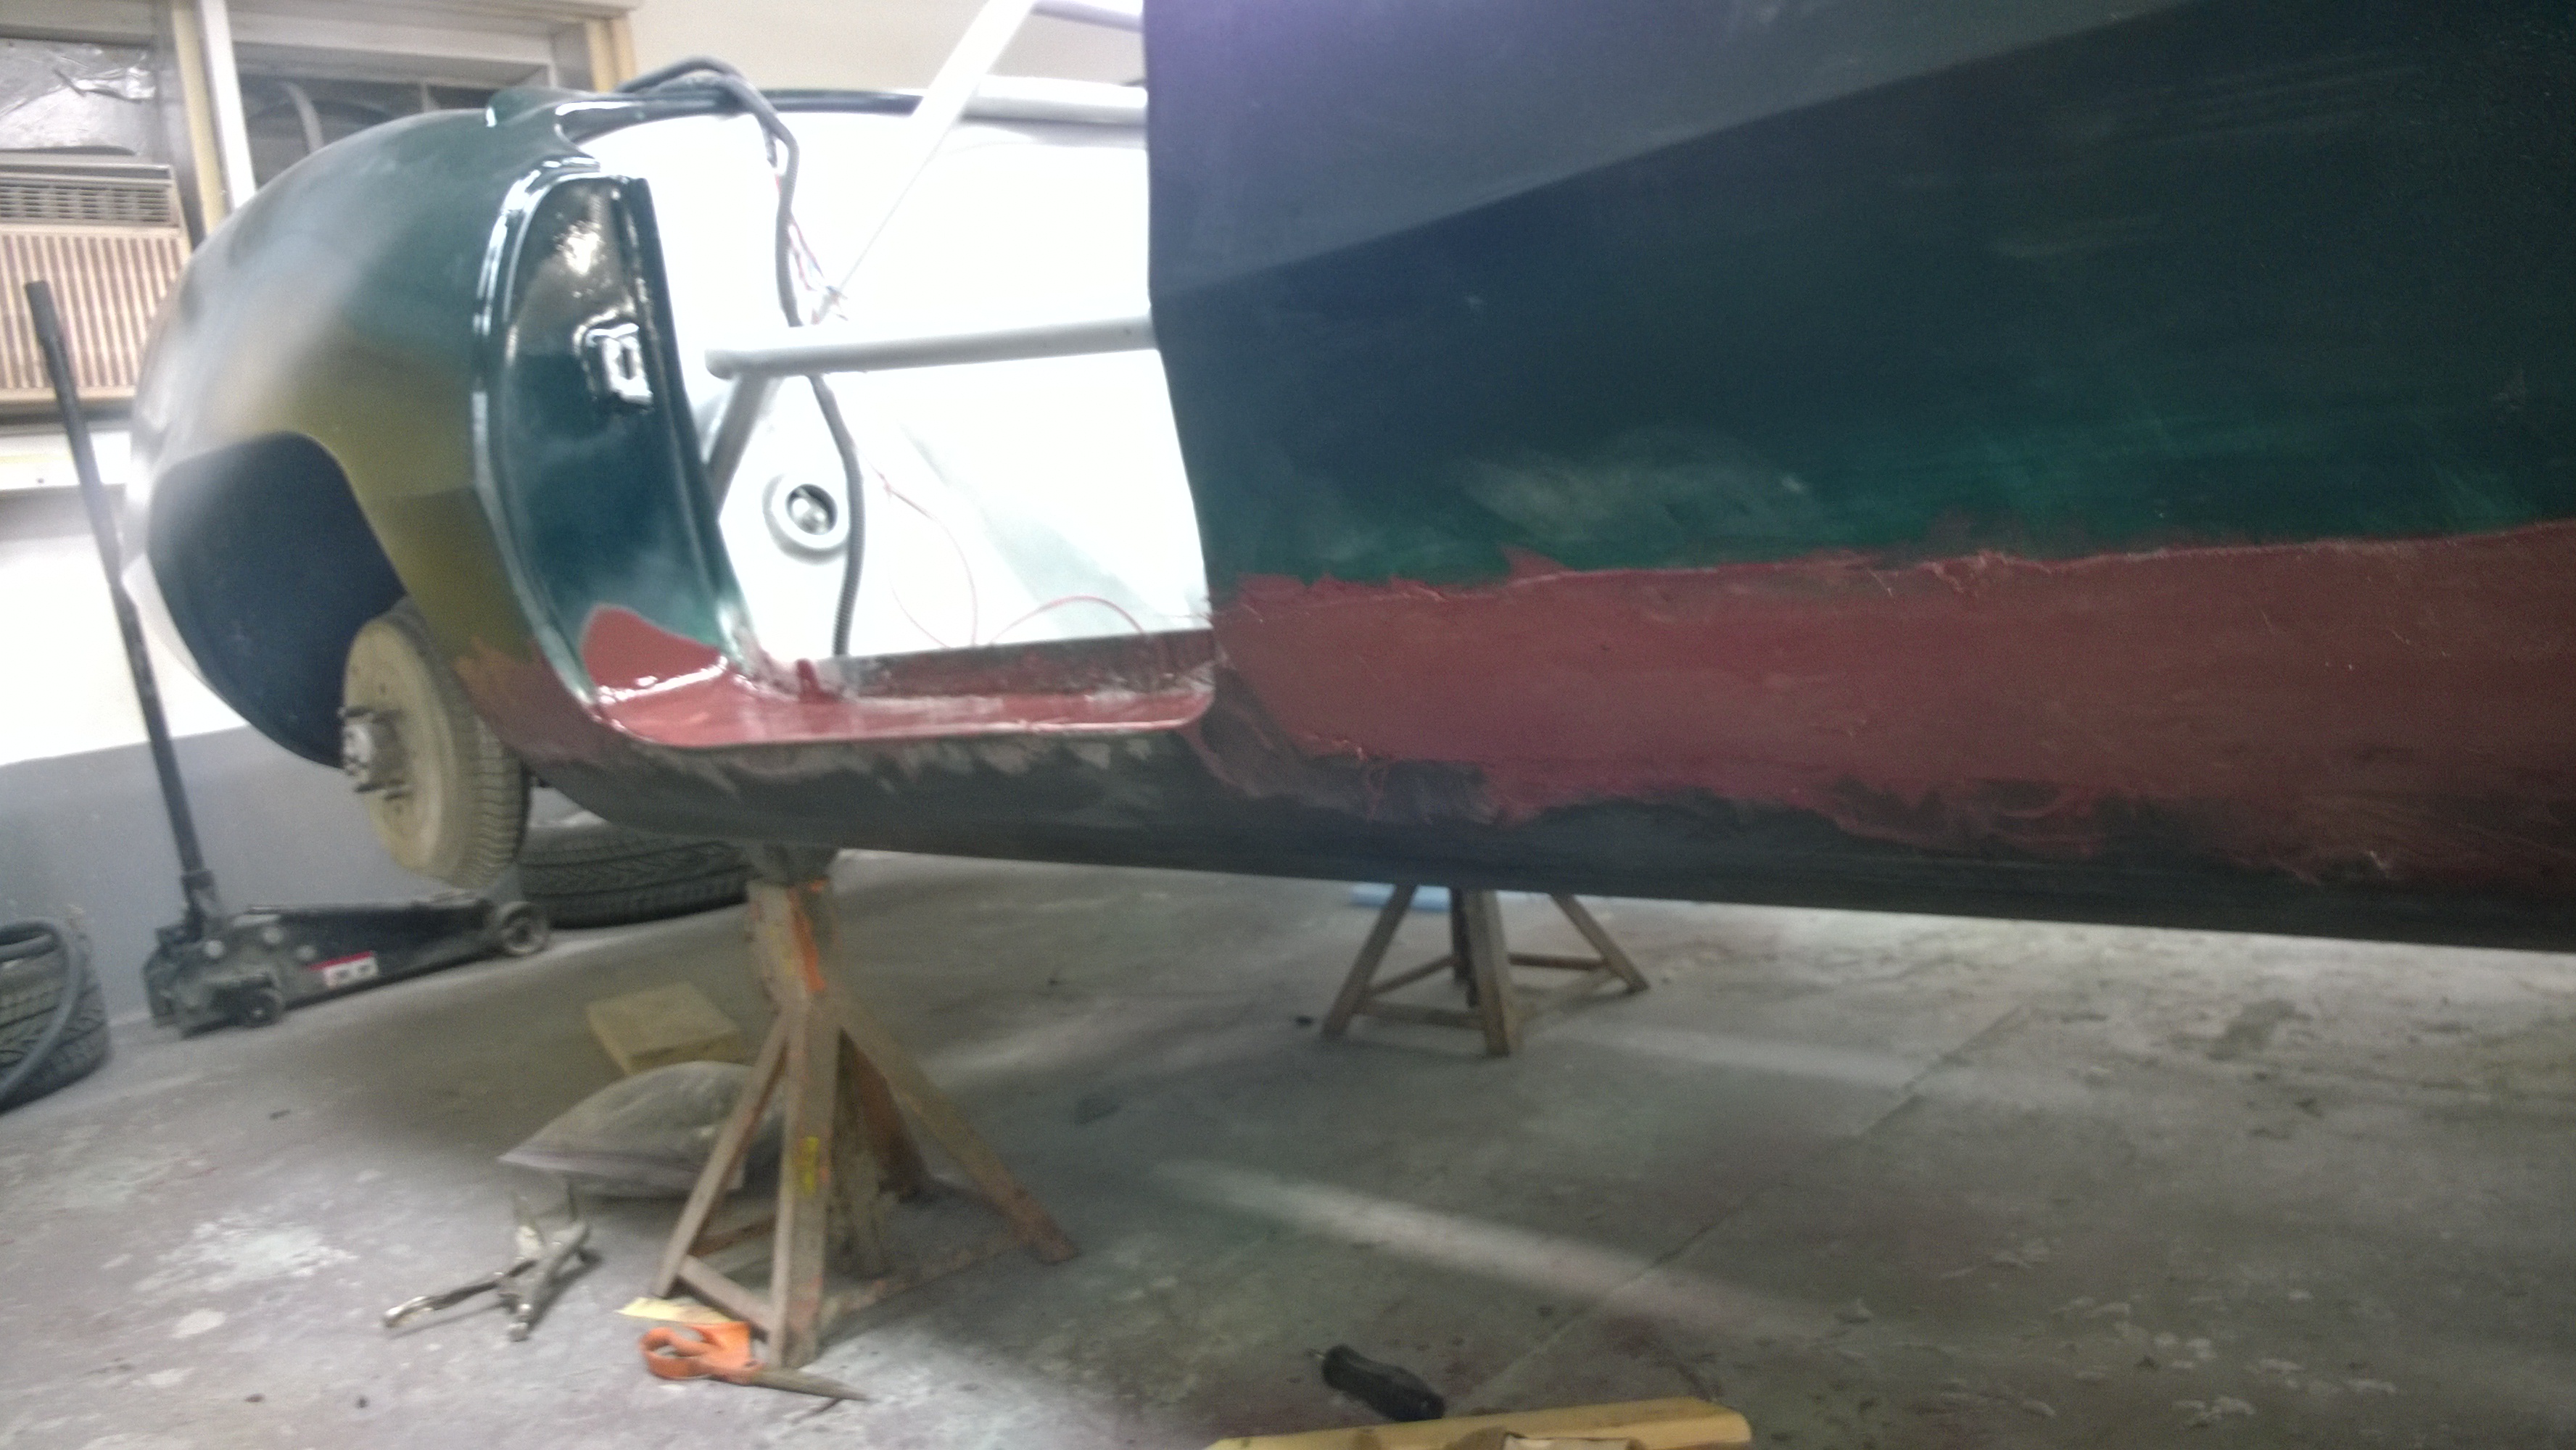
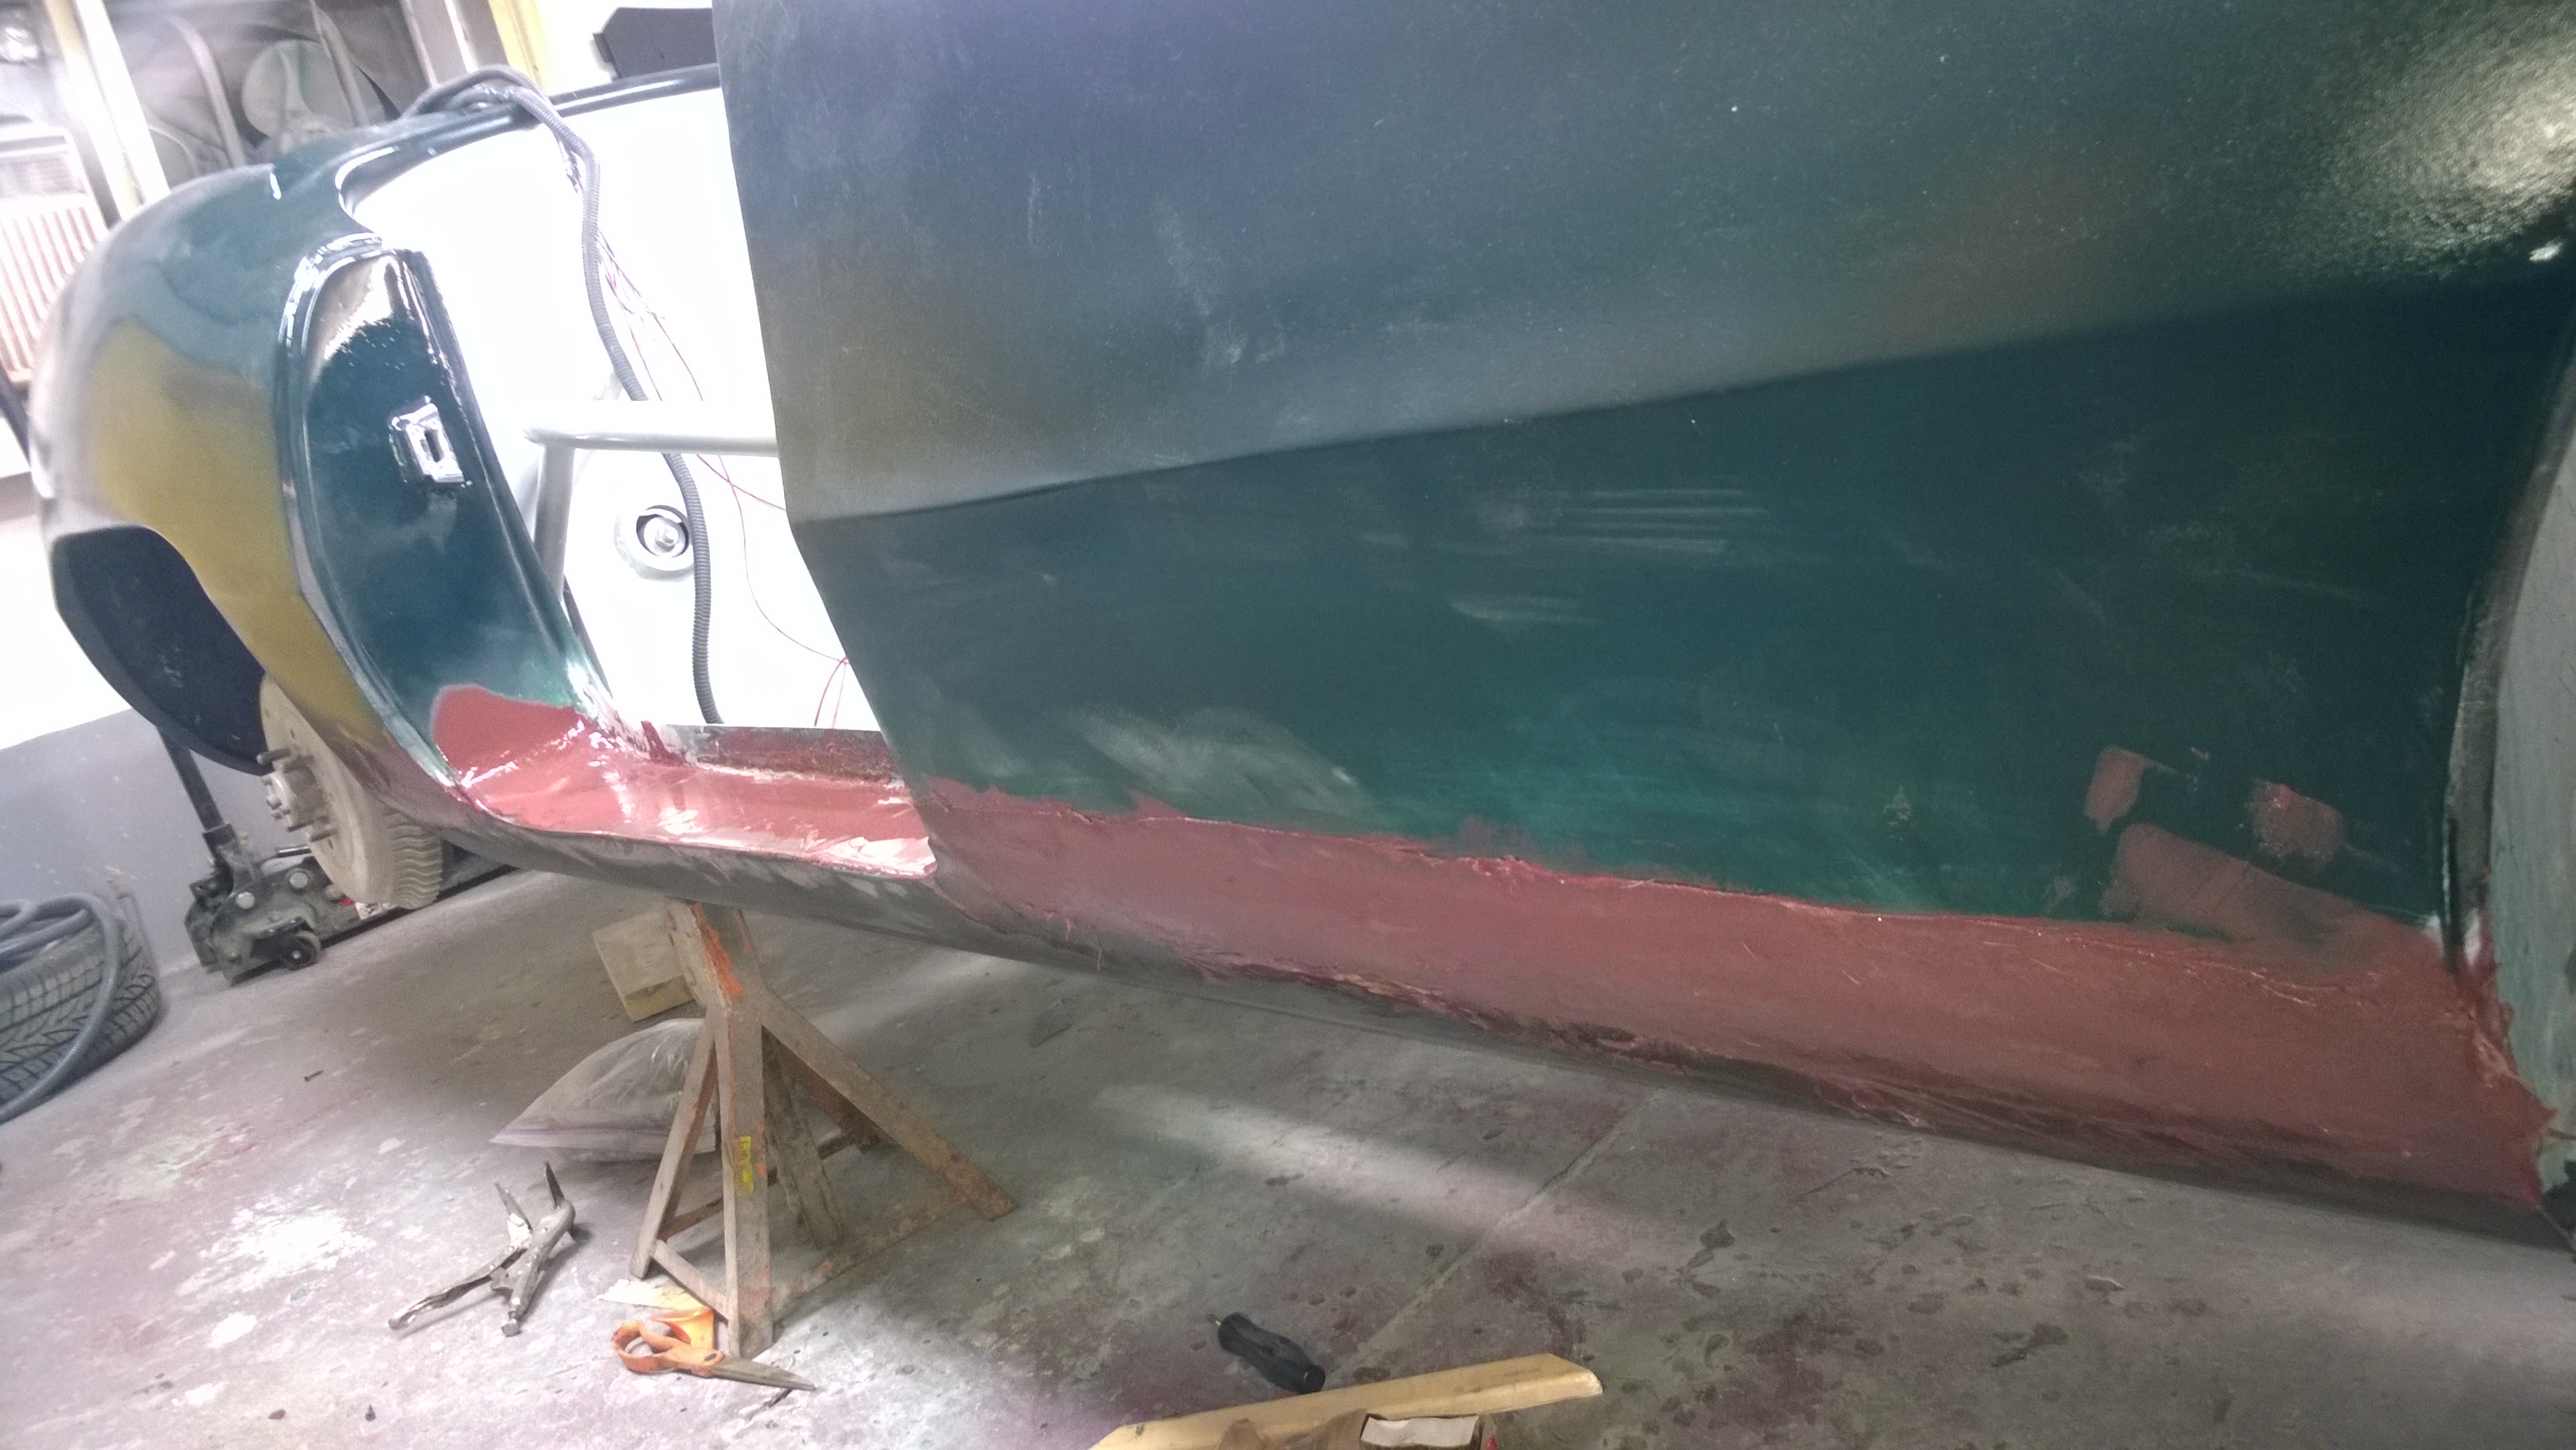
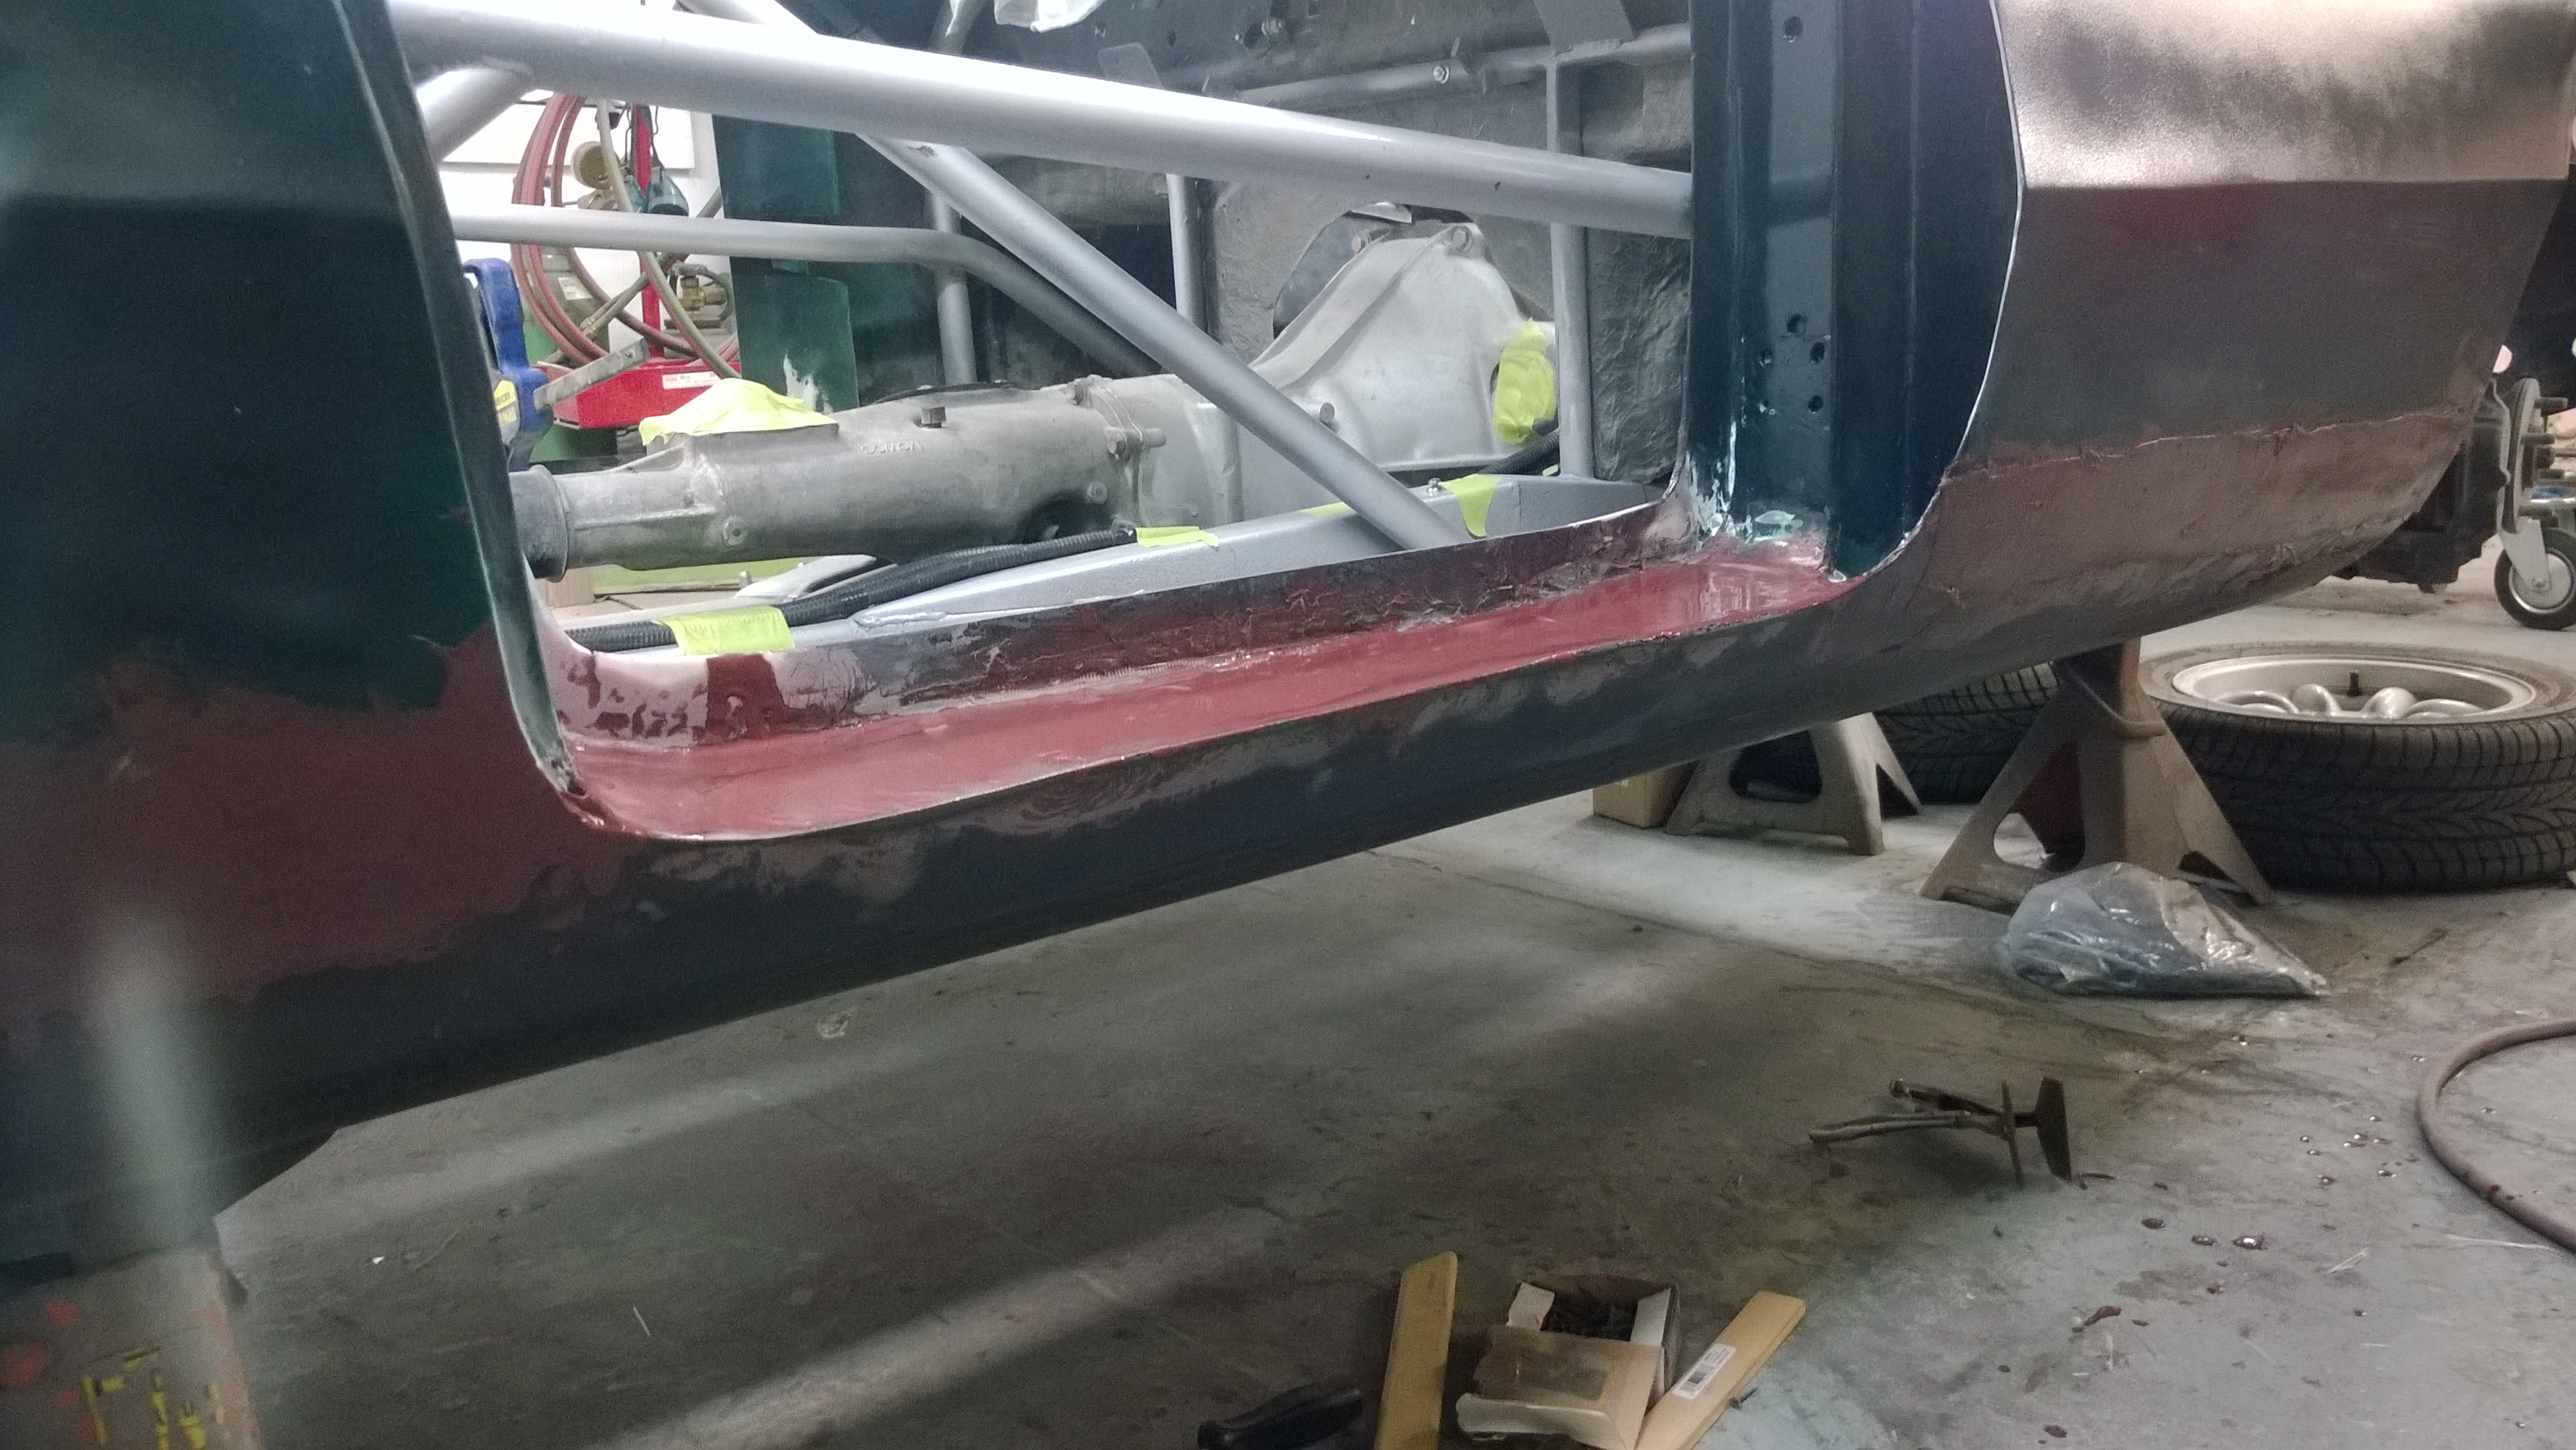
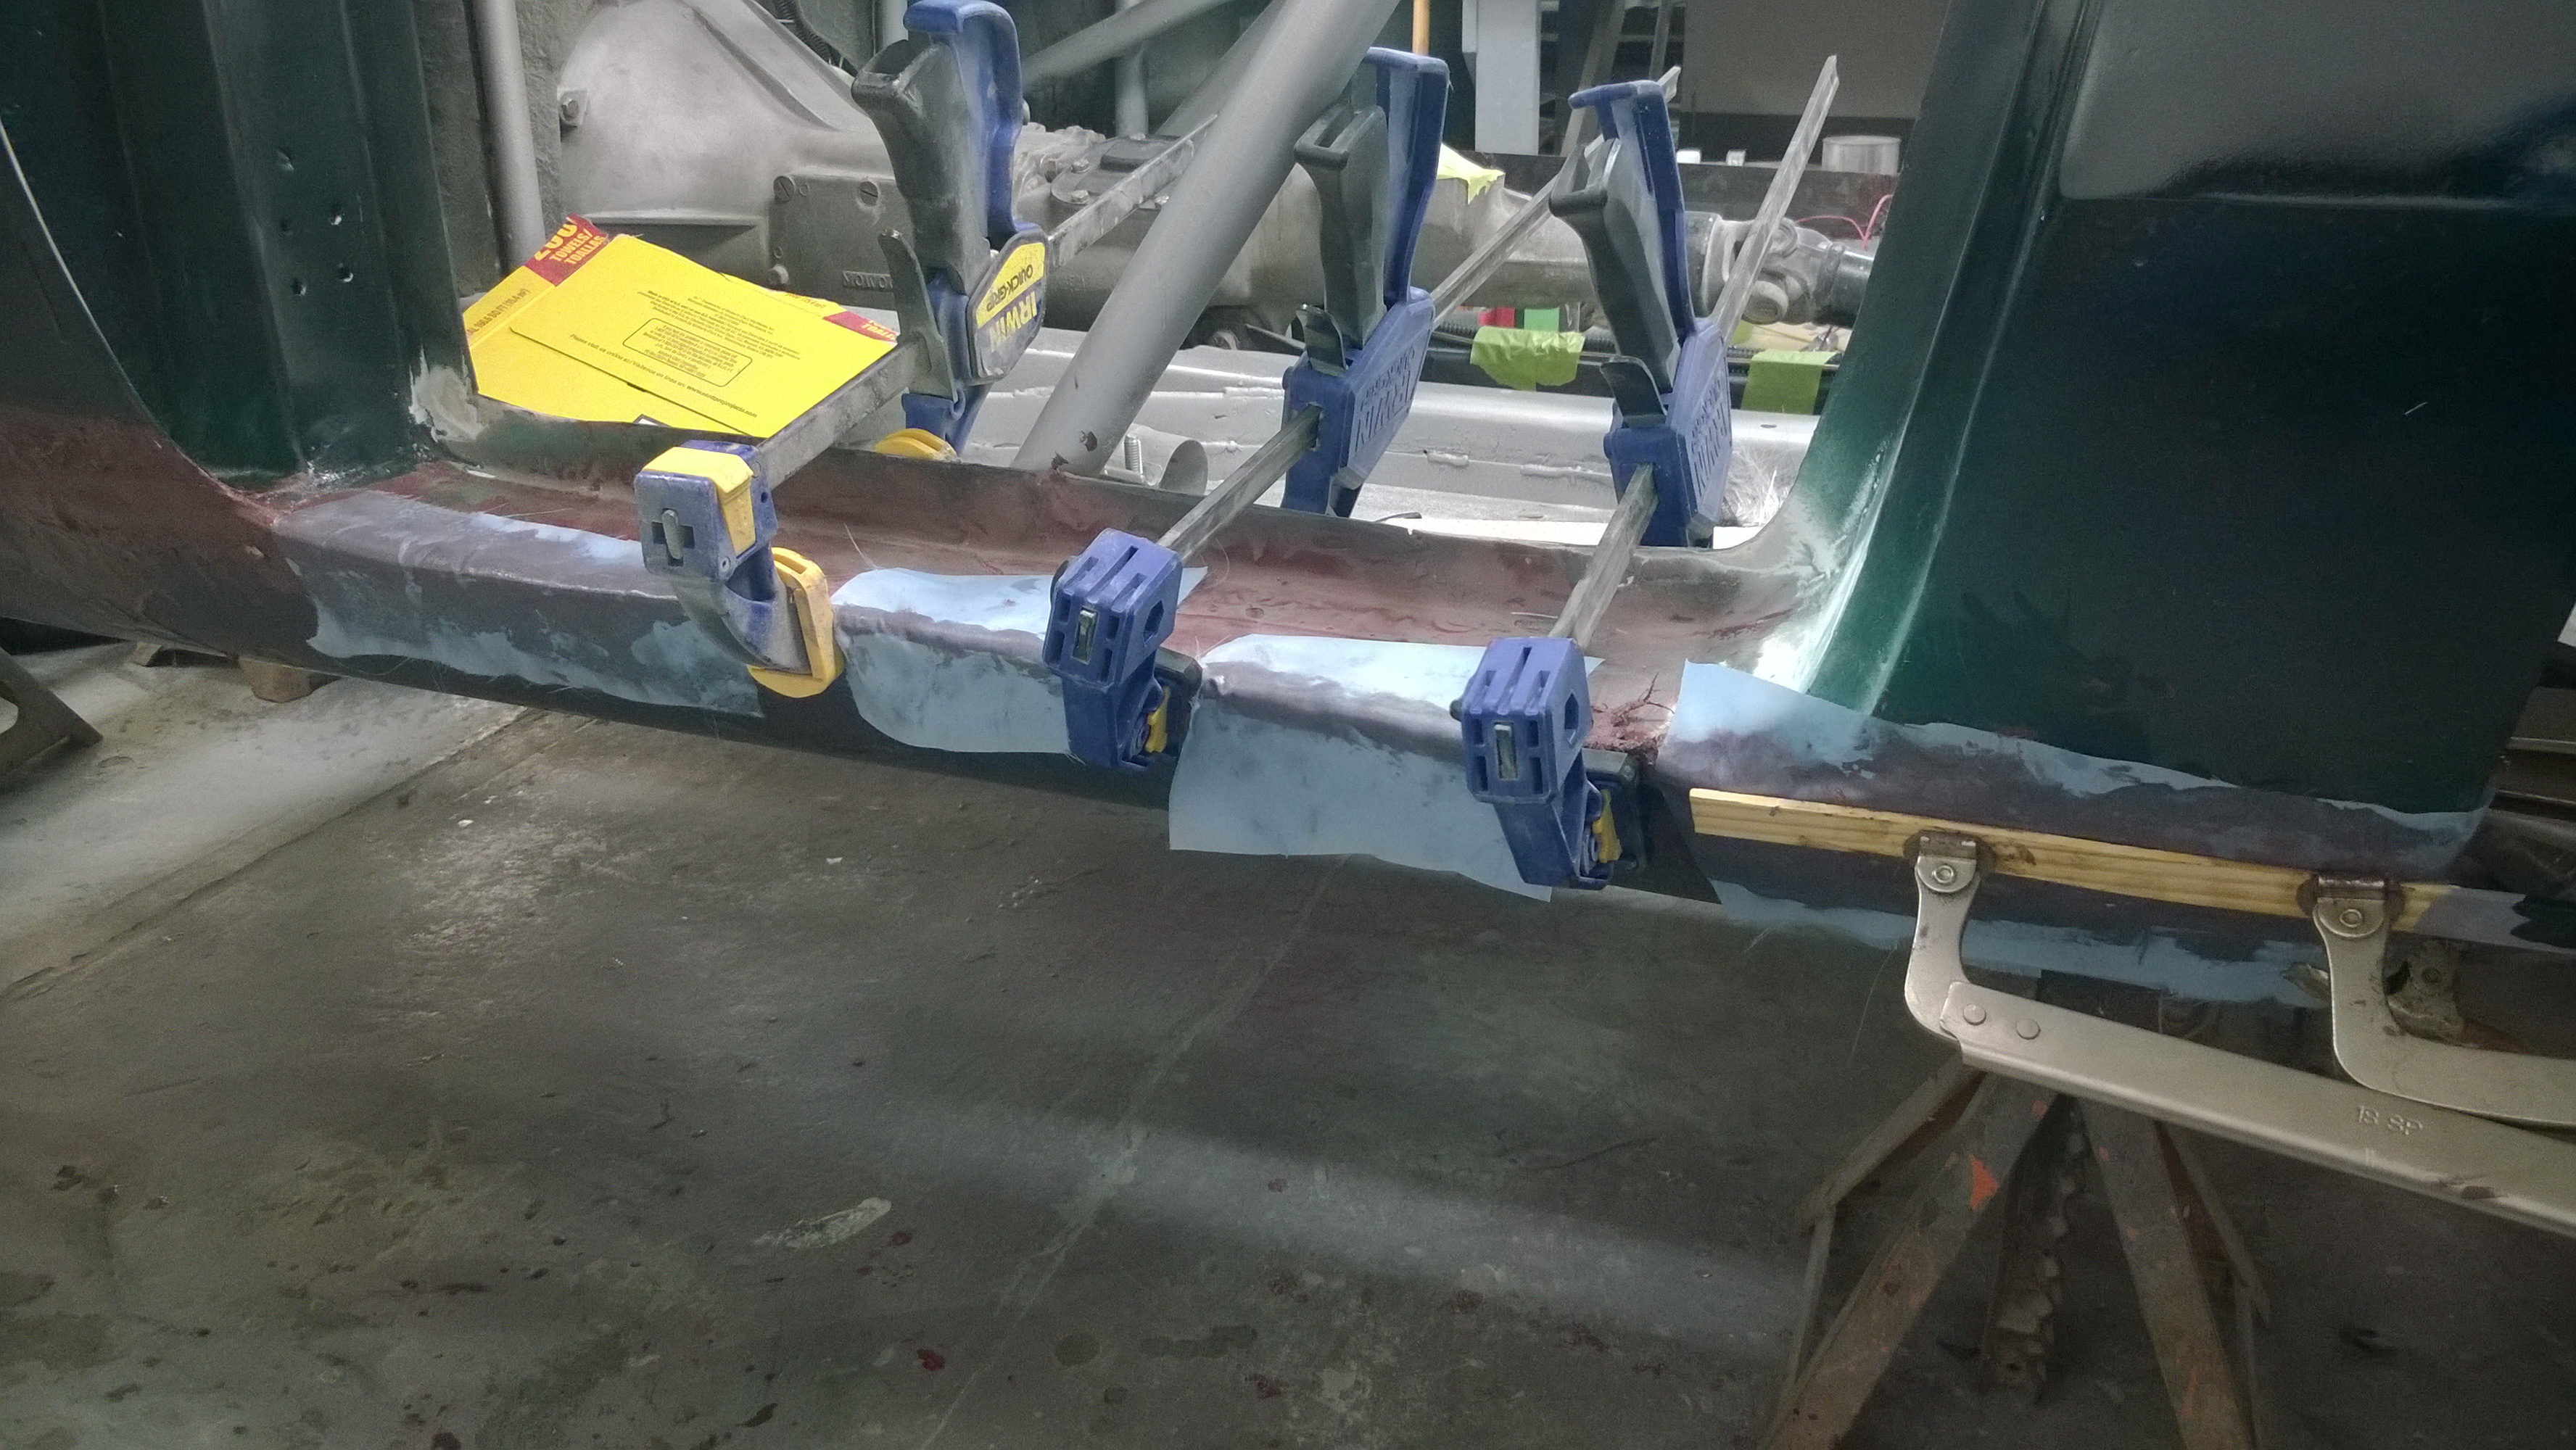
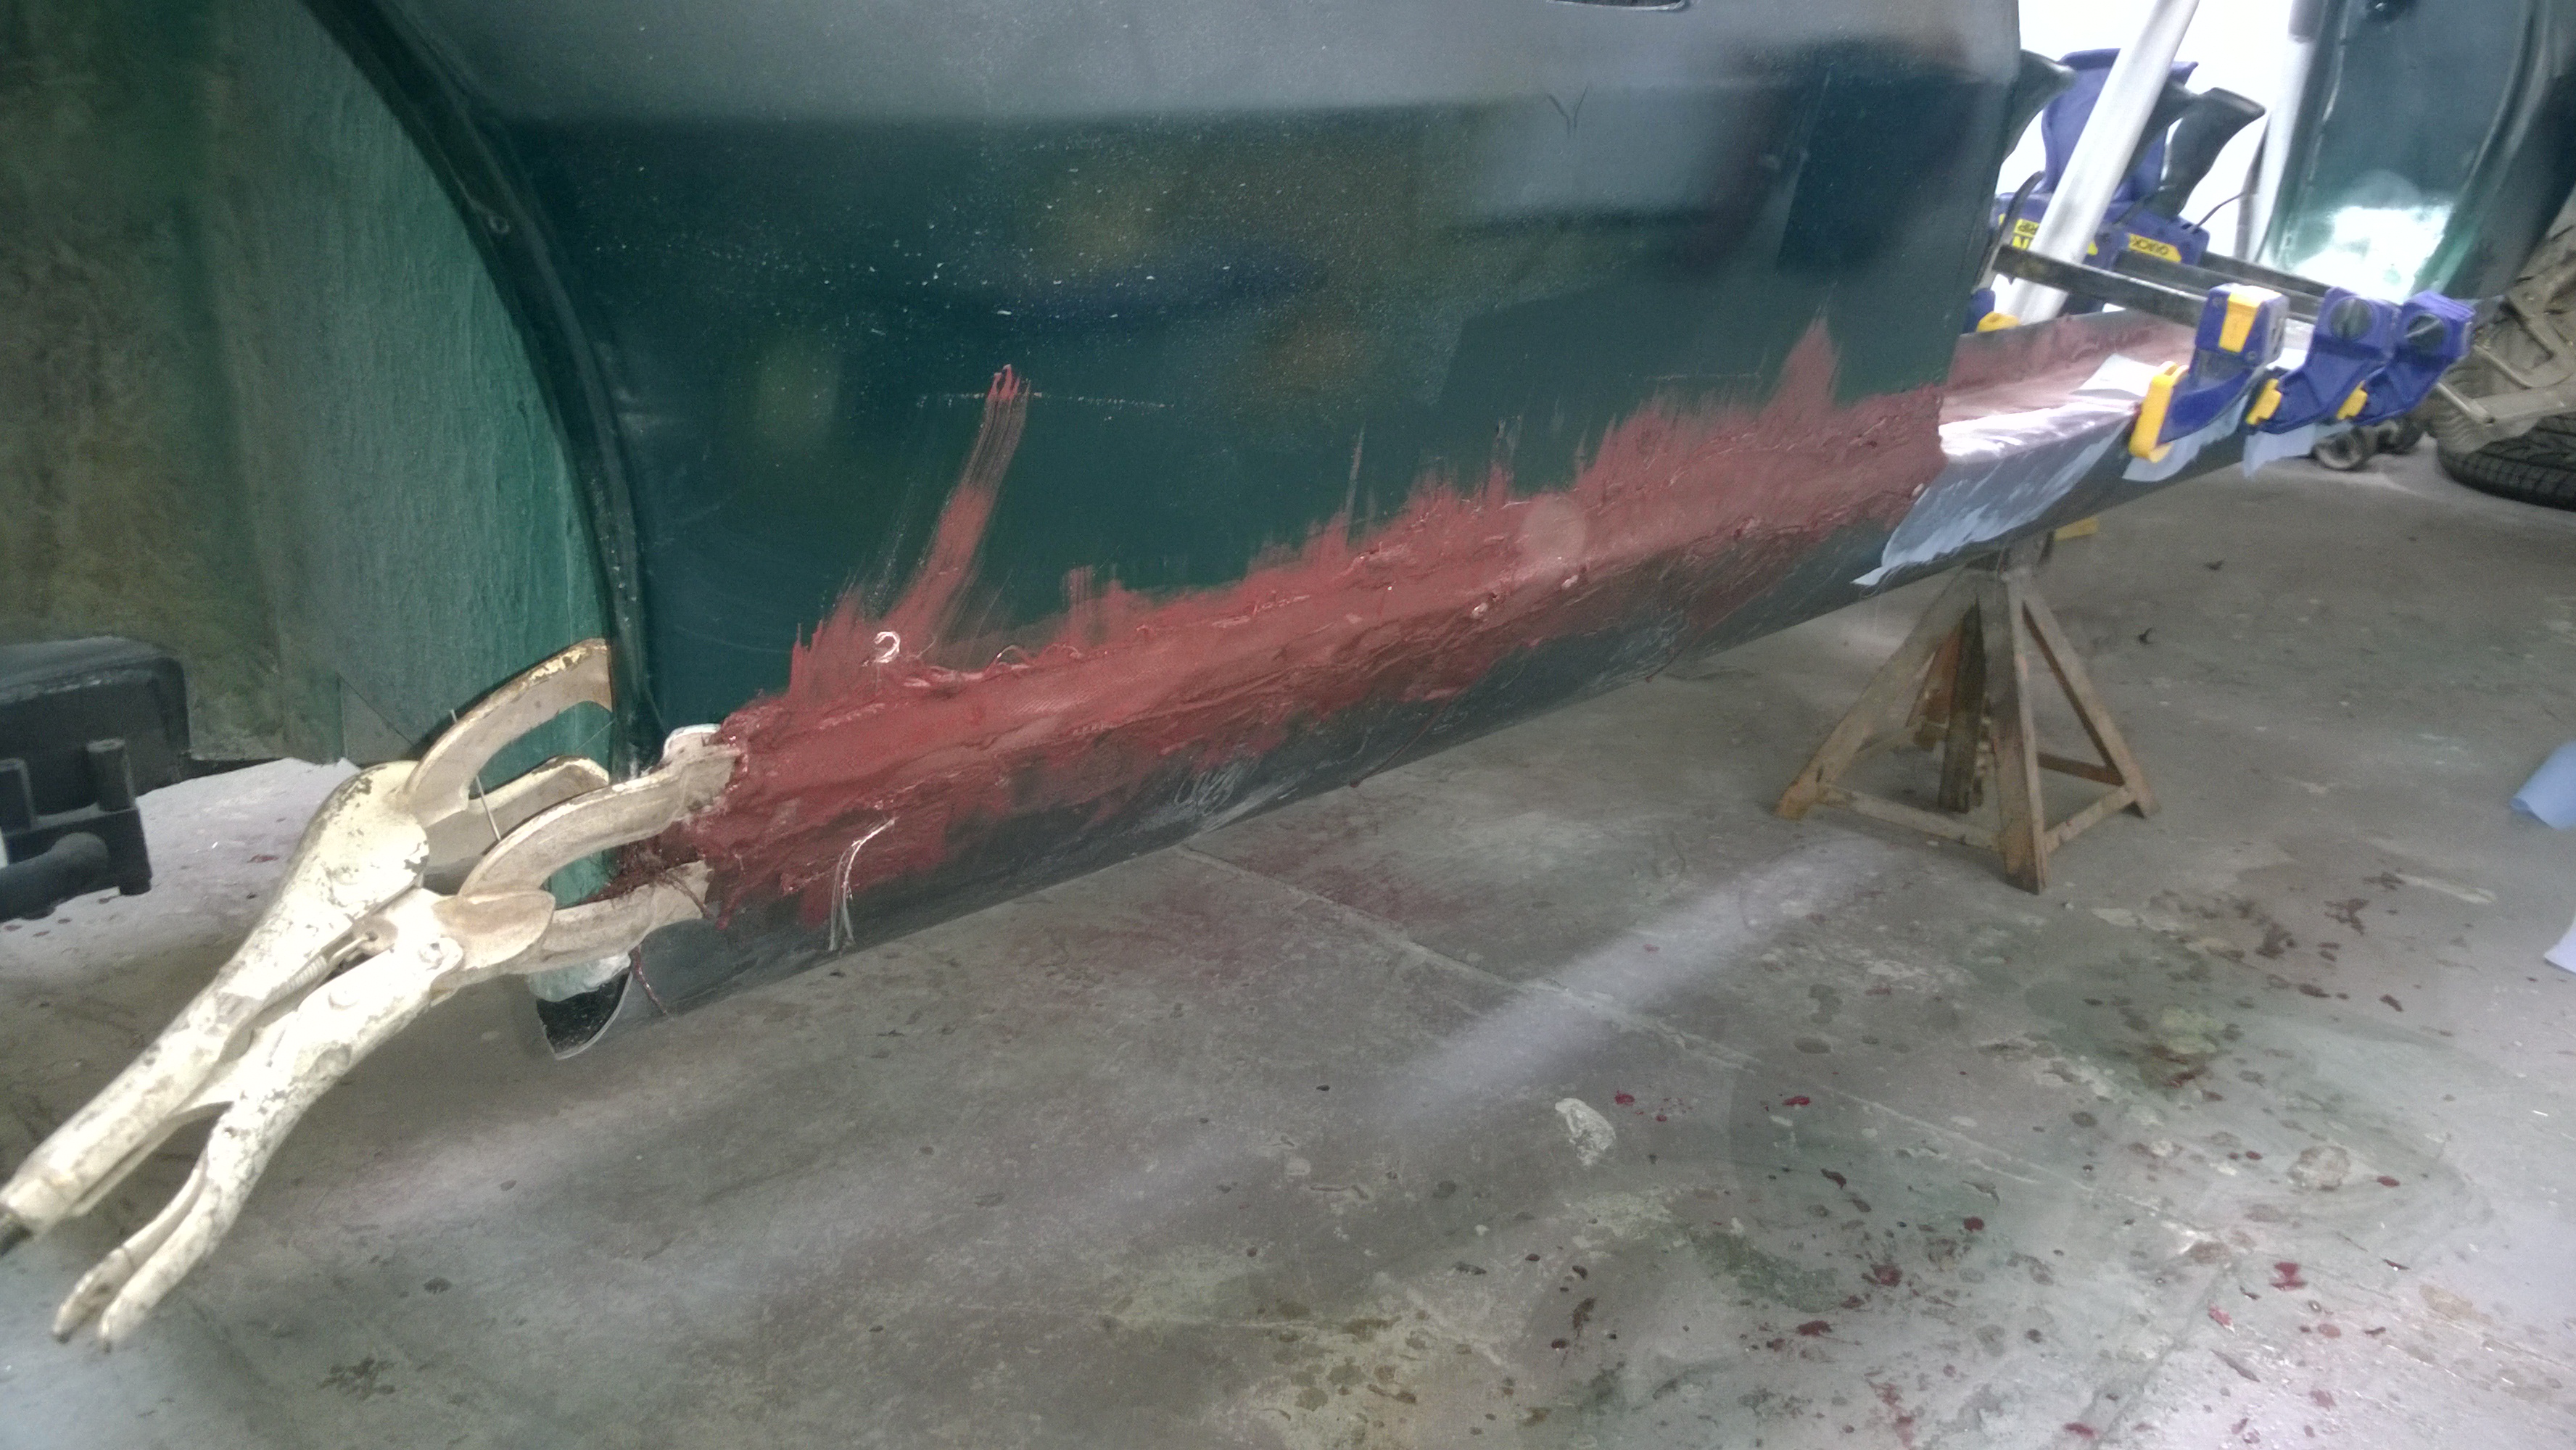
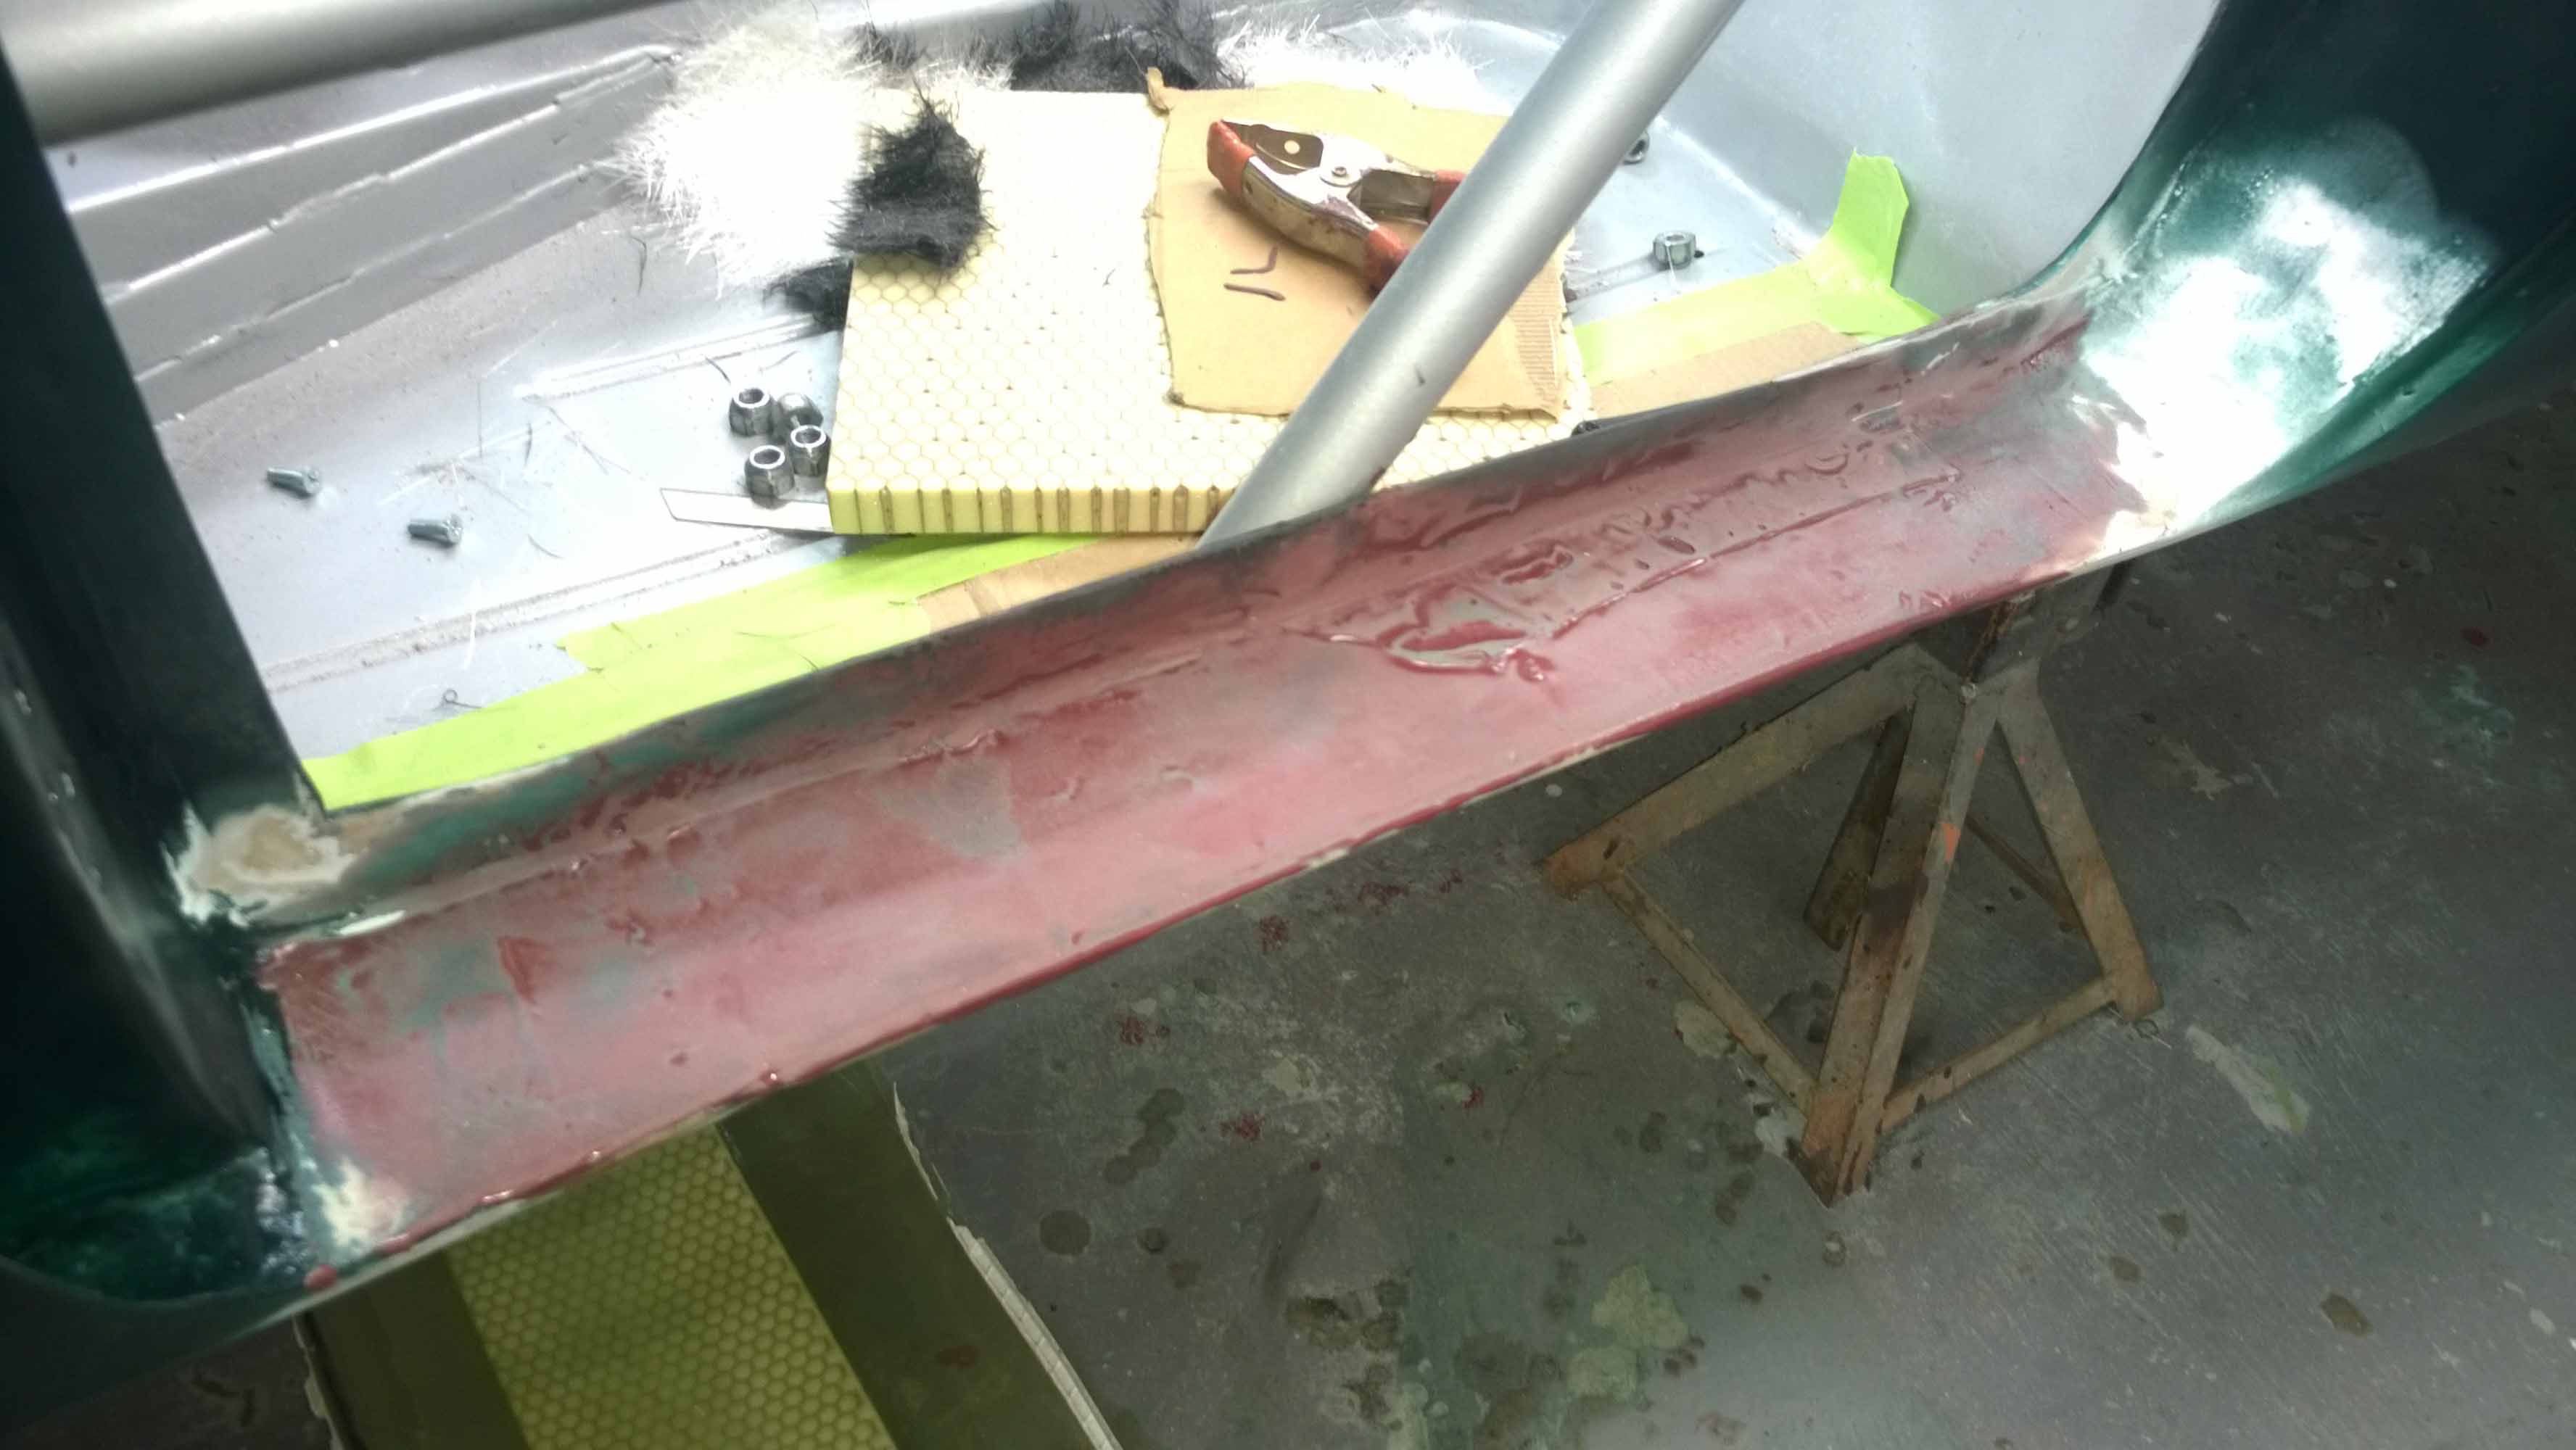
Here are the photos showing the long process of putting green paint on it, bonding the body on, and putting more green paint on it, making and bonding the rockers and then putting more green paint on it. In that order.
 Uncategorized |
  Permalink
 Posted by elvamk5
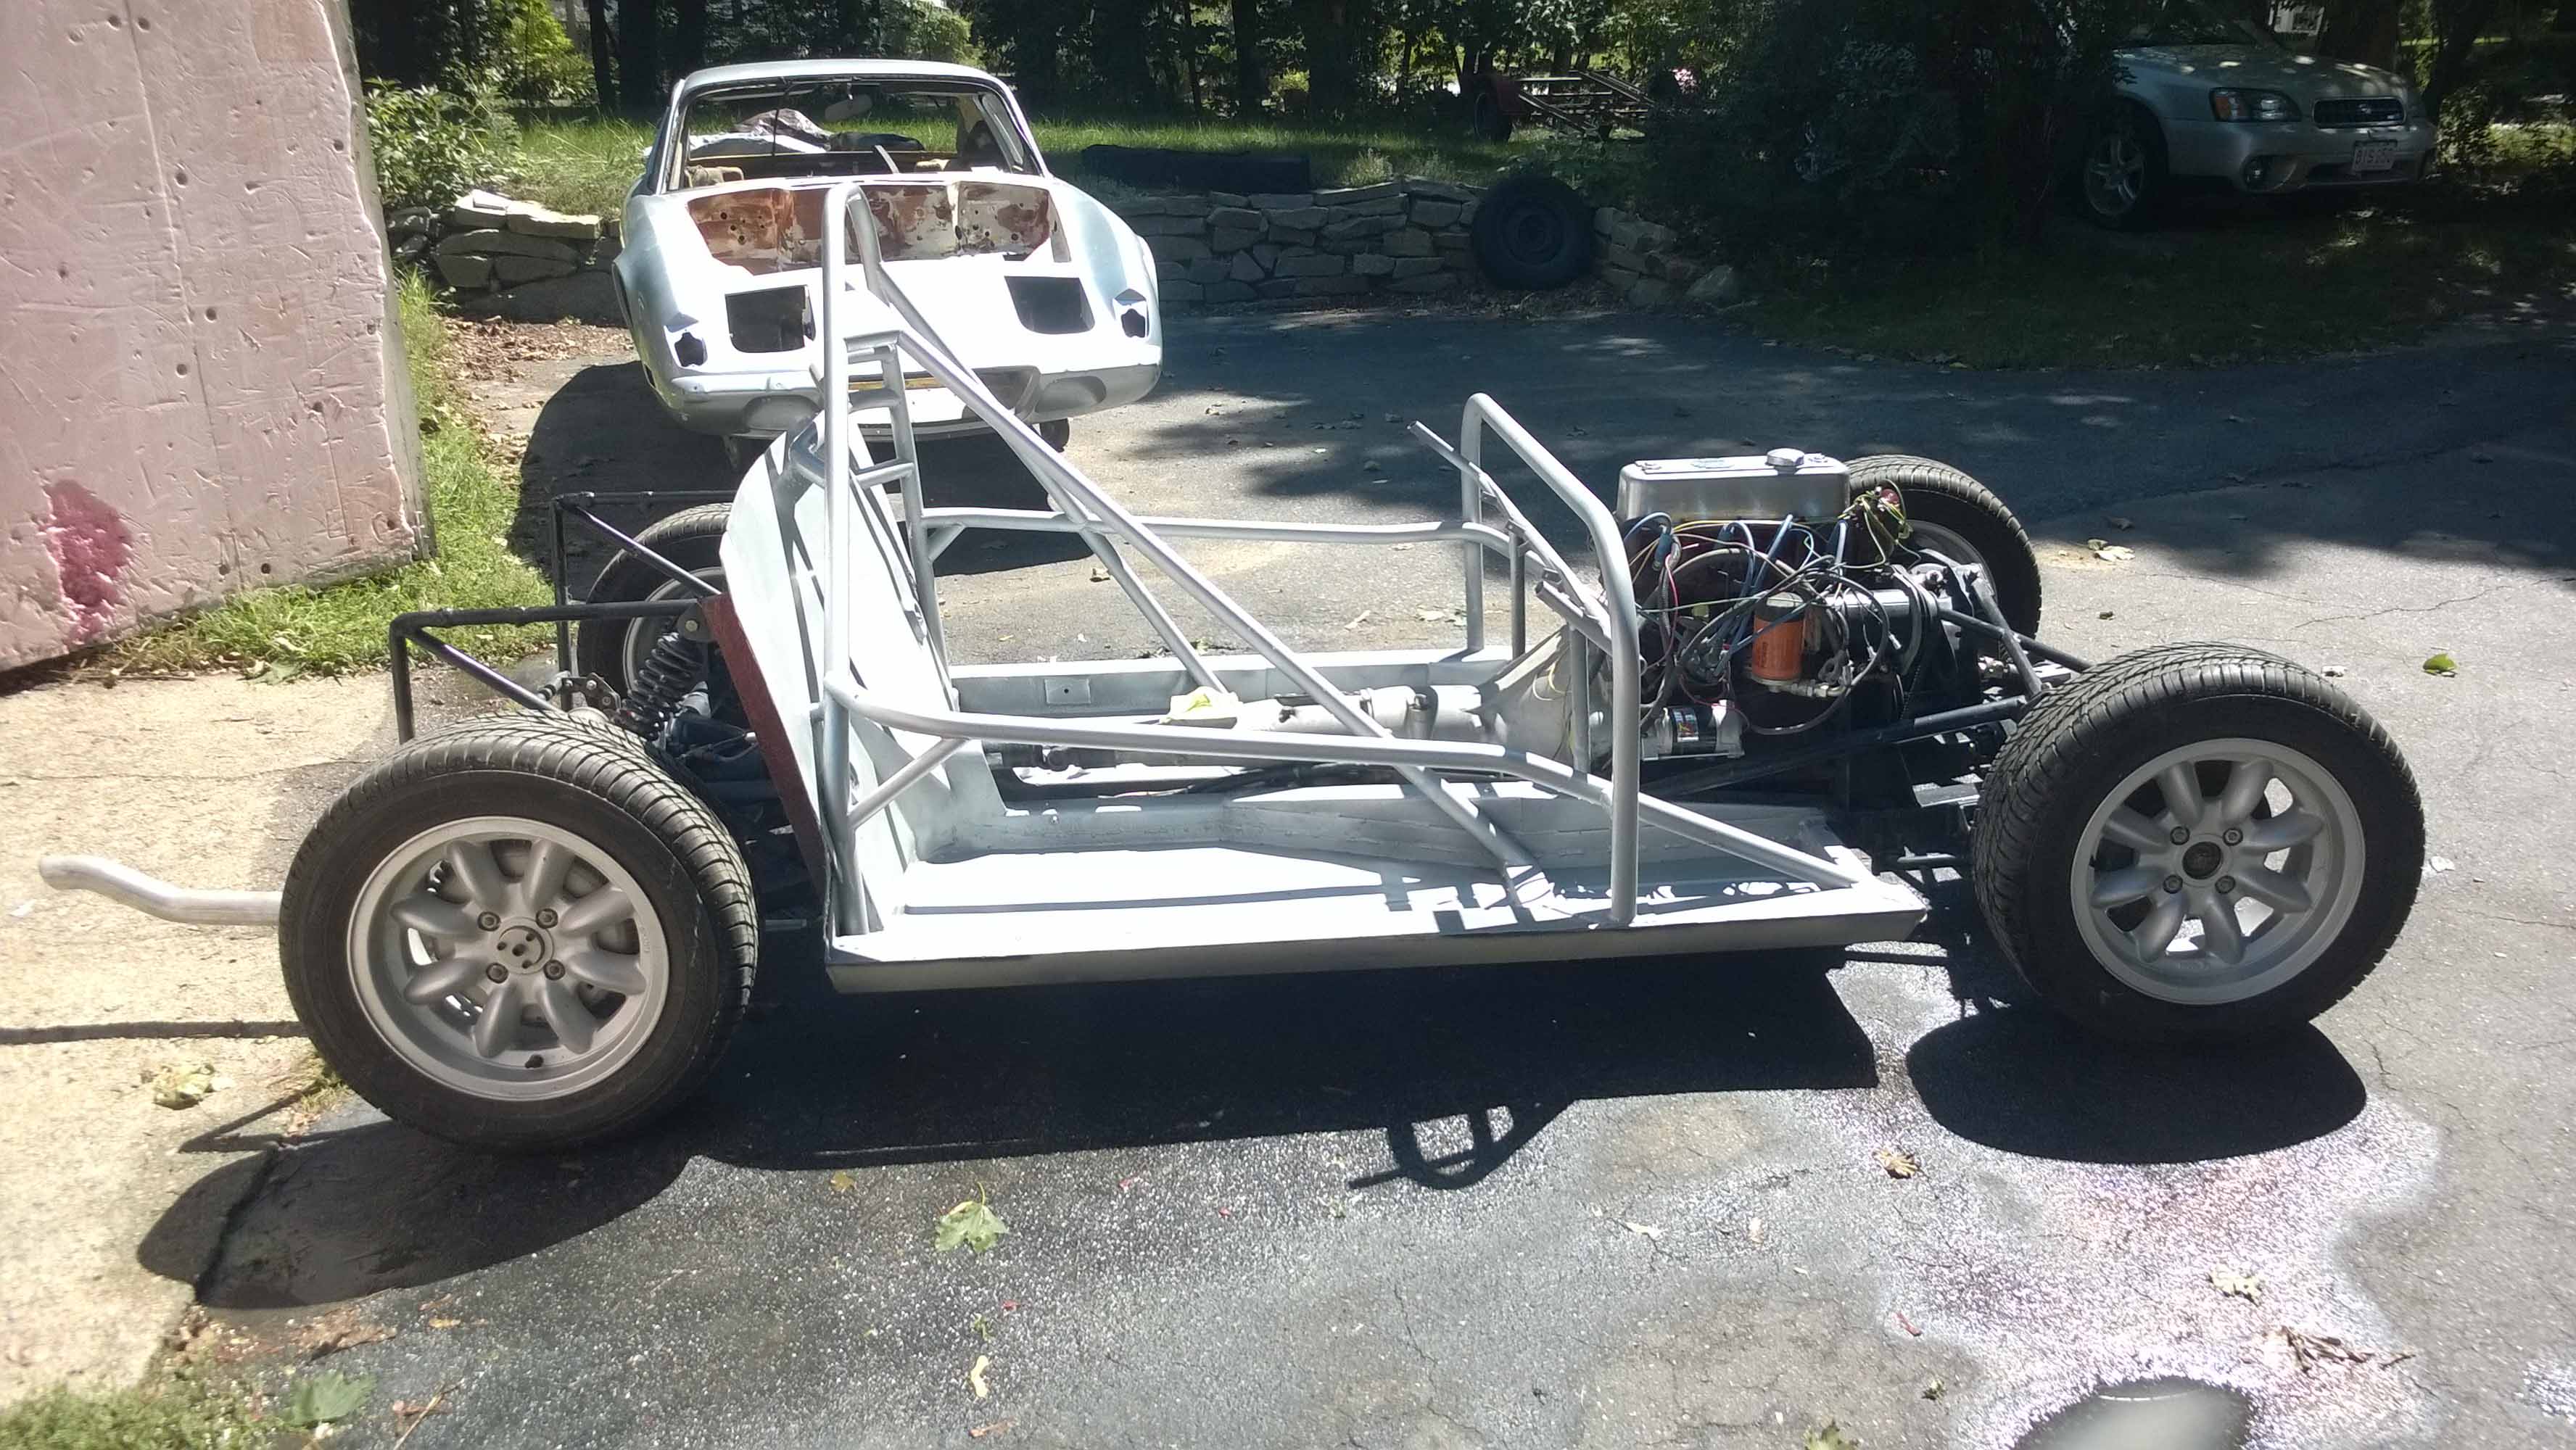
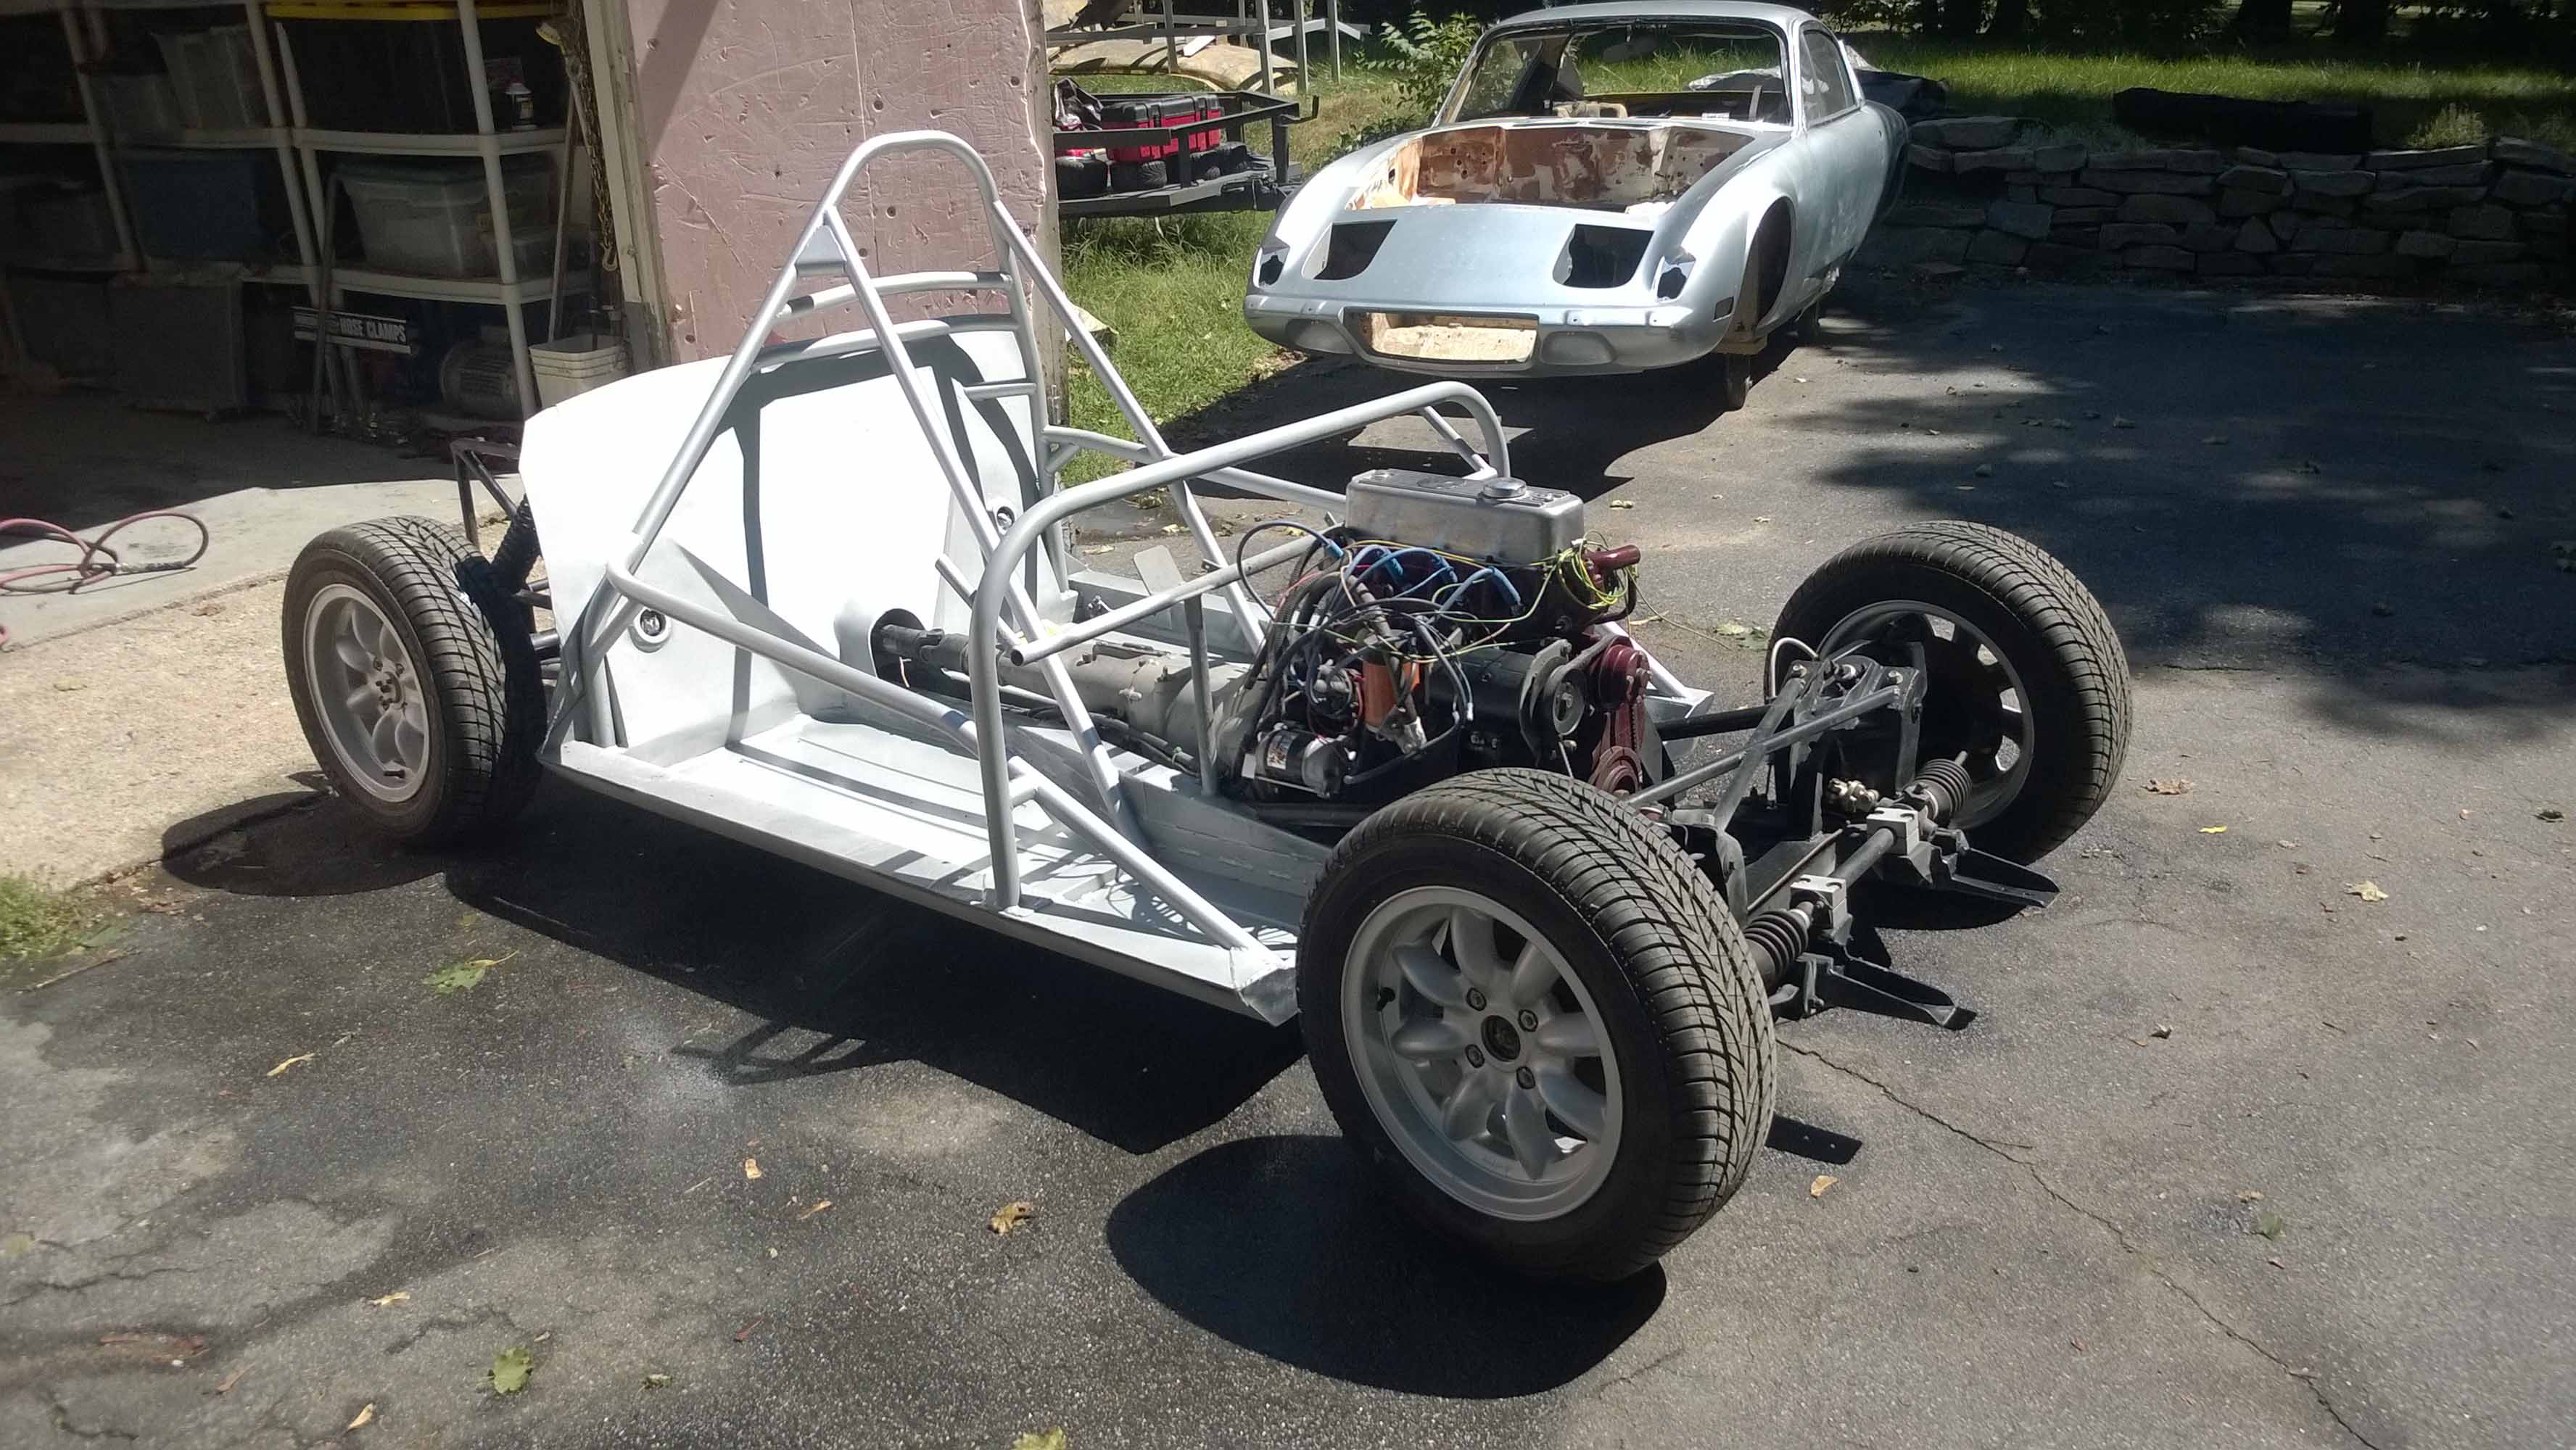
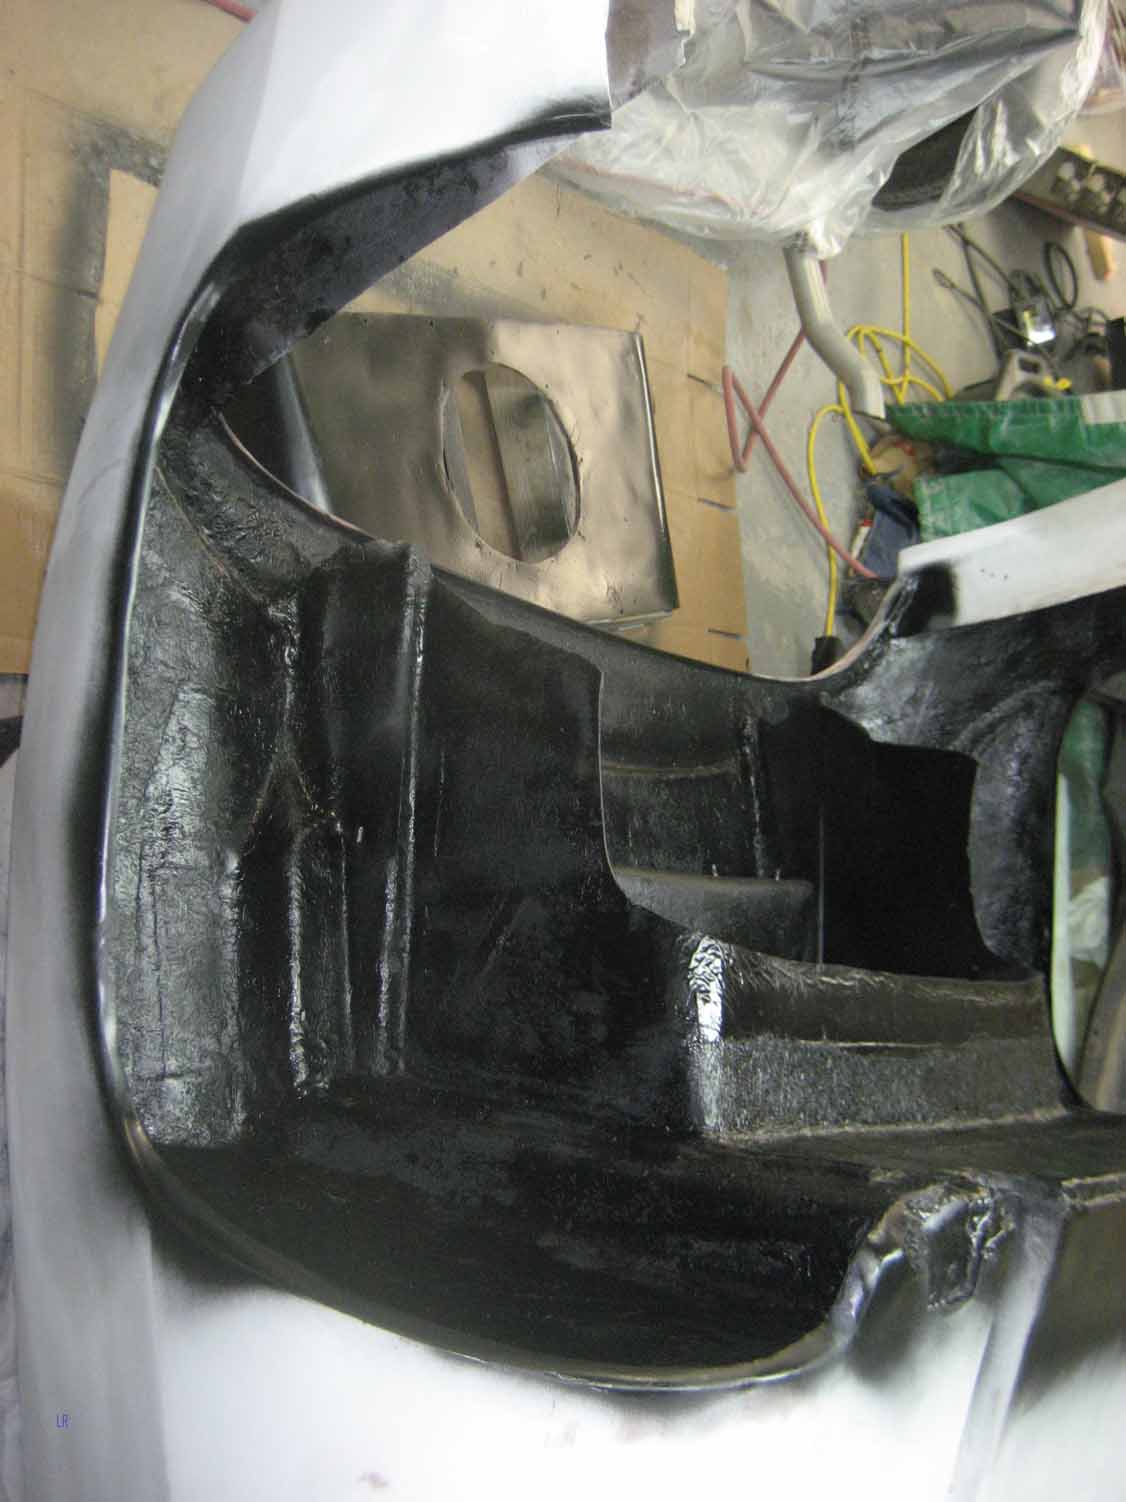
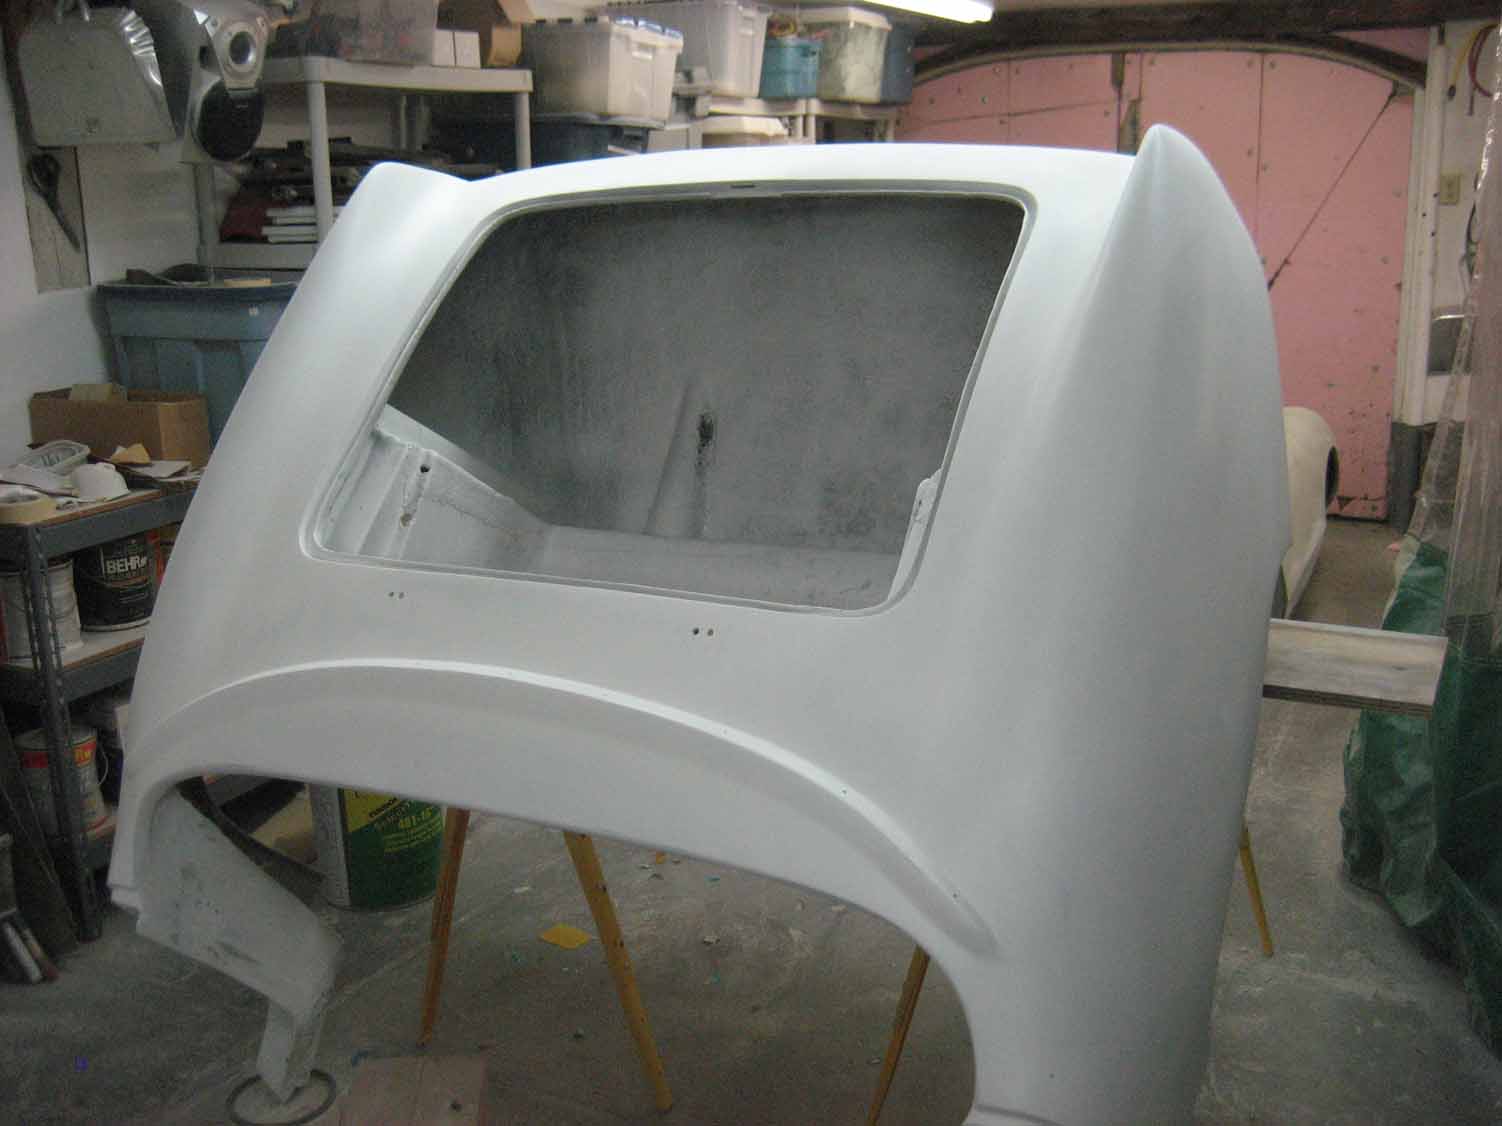
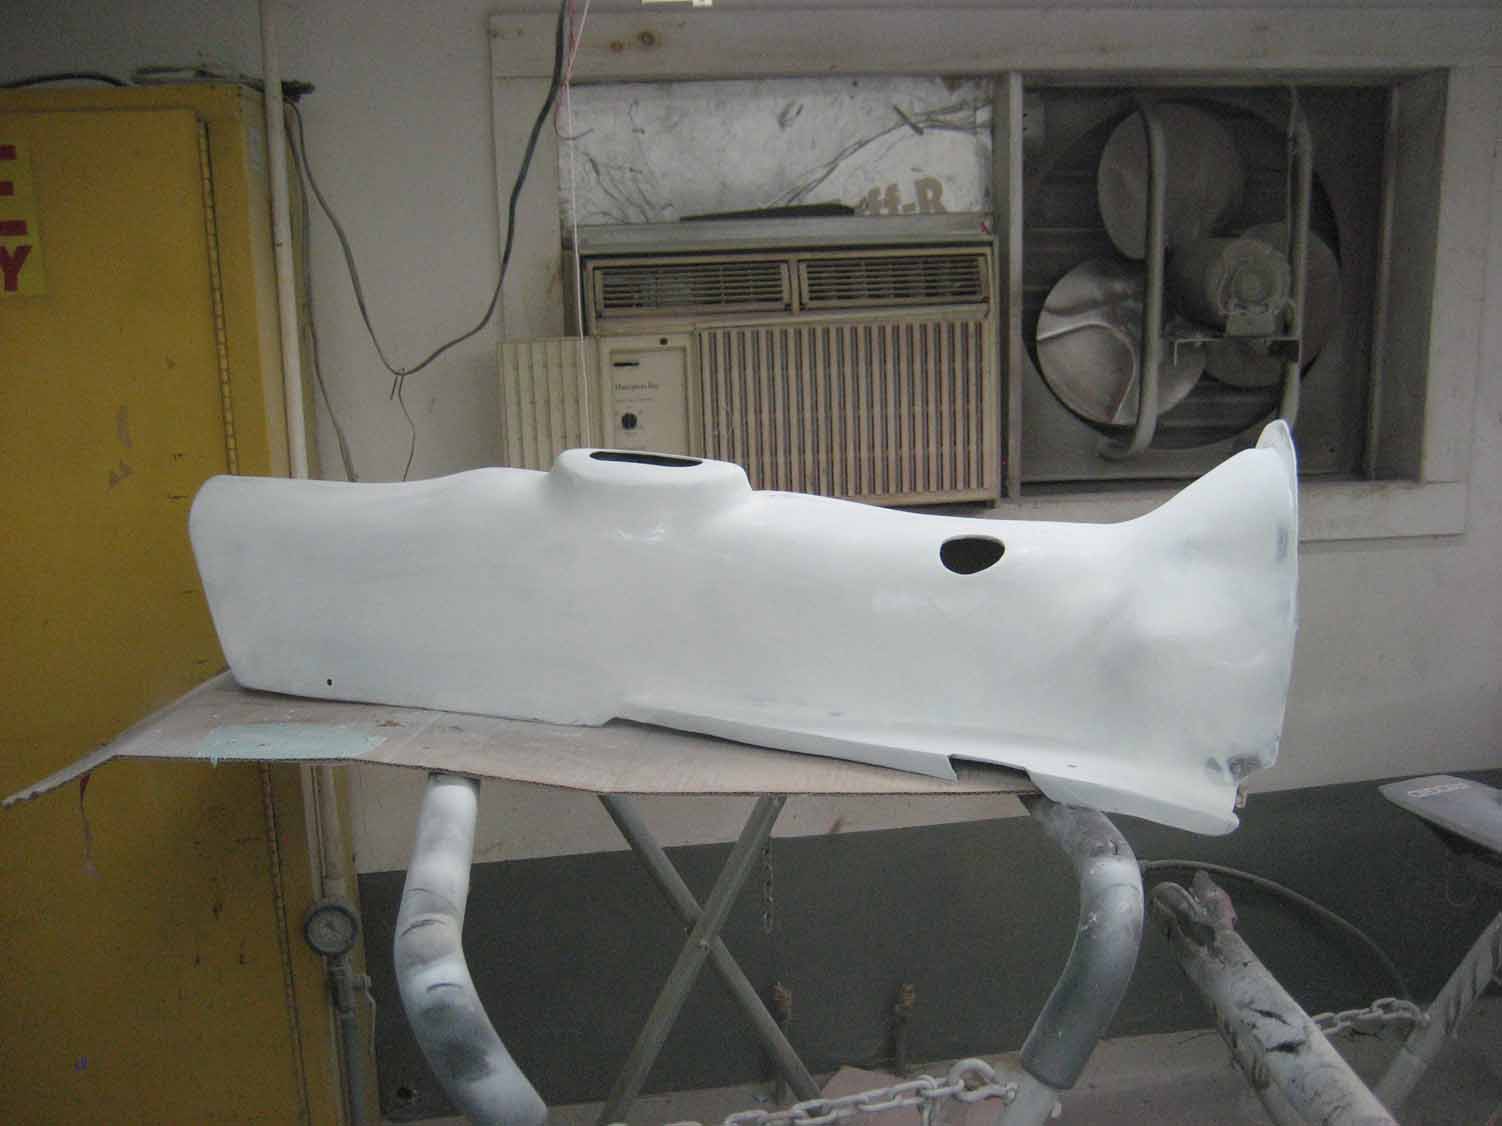
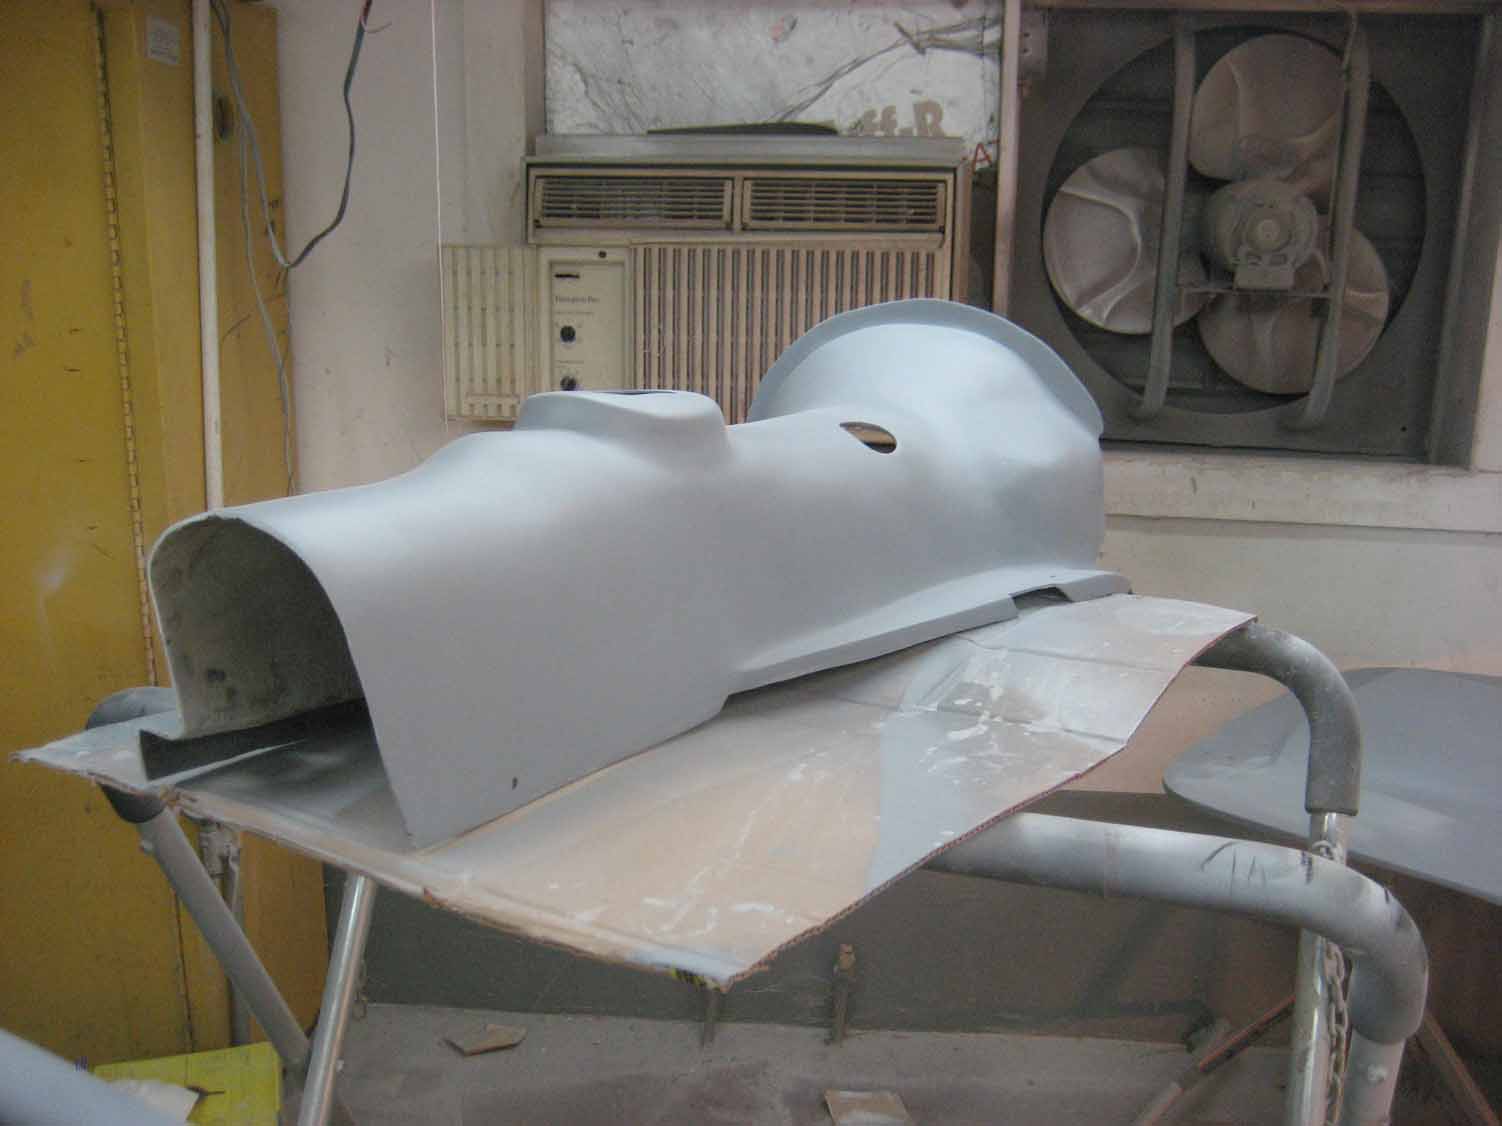
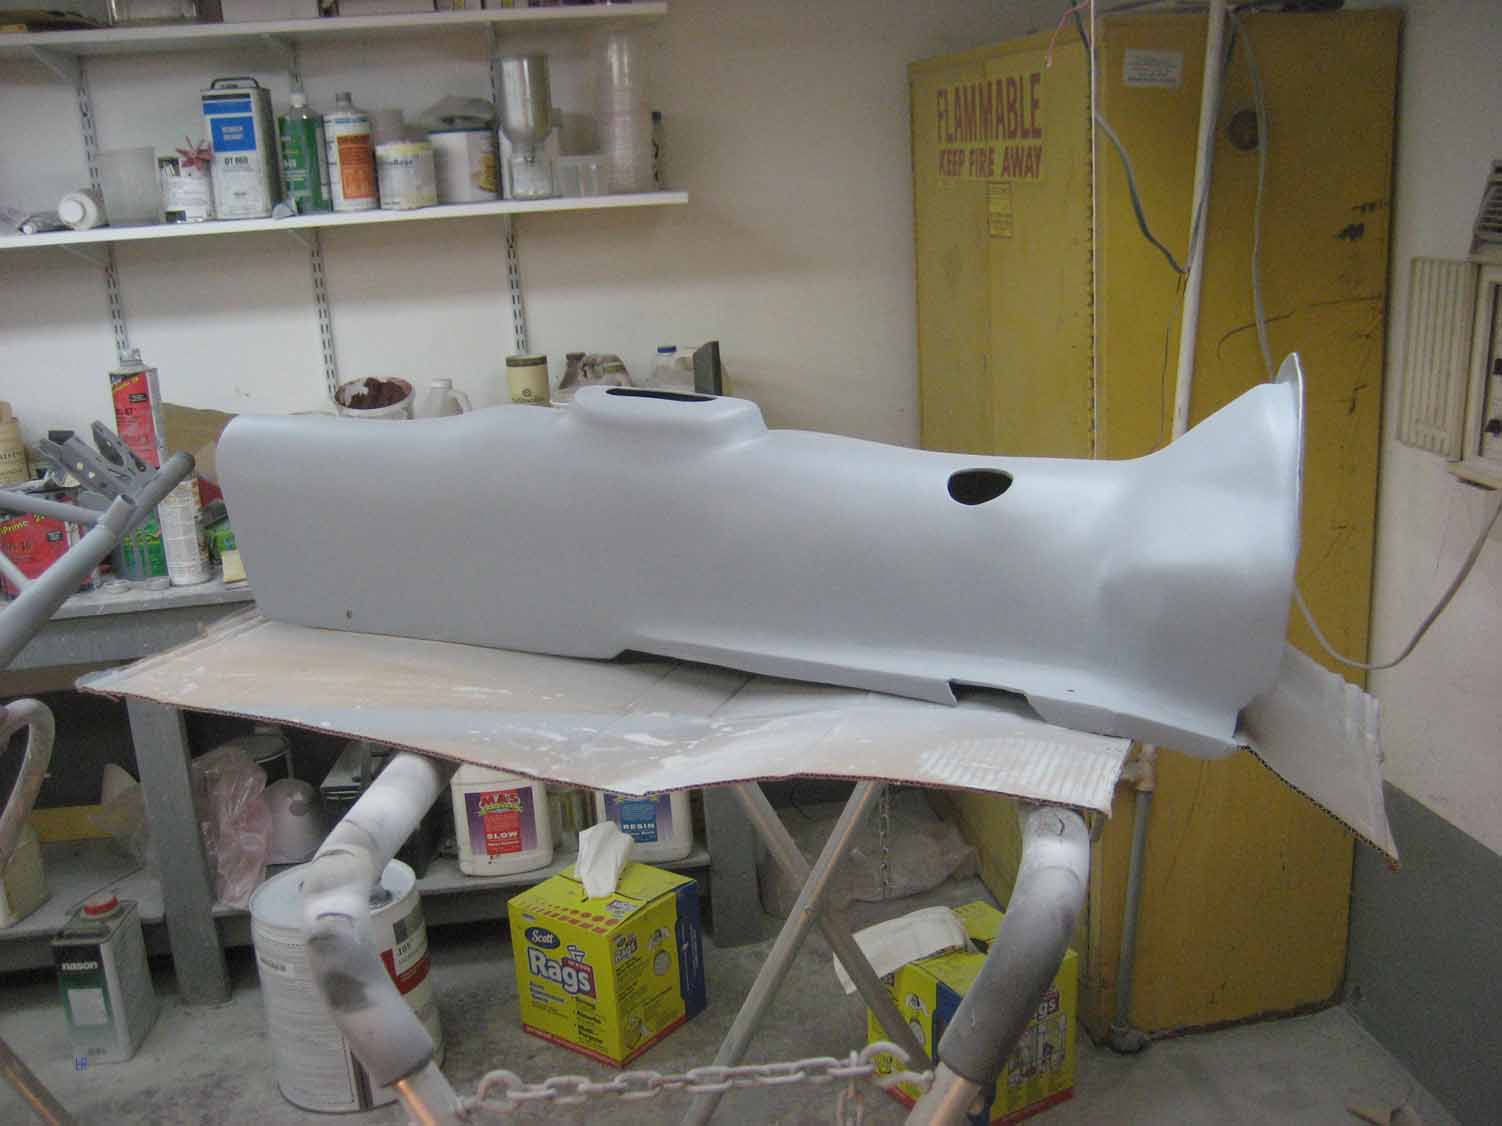
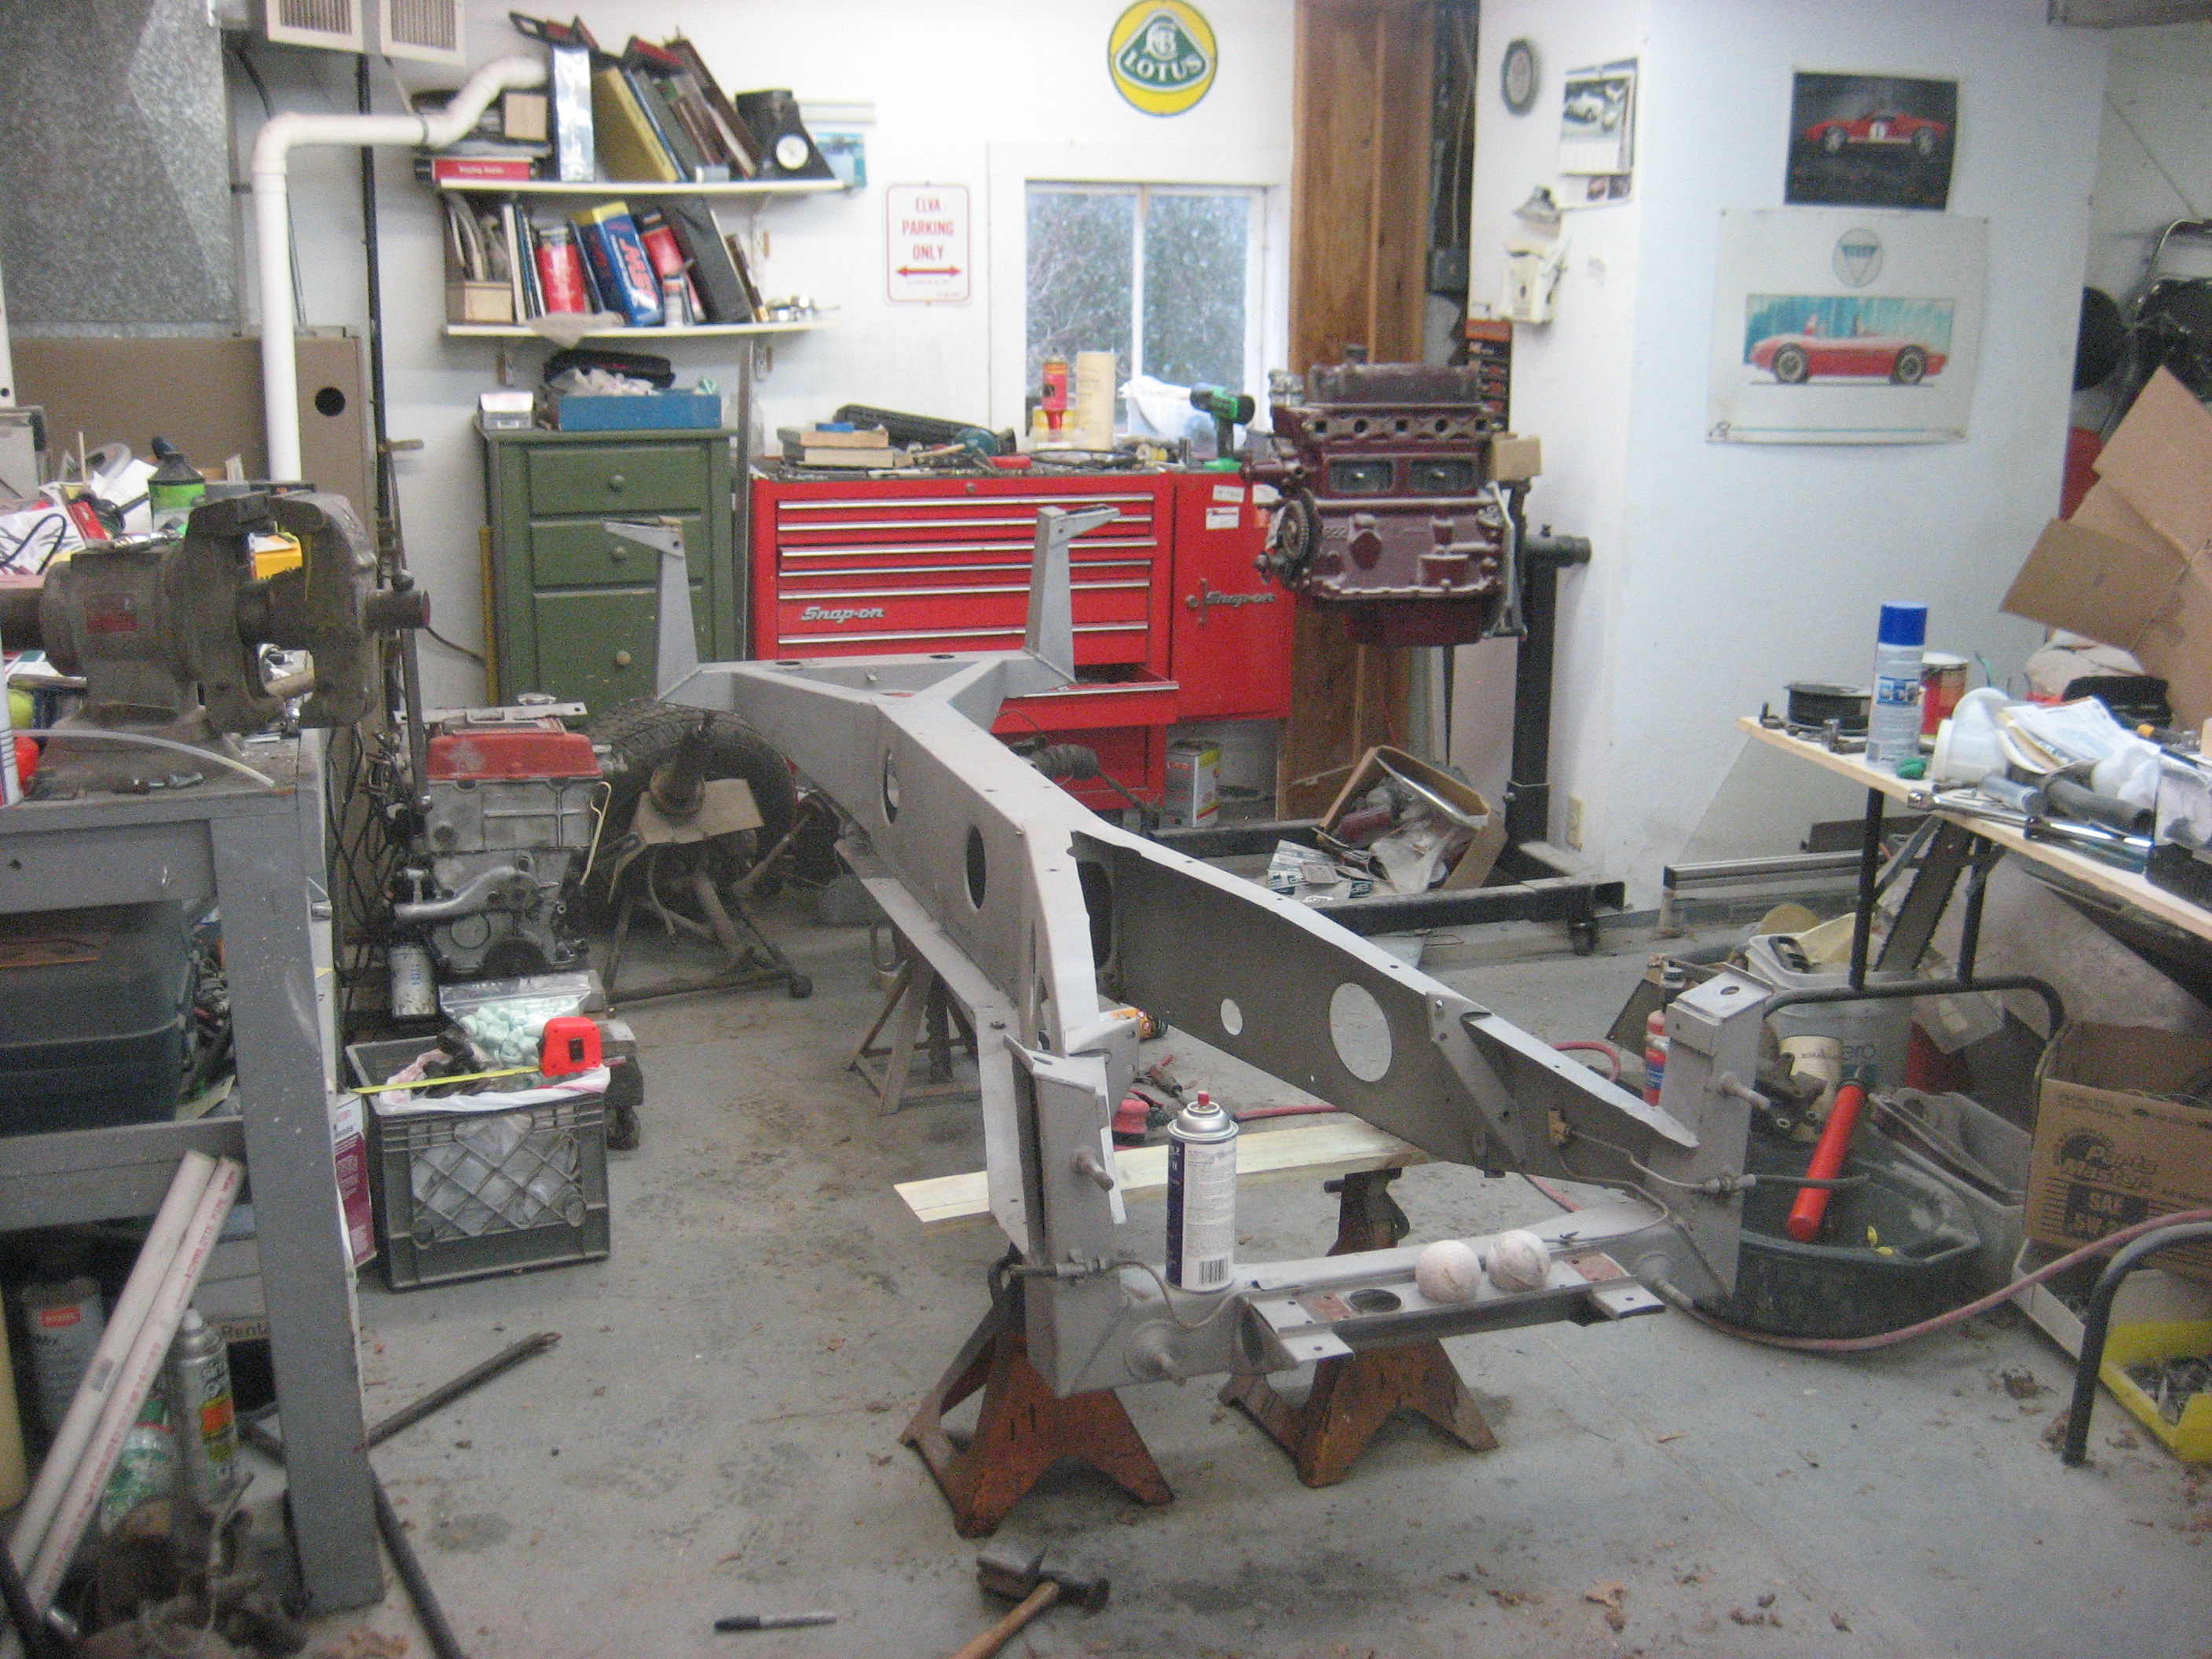
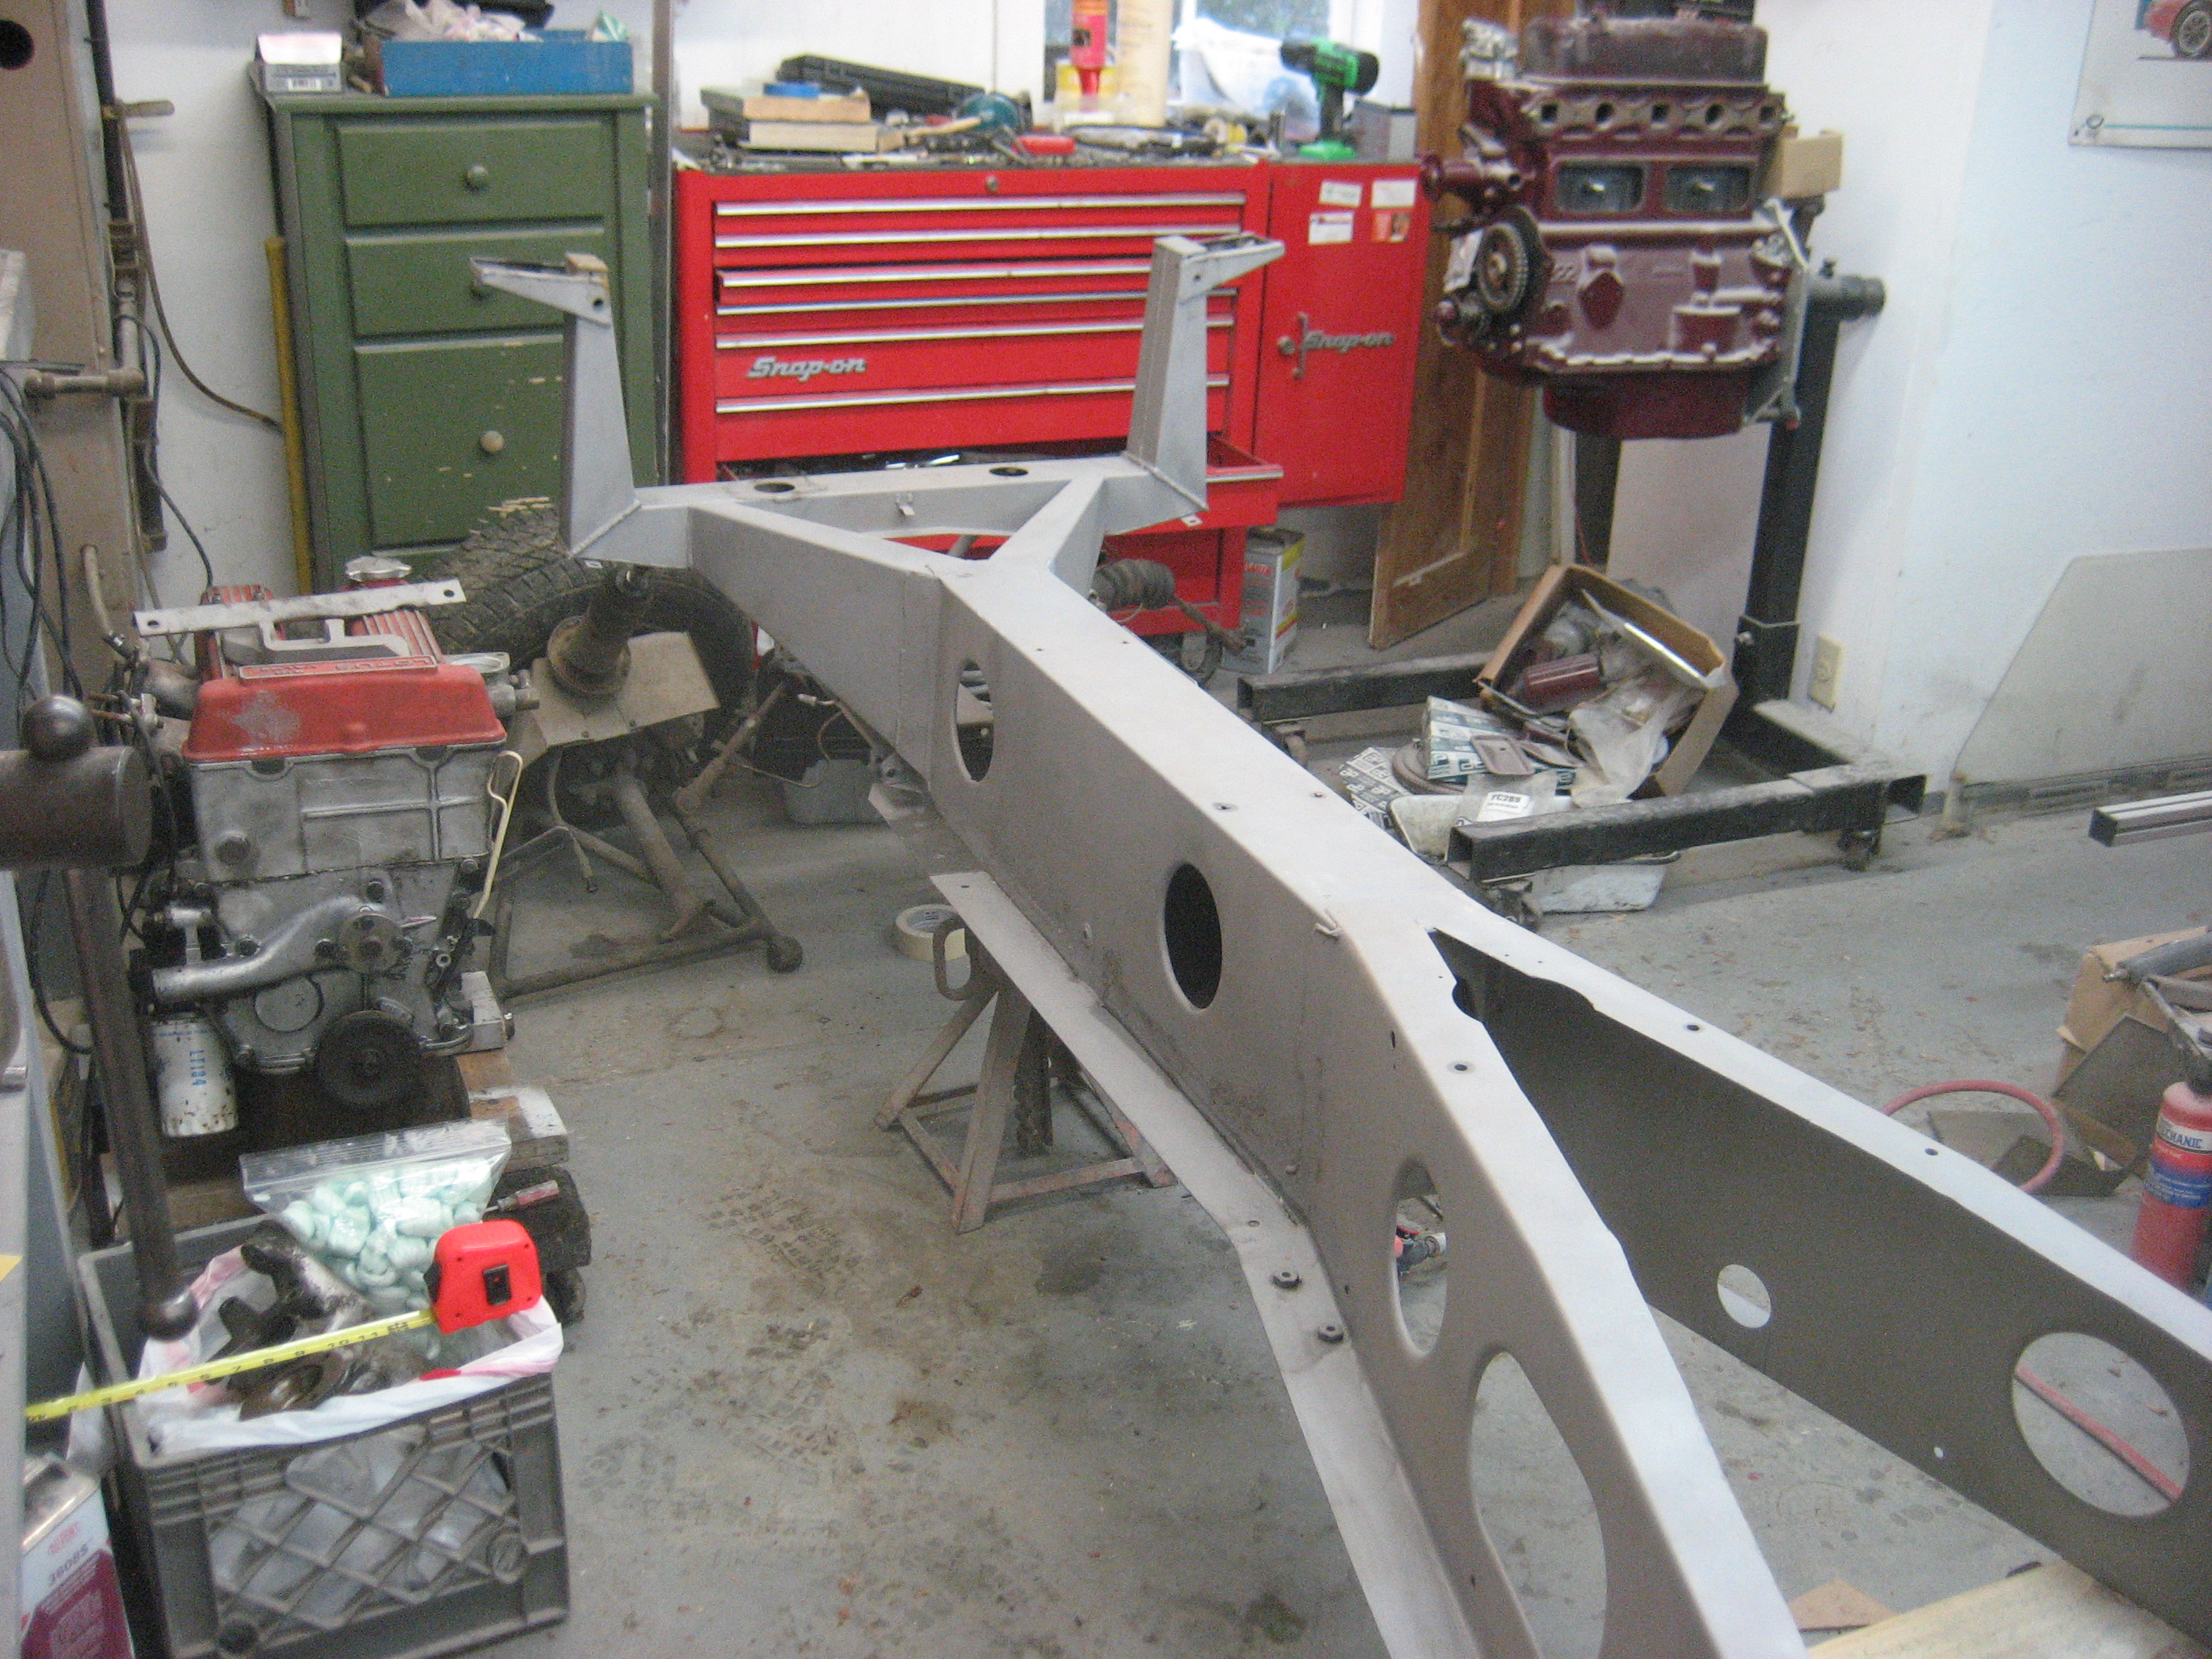
OK, these are some of the newest photos of the back end of the car, along with some older ones of the Lotus Frame, I seem to be losing control over this blog little by little. I wish I could caption each photo, but my ability to do that that seems to have been lost. In these photos, you can see the back part of the fiberglass being painted from the underside first. You can also see the transmission tunnel coming together and being painted.
The Mk IV windshield frame was also featured here, in the later pictures.
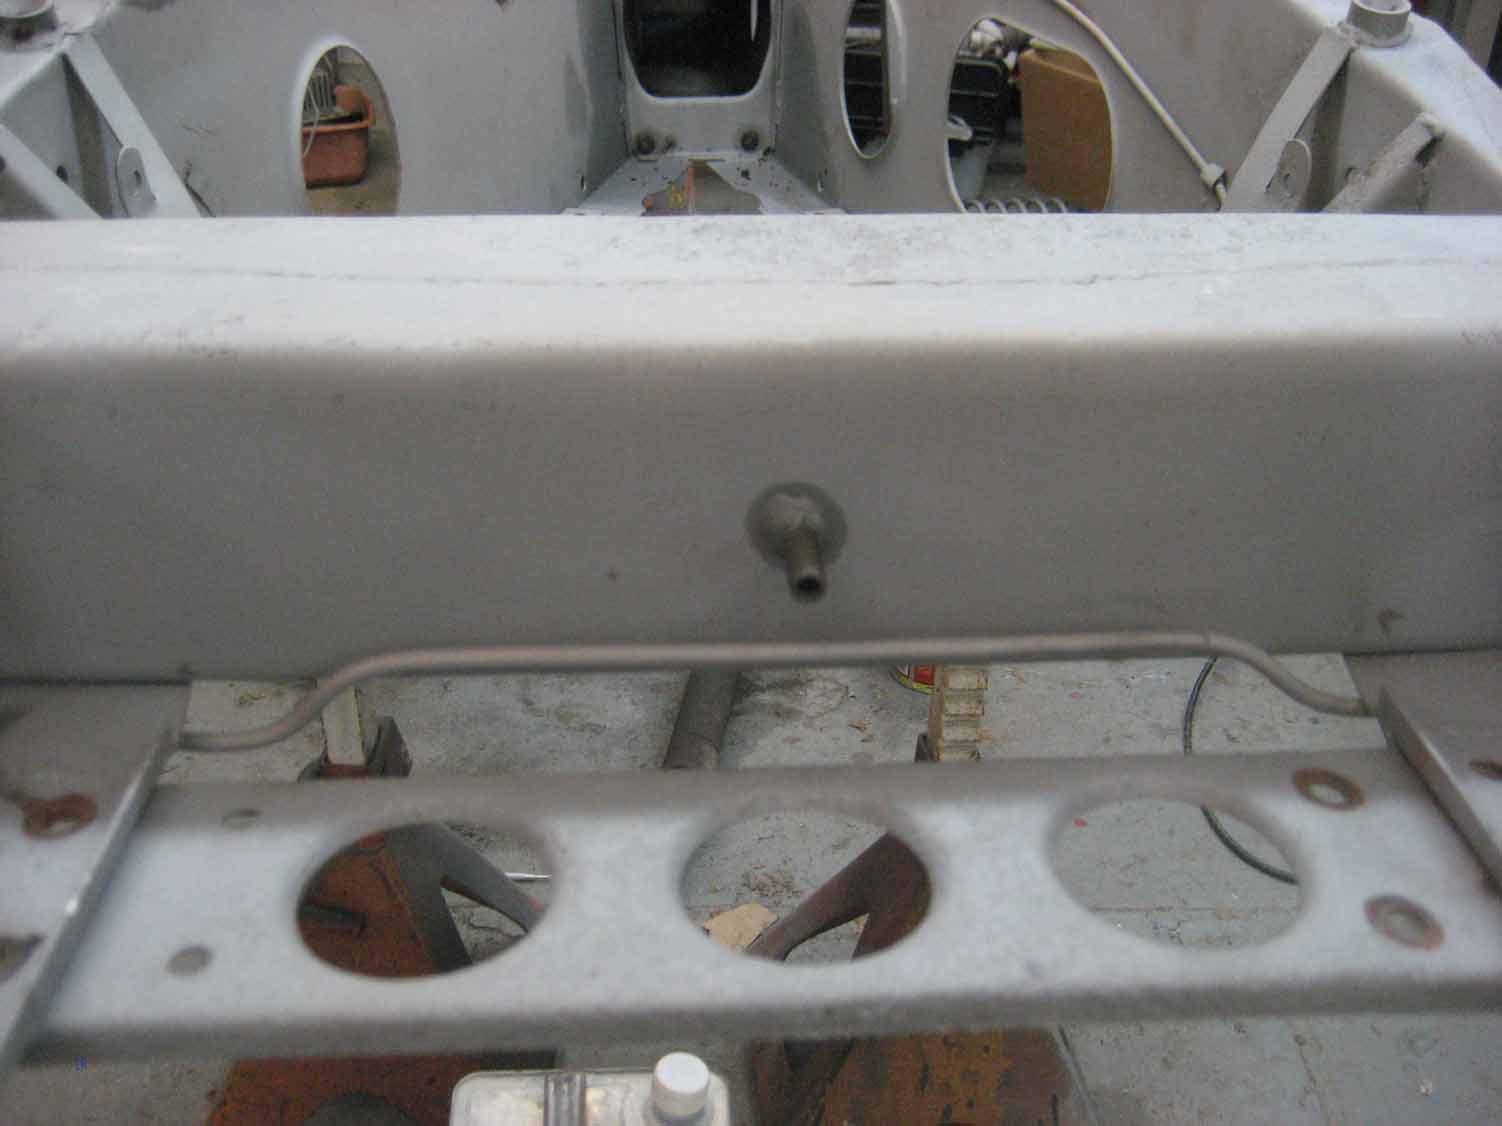
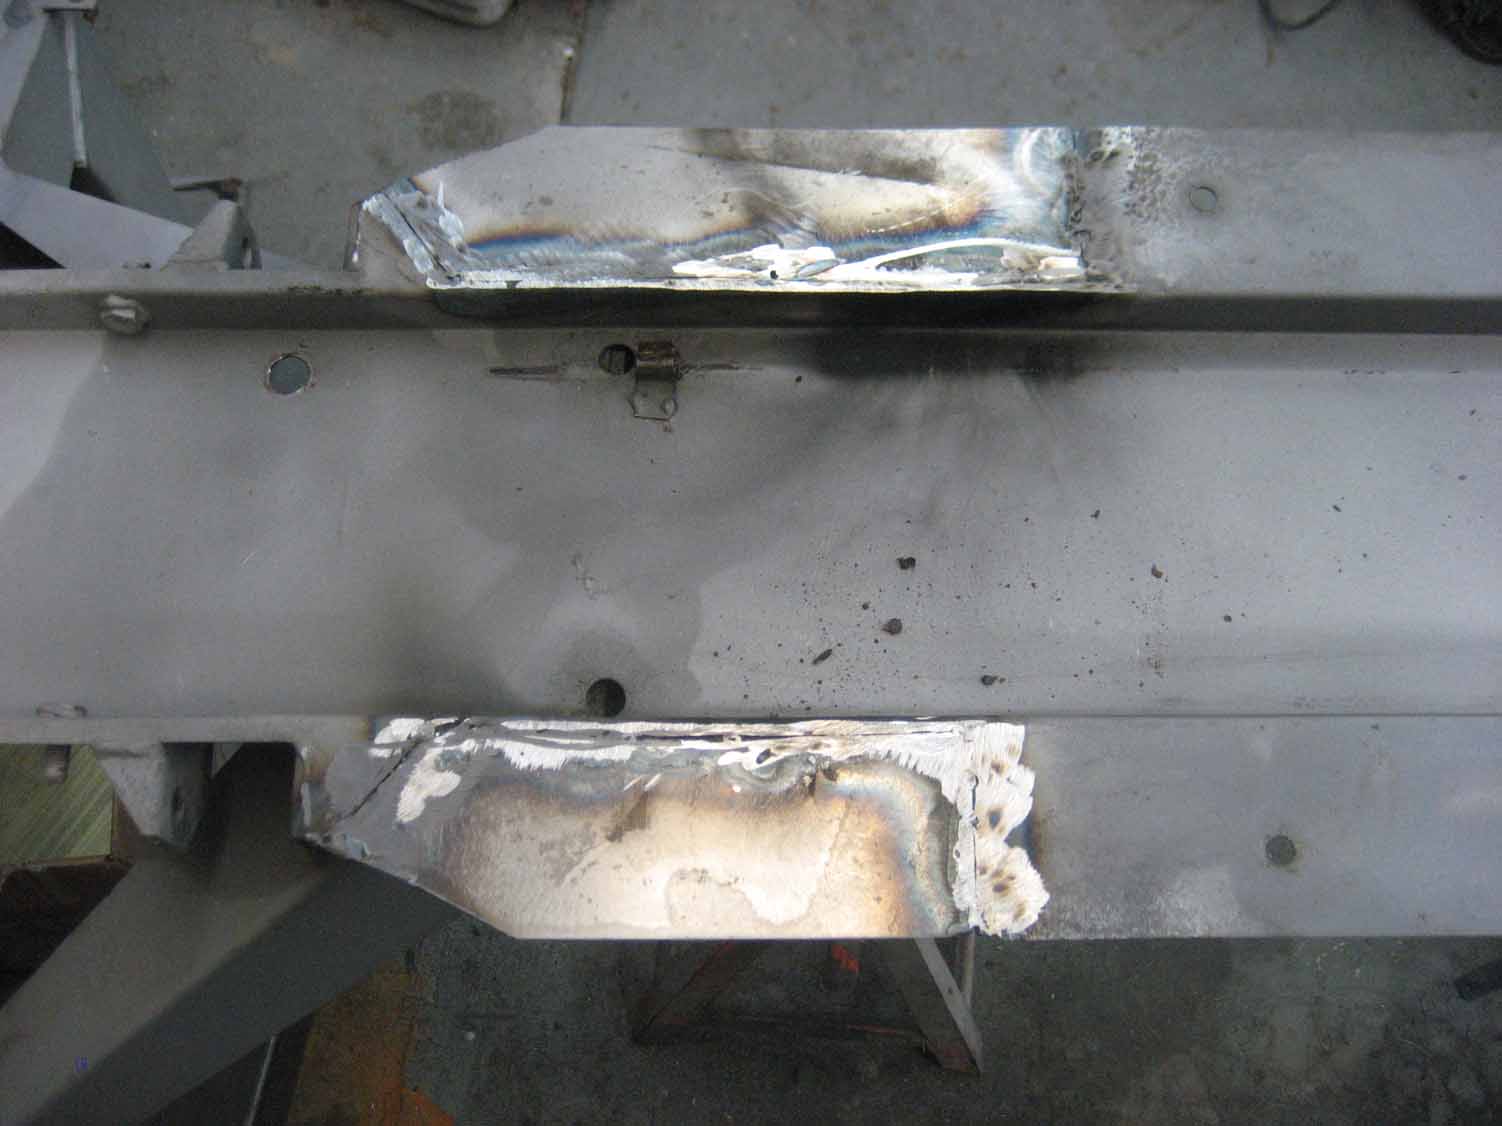
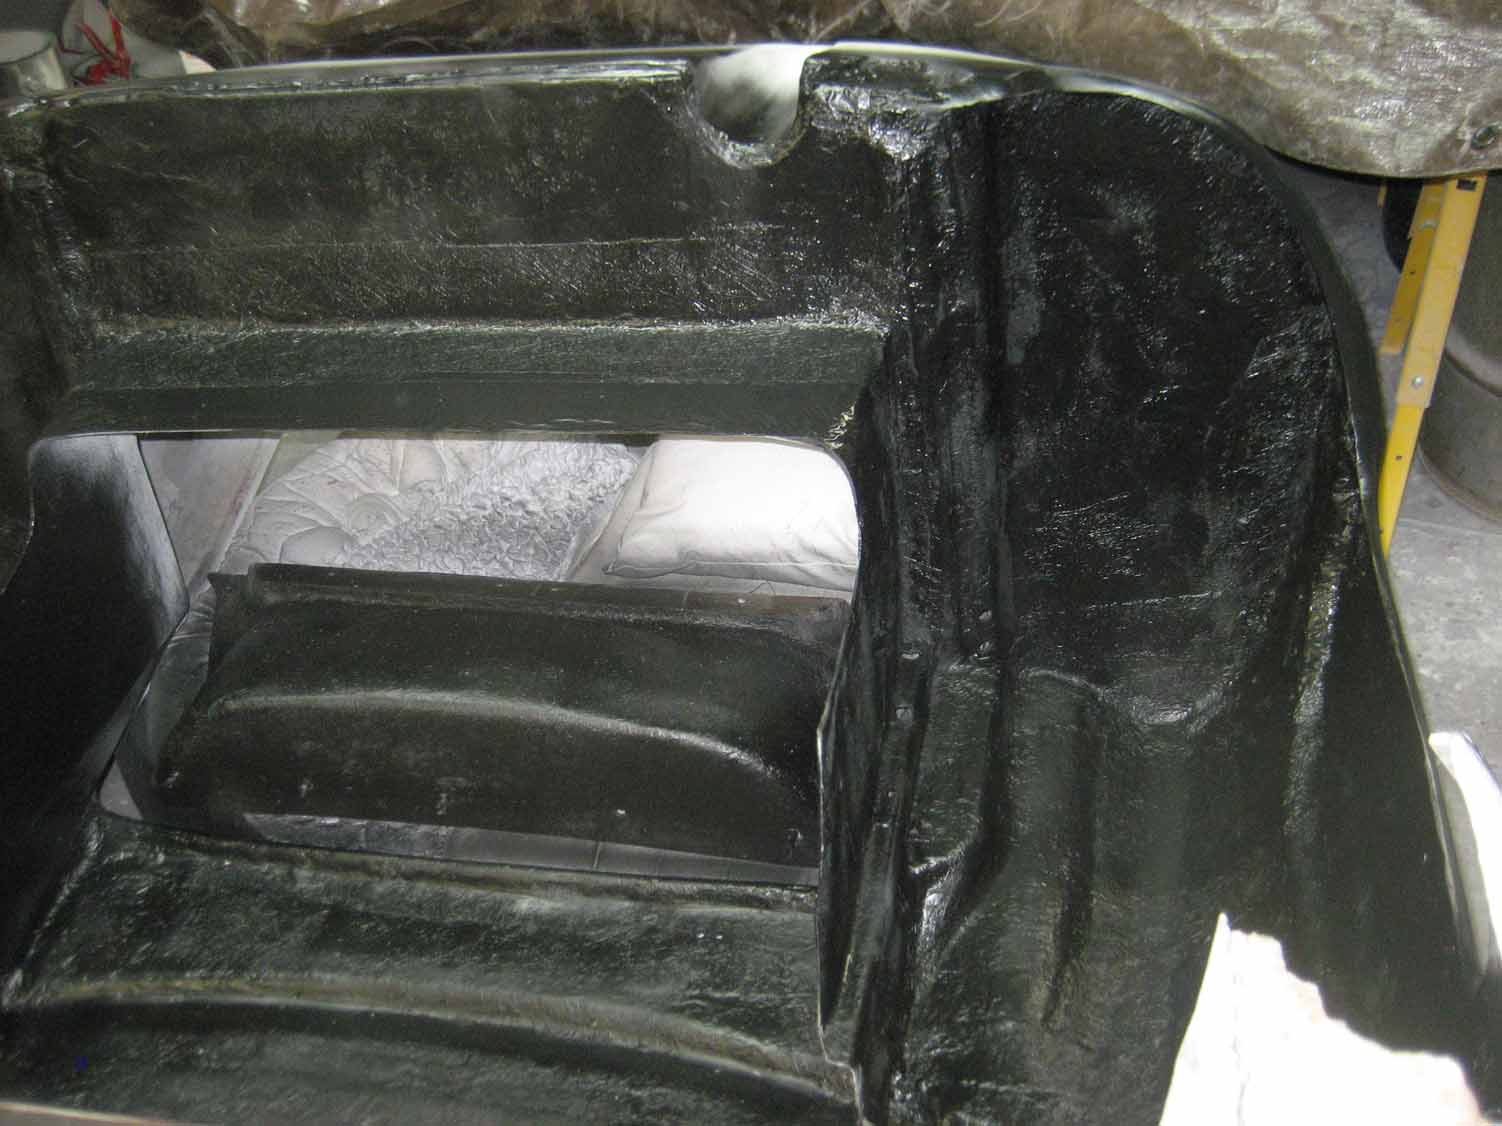
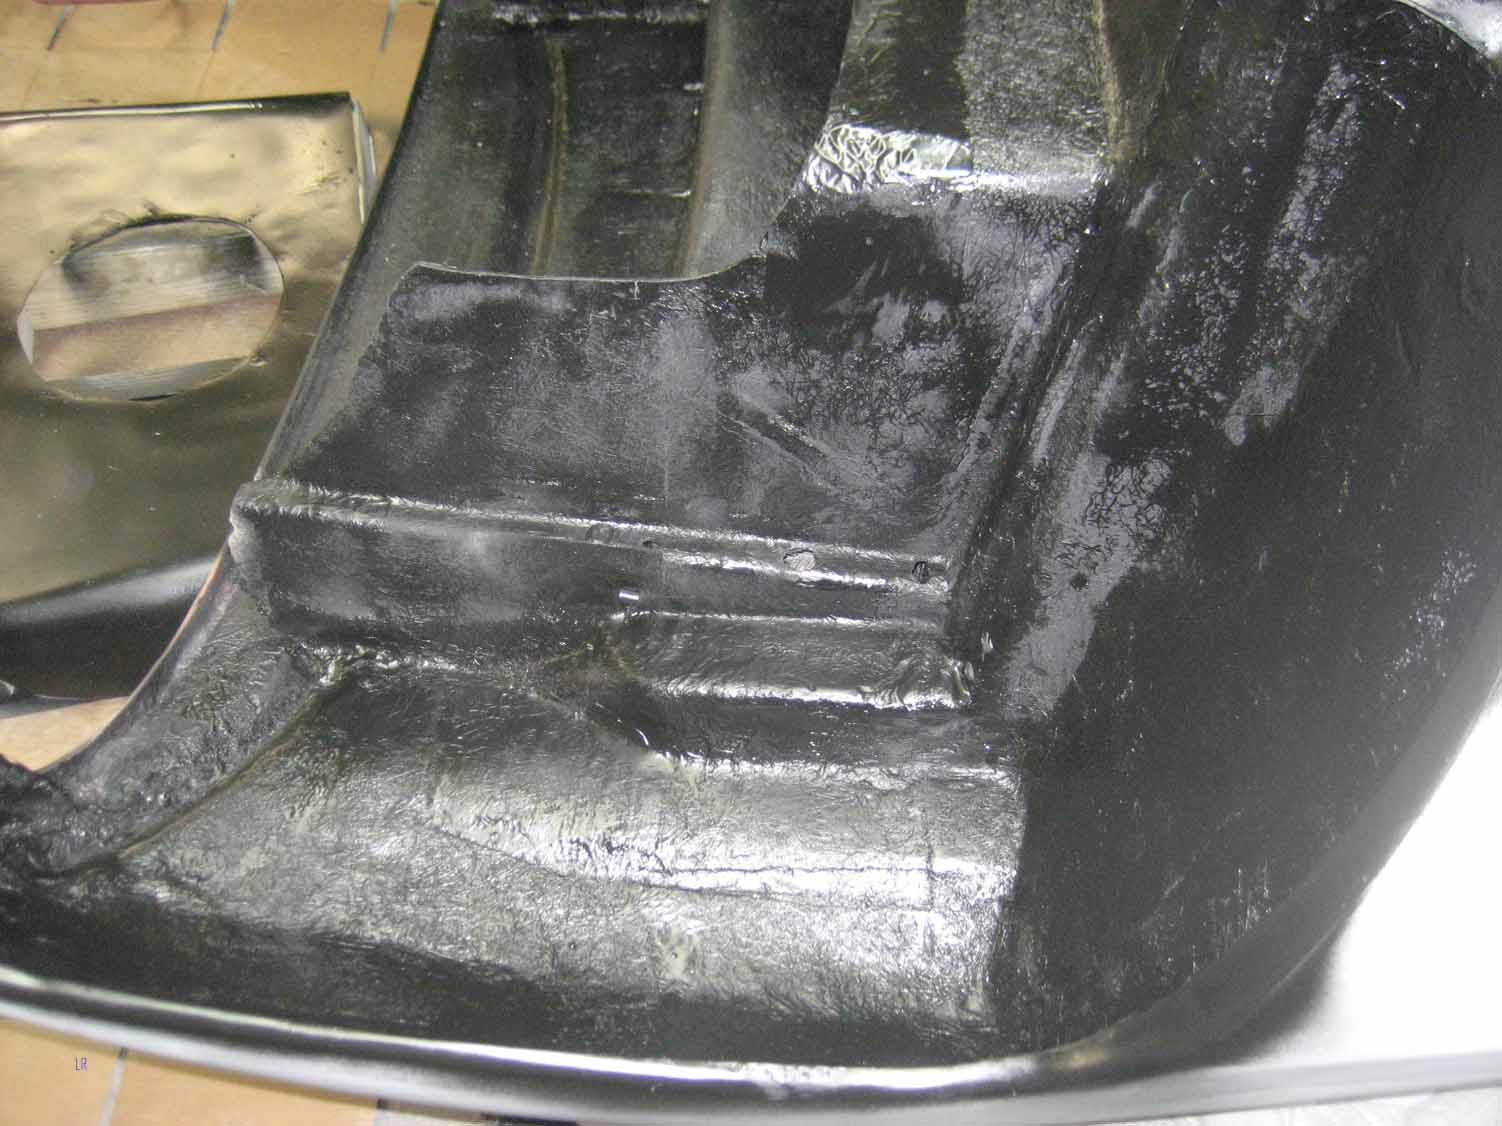
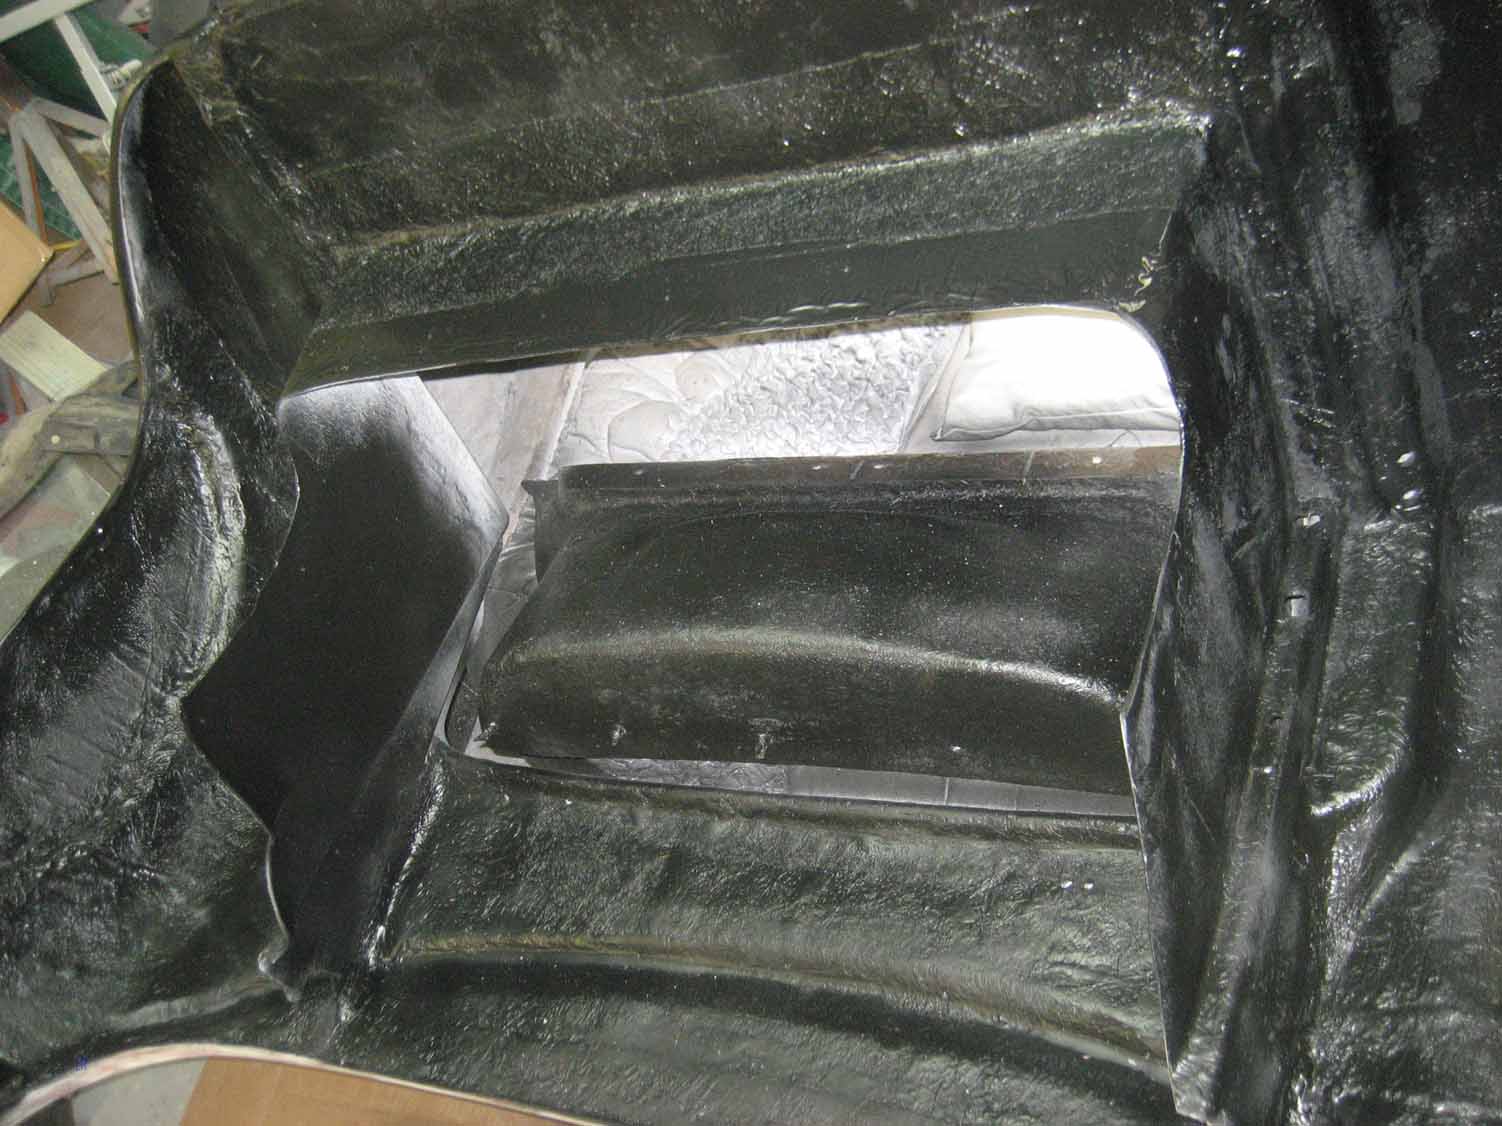
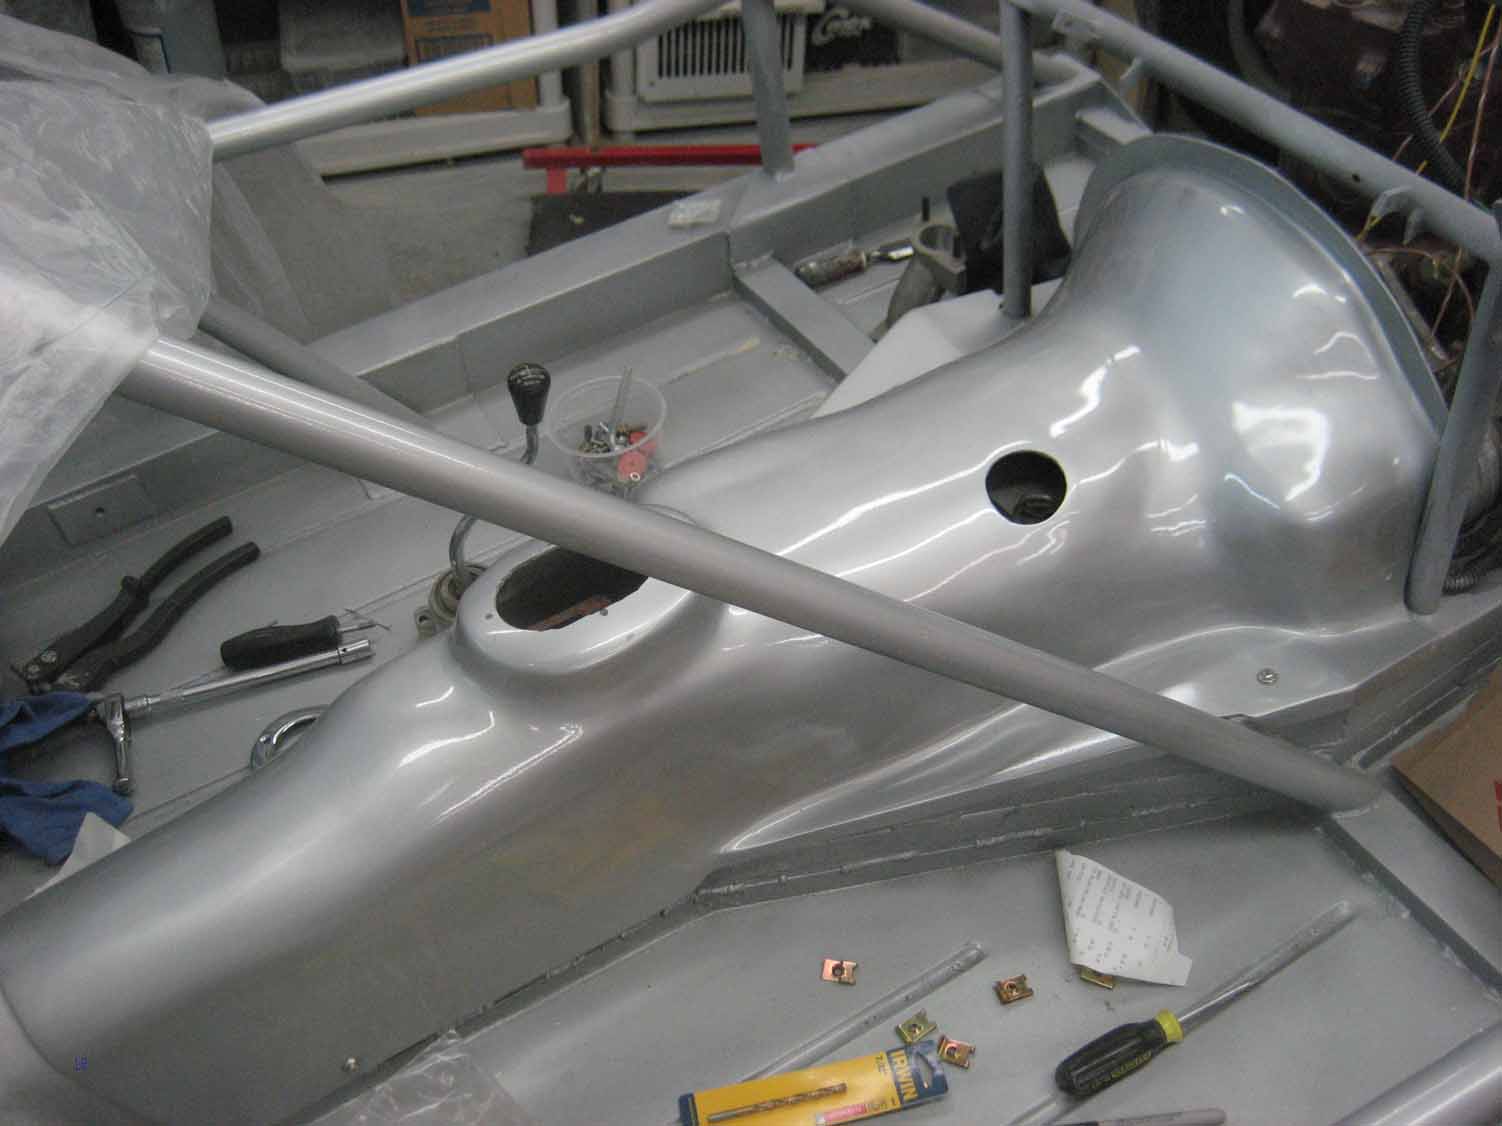
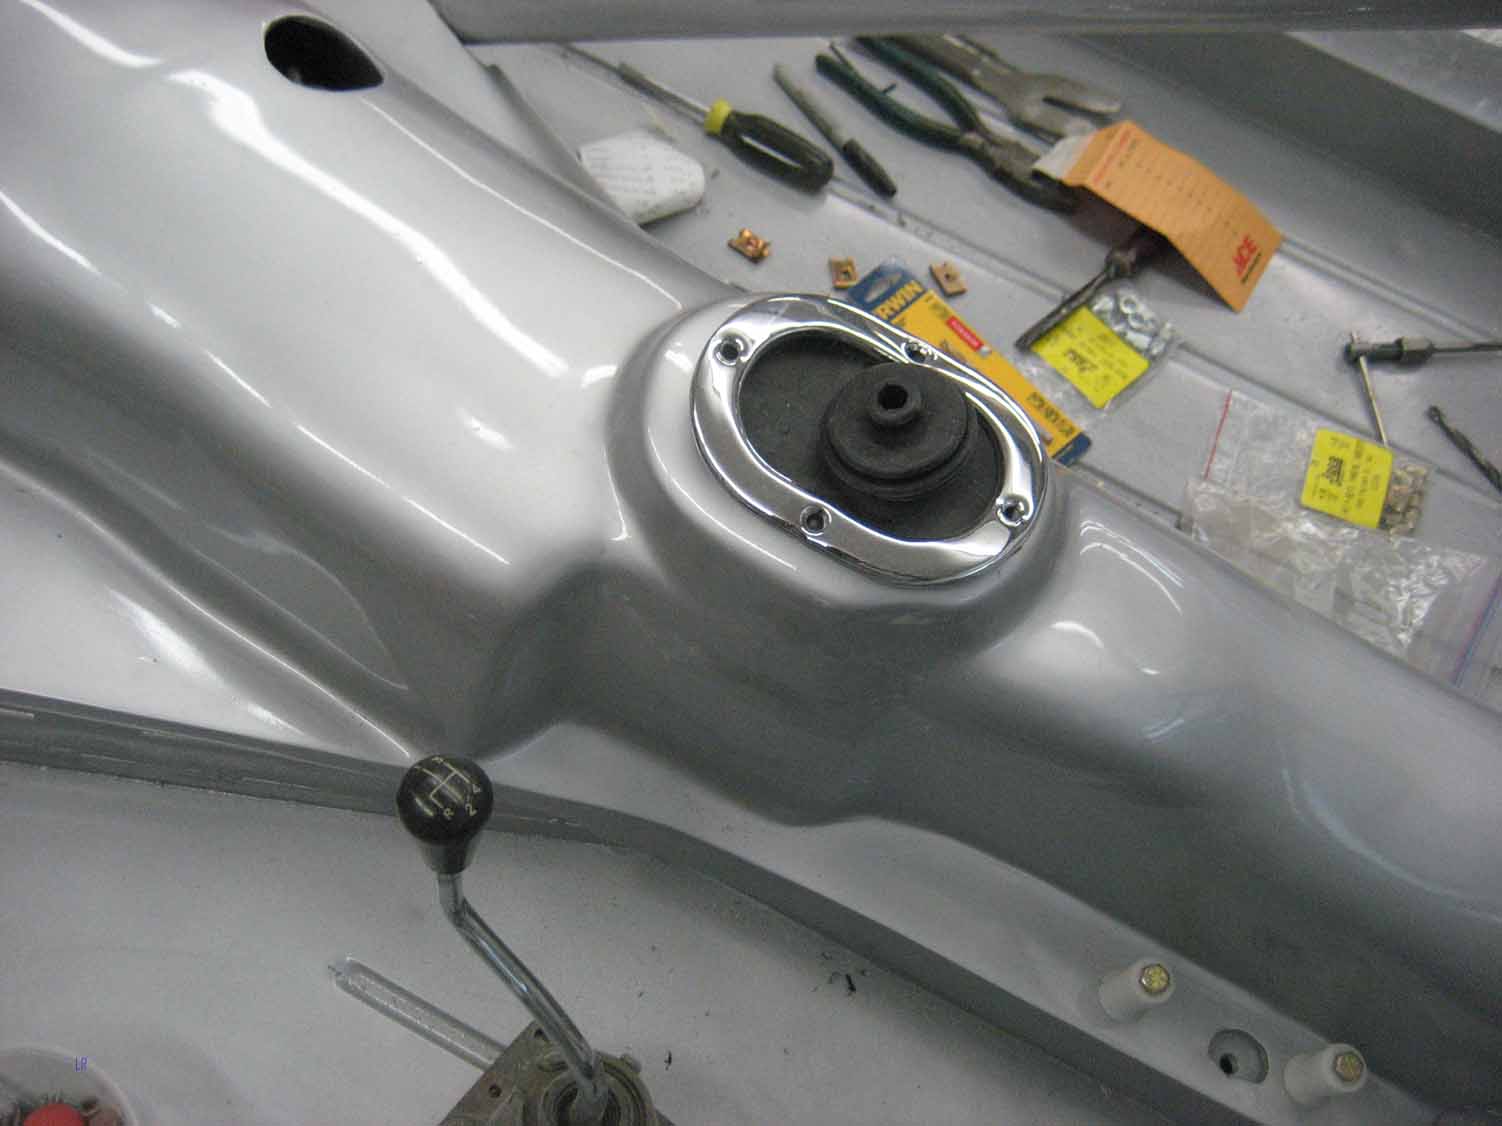
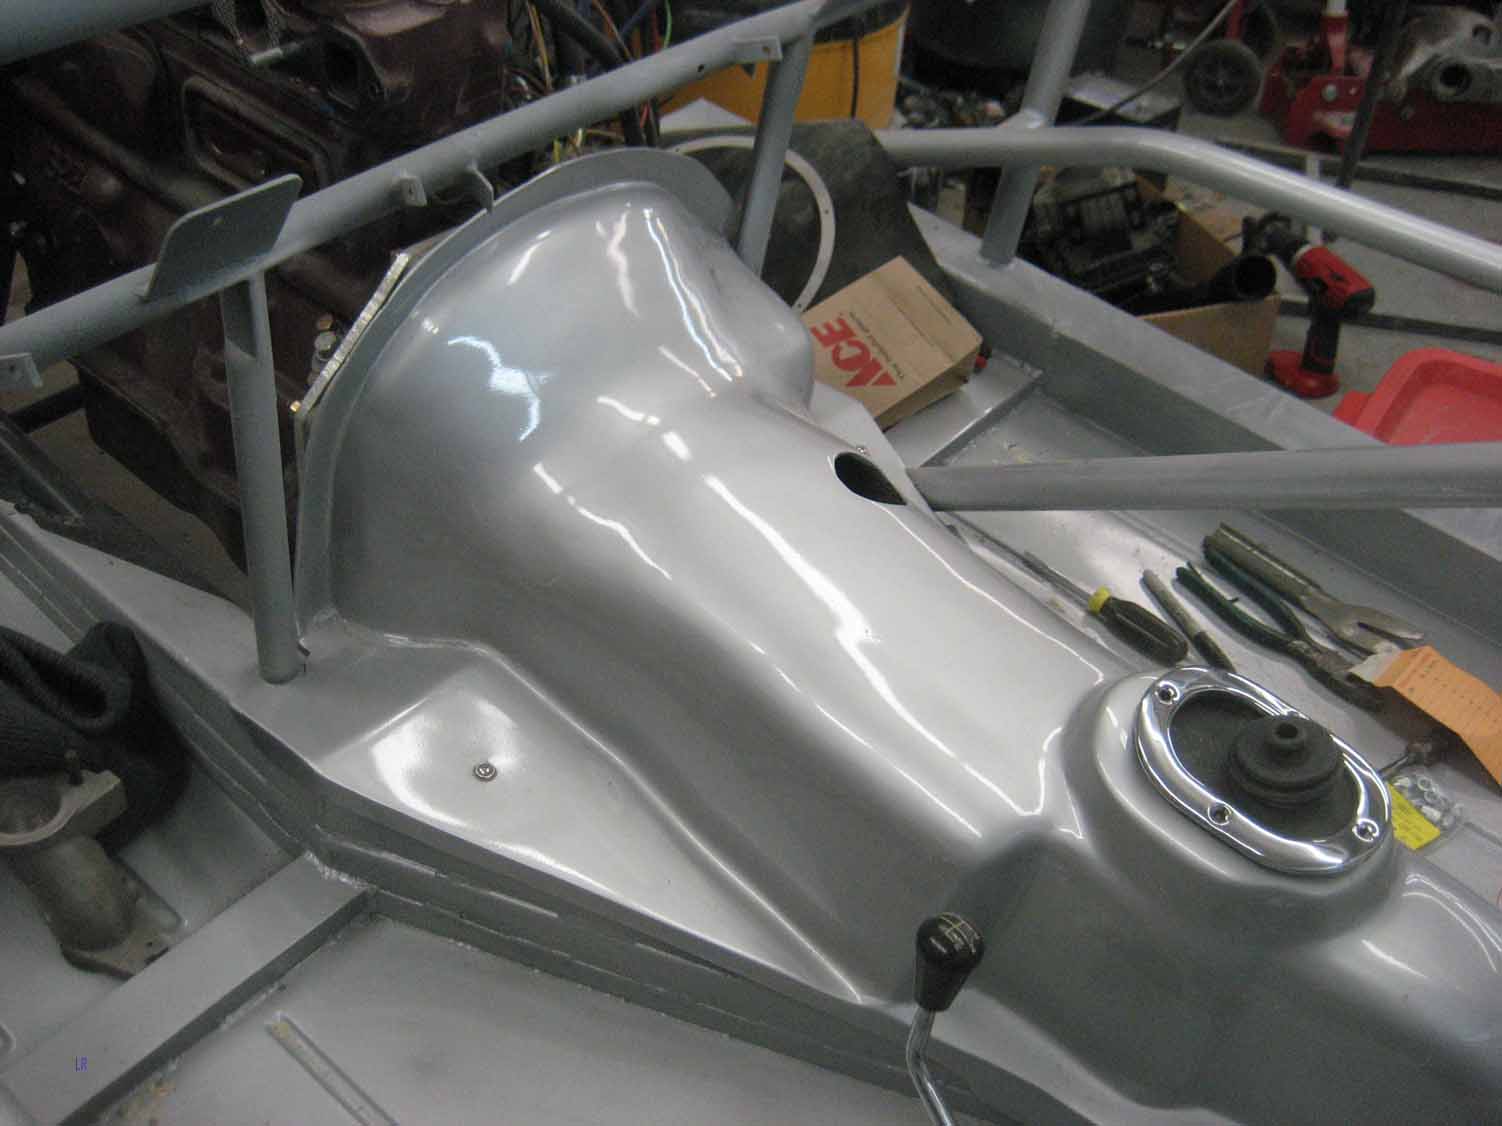
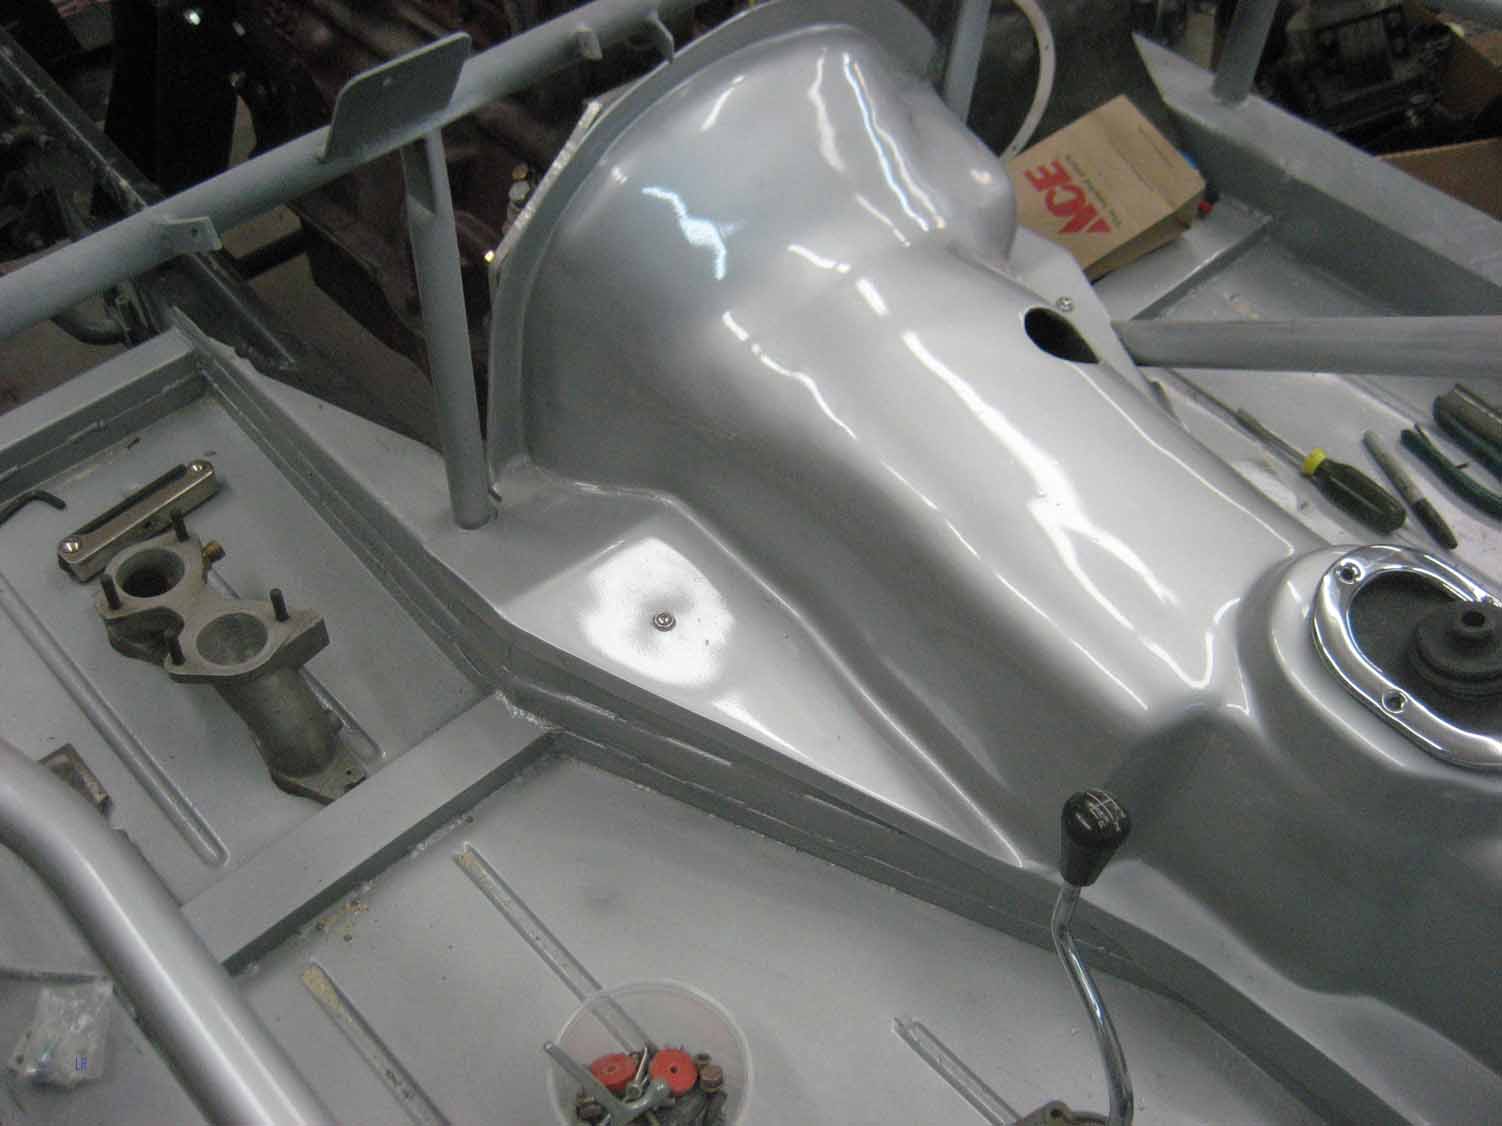
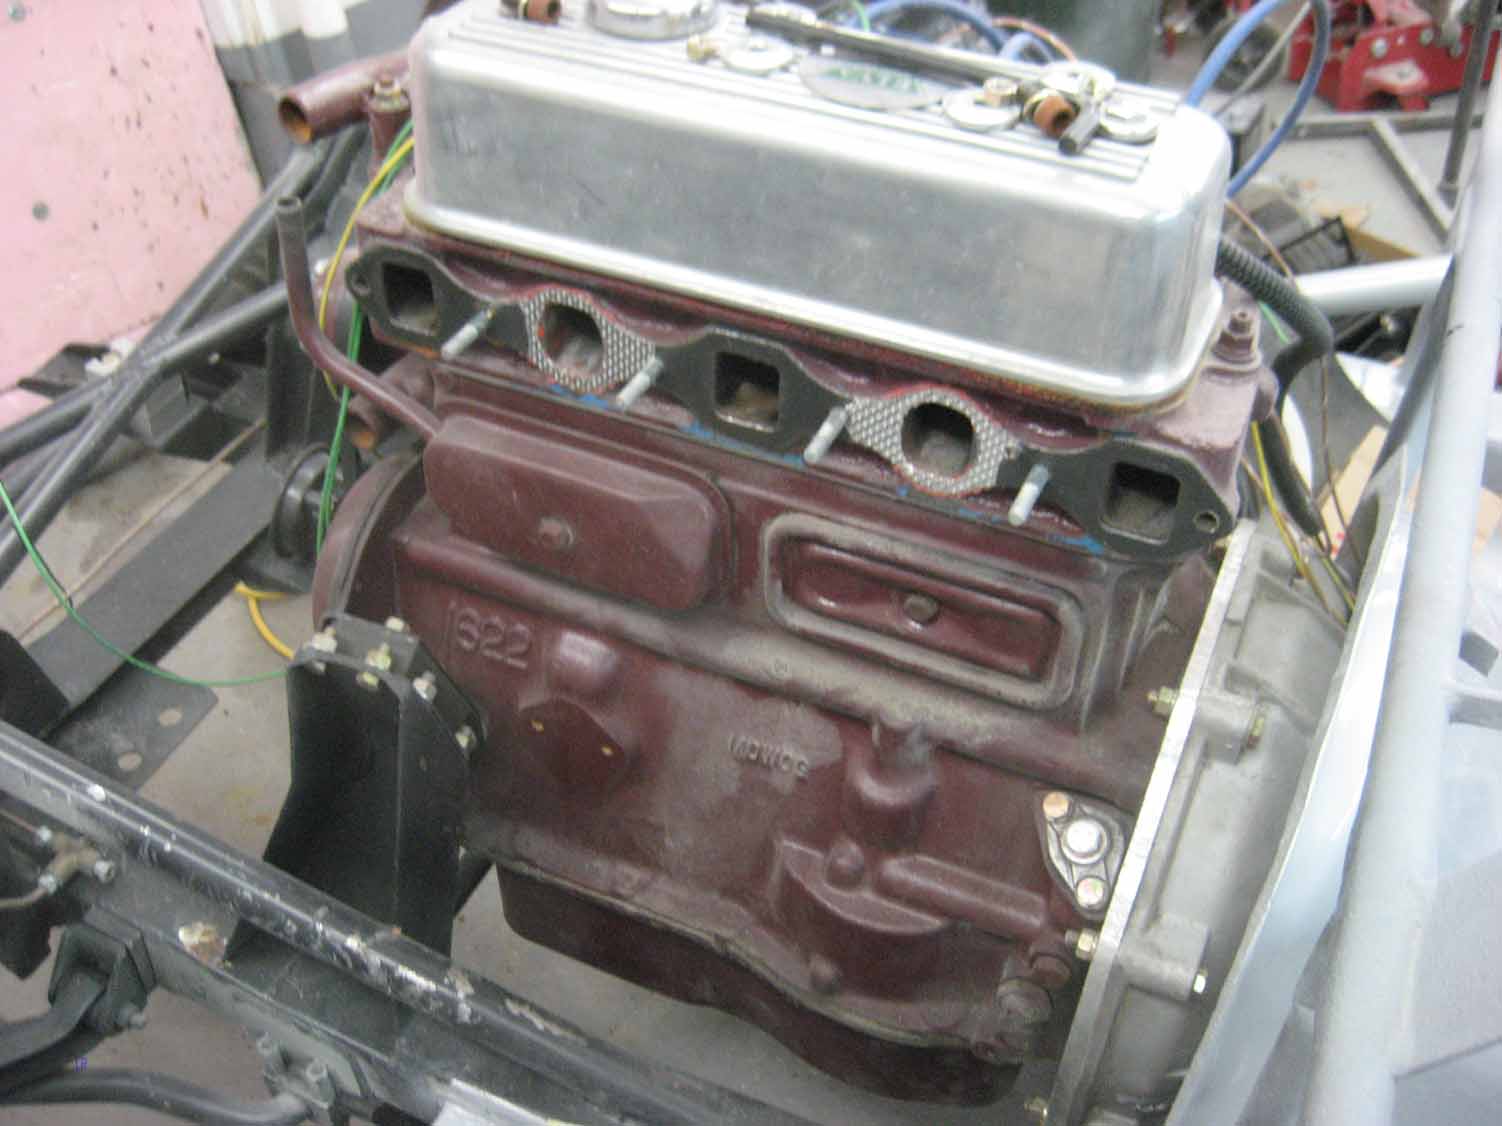
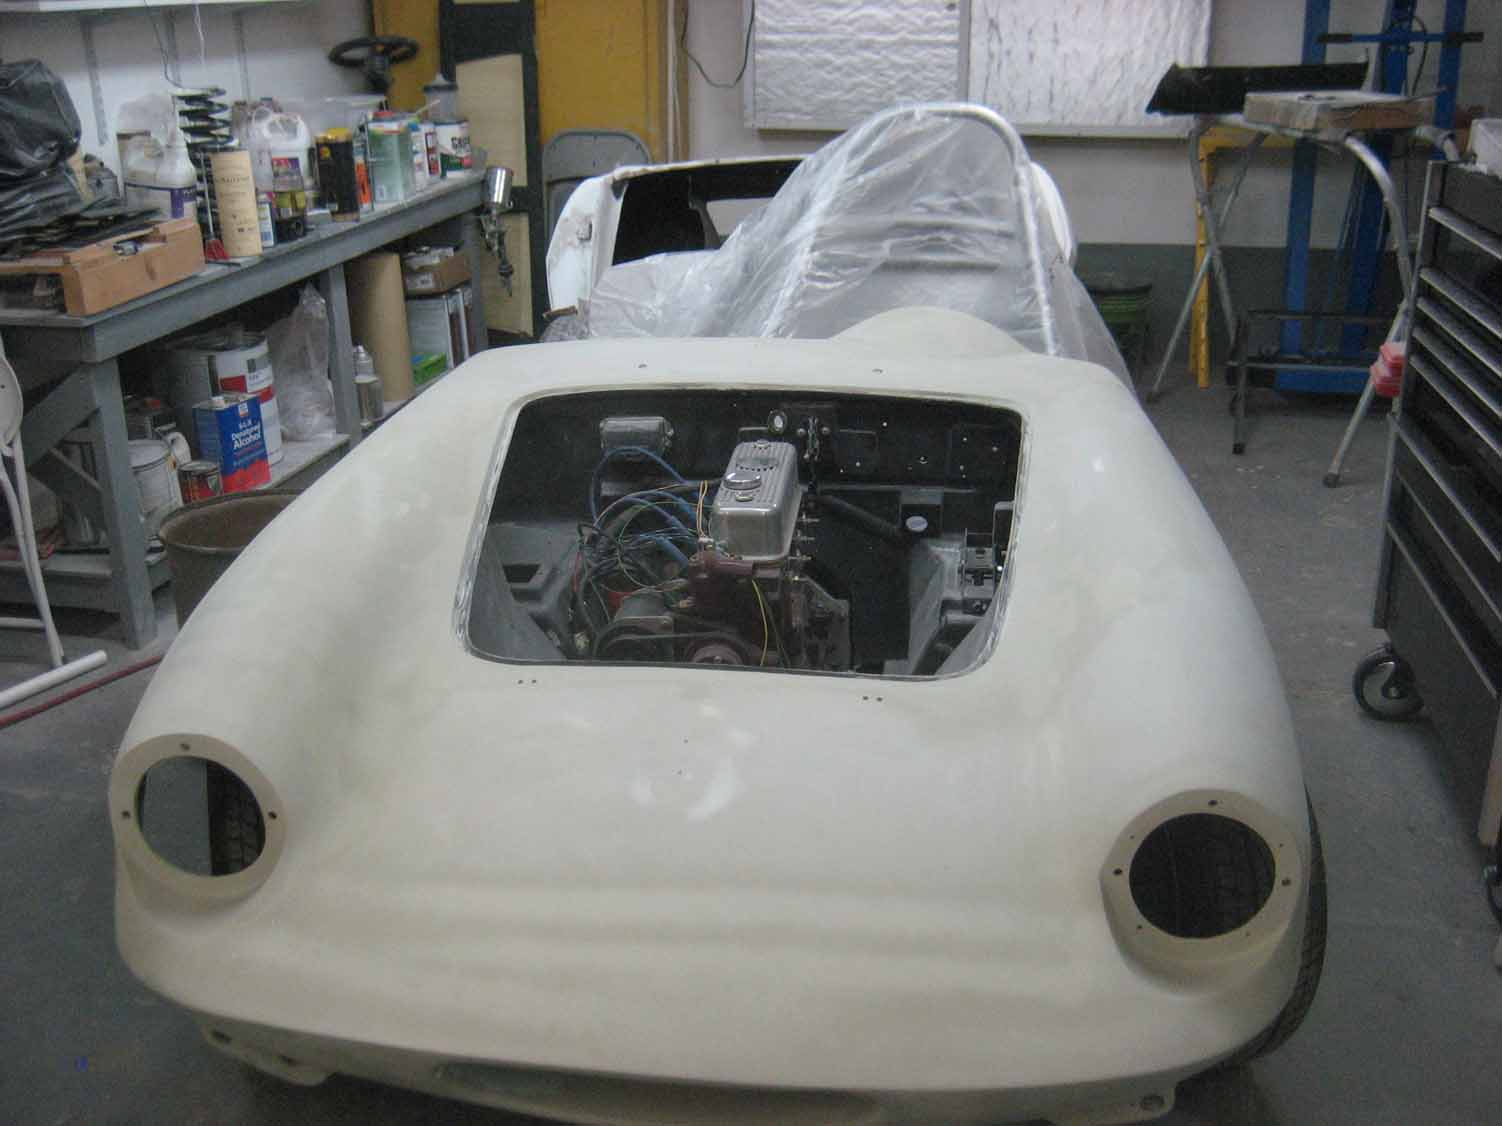
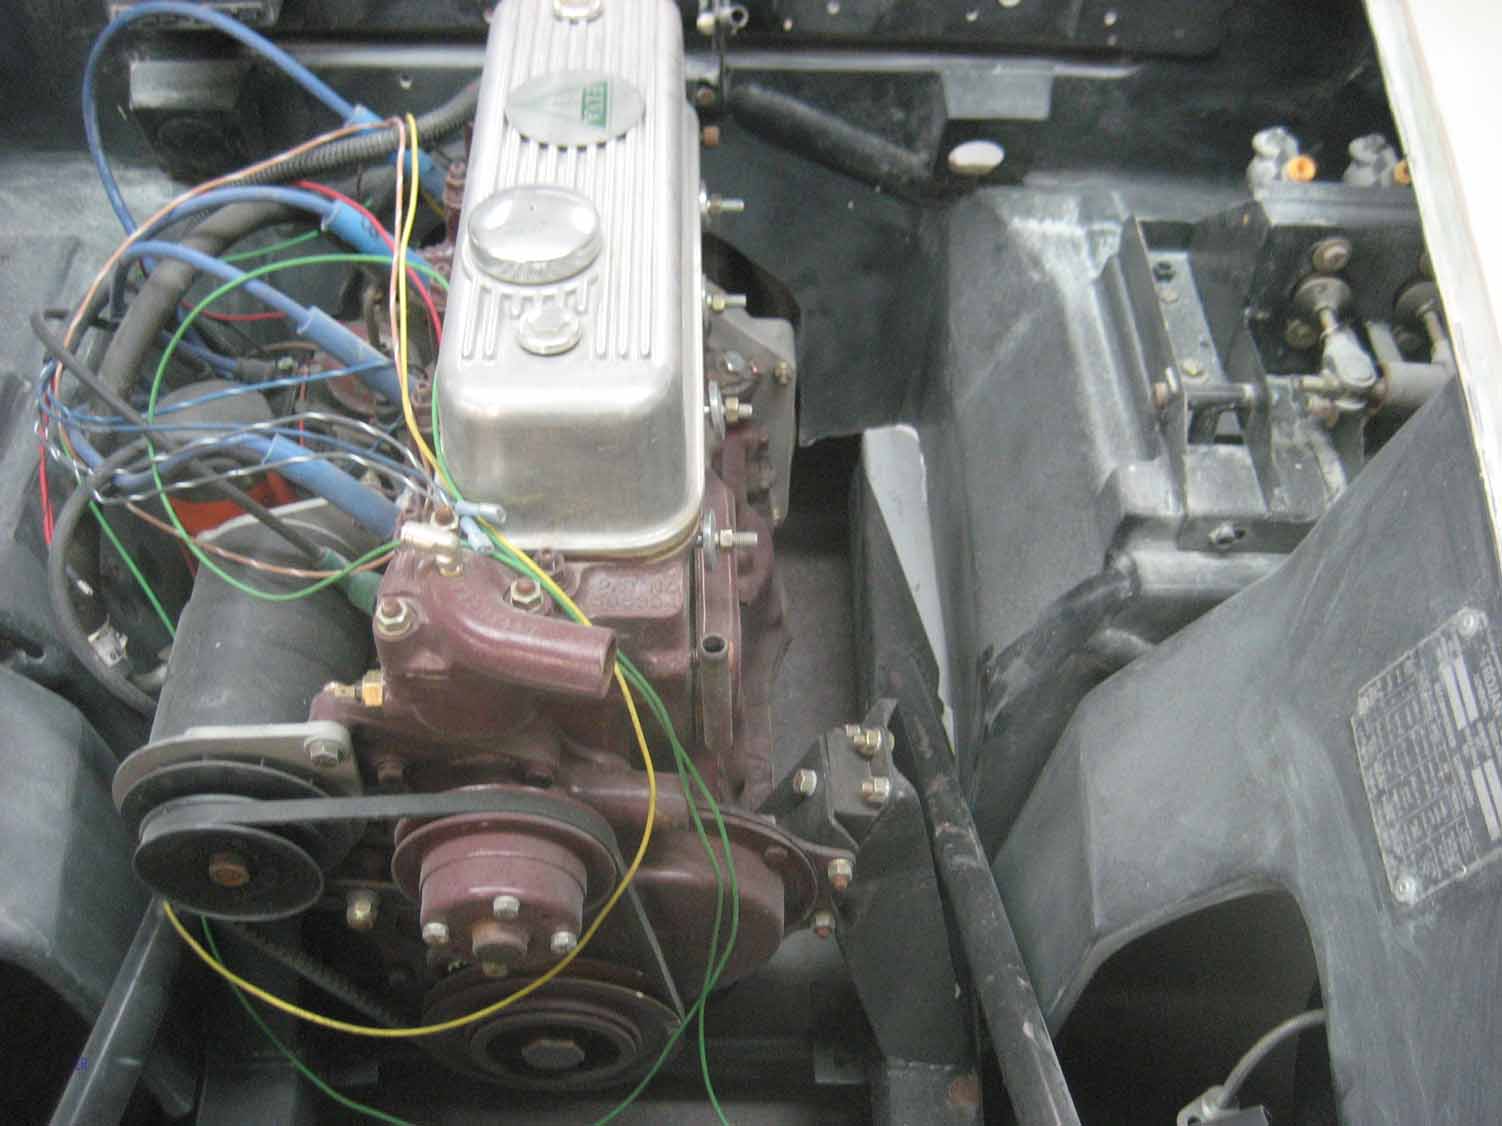
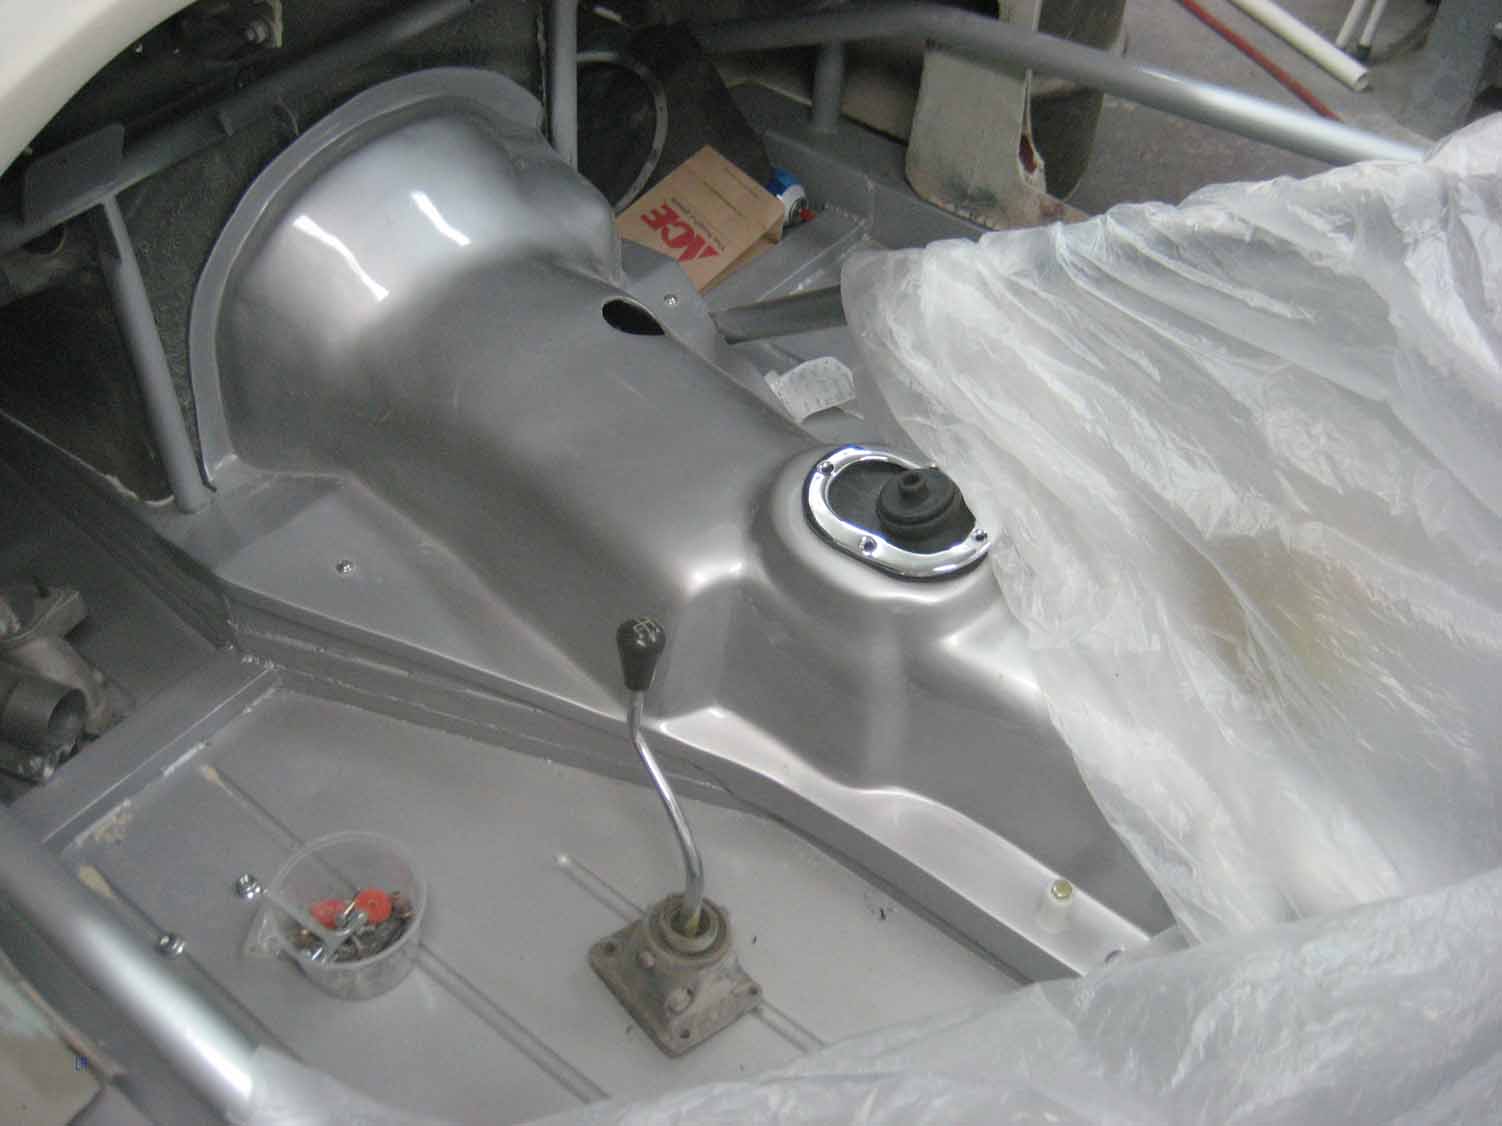
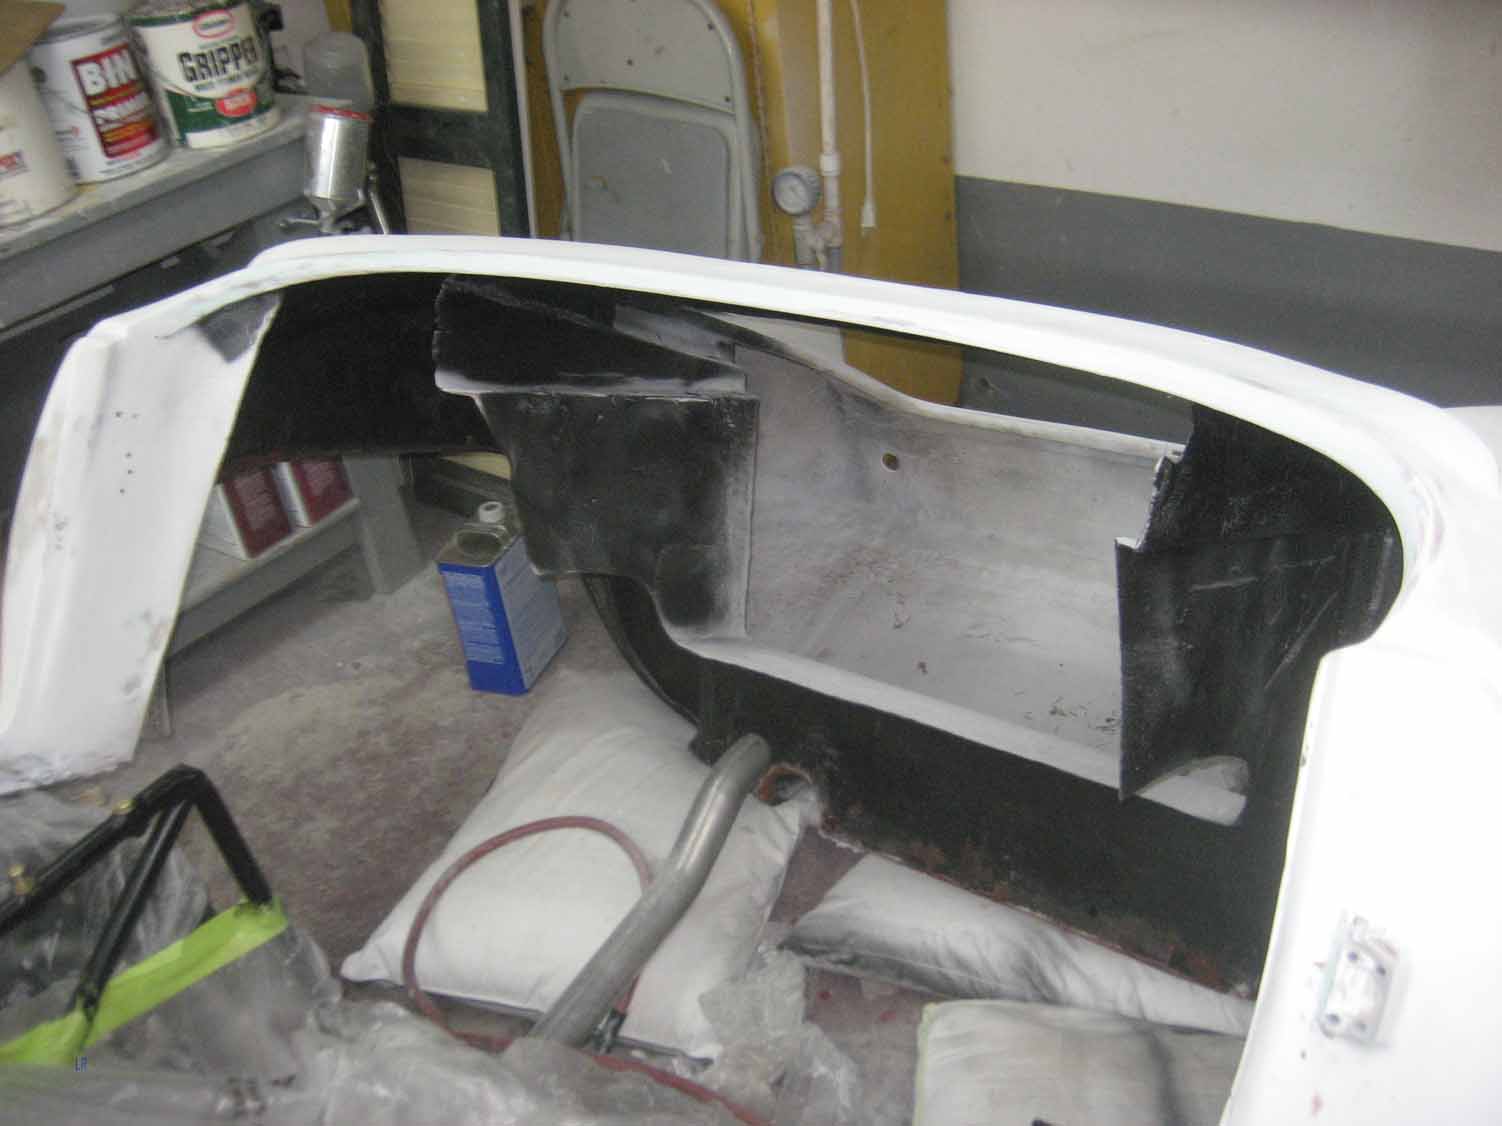
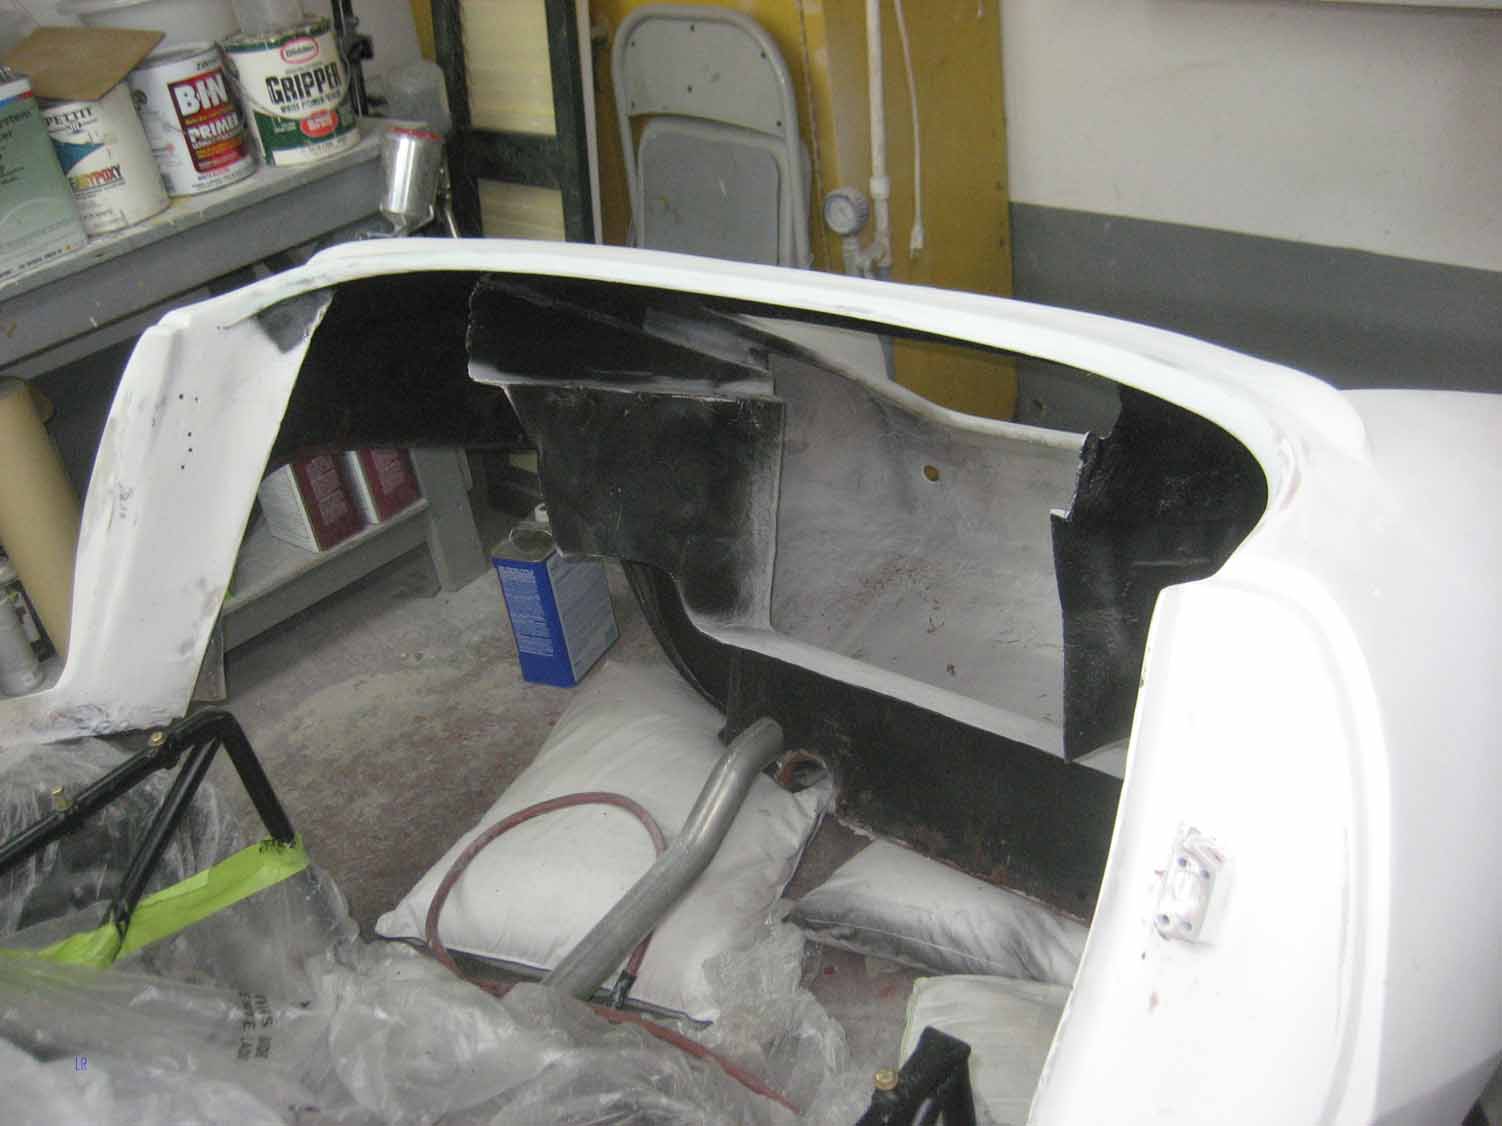
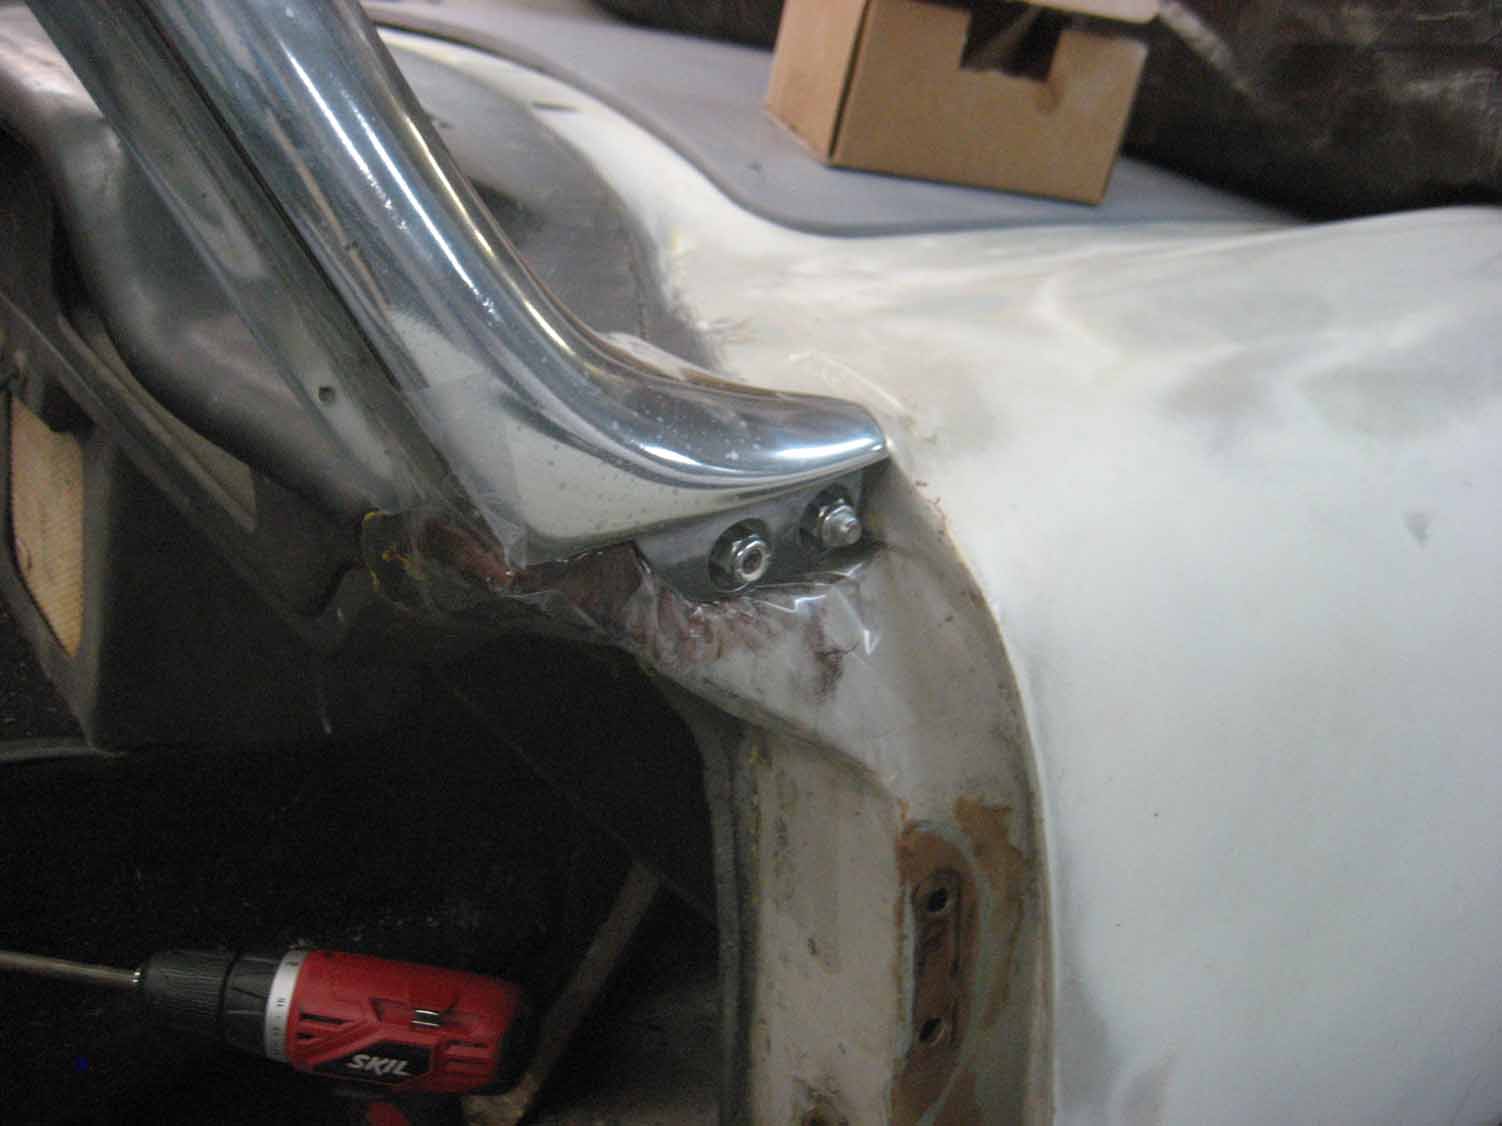
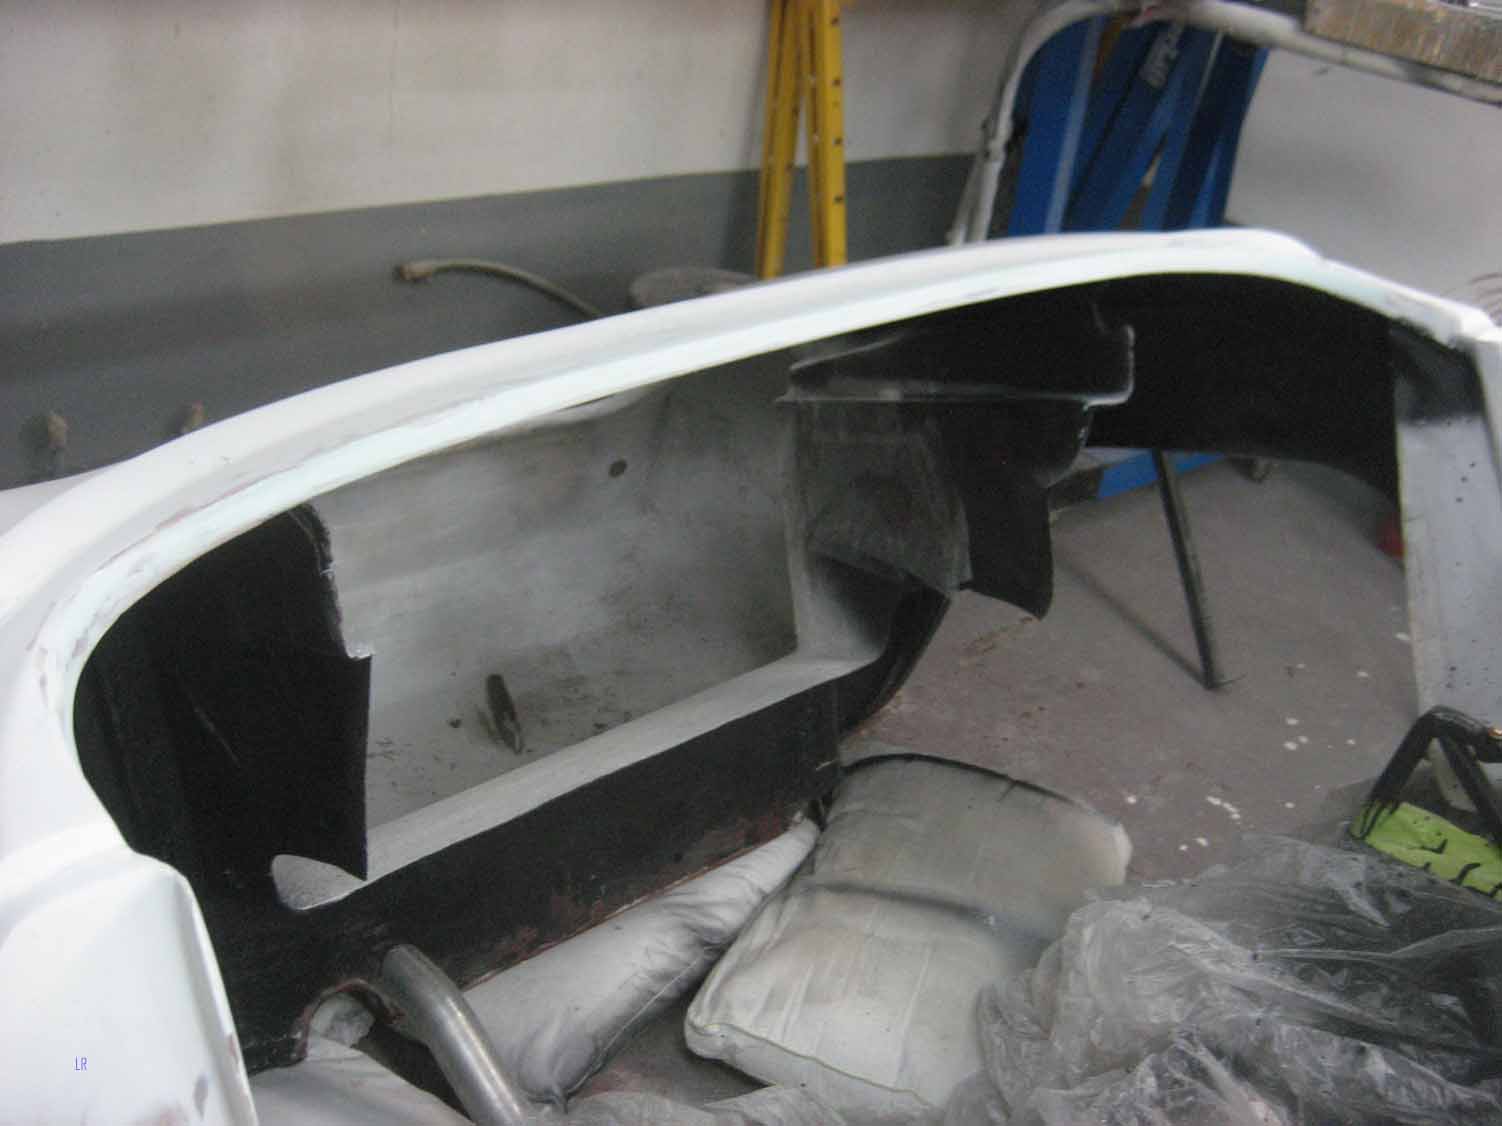
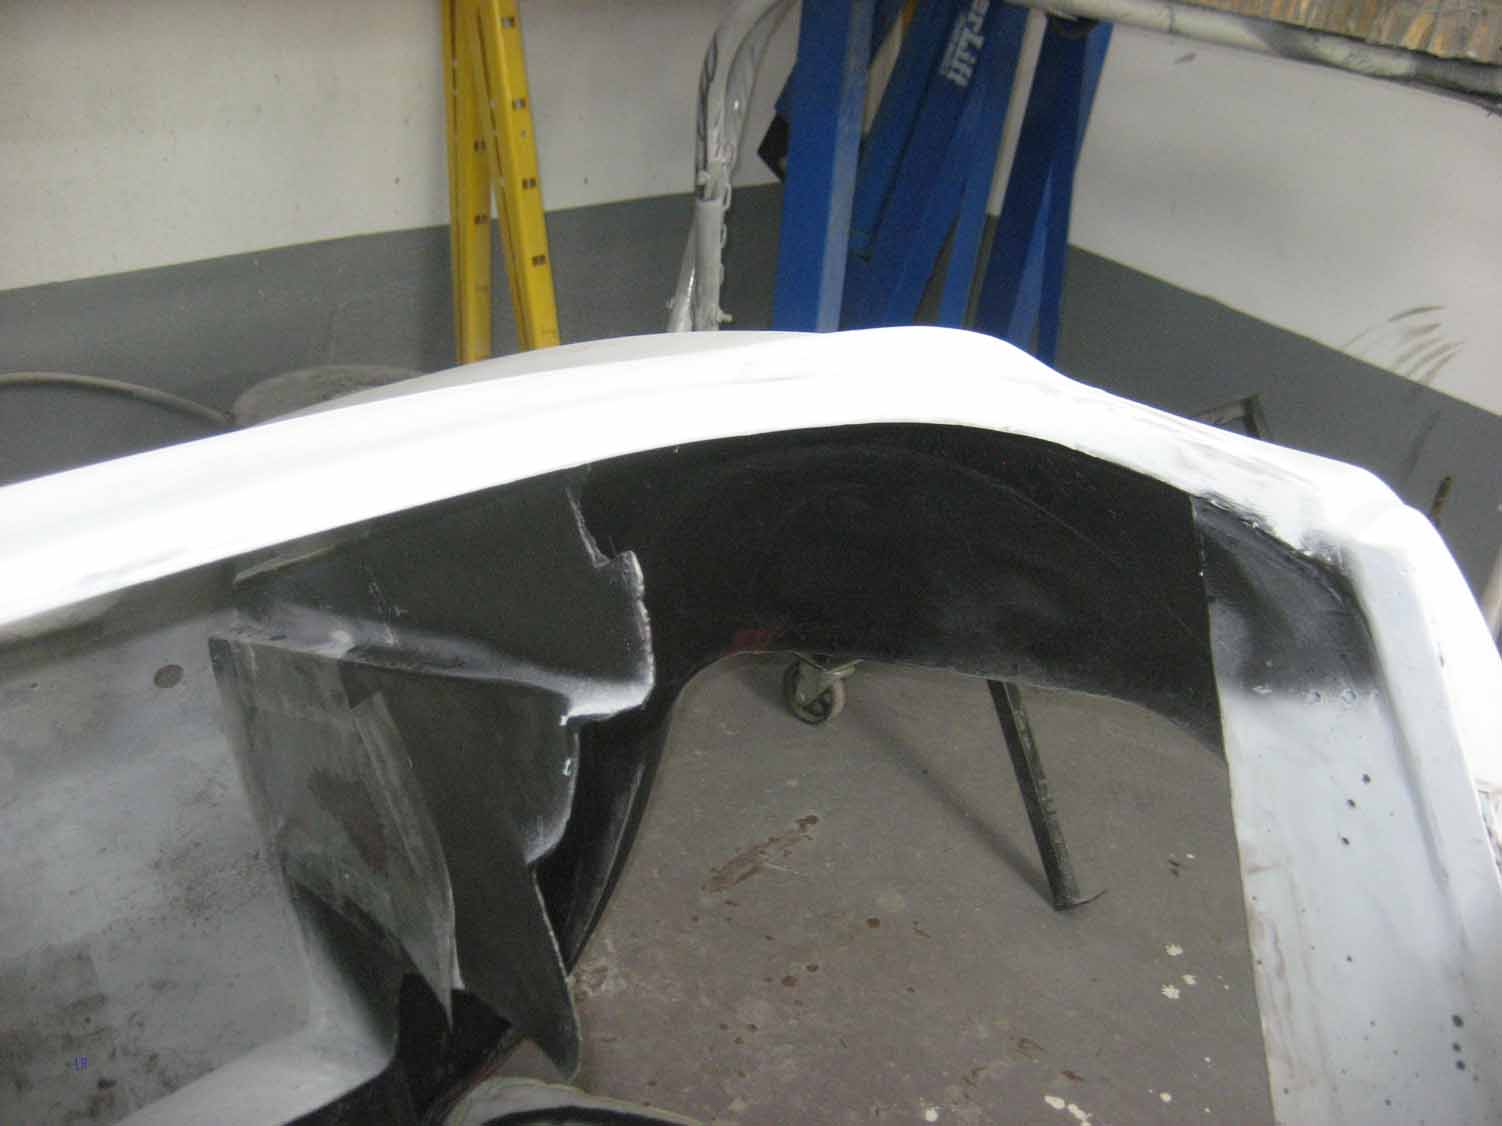
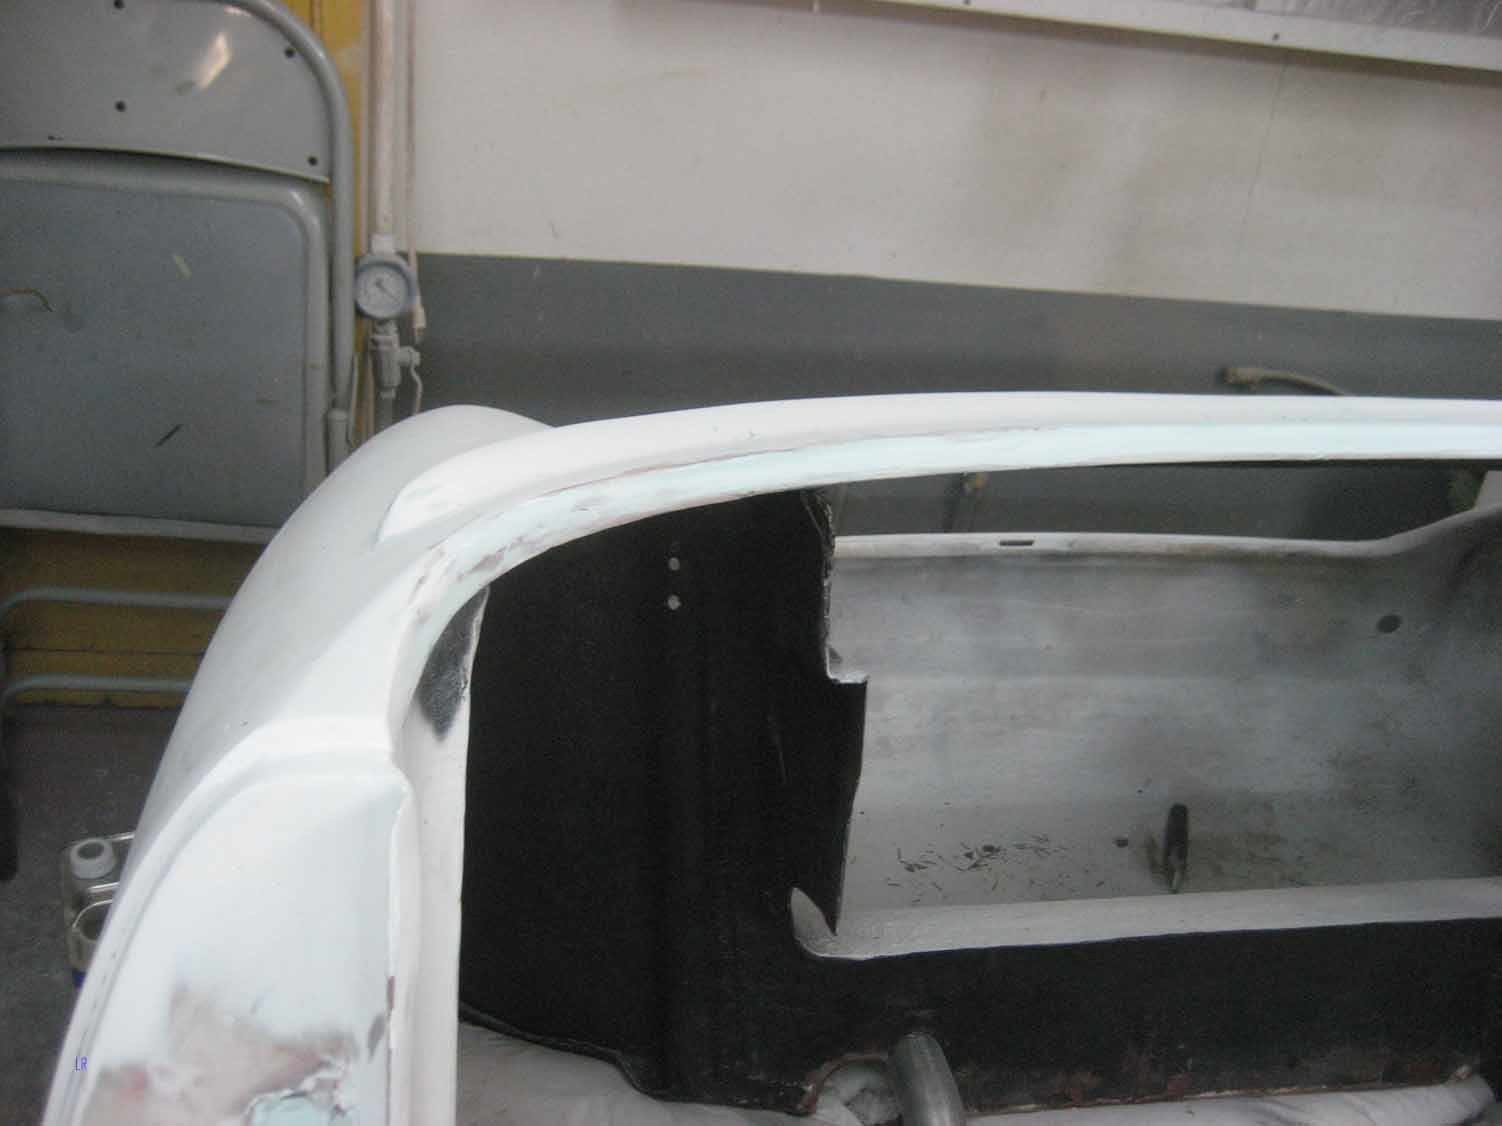 I have even more good photos to catch up on.
British Car, Elva, Fiberglass, Restoration, Vintage Racing | Permalink
Posted by elvamk5
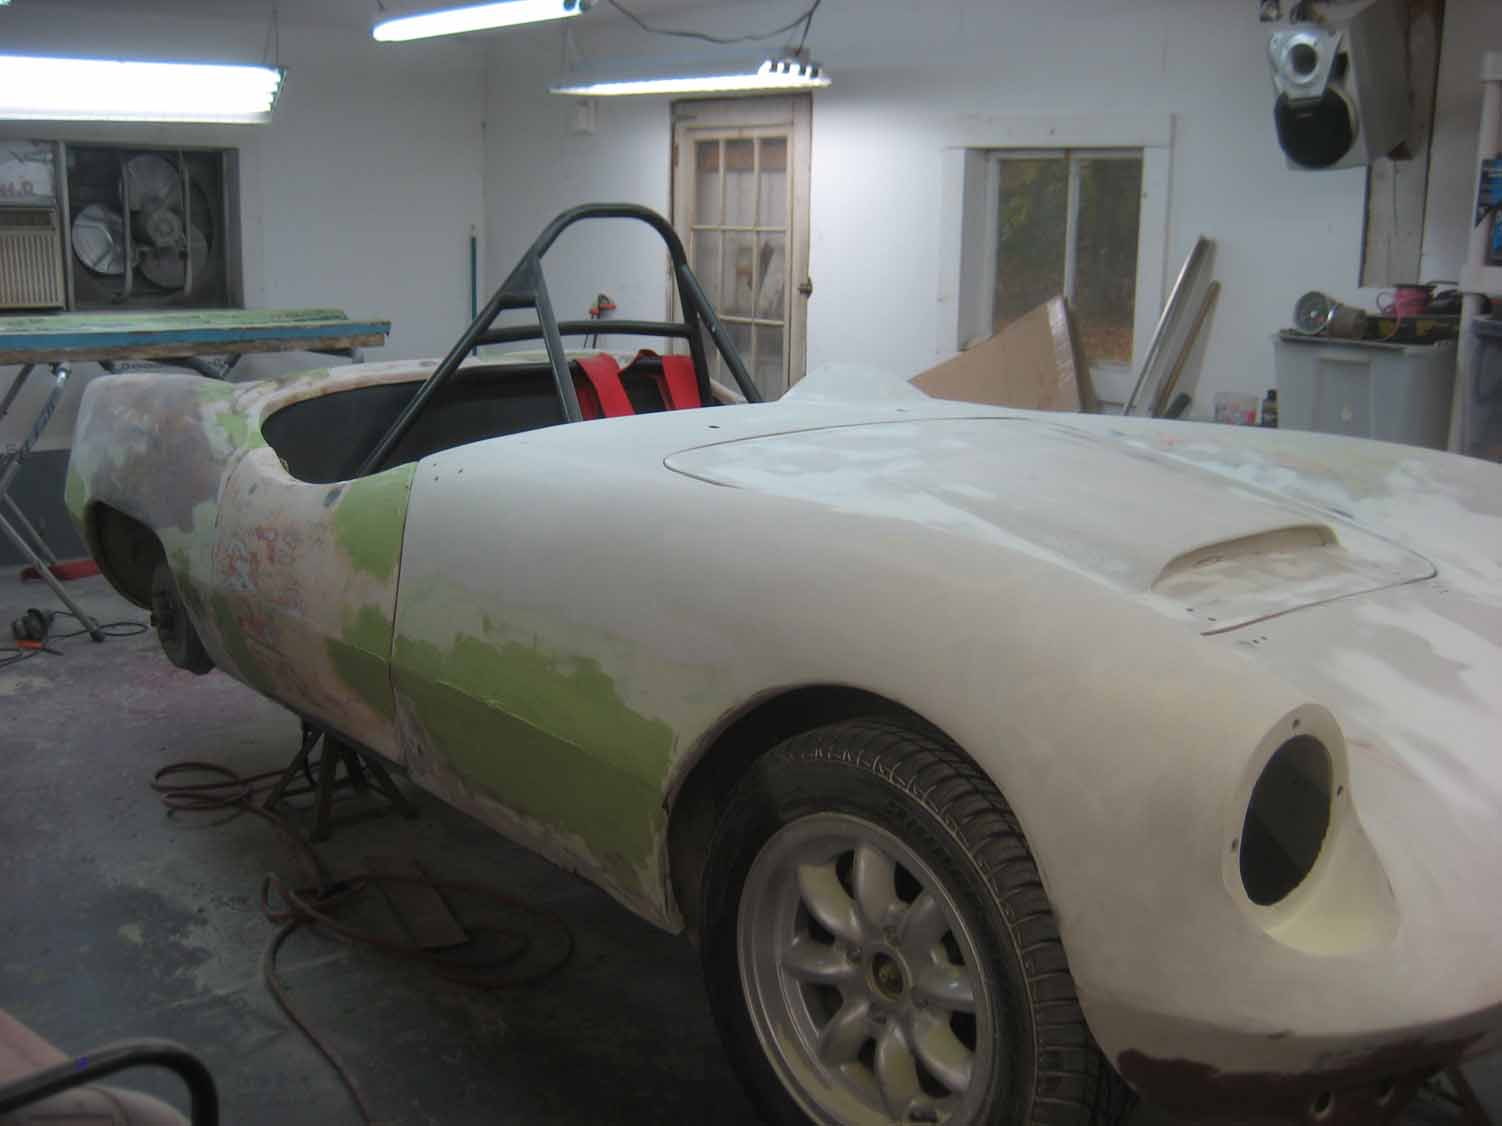
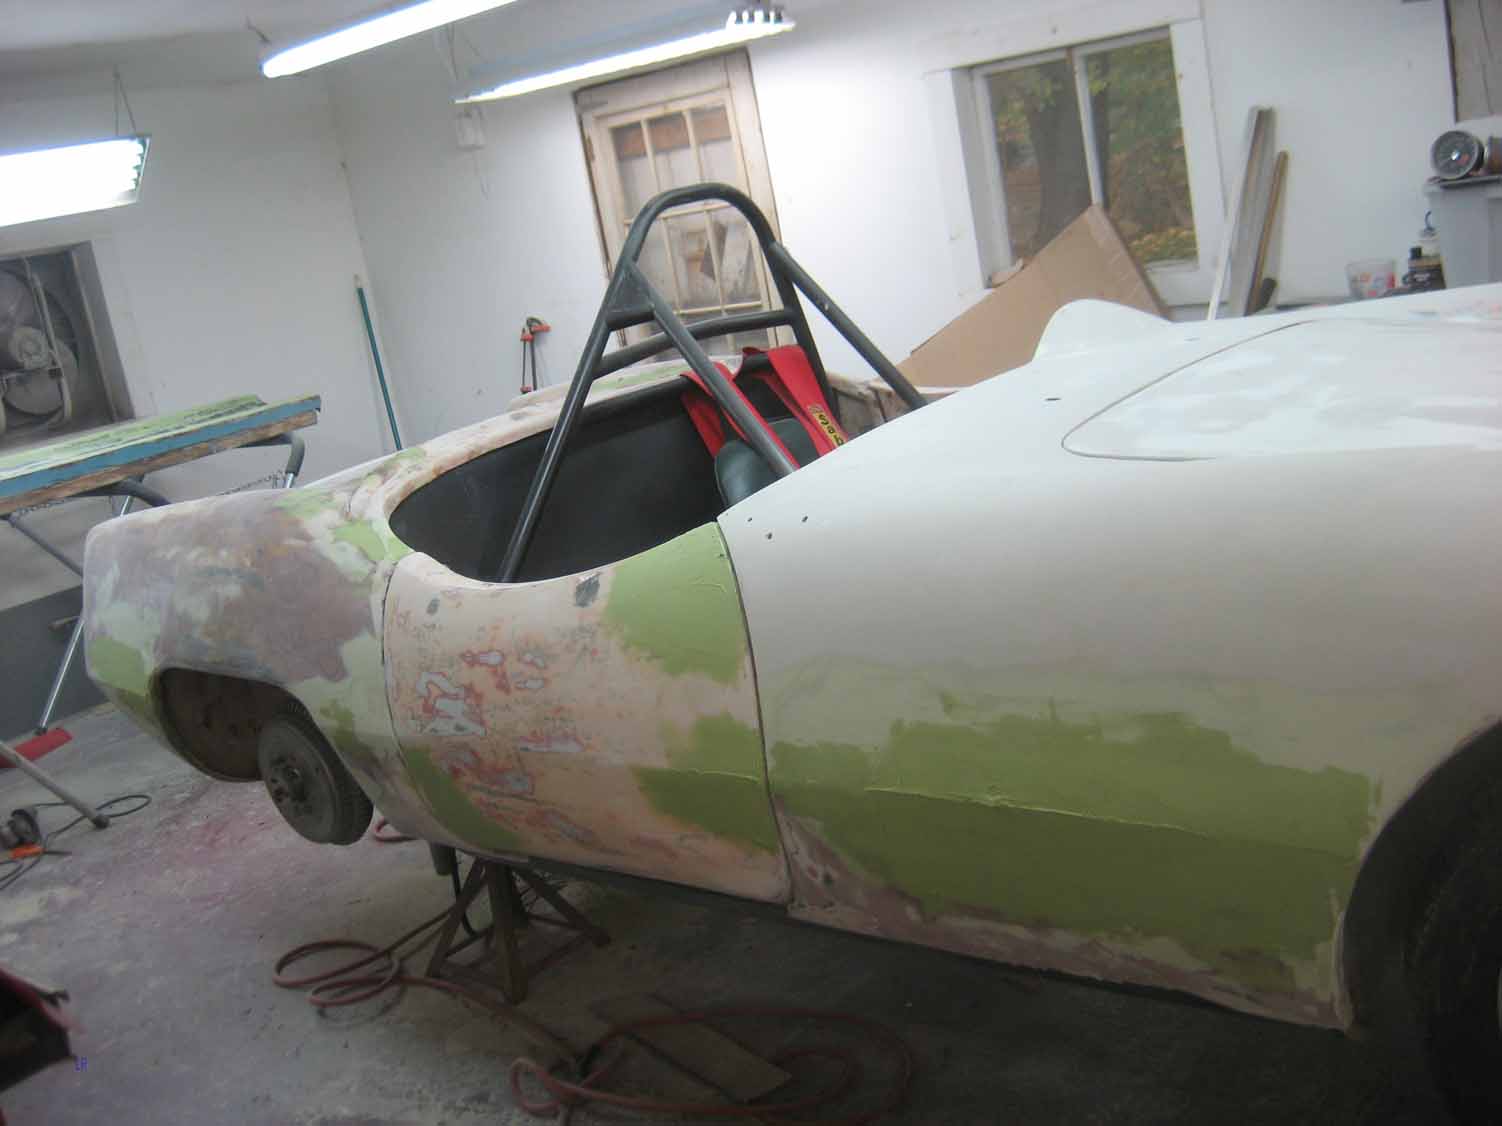
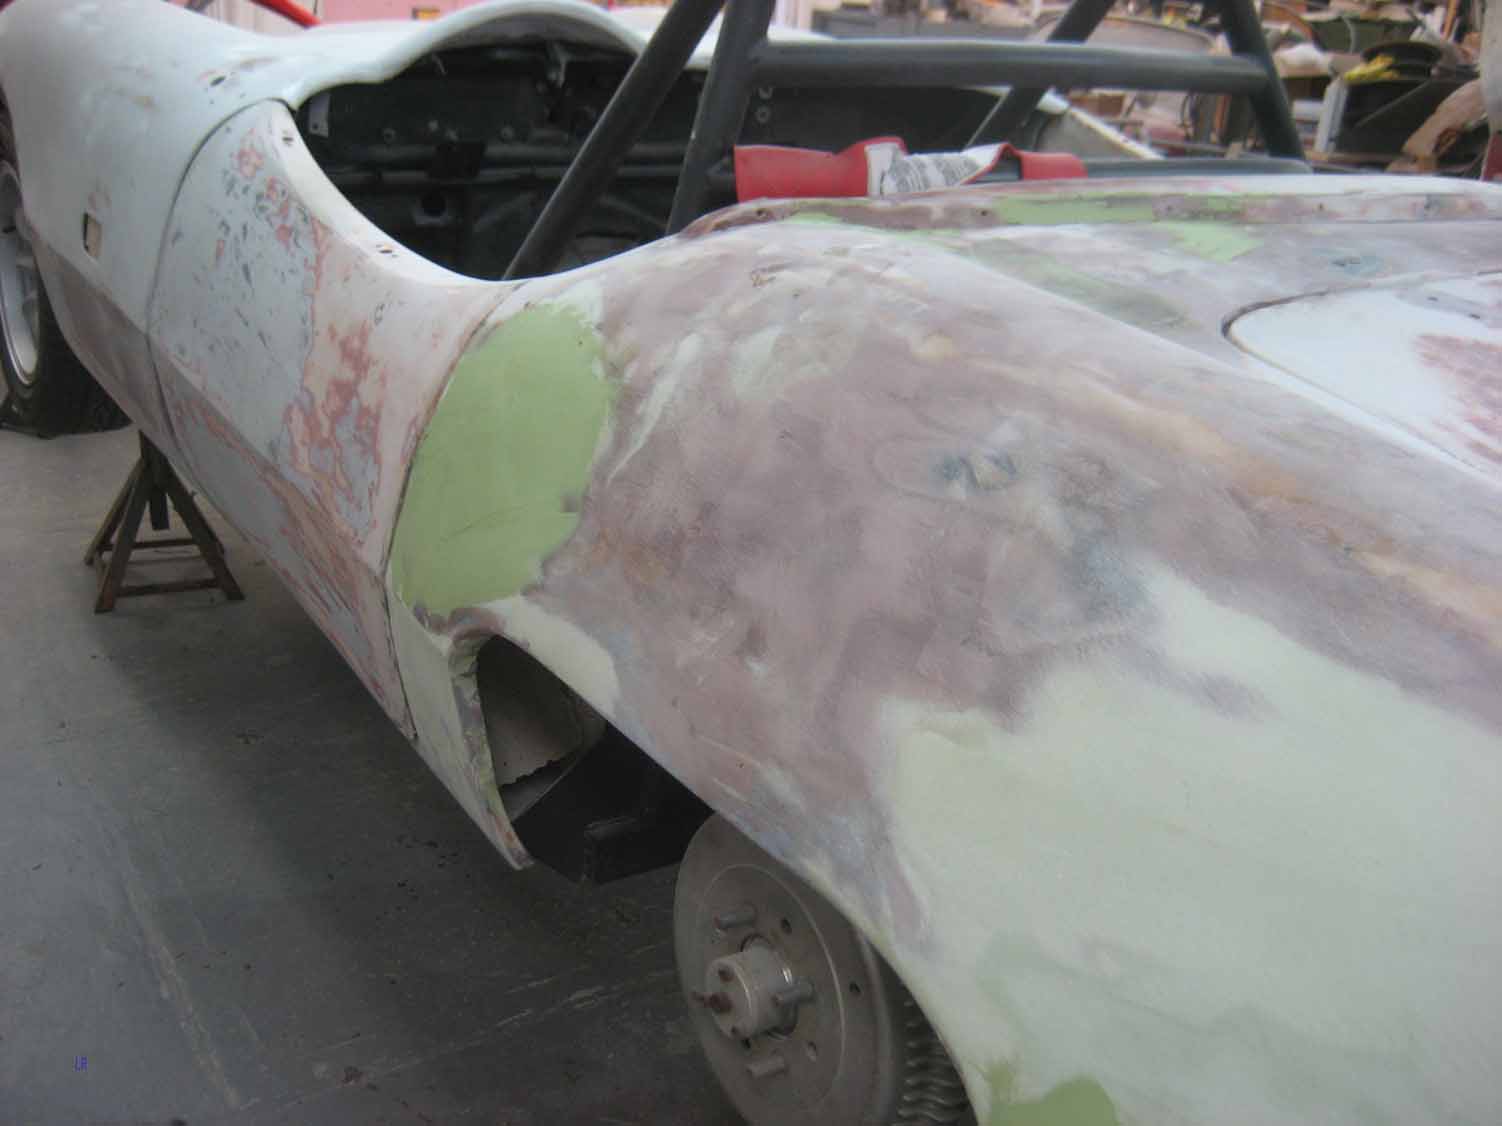
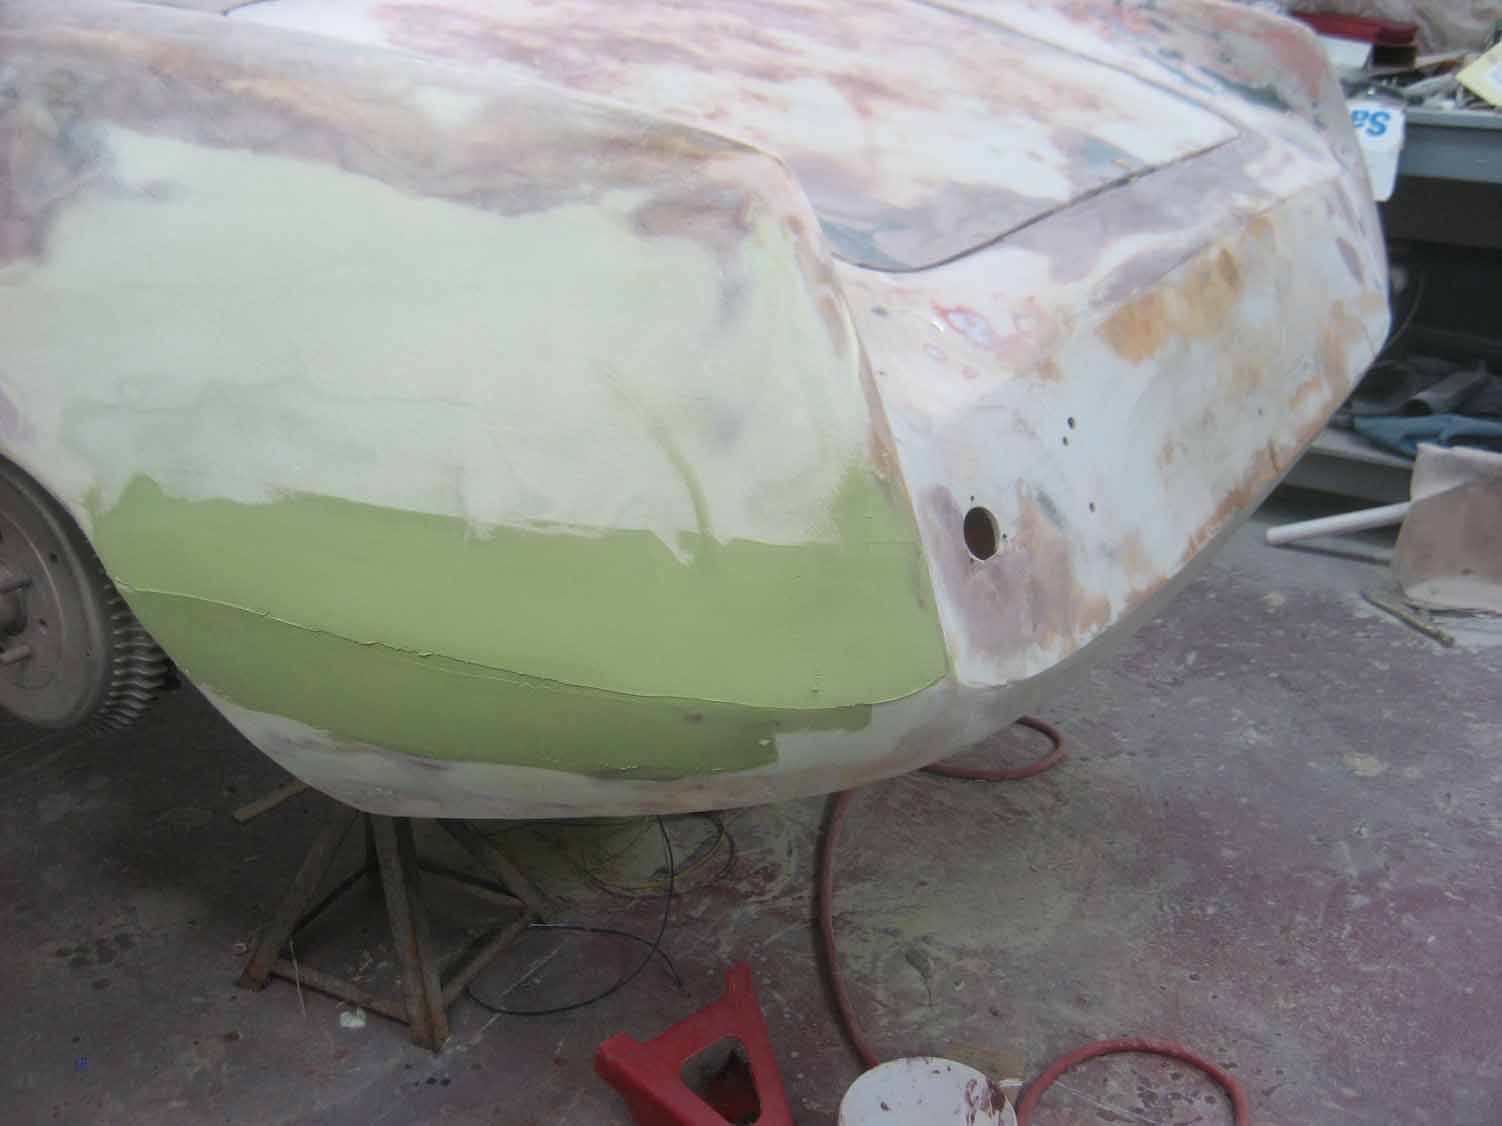
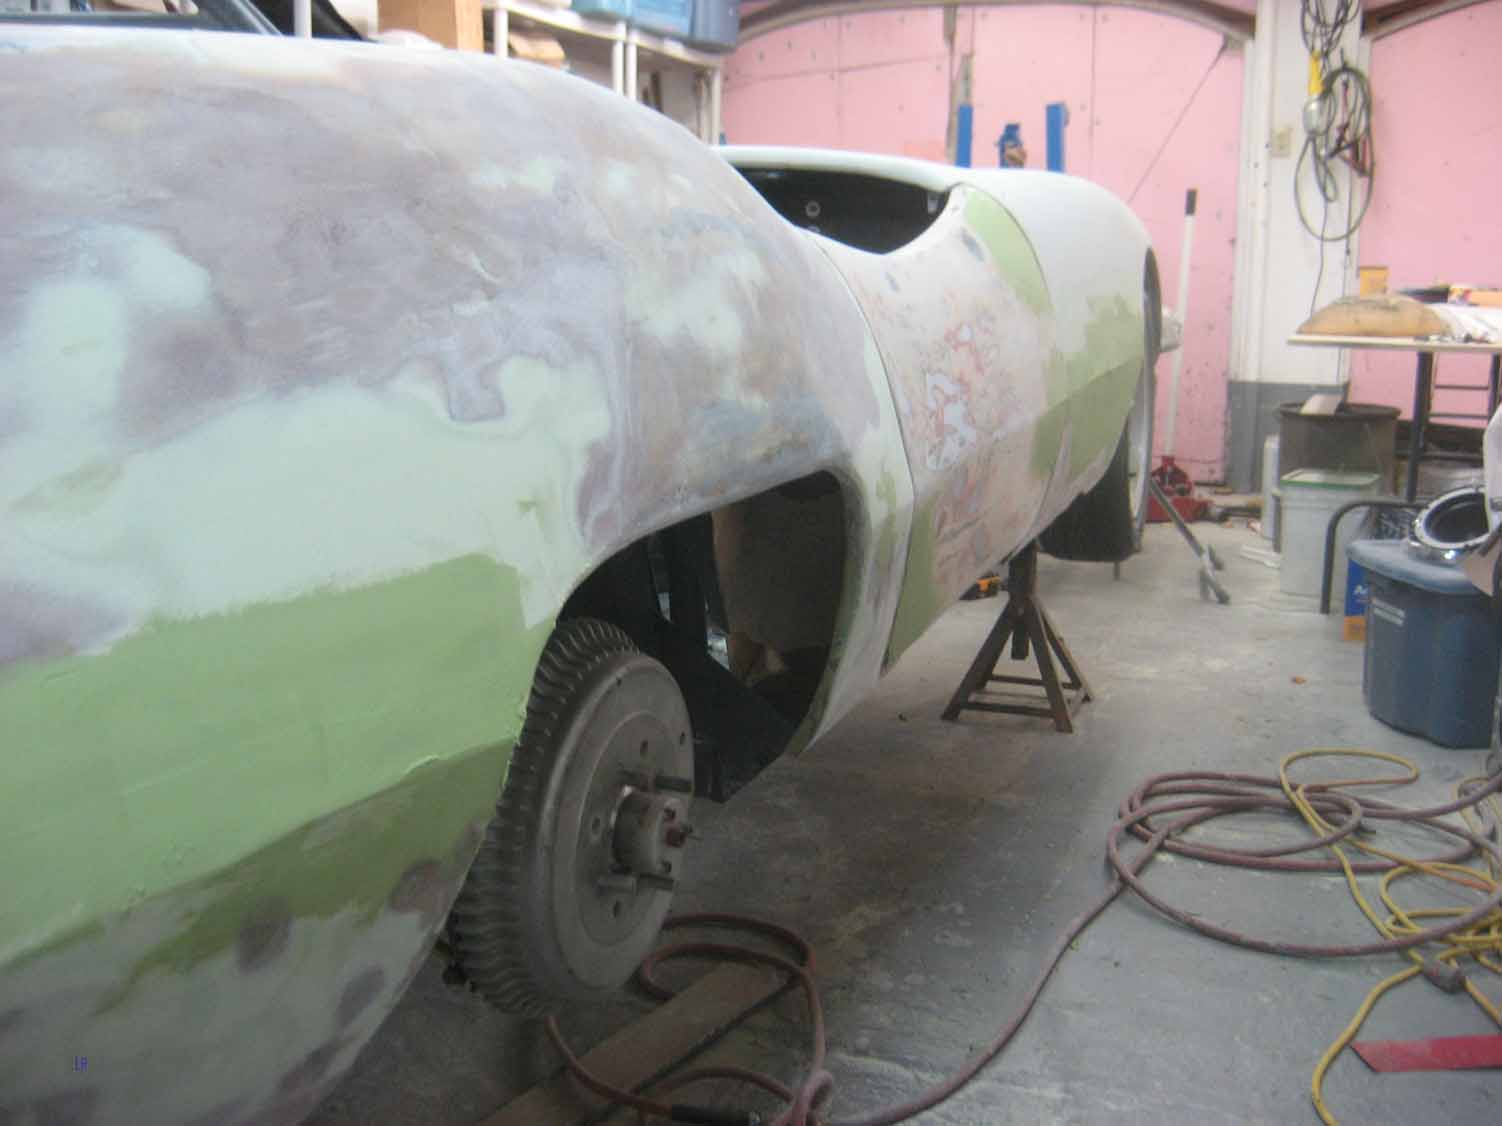
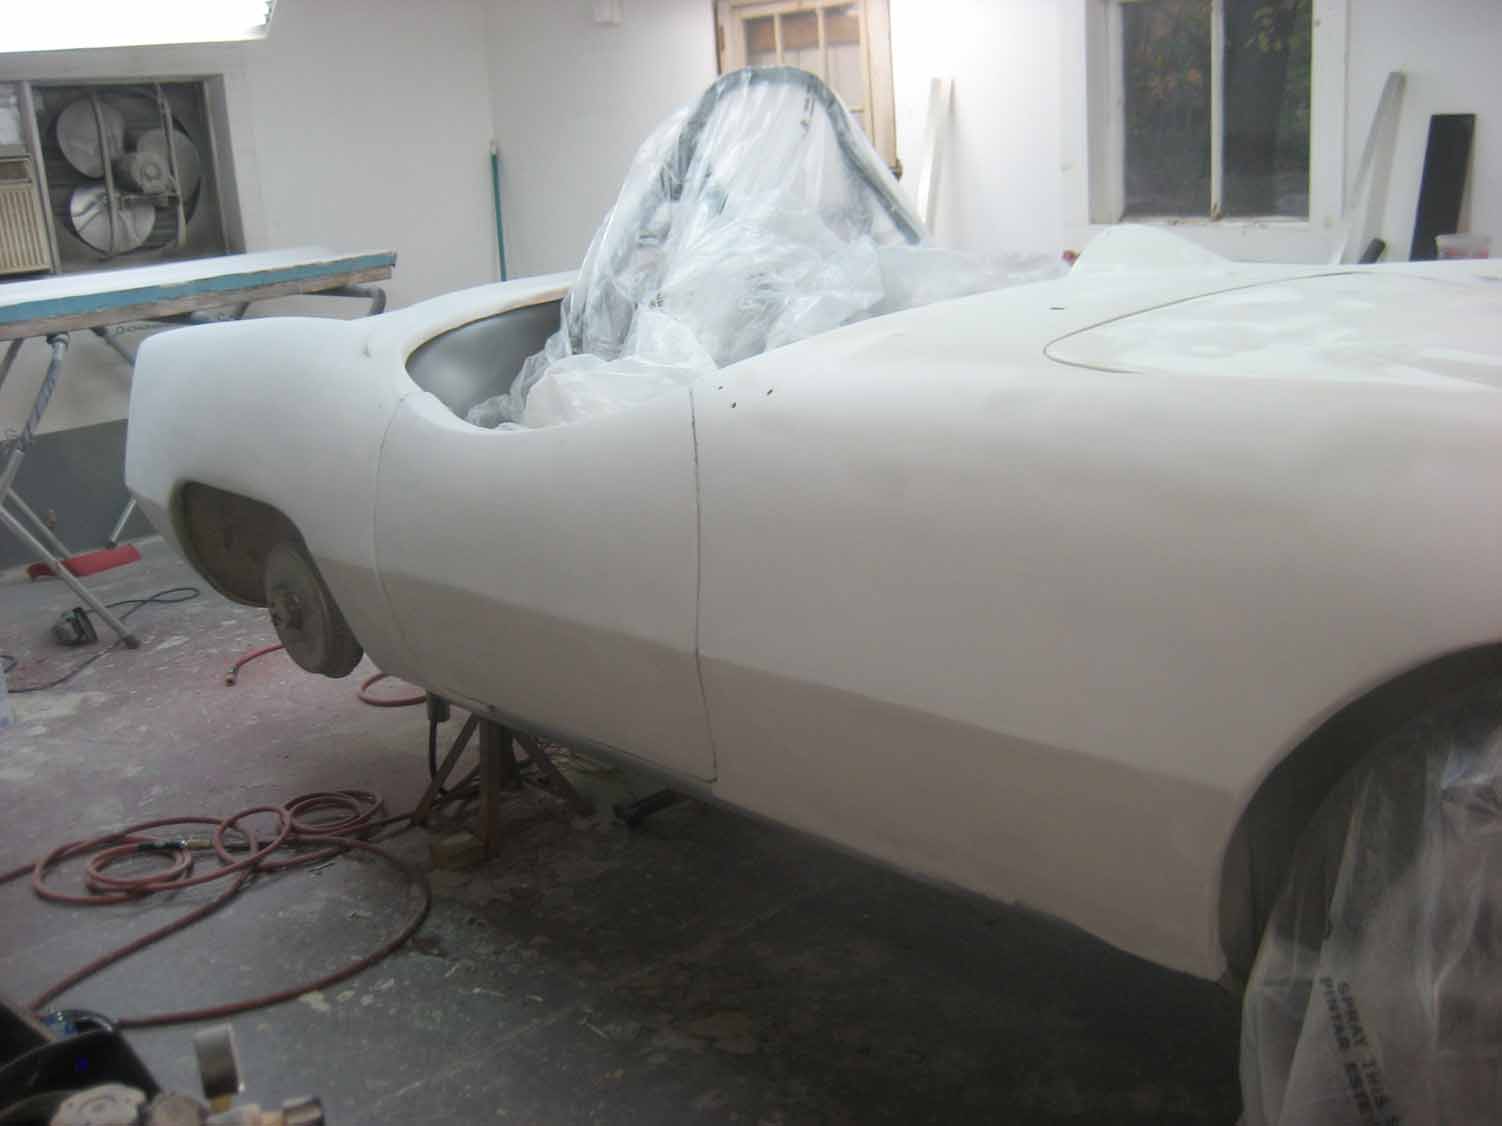
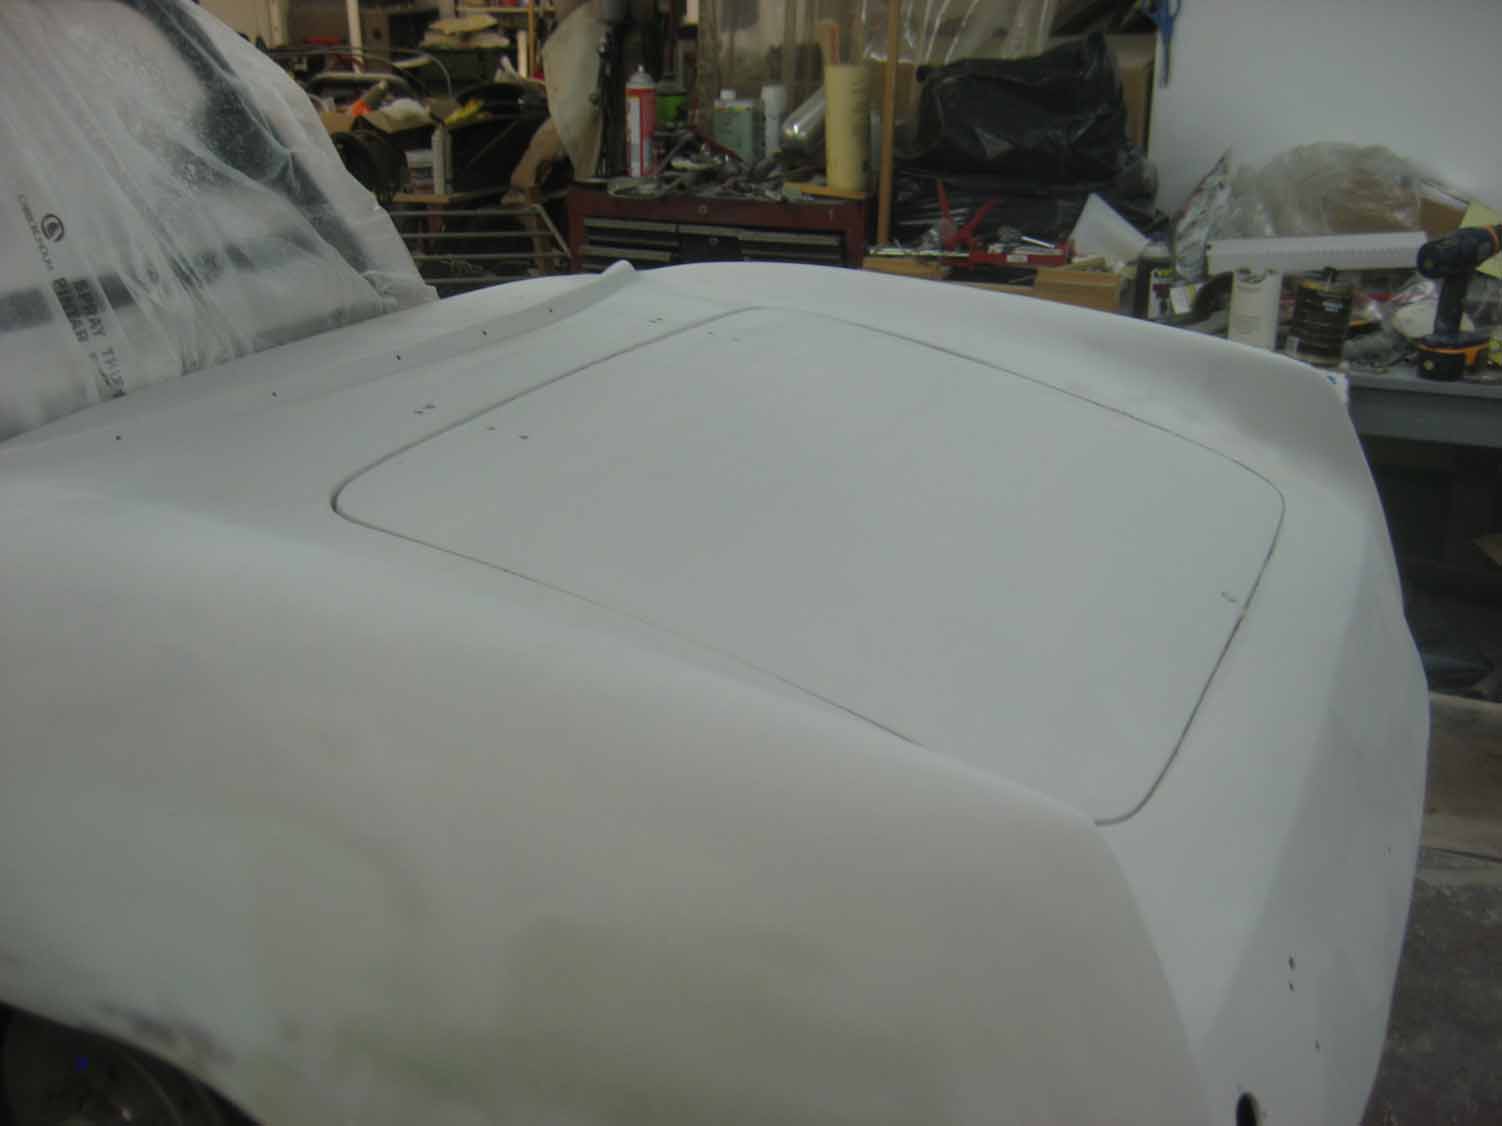
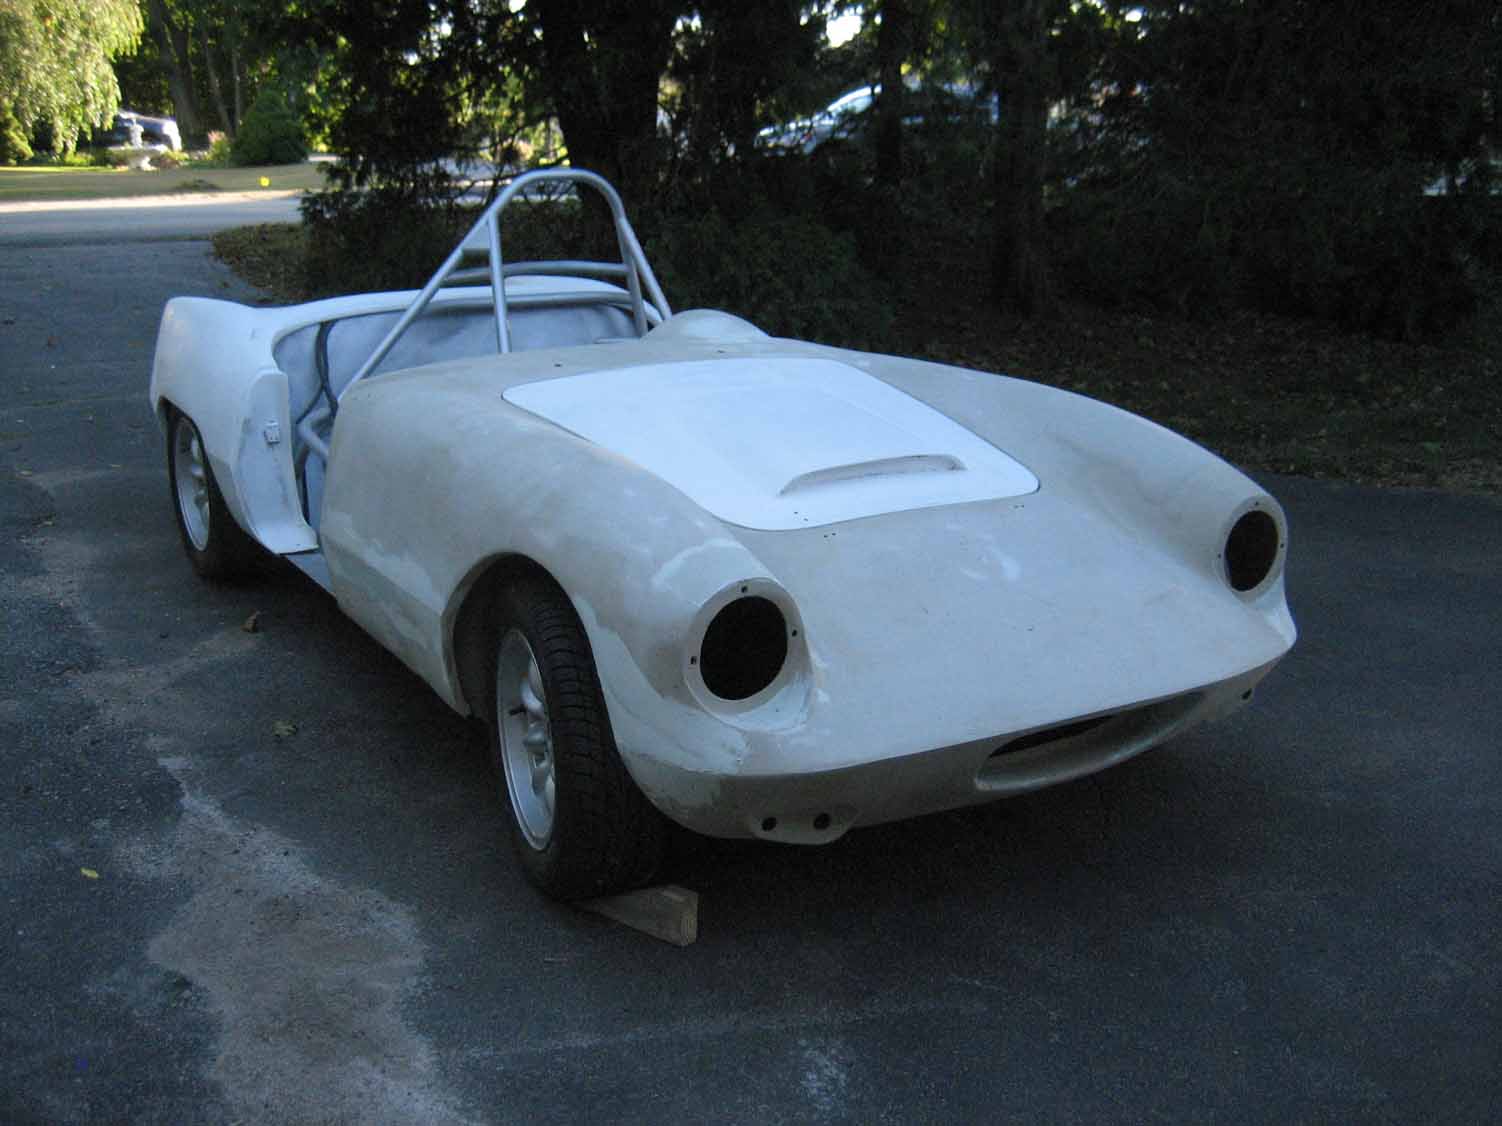
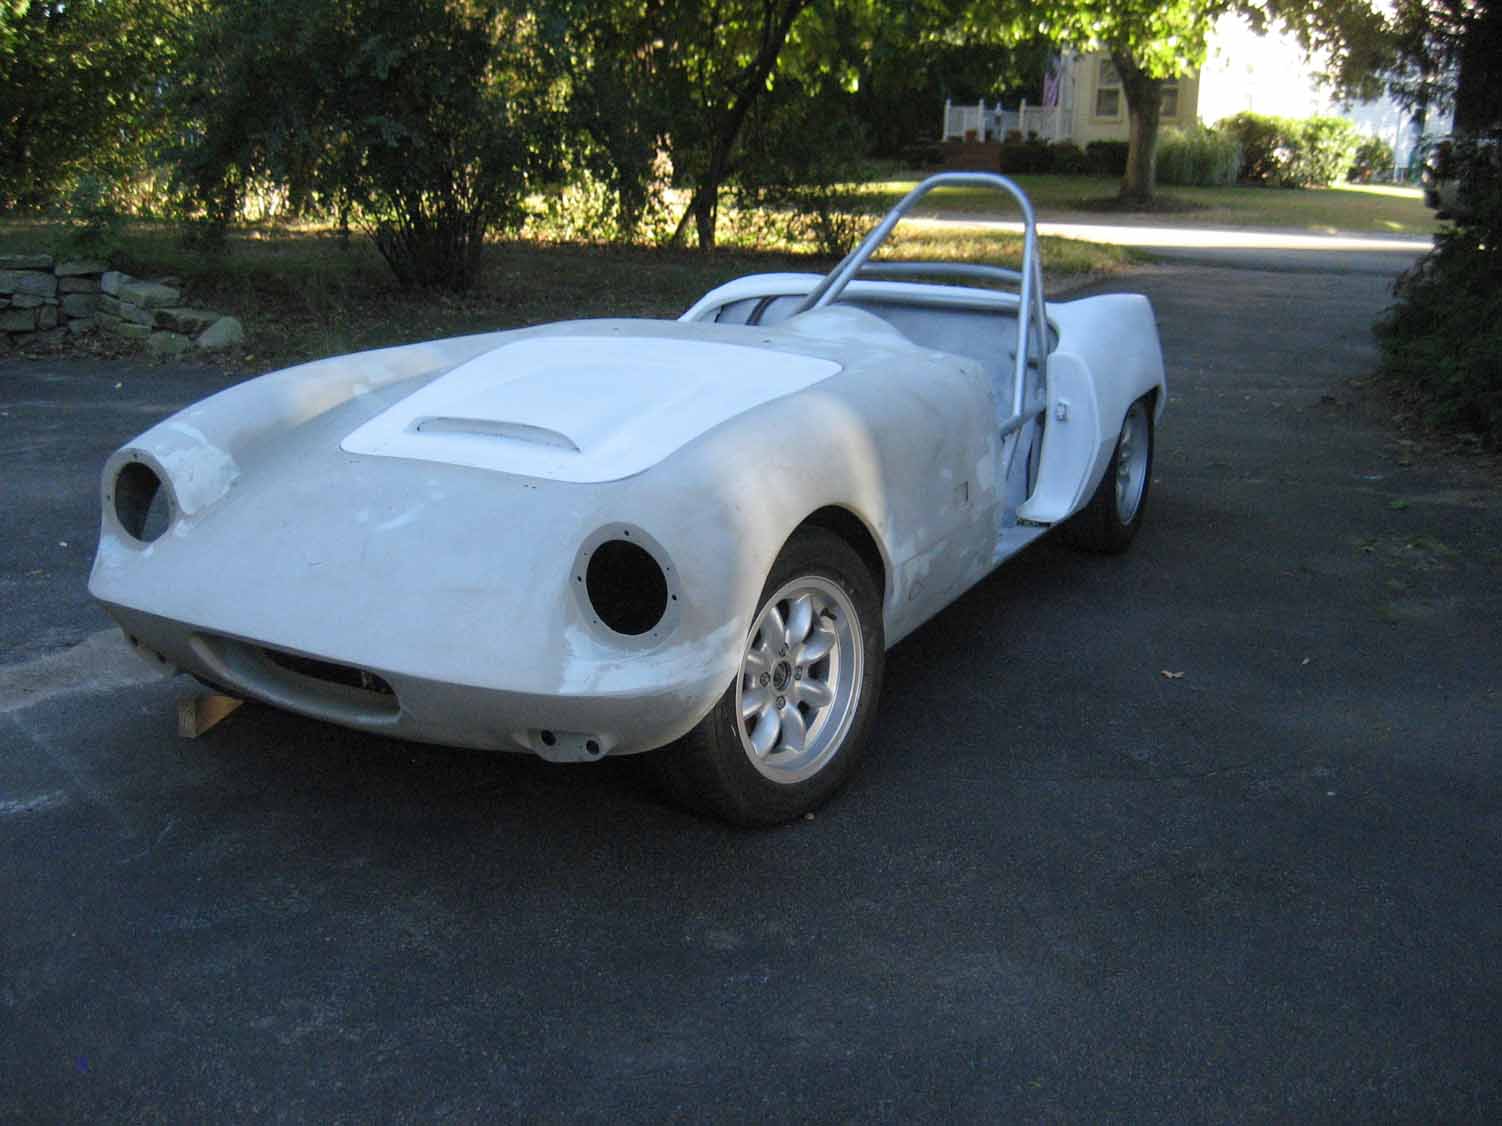
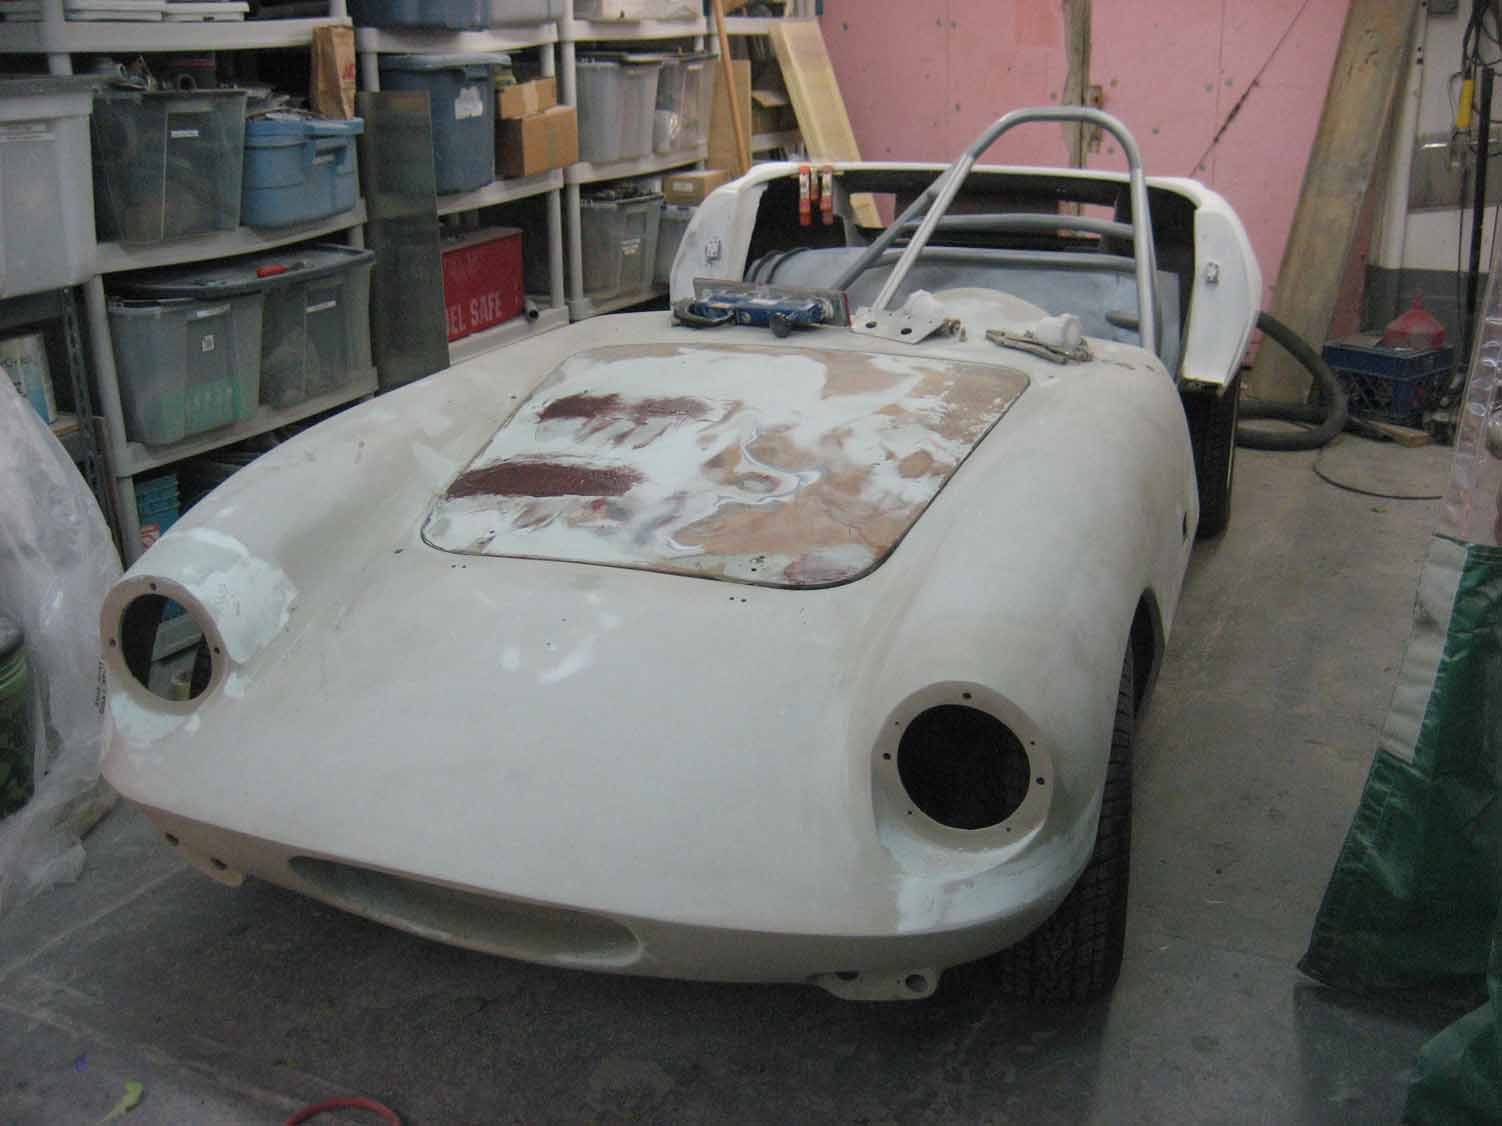
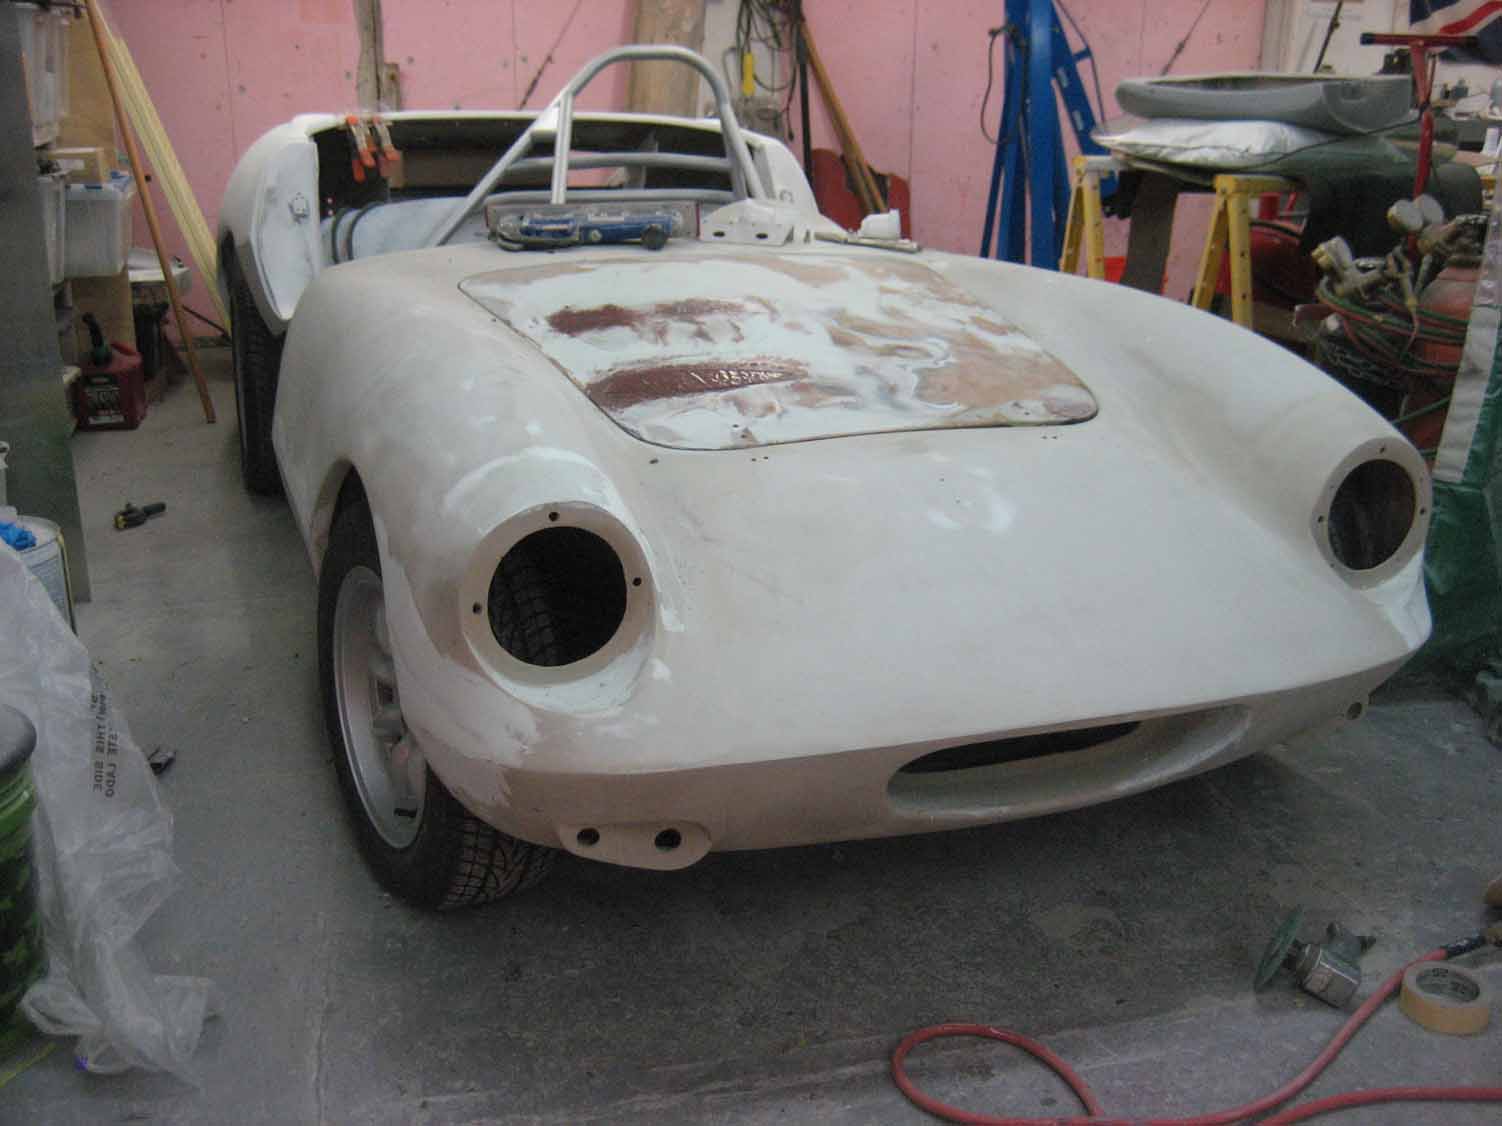
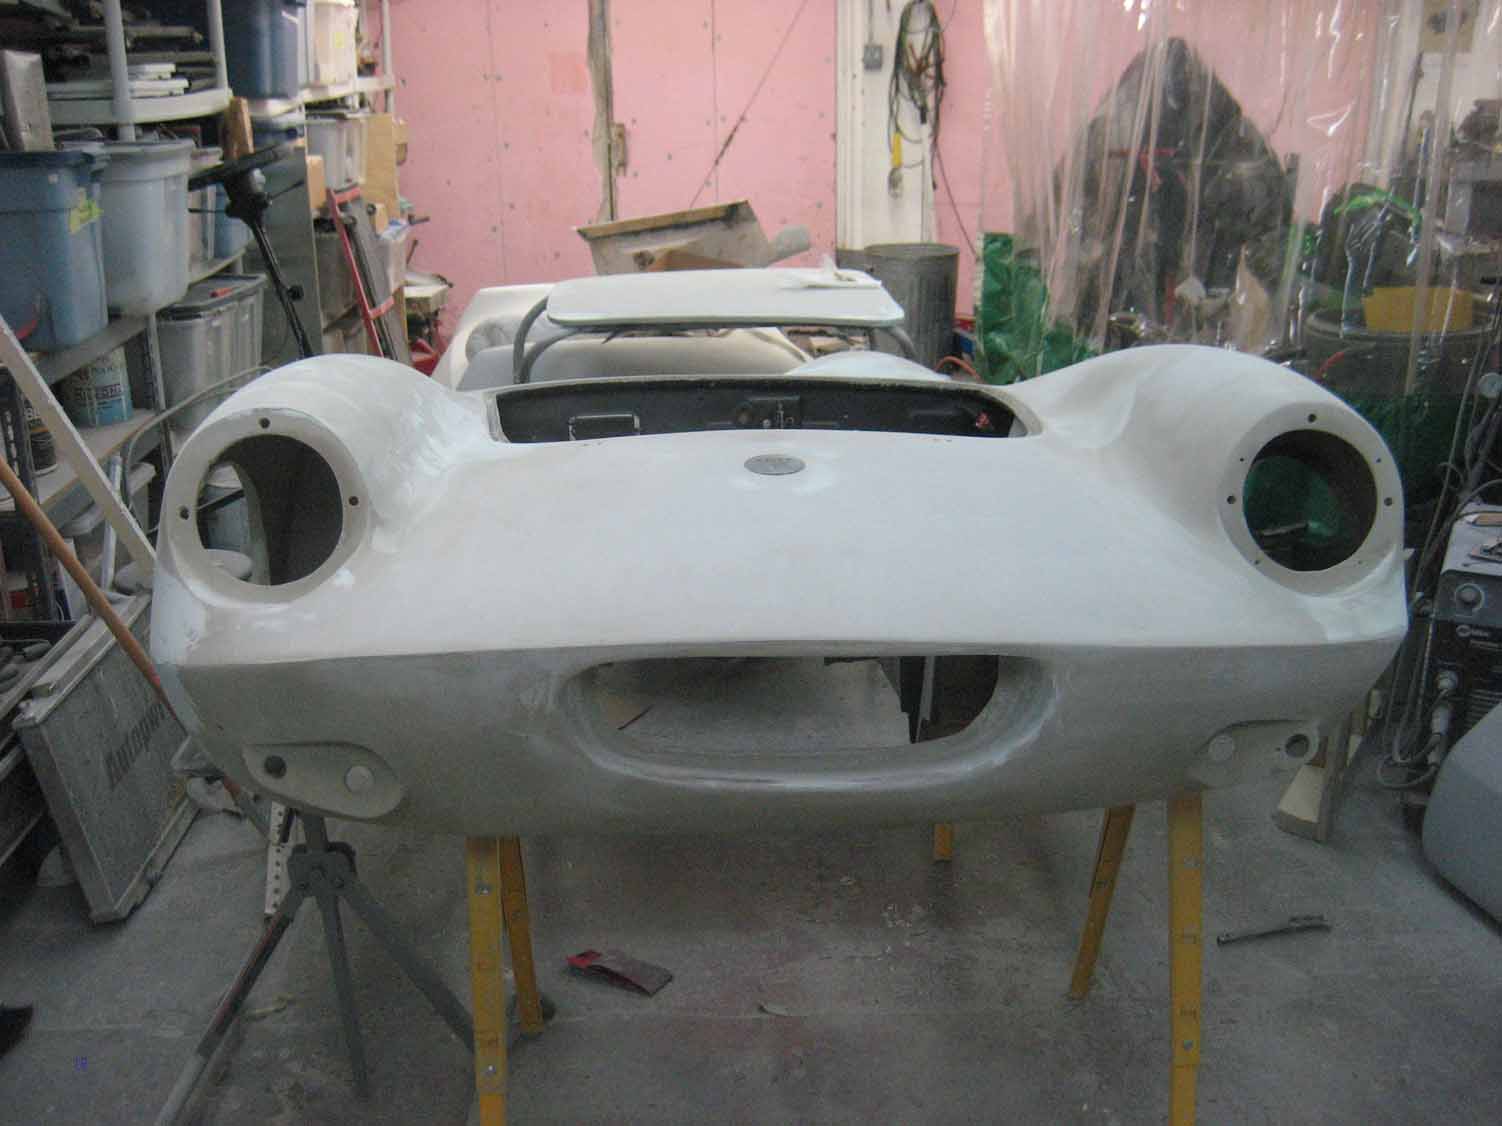
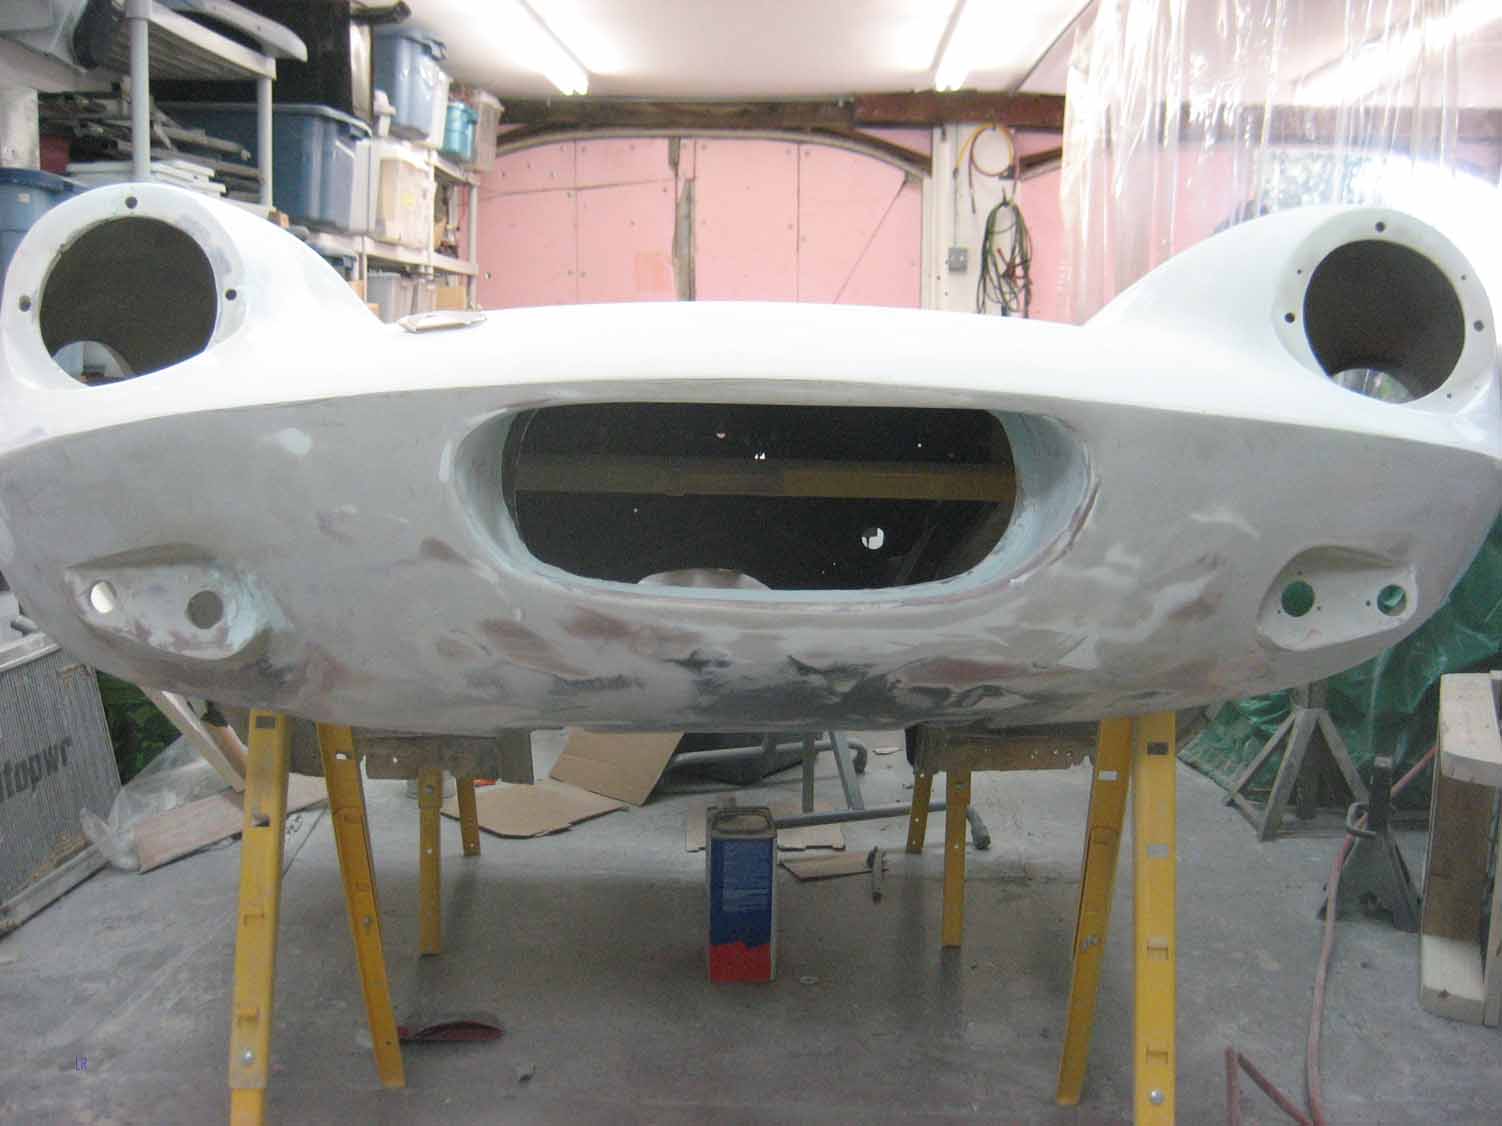
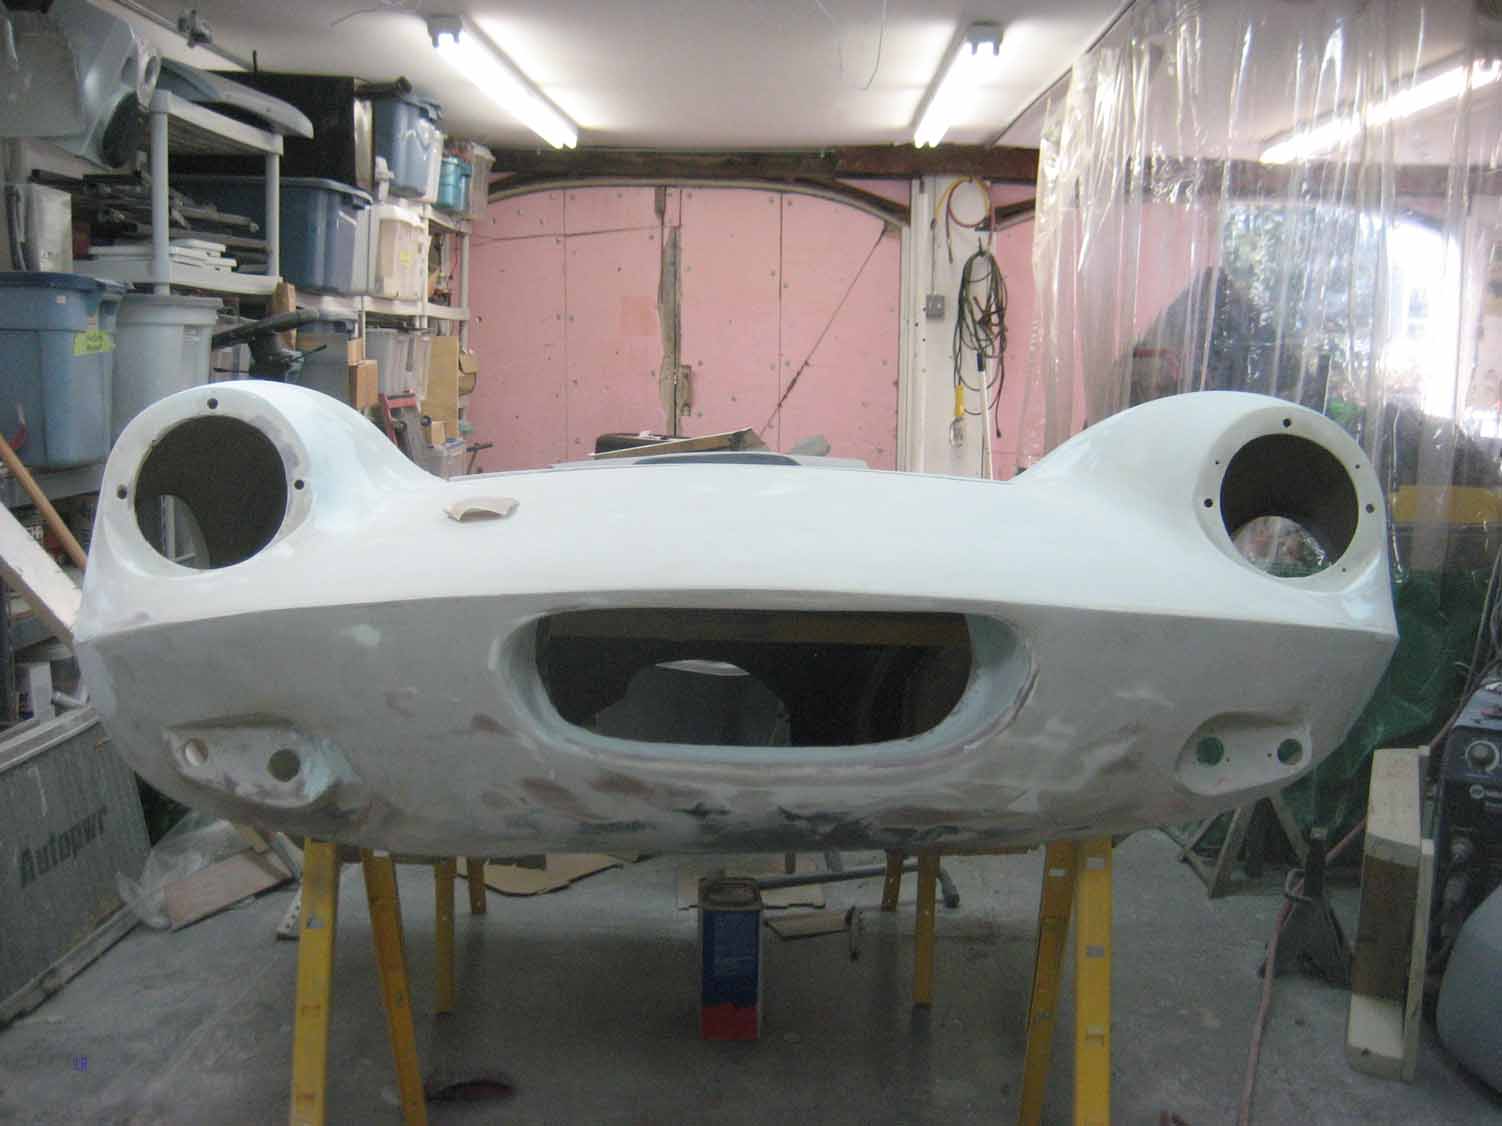
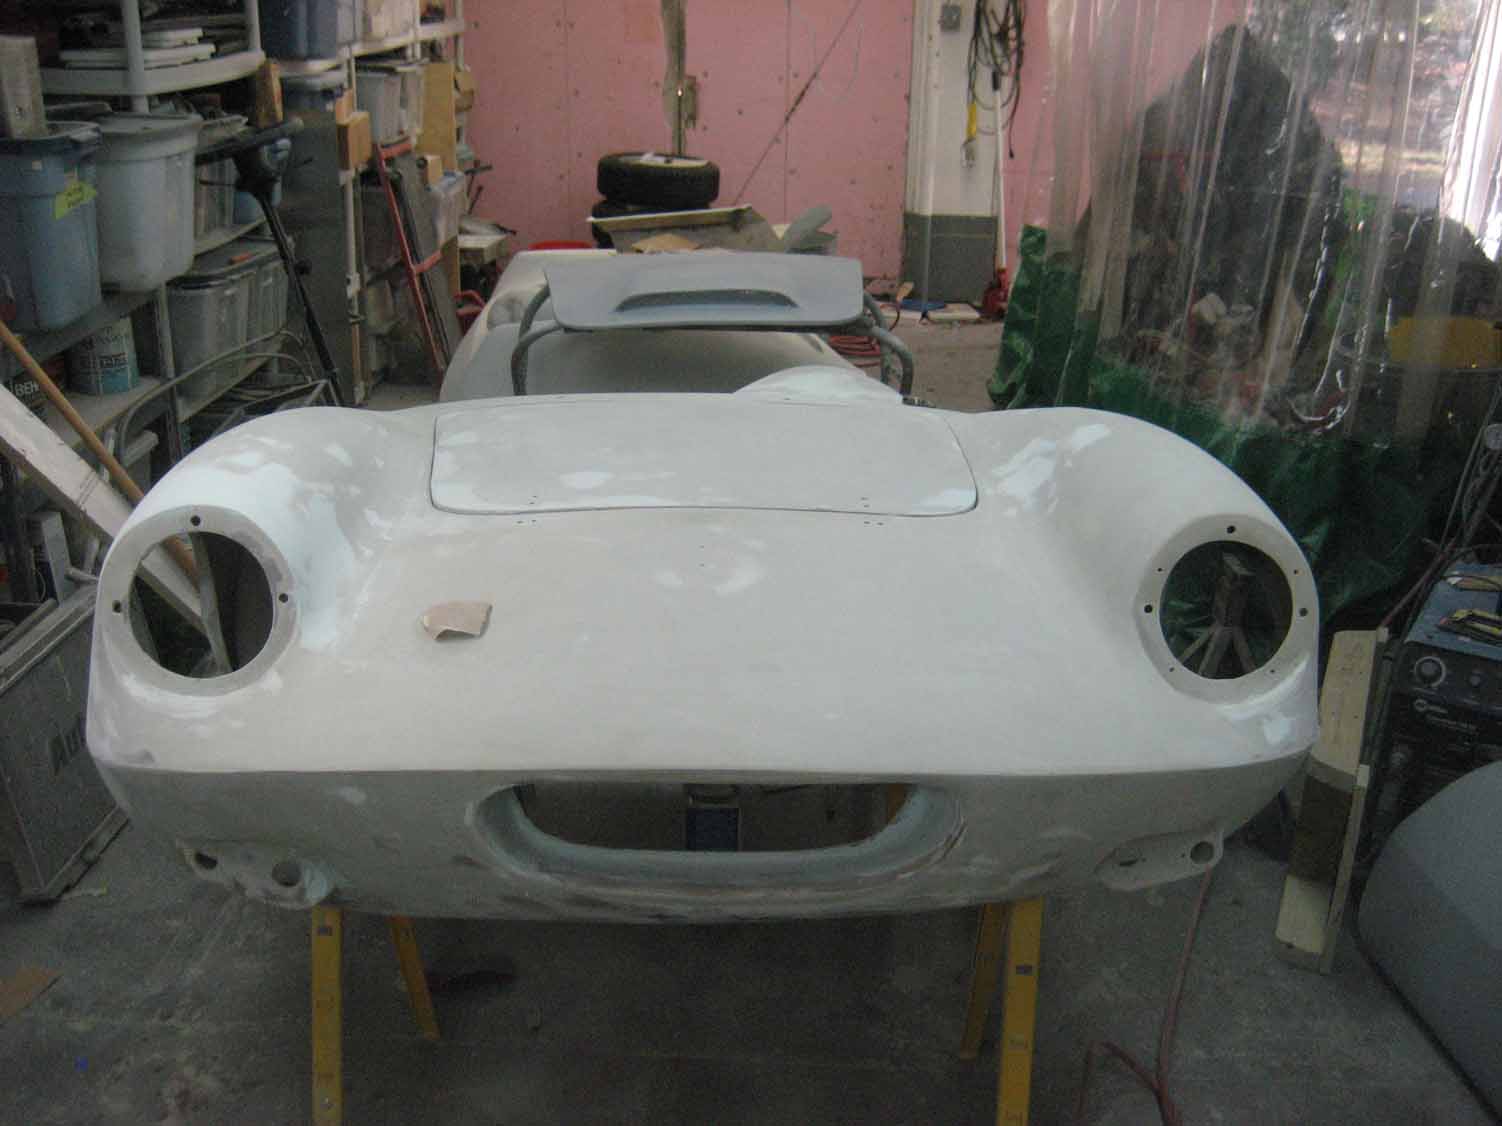
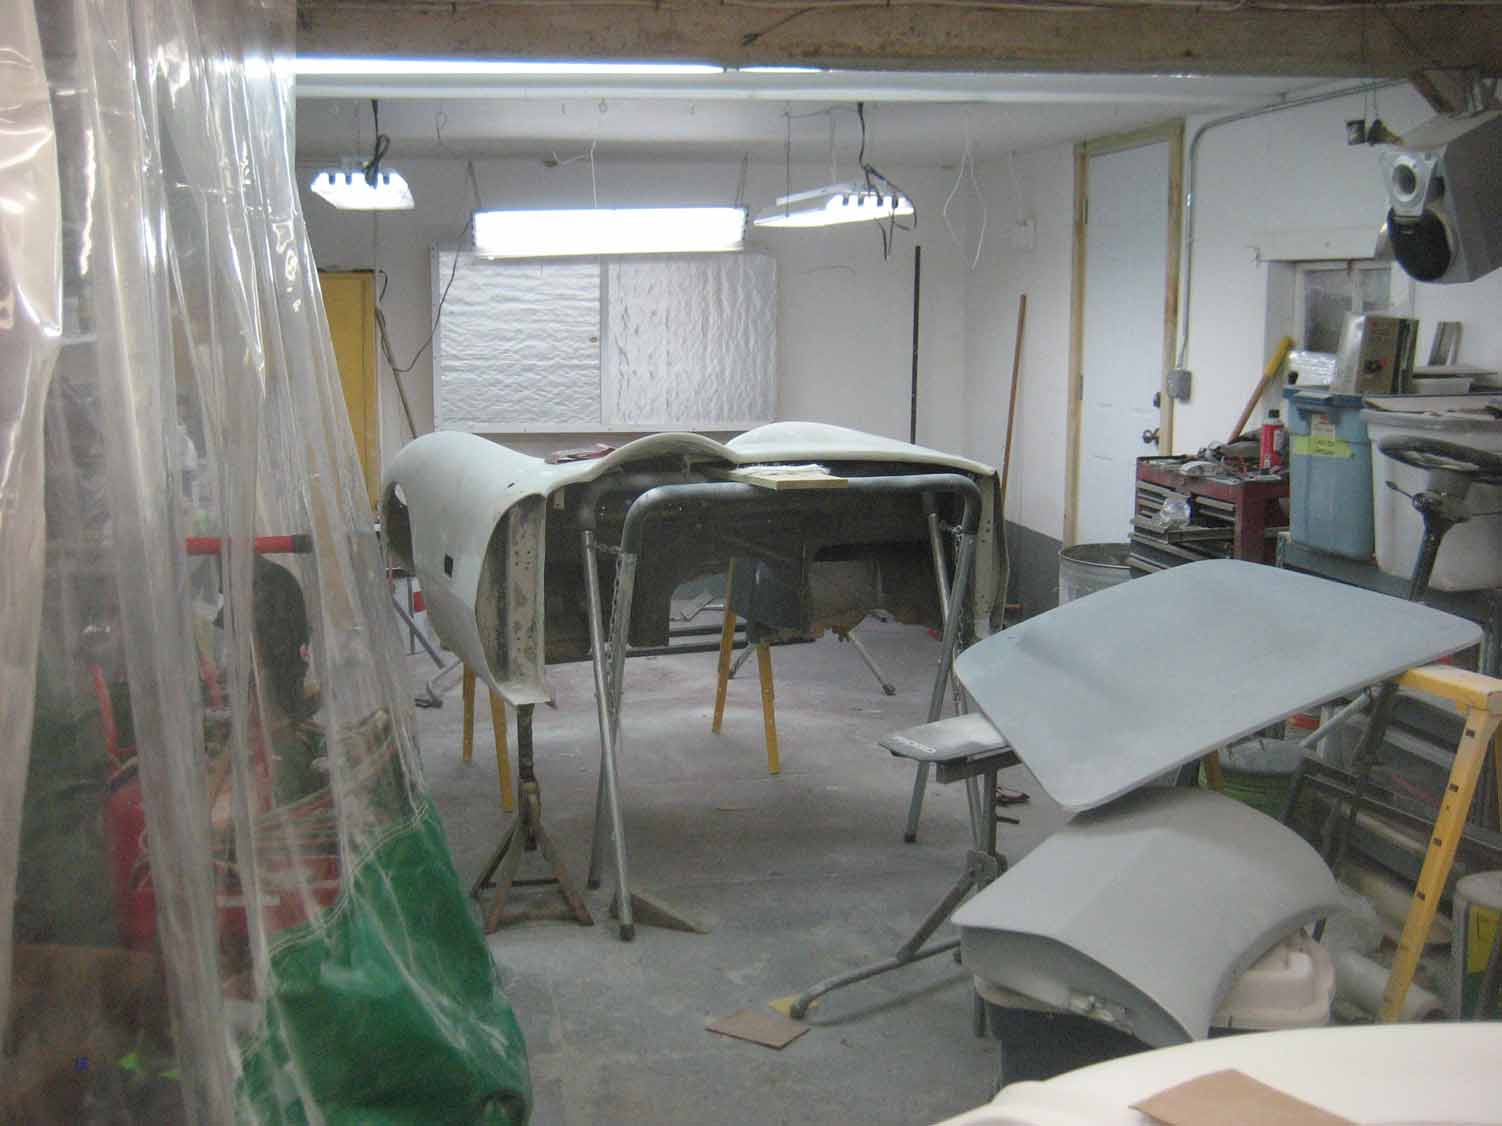
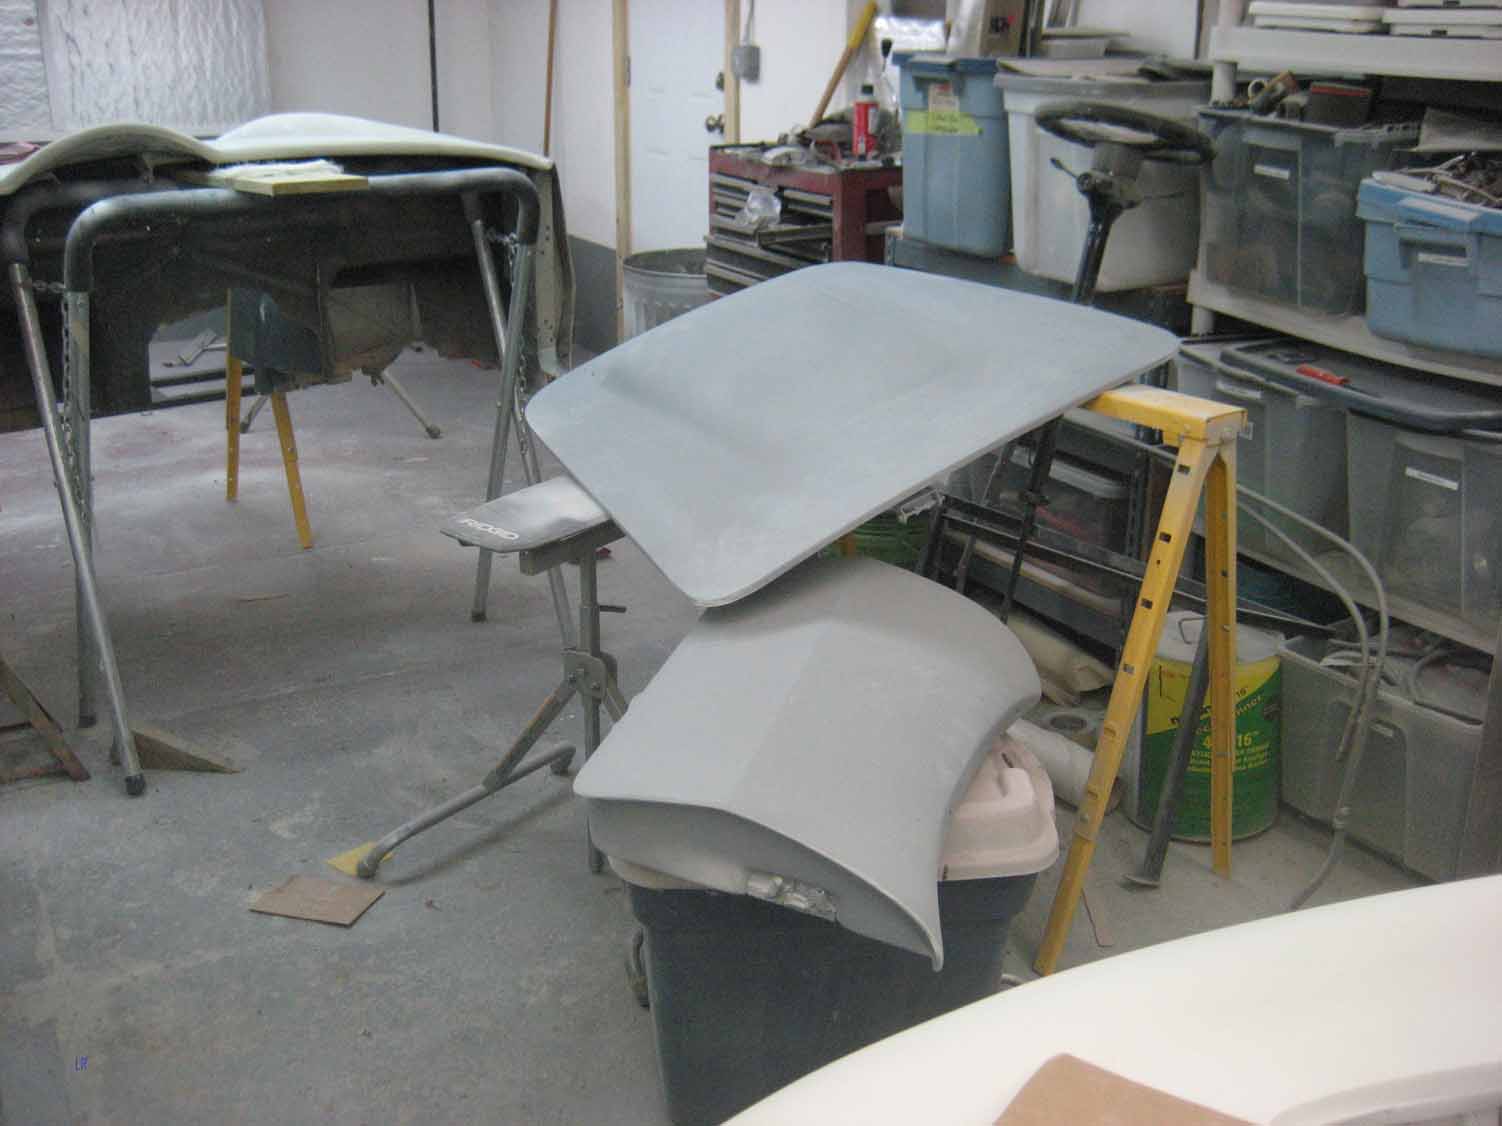
It’s not as if I have been doing nothing on the Elva for the past year, it’s just been so slow that I really hadn’t thought of it as being much change. Now that I look at it, though, it is a lot of small jobs that have added up to a lot of progress.
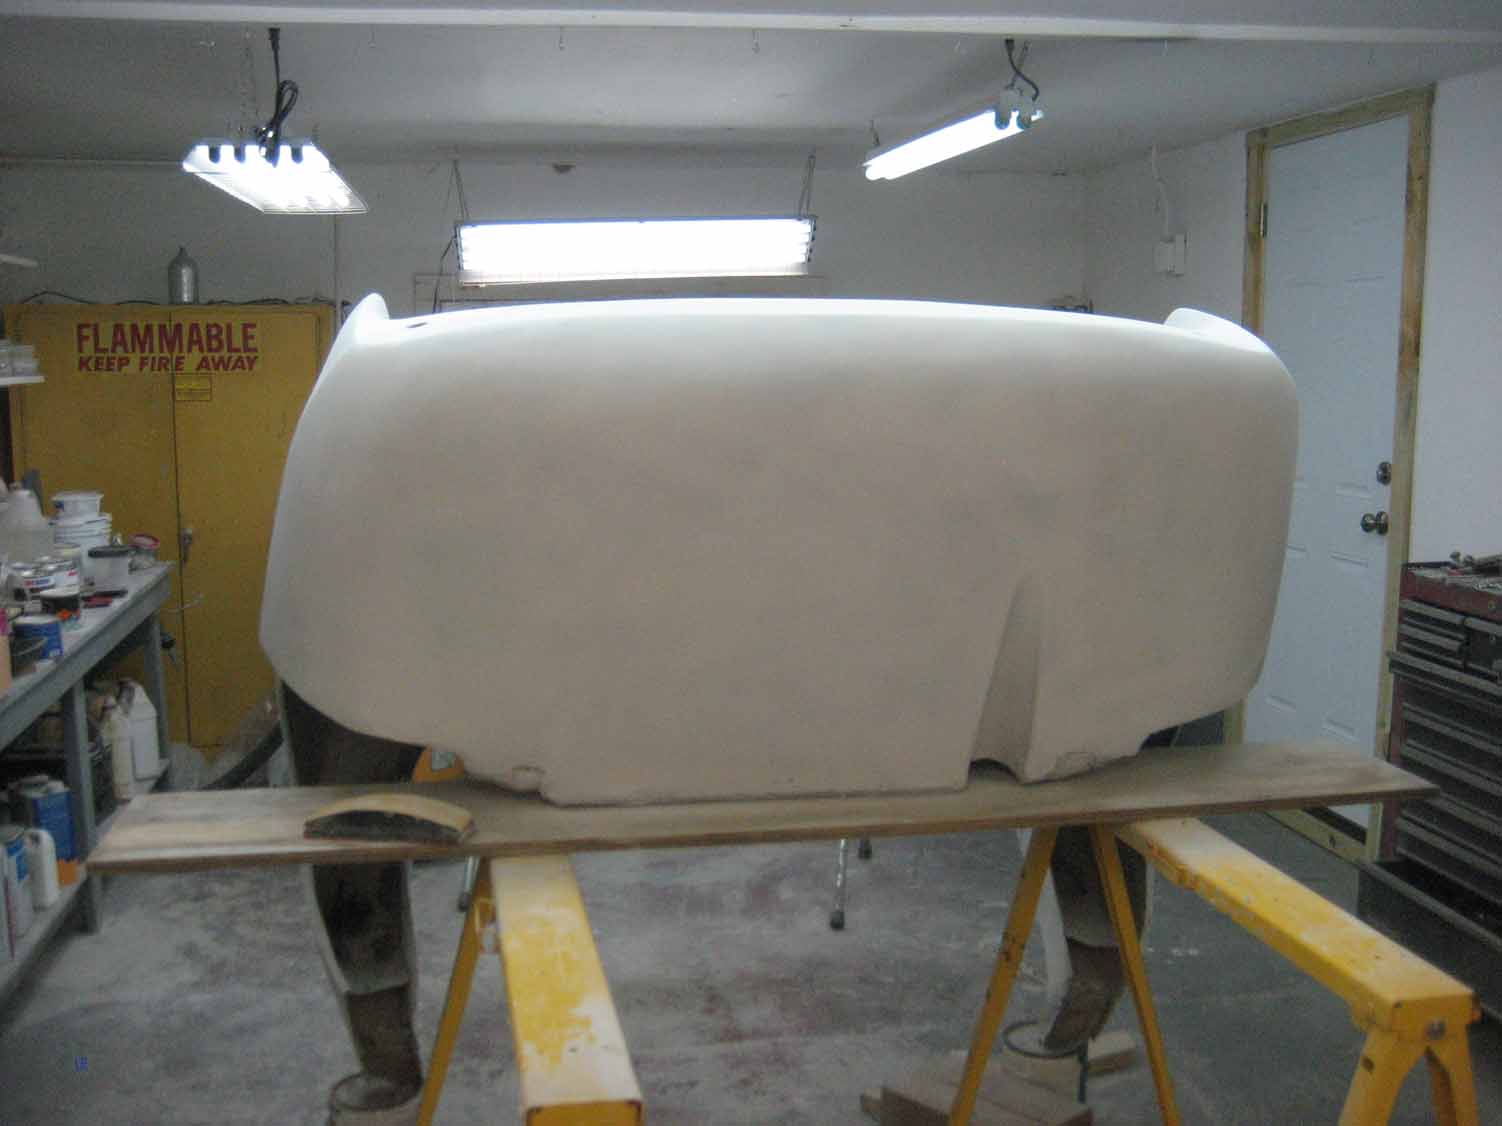
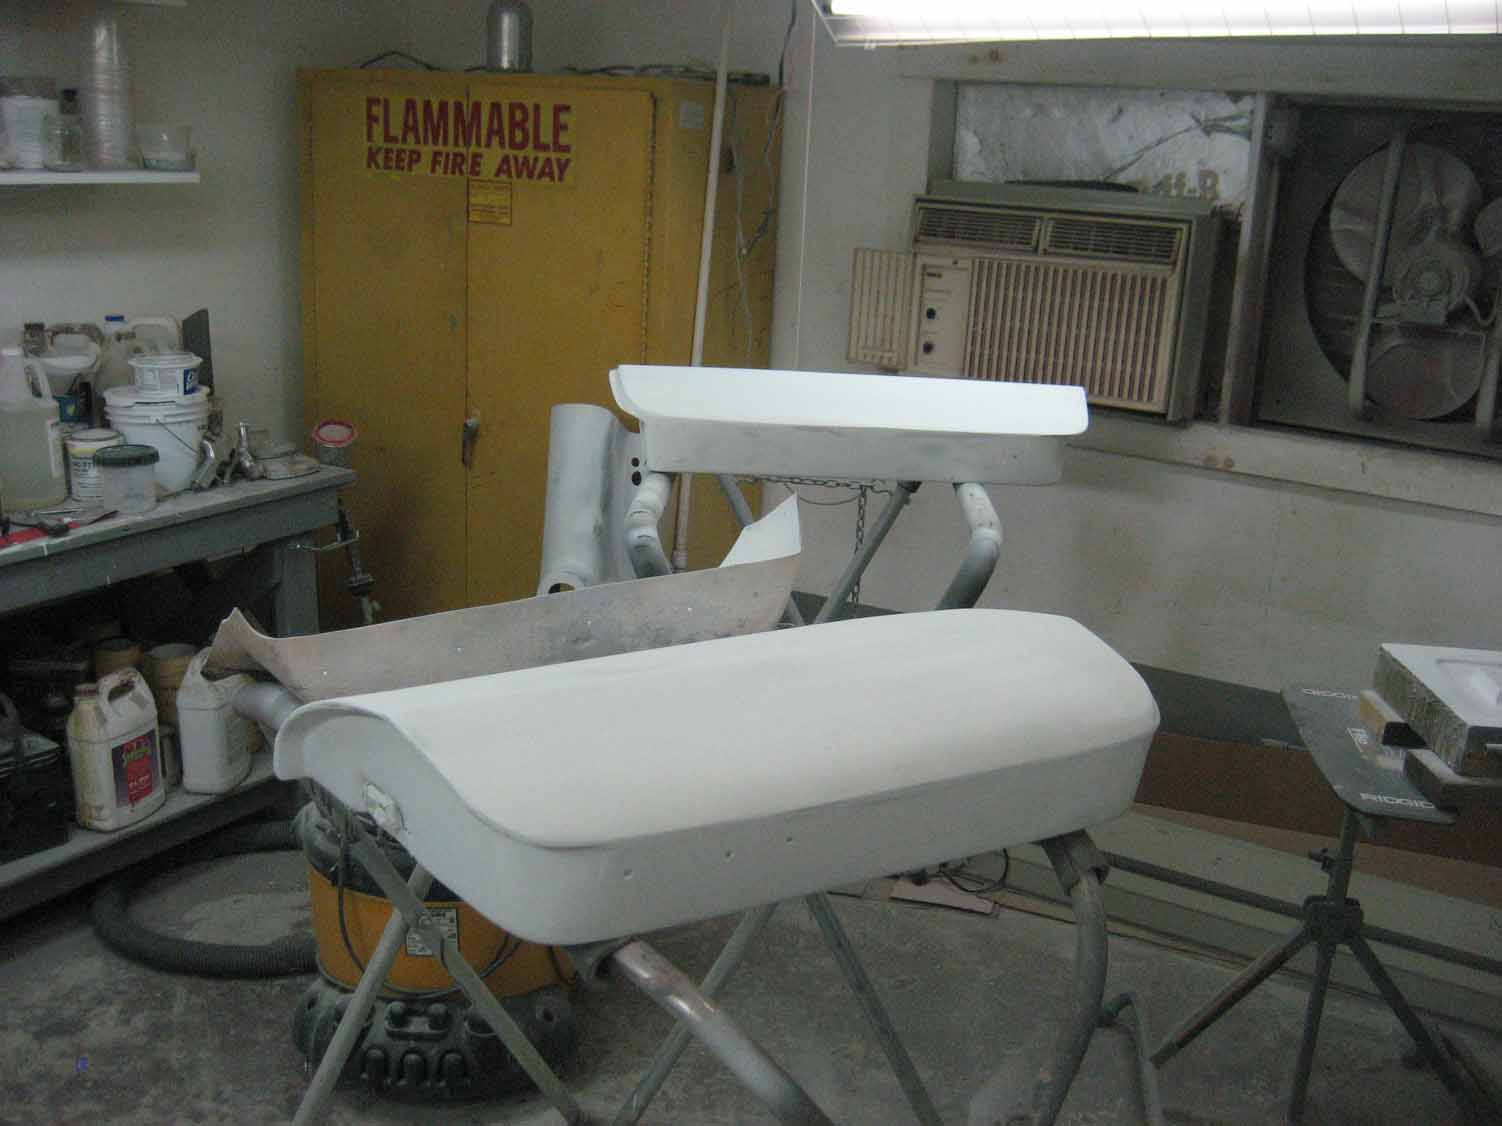
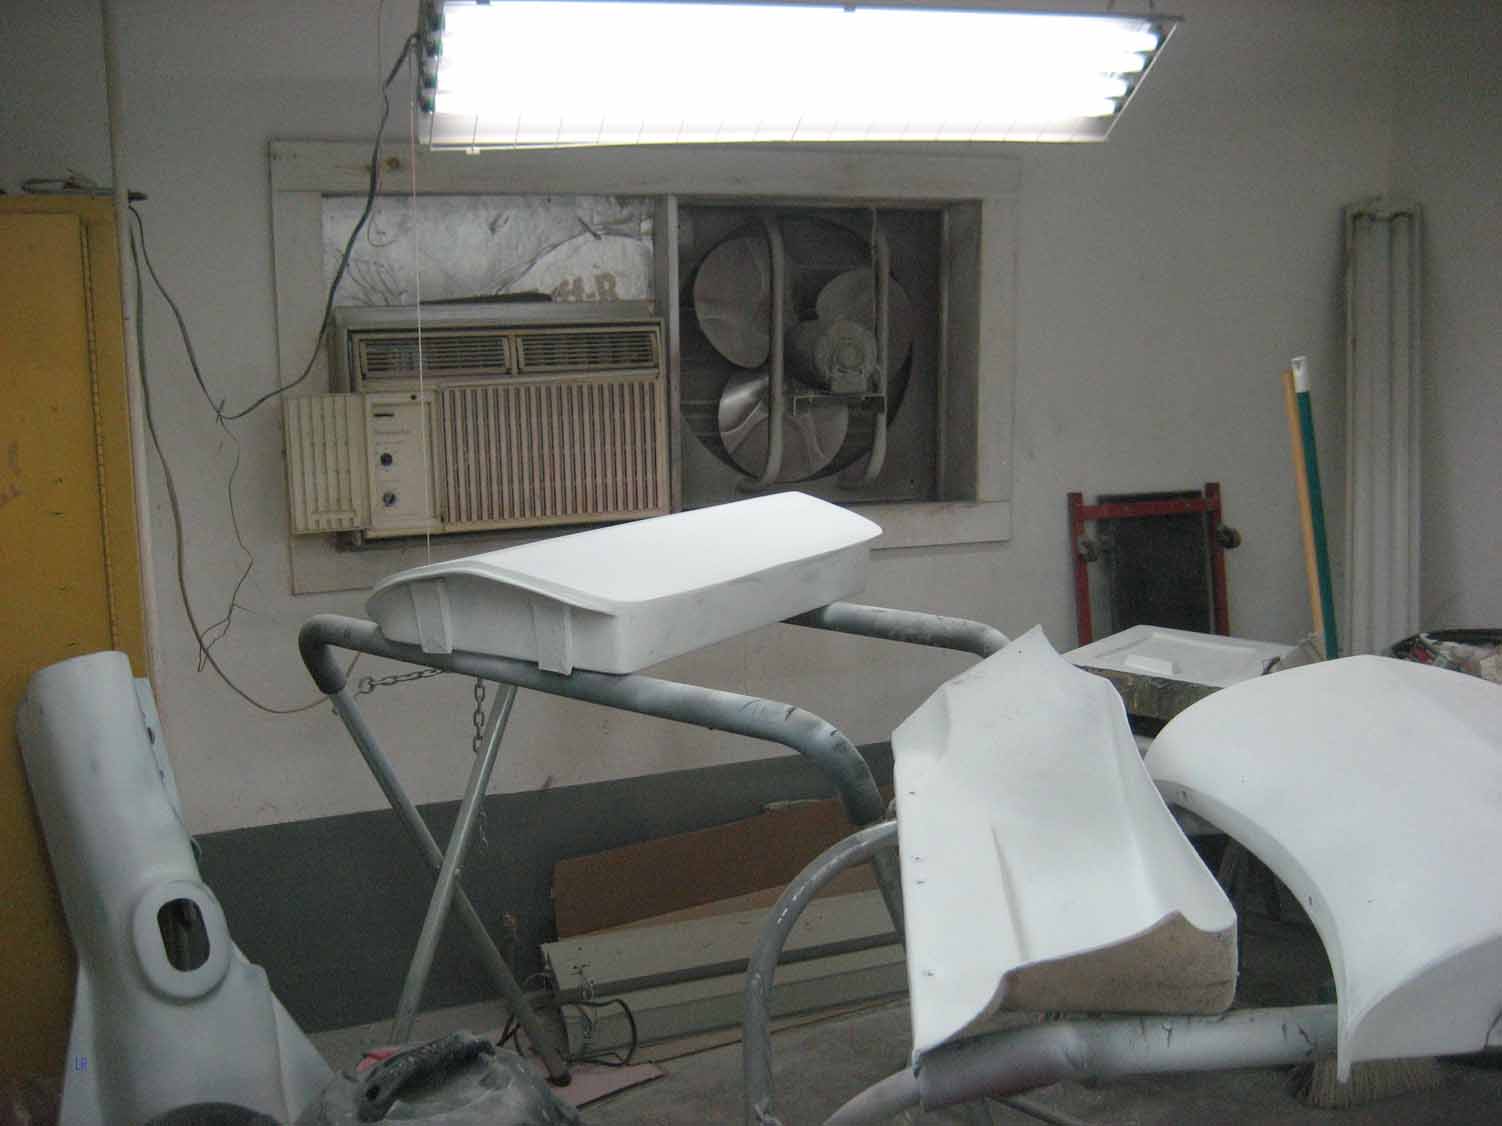
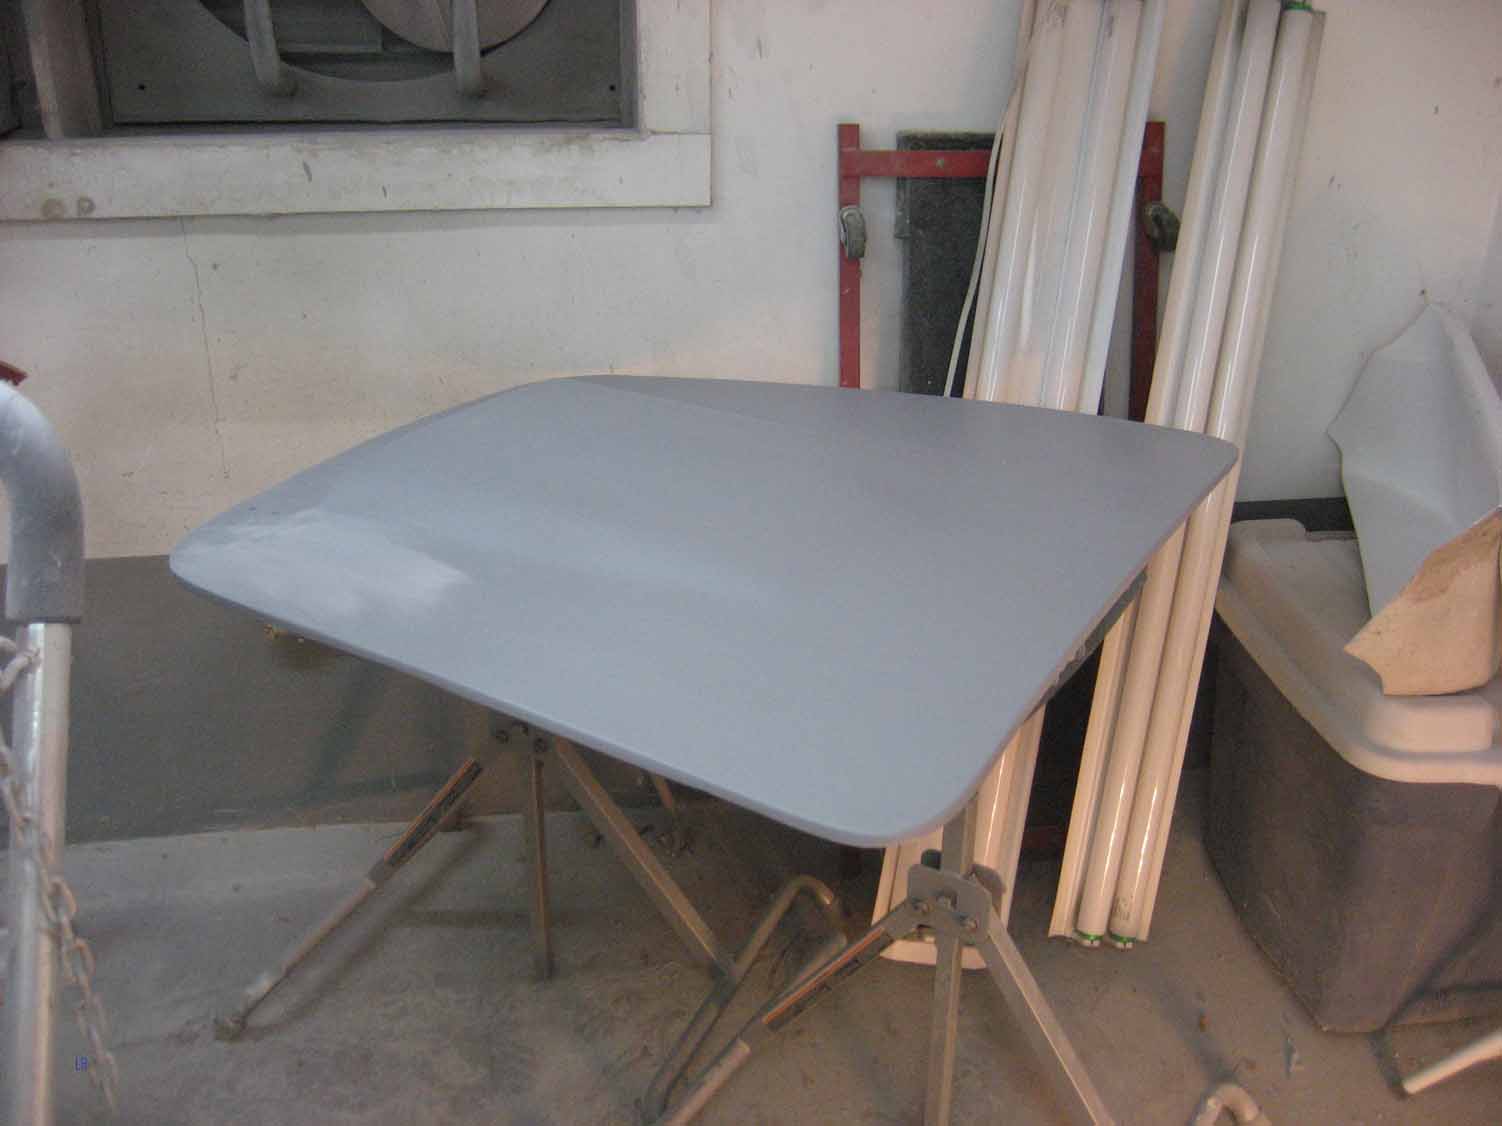
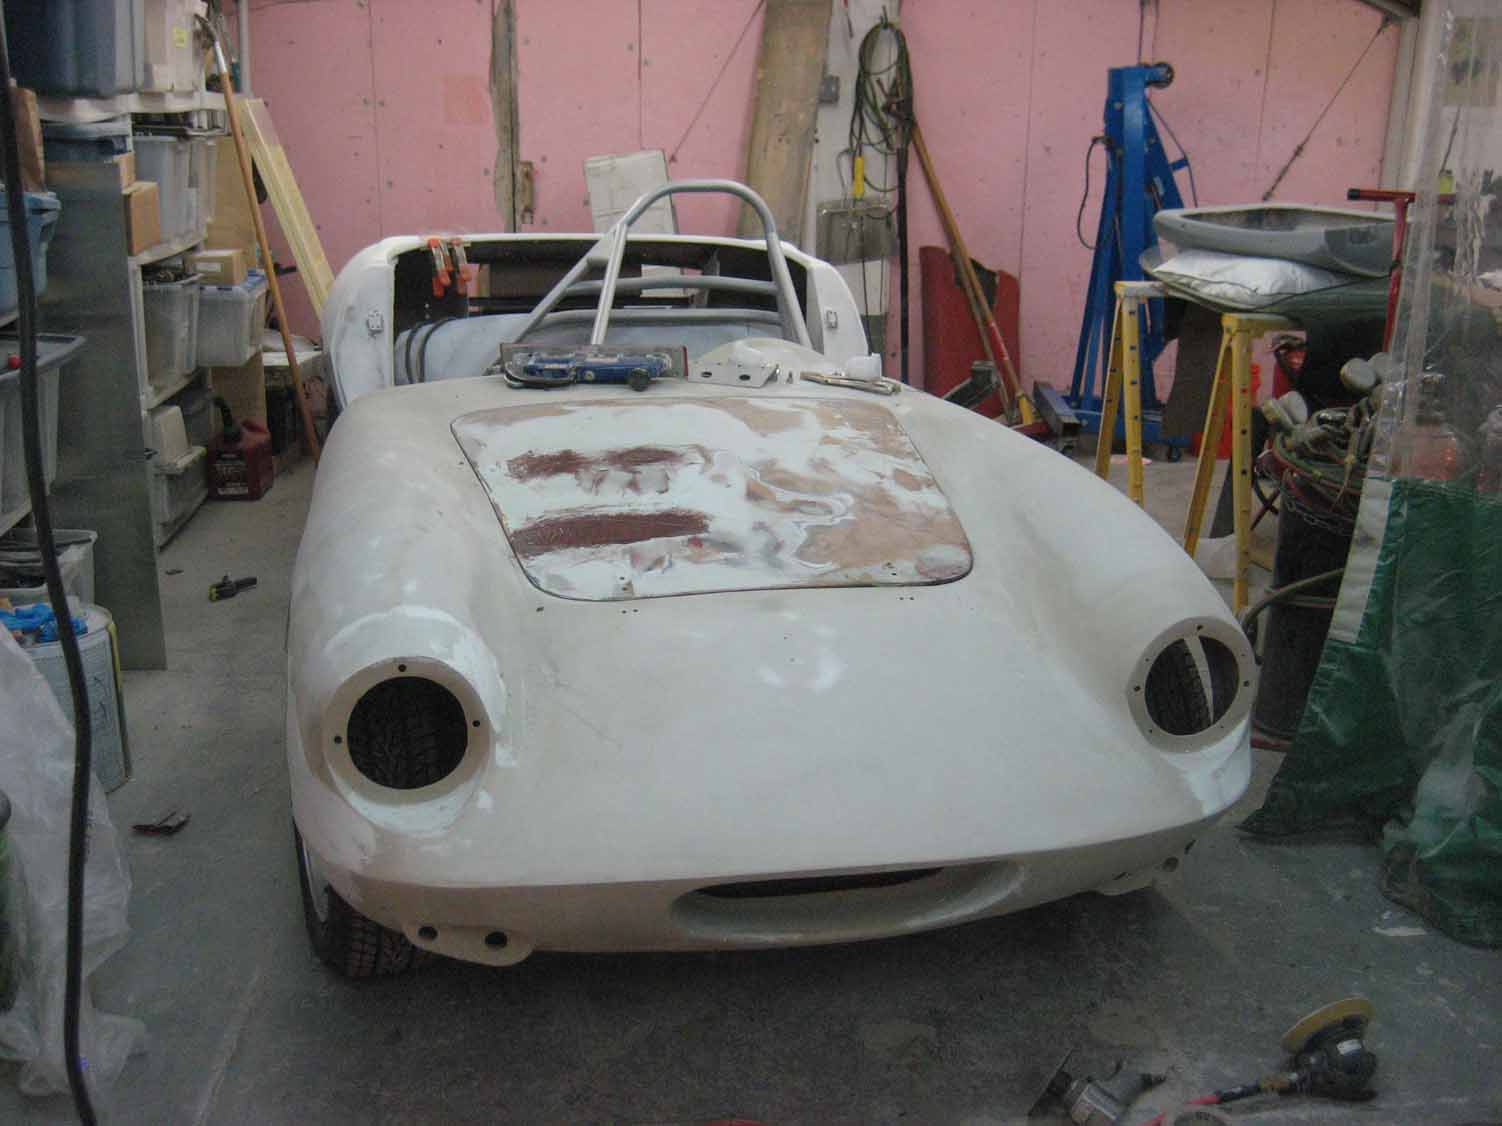
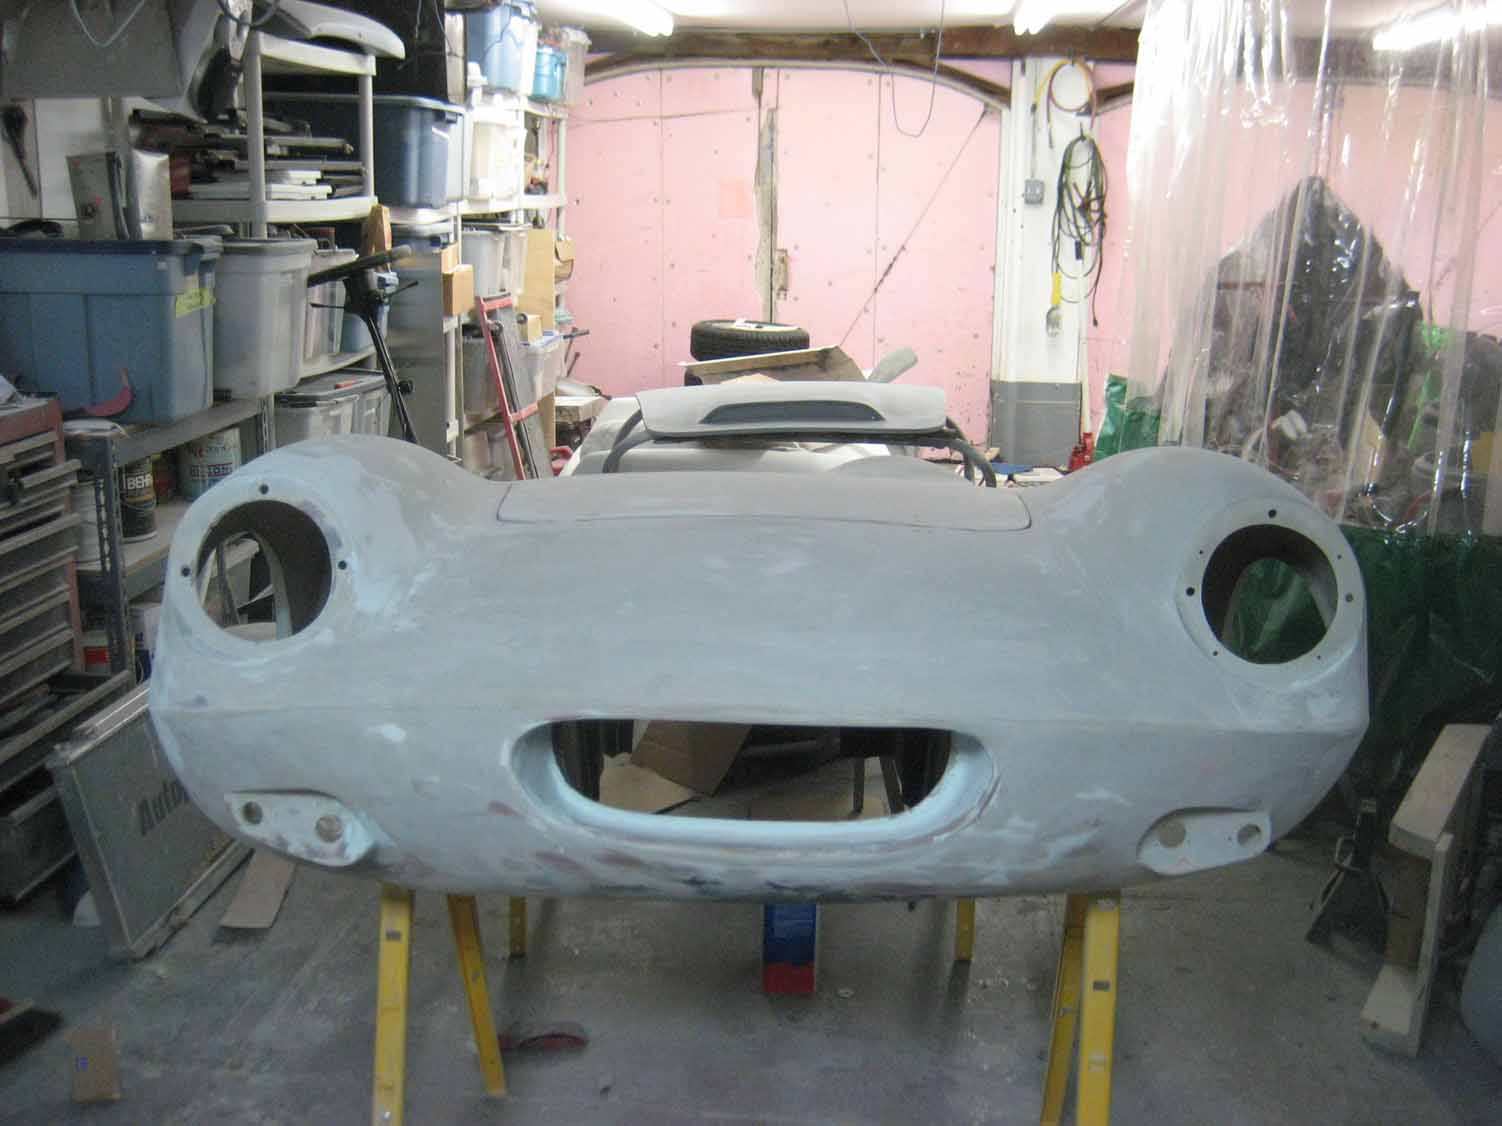
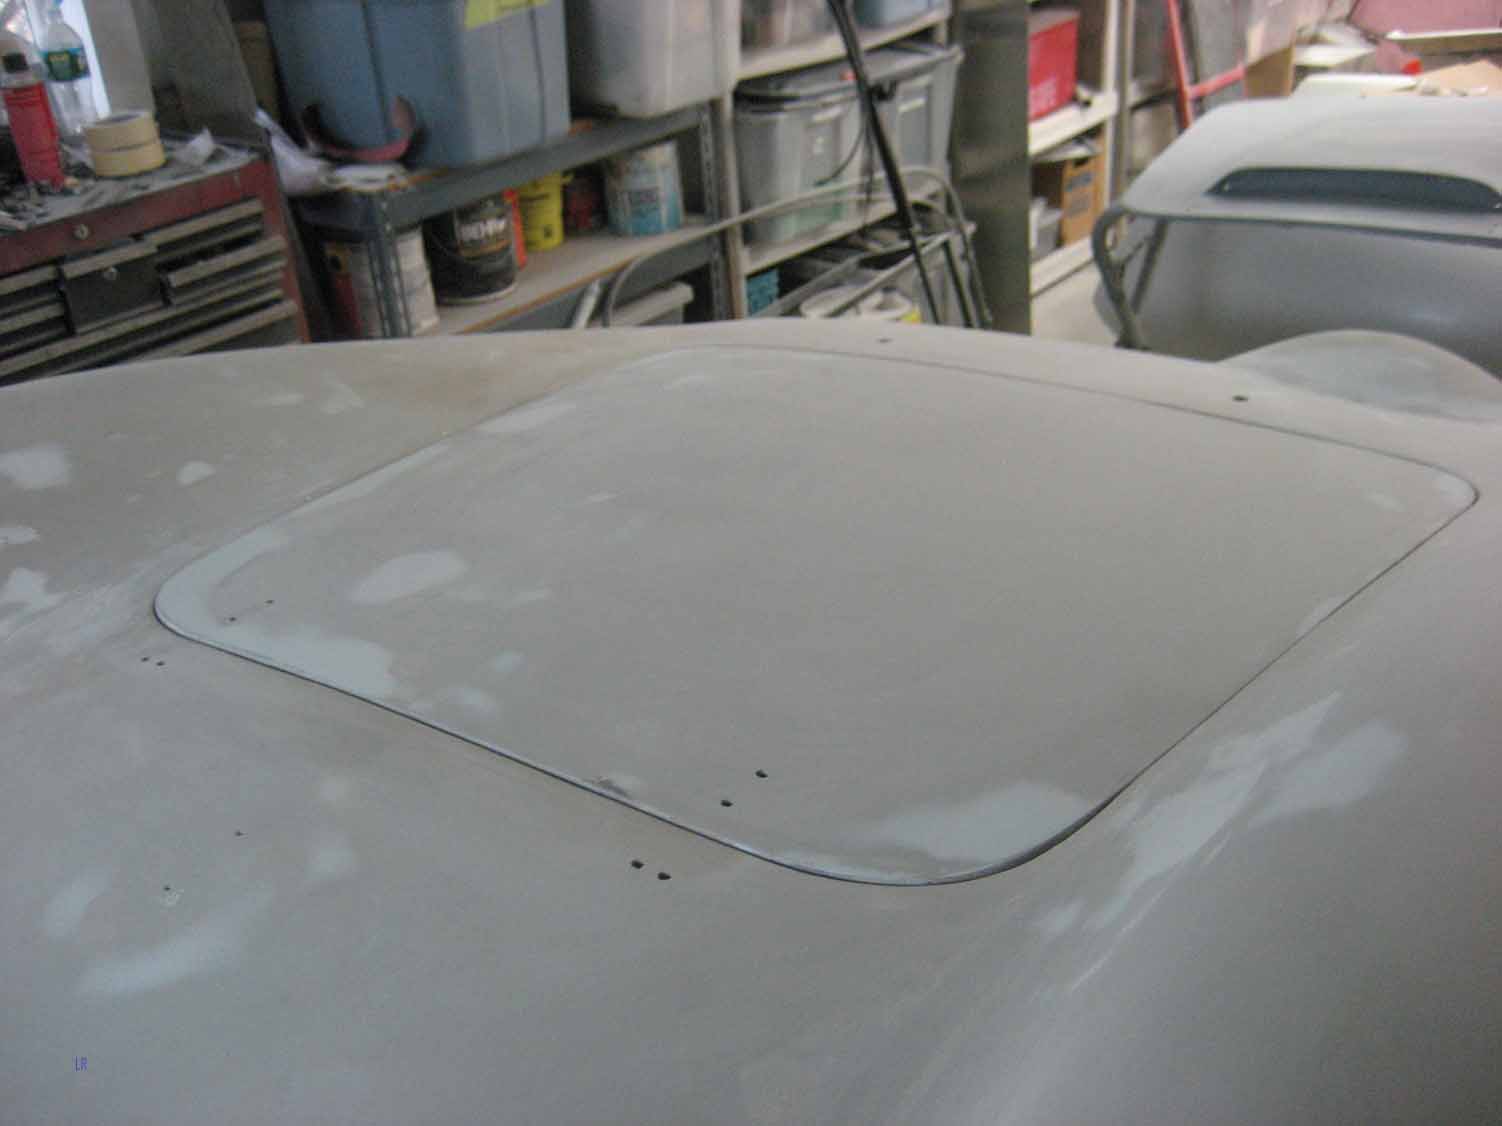
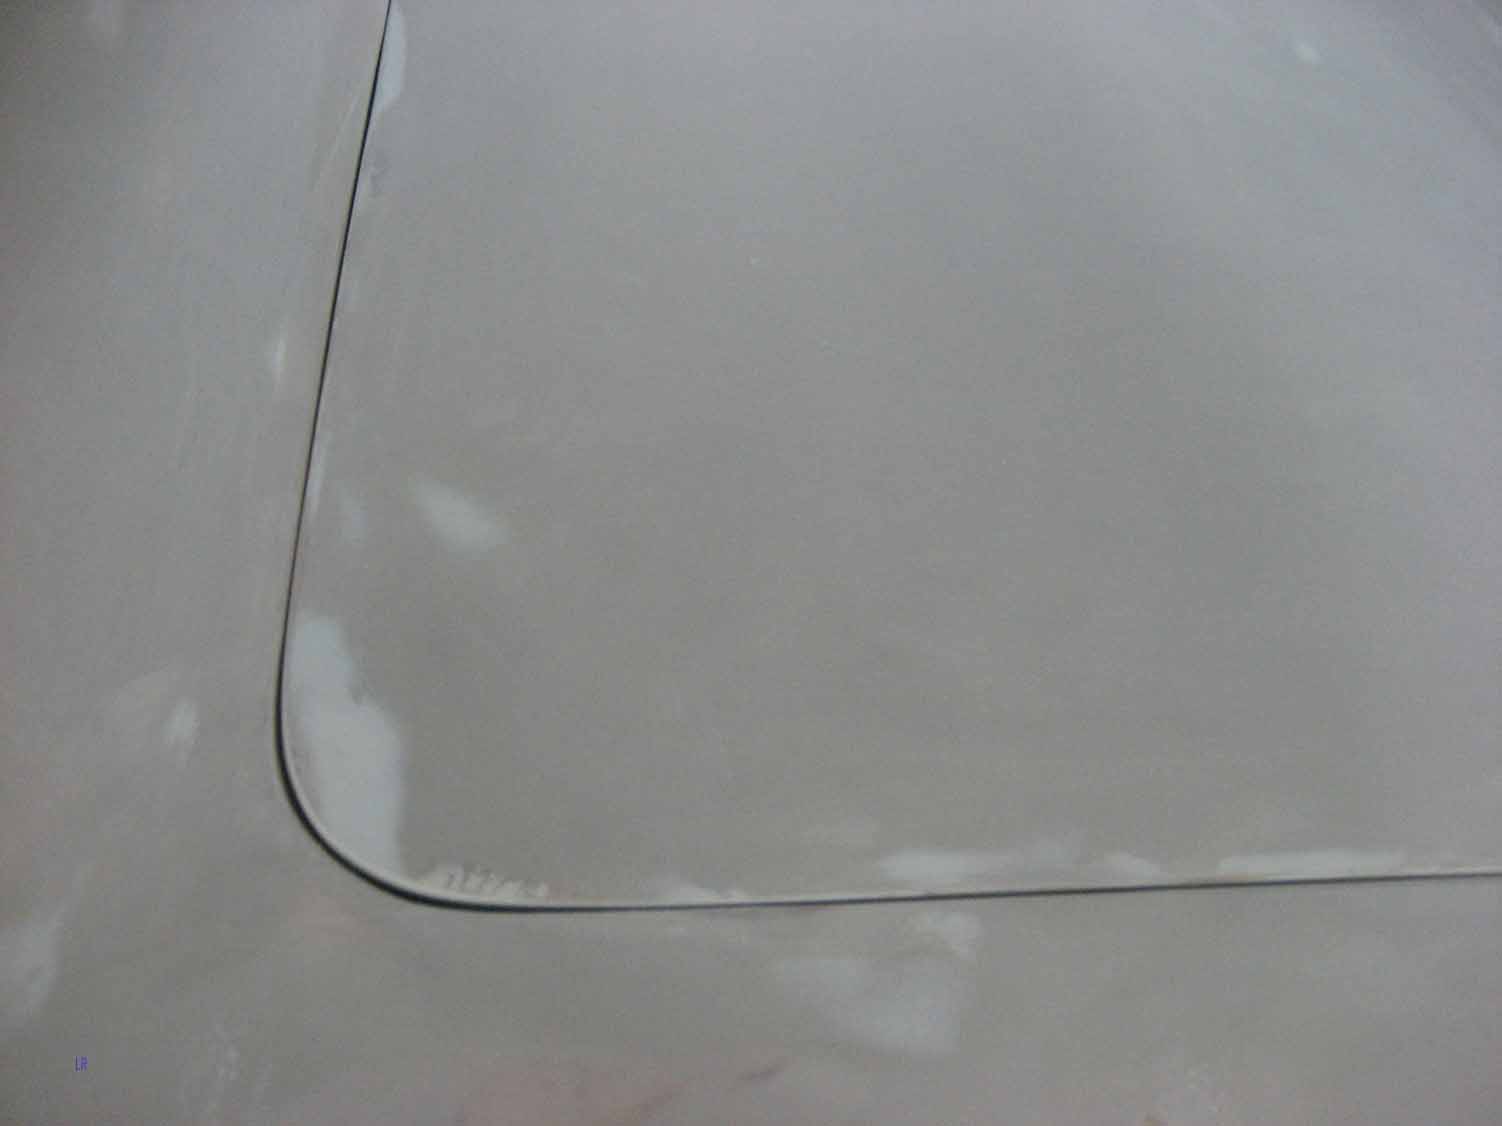
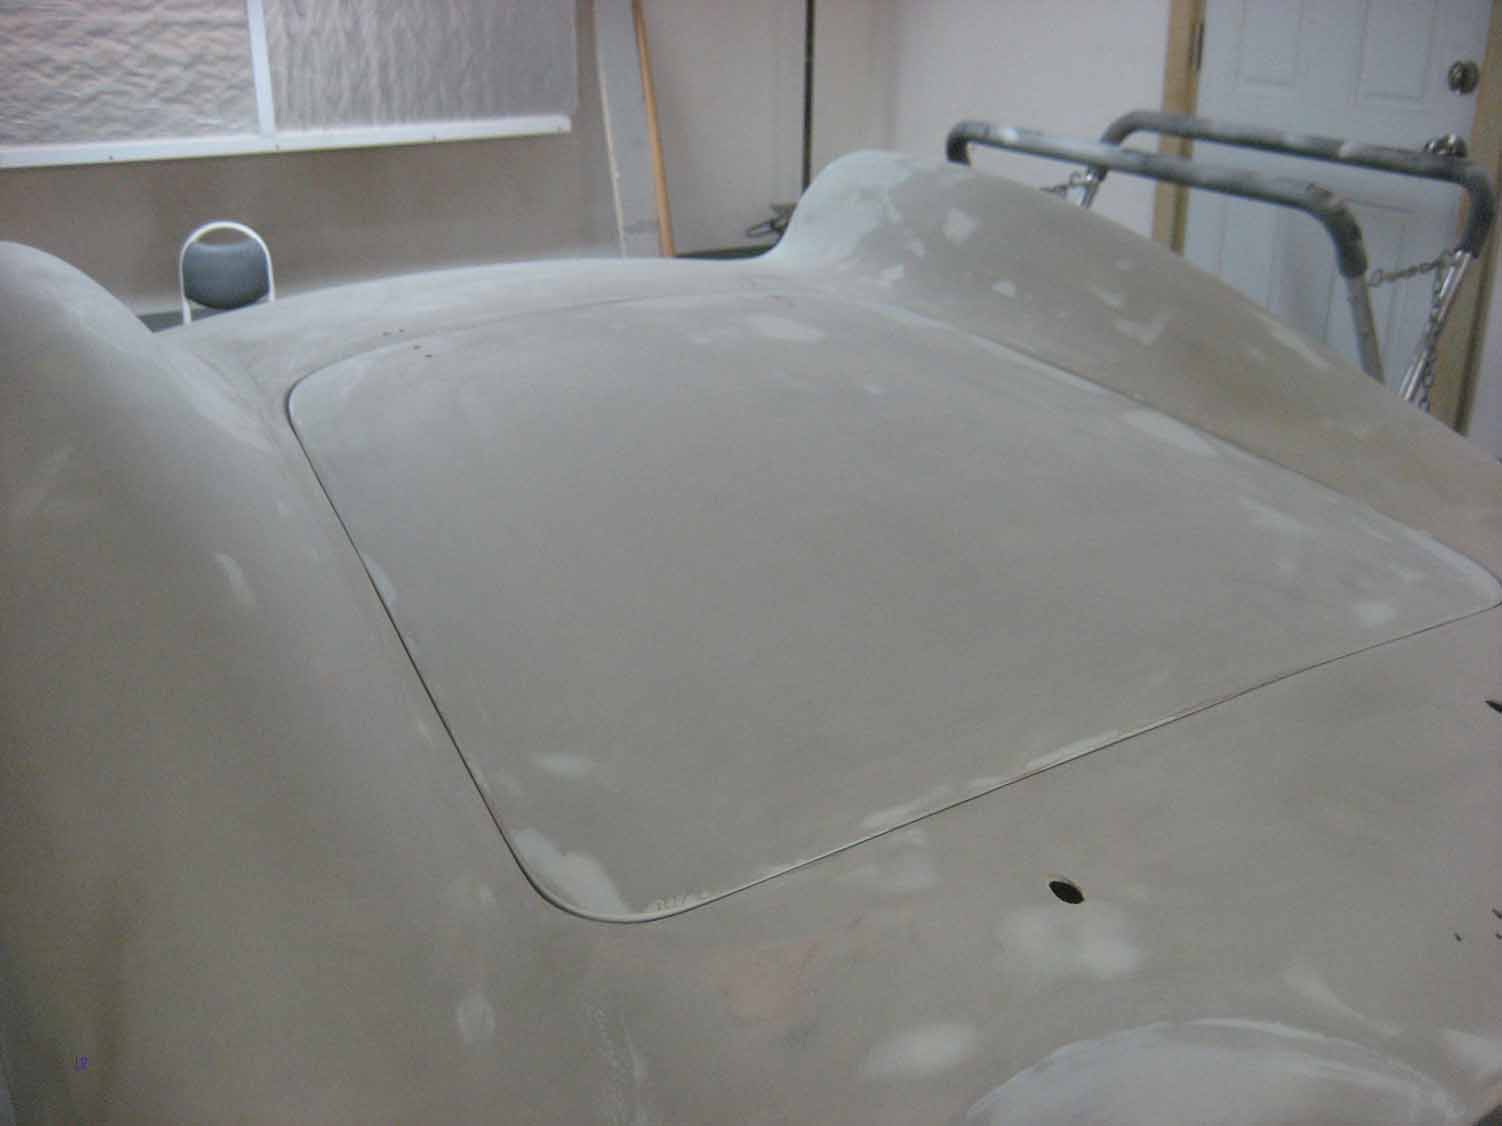
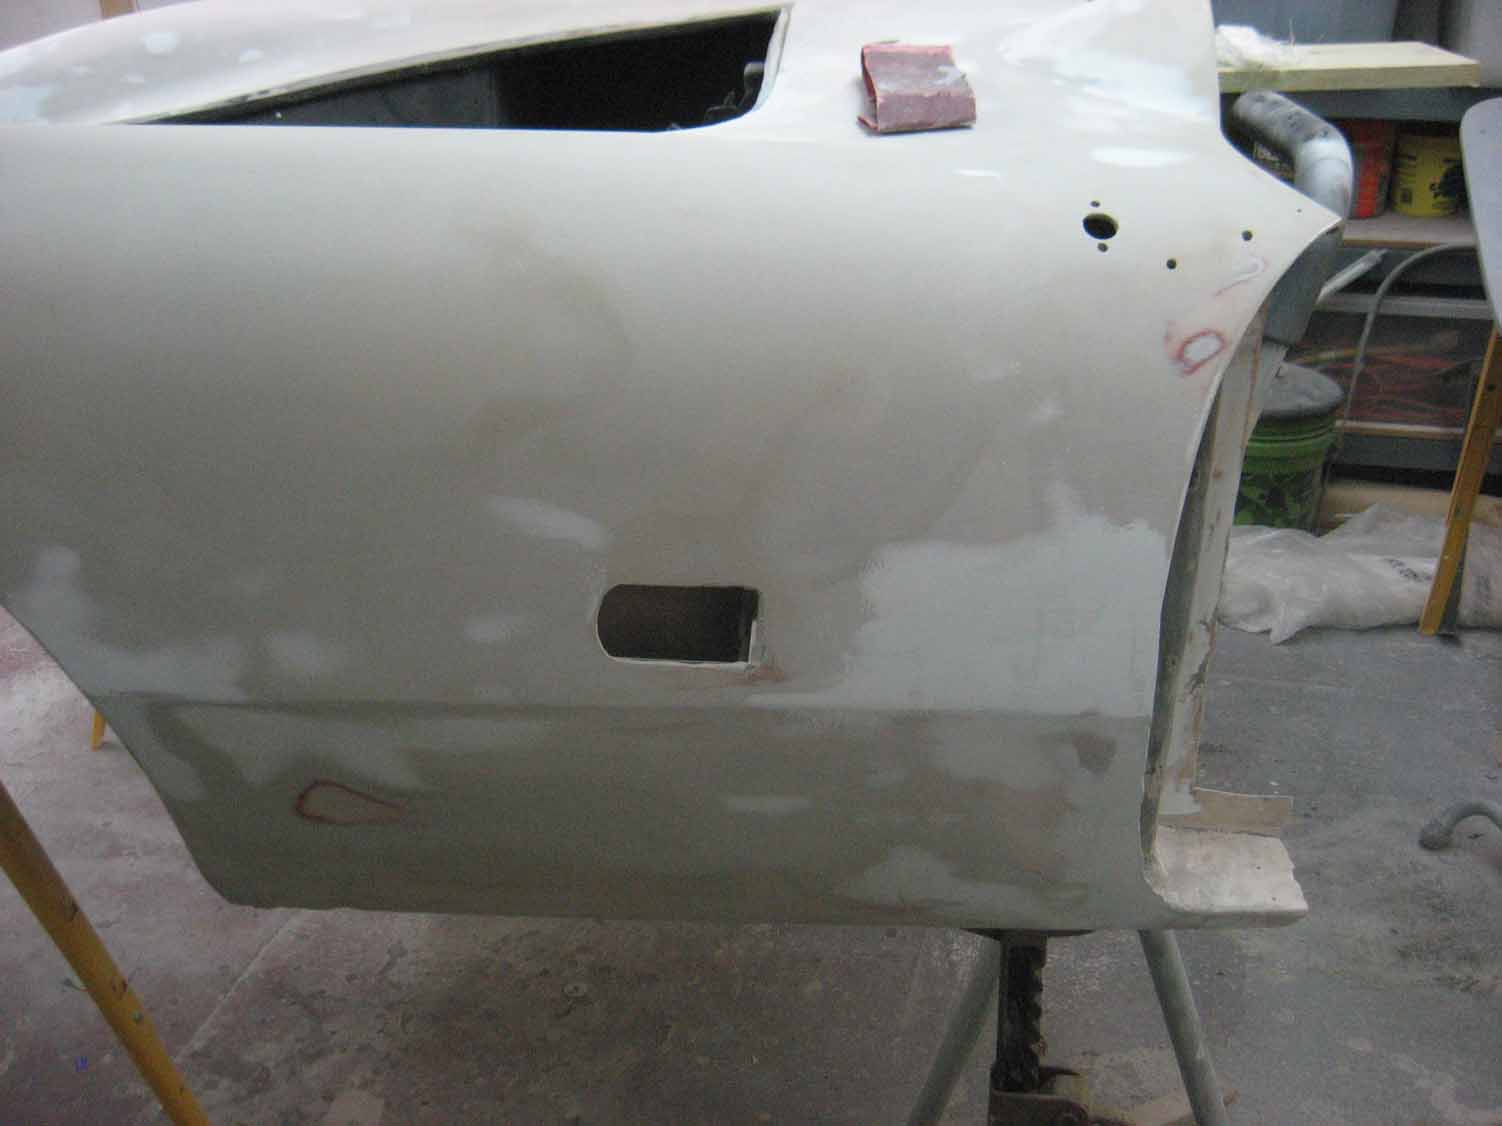
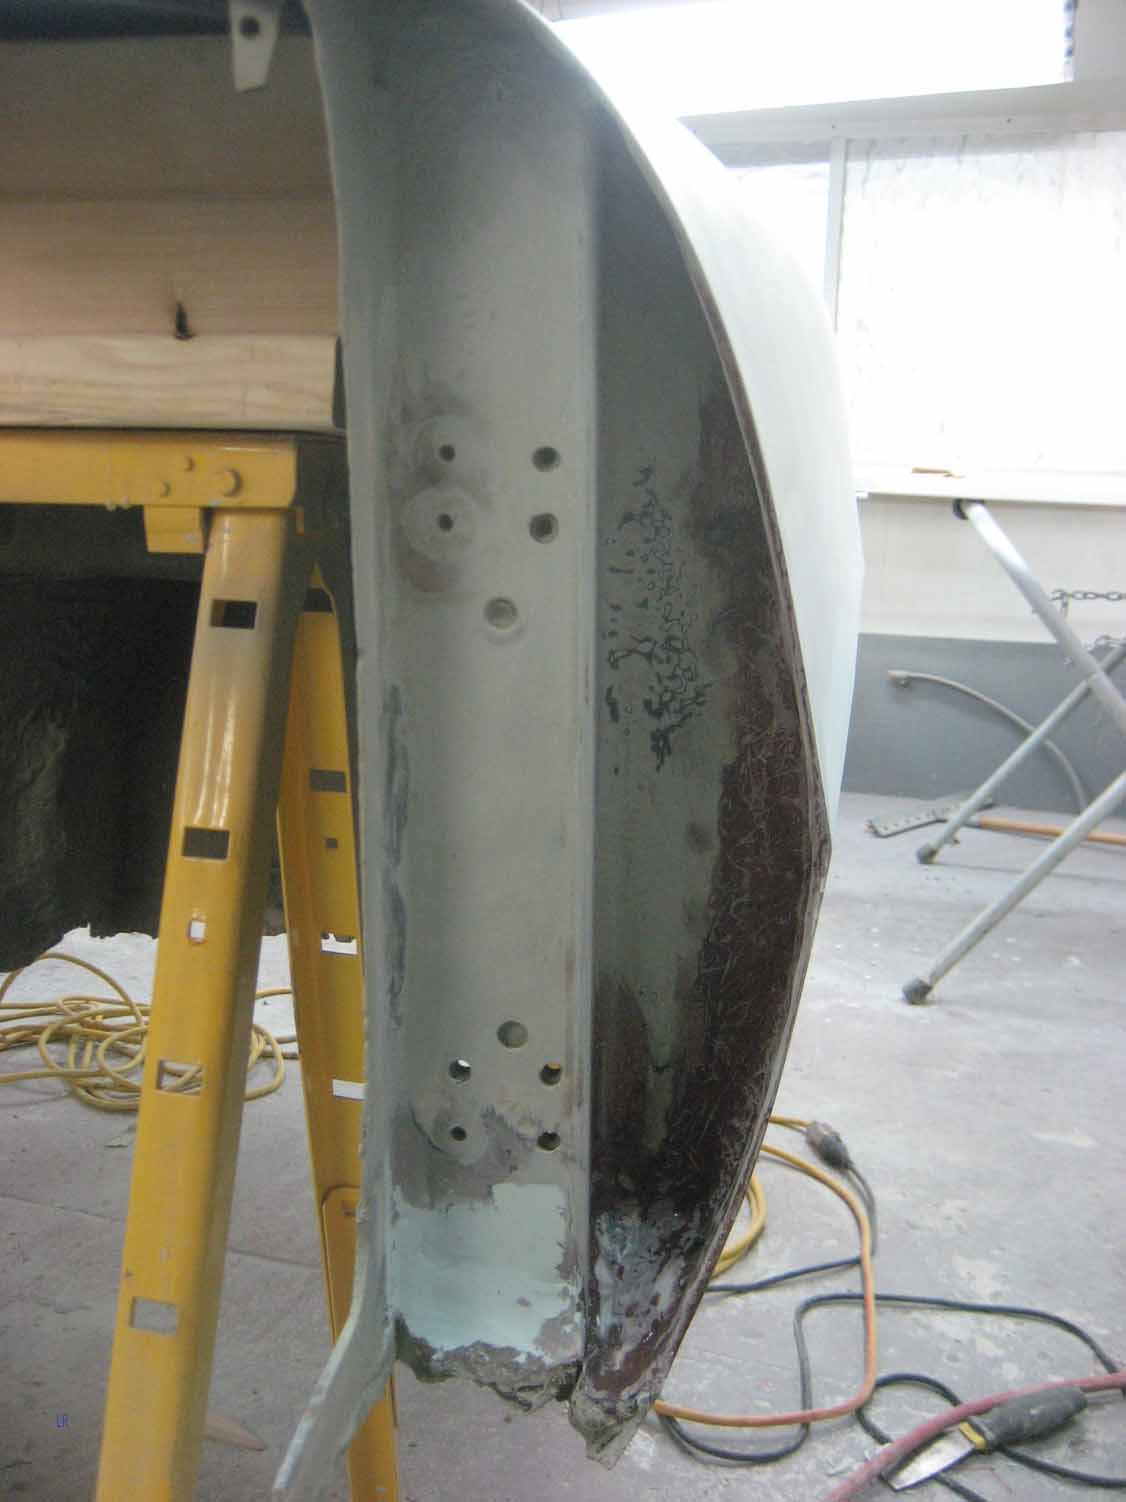
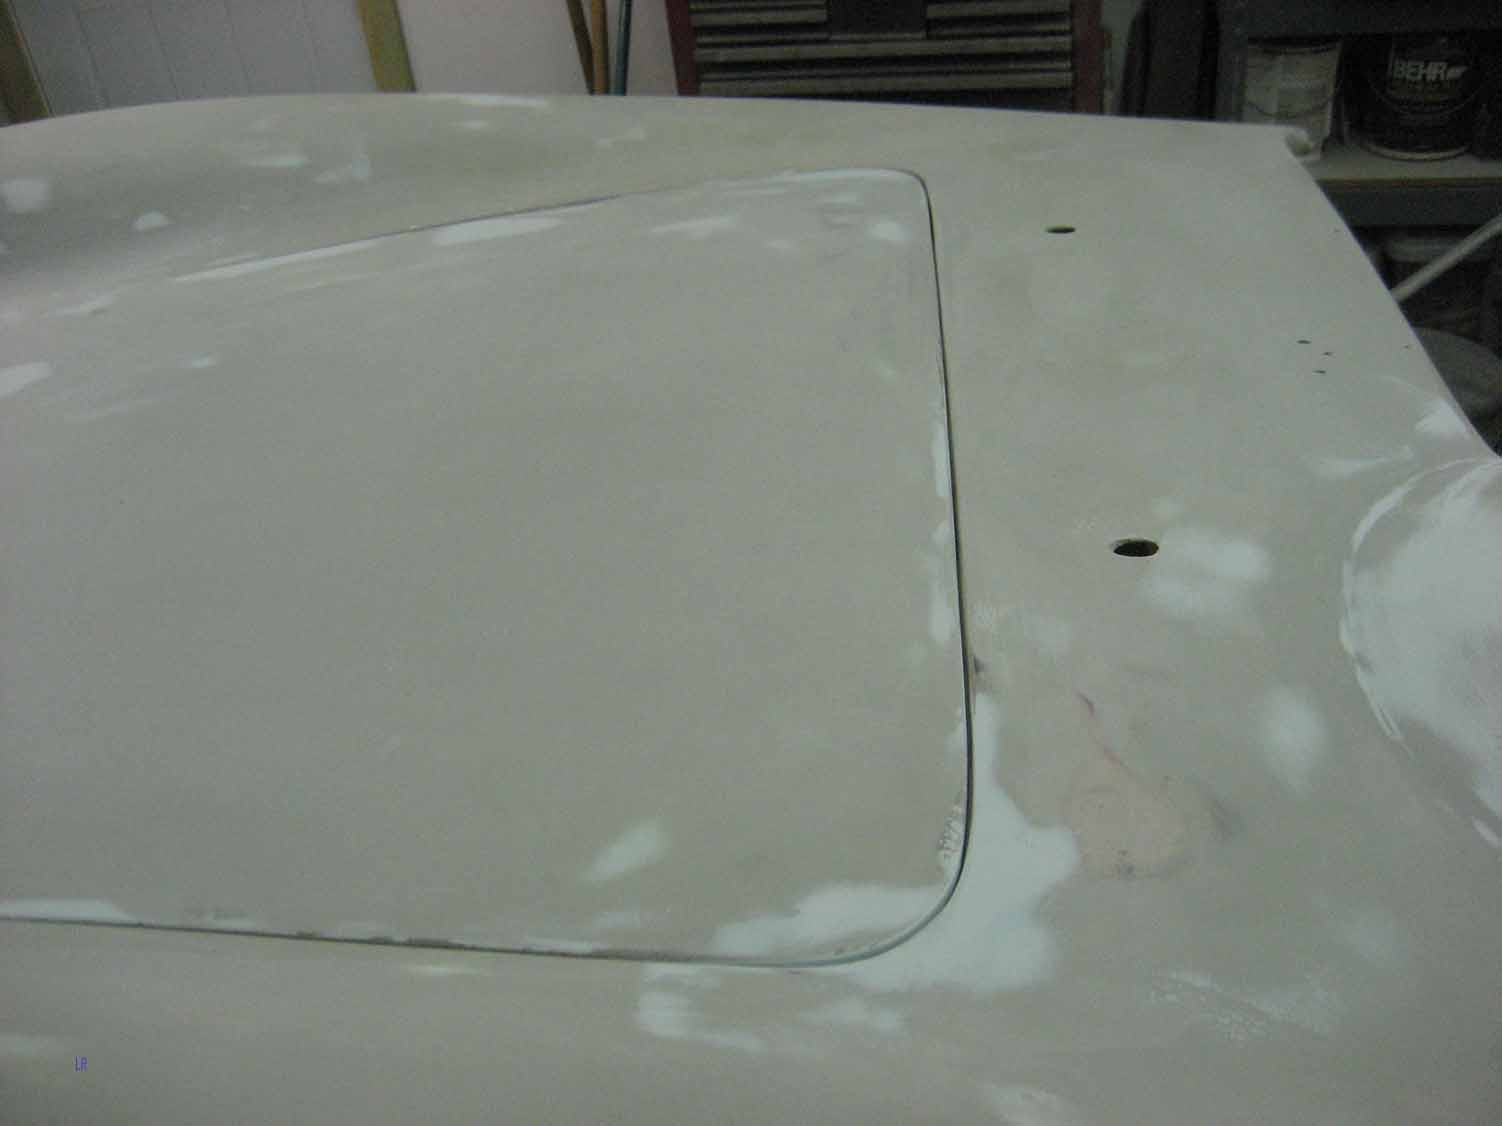
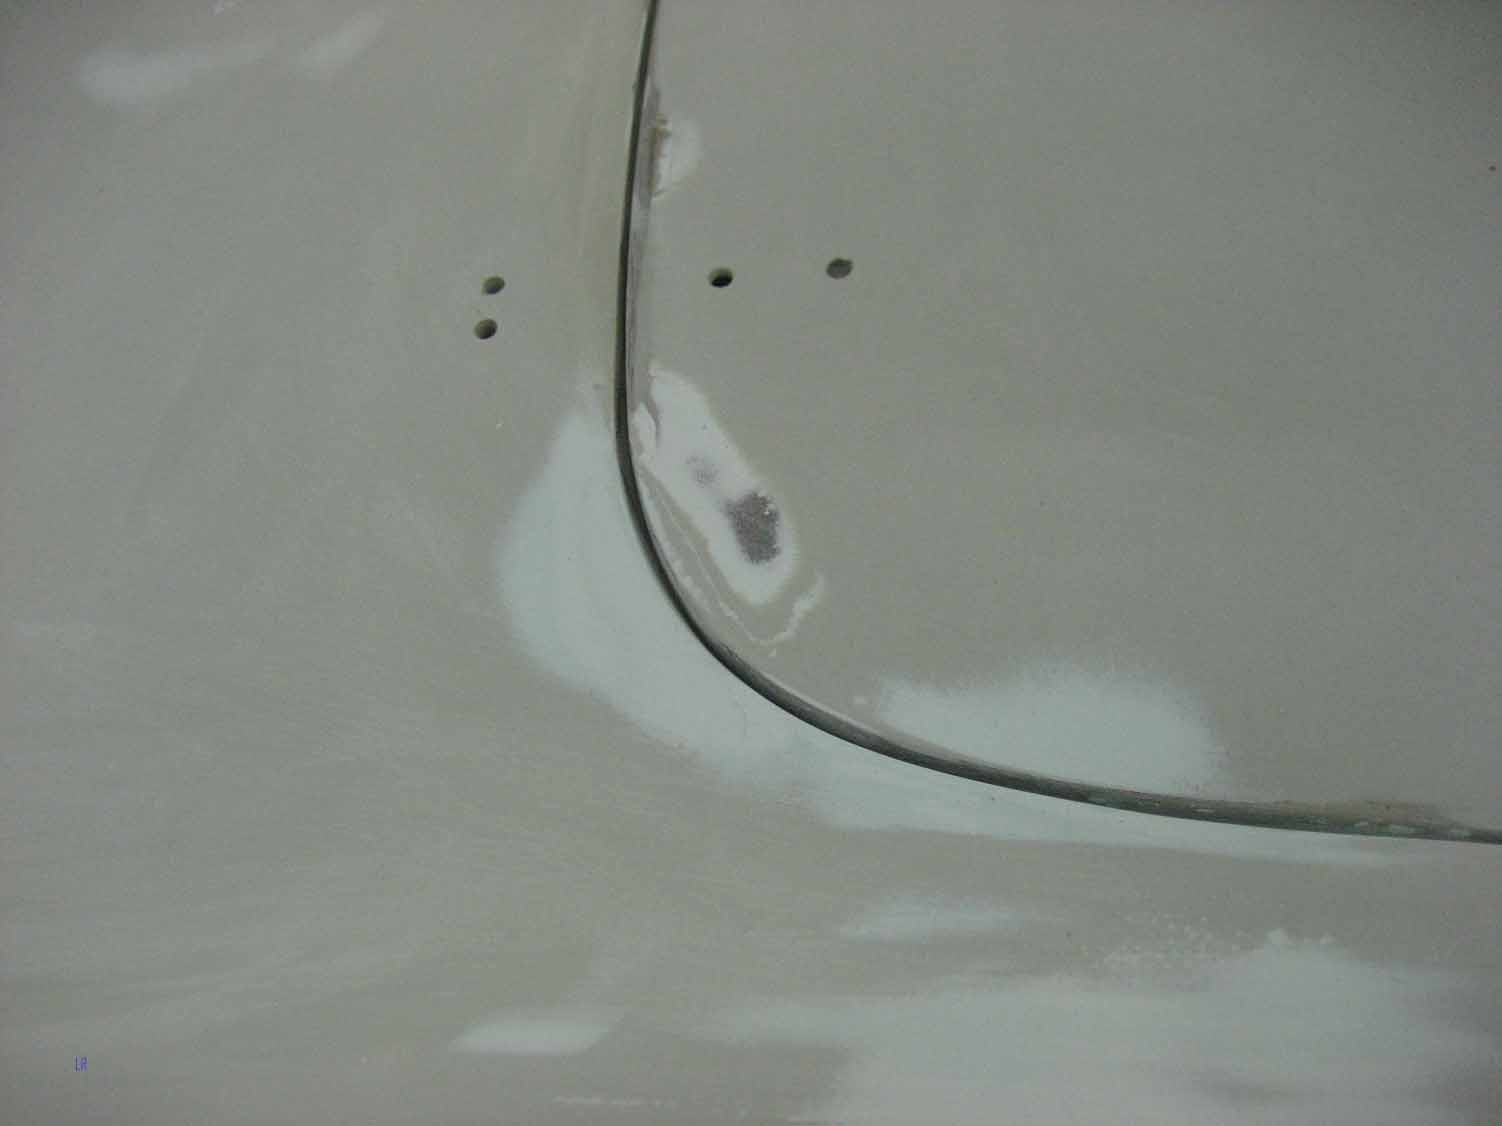
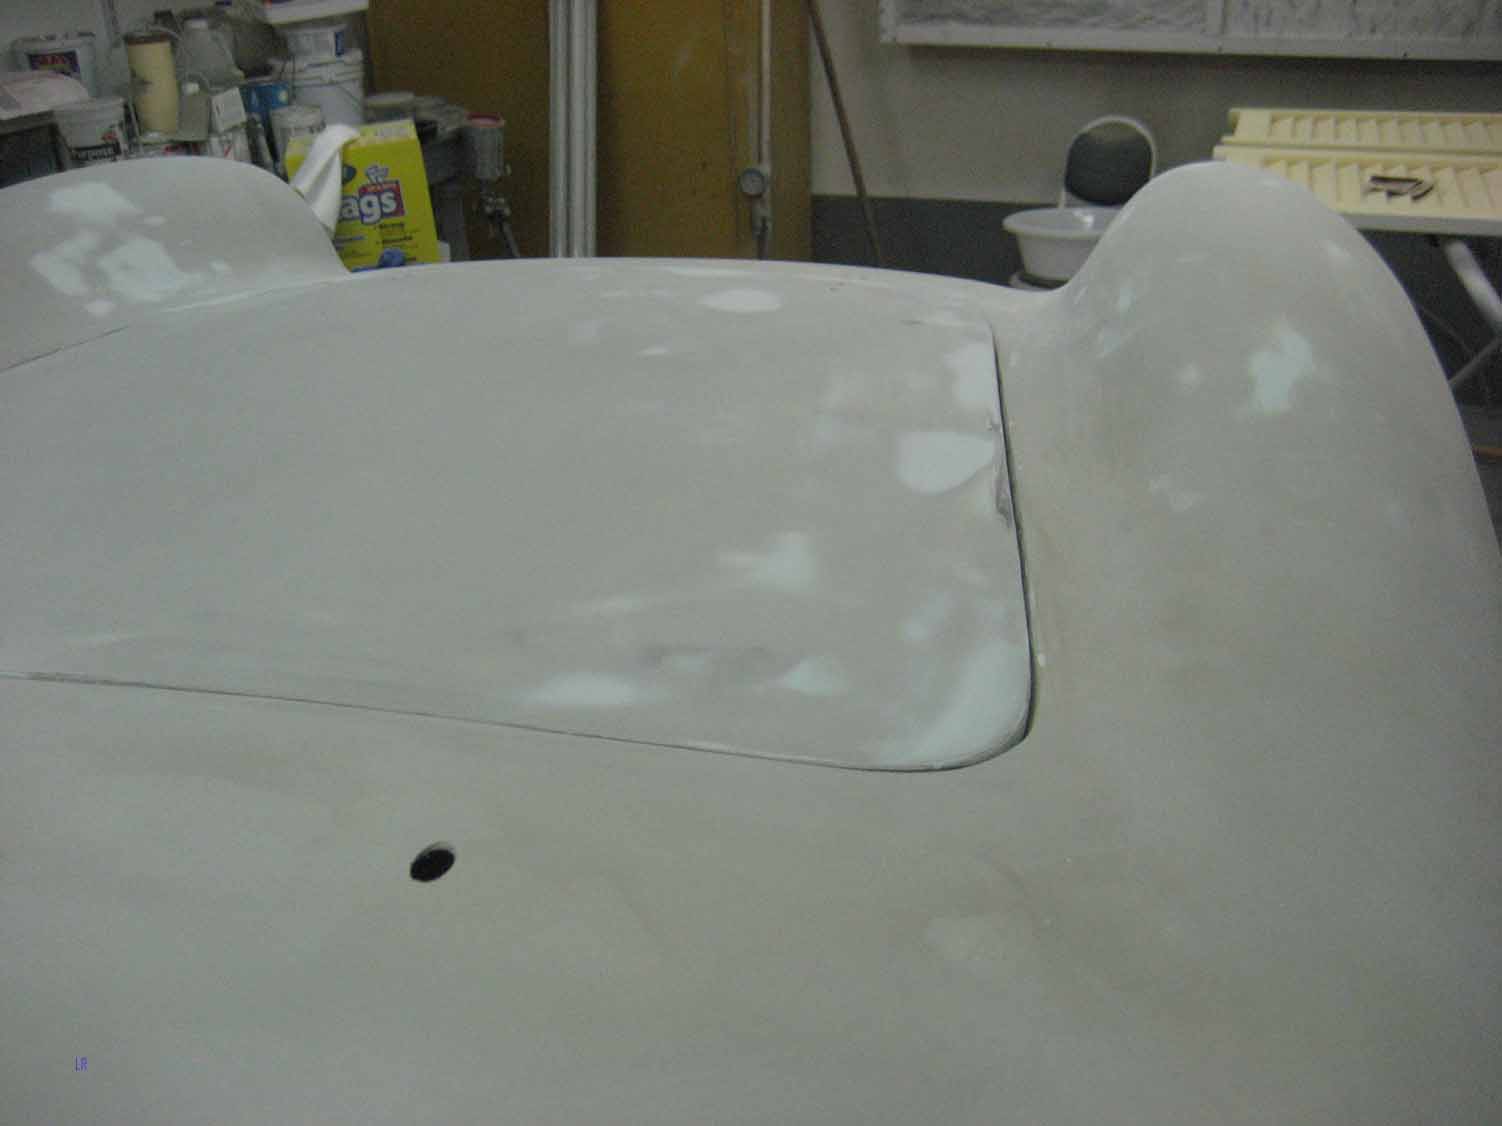
Here, I am now posting a lot of what has been done to fix the fiberglass, the rear deck, the doors, sills and the front end. If there are questions, I will make comments, but here they are without additional text for each one. Most should be self-explanatory.
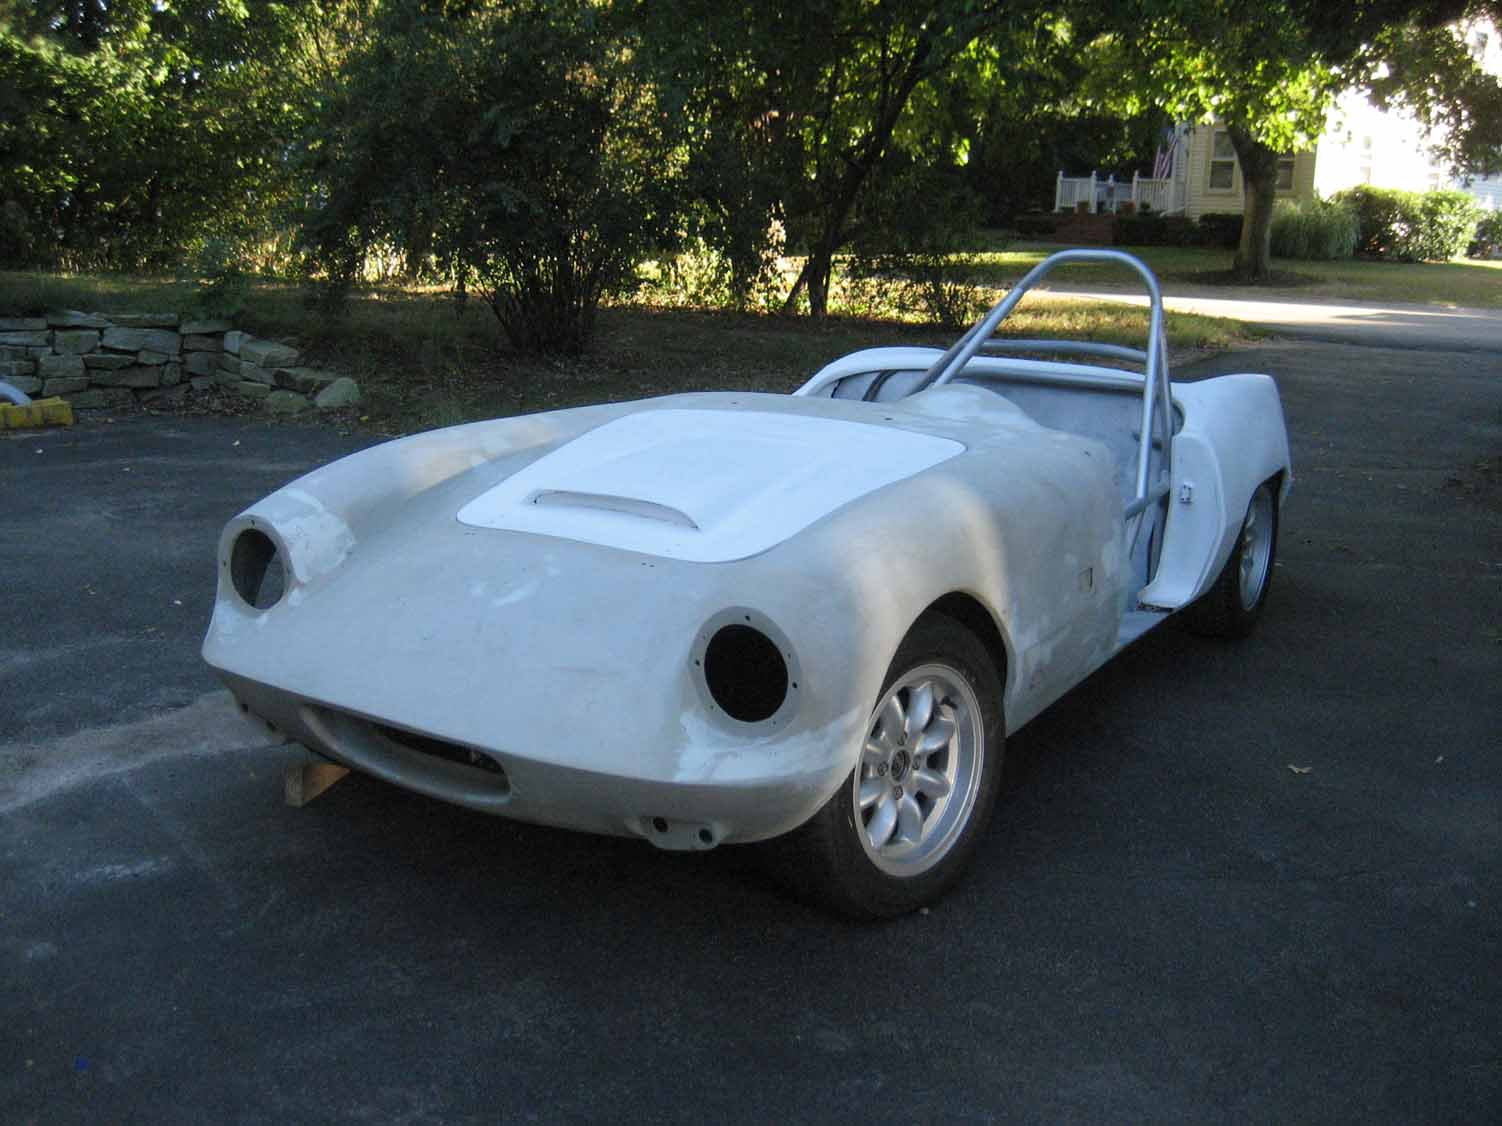
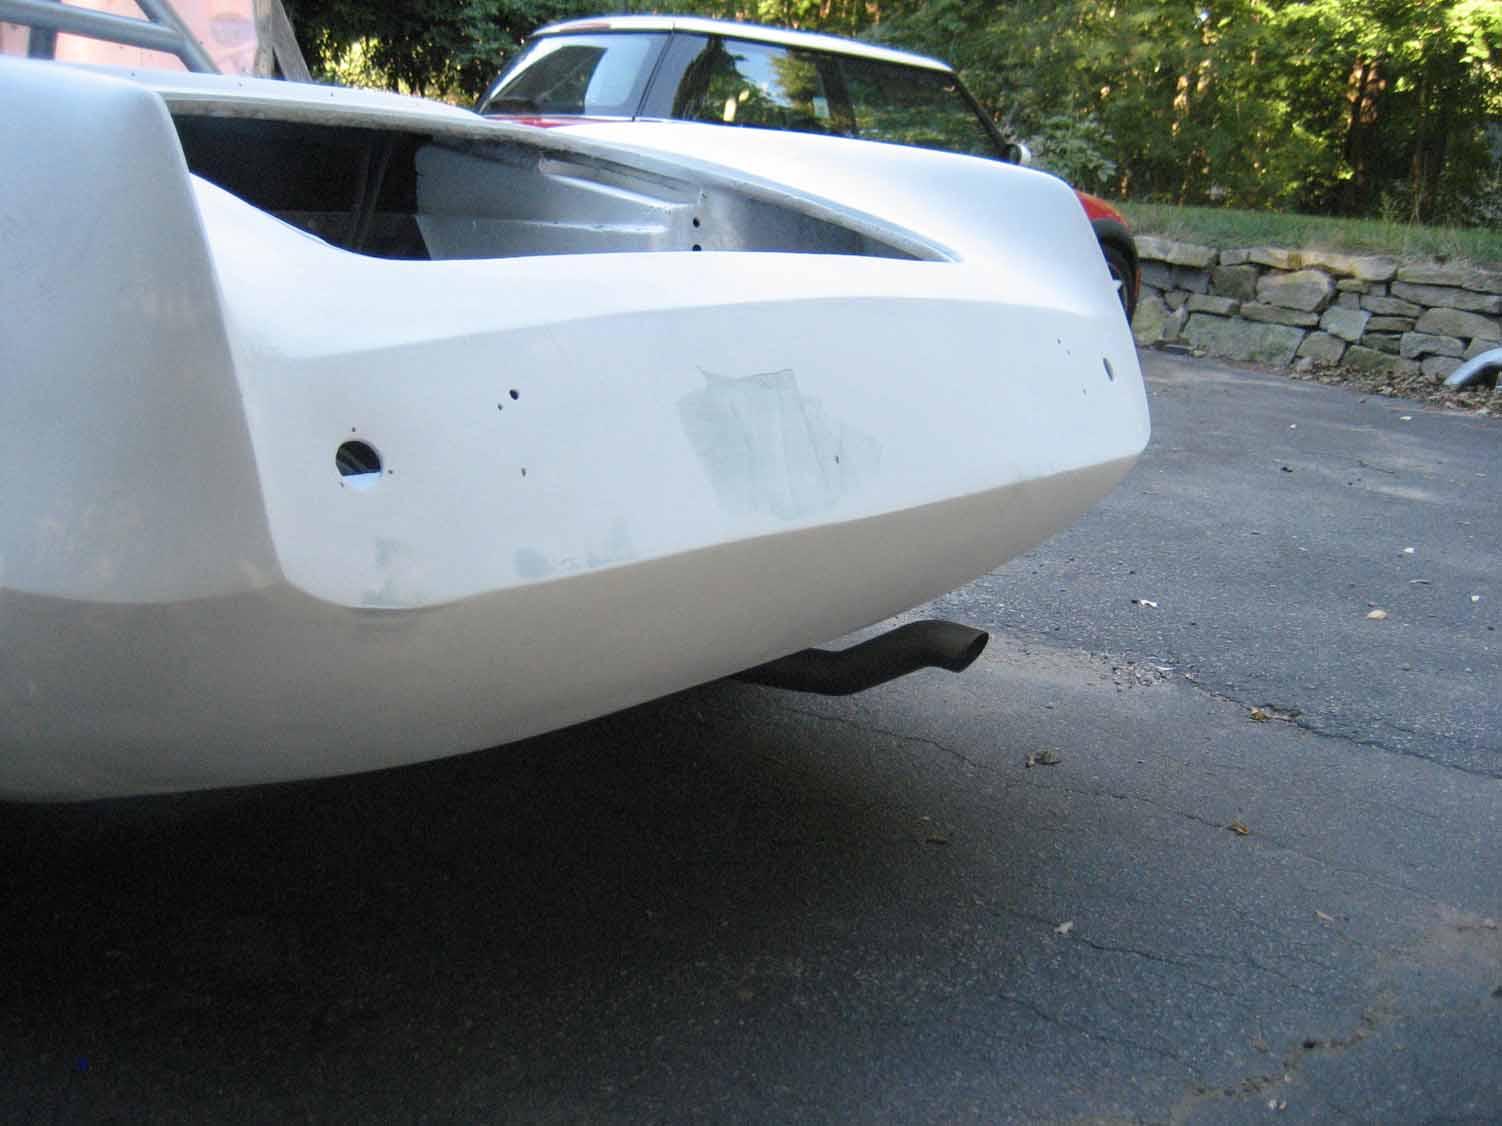
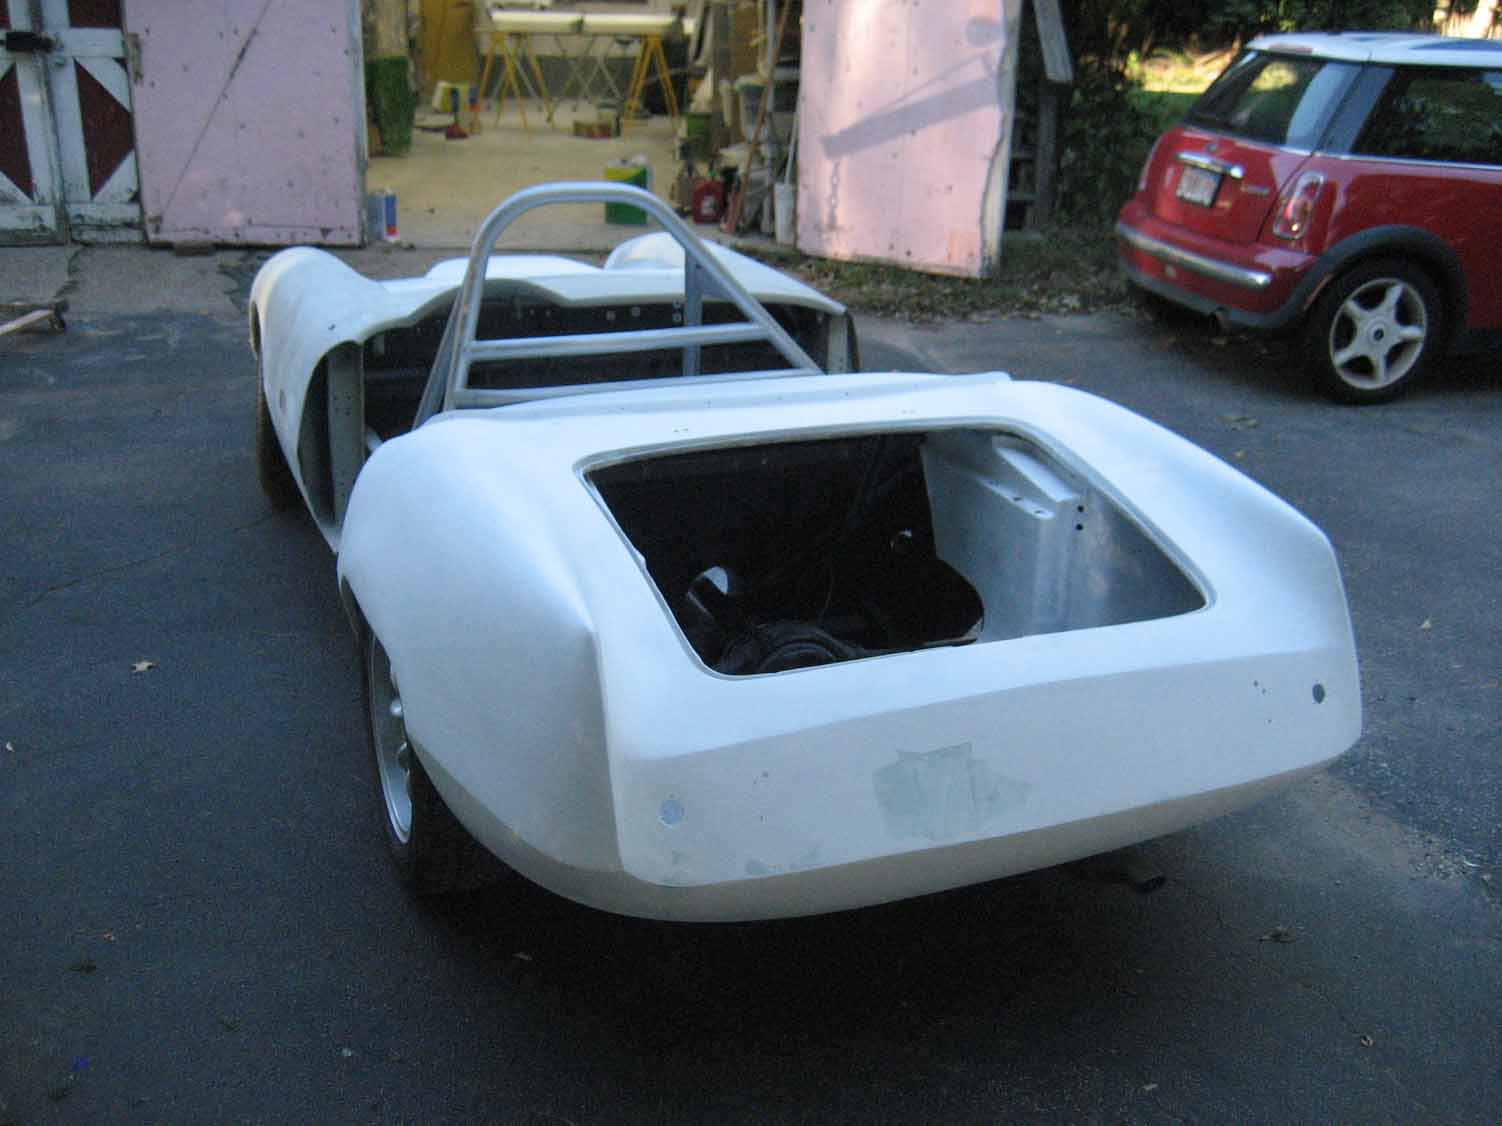
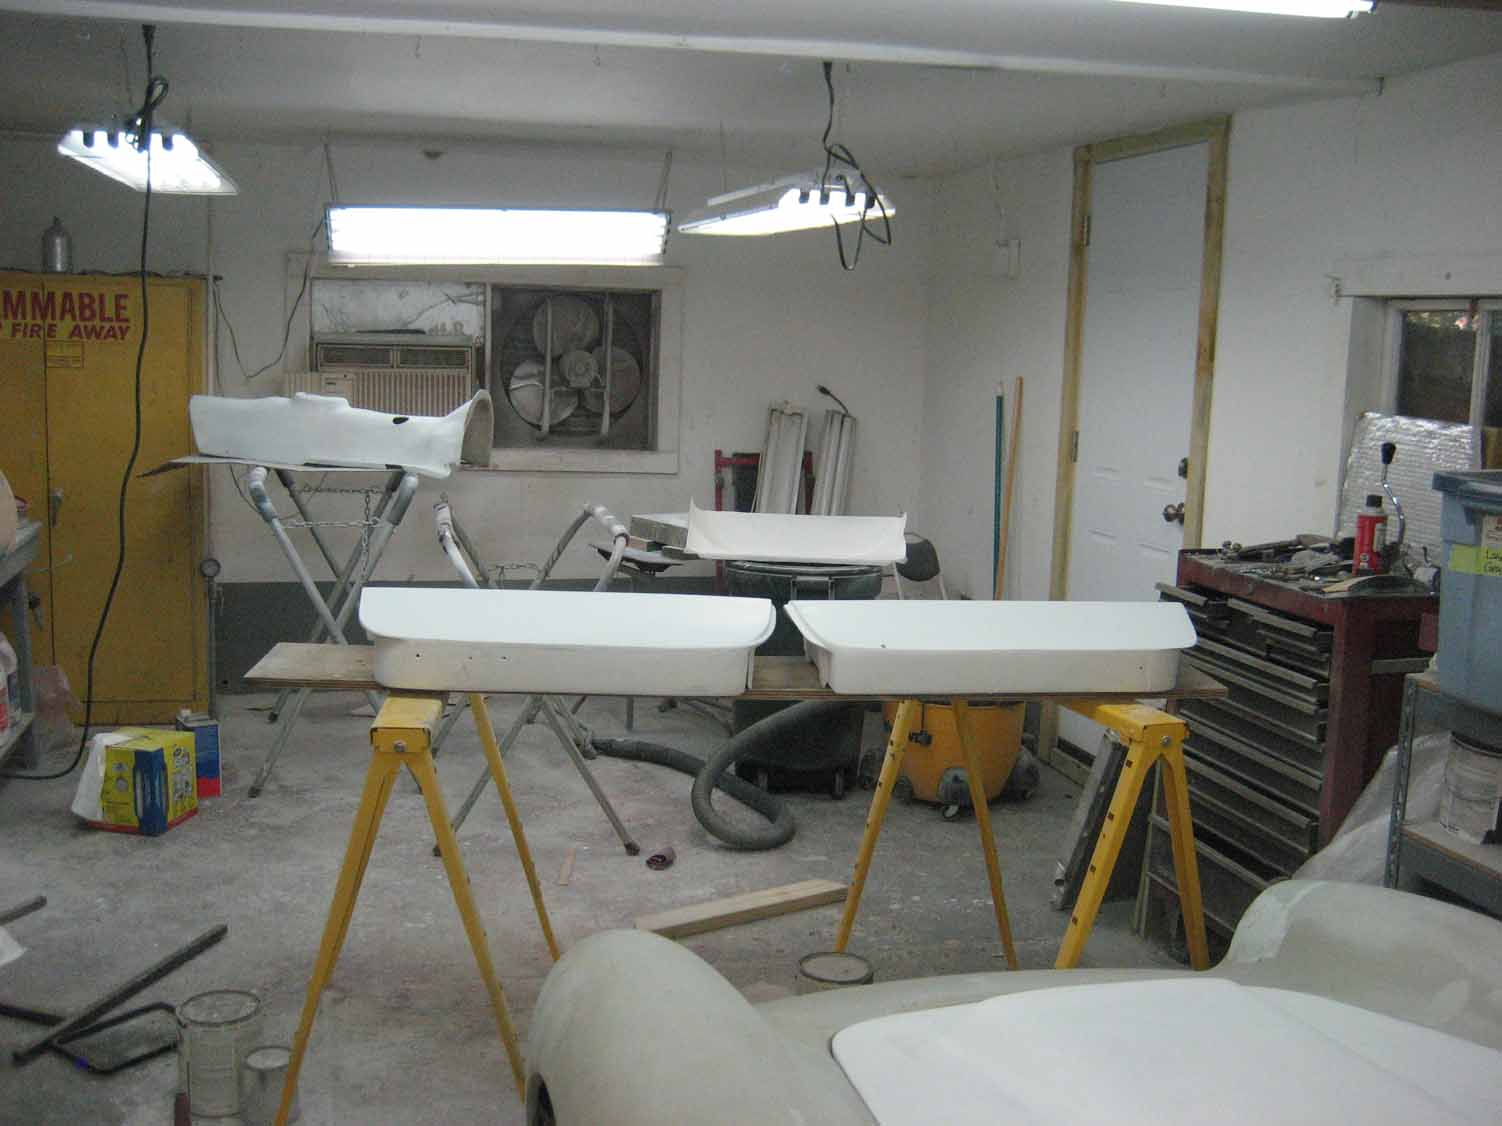
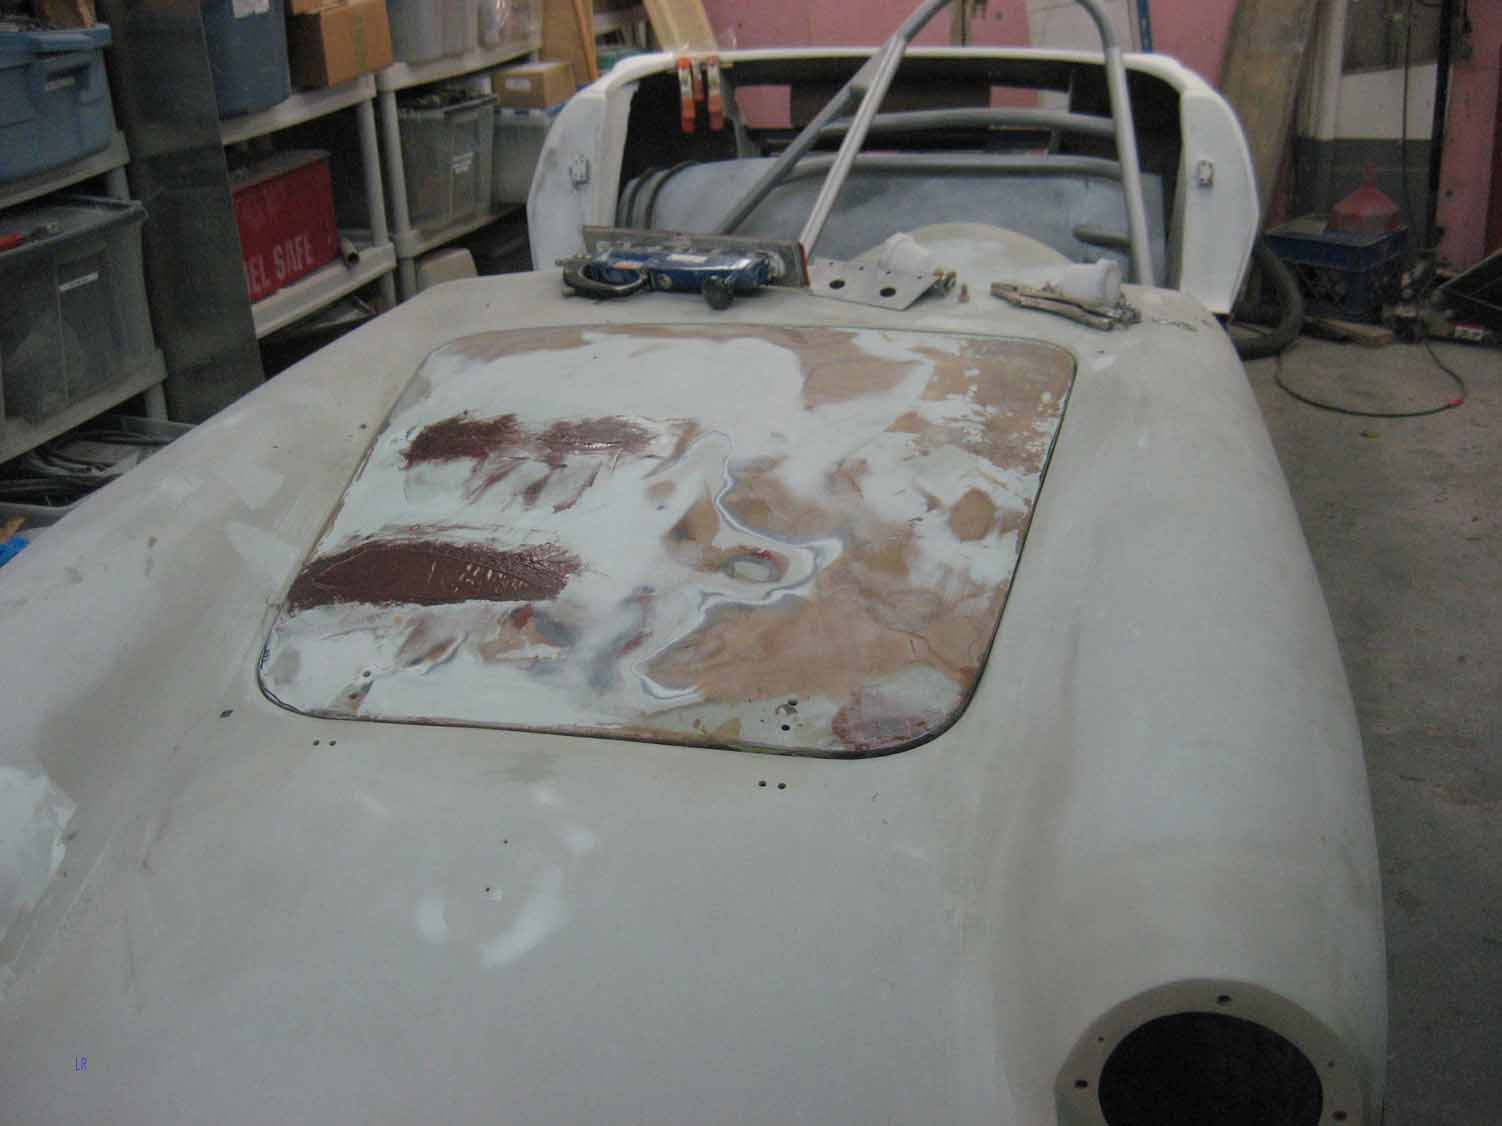
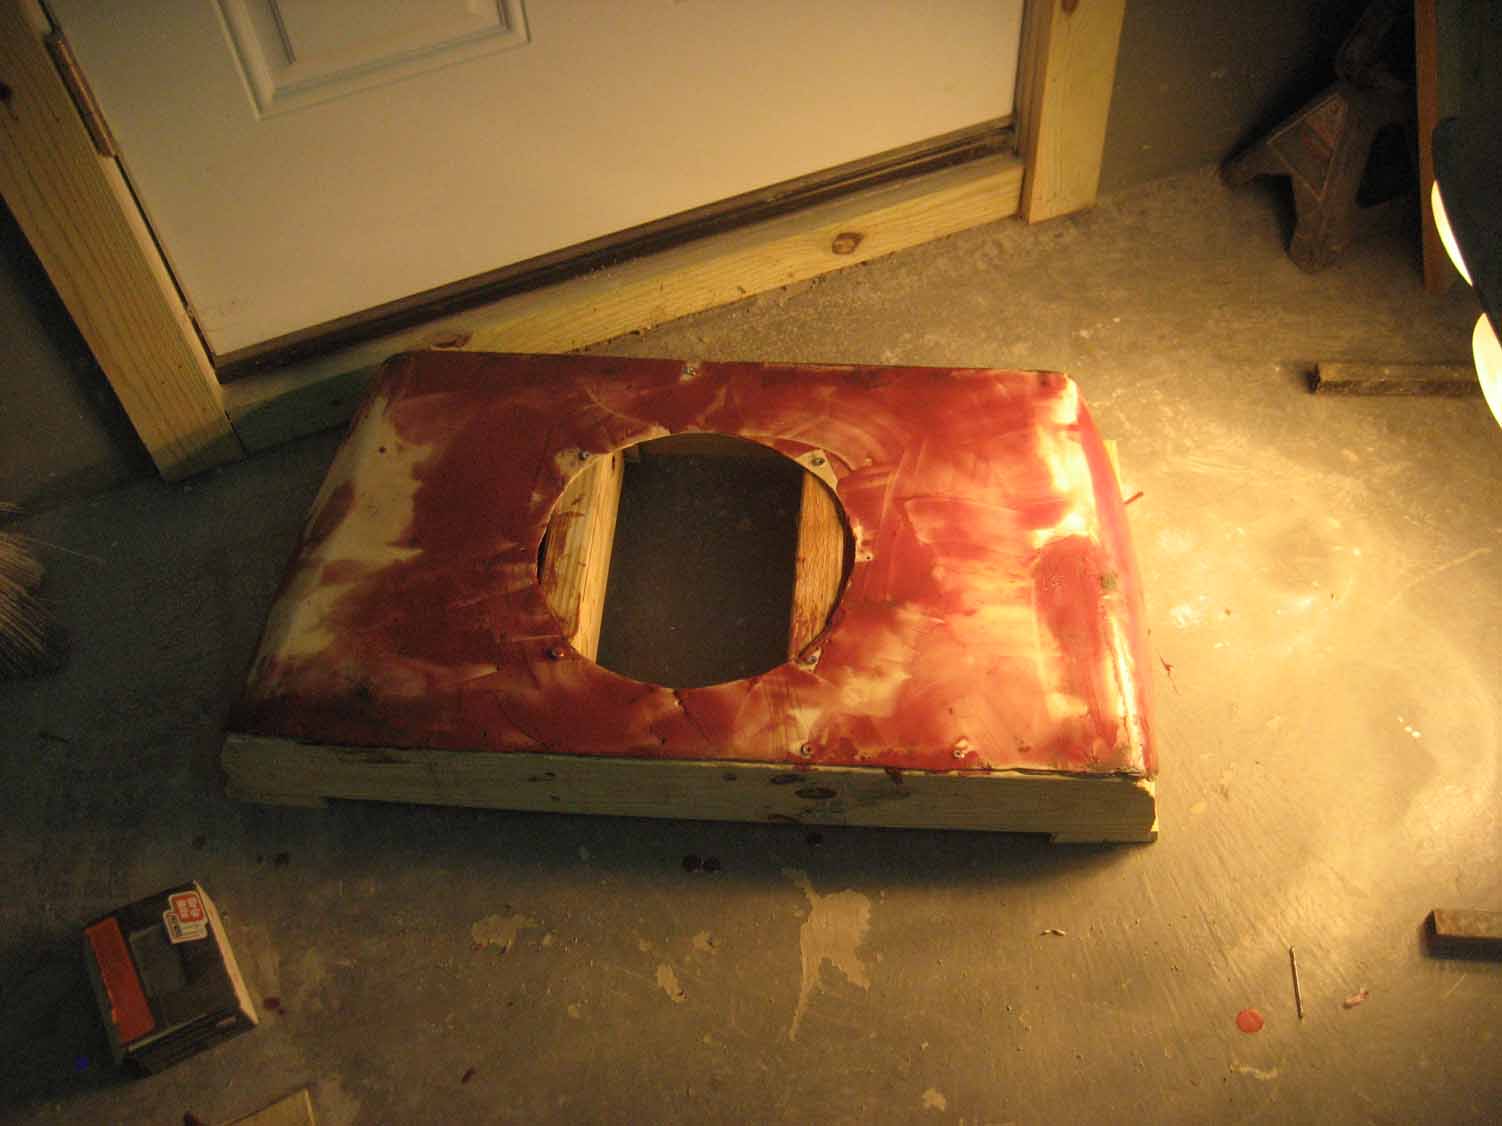
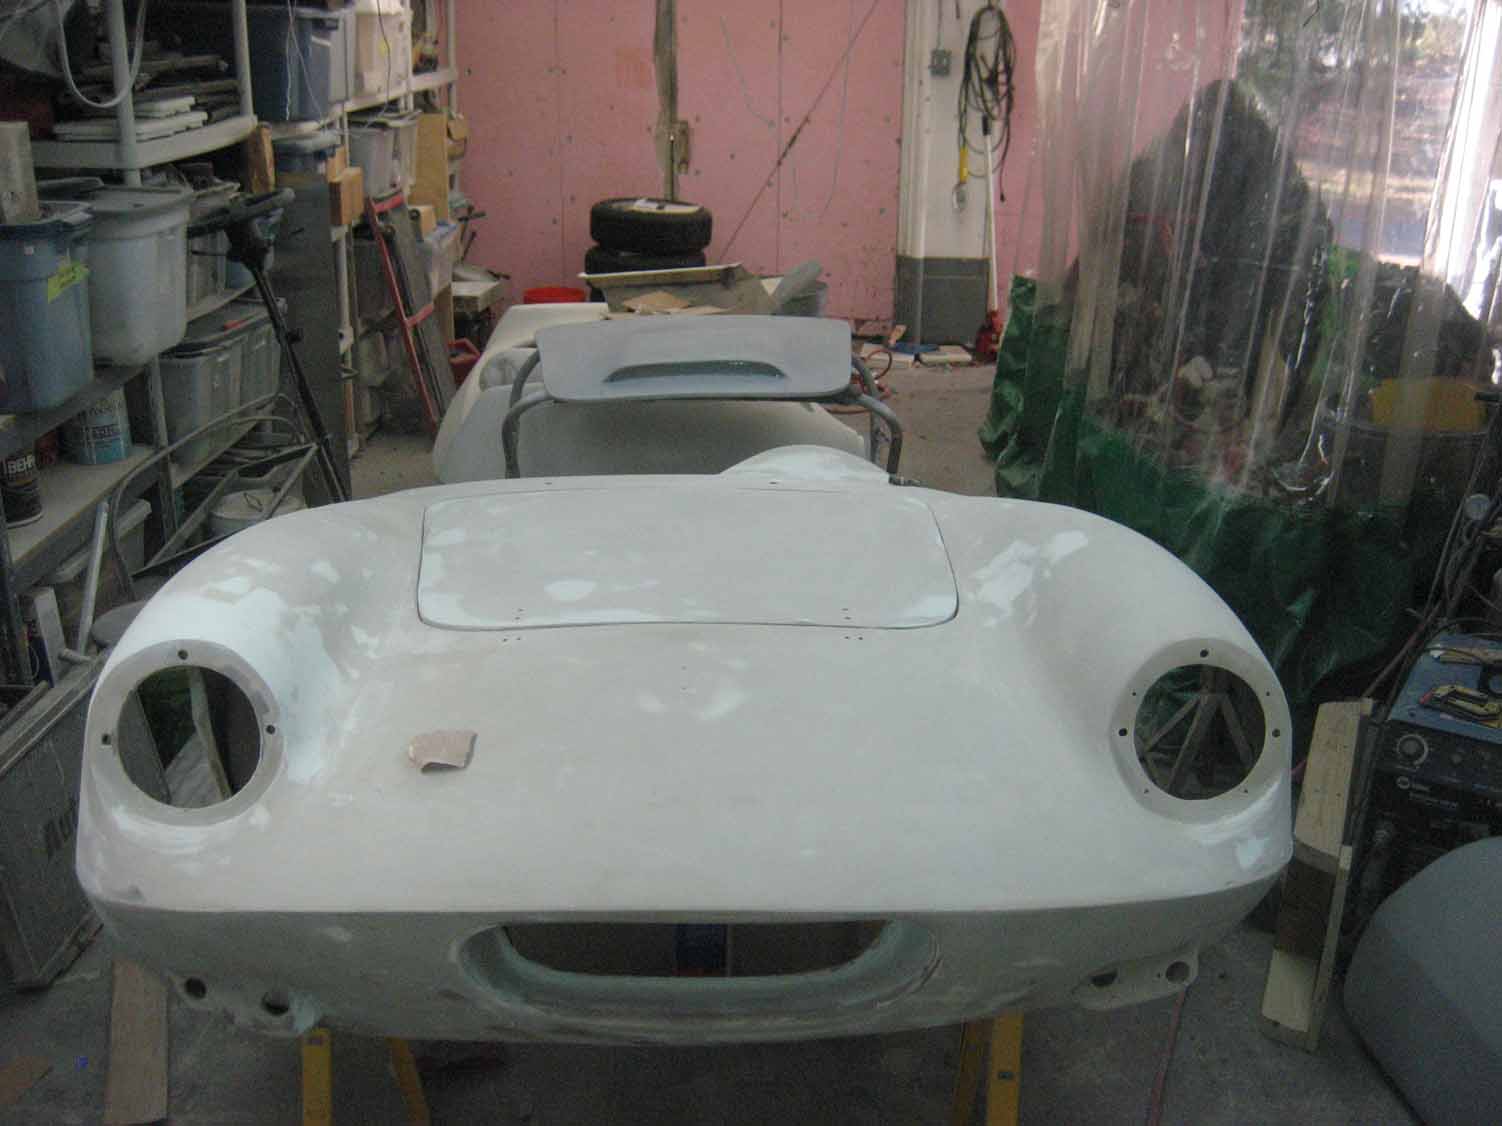
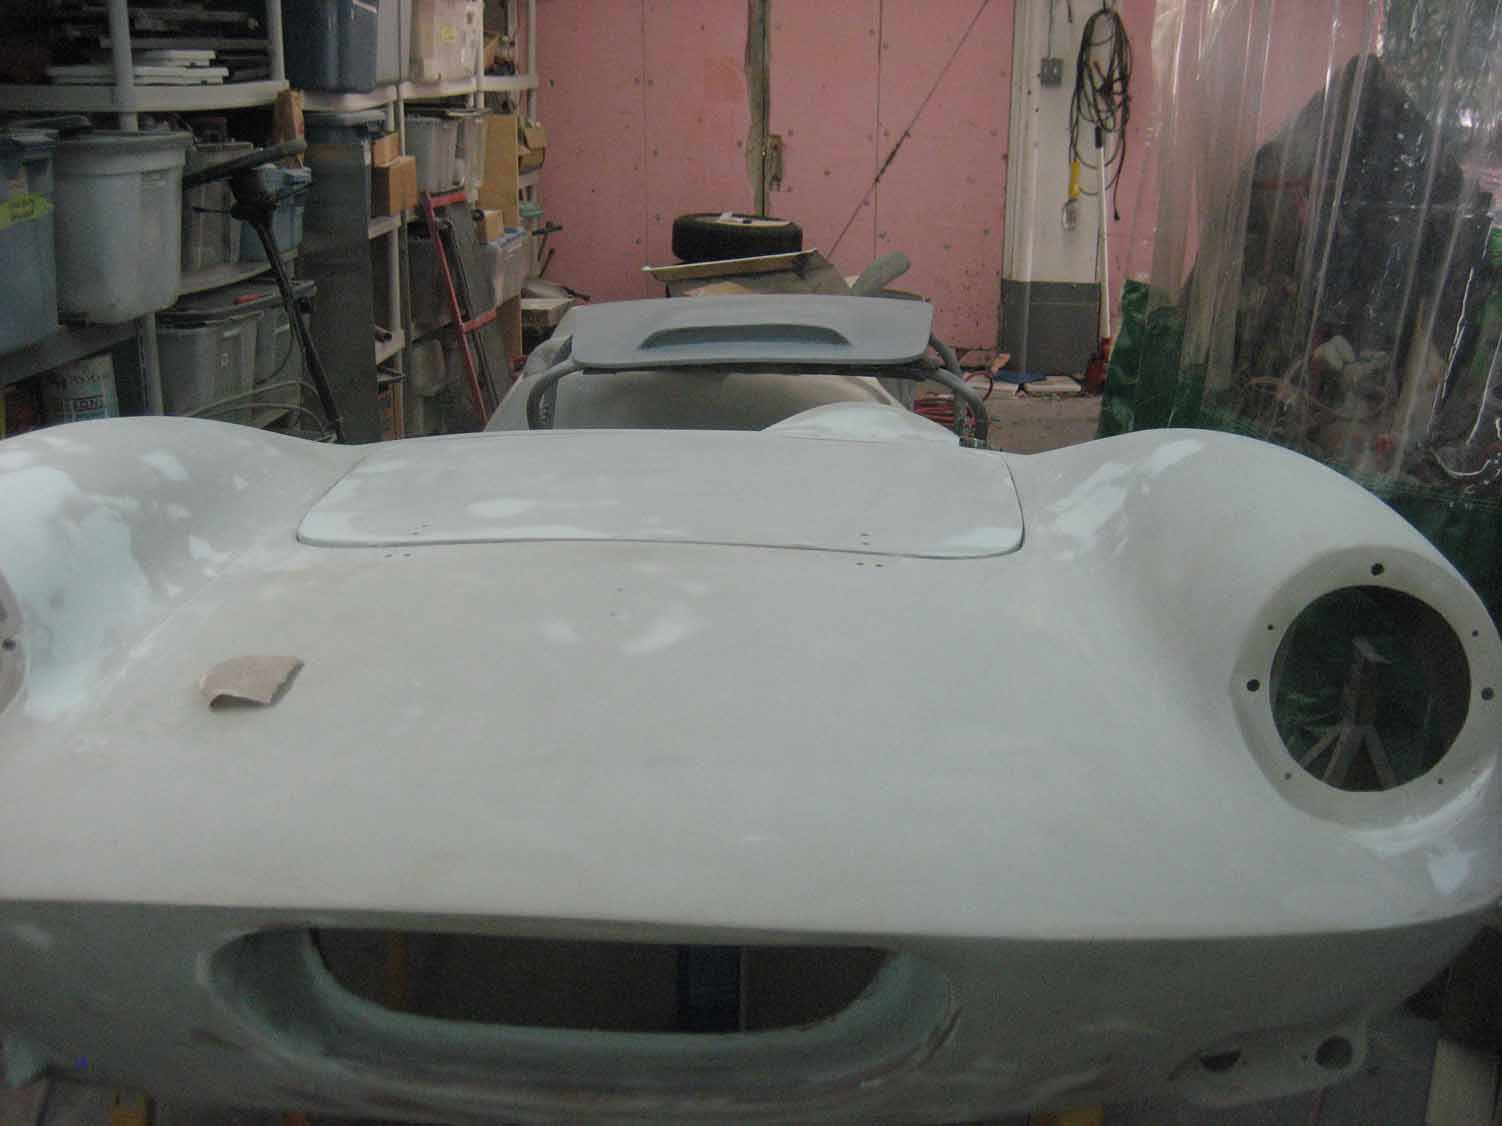
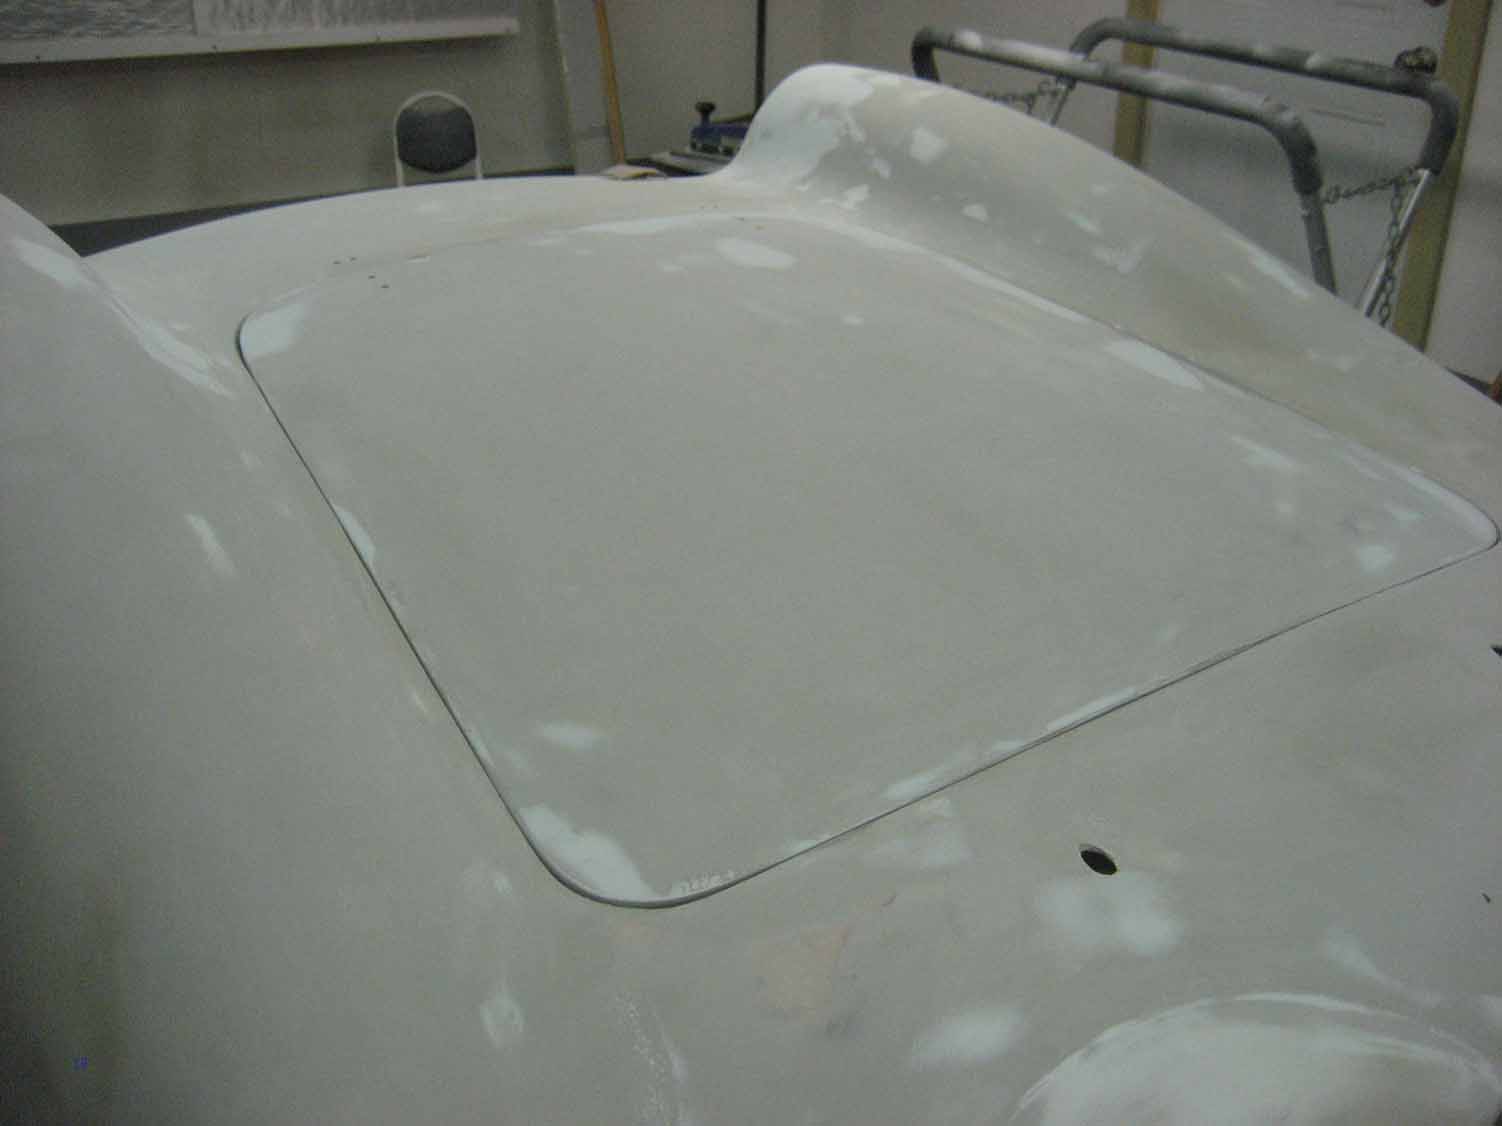
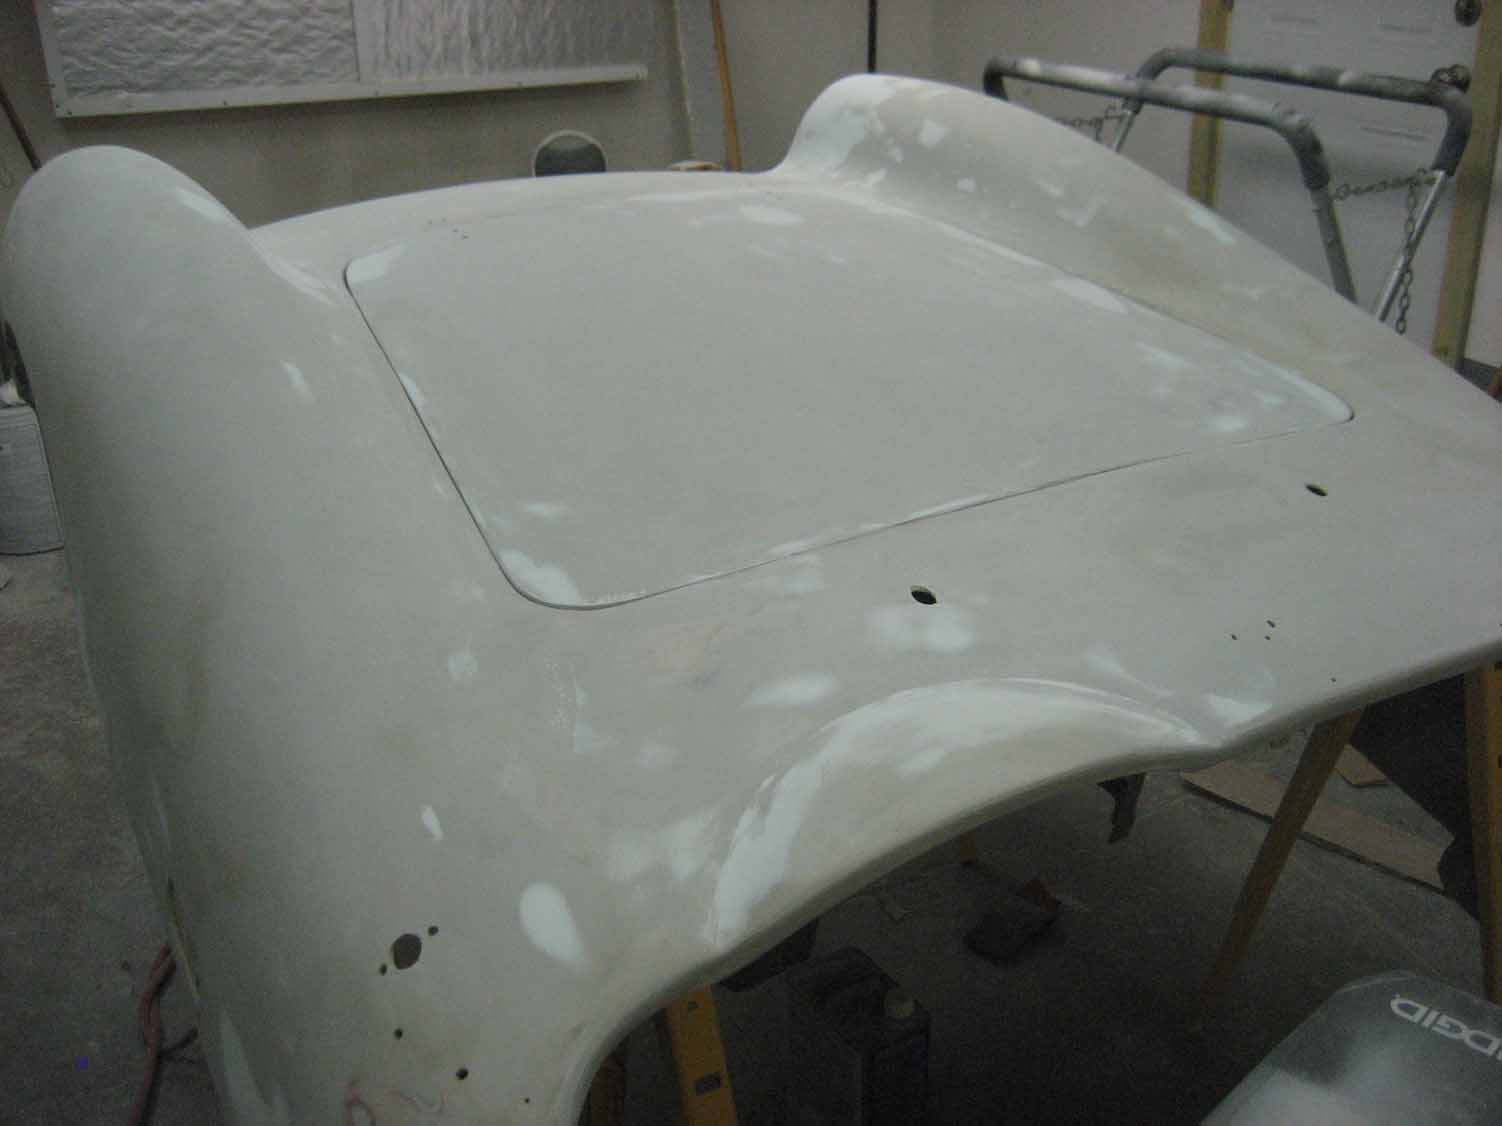
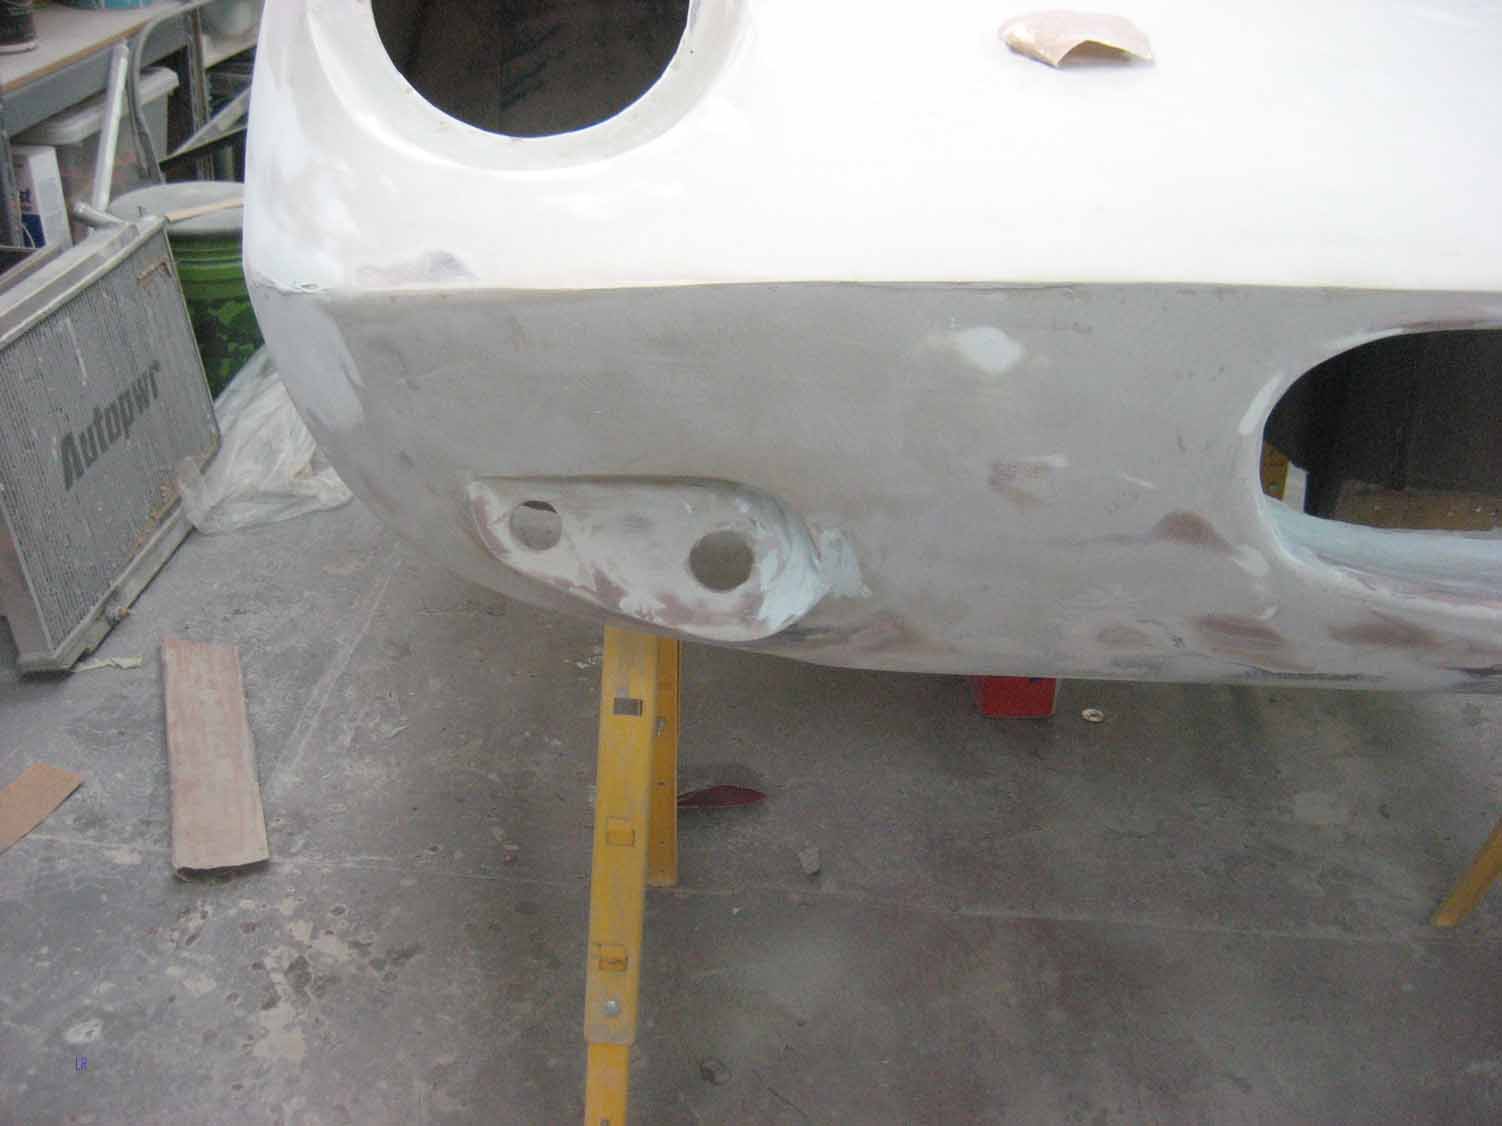
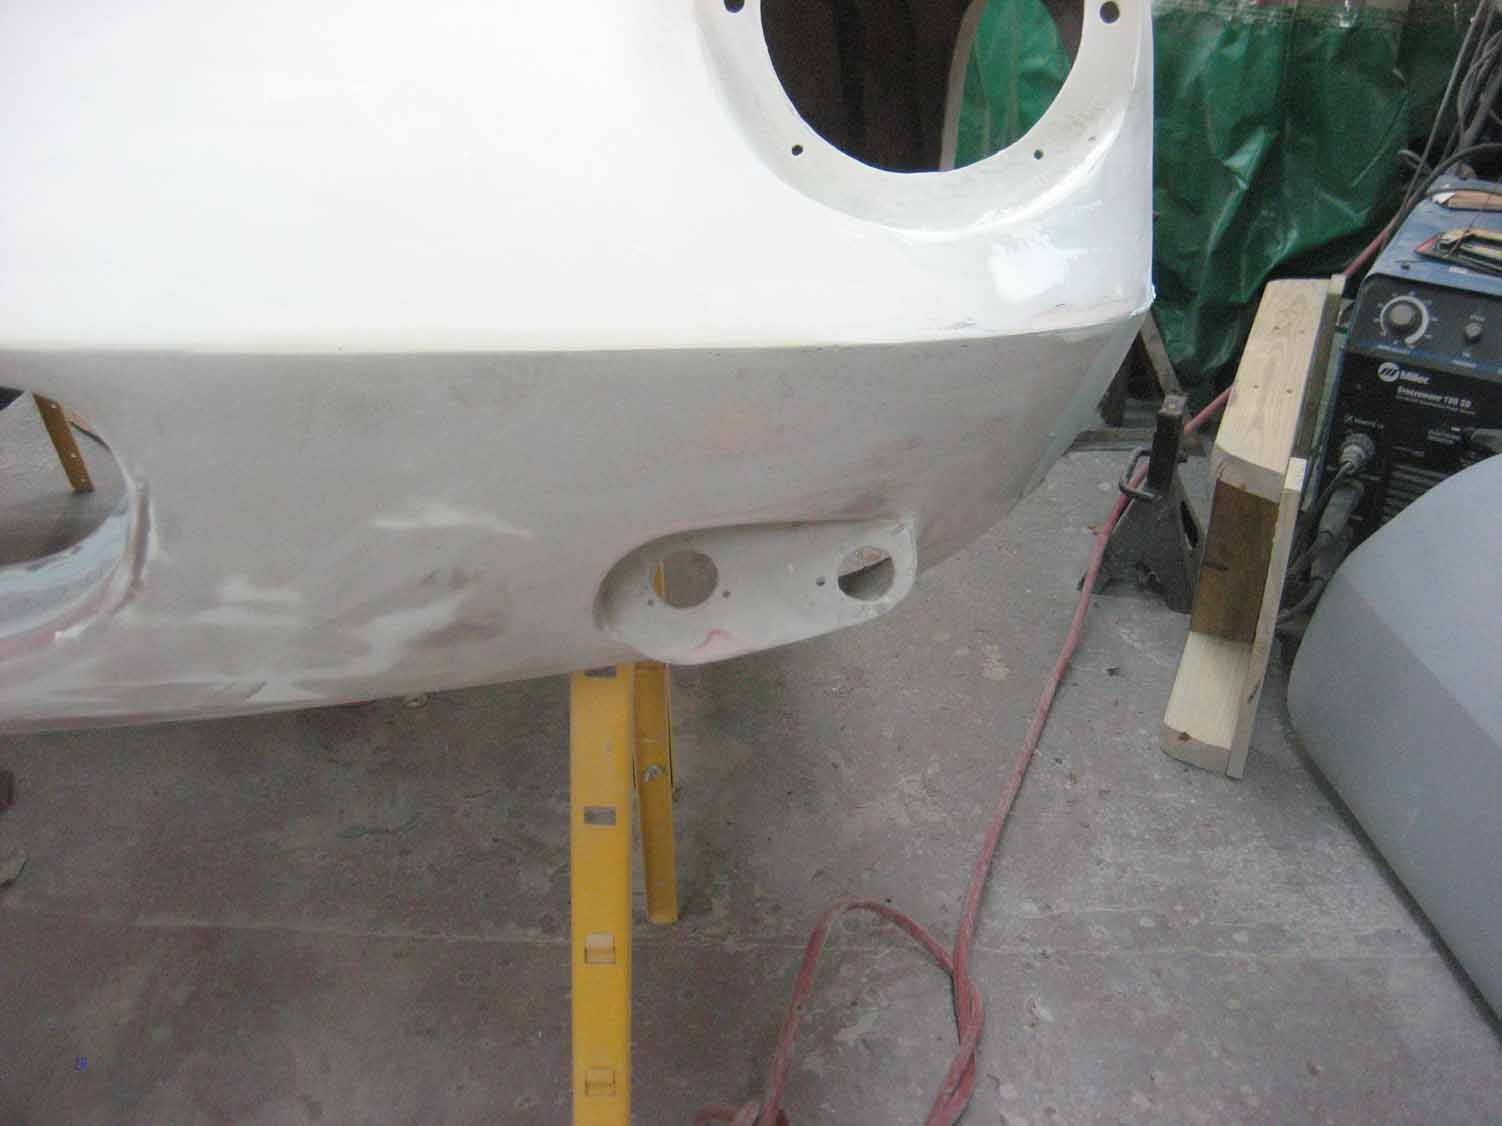
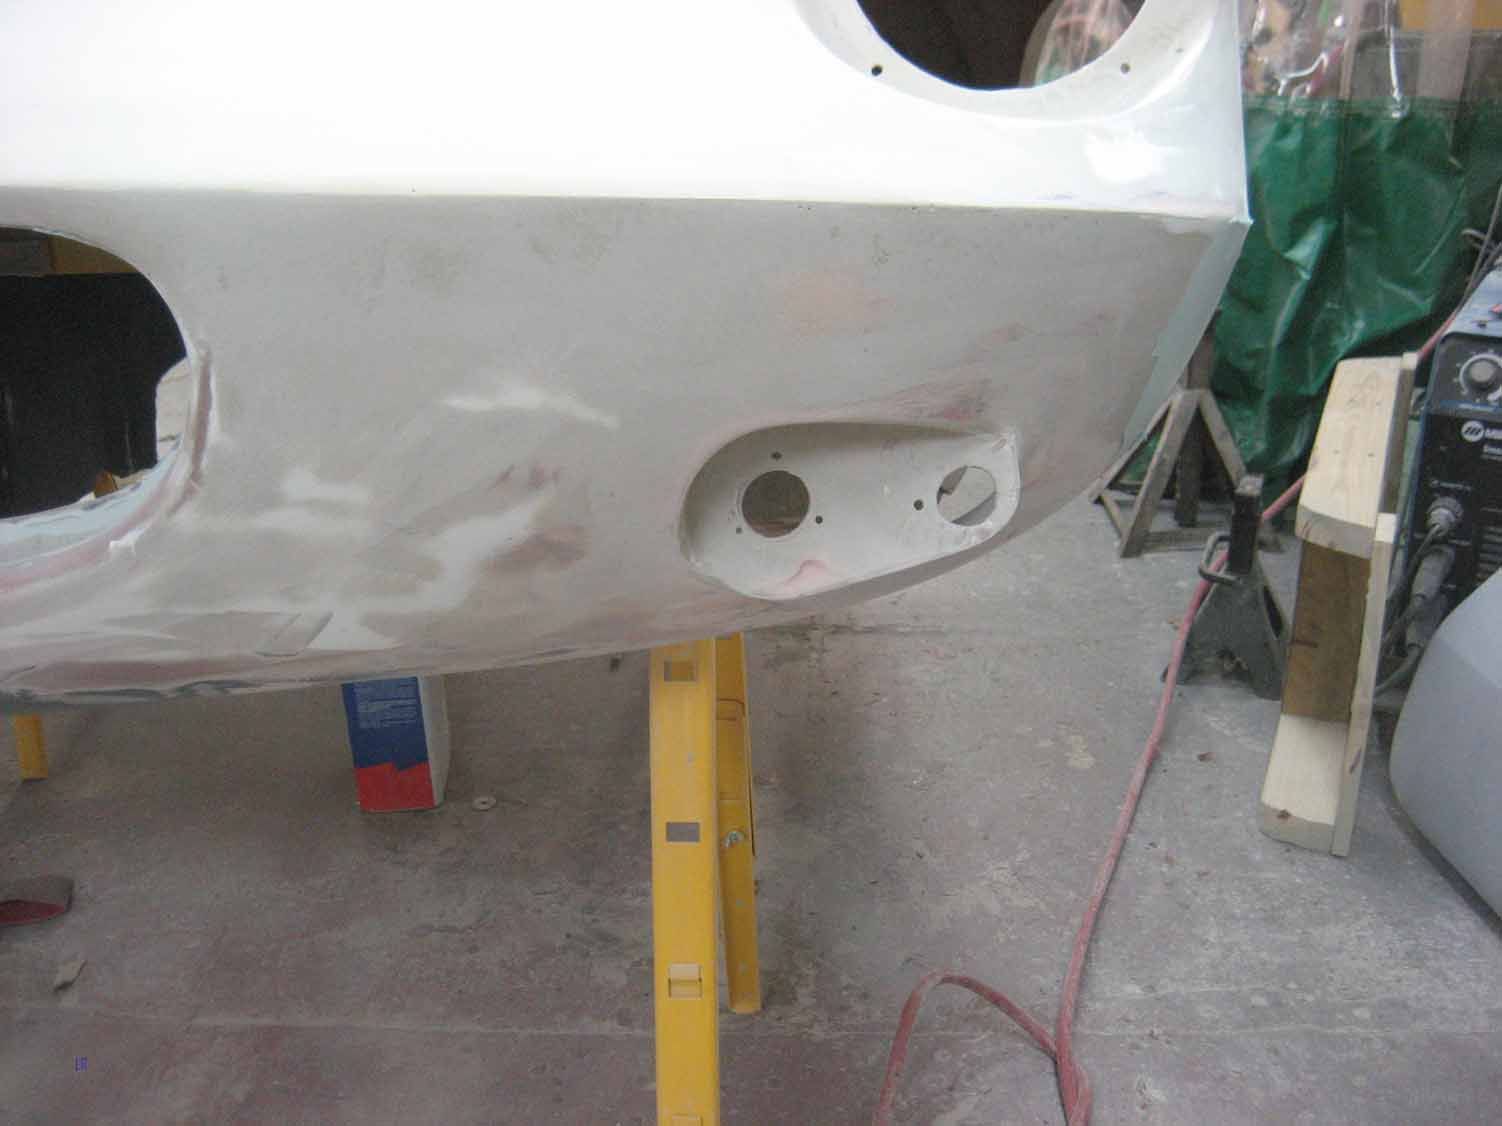
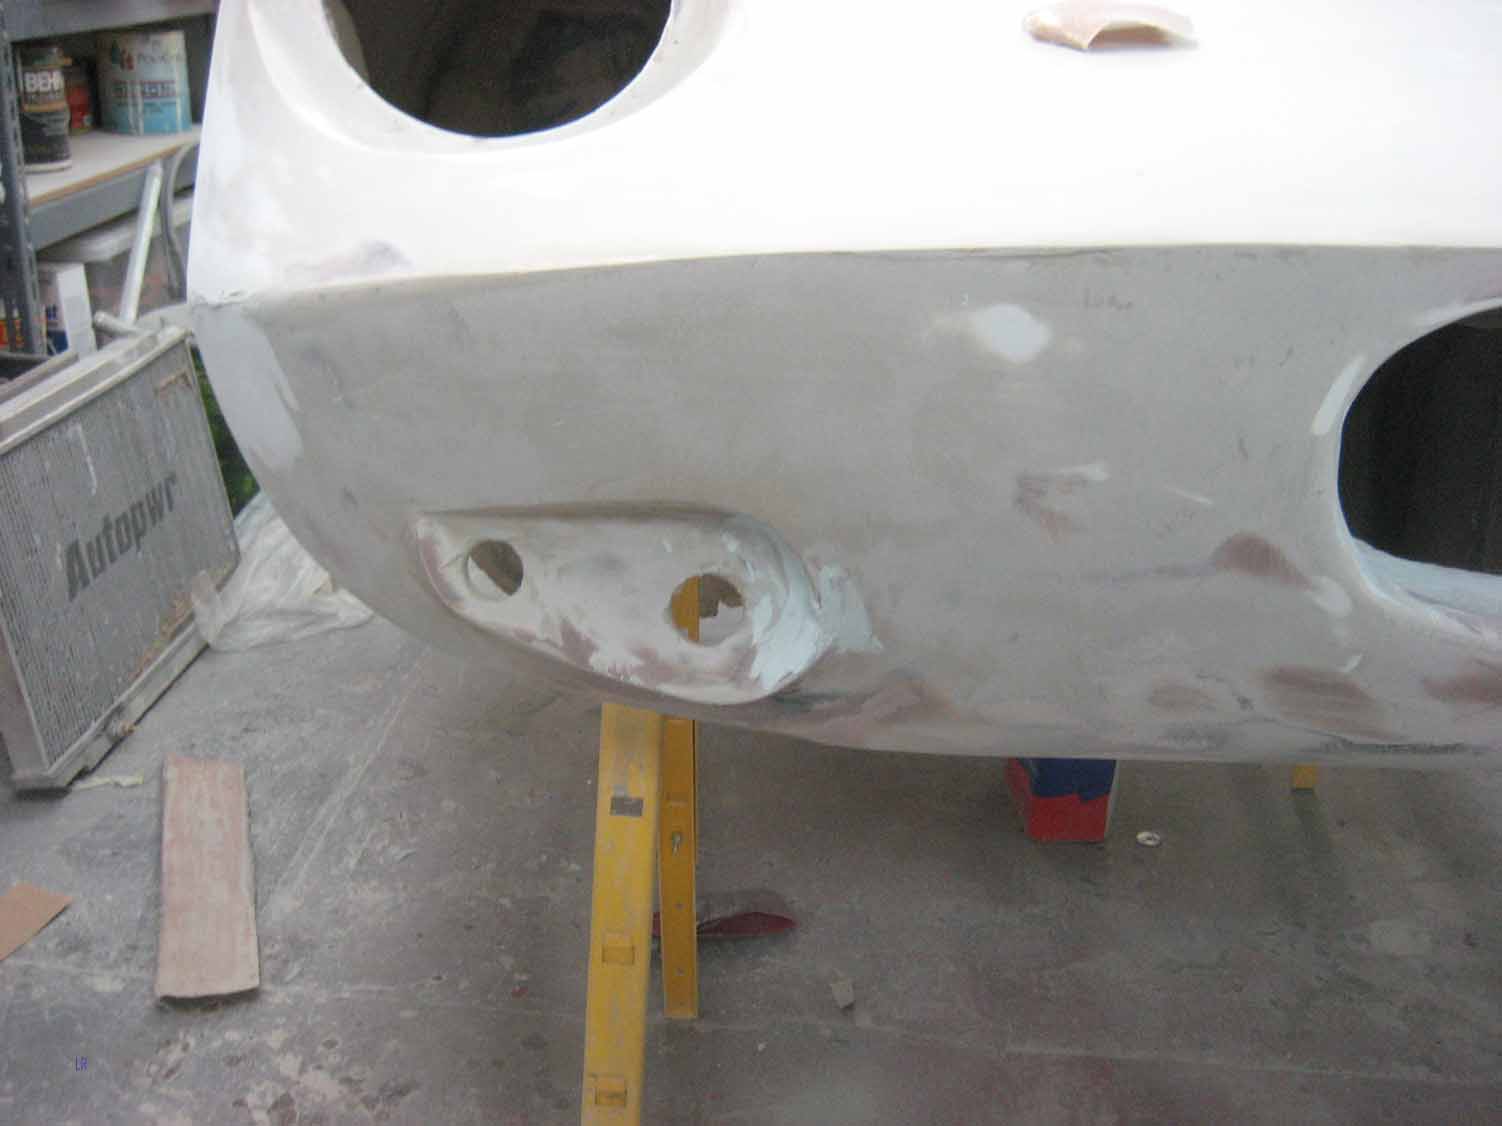
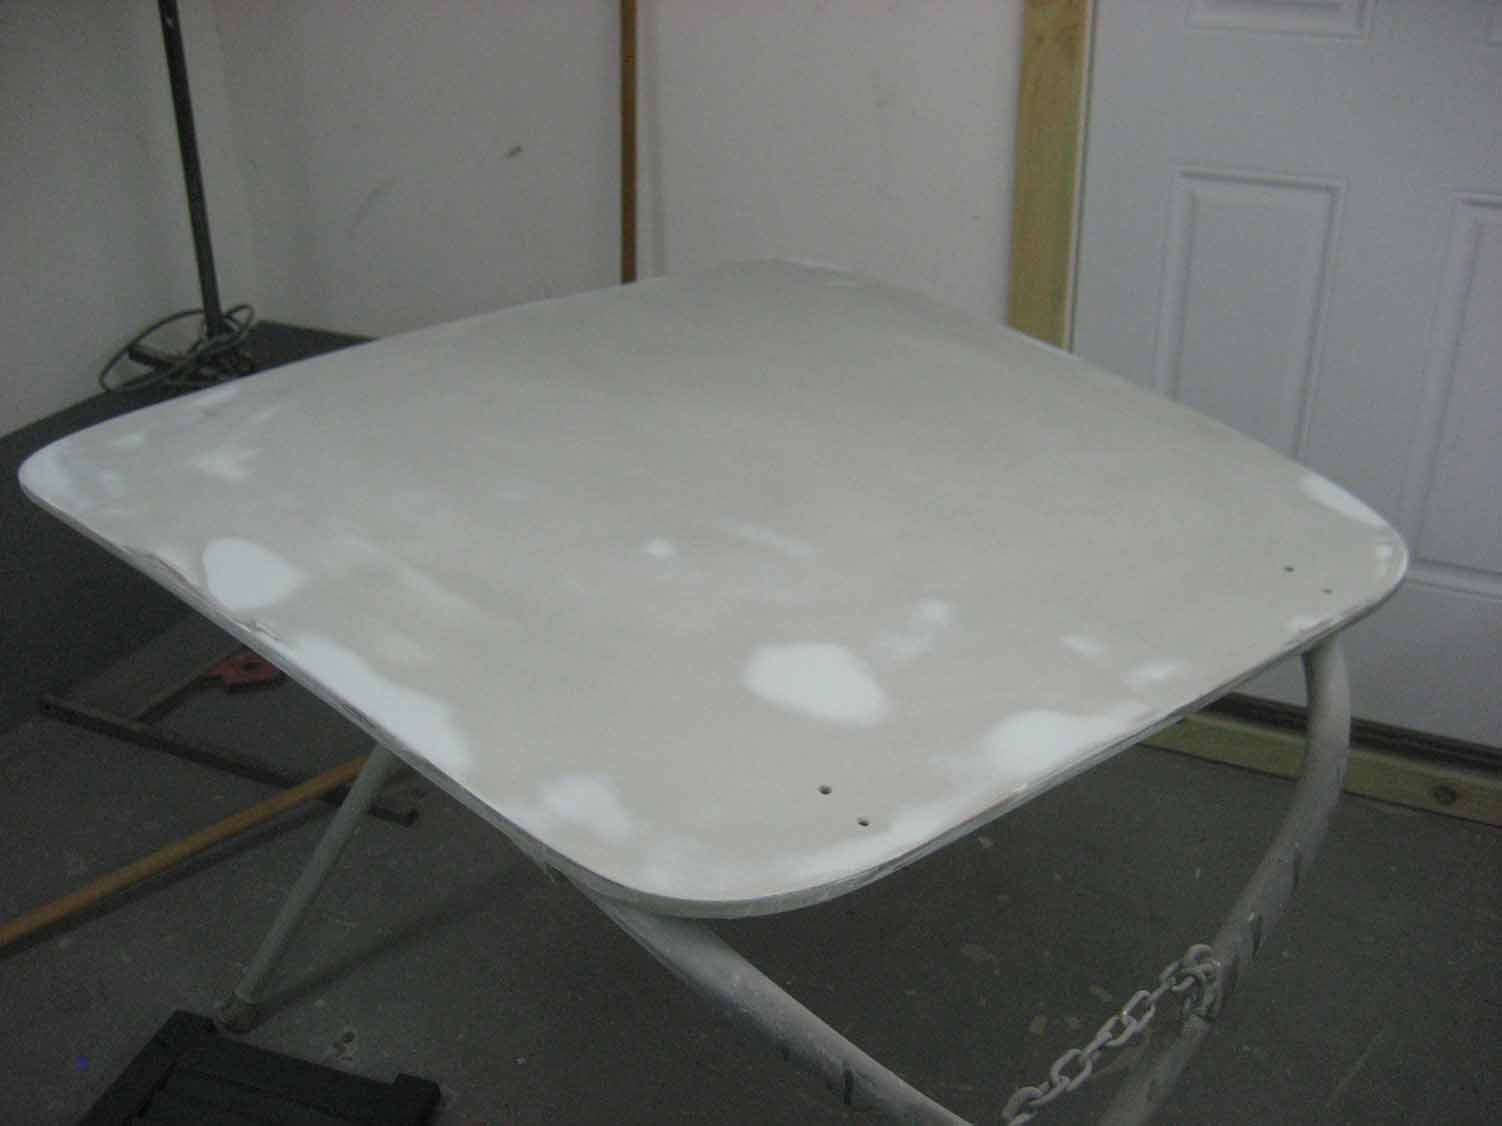
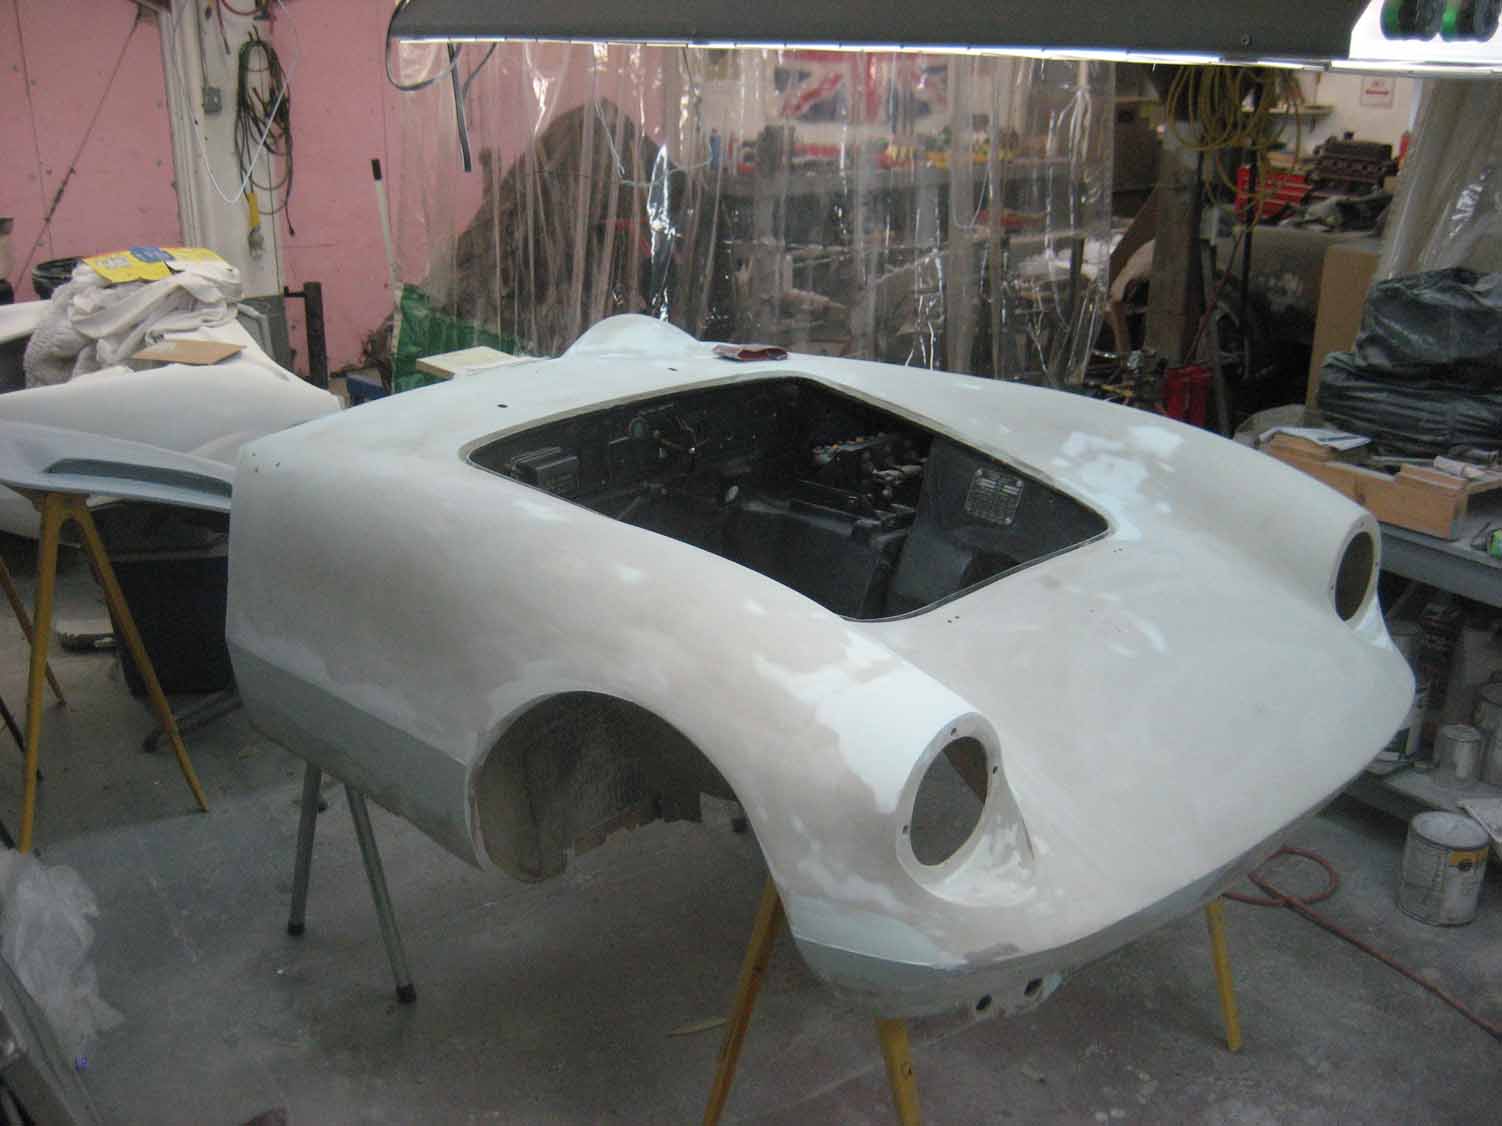
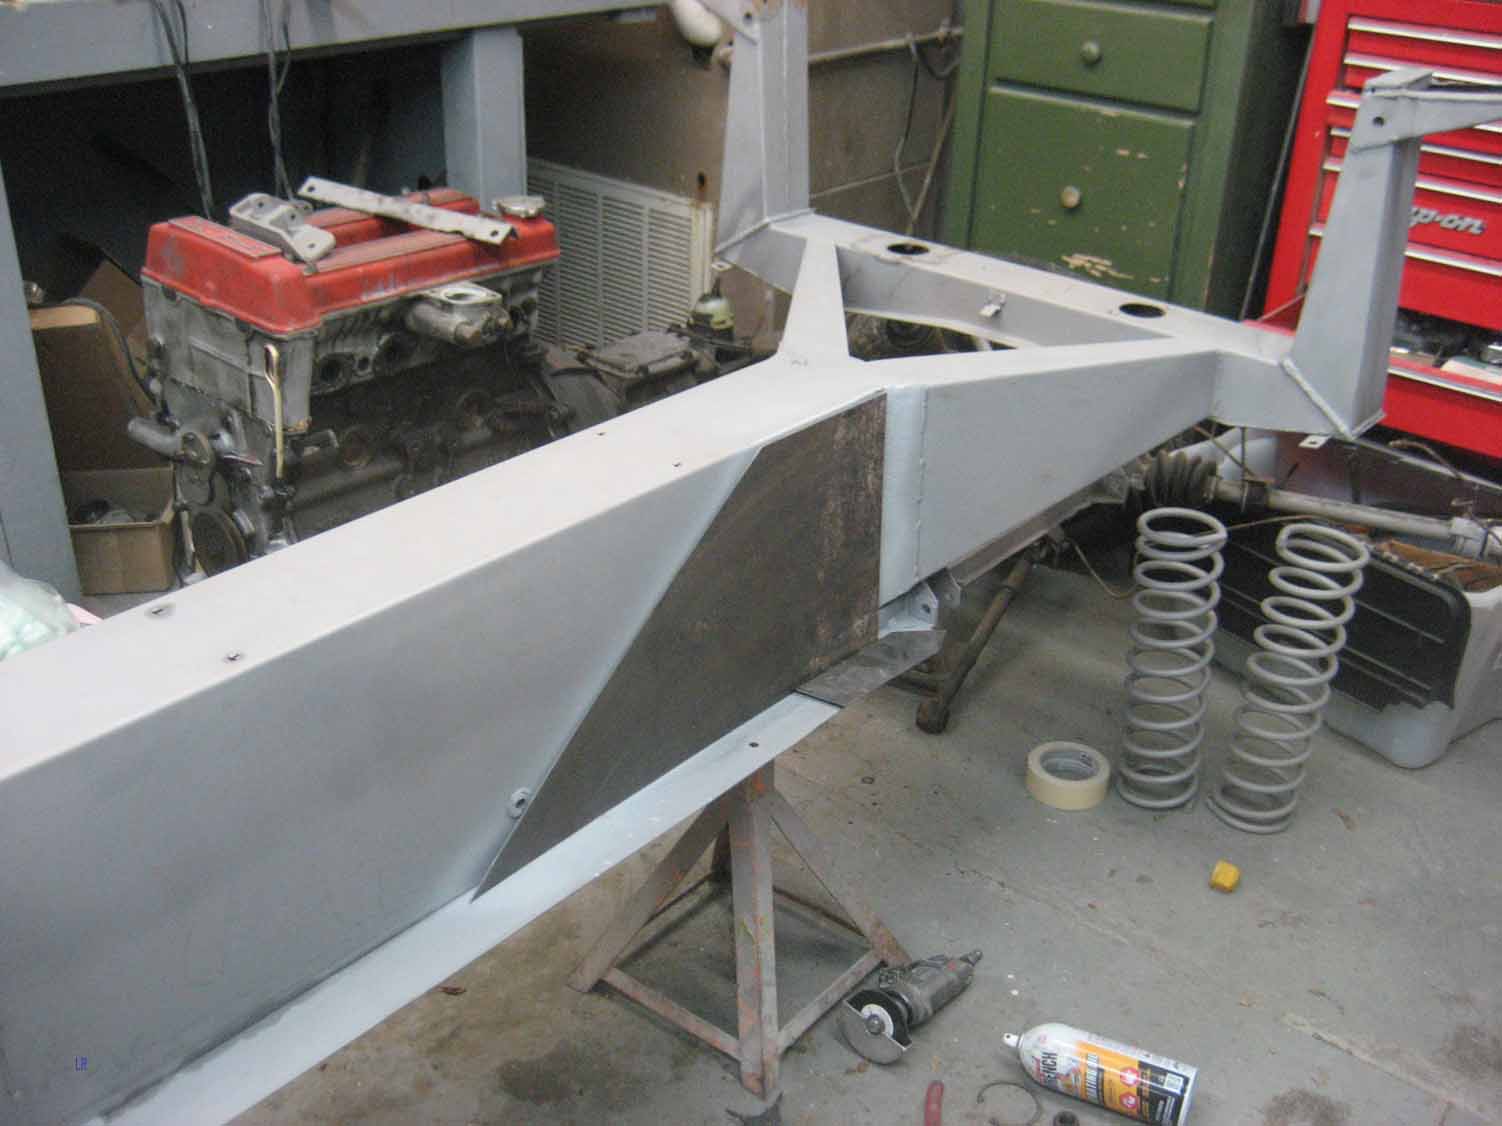
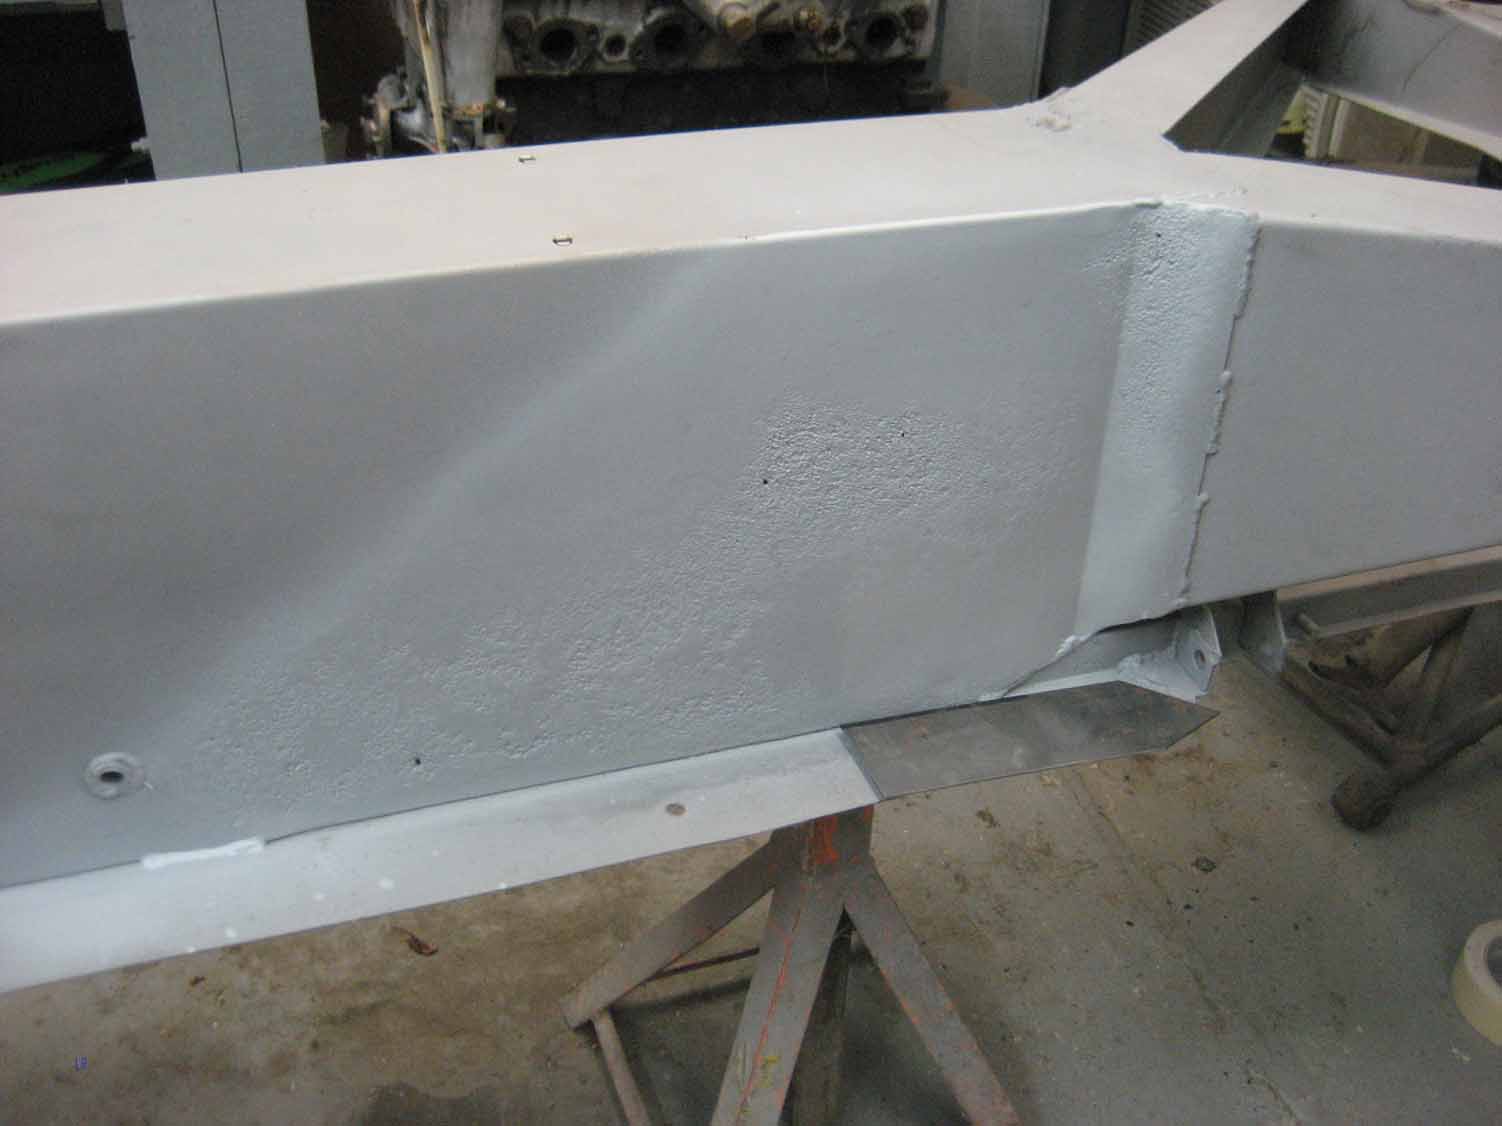
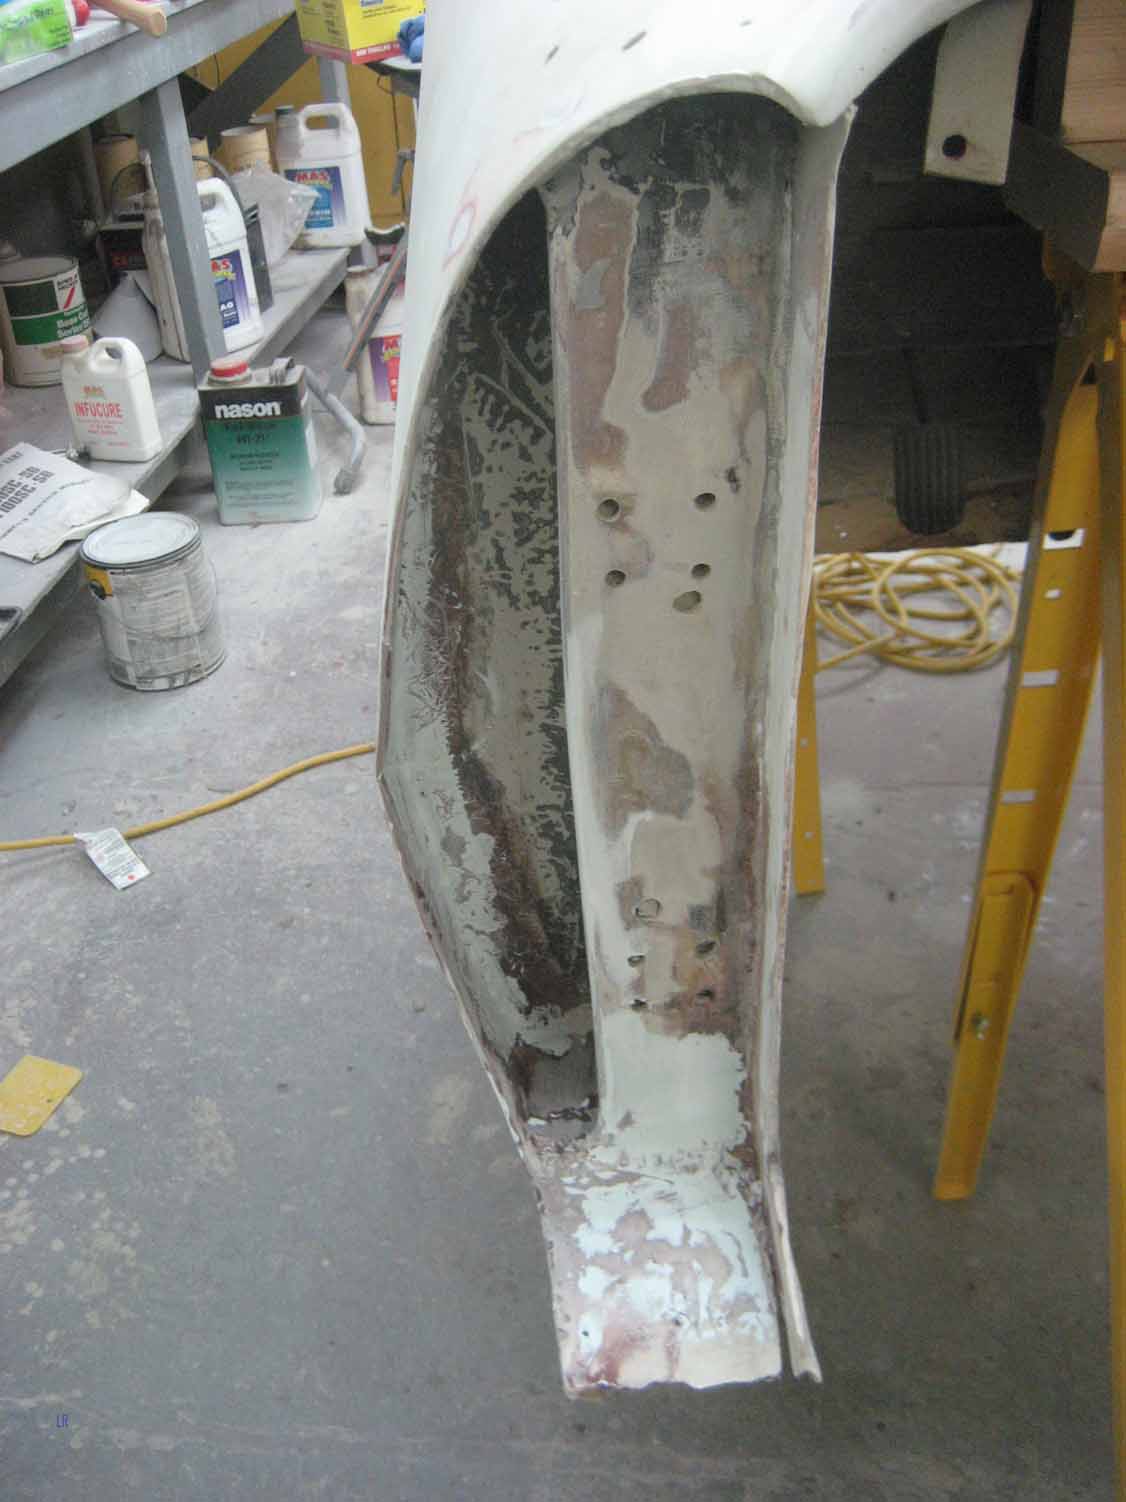
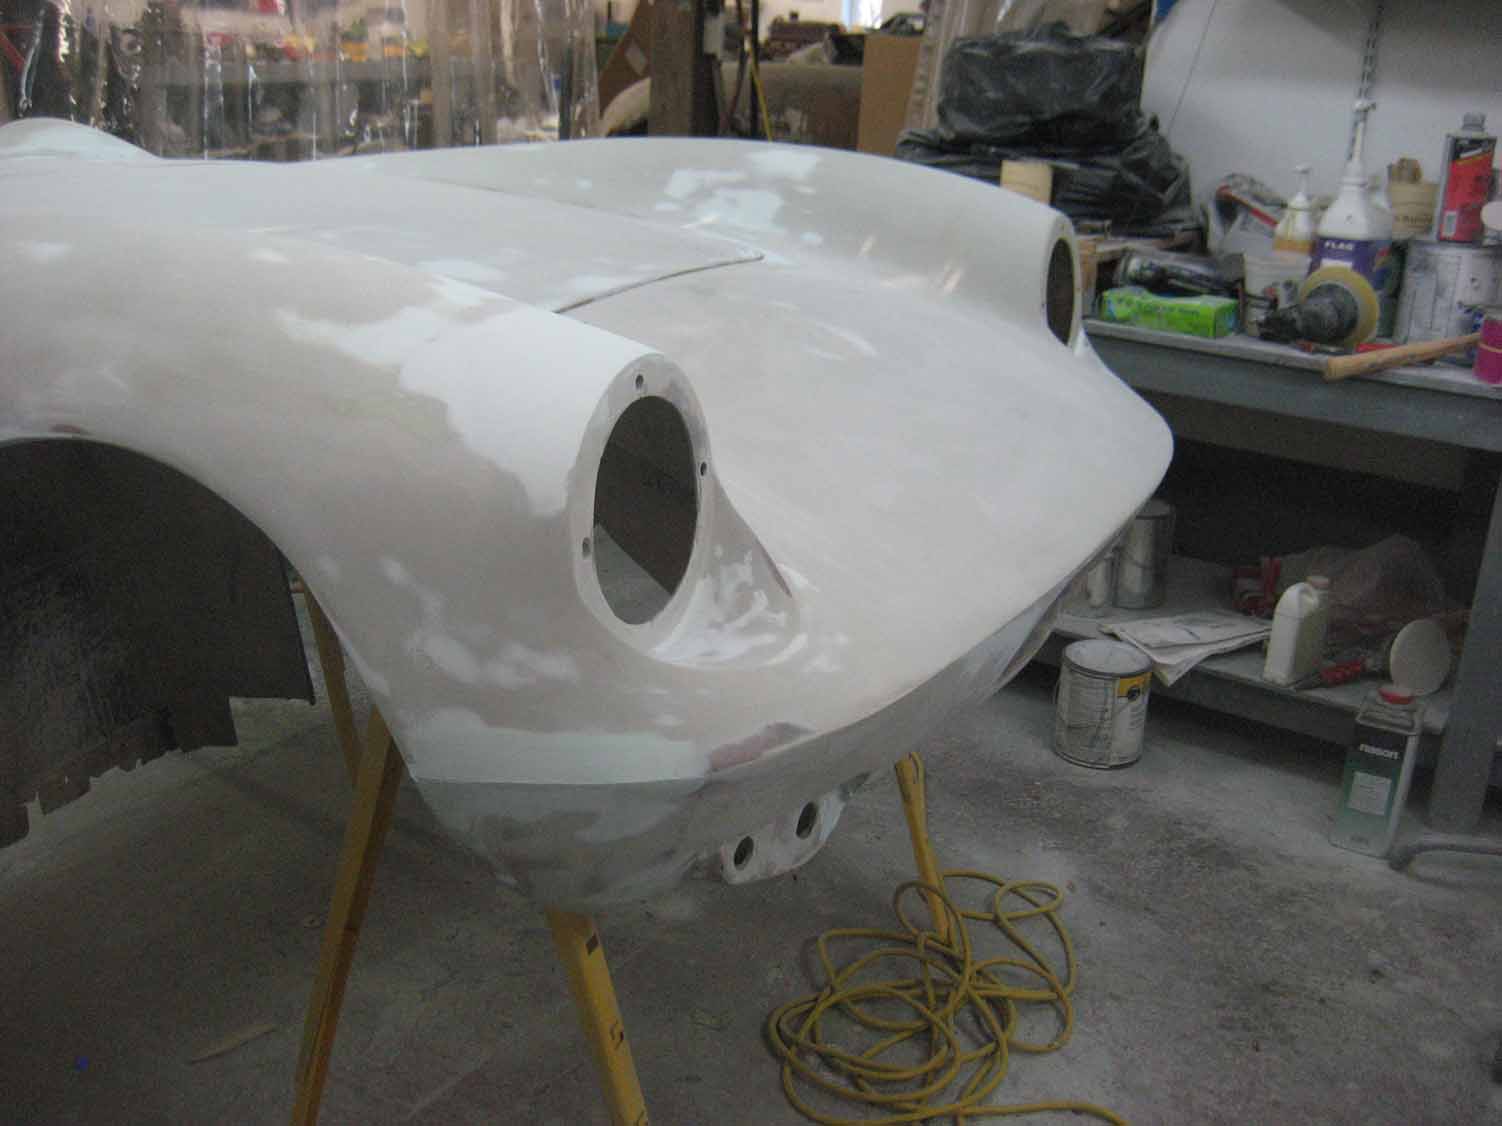
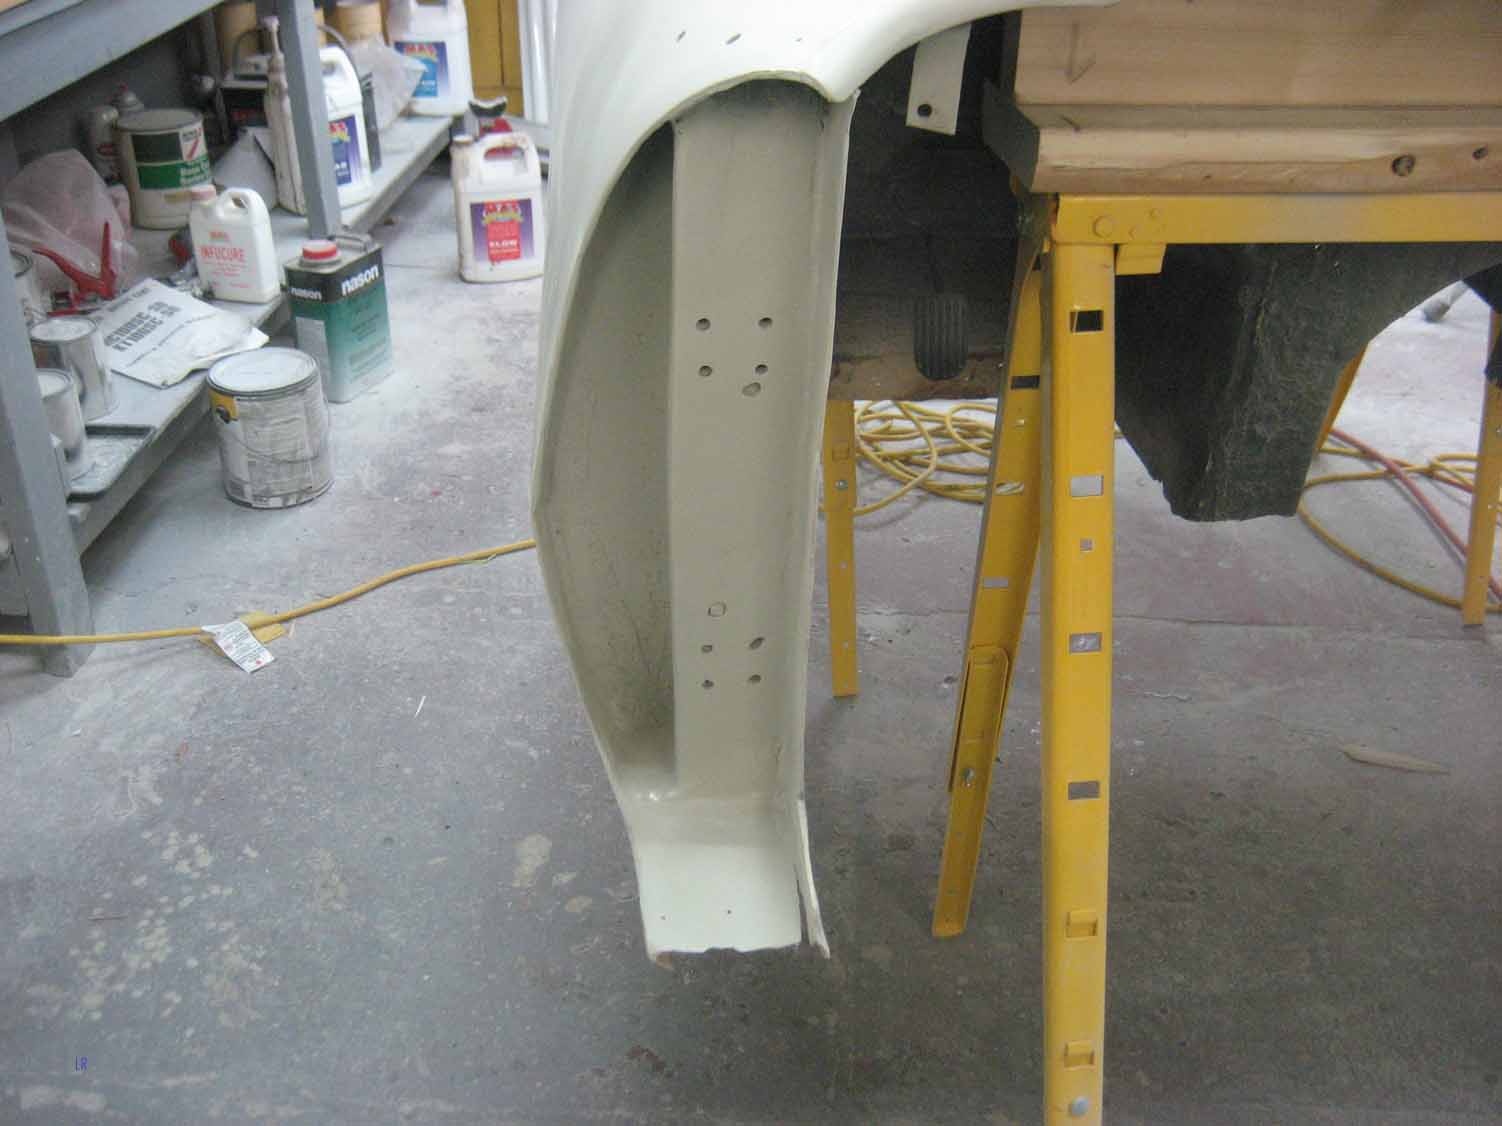
British Car, Elva, Fiberglass, Restoration, Uncategorized, Vintage Racing | Permalink
Posted by elvamk5
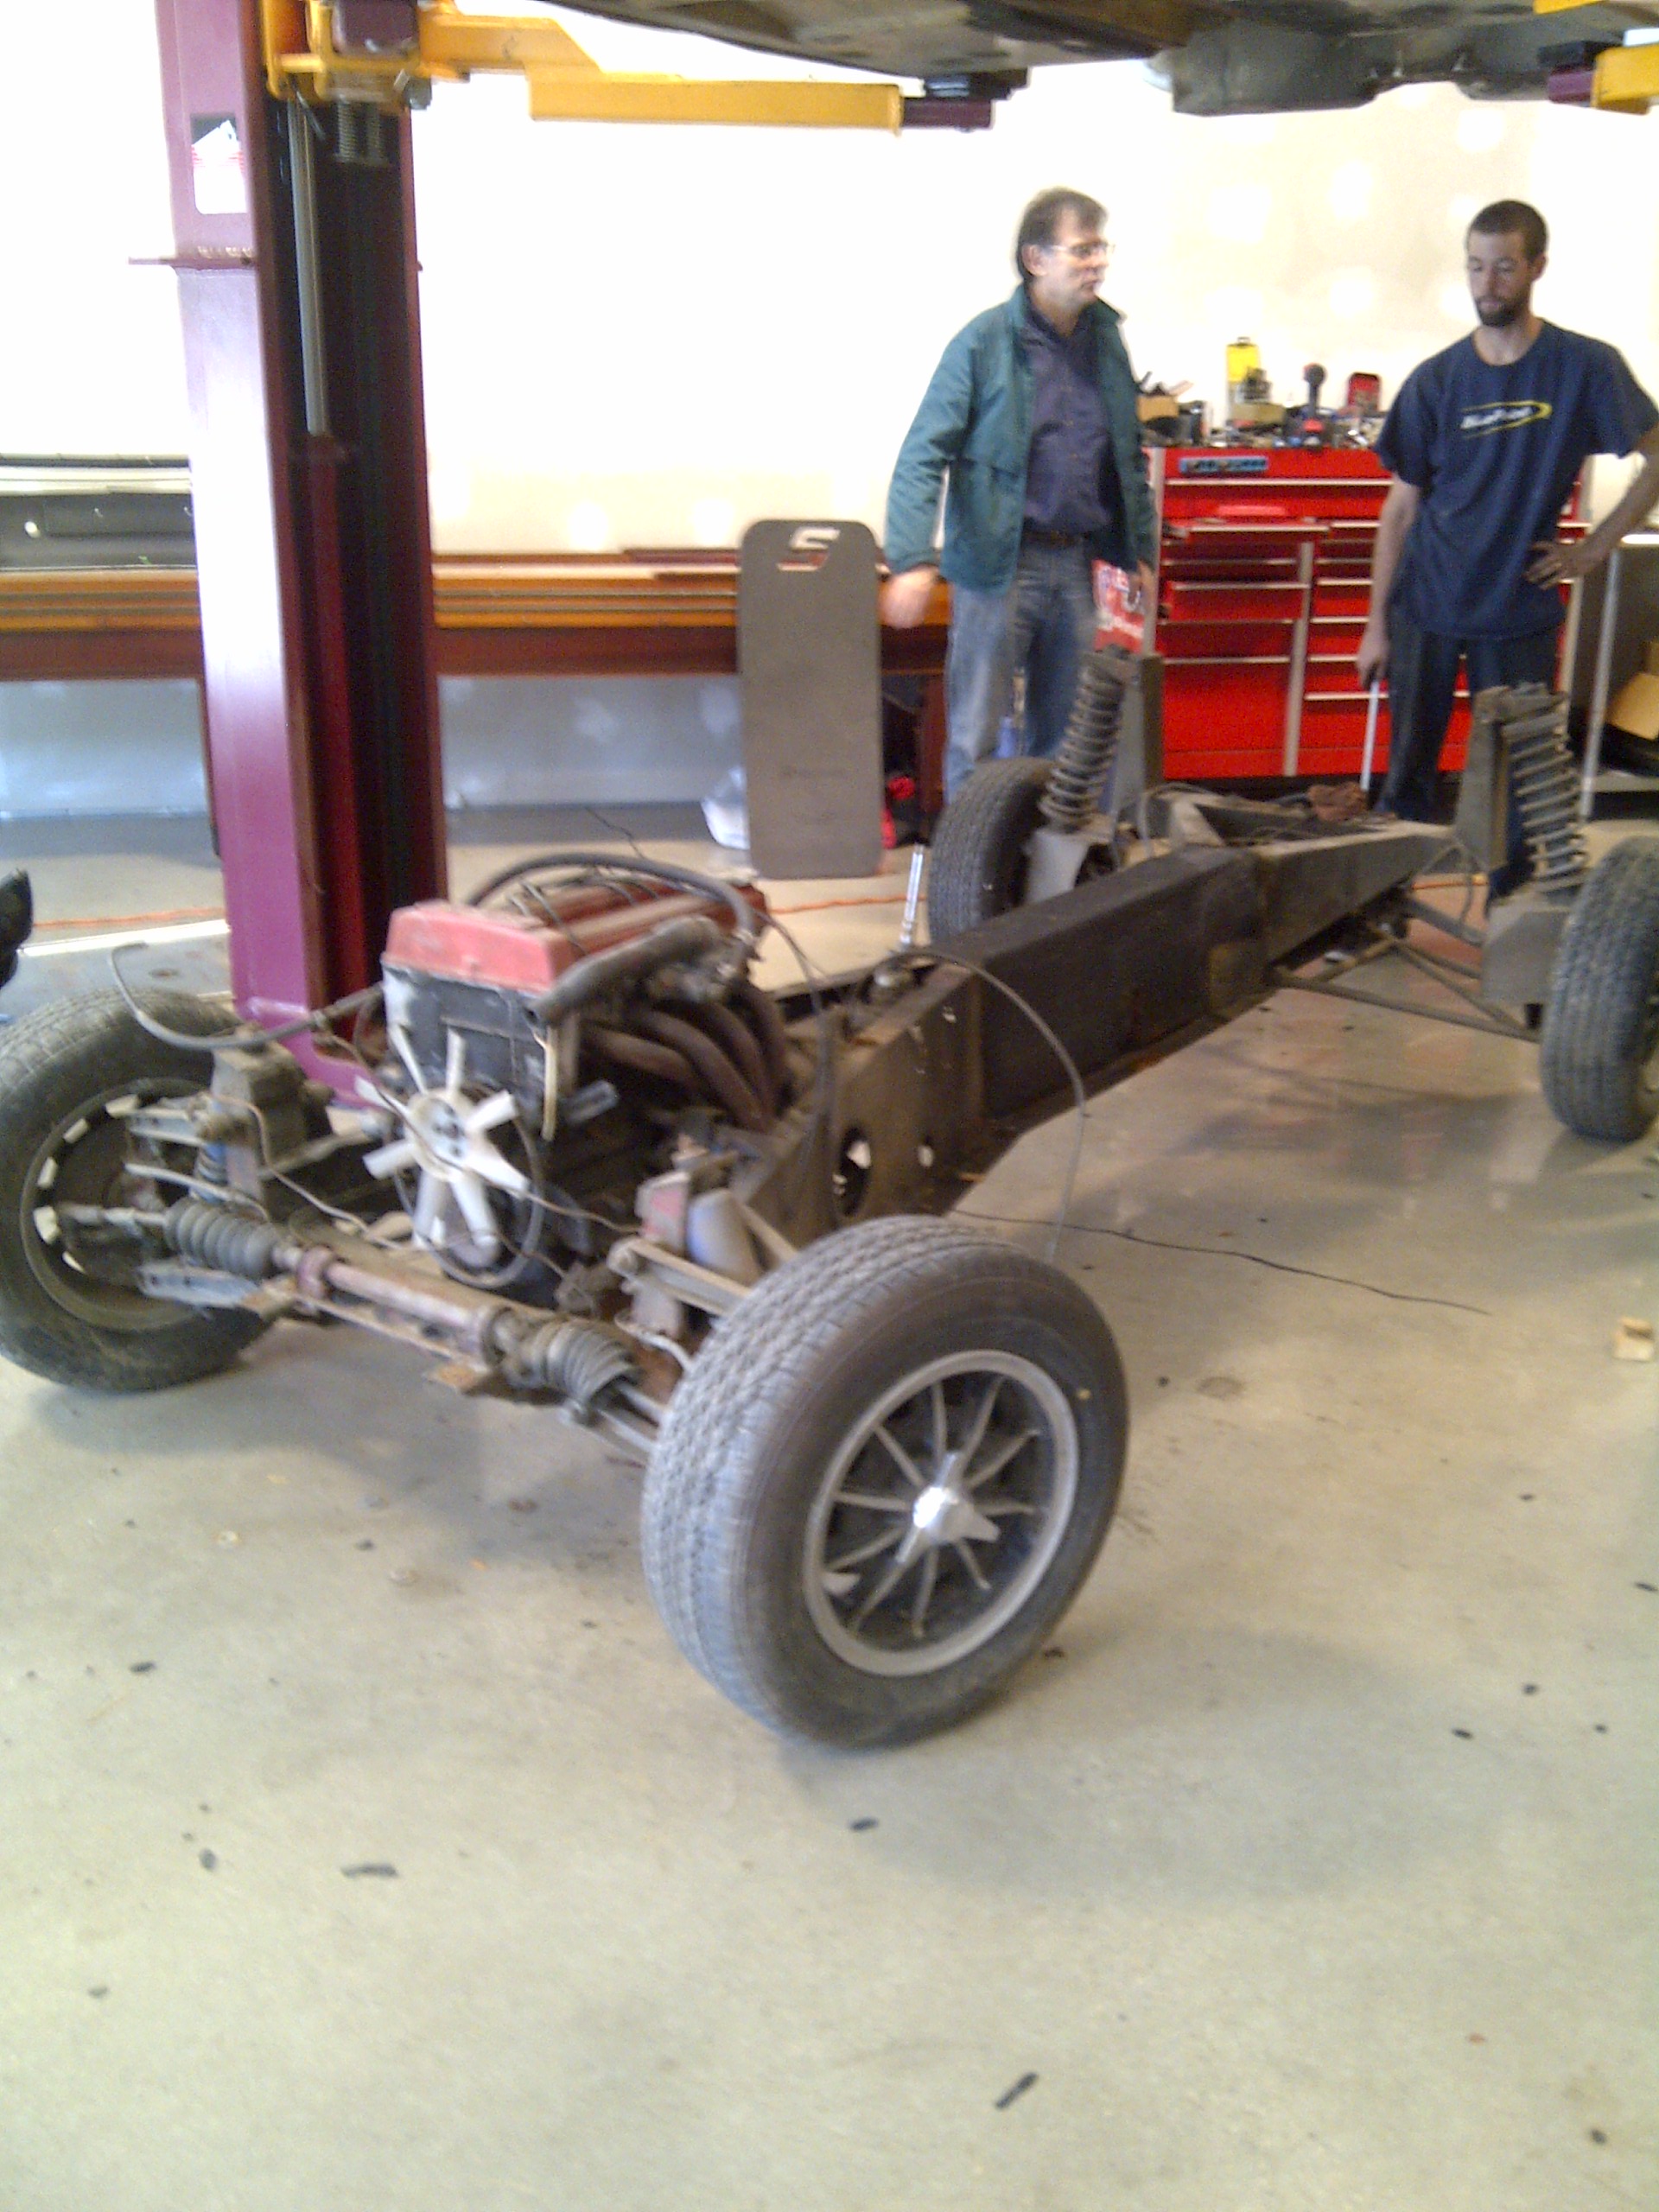
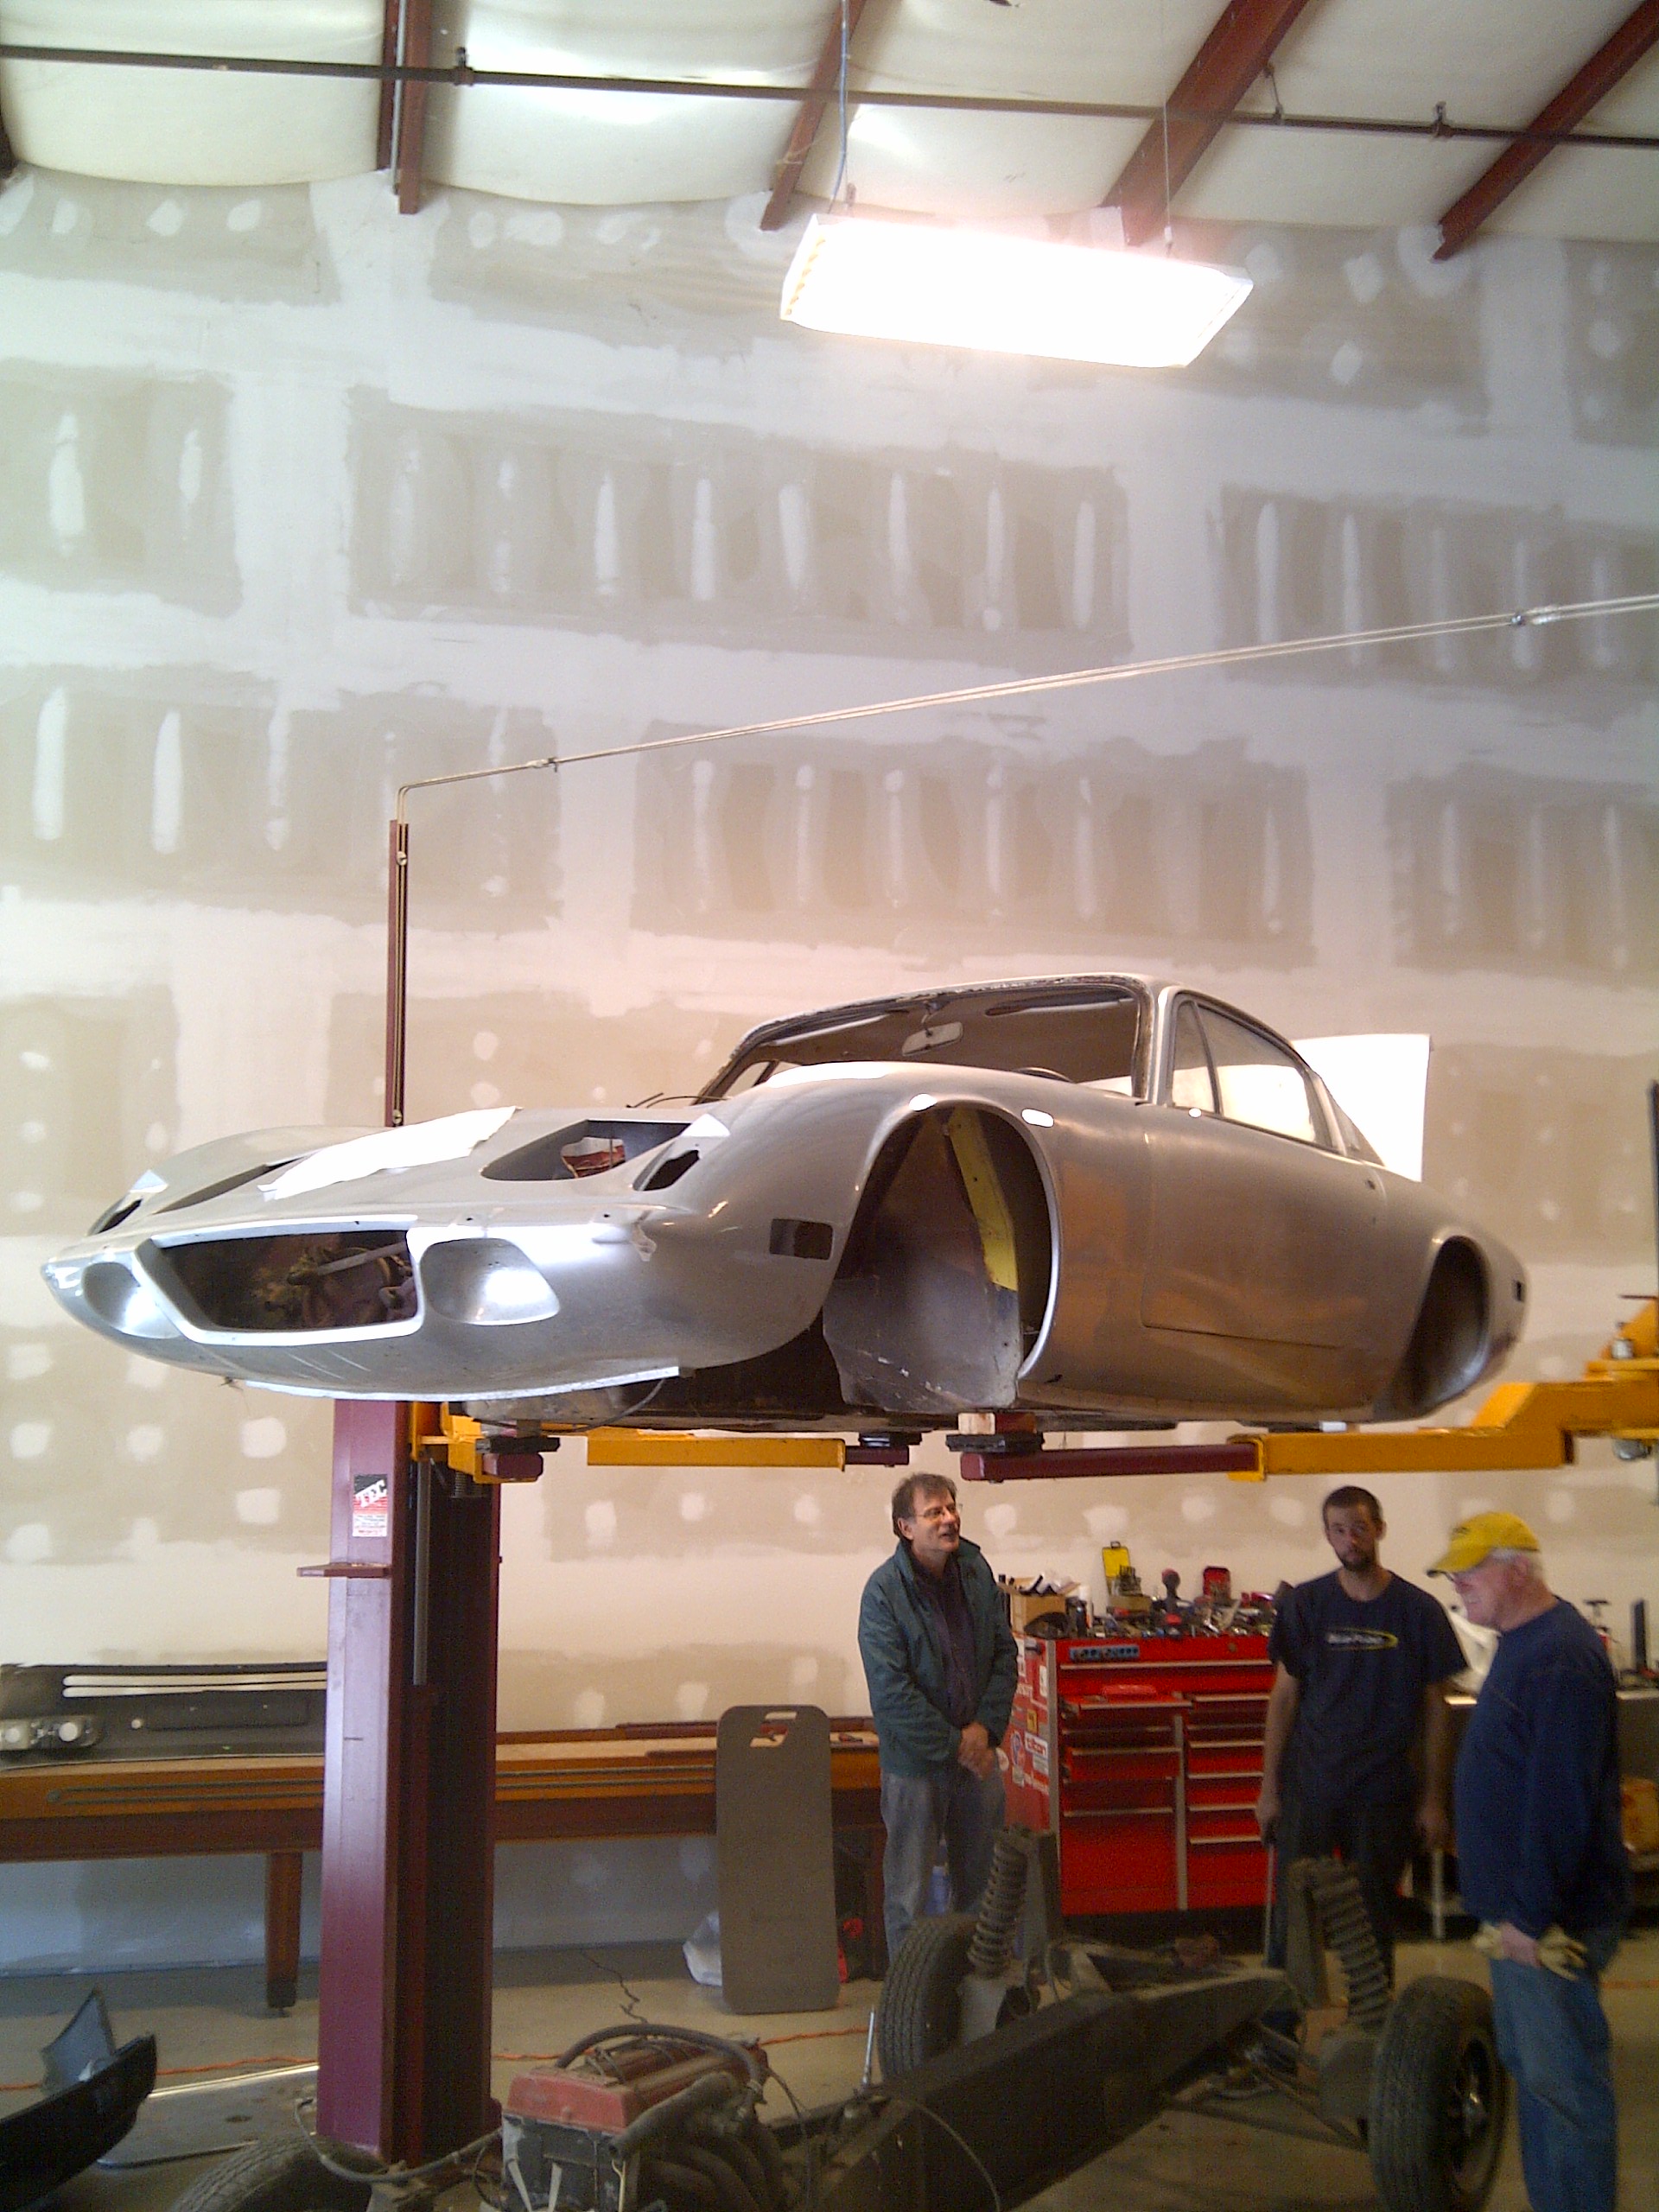
Well, I got side-tracked by Life getting in my way. A year ago last Fall, my dear Mini Cooper died, or at least it needed more than a little bit of work. It needed a new transmission because in their infinite wisdom, BMW decided not to make the parts available to fix the transmission, they will only sell a new transmission for $4500. With 130,000 miles on it, my wife and I decided it was time to let it go, so I sold it. In that same decision to let the Mini go, we decided to put the time and effort into the Lotus Plus 2, so in the last year most of my time was spent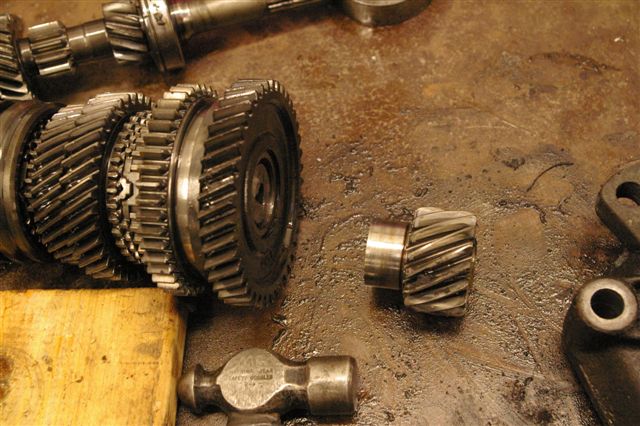 in that direction. See photos below.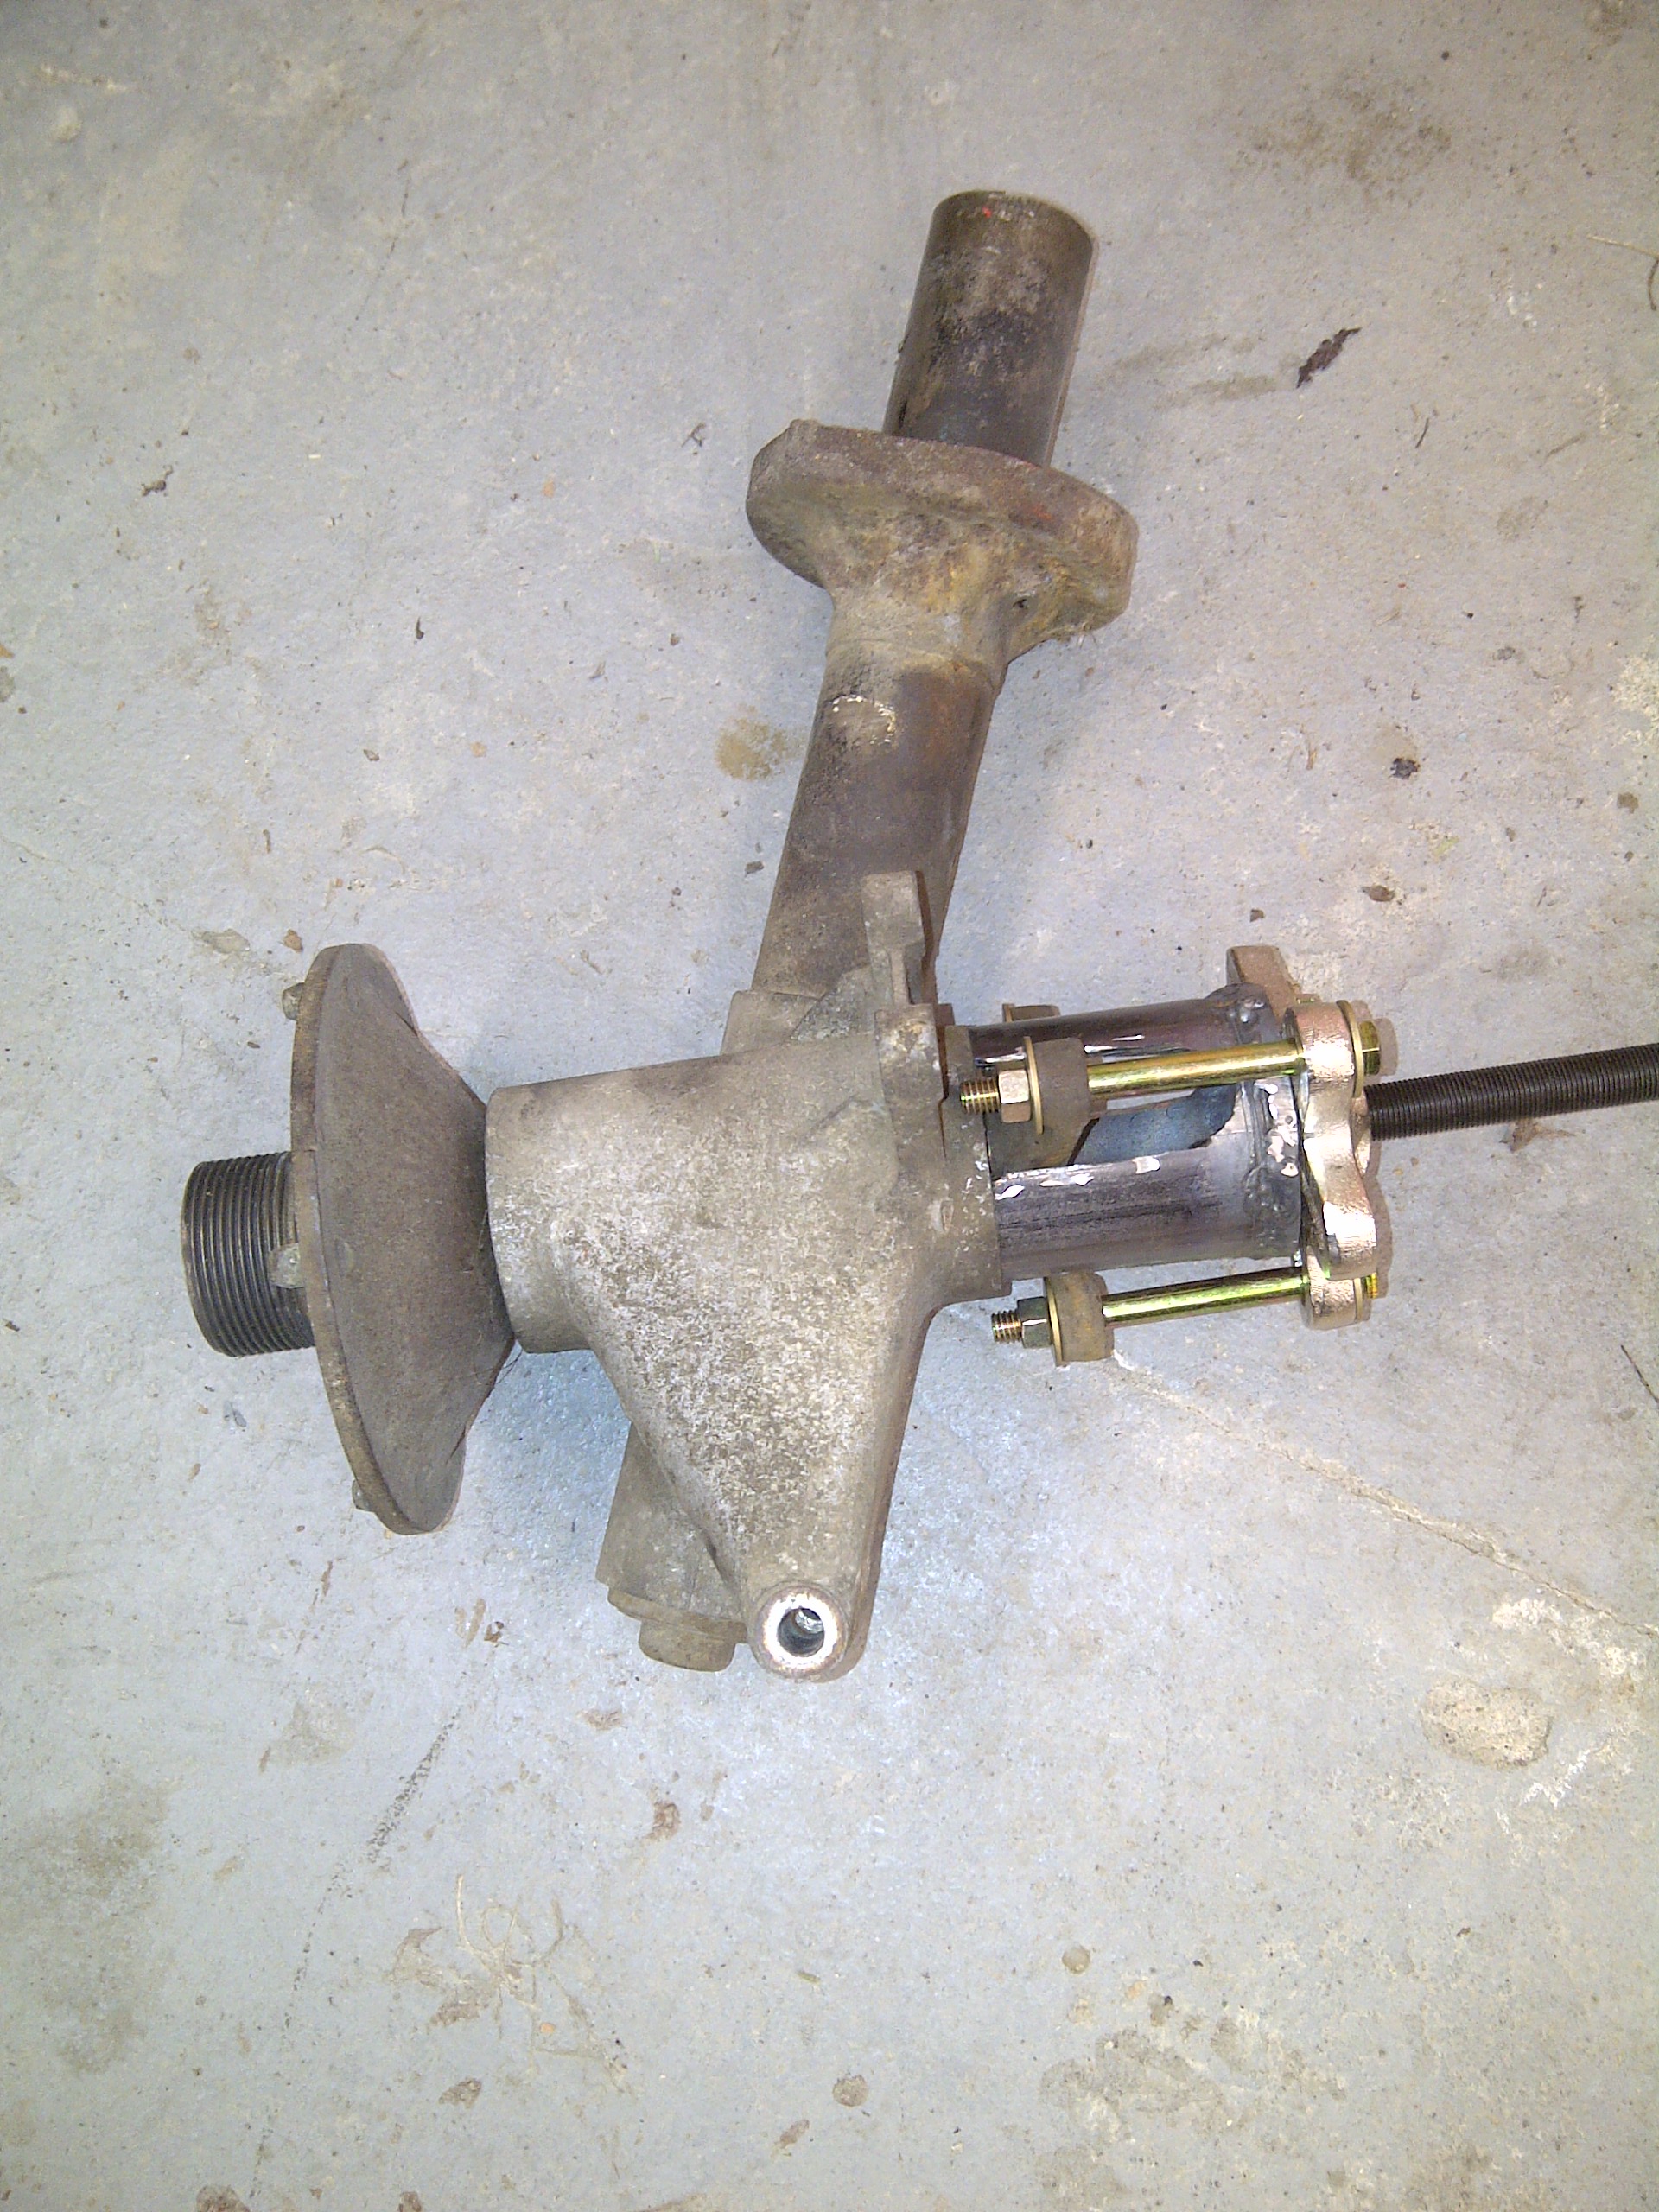
 1 Comment | Uncategorized | Permalink
Posted by elvamk5
1 Comment | Uncategorized | Permalink
Posted by elvamk5
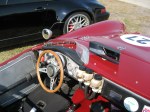
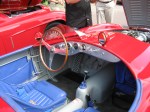
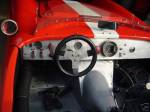
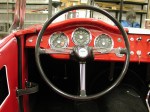
The reason I have not made any posts lately is not because nothing has been happening, it’s because what has been happening is not so photogenic or very interesting.
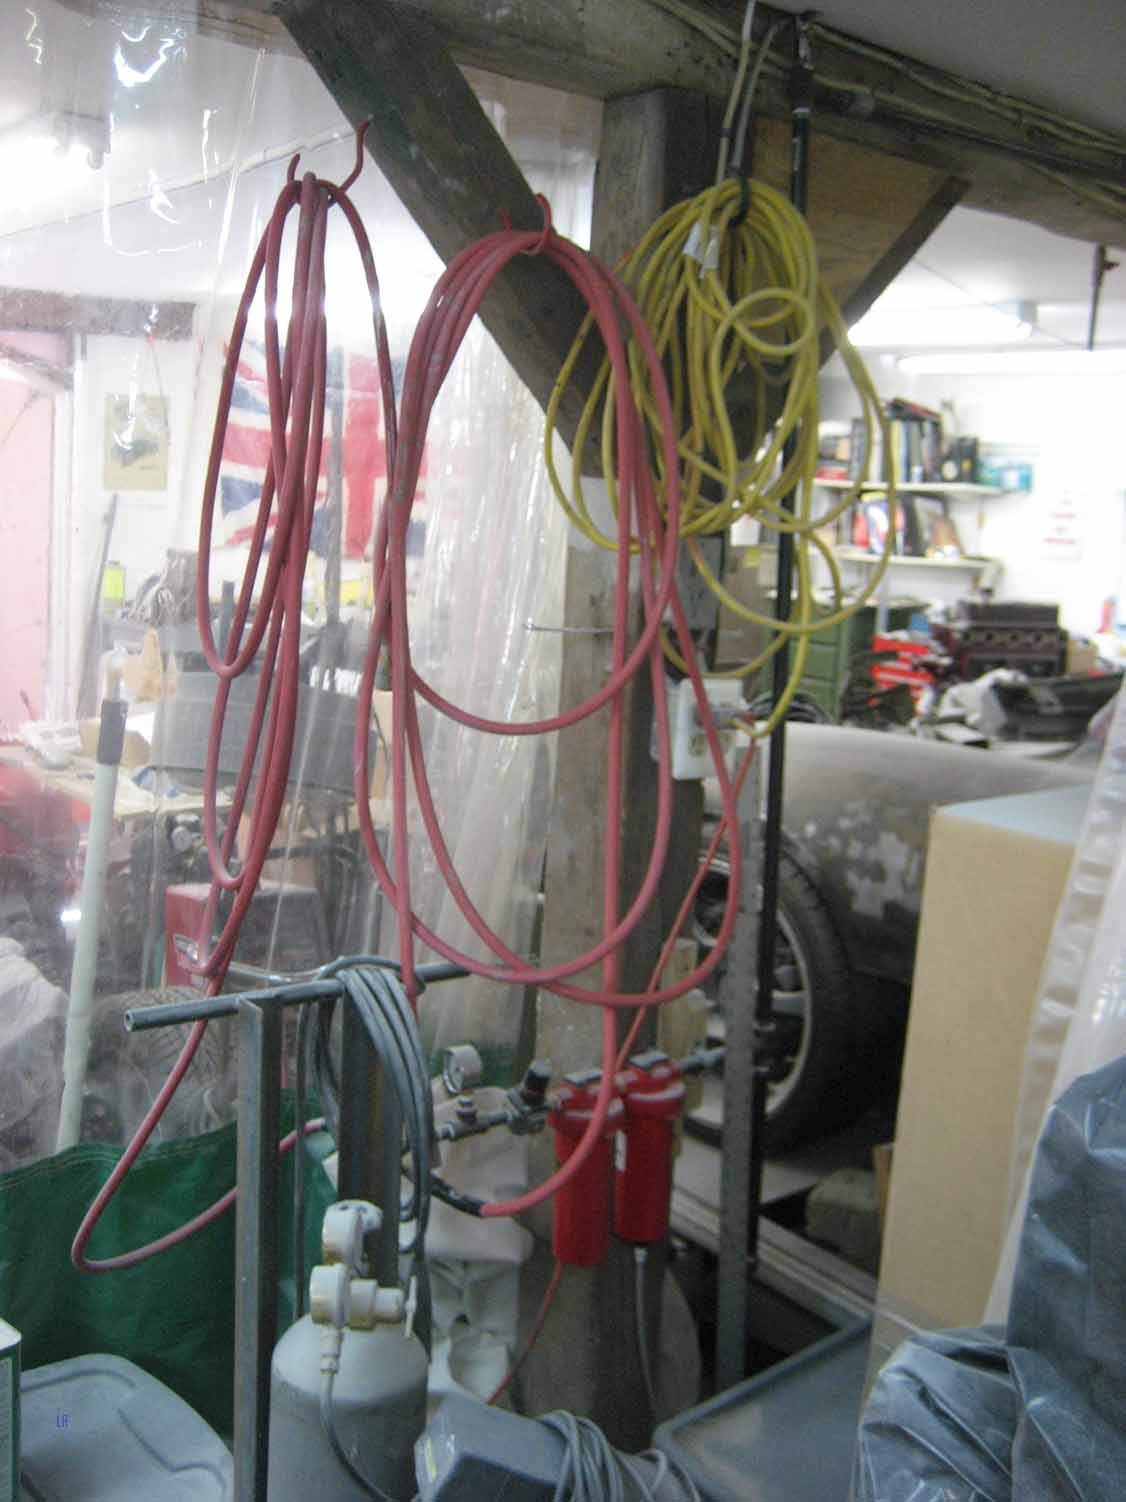
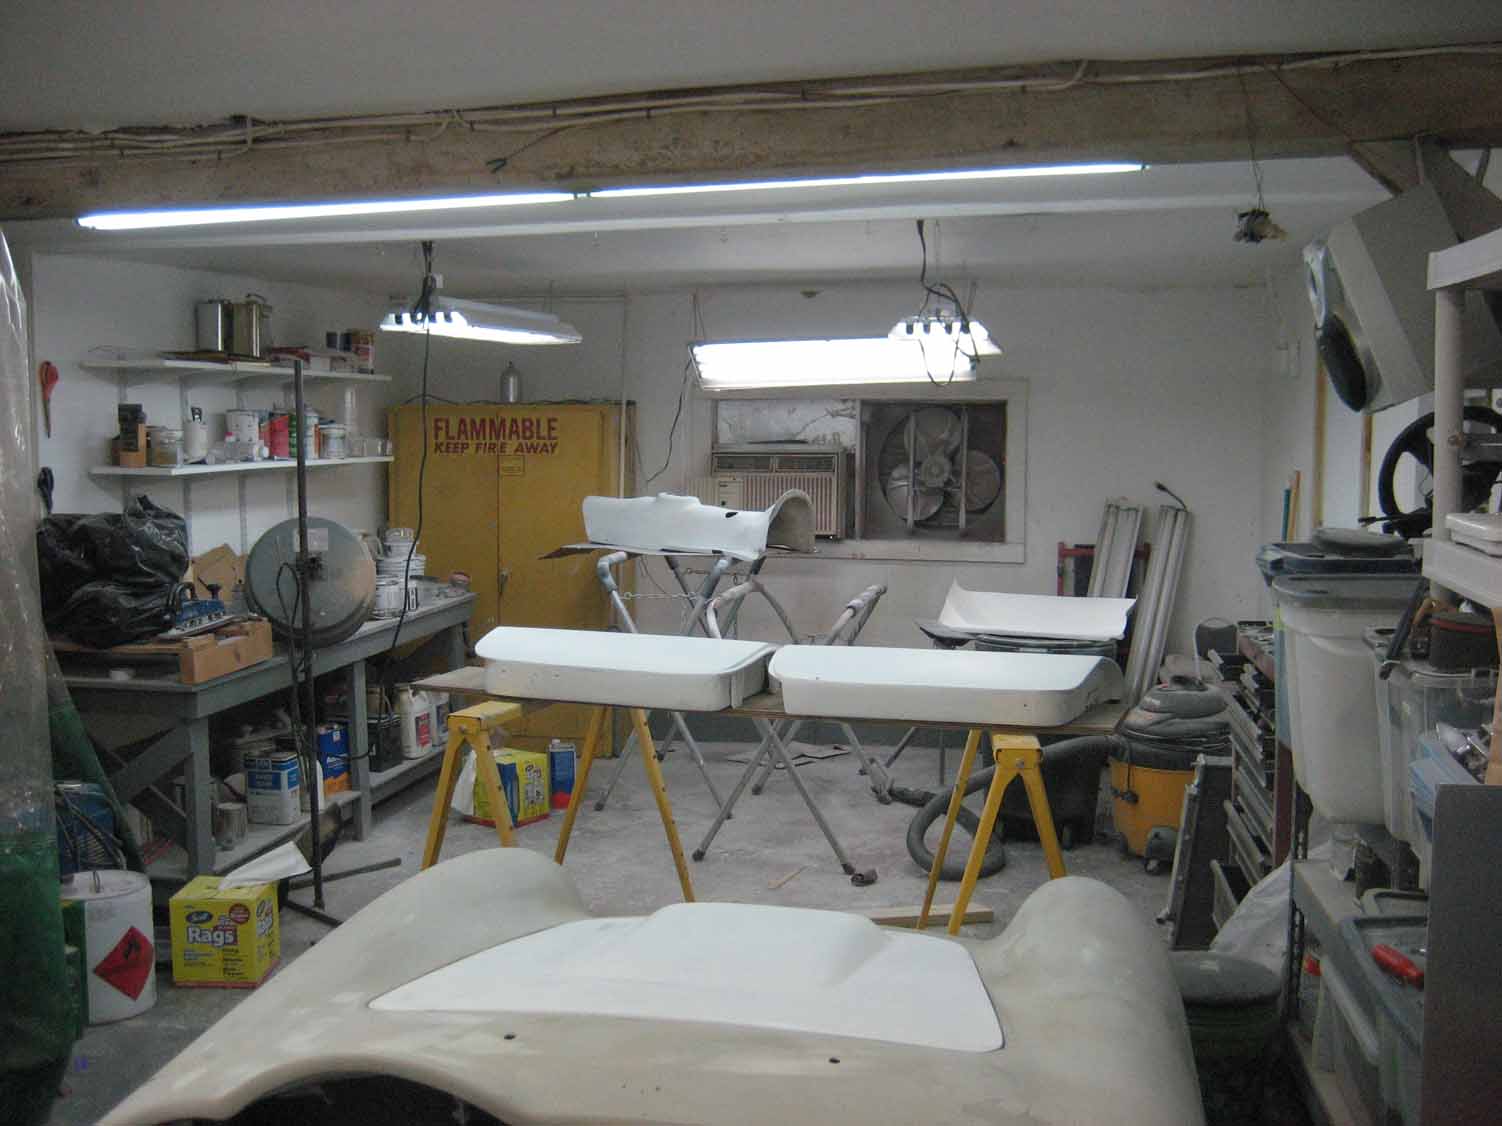
The shop itself became inadequate for me to finish the painting. Whenever I sanded using air tools, my wrists were getting wet – the lines were full of air. Neither priming nor painting can be done with that much water in the lines. I drained the water separator, no water there. I drained the compressor, no water there. It was ONLY in the lines from the water separator and the tools. Something structurally was wrong in the system. I went to the shops that sells paint and equipment for painting; then I went to Google for more information. Everything had been wrong with the way the system had been installed, and technology for this issue had improved in the past 17 years.
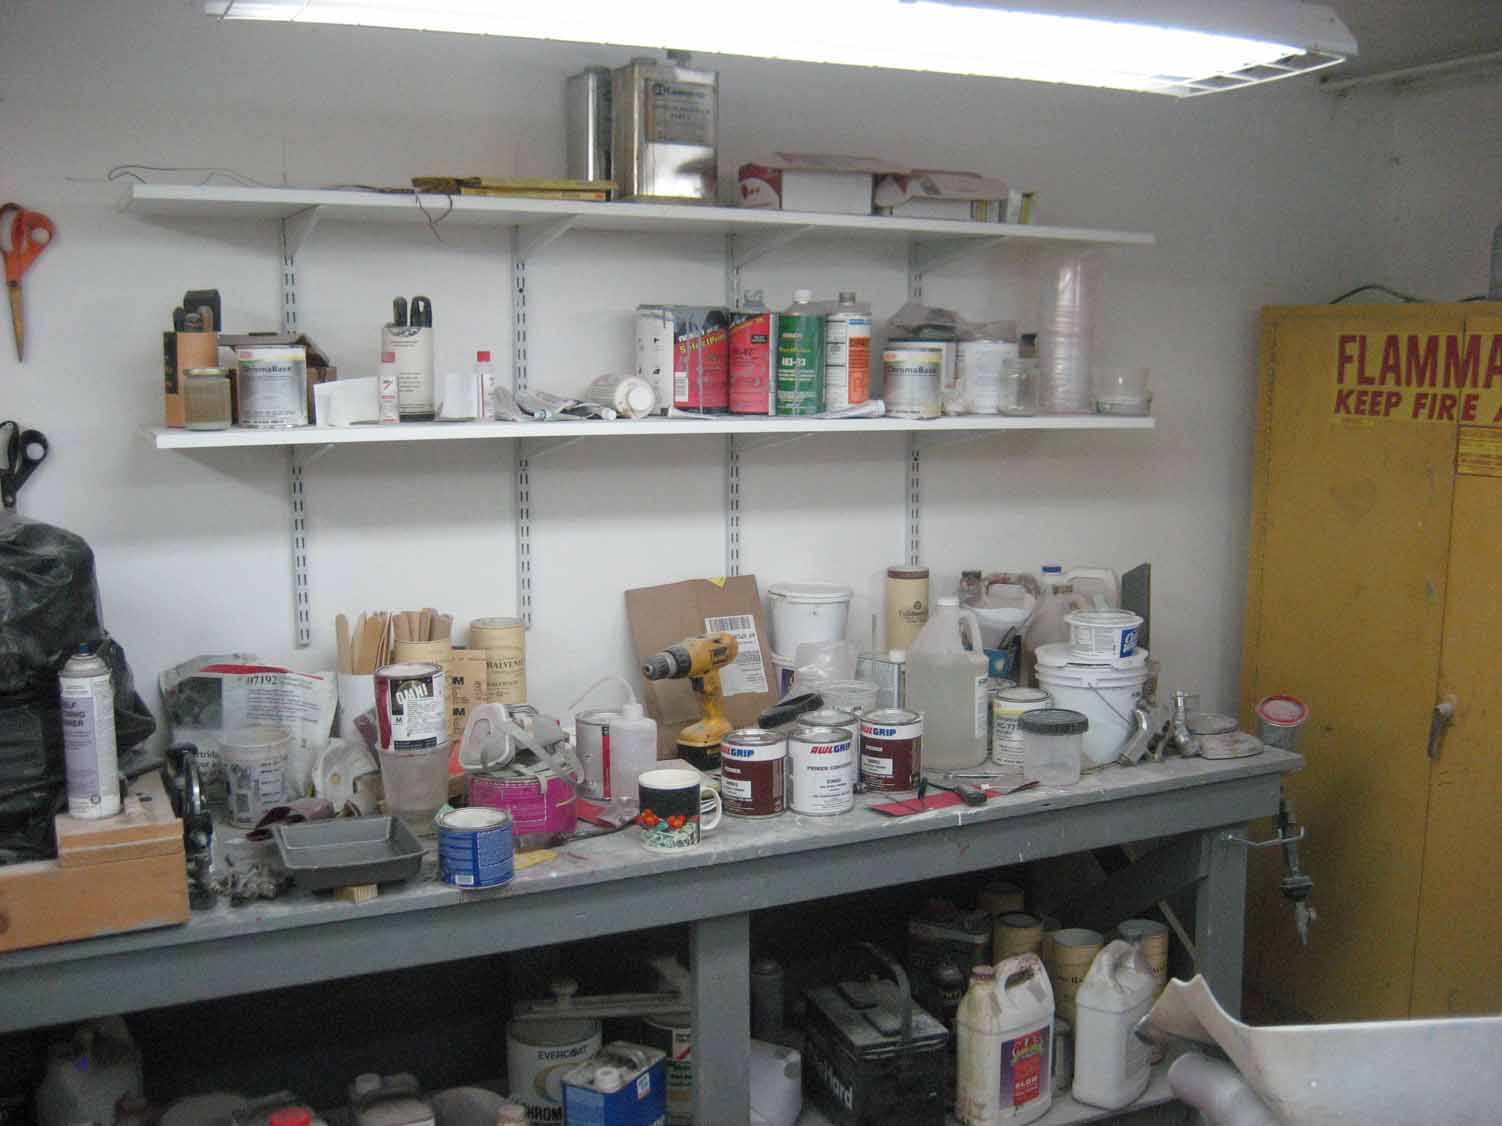
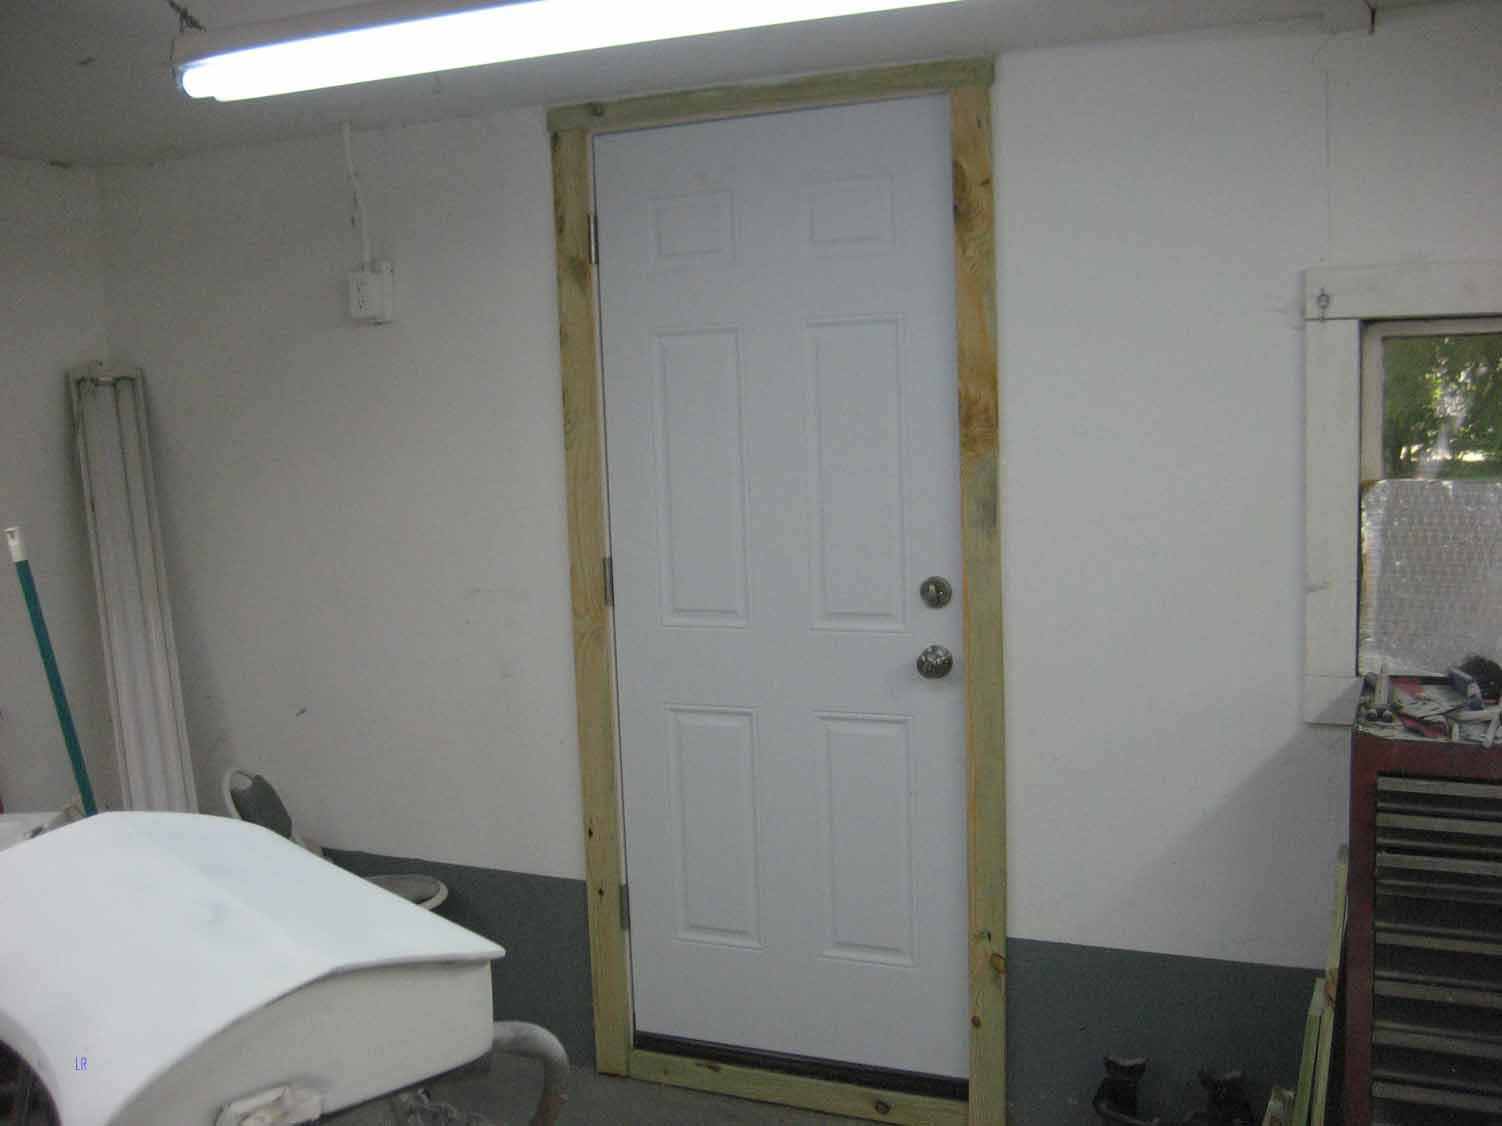
As it turned out, the way I had set up this shop 15+ years ago was all wrong for keeping water out of my air lines; who knew? Anyway, to make a long story short, I had to buy a new and much improved 21st century air drier system, and I needed to re-plumb the mounting of it, so that it was at the lowest position possible, incorporating a passive trap. That required that I move everything out of the shop to access the plumbing; that required a complete reorganization of the shop. That is why there have not been any progress photos lately. I don’t think anyone wants to see photos of that operation.
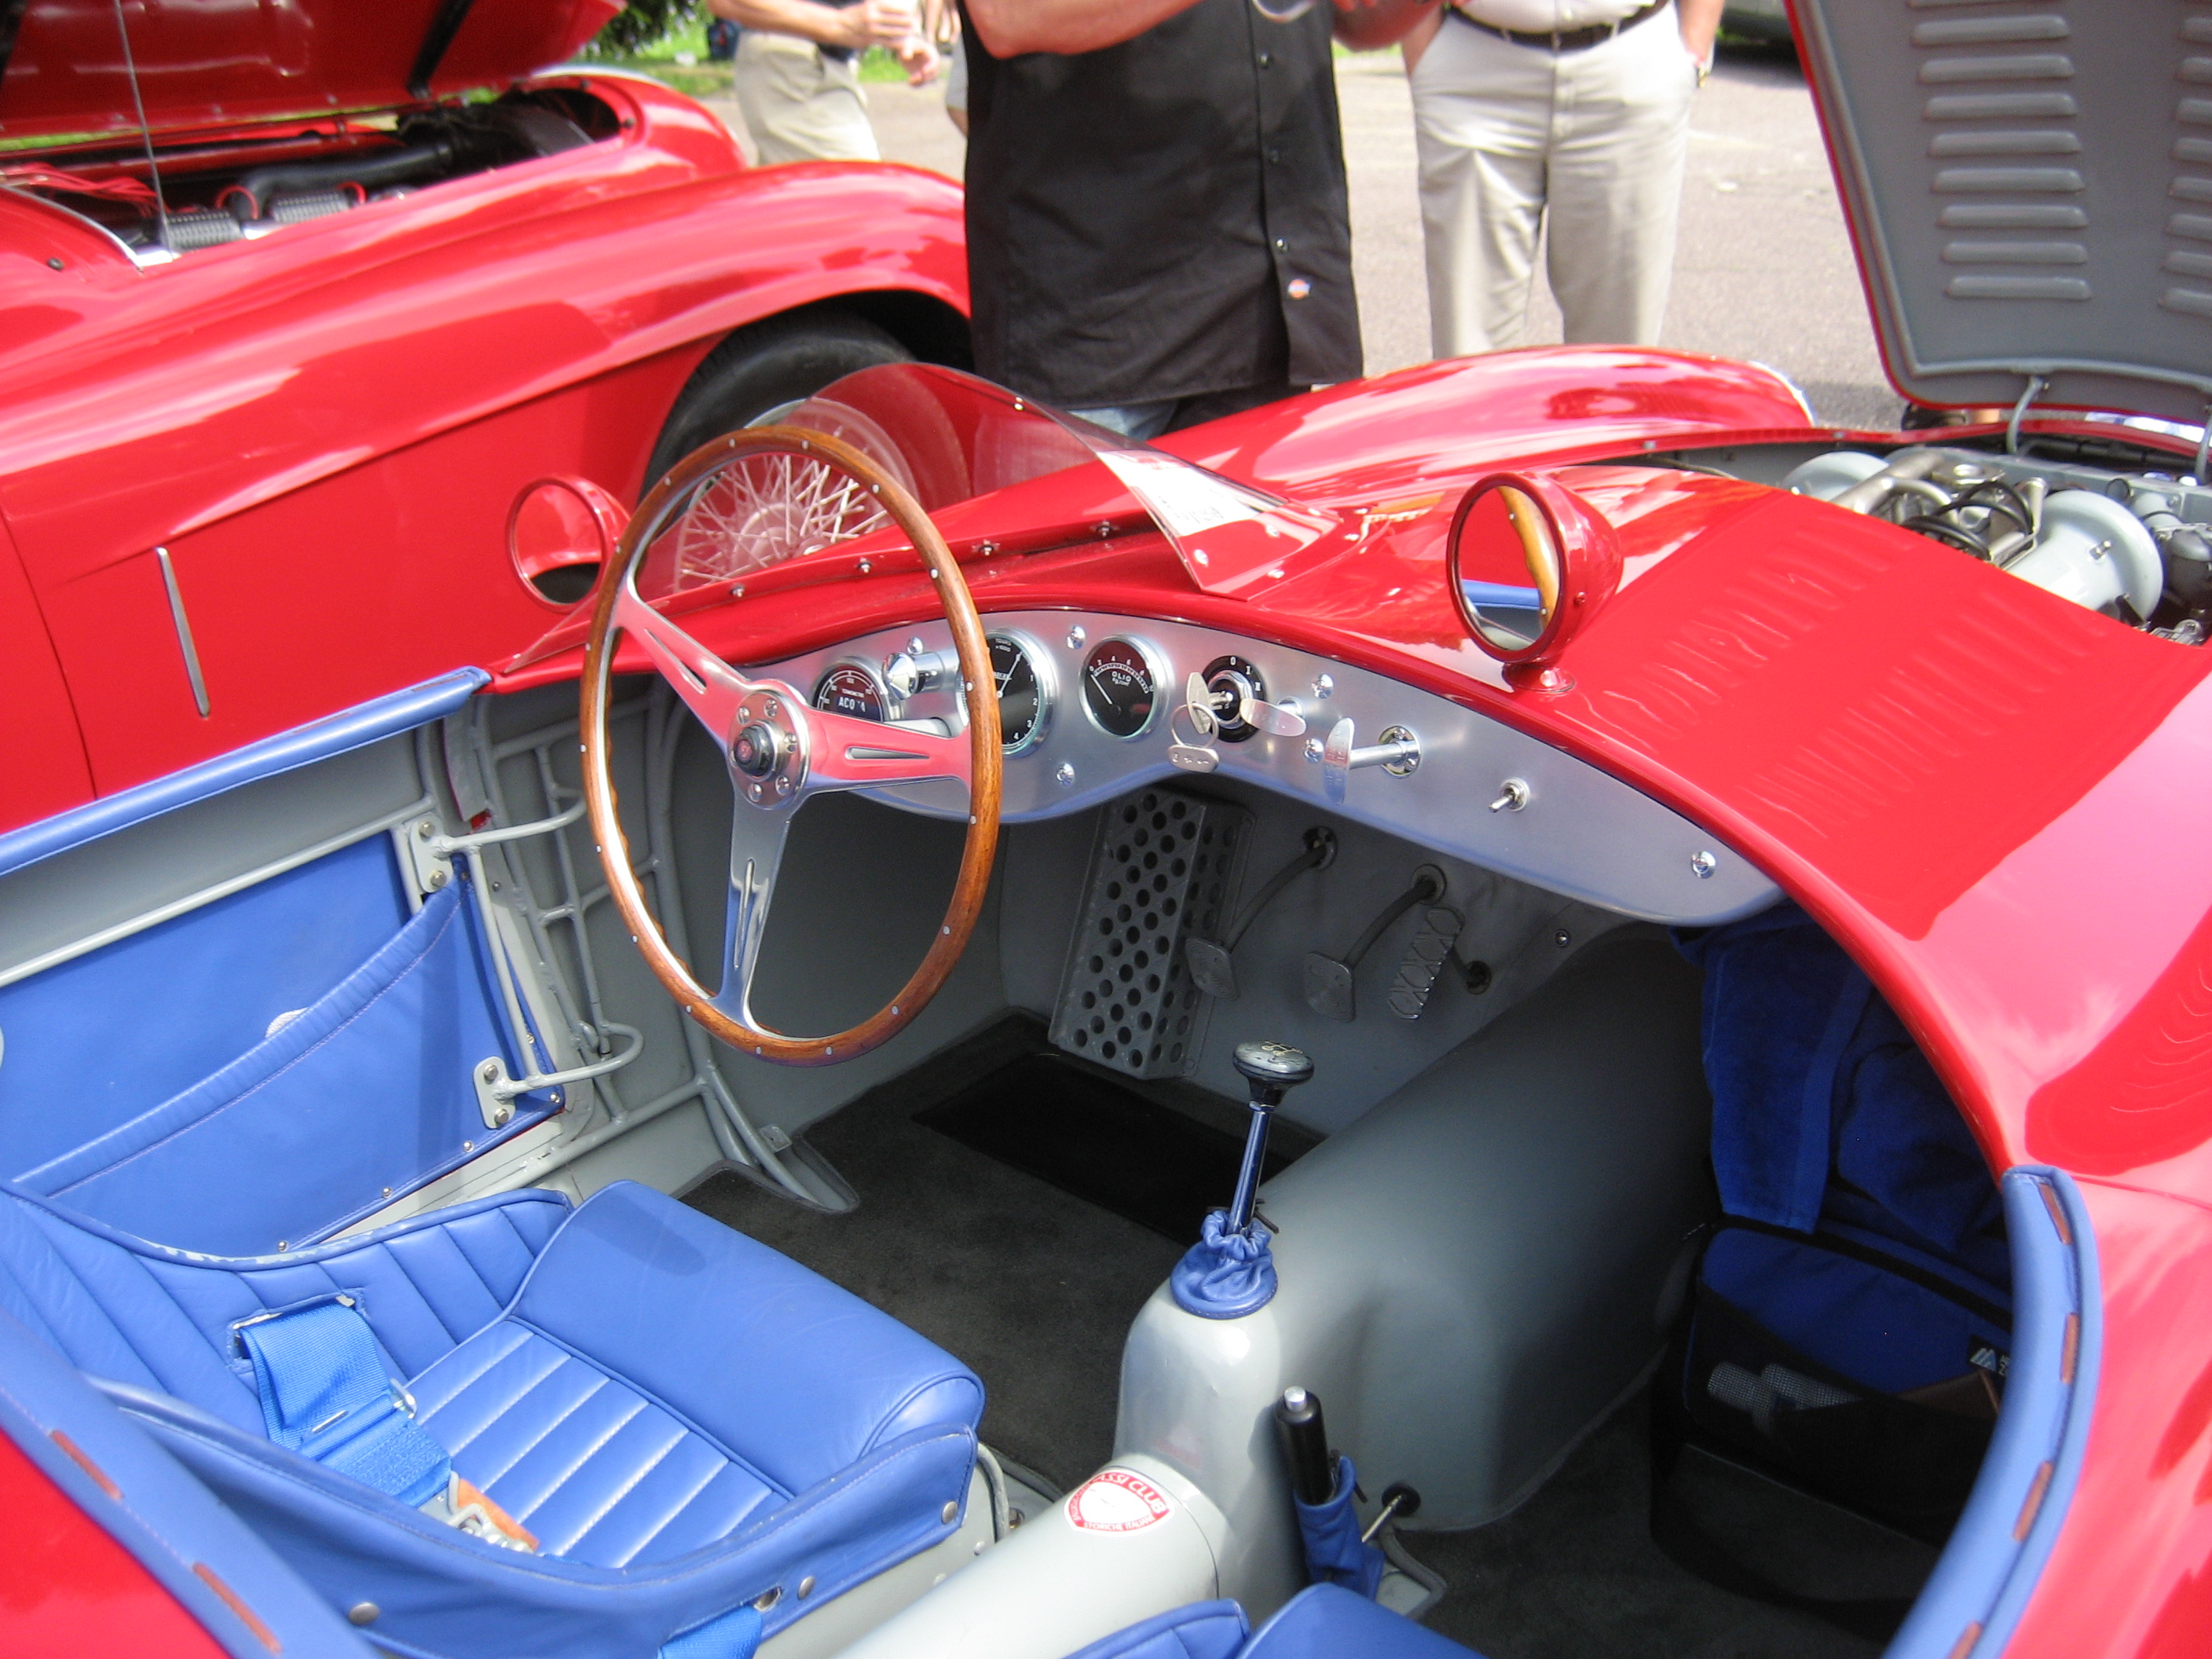
The bodywork has continued, though even that has been somewhat boring to look at photos of. The floorboards, rear bulkhead and roll cage have now been primed, and sanded several times with minor bits of spot putty along the way. The goal has been to make the interior look like an Osca, which was all aluminum and had no carpeting. The transmission tunnel has over 100 hours in it so far.
This photo is of the Osca that inspired me to do the dash and interior the way I am doing it, which has been very time-consuming. My color scheme is obviously BRGreen rather than red, but you get the idea. Hopefully, the photo communicates both the reason I am doing it, and the why it is taking so long. Elva never built their cars to this standard, they were cars a middle class guy could afford, unlike the Osca.
1 Comment | British Car, Elva, Restoration, Uncategorized | Permalink
Posted by elvamk5
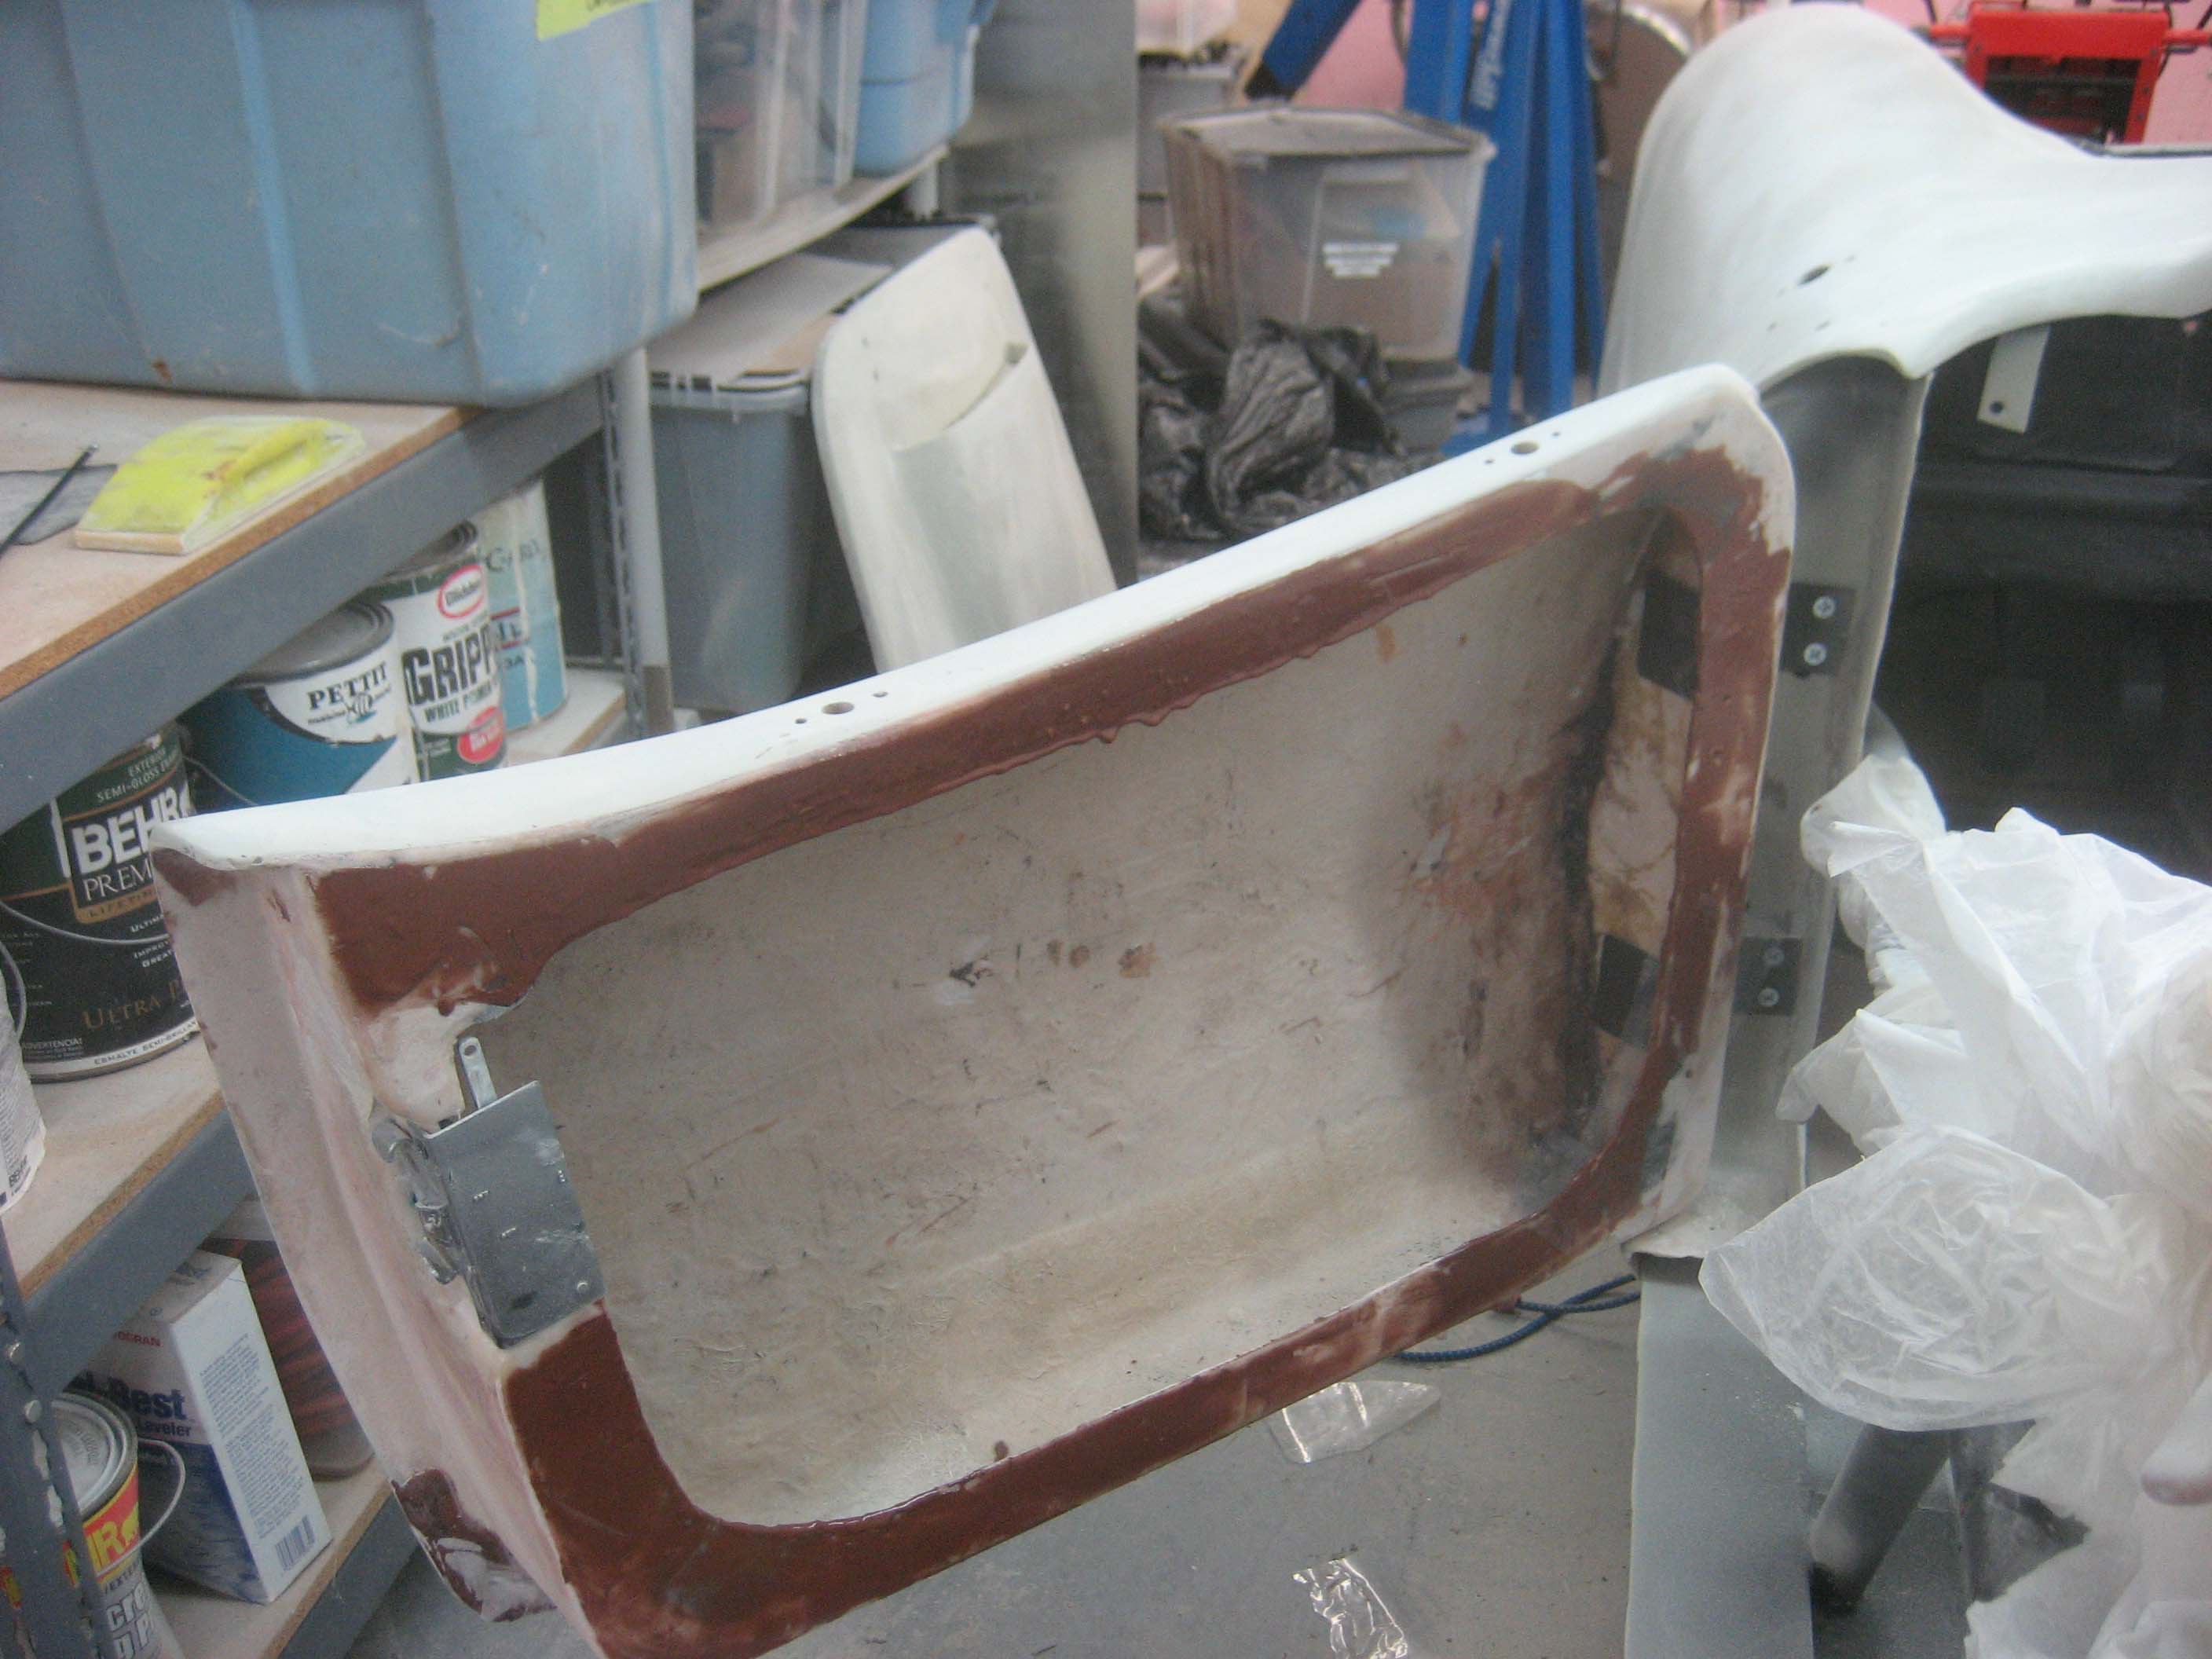
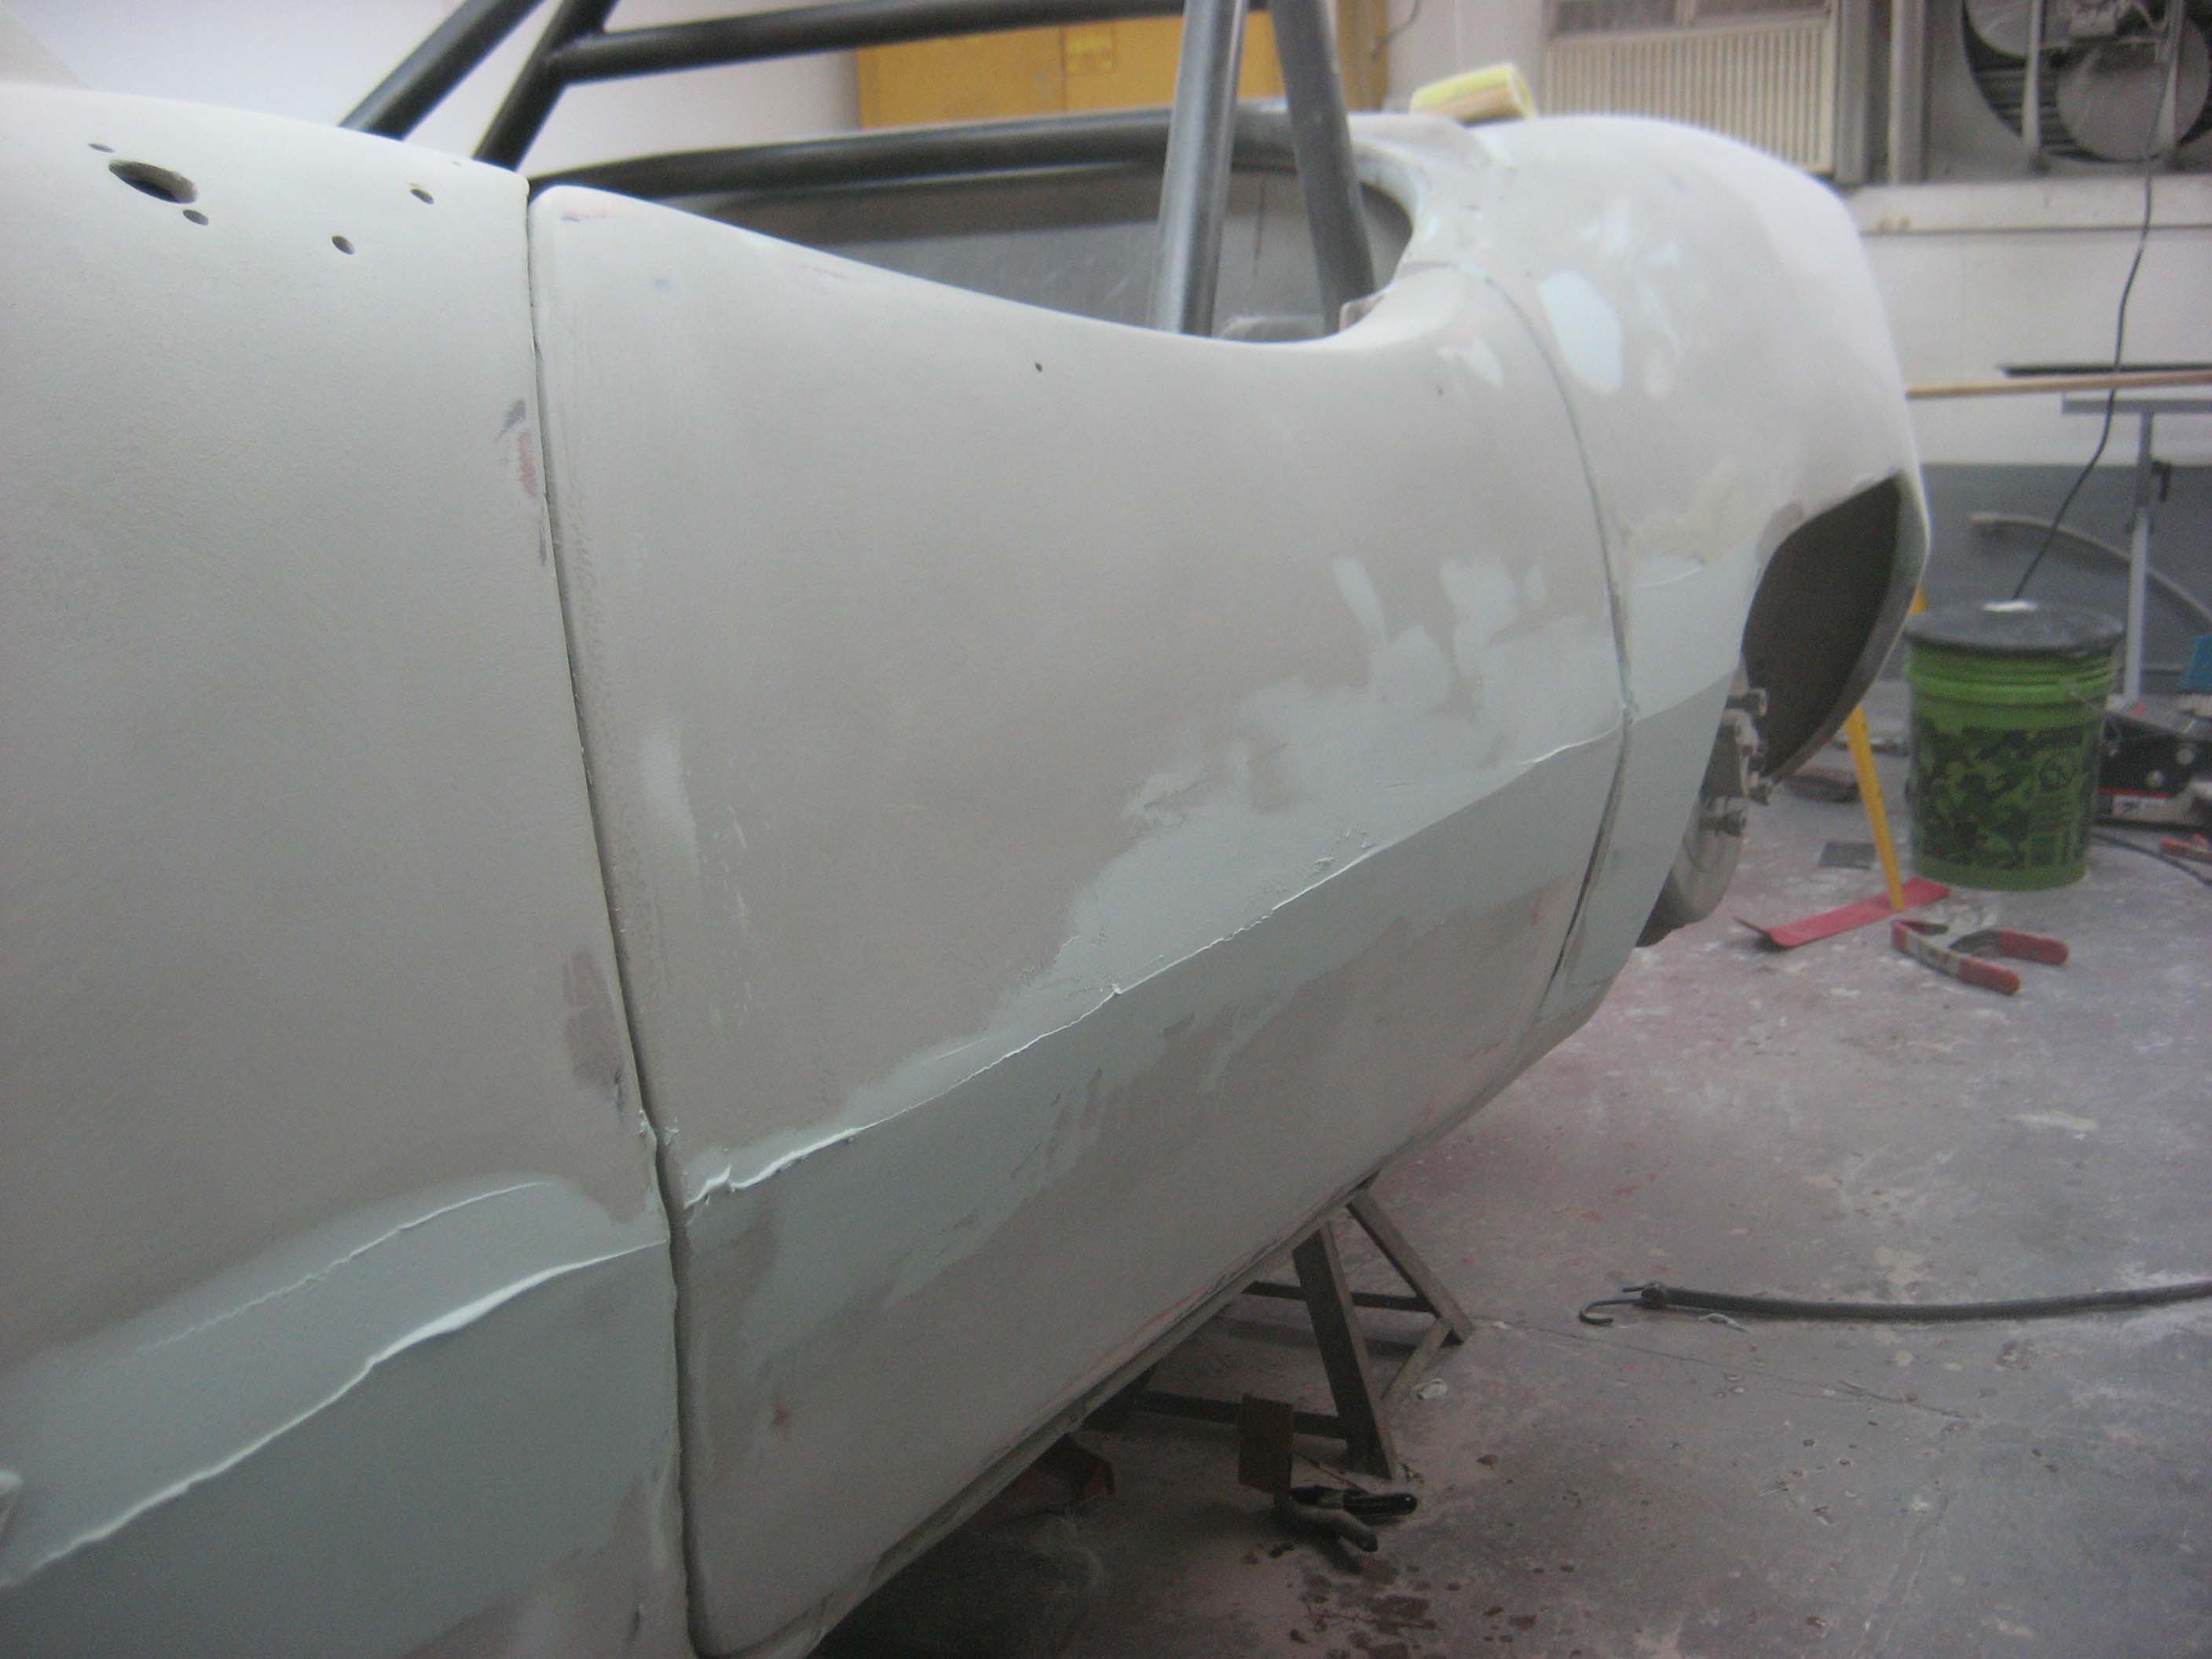
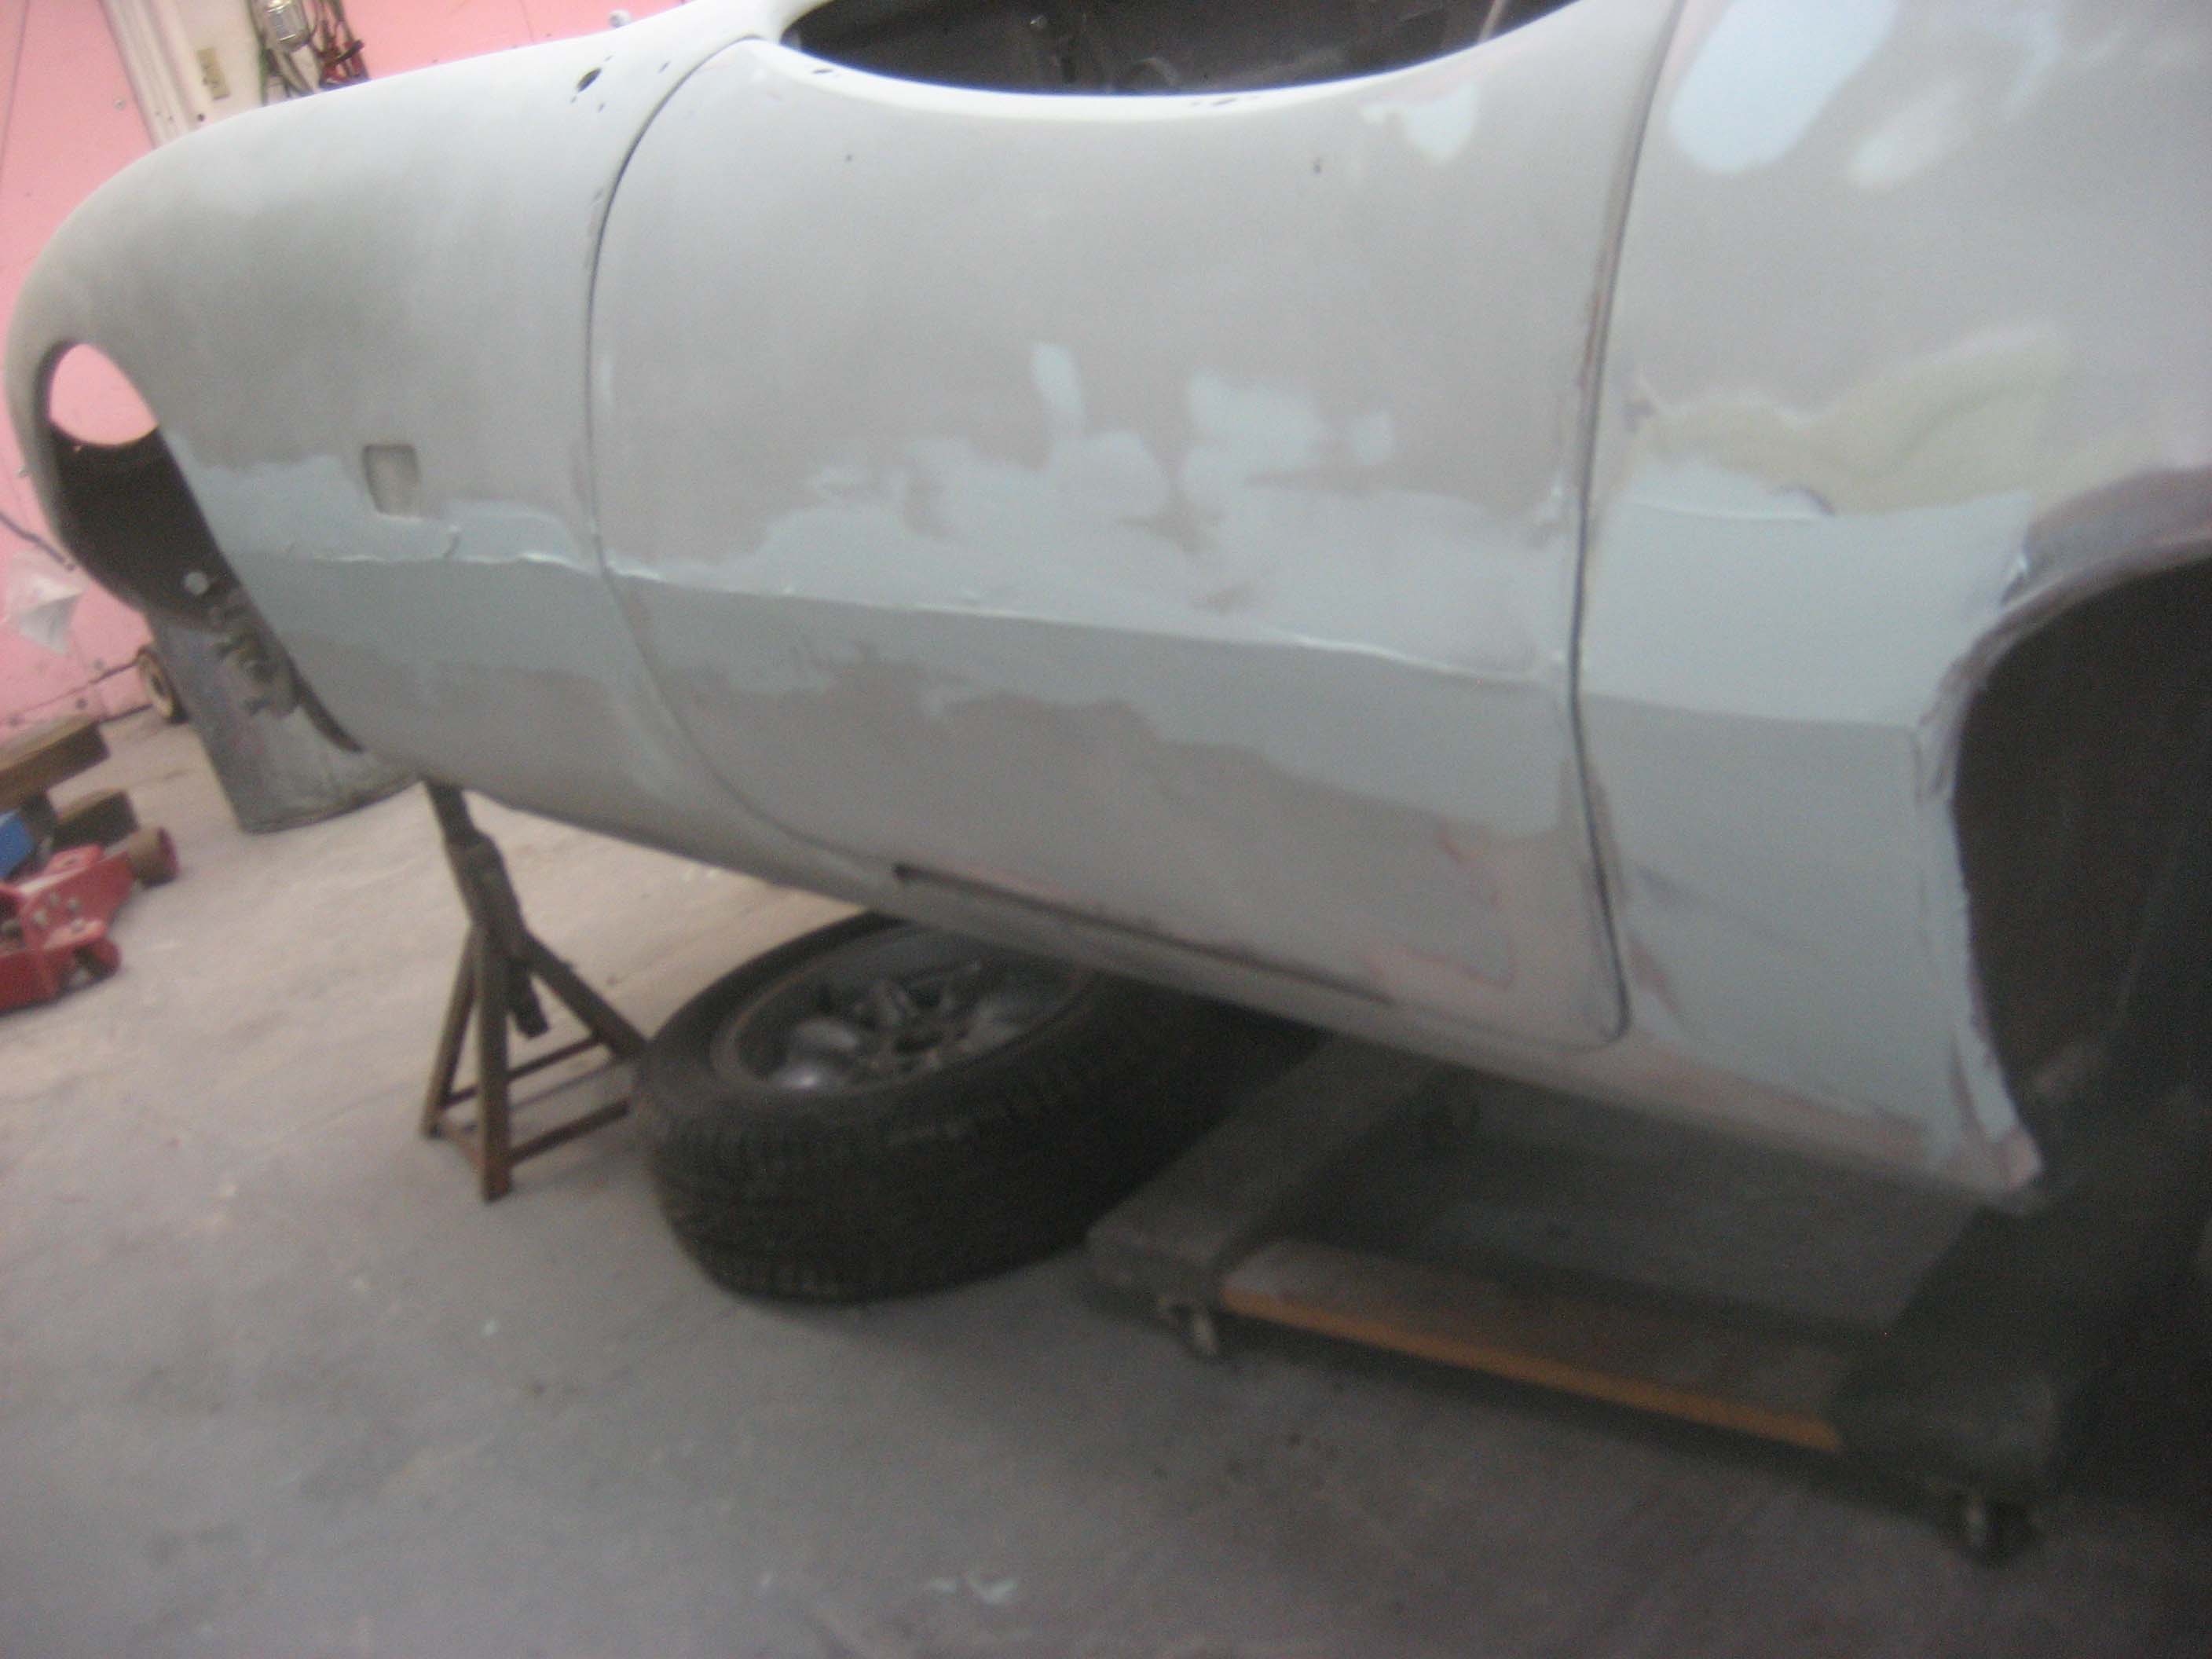
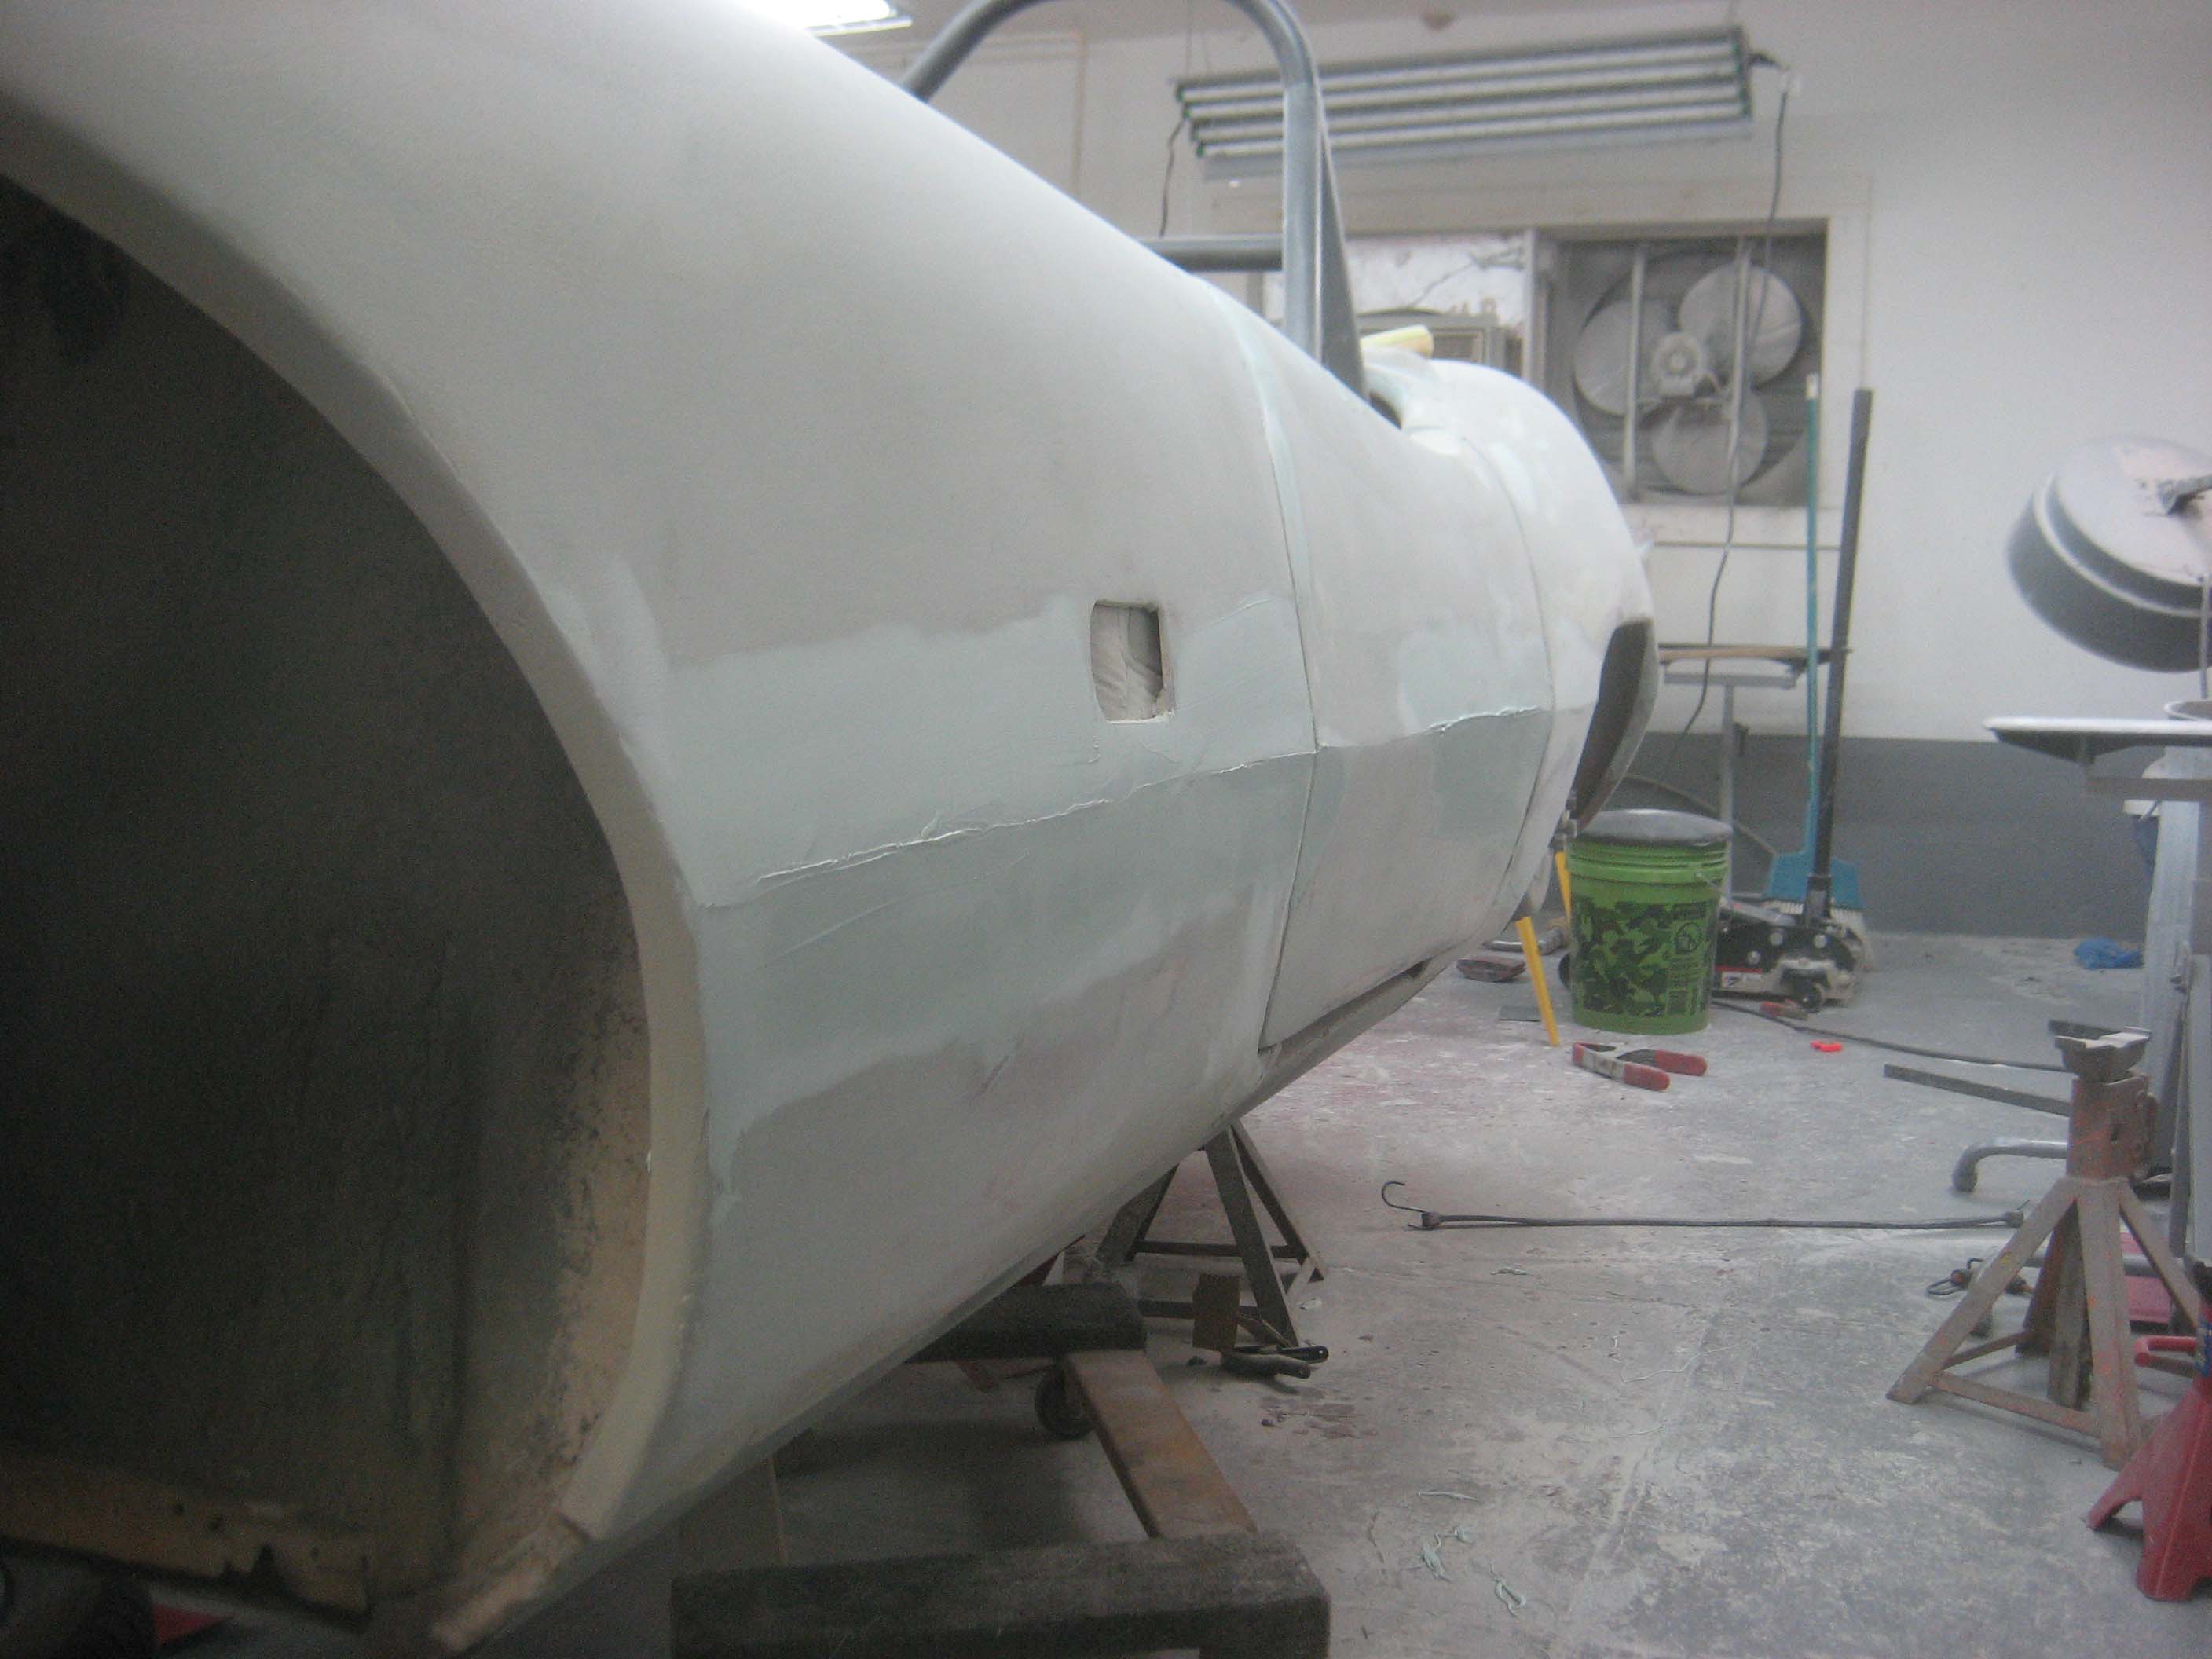
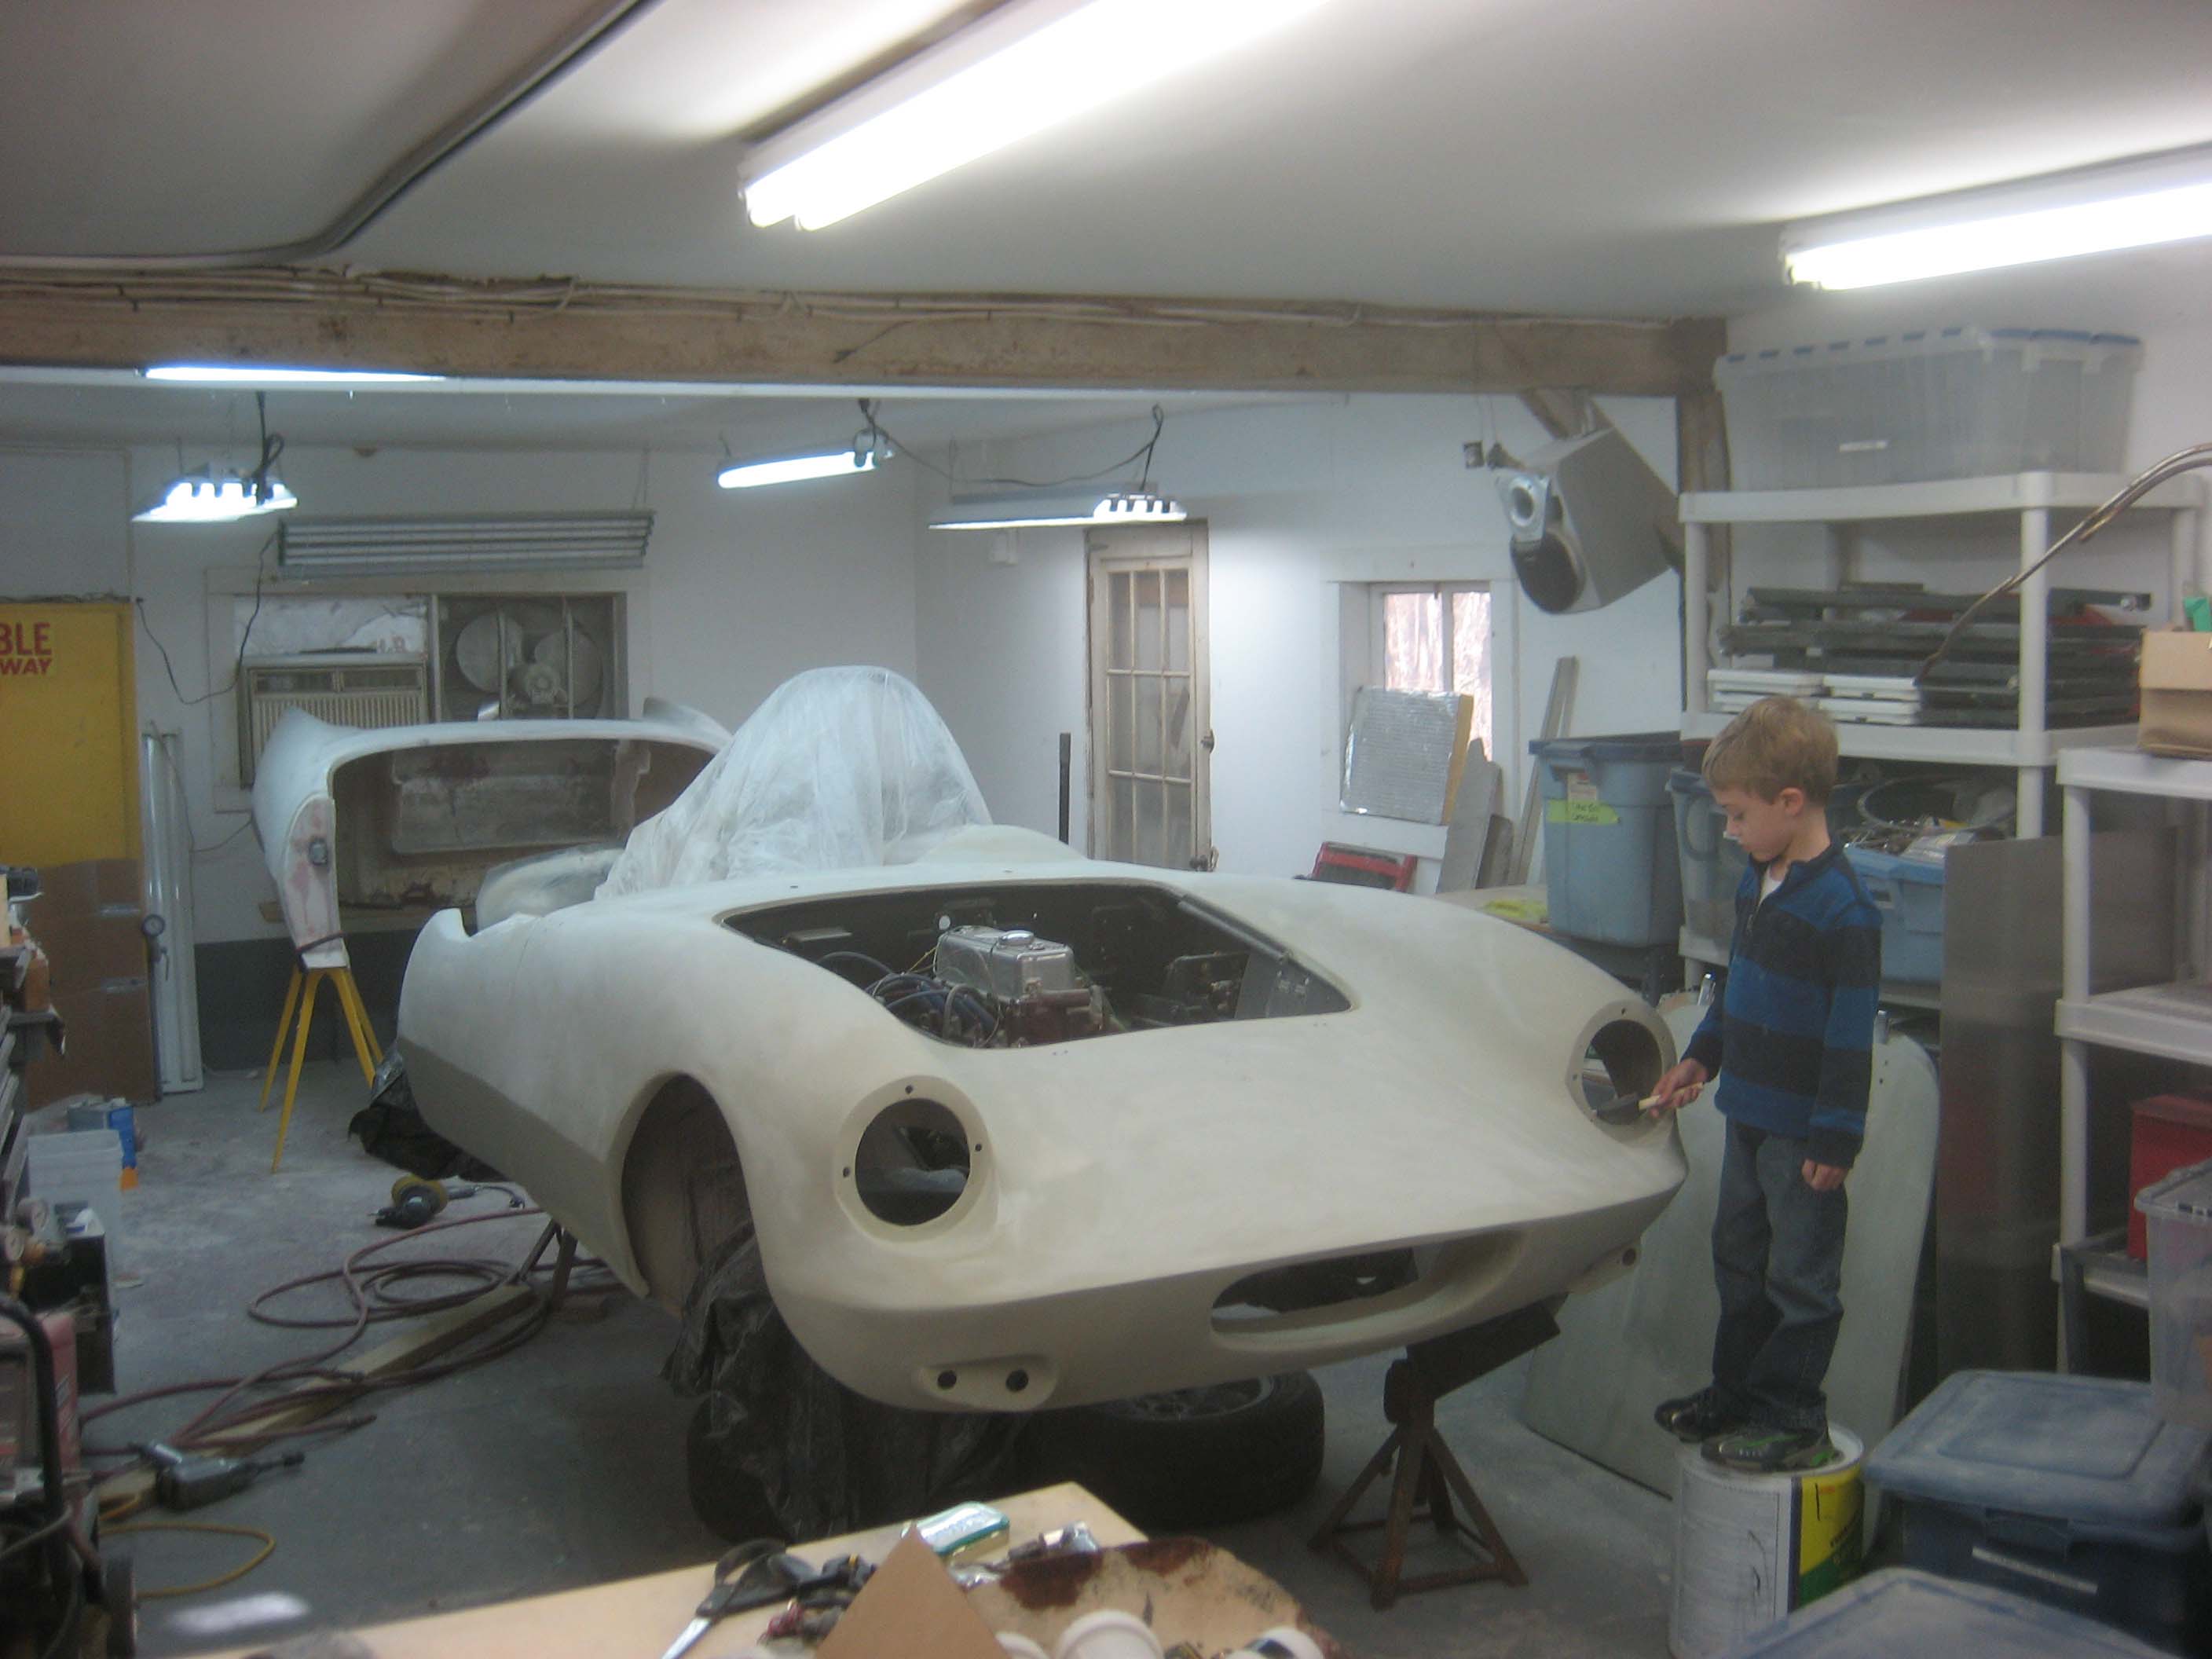
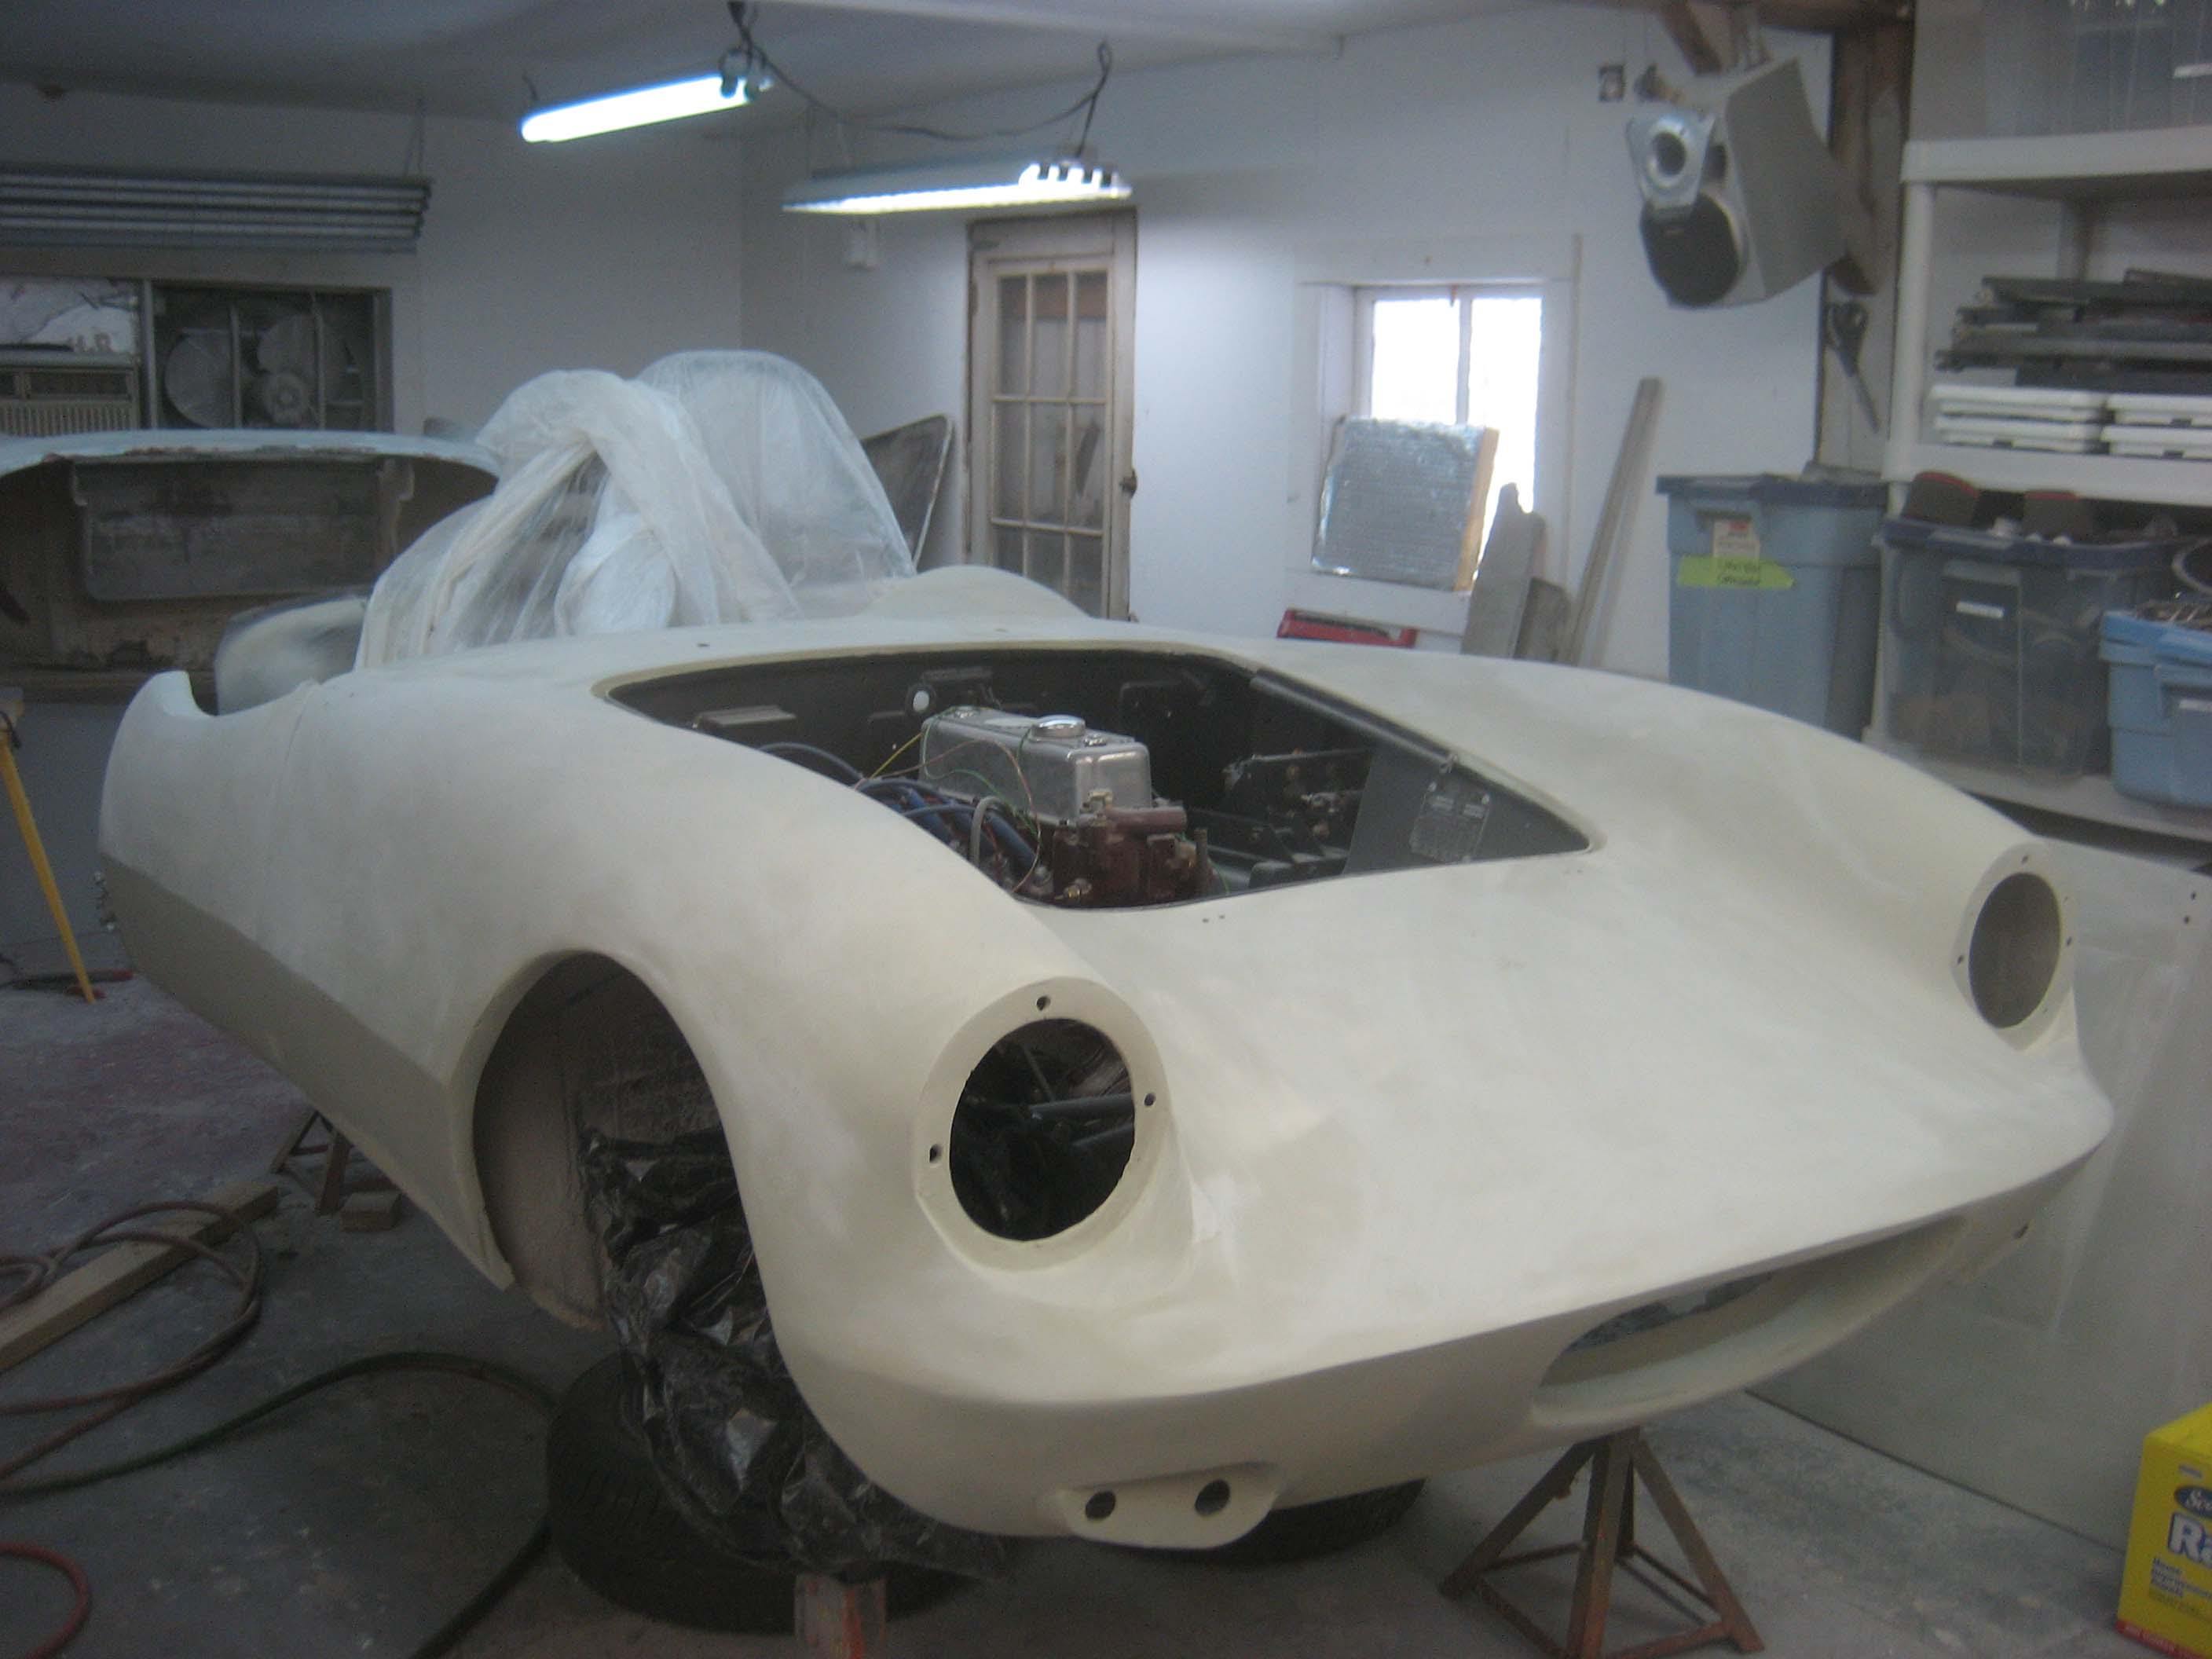
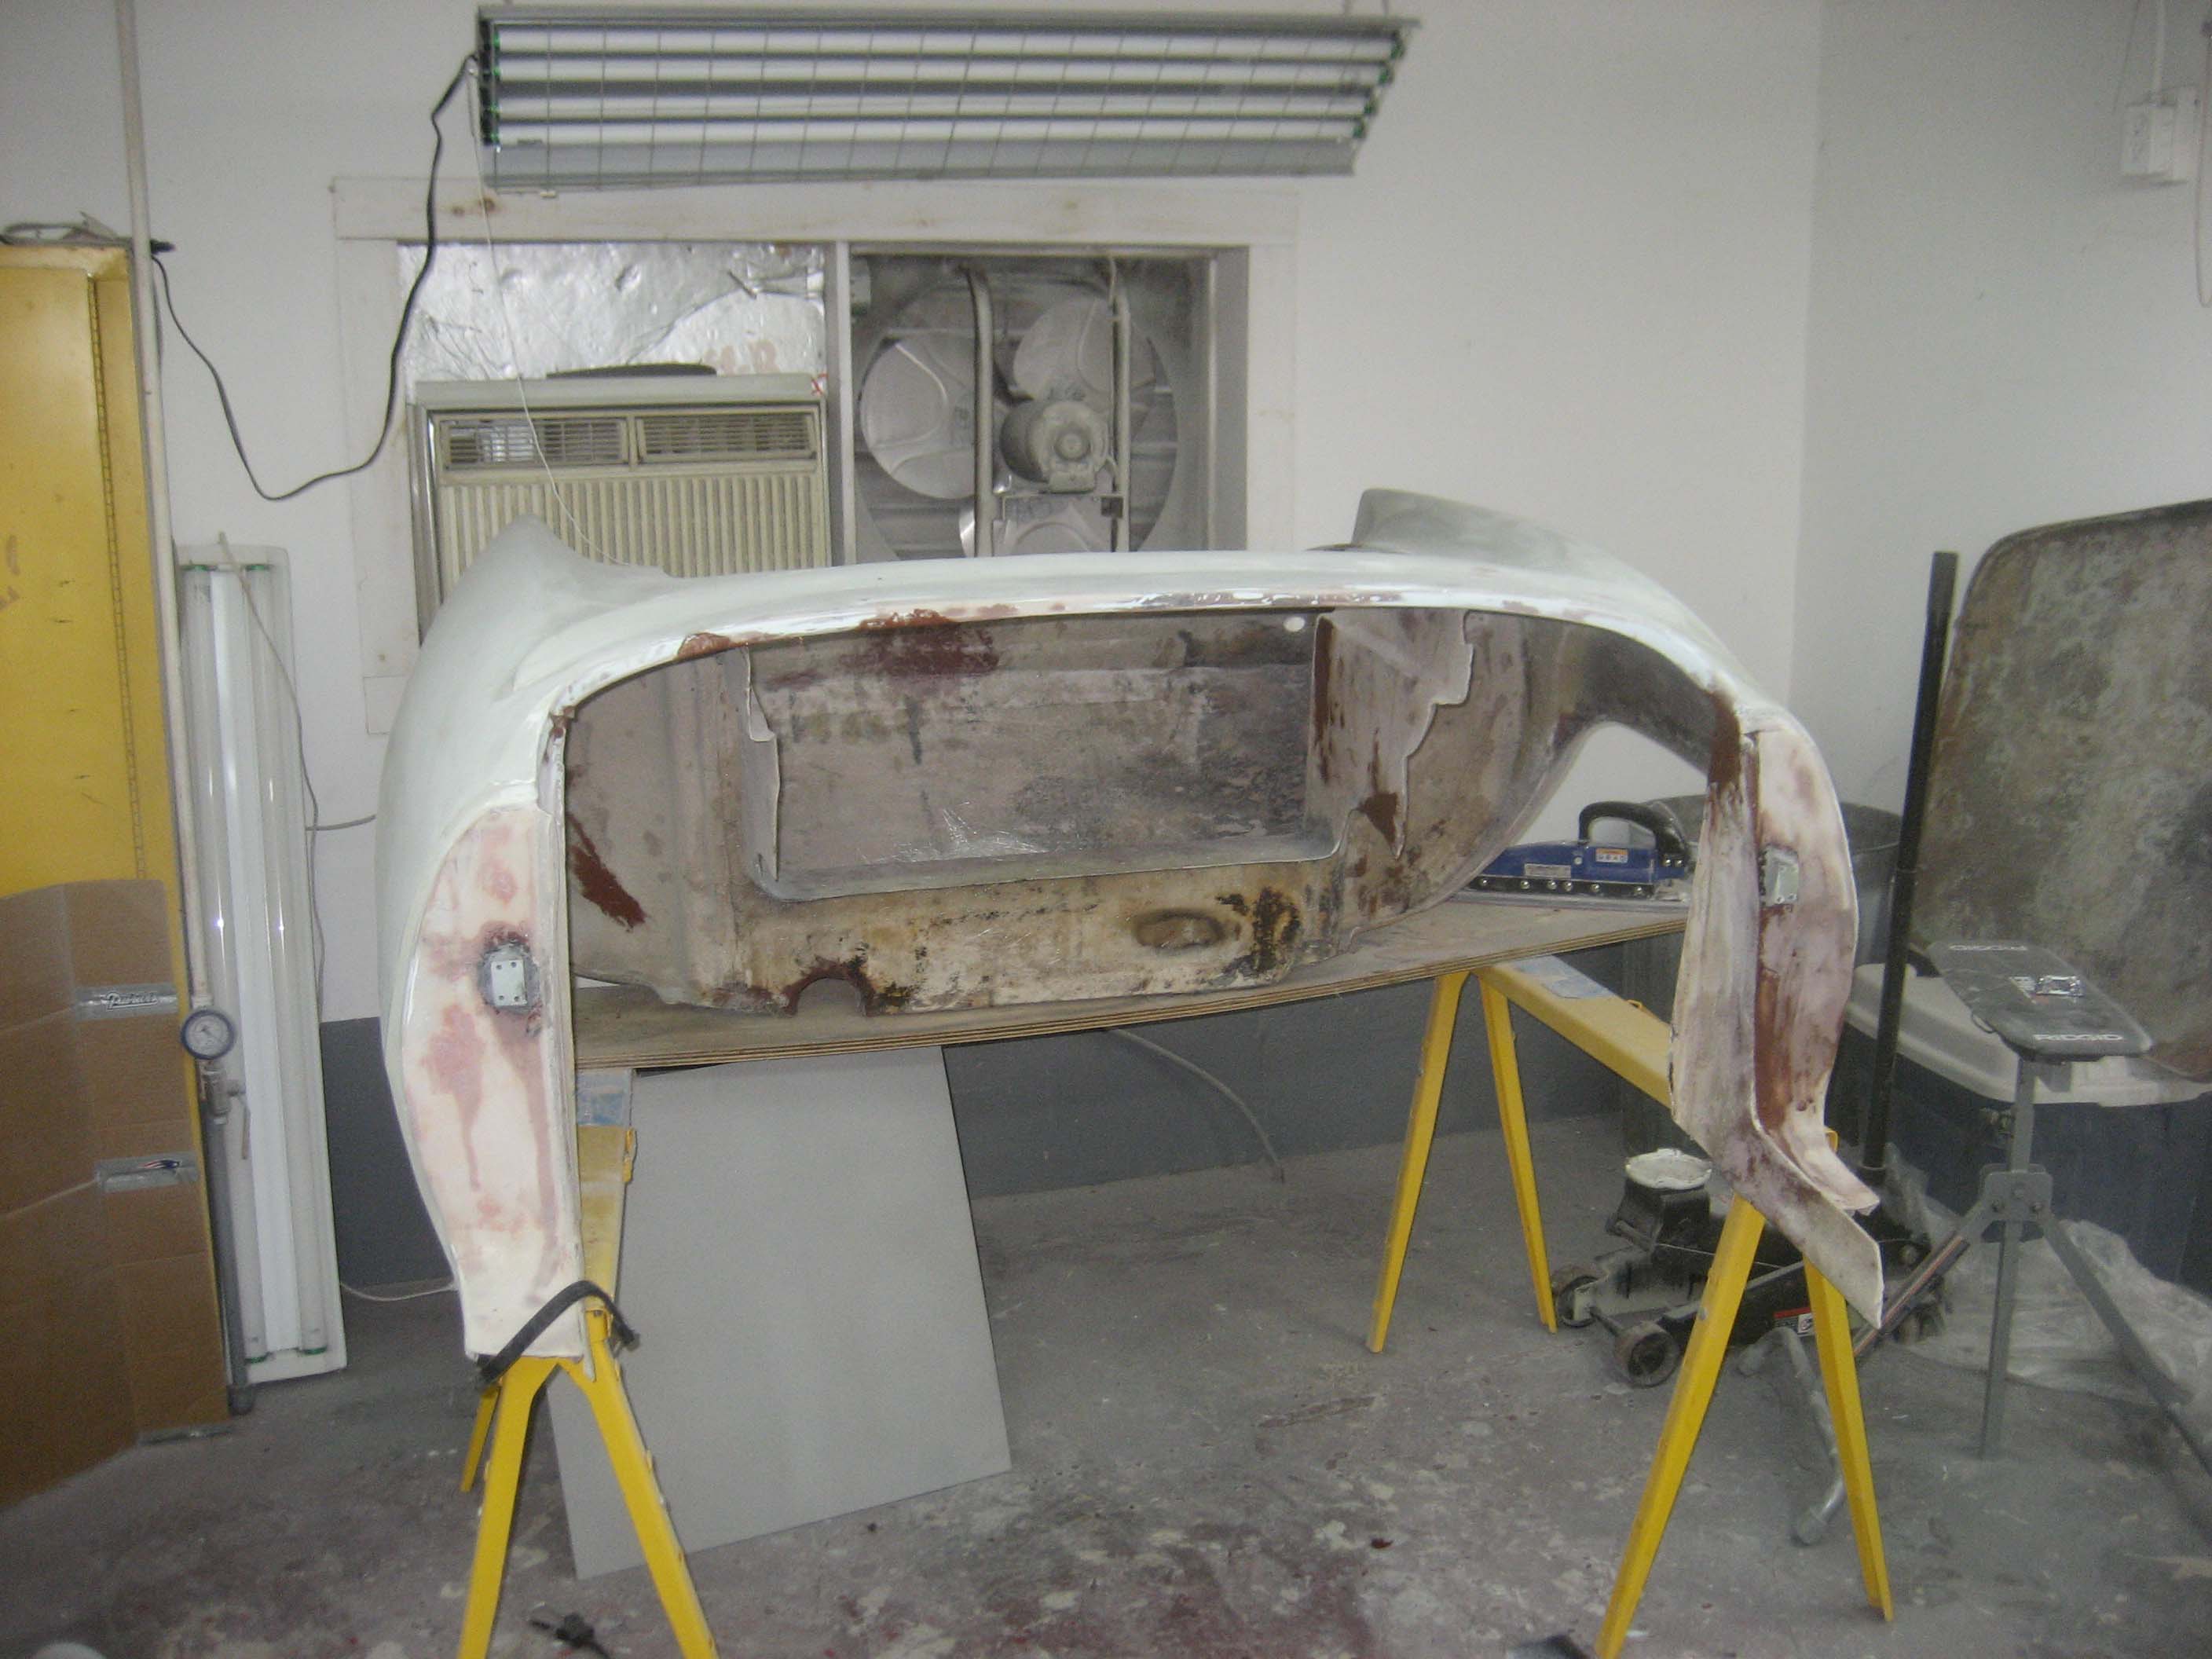
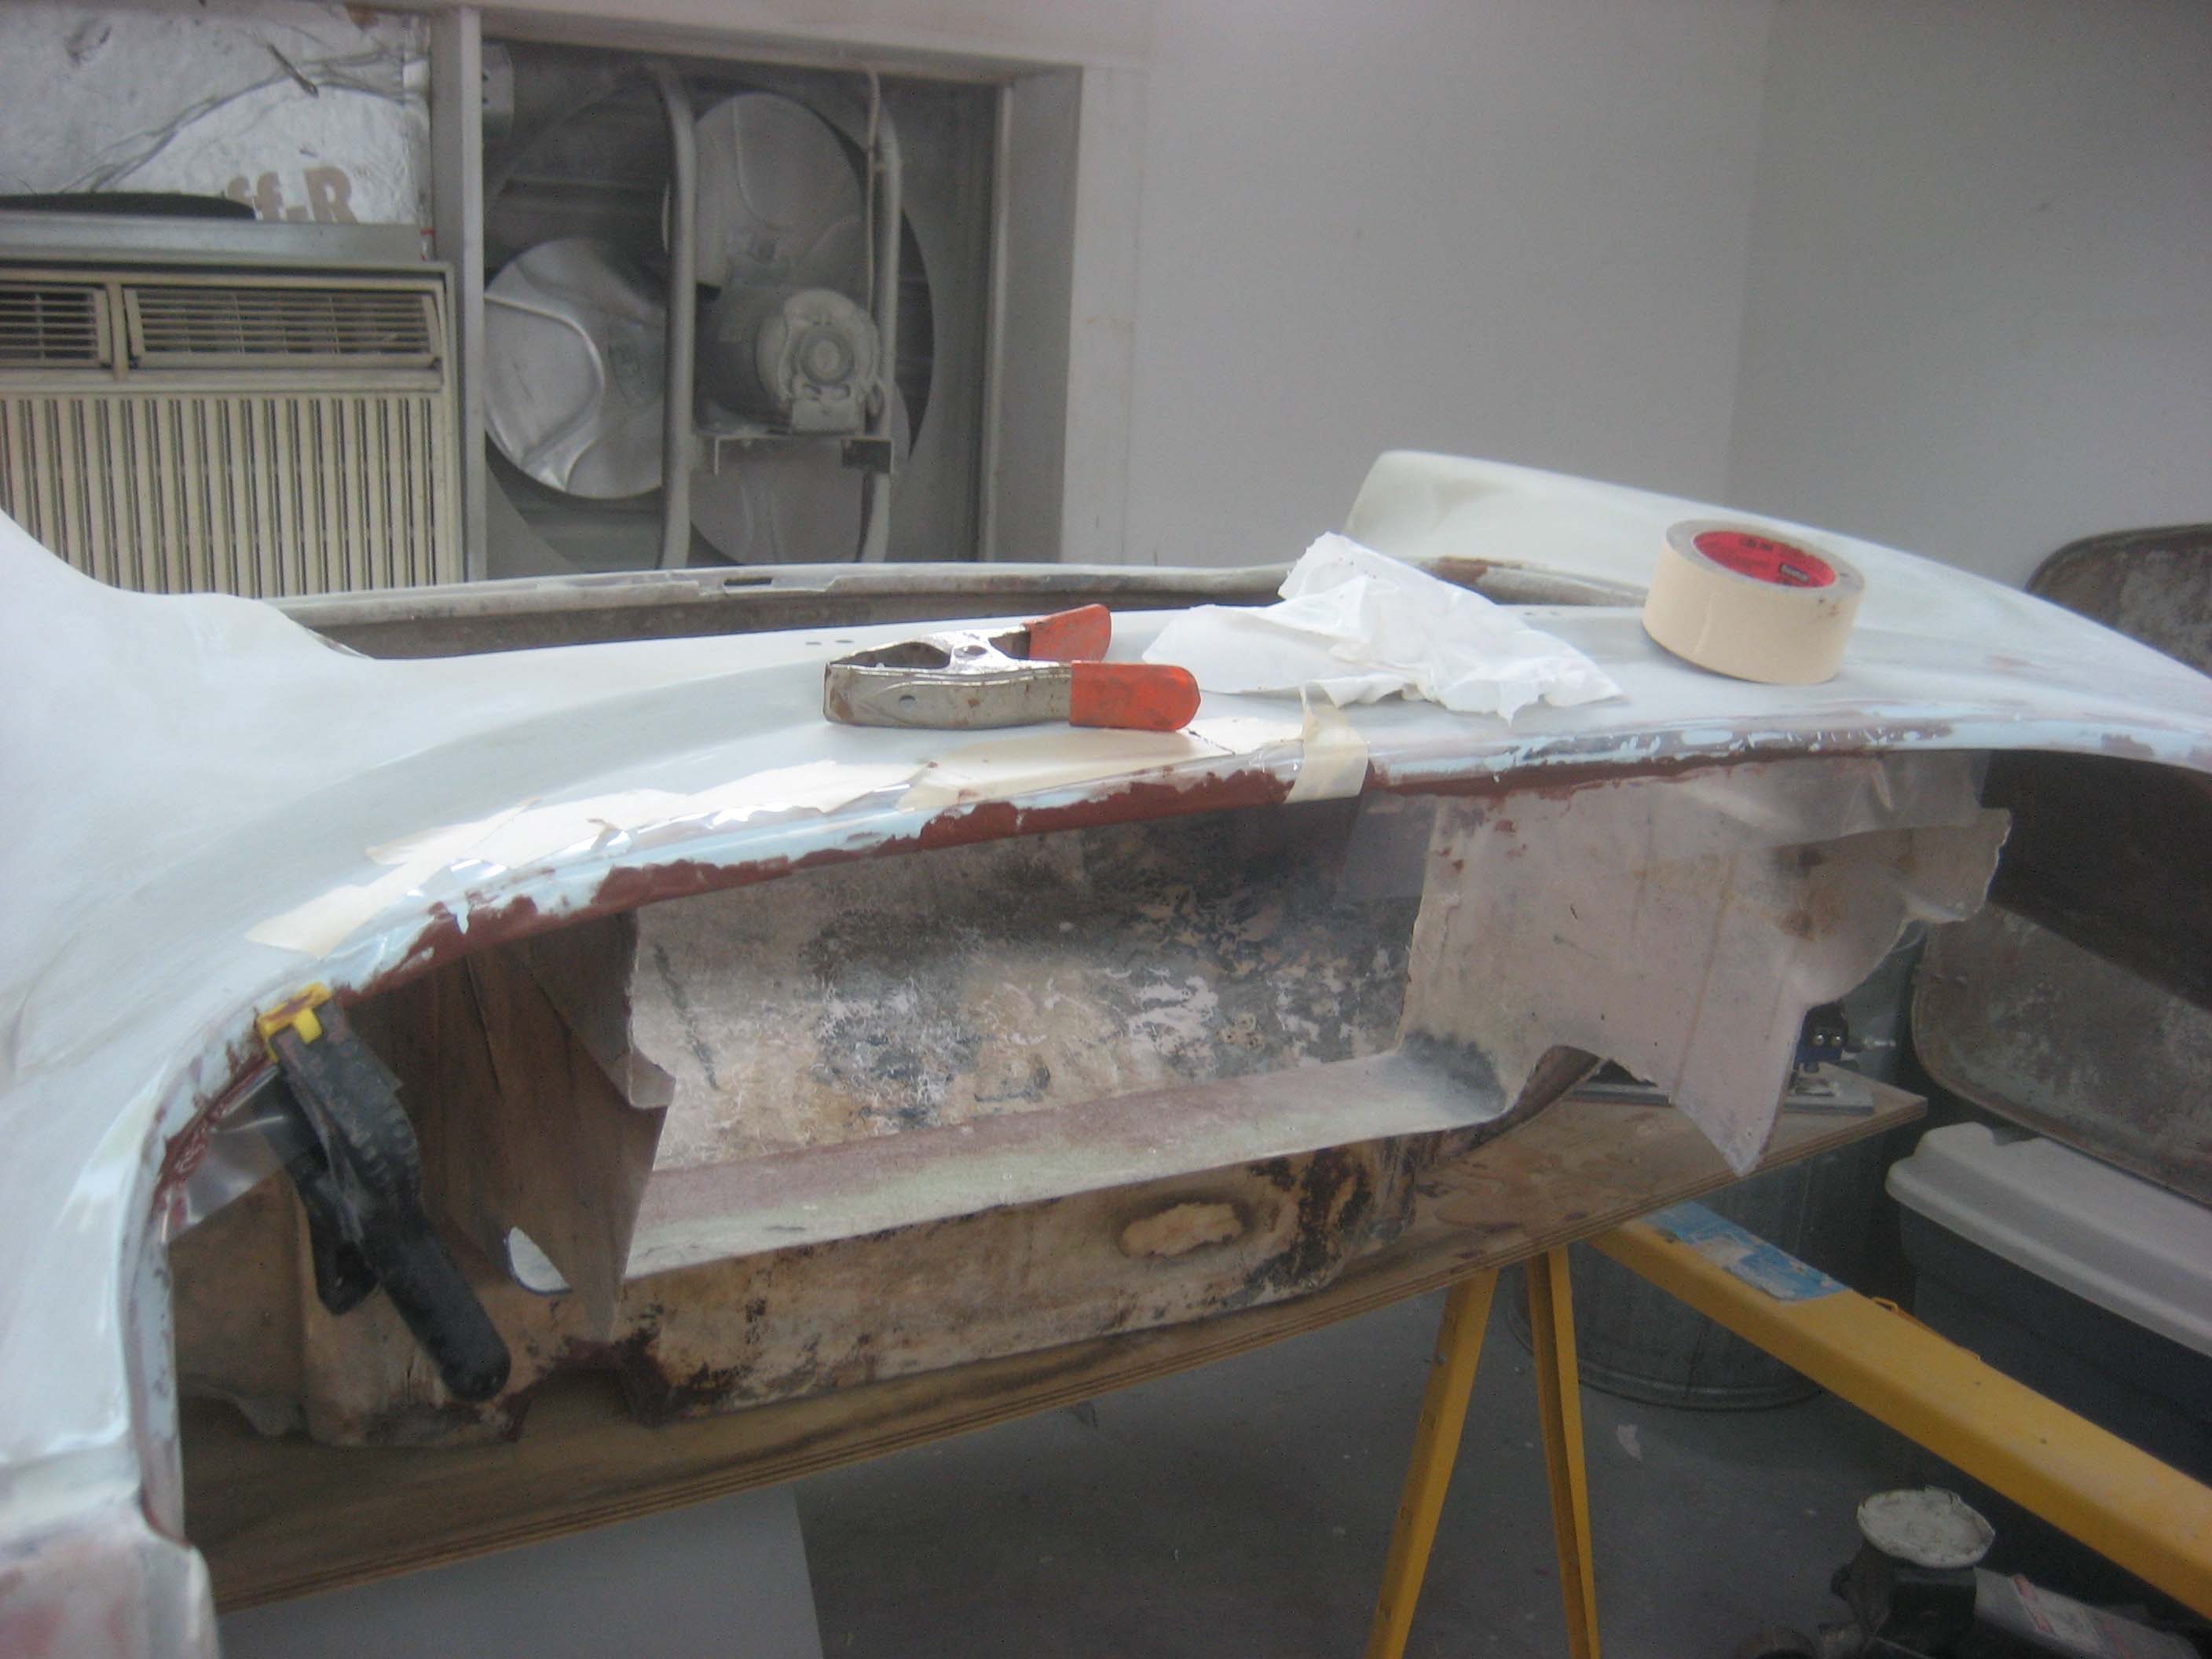
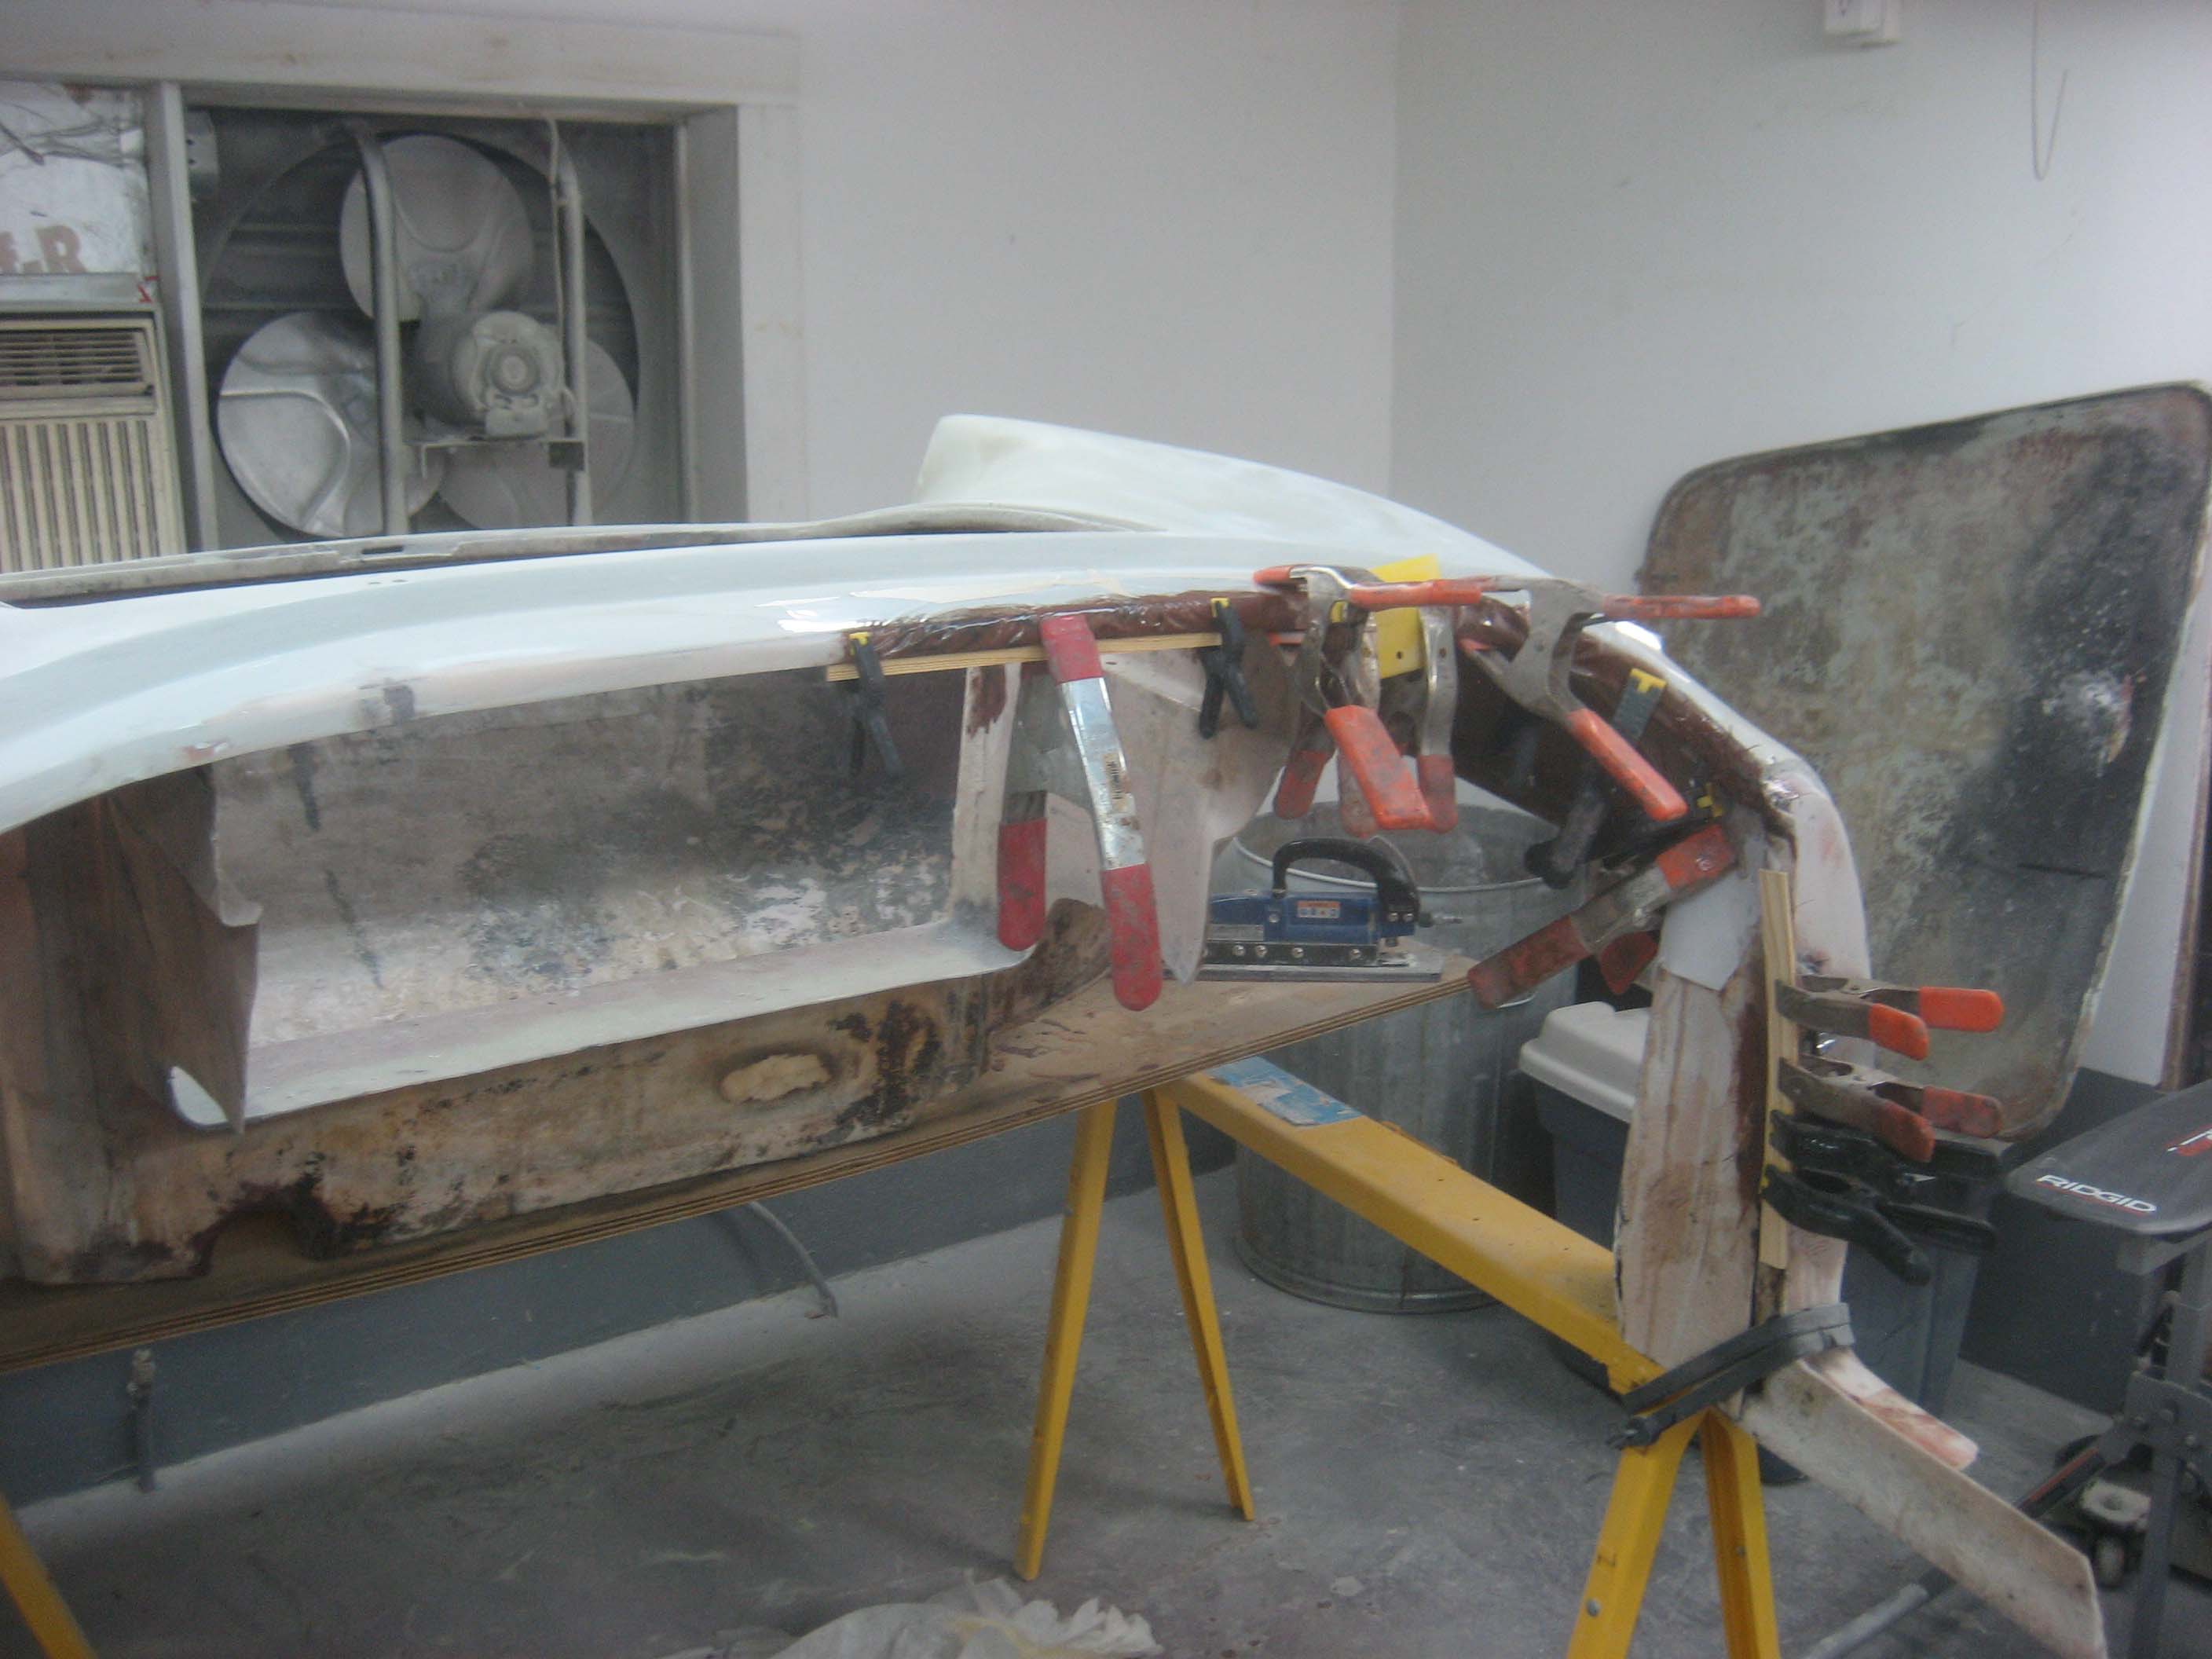
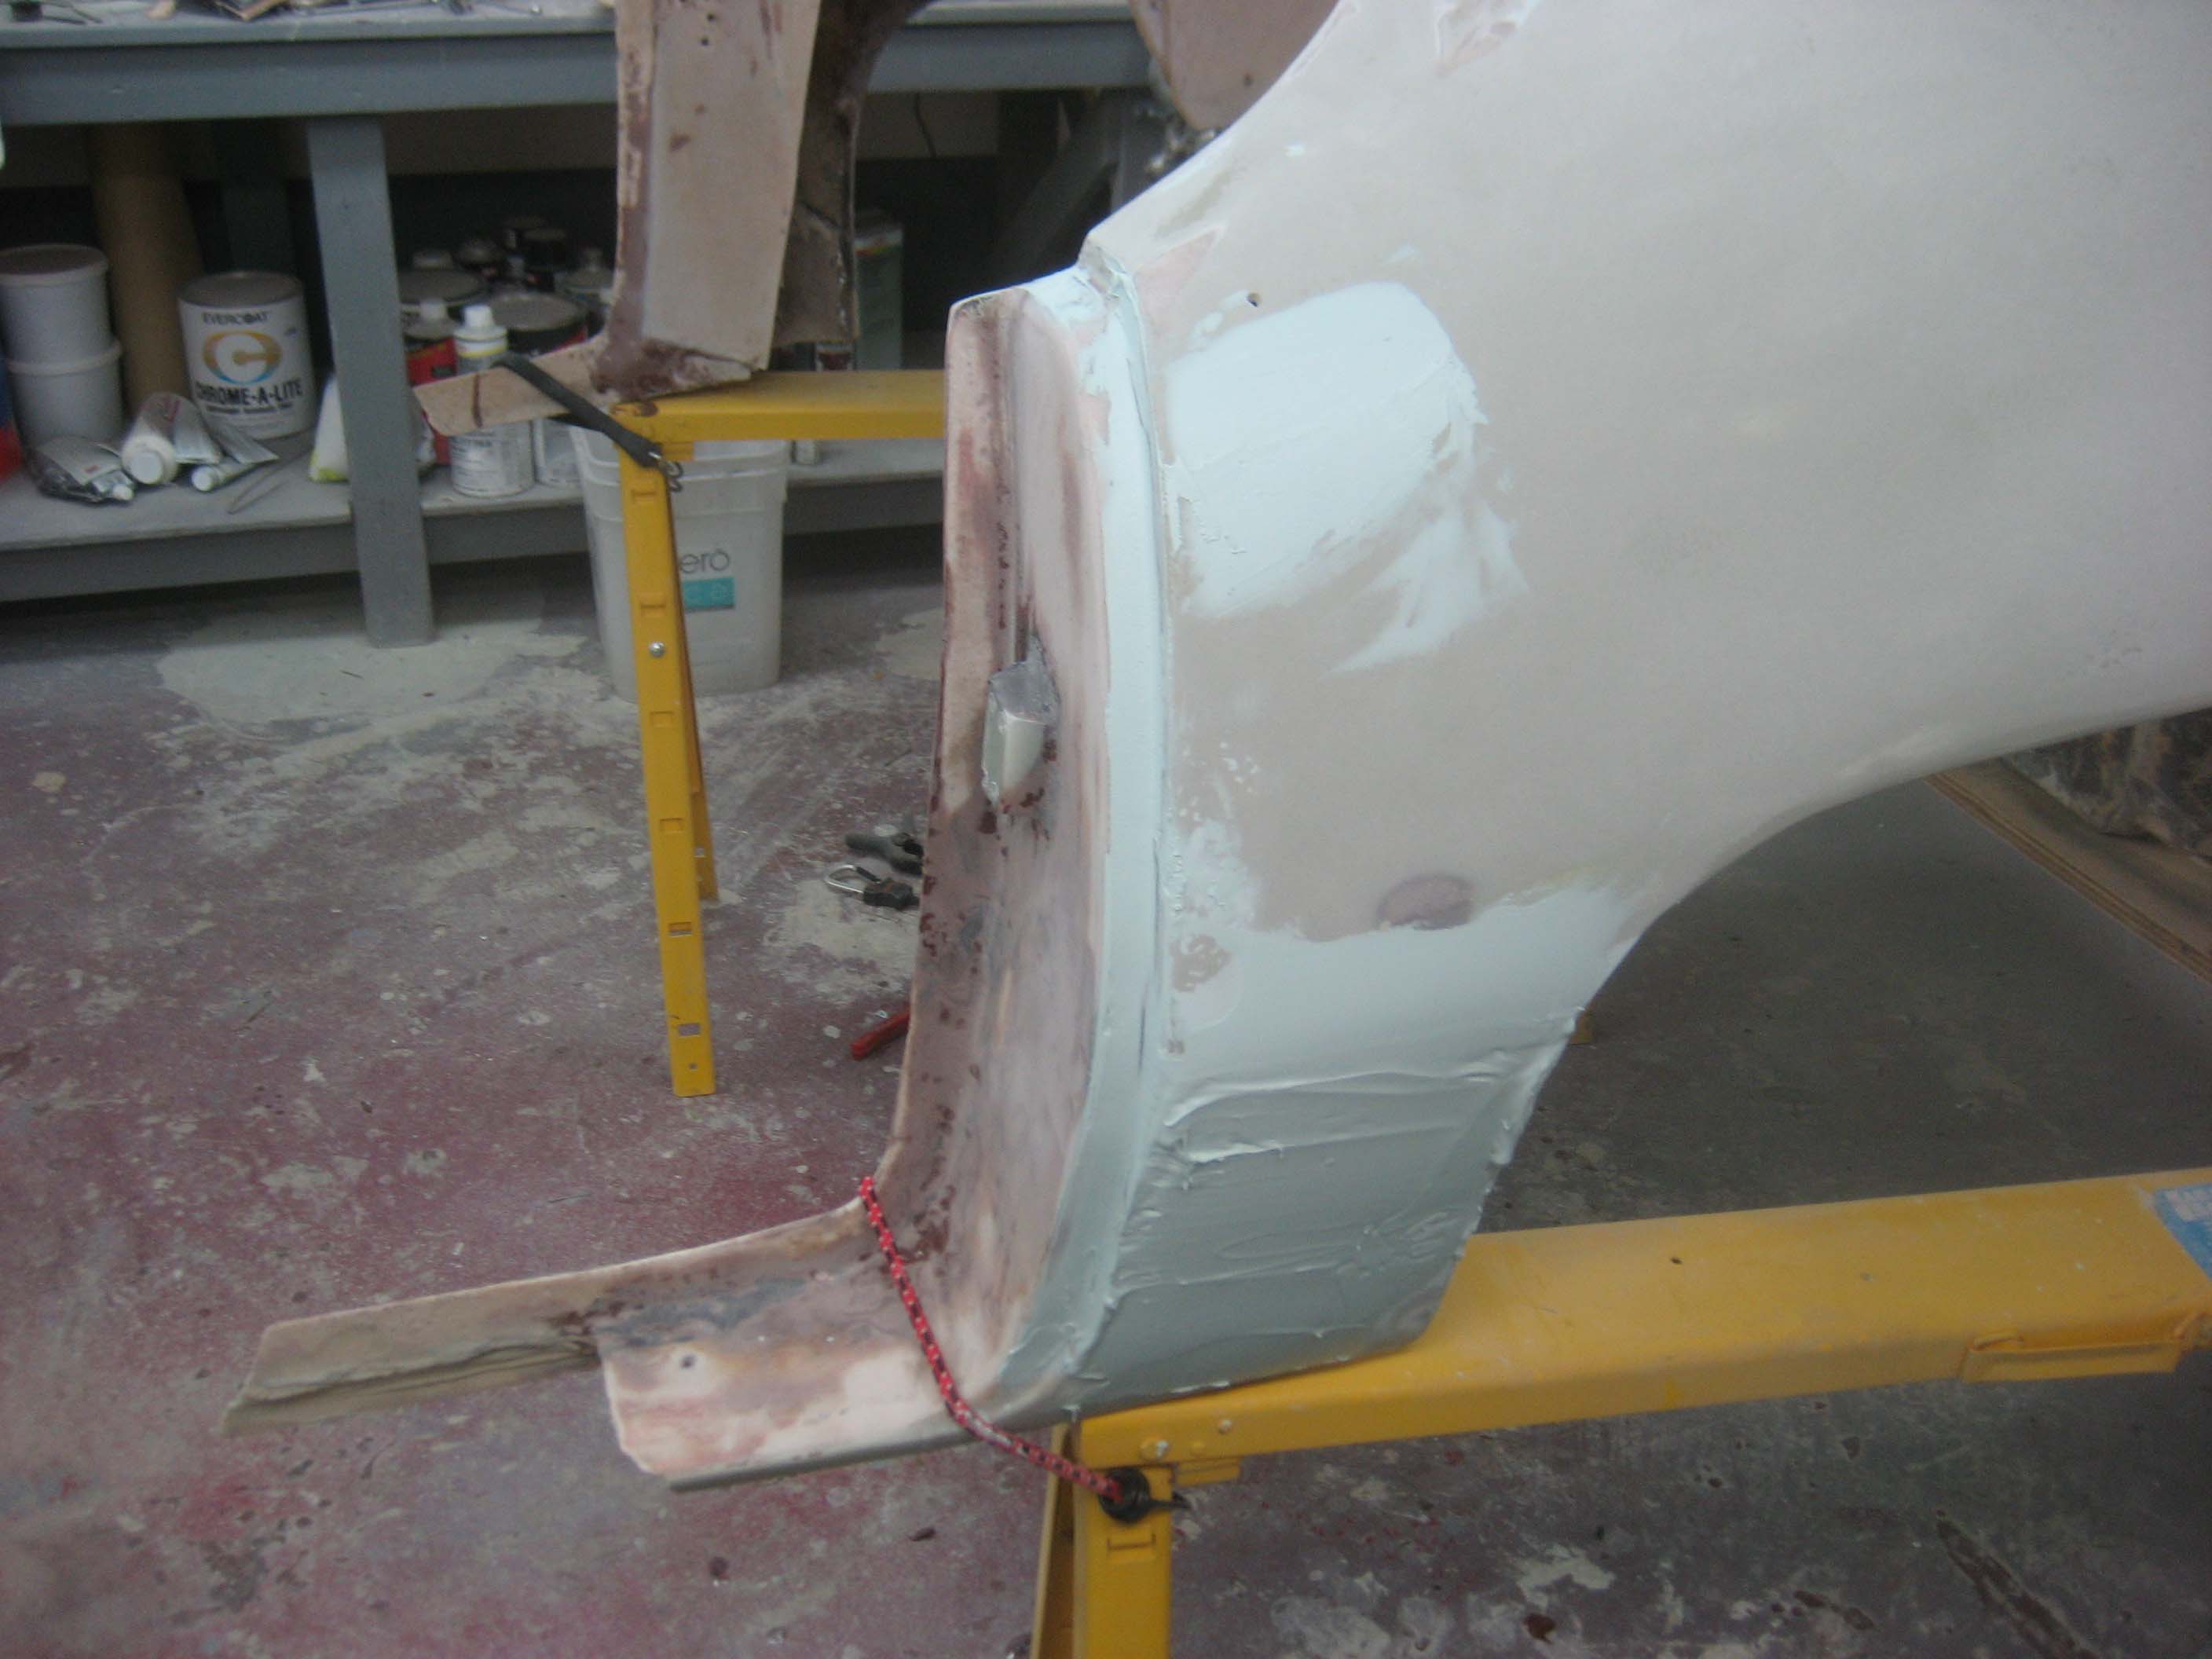
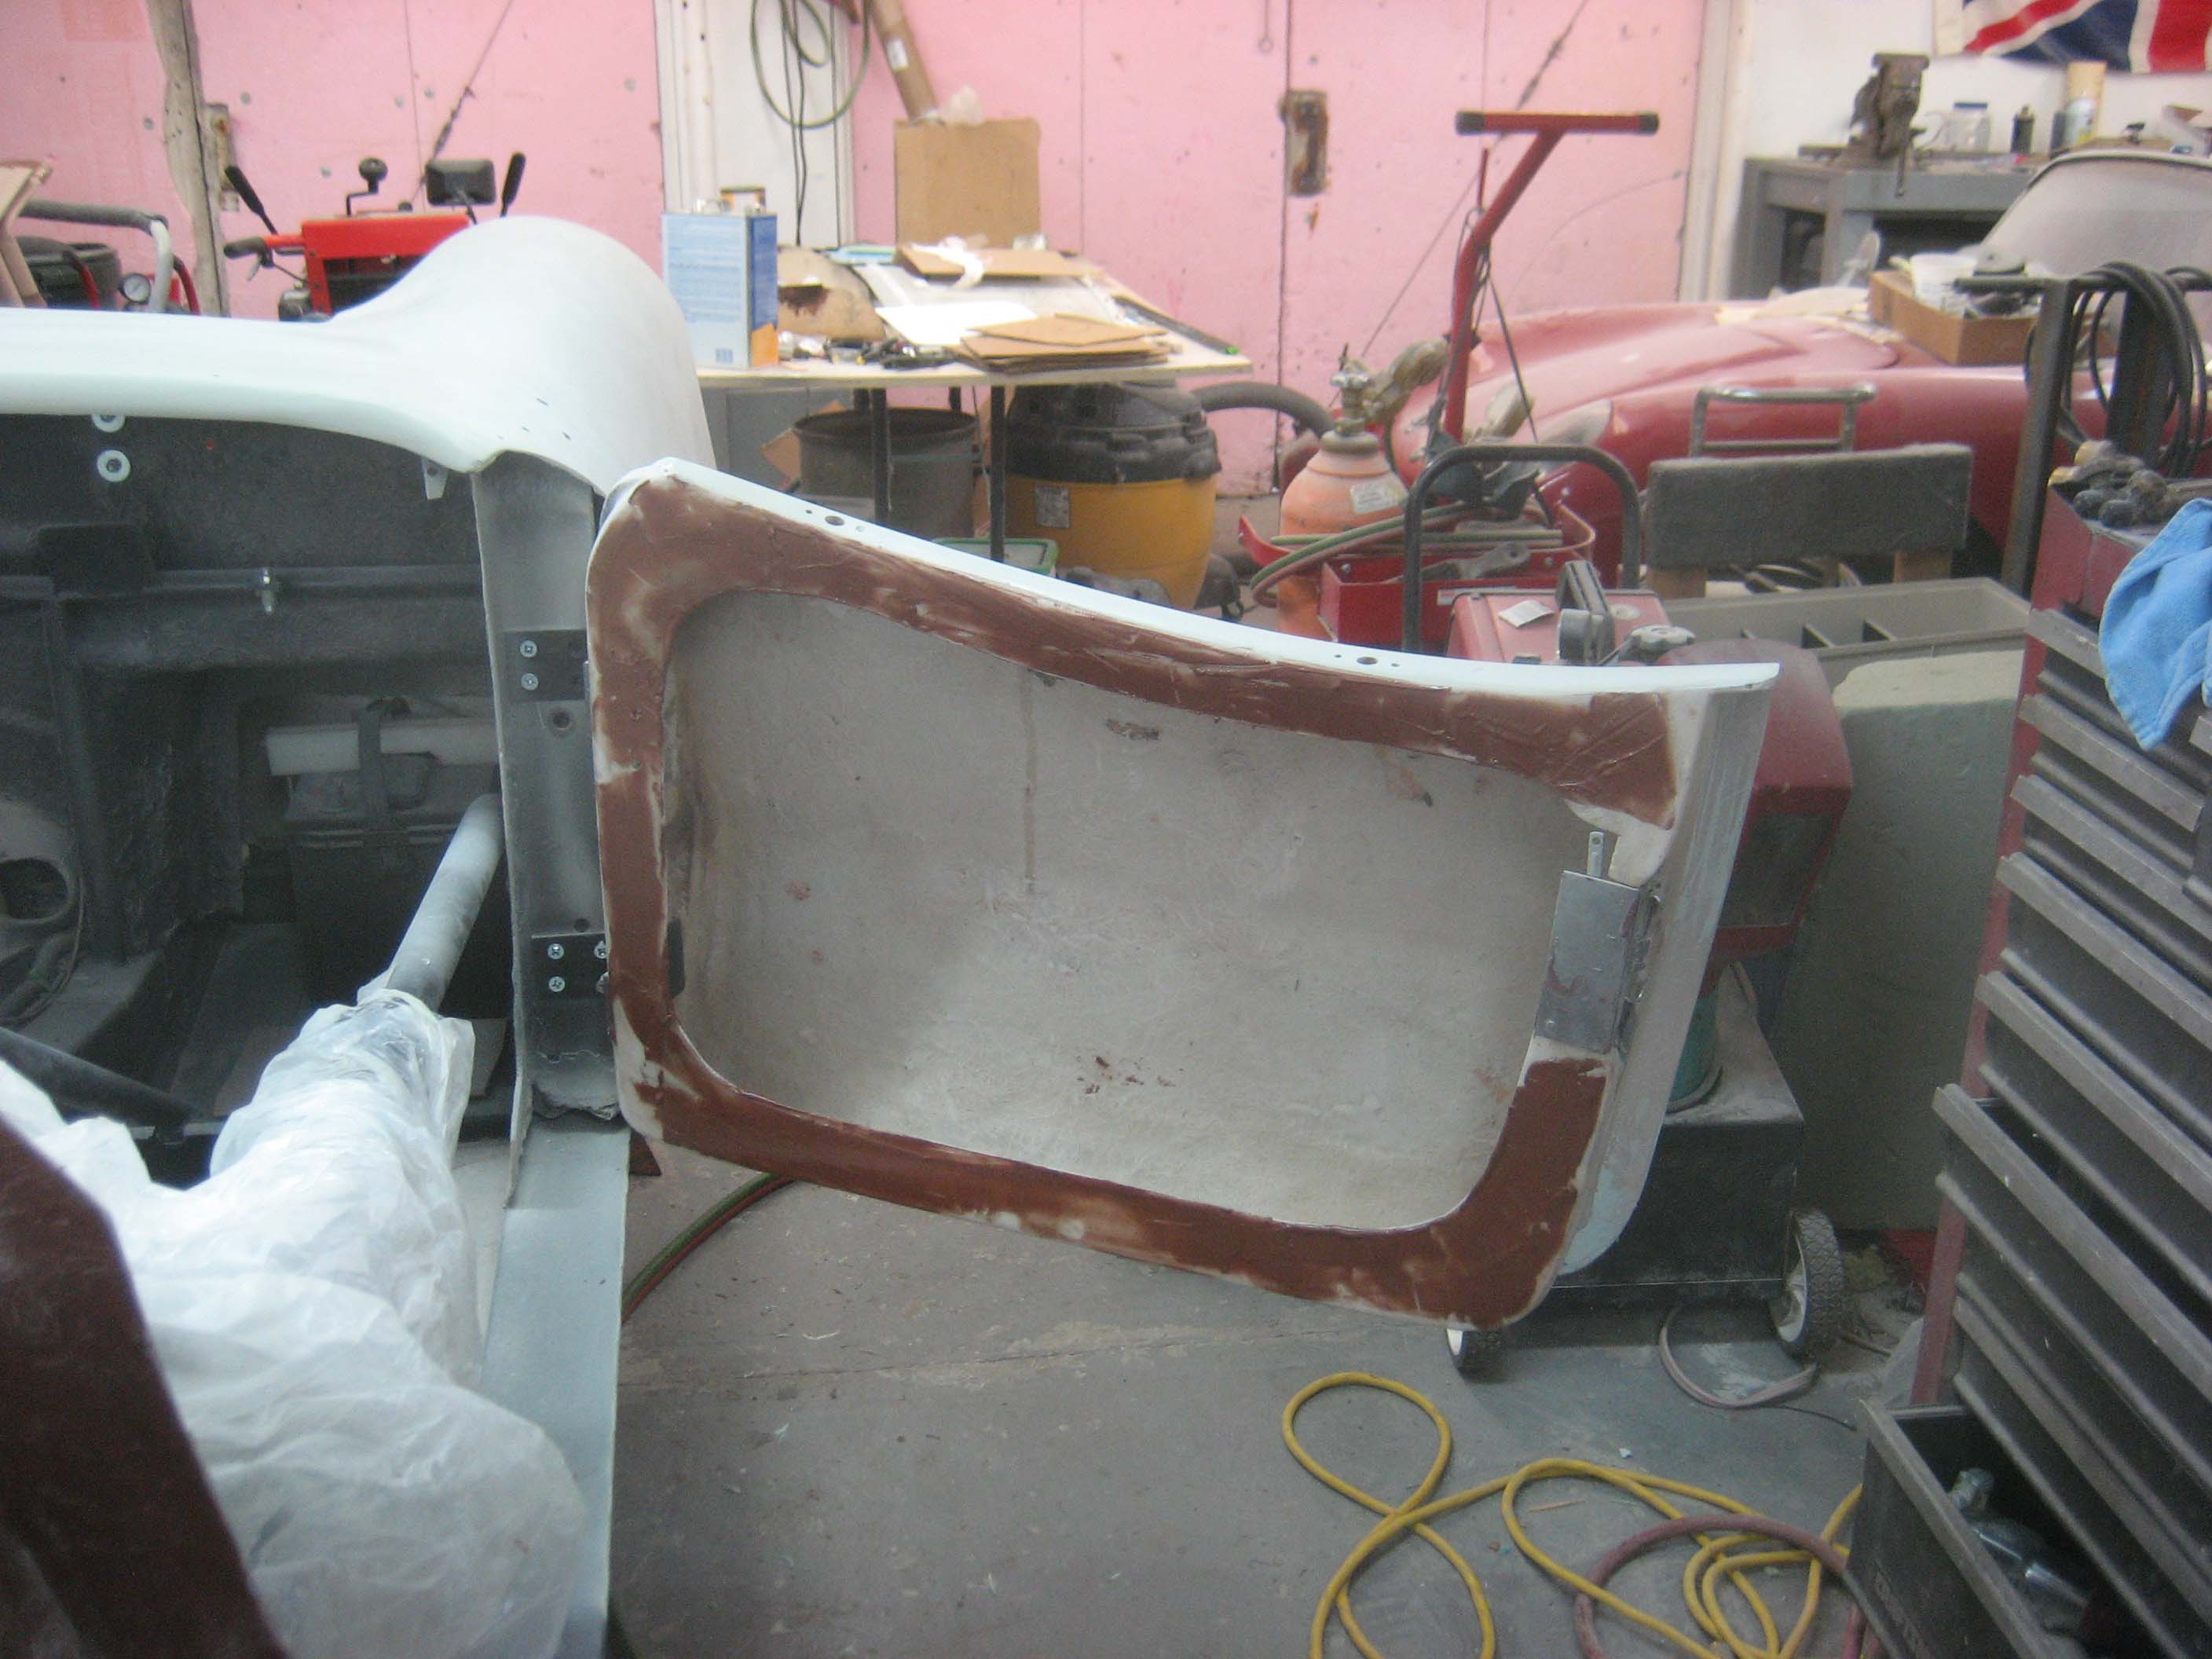
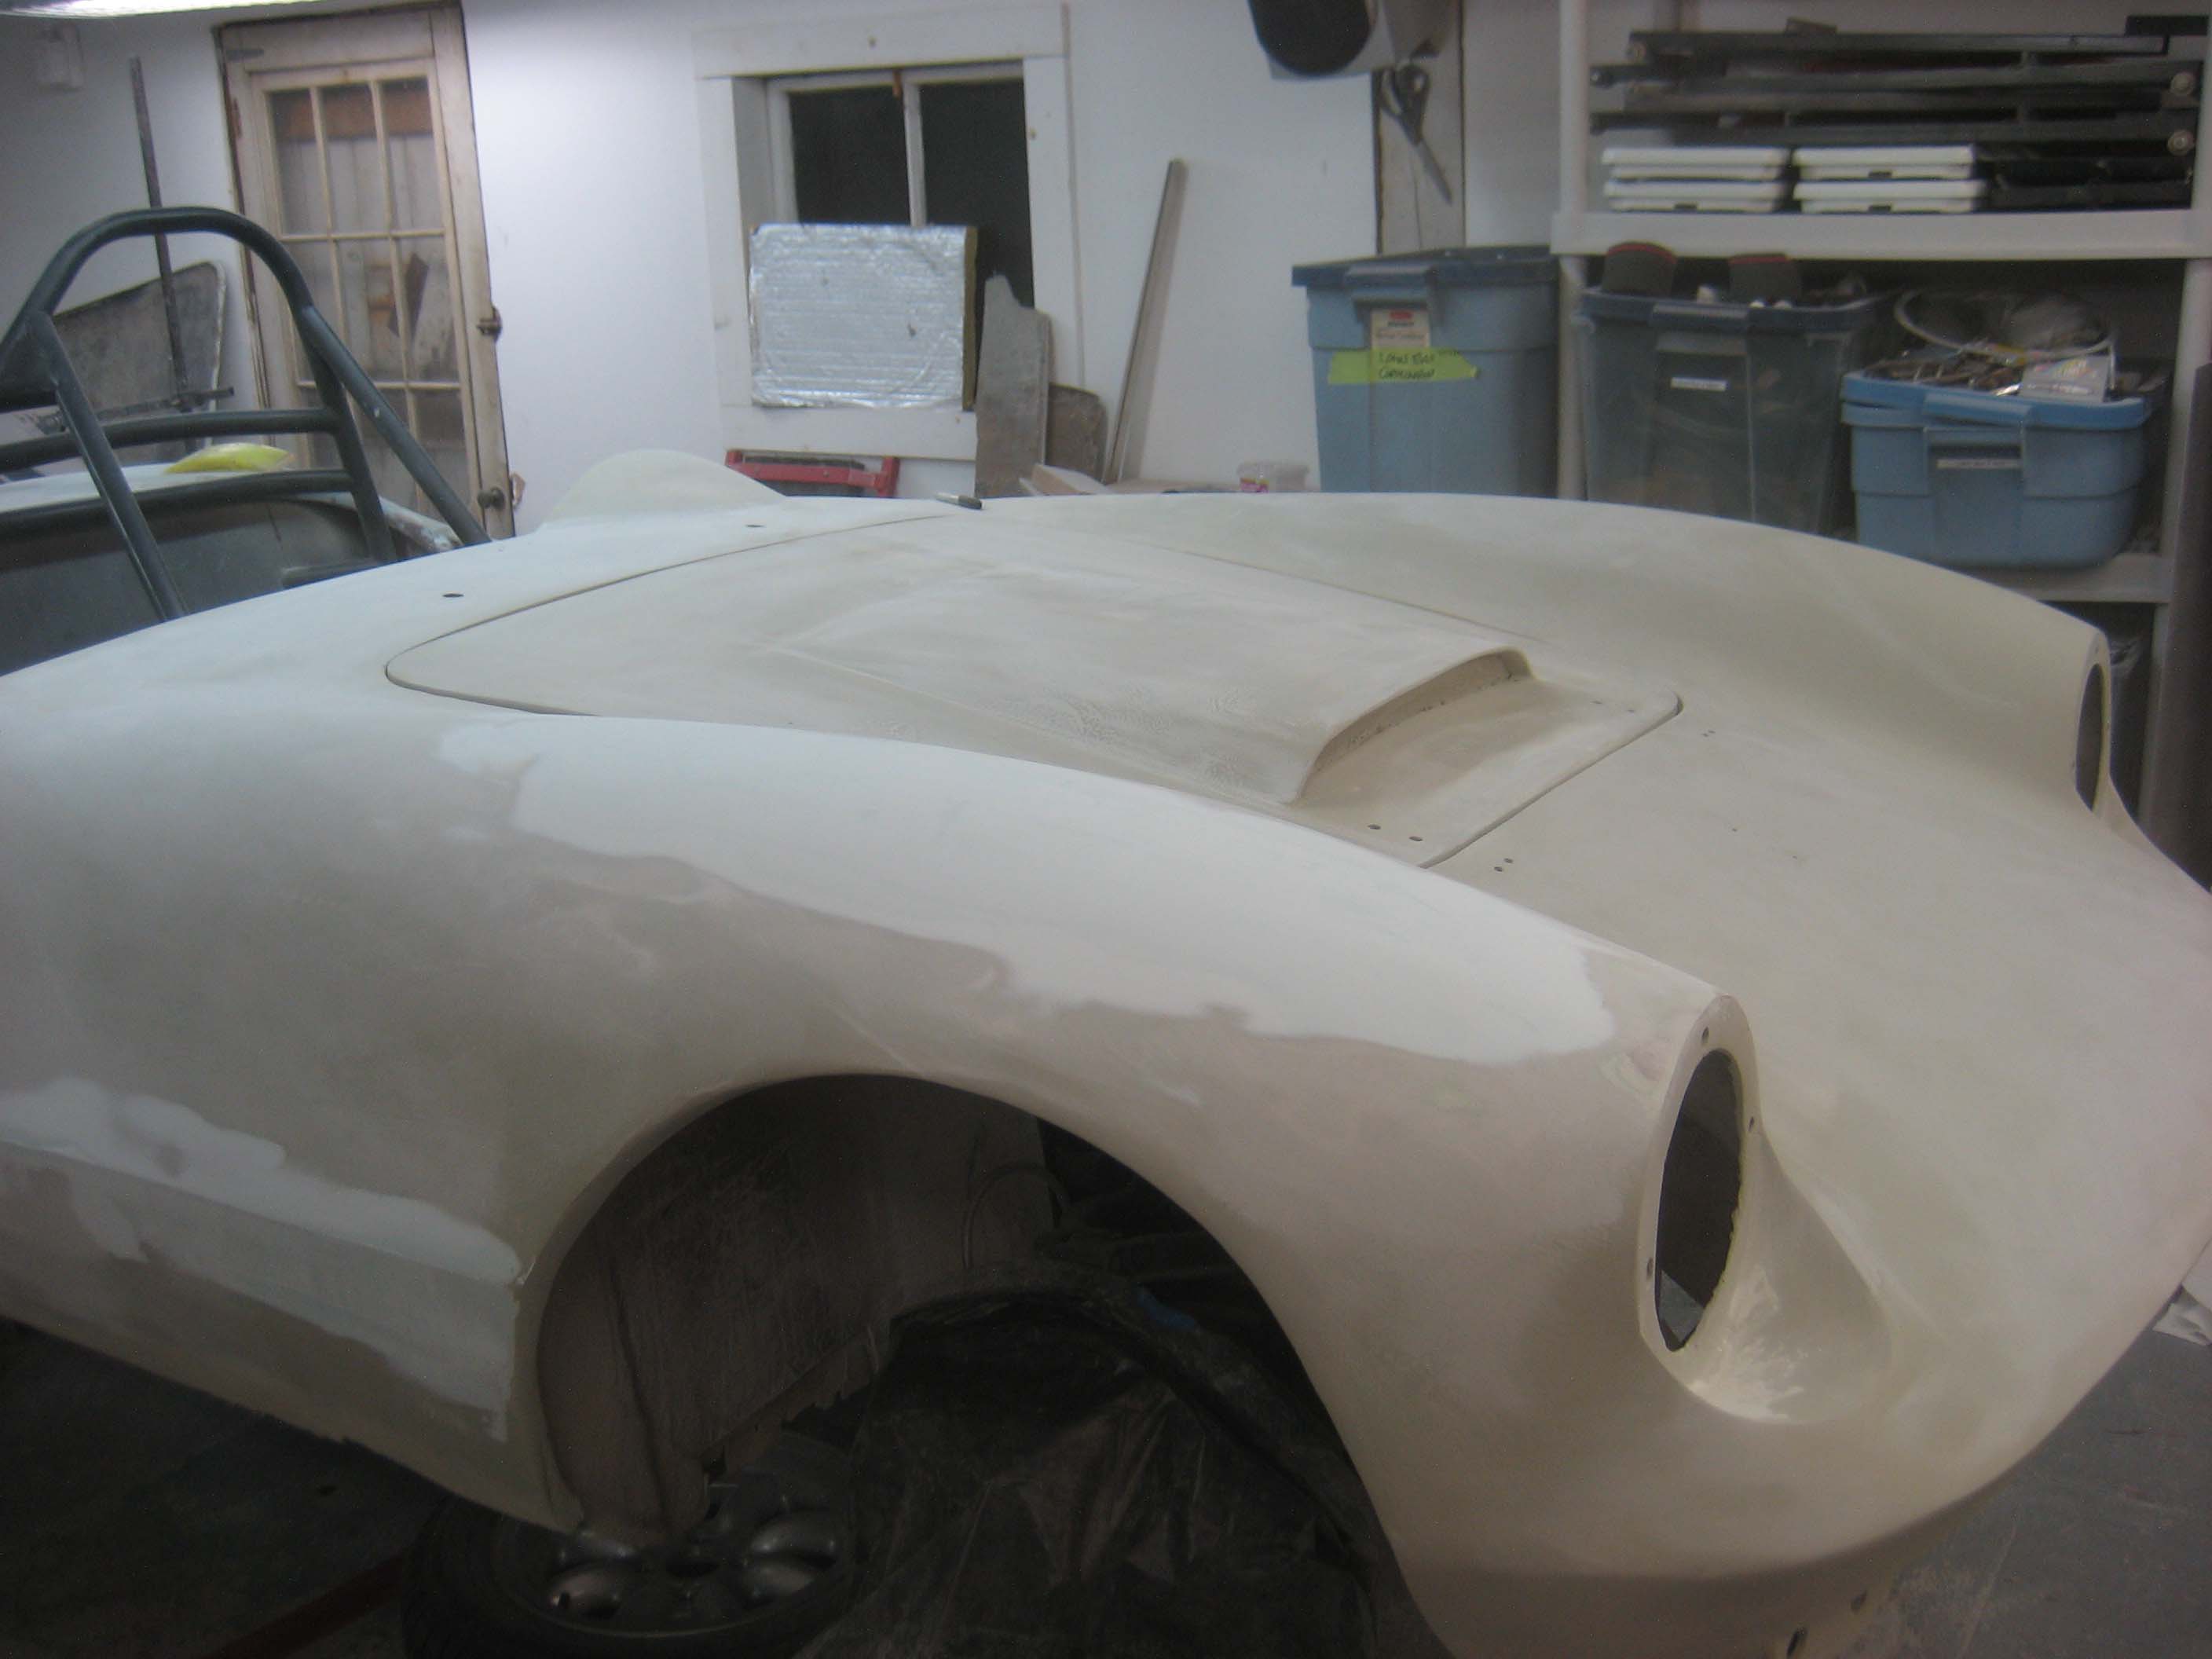
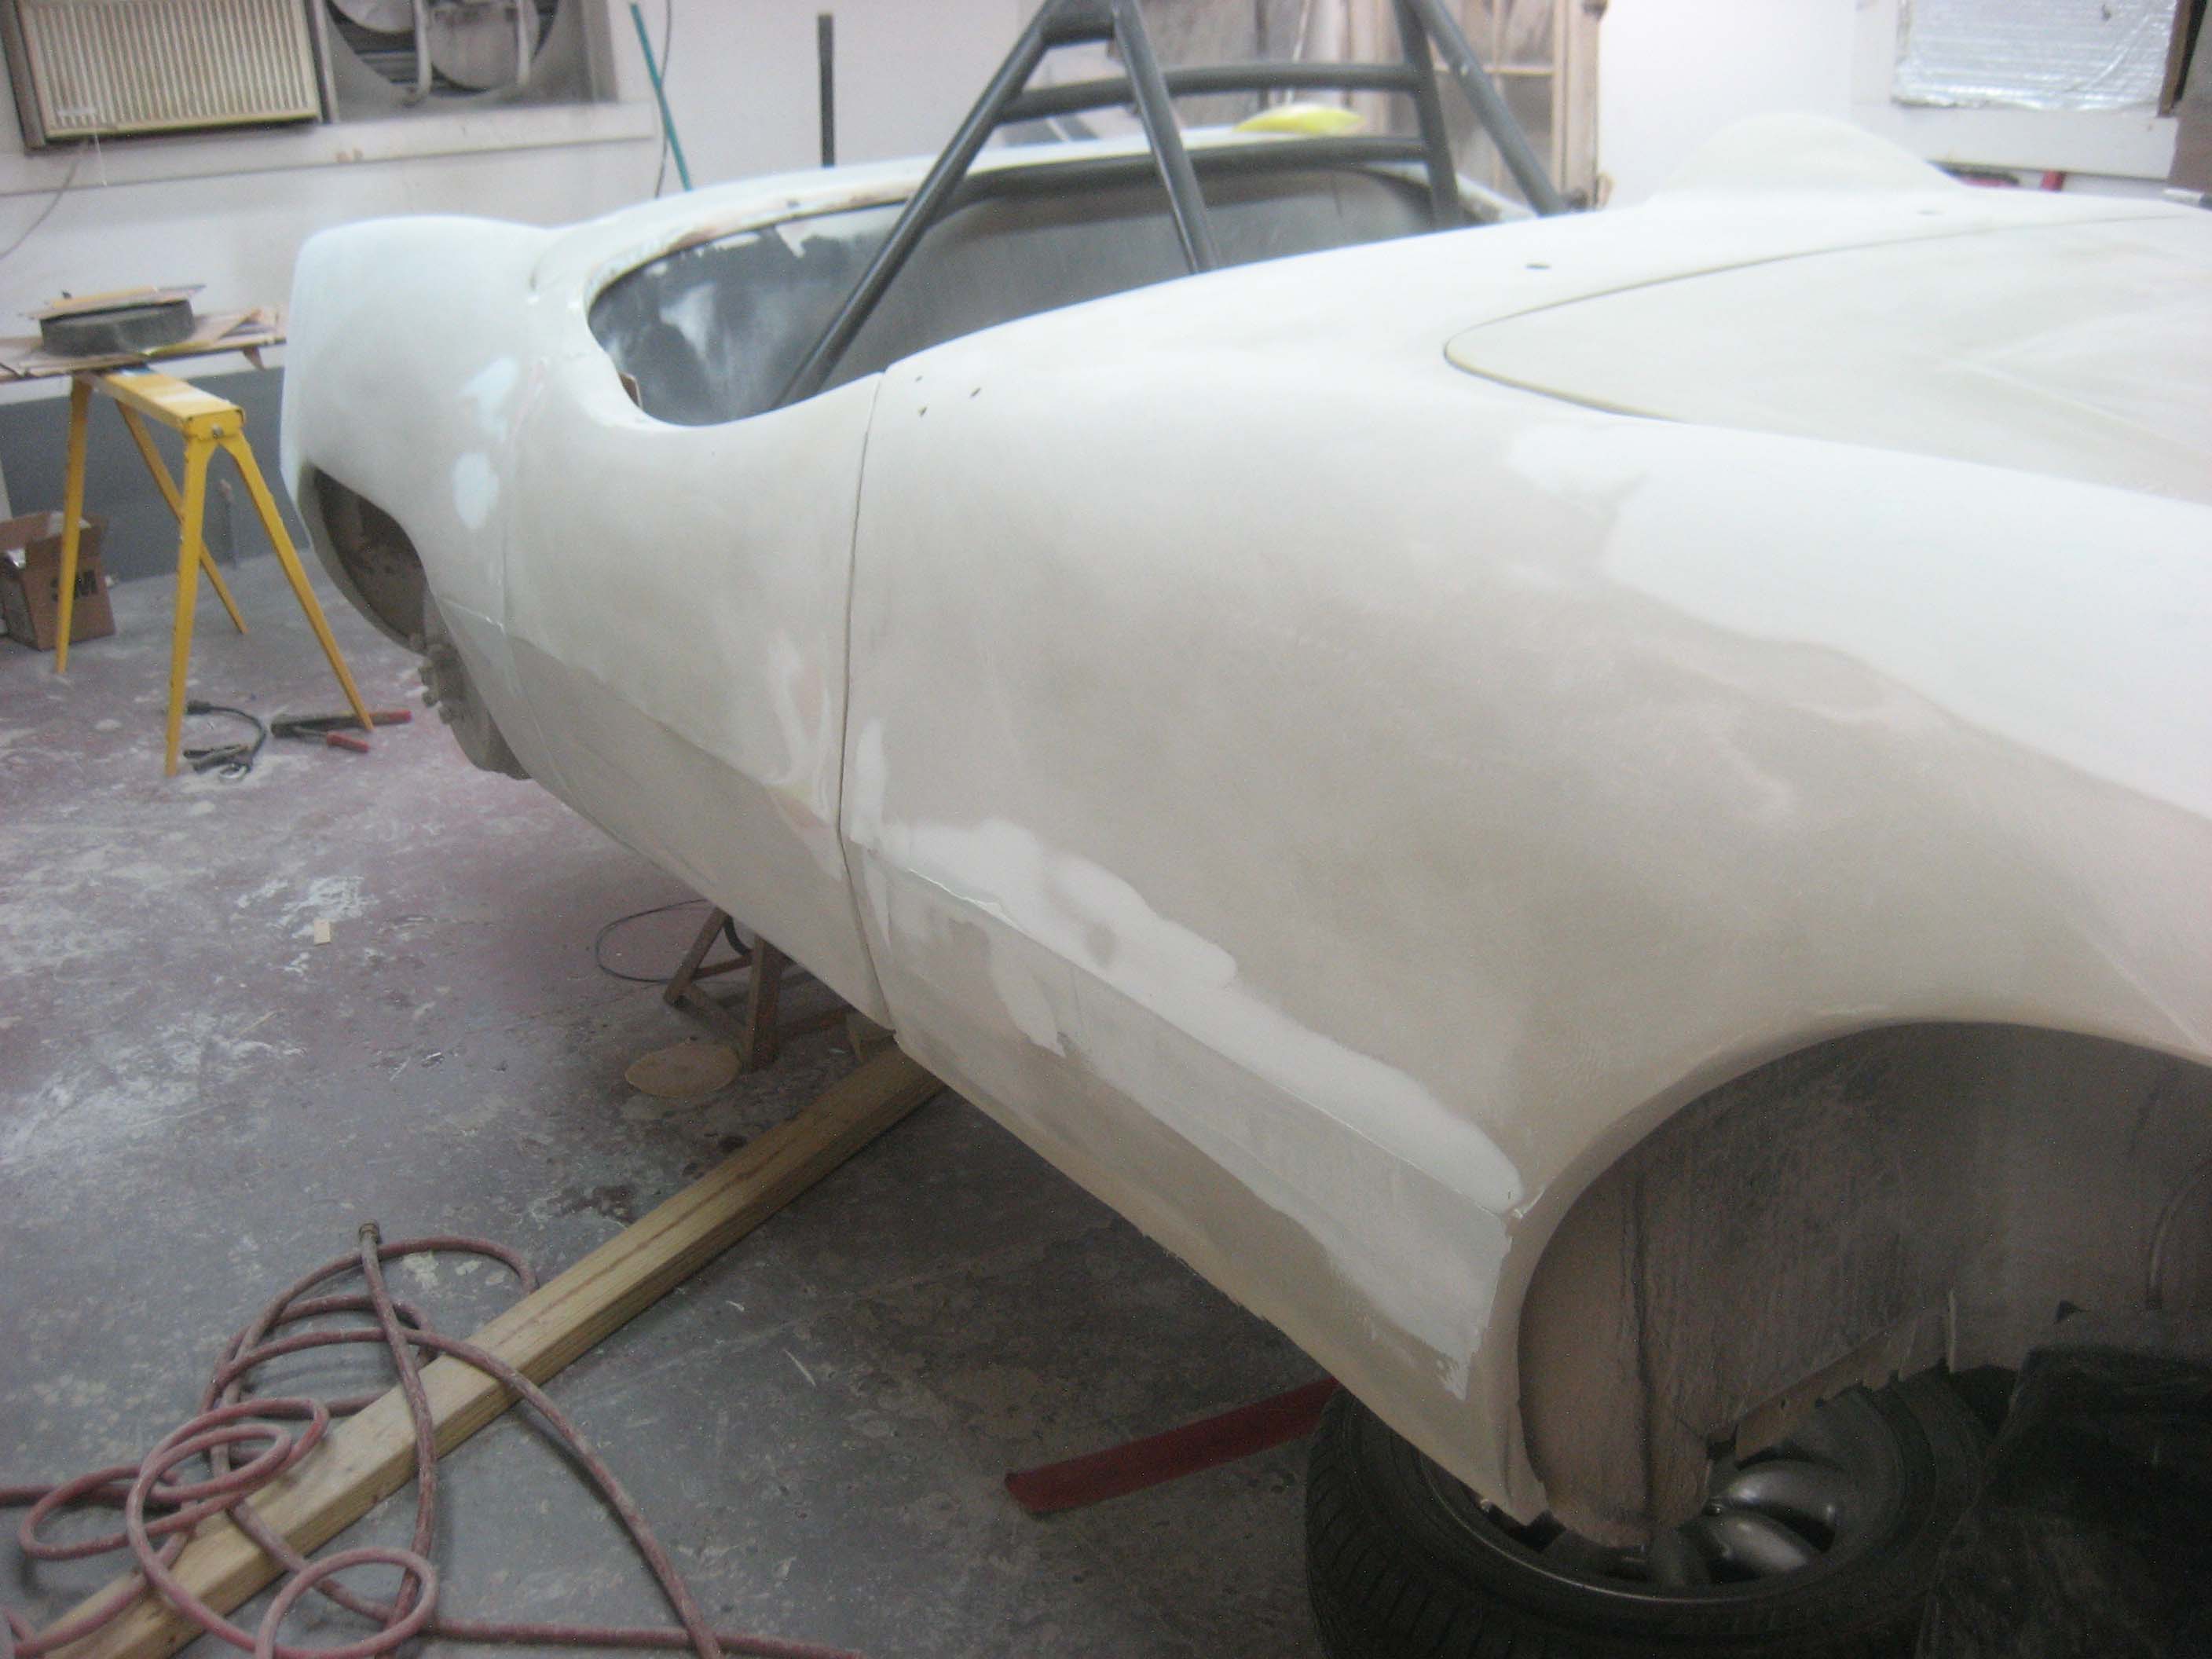
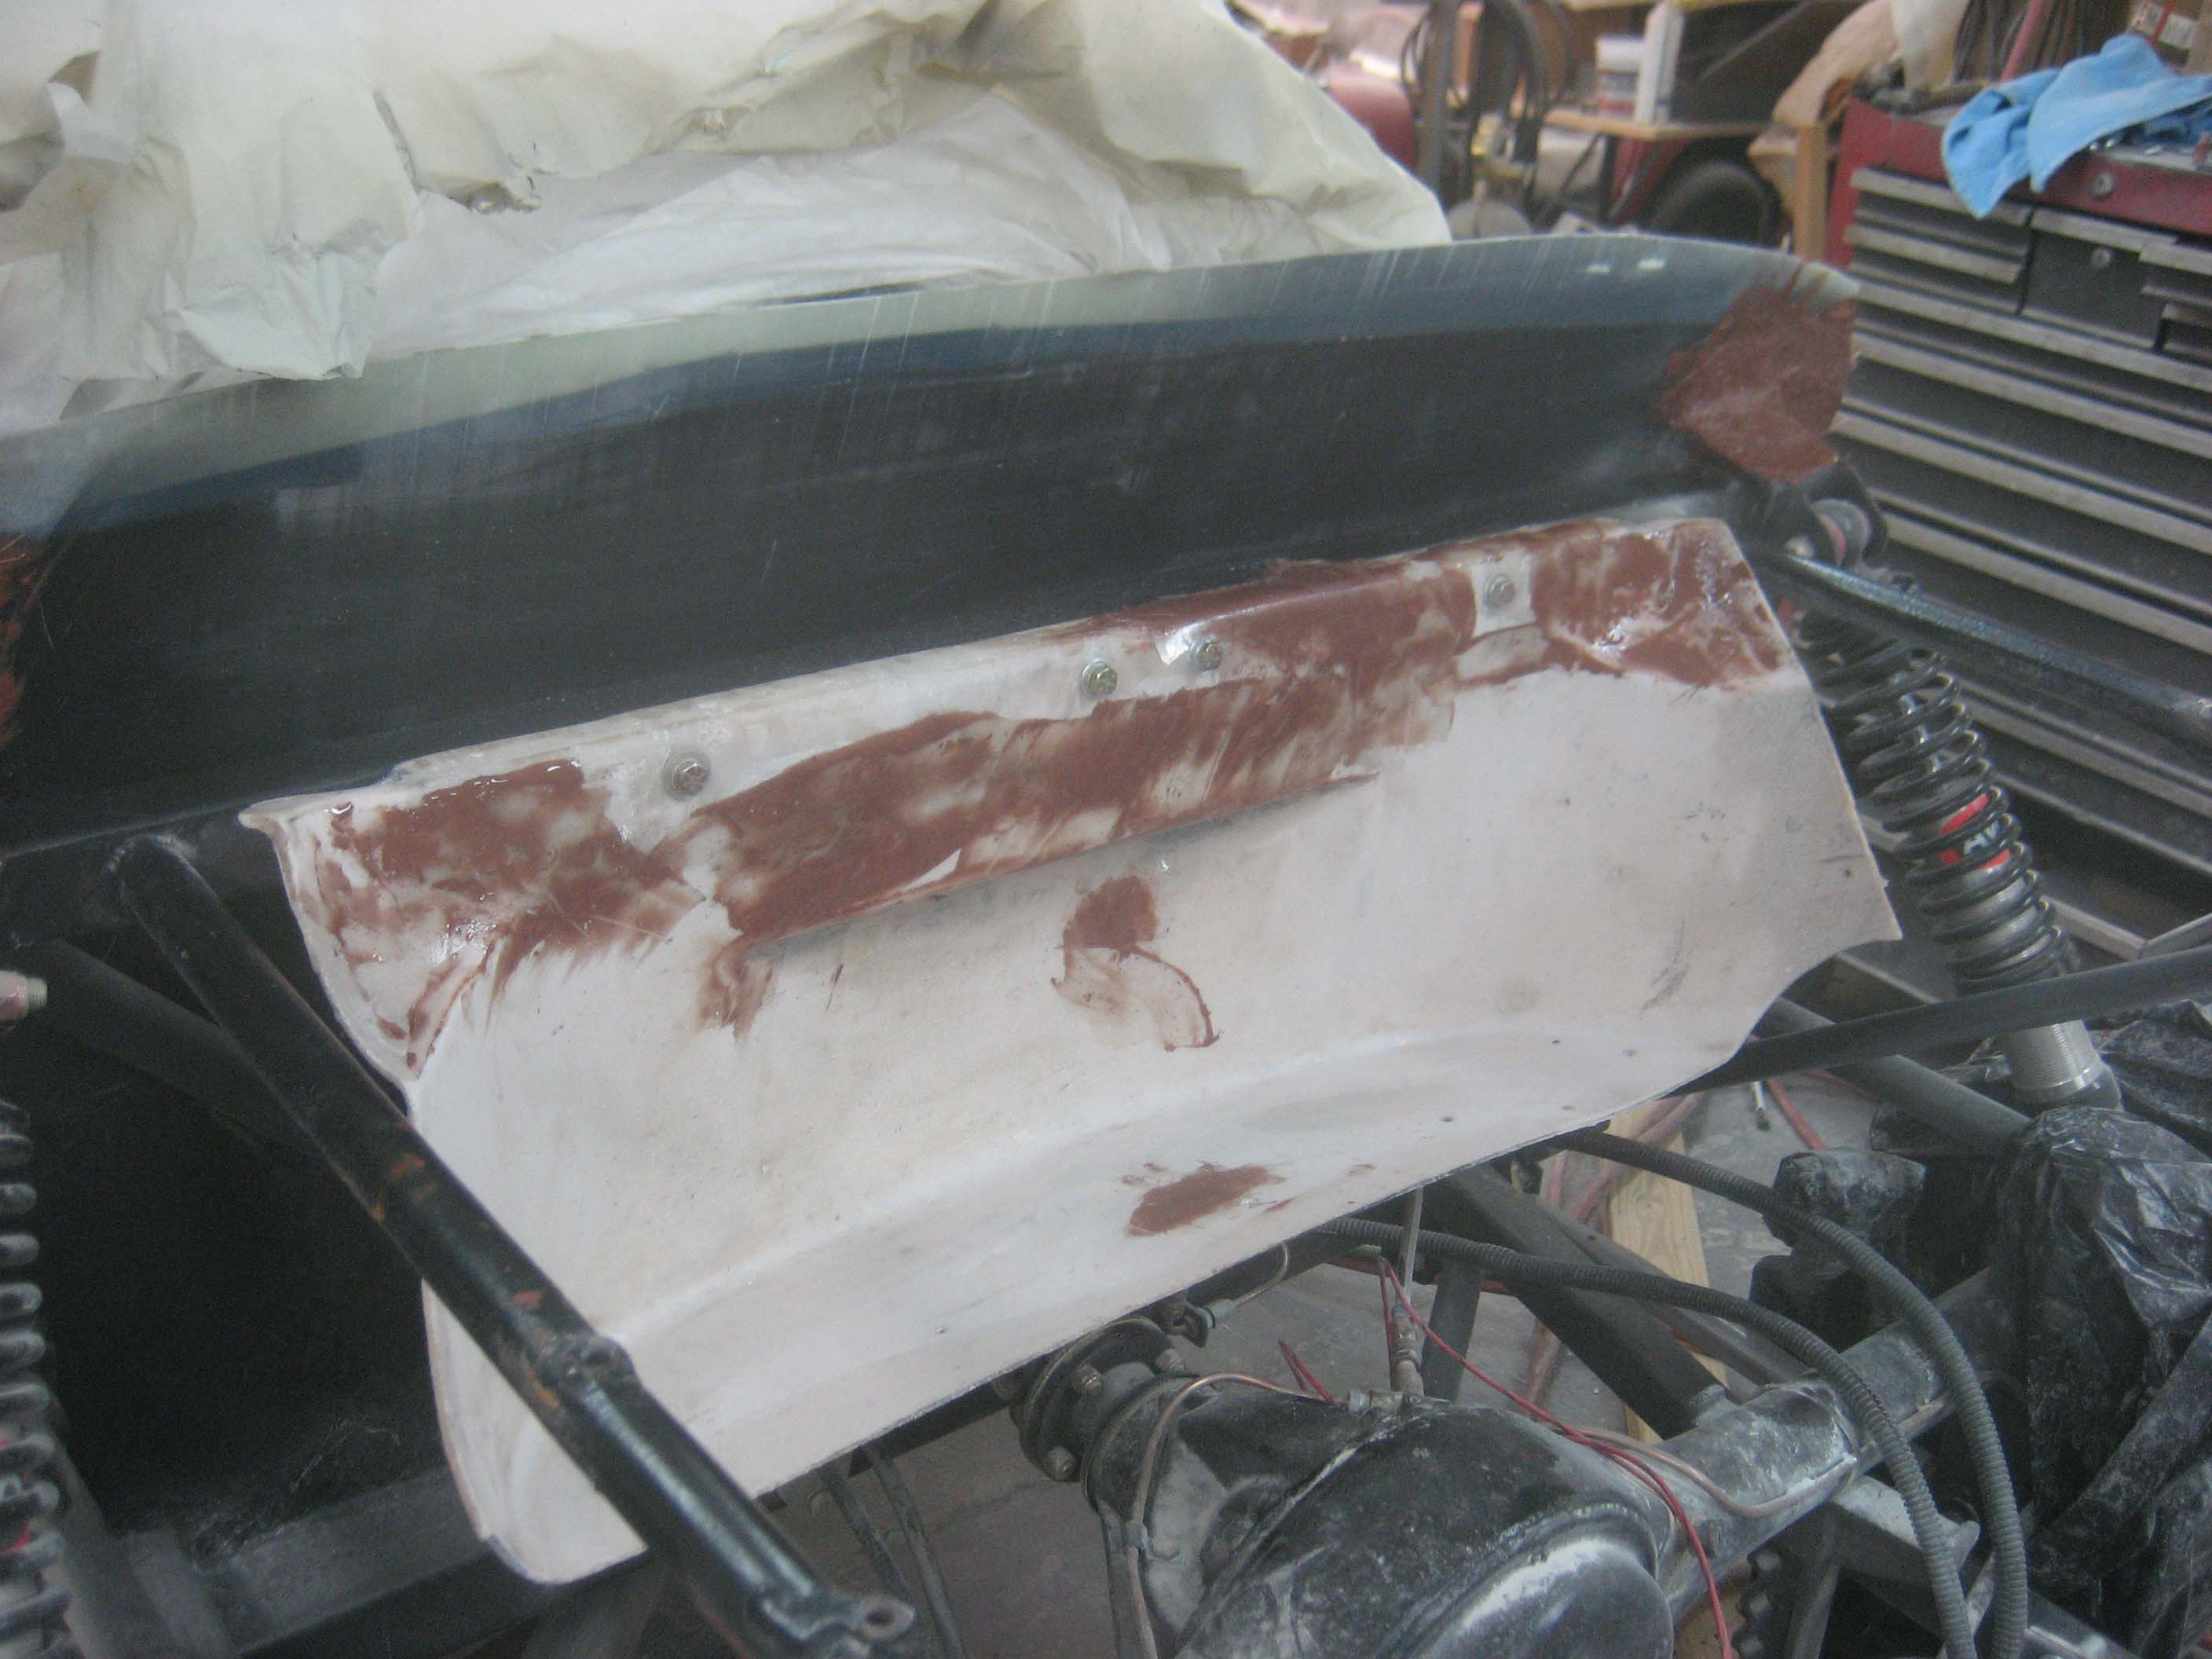 This is sort of a boring part of the job, lots and lots of sanding, blocking, filling, blocking, sanding. etc.
The rear section had to come back off to fix up the ridge across the top of the bulkhead, because that can’t be reached once it is bonded on. The roll cage gets in the way of priming and painting it back there. I had to fix several cracks along that edge with epoxy and microballoon. If I tried to use ordinary bondo it would just crack and fall off.
The doors are being painted body color inside as well, and this also required the epoxy and microballoon treatment.
The biggest use of regular bondo on this car has been the body lines which are at about knee height that go from the front of the car to the back along the front fenders, doors, and rear fenders. What a mess that was; I have really tried to bring that line out, to look fresh and straight. Most of these cars lose the crispness of that line and I don’t know how straight they ever were when knew, but I just want it to look good. It’s one of the things that will make the car stand out.
3 Comments | British Car, Elva, Restoration | Permalink
Posted by elvamk5
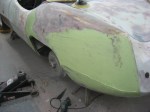
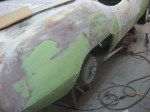
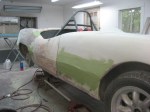
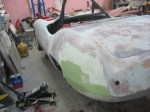
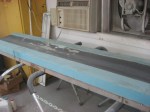
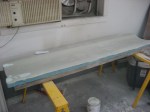
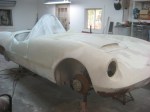
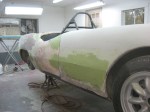
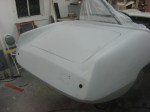
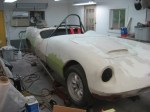
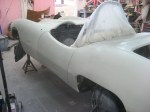
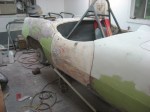
I have been working pretty hard on the bodywork but the pictures don’t really show how much work it is. I will try to add some photos here to tell the story.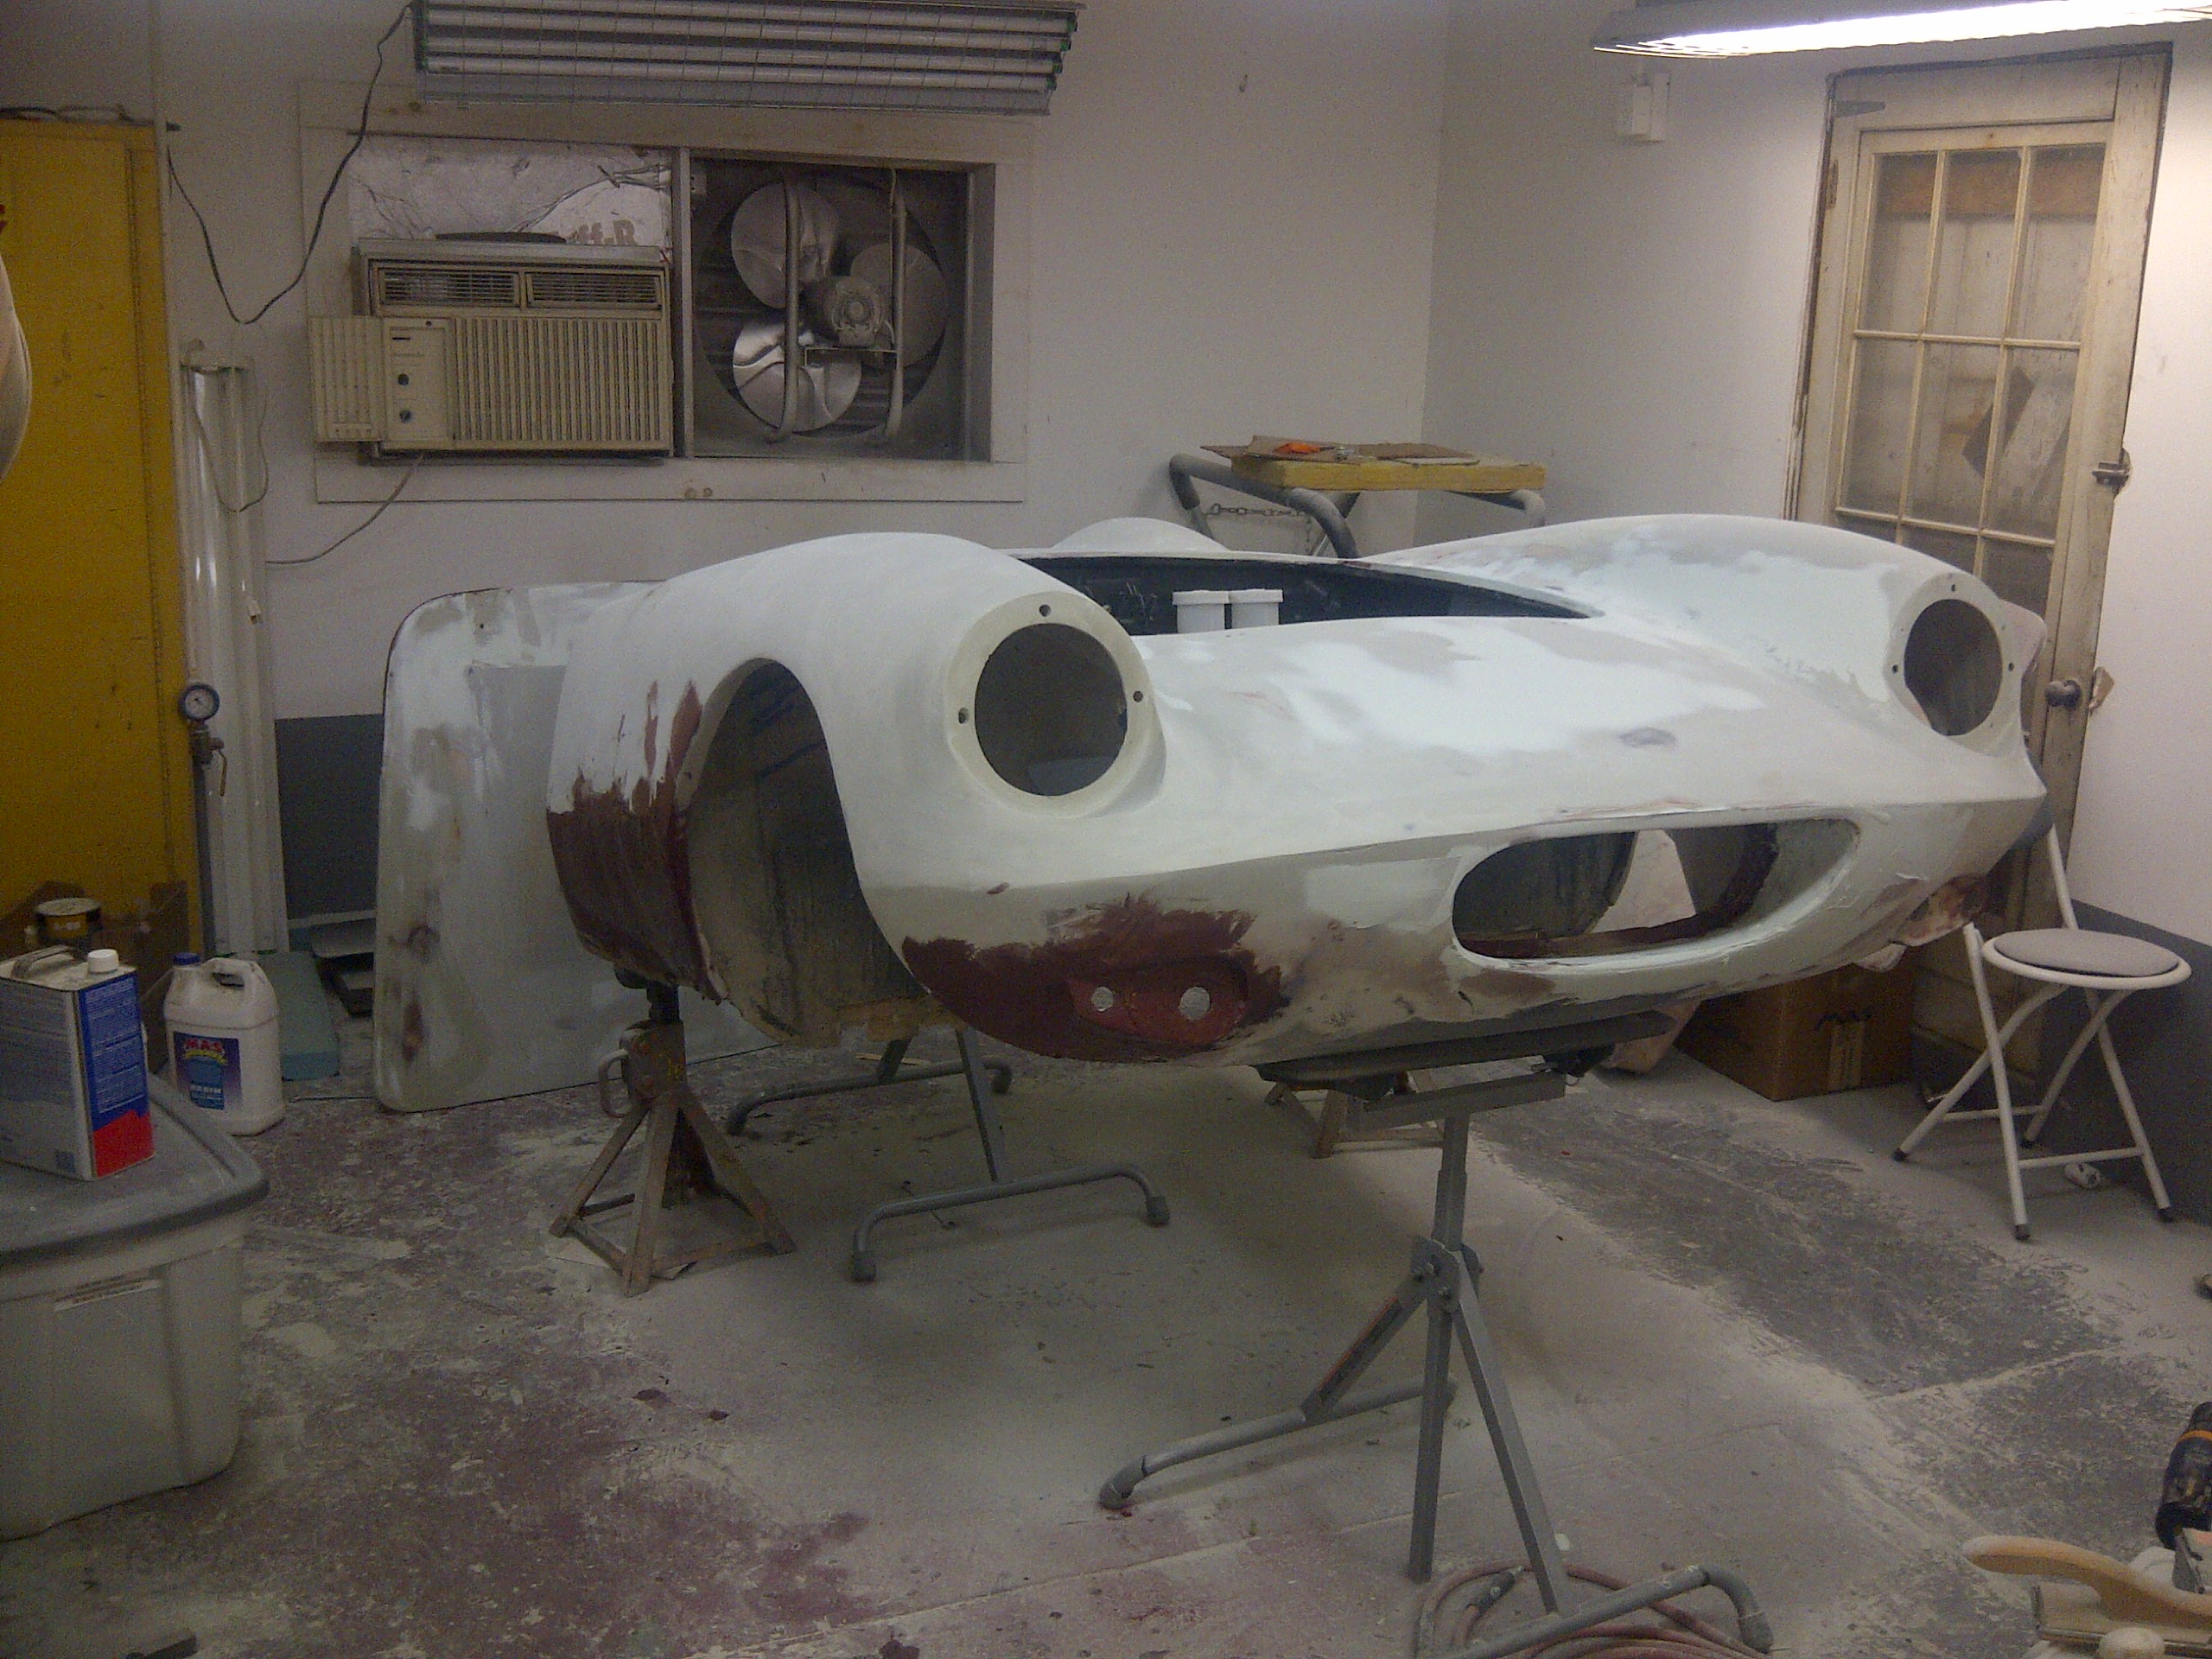
1 Comment | Uncategorized | Permalink
Posted by elvamk5
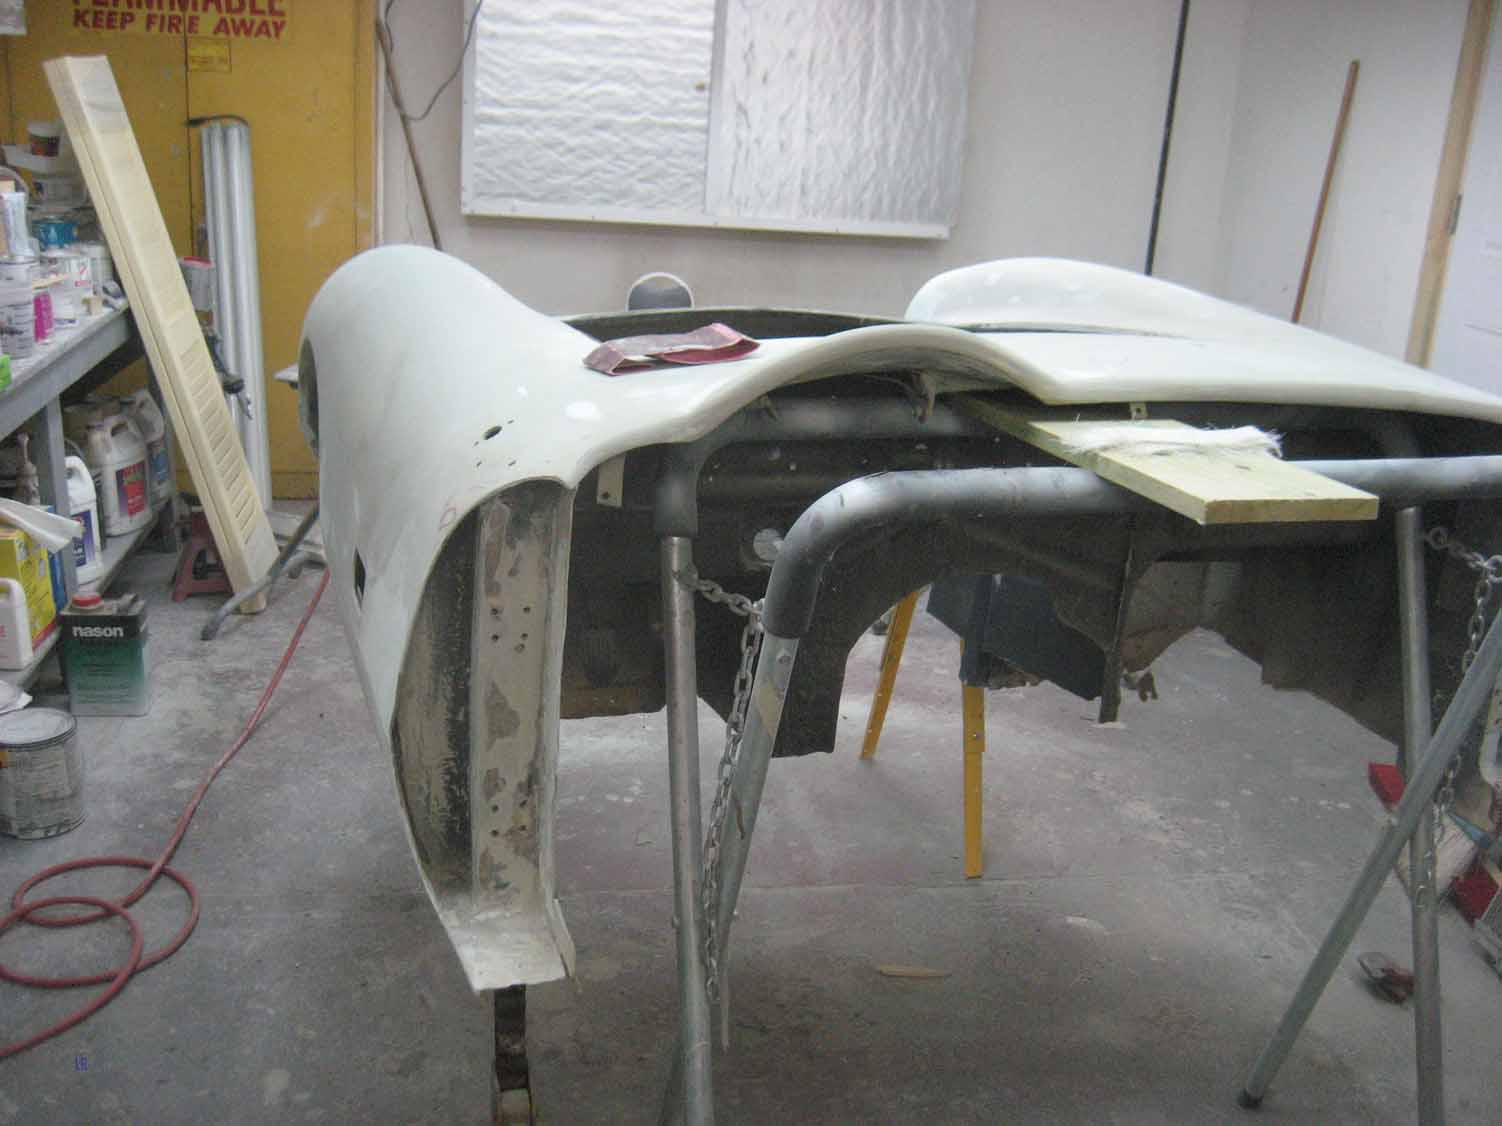
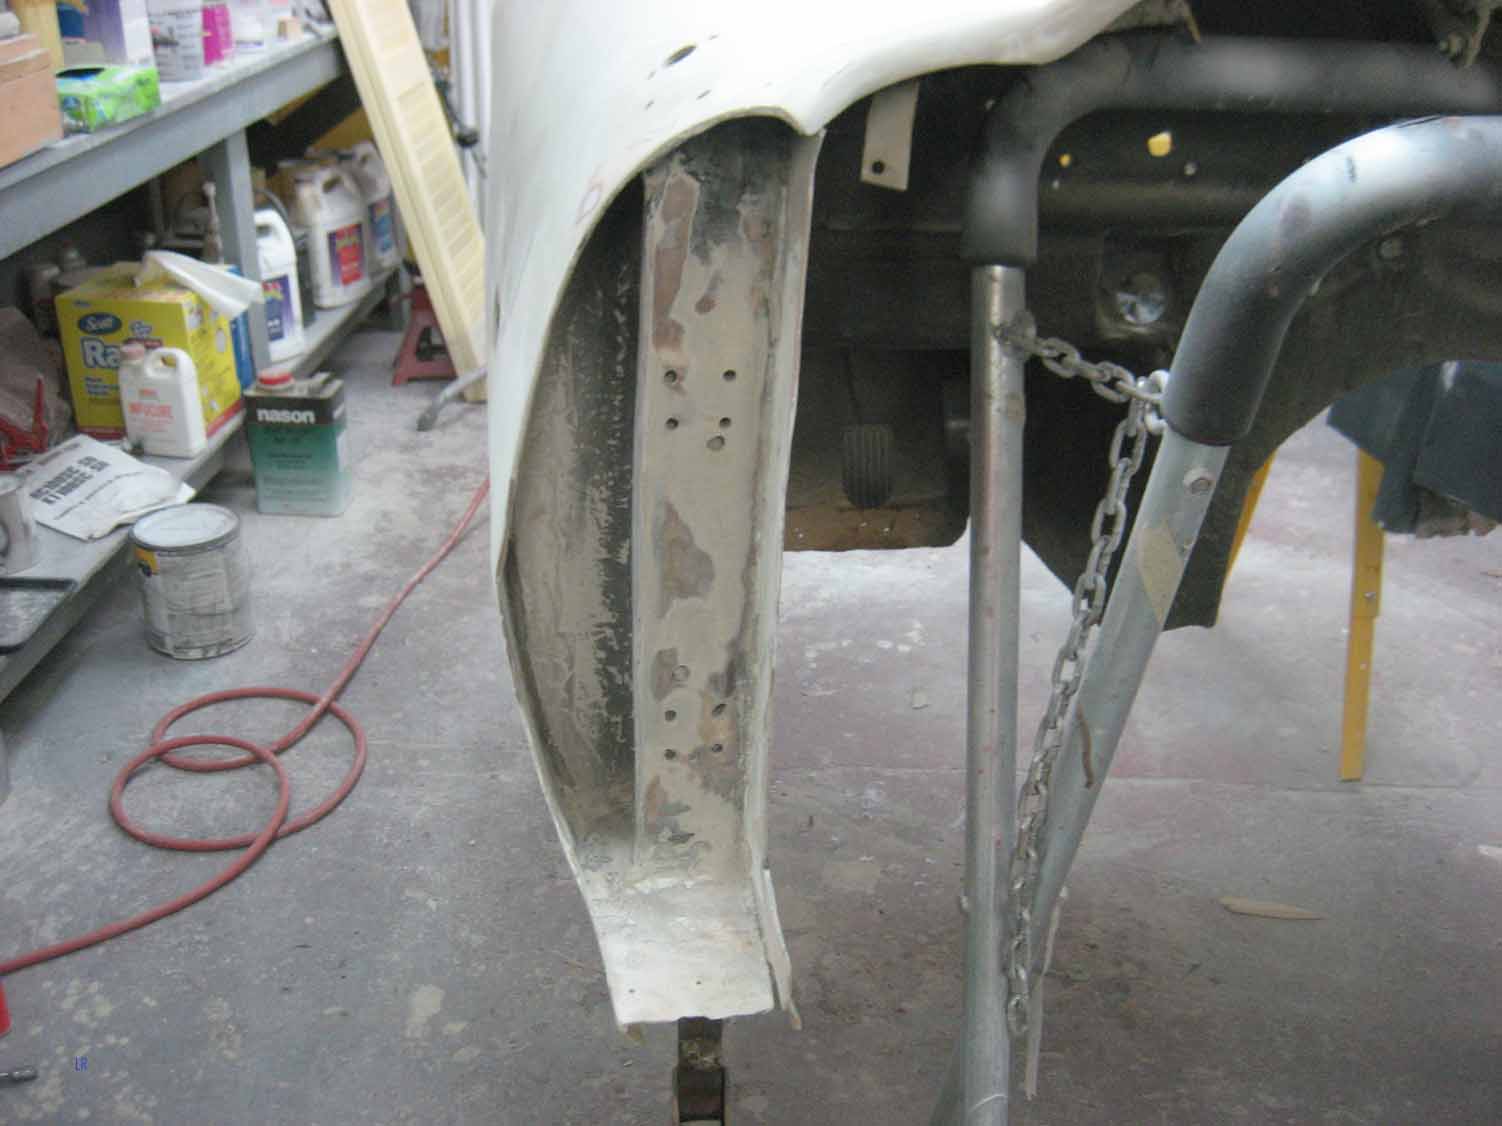
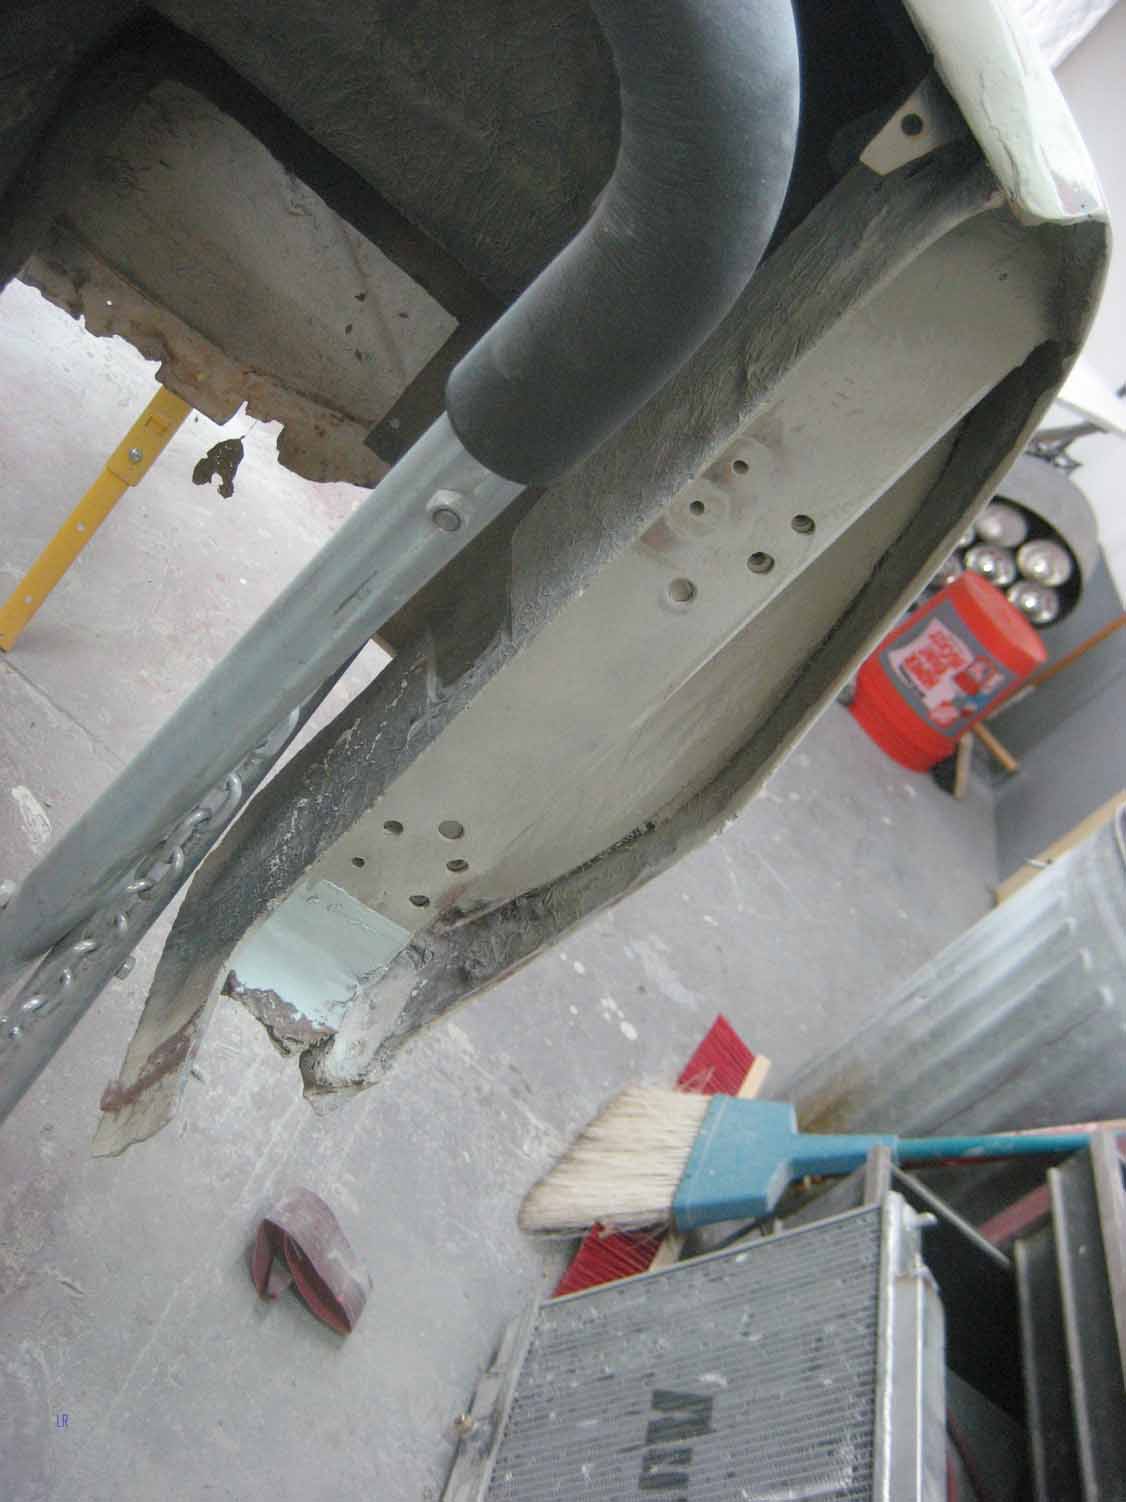
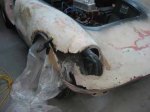
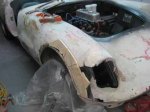
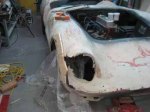
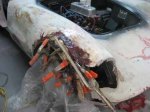
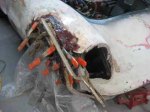
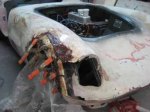
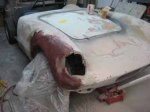
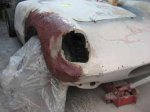
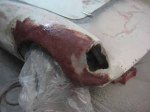
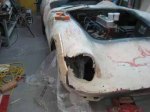
In a much earlier post, I mentioned the problems I found in the right front fender area around the headlight. Well, I just tore into it and took out all the wire screen mesh and bondo, but not much was left when I got it all off. There was just a big hole where that corner of the car was supposed to be. There was another problem, and that was the wheel arch was dangerously close to the tire; much closer than the other side. Seeing as I am trying to make this a functional race car, I had better not overlook a potential place for tire scrub. A certain amount of asymmetry in the body is characteristic, but the right tire was actually outside the fender on the right side and well inside on the left. Other Mk III Couriers have this problem too, possibly because the fiberglass molds were getting old by that time and may have become distorted, who knows?
Anyway, I have put together this gallery to show the progression of rebuilding that corner of the car. Hopefully the pictures speak for themselves. I will just say that the dark brown goo you see in many of the photos is epoxy mixed with phenolic microballoon, and what looks like pieces of wood, is actually balsa core.
Uncategorized | Permalink
Posted by elvamk5
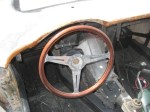
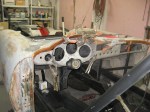
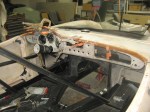
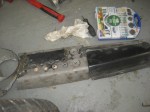
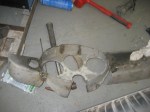
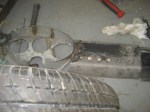
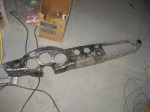
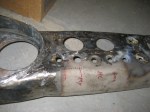
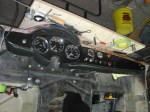
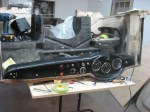
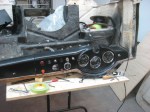
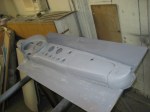
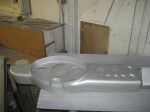
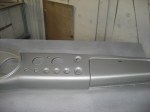
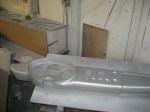
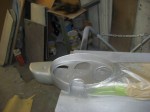
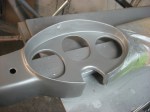
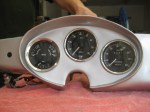
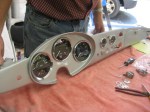
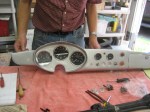
As most of you know, anyone who has ever driven a car knows, the dashboard is the driver’s link to the mechanical systems and the outside world. It is a critical part of any car, and even more critical for the sports/racing type of car. One little problem, this basket case project had no dashboard: none. There should have been a metal dash, which was mostly flat with some rounded edges, and also a padded section that went over the instruments, which would have been upholstered along with the top of the cowl. If I can find them, I will include a couple of photos of other MkIII Couriers with the proper dashes.
In among the boxes of parts I got was a piece of a dashboard that I later found was the instrument cluster from an Alfa Romeo Giulietta. So I built my dashboard out of that cluster section and two other metal dash pieces from a 1967 MGB. The final assembly into one welded unit was both a nightmare in the process, and a better-than-expected success in the end.
Add to this, the interesting quandary: First, it should be functional for the race track; secondly, it will occasionally be driven on the street. So, because I will have two separate engines, I also have two separate sets of gauges for the oil pressure and the water temperature. One set is electronic and feed information to the original-style 3-in-1 gauge. The other two will use a mercury tube and oil capillary tube to the separate instruments. The two recesses which were used on the MGB for heater and defroster controls are being replaced with low oil pressure and high water temperature warning lights.
British Car, Elva, Restoration, Uncategorized | Permalink
Posted by elvamk5
Well, after the hellish trip, the rain, the shorter track time, the snow on Sunday night, (no heat in the hotel room) and the UHaul truck trailering the car and the flatbed bringing the Durango to Aamco in Quincy, my son said to my wife: “Sunday was the best day of my life!” Well, that sums it up.
All in all, as a social event, it was a success. No one got to race, only 5 Elvas made the laps around the Glen, and those that did were COLD, and wet. But still, we all got to see each other face to face,
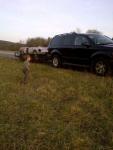
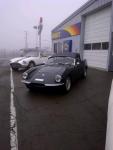
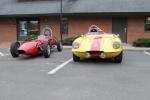
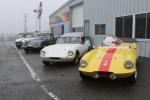
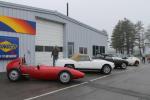
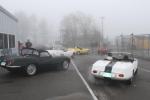
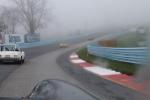
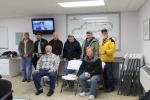
instead of just emailing back and forth, so that was worth the time. The Durango is now rebuilt, with its transmission working better than ever, due to a few better parts being used to make the repair, and my budget for the month is shot.
1 Comment | British Car, Elva, Fiberglass, Restoration, Vintage Racing, Watkins Glen | Permalink
Posted by elvamk5